针对基于CMake构建的芯片例程开发均可以使用如下配置,本文暂时只讲操作不讲原理,网上资料很多大家可以自己去搜。
建议:在C盘直接新建一个Work/ToolChain来管理各种复杂的环境变量。
首先安装编译器arm-none-eabi-*组件:

其次是cmake工具:

然后是ninja:

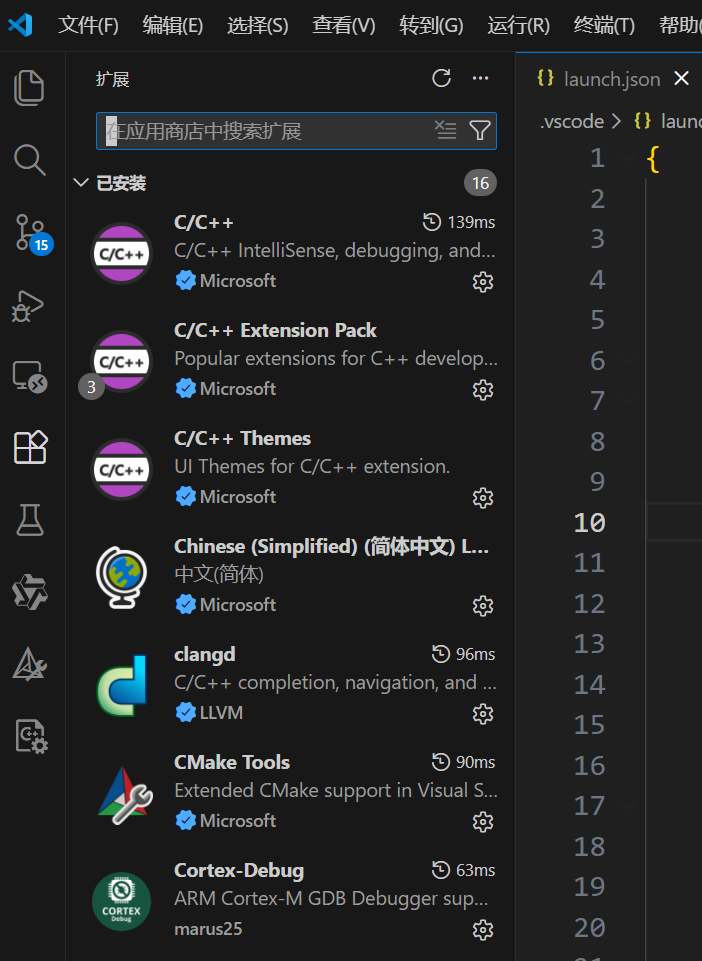
在VScode上面安装clangd组件,并且从官网上面下载LLVM组合使用。
clangd直接搜这里:
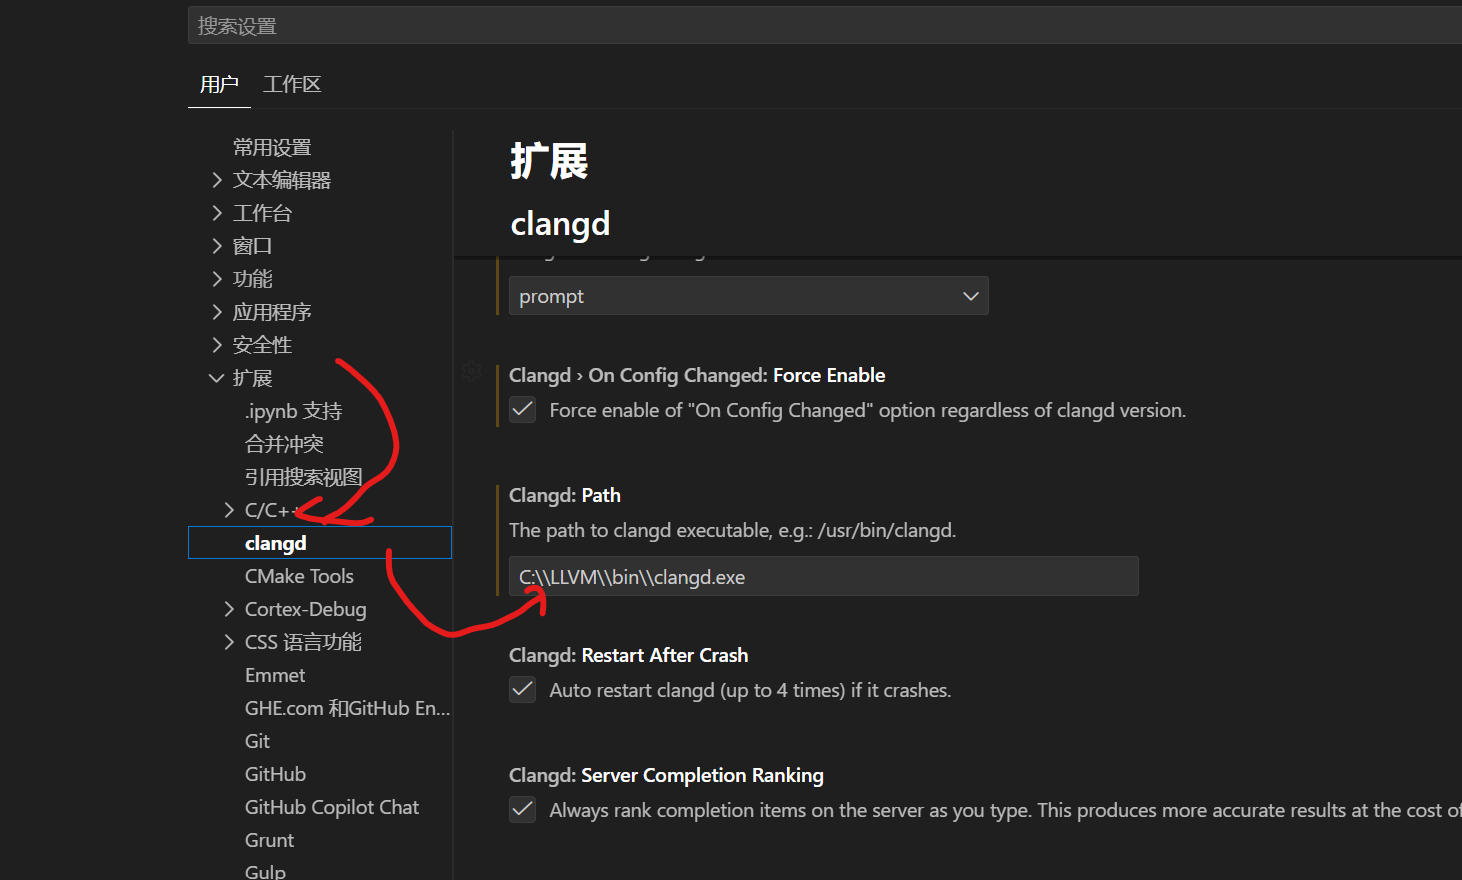
LLVM需要在VScode中添加路径,首先点这个齿轮找到设置:

然后在这边:
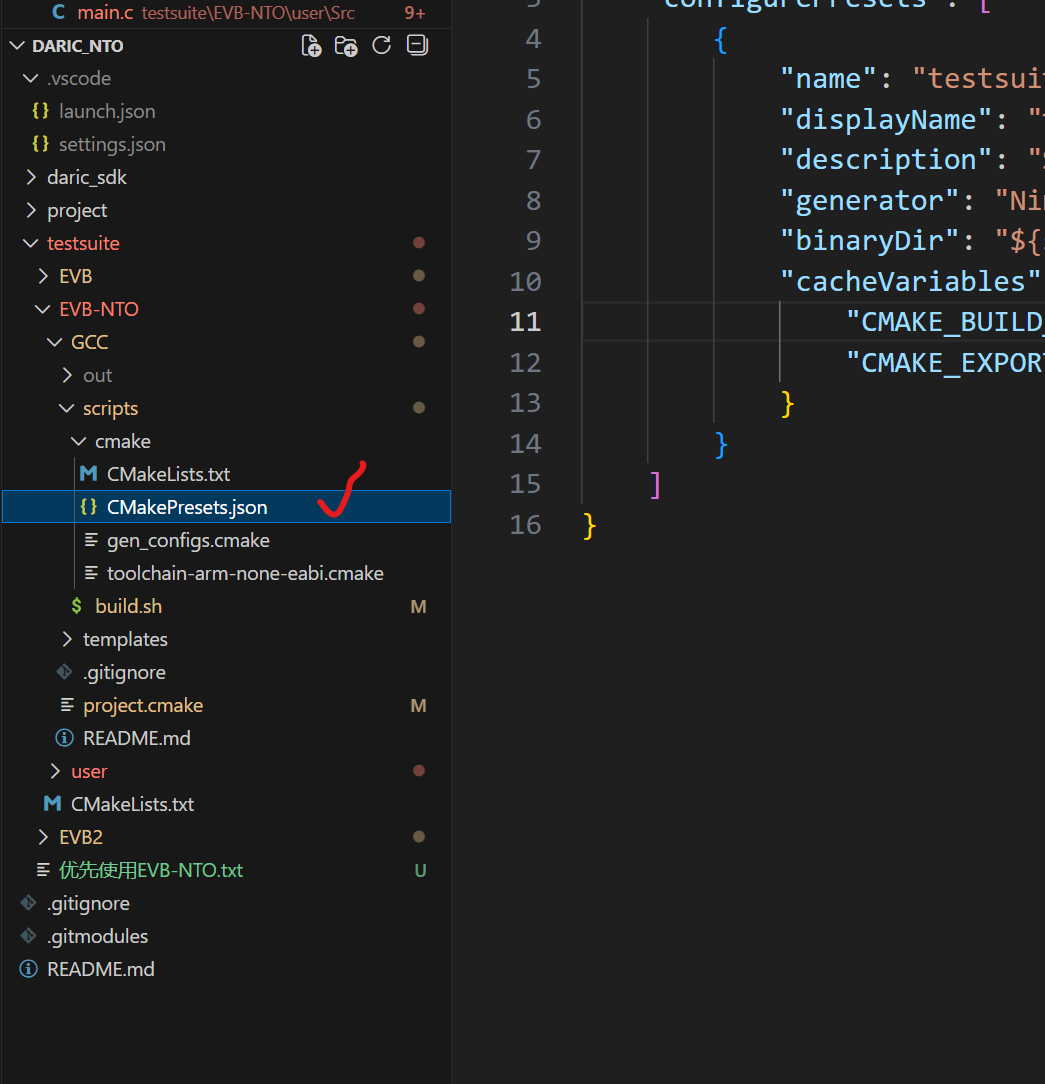
在获取到的工程内新建.vscode,添加下面两个json文件(需要根据你获得的SDK修改)。
launch.json,注意这个gdbPath的路径需要改成你用的。
bash
{
    // Use IntelliSense to learn about possible attributes.
    // Hover to view descriptions of existing attributes.
    // For more information, visit: https://go.microsoft.com/fwlink/?linkid=830387
    "version": "0.2.0",
    "configurations": [
        {
            "name": "testsuit",
            "cwd": "${workspaceFolder}/testsuite/EVB-NTO",
            "executable": "./GCC/out/testsuite.elf",
            "gdbPath" : "C:/arm-none-eabi/bin/arm-none-eabi-gdb.exe",
            "request": "attach",
            "type": "cortex-debug",
            "servertype" : "external",
            "gdbTarget": "127.0.0.1:3331",
            "rtos": "Azure",
            "overrideResetCommands": [
                // RCURST1: reset core system
                "monitor memU32 0x40040084 0x000055aa",
                "monitor reset",
                "load",
                "monitor reset 1",
                // "monitor reset 4",
            ],
            "overrideRestartCommands": [
                "monitor reset 1",
                // "monitor reset 4",
            ]
        }

    ]
}settings.json,第一行路径决定了编译目标;
bash
{
    "cmake.sourceDirectory": "${workspaceFolder}/testsuite/EVB-NTO/GCC/scripts/cmake",
    "cortex-debug.variableUseNaturalFormat": false,
    "clangd.arguments": [
        "--all-scopes-completion",
        "--completion-style=detailed",
        "--query-driver=C:/arm-none-eabi/bin/arm-none-eabi*",
        "--compile-commands-dir=${workspaceFolder}/testsuite/EVB-NTO/GCC/out",
        "--pretty",
        "--background-index"
    ],
    "C_Cpp.intelliSenseEngine": "disabled",
    "commentTranslate.targetLanguage": "zh-CN"
}
注意第一个路径,对应着你的"目标构建文件"的CMakelists和CMakePresets,这是一种目前很流行的工程固件编译管理模式,通过编译脚本编译出不同的开发板、产品板适配的固件。
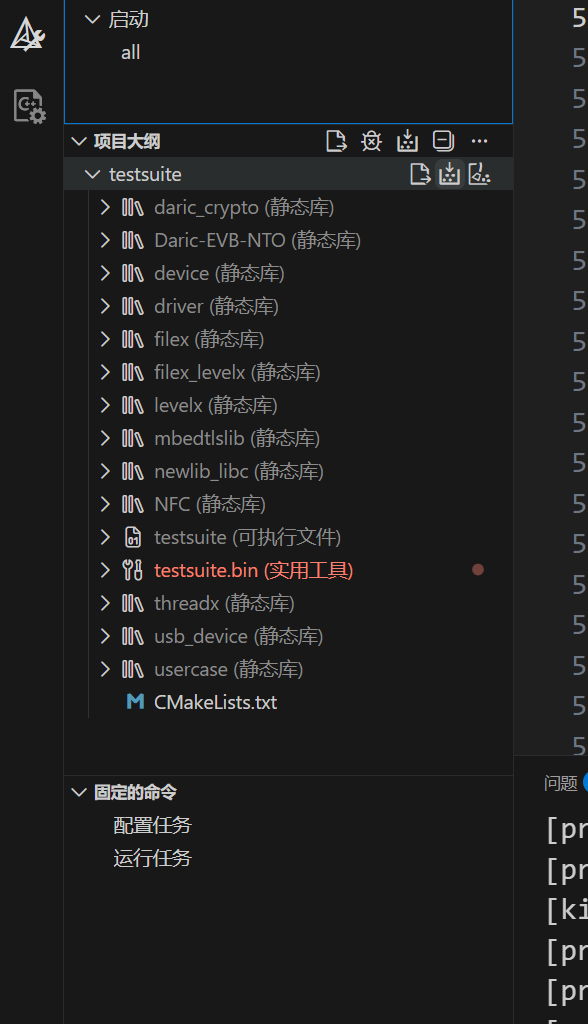
最后ctrl+shift+p,reload重启一下VScode,可以实现精准跳转了,来到CMake栏目下就可以生成和清理编译文件了。