一、基本概念
路由:就是SPA(single page application单页应用)的路径管理器,即URL与页面内容的映射管理器,实现单页无刷新跳转,页面导航,提升用户体验。(类似GPS导航,书本目录)
| 组成部分 | 说明 |
|---|---|
| 路由器(Router) | 路由的核心,负责监听URL变化、匹配路由规则并执行相应的导航操作 |
| 路由配置(Routes) | 定义URL模式与目标视图的映射关系 |
| 目标视图(Targets) | 定义每个路由目标对应的视图信息,如视图名称、ID、层级等 |
| 路由历史(History) | 管理浏览器的历史记录,支持前进和后退。 |
| 路由事件(Events) | 在路由的不同阶段触发的事件,例如路由匹配前、匹配后等 |
二、练习
新建文件夹29,复制练习Step 28: Integration Test with OPA集成测试OPA 文件夹下内容
2.1 webapp/manifest.json
- 路由器配置
routing.config部分
javascript"config": { "routerClass": "sap.m.routing.Router", // 路由器类 "type": "View", //目标类型 "viewType": "XML", //视图类型 "path": "sap.ui5.walkthrough.view", //视图路径 "controlId": "app", //容器控件ID,视图将被插入哪个容器 "controlAggregation": "pages" // 聚合名称,使用容器的哪个聚合属性 },
- 路由规则
routes部分:定义URL与些视图或模块的映射关系
javascript"routes": [ { "pattern": "", "name": "overview", //路由名称 "target": "overview" //对应目标 }, { "pattern": "detail", "name": "detail", "target": "detail" } ],targets部分
viewName为项目中存在的XML视图名称,对应一个具体的视图,比如Overview.view.xml
viewId 为自定义的唯一标识符,用于代码中应用,跳转,判断
javascript"targets": { "overview": { "id": "overview", //targets 对象内是唯一 "name": "Overview" }, "detail": { "id": "detail", "name": "Detail" } }
routes和targets的协同工作构成了应用导航的双支柱:
targets定义了"要去哪里"(视图/模块的身份和属性)
routes定义了"如何到达"(URL 路径和组件映射)**
routes中的**target属性即为targets中配置的任意id
javascript
{
  "_version": "1.12.0",
  "sap.app": {
    "id": "sap.ui5.walkthrough",
    "type": "application",
    "i18n": "i18n/i18n.properties",
    "title": "{{appTitle}}",
    "description": "{{appDescription}}",
    "applicationVersion": {
      "version": "1.0.0"
    },
    	  "dataSources": {
            "invoiceRemote": {
              "uri": "V2/Northwind/Northwind.svc/",
              "type": "OData",
              "settings": {
              "odataVersion": "2.0"
                          }
                    }
	}
  },
  "sap.ui": {
    "technology": "UI5",
    "deviceTypes": {
      "desktop": true,
      "tablet": true,
      "phone": true
    }
  },
  "sap.ui5": {
    "rootView": {
      "viewName": "sap.ui5.walkthrough.view.App",
      "type": "XML",
      "async": true,
      "id": "app"
    },
    "resources": {
      "css": [
        {
          "uri": "css/style.css"
        }
      ]
    },
    "dependencies": {
      "minUI5Version": "1.93",
      "libs": {
        "sap.ui.core": {},
        "sap.m": {}
      }
    },
    "models": {
      "i18n": {
        "type": "sap.ui.model.resource.ResourceModel",
        "settings": {
          "bundleName": "sap.ui5.walkthrough.i18n.i18n",
          "supportedLocales": [],
          "fallbackLocale": ""
        }
      },

      "invoice": {
			"dataSource": "invoiceRemote"
		}
    },
    "routing": {
	  "config": {
		"routerClass": "sap.m.routing.Router",
		"type": "View",
		"viewType": "XML",
		"path": "sap.ui5.walkthrough.view",
		"controlId": "app",
		"controlAggregation": "pages"
	  },
	  "routes": [
		{
		  "pattern": "",
		  "name": "overview",
		  "target": "overview"
		},
		{
		  "pattern": "detail",
		  "name": "detail",
		  "target": "detail"
		}
	  ],
	  "targets": {
		"overview": {
		  "id": "overview",
		  "name": "Overview"
		},
		"detail": {
		  "id": "detail",
		  "name": "Detail"
		}
	  }
	}
  }
}
2.2 webapp/Component.js
Component.js中新增this.getRouter().initialize(); 初始化路由,路由配置及2.1
manifest.json文件中配置的routing部分,启动路由机制并基于当前URL加载相应的视图。
javascript
sap.ui.define(
  [
    "sap/ui/core/UIComponent",
    "sap/ui/model/json/JSONModel",
    "sap/ui/model/resource/ResourceModel",
  ],
  function (UIComponent, JSONModel) {
    "use strict";
    return UIComponent.extend("sap.ui5.walkthrough.Component", {
      metadata: {
        interfaces: ["sap.ui.core.IAsyncContentCreation"],
        manifest: "json",
      },
      init: function () {
        UIComponent.prototype.init.apply(this, arguments);

        var oBundle = this.getModel("i18n").getResourceBundle();
        var oData = {
          recipient: {
            name: oBundle.getText("inputText"),
          },
        };
        var oModel = new JSONModel(oData);
        this.setModel(oModel);
        // create the views based on the url/hash
        this.getRouter().initialize();
      },
    });
  }
);
2.3 webapp/view/Overview.view.xml
这里与2.1中配置 "targets"部分分viewName想对应,及2.2中执行 this.getRouter().initialize();会自动解析当前url匹配路由规则
XML
<mvc:View
		controllerName="sap.ui5.walkthrough.controller.App"
		xmlns="sap.m"
		xmlns:mvc="sap.ui.core.mvc">
	<Page title="{i18n>homePageTitle}">
		<headerContent>
			<Button
					icon="sap-icon://hello-world"
					press=".onOpenDialog"/>
		</headerContent>
		<content>
			<mvc:XMLView viewName="sap.ui5.walkthrough.view.HelloPanel"/>
			<mvc:XMLView viewName="sap.ui5.walkthrough.view.InvoiceList"/>
		</content>
	</Page>
</mvc:View>
2.4 webapp/view/App.view.xml
Shell控件这里是一个App控件,App页签id为"app",与2.1manifest.json的routes配置中""controlId": "app"相对应
XML
<mvc:View
controllerName="sap.ui5.walkthrough.controller.App"
xmlns="sap.m"
xmlns:mvc="sap.ui.core.mvc"
displayBlock="true">
<Shell>
<App class="myAppDemoWT" id="app"/>
</Shell>
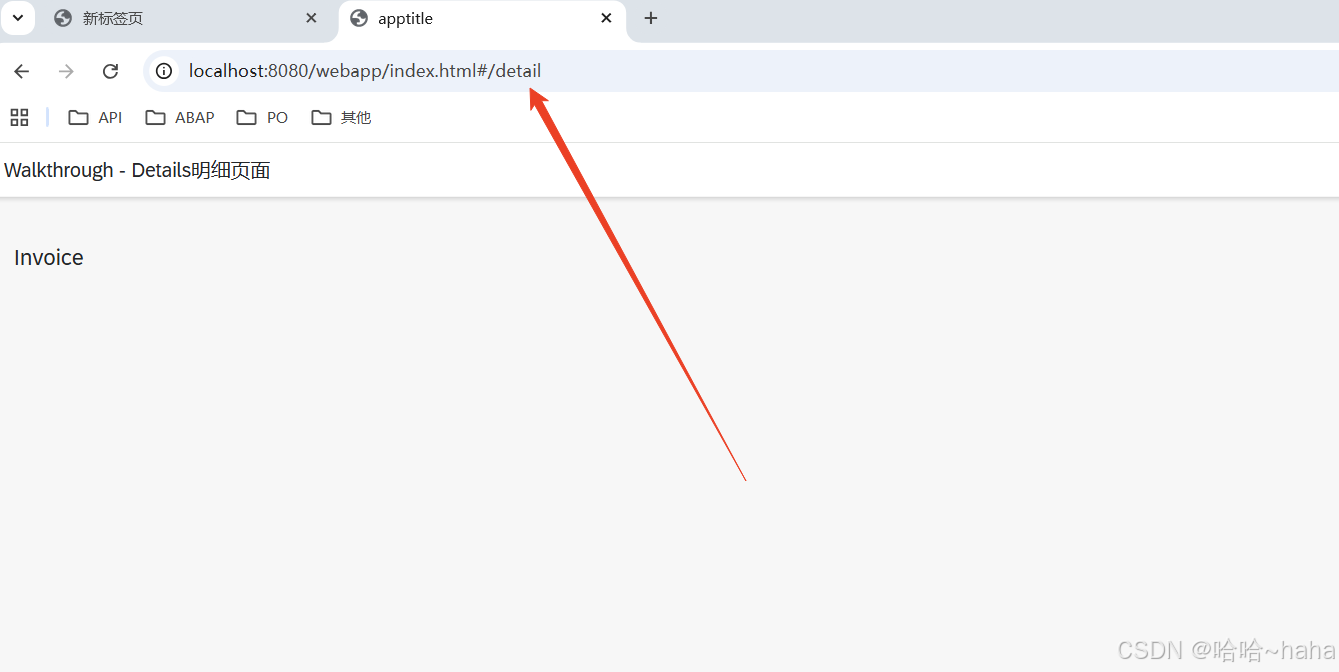
</mvc:View>2.5 webapp/view/Detail.view.xml
同理manifest.json配置中 "targets"部分"detail"对应的视图,这里需要席间对应的XML视图,即Detail.view.xml
XML
<mvc:View
	xmlns="sap.m"
	xmlns:mvc="sap.ui.core.mvc">
	<Page
		title="{i18n>detailPageTitle}">
		<ObjectHeader
			title="Invoice"/>
	</Page>
</mvc:View>
2.6 webapp/i18n/i18n.properties
新增detailPageTitle国际化文本
XML
# App Descriptor
apptitle=SAPUI5 Walkthrough Step 30: Routing and Navigation
appTitle=SAPUI5 Walkthrough Step 30: Routing and Navigation
appDescription= Descriptor for Applications

homePageTitle=PageTitle
panelTitle1=PanelTitle

ButtonText=Click me
Msg=Hello {0}
inputText= Step 30: Routing and Navigation
textDesc=Hello
openDialogButtonText=Dialogs and Fragments
helloDialogMsg =helloDialoginf
dialogCloseButtonText=Ok
invoiceListTitle=Invoices
invoiceStatusA=New
invoiceStatusB=In Progress
invoiceStatusC=Done
# Detail Page
detailPageTitle=Walkthrough - Details
2.7 webapp/view/InvoiceList.view.xml
ObjectListItem页签新增 type="Navigation" press="onPress" 属性,实现操作点击列表控件,则触发onPress 函数执行
XML
<mvc:View
   controllerName="sap.ui5.walkthrough.controller.InvoiceList"
   xmlns="sap.m"
   xmlns:core="sap.ui.core"
   xmlns:mvc="sap.ui.core.mvc">
   <List
      id="invoiceList"
      headerText="{i18n>invoiceListTitle}"
      class="sapUiResponsiveMargin"
      width="auto"
      mode="SingleSelect"
      selectionChange="onSelectionChange"
      items="{
         path : 'invoice>/Invoices',
         sorter: [
            {
                path: 'ShipperName',
                group: true
            },
            {
                path: 'Quantity',
                descending: true
            }
        ]
            }">
       <headerToolbar>
         <Toolbar>
            <Title text="{i18n>invoiceListTitle}"/>    <!-- 左侧标题 -->
            <ToolbarSpacer/>  <!-- 弹性间距,将后面的控件推到右侧 -->
            <SearchField
               width="50%"
               search=".onFilterInvoices"/>  <!-- 搜索事件处理函数 -->
         </Toolbar>
      </headerToolbar>
      <items>
         <ObjectListItem
           title="{invoice>Quantity} x {invoice>ProductName}"
           number="{
                    parts: ['invoice>ExtendedPrice','view>/currency'],
                    type: 'sap.ui.model.type.Currency',
                    formatOptions: { showMeasure: false }
                }"
            numberUnit="{view>/currency}"
            numberState="{= ${invoice>ExtendedPrice} > 50 ? 'Error' : 'Success' }"
            type="Navigation"
	        press="onPress" >
            <firstStatus>
                  <ObjectStatus
                  text="{  path:'invoice>Status',formatter: '.formatter.statusText'}"
                  state="{ path: 'invoice>Status',formatter: '.formatter.statusState'}"
                  icon="{ path: 'invoice>Status',formatter: '.formatter.statusIcon'}"
                  />
            </firstStatus>
               </ObjectListItem>

      </items>
   </List>
</mvc:View>
2.8 webapp/controller/InvoiceList.controller.js
2.7 xml视图中新增了按钮操作,在此处进行onPress函数的实现
 this.getOwnerComponent() → 获取当前组件实例
.getRouter() → 获取路由管理器
.navTo("detail") → 导航到名为"detail"的路由
javascript
sap.ui.define(
  [
    "sap/ui/core/mvc/Controller",
    "sap/ui/model/json/JSONModel",
    "../model/formatter",
    "sap/ui/model/Filter",
    "sap/ui/model/FilterOperator",
  ],
  function (Controller, JSONModel, formatter, Filter, FilterOperator) {
    "use strict";

    return Controller.extend("sap.ui5.walkthrough.controller.InvoiceList", {
      formatter: formatter,
      //初始化
      onInit: function () {
        var oViewModel = new JSONModel({
          currency: "EUR",
        });
        this.getView().setModel(oViewModel, "view");
      },
      //选择行
      onSelectionChange:function(oEvent){
			var oSelected = oEvent.getSource().getSelectedItem();
			var oList = this.byId("invoiceList");
			var aItems = oList.getItems();
			alert(aItems.indexOf(oSelected));
		},
      //发票列表搜索
      onFilterInvoices: function (oEvent) {
        // build filter array
        const aFilter = [];
        const sQuery = oEvent.getParameter("query");
        if (sQuery) {
          aFilter.push(
            new Filter("ProductName", FilterOperator.Contains, sQuery)
          );
        }

        // filter binding
        const oList = this.byId("invoiceList");
        const oBinding = oList.getBinding("items");
        oBinding.filter(aFilter);
      },
      //详情页面跳转
      onPress: function (oEvent) {
			var oRouter = this.getOwnerComponent().getRouter();
			oRouter.navTo("detail");
		}
    });
  }
);
三、运行结果
http://localhost:8080/webapp/index.html
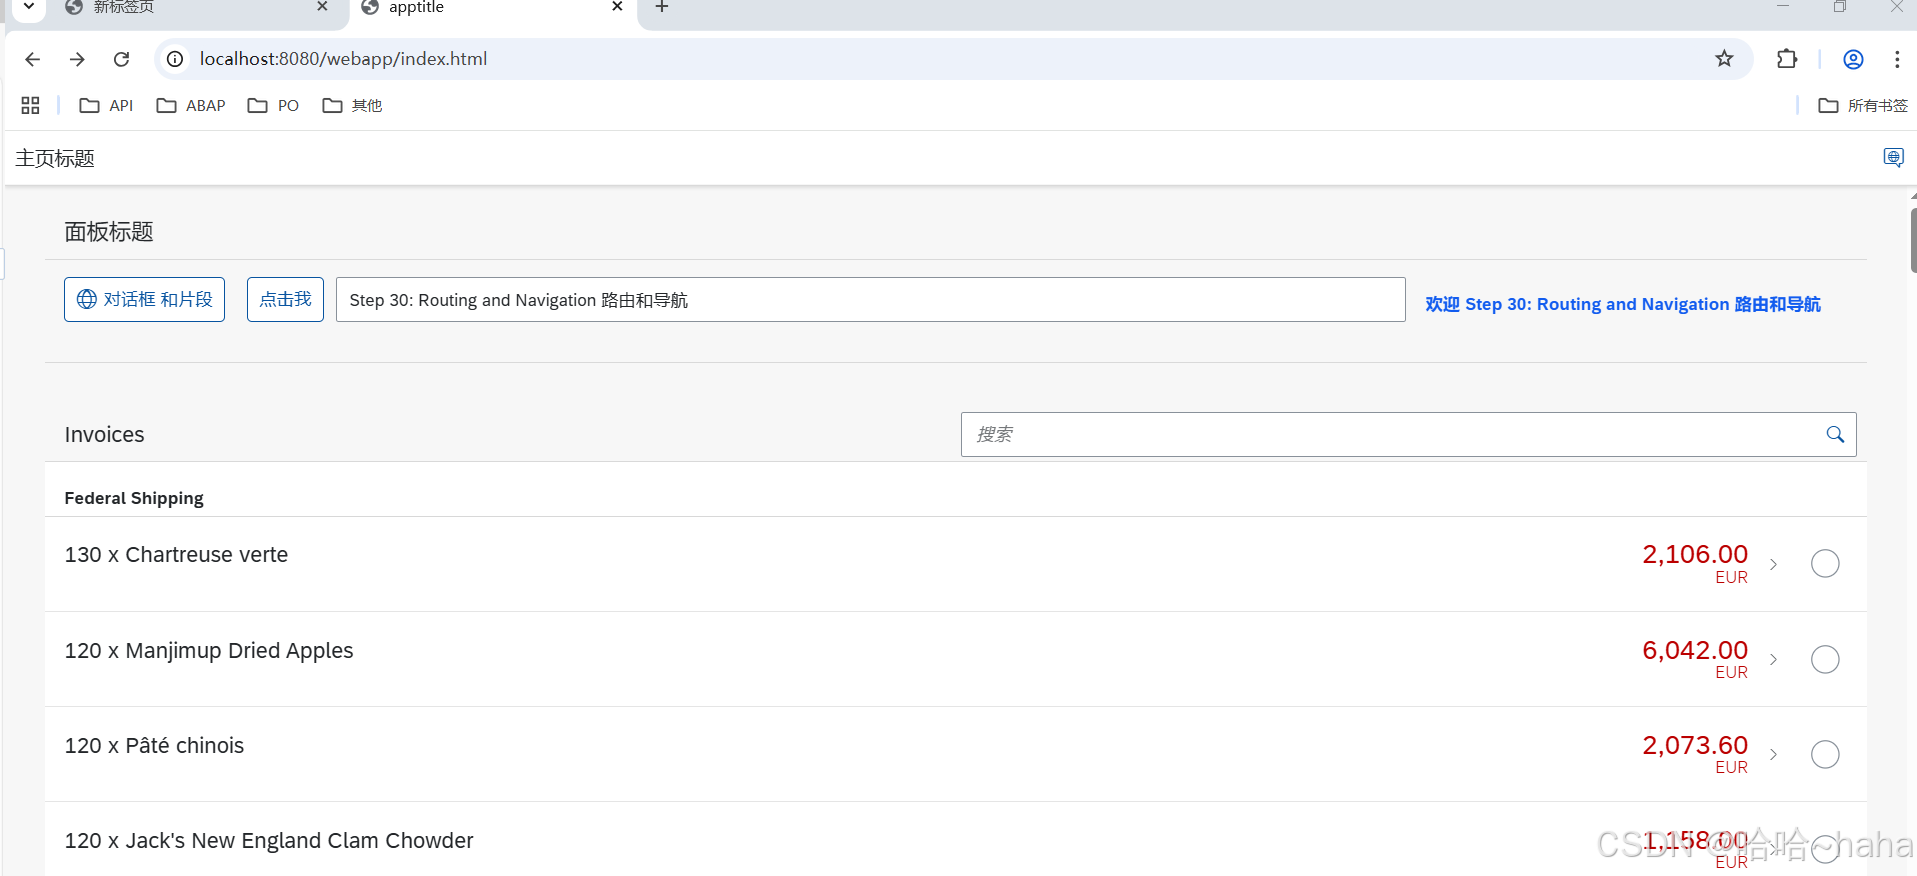
双击列表任意行