前景
开发者想掌握生产环境的一些日志,但是又不需要添加实际的埋点进行上报,这个时候就需要将日志上传到开发者的本地
思路
启动本地服务的某一个端口用作数据的接收,然后在代码中调用这个服务上传日志
实现
1 启动本地服务
python
#!/usr/bin/env python3
"""
HTTP 日志接收服务器
将发送到 http://IP:PORT/h5/log 的 POST 请求数据,保存到 ./h5/log 目录下的文件中。
"""
from http.server import HTTPServer, BaseHTTPRequestHandler
from datetime import datetime
import os
import json

# 配置
IP = 'xxx.xxx' # 本地服务ip
PORT = xxxx # 服务端口
SAVE_DIR = './h5/log'  # 日志保存目录,相对于脚本所在路径

class LogHandler(BaseHTTPRequestHandler):
    # 通用方法用于设置CORS头部
    def _set_cors_headers(self):
        self.send_header('Access-Control-Allow-Origin', '*')  # 允许所有来源,可按需替换
        self.send_header('Access-Control-Allow-Methods', 'GET, POST, OPTIONS')
        self.send_header('Access-Control-Allow-Headers', 'Content-Type, Authorization')

    # 处理浏览器发送的OPTIONS预检请求
    def do_OPTIONS(self):
        self.send_response(200)
        self._set_cors_headers()
        self.end_headers()

    def do_POST(self):
        # 只处理 /h5/log 路径的请求
        if self.path == '/h5/log':
            # 1. 读取请求数据
            content_length = int(self.headers.get('Content-Length', 0))
            post_data = self.rfile.read(content_length)

            # 2. 确保保存目录存在
            os.makedirs(SAVE_DIR, exist_ok=True)

            # 3. 生成带时间戳的日志文件名
            filename = datetime.now().strftime('log_%Y-%m-%d.txt')
            filepath = os.path.join(SAVE_DIR, filename)

            # 4. 将数据写入文件(追加模式)
            try:
                with open(filepath, 'a', encoding='utf-8') as f:
                    # 写入当前时间
                    f.write(f"[{datetime.now().strftime('%Y-%m-%d %H:%M:%S')}]\n")
                    # 尝试解析并美化JSON,如果是普通文本则直接写入
                    try:
                        data_obj = json.loads(post_data.decode('utf-8'))
                        f.write(json.dumps(data_obj, ensure_ascii=False, indent=2))
                    except json.JSONDecodeError:
                        f.write(post_data.decode('utf-8'))
                    f.write('\n' + '-'*50 + '\n')  # 分隔线

                # 5. 返回成功响应
                self.send_response(200)
                self._set_cors_headers()
                self.send_header('Content-type', 'application/json')
                self.end_headers()
                response = {'status': 'success', 'message': f'Log saved to {filepath}'}
                self.wfile.write(json.dumps(response).encode('utf-8'))

            except Exception as e:
                self.send_error(500, f'Failed to save log: {str(e)}')
        else:
            self.send_error(404, 'Not Found')

    # 可选:处理GET请求,方便测试
    def do_GET(self):
        if self.path == '/h5/log':
            self.send_response(200)
            self._set_cors_headers()
            self.send_header('Content-type', 'text/html; charset=utf-8')
            self.end_headers()
            message = f"""
            <html><body>
            <h2>日志接收服务器运行中</h2>
            <p>服务端时间:{datetime.now()}</p>
            <p>日志保存目录:{os.path.abspath(SAVE_DIR)}</p>
            <p>请使用 POST 方法向此地址发送数据以保存日志。</p>
            </body></html>
            """
            self.write(message.encode('utf-8'))
        else:
            self.send_error(404, 'Not Found')

    def log_message(self, format, *args):
        # 可选:自定义请求日志,此处简单打印到控制台
        print(f"[{datetime.now().strftime('%Y-%m-%d %H:%M:%S')}] {self.address_string()} -> {self.command} {self.path}")

if __name__ == '__main__':
    server = HTTPServer((IP, PORT), LogHandler)
    print(f"[*] 日志服务器已启动,正在监听 http://{IP}:{PORT}")
    print(f"[*] 请将 POST 请求发送至 http://{IP}:{PORT}/h5/log")
    print(f"[*] 日志文件将保存至:{os.path.abspath(SAVE_DIR)}")
    print("[*] 按 Ctrl+C 停止服务器\n")
    try:
        server.serve_forever()
    except KeyboardInterrupt:
        print("\n[*] 服务器正在关闭...")
        server.server_close()
将代码copy下来保存为log_server.py,然后在同级目录下运行,即可启动本地端口
powershell
python3 log_server.py结果如图表示启动成功 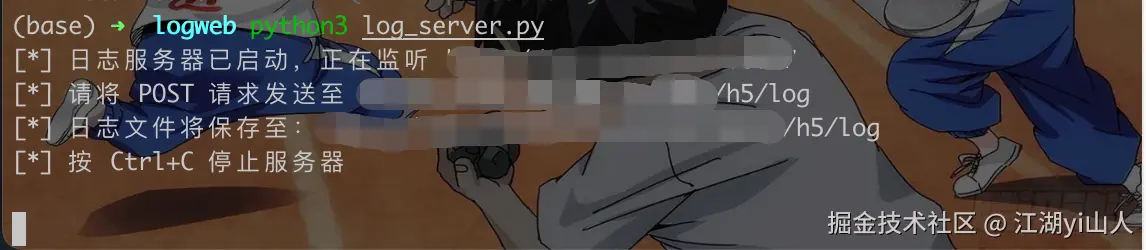
2 封装上传方法
javascript
function logLocal(data) {
  const href = window.location.href
  if (!href.includes('https://test')) return // 仅测试环境使用
  fetch('http://IP:PORT/h5/log', { // IP-本地IP,PORT-进行监听的接口
    method: 'POST',
    headers: {
      'Content-Type': 'application/json'
    },
    body: JSON.stringify({
      url: href,
      ...data
    })
  }).catch(() => {})
}
3 上传数据
在js代码中的需要位置调用logLocal
javascript
...
logLocal({ msg: '这是个测试log' })
...
4 查看日志
在log_server.py脚本的同级目录下,打开h5/log的文件夹,找到log_{date}.txt,打开后如下图,url和需要上报的信息上传成功
