Z:\14TB\AIO-3576Q38\RK3576_Android14.0firefly\vendor\rockchip\common\apps\Chromium\Android.bp
Z:\14TB\AIO-3576Q38\RK3576_Android14.0firefly\vendor\rockchip\common\apps\Chromium\android_build_instructions.md
Z:\14TB\AIO-3576Q38\RK3576_Android14.0firefly\vendor\rockchip\common\apps\Chromium\Chromium.apk
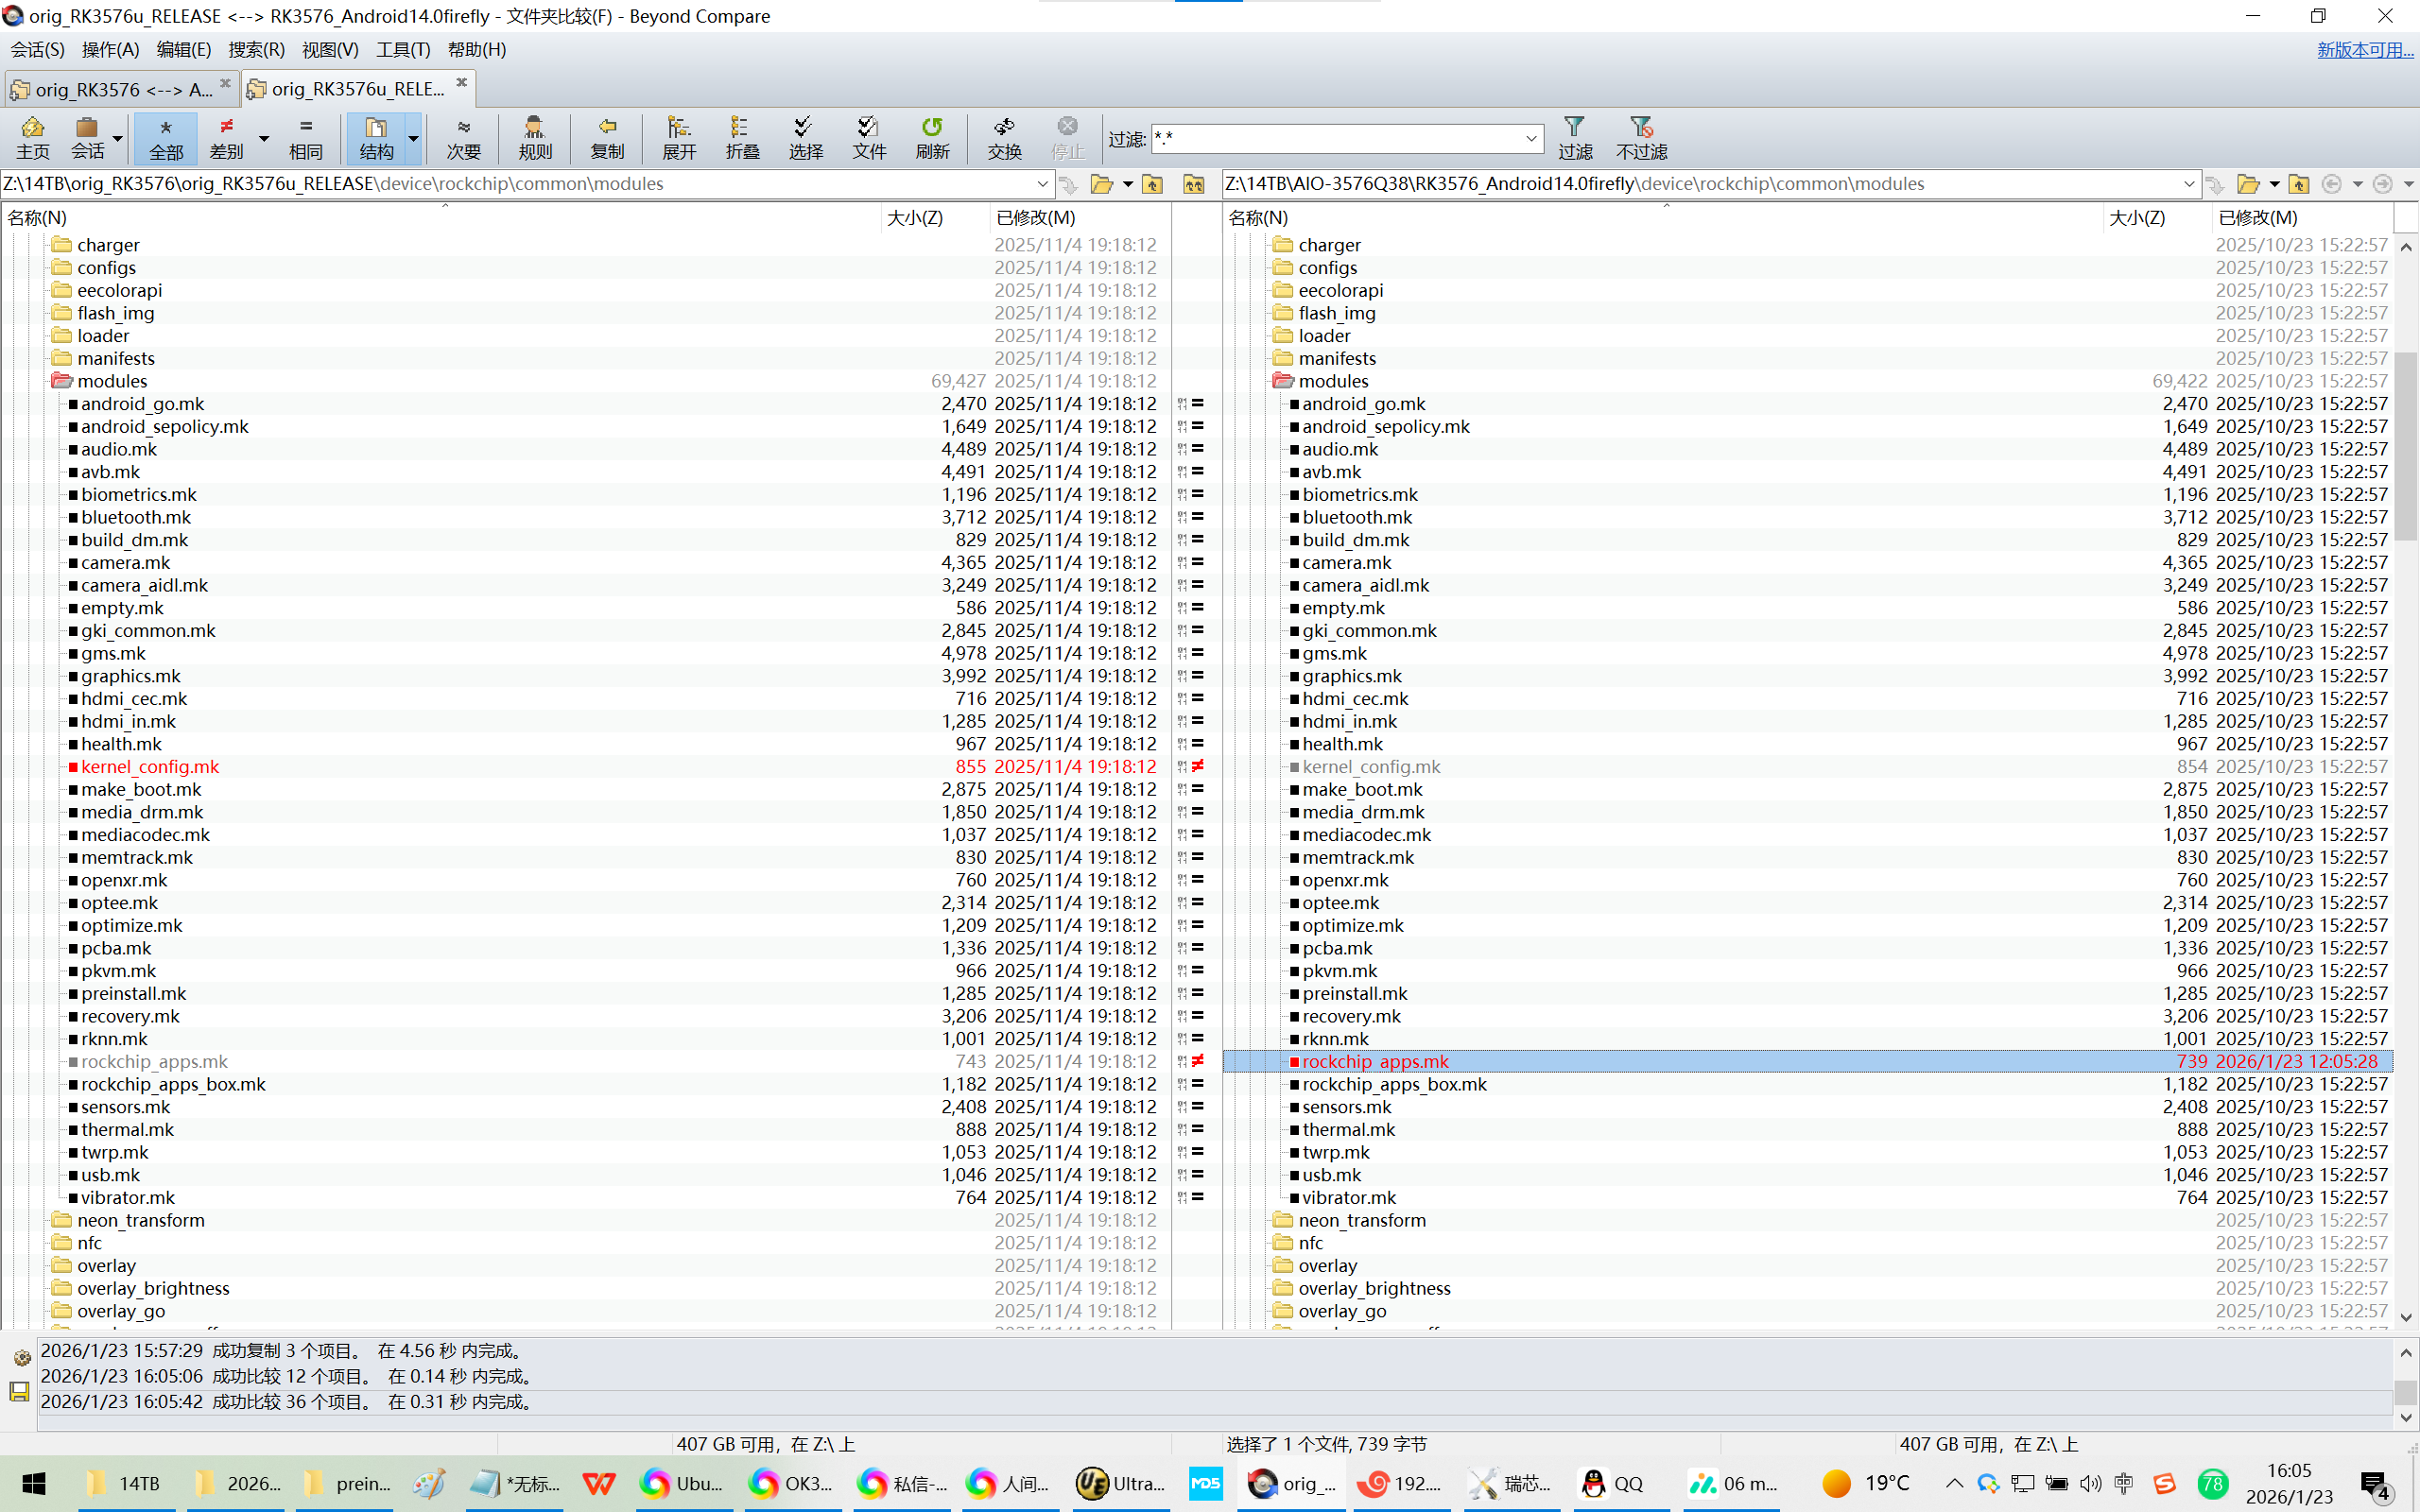
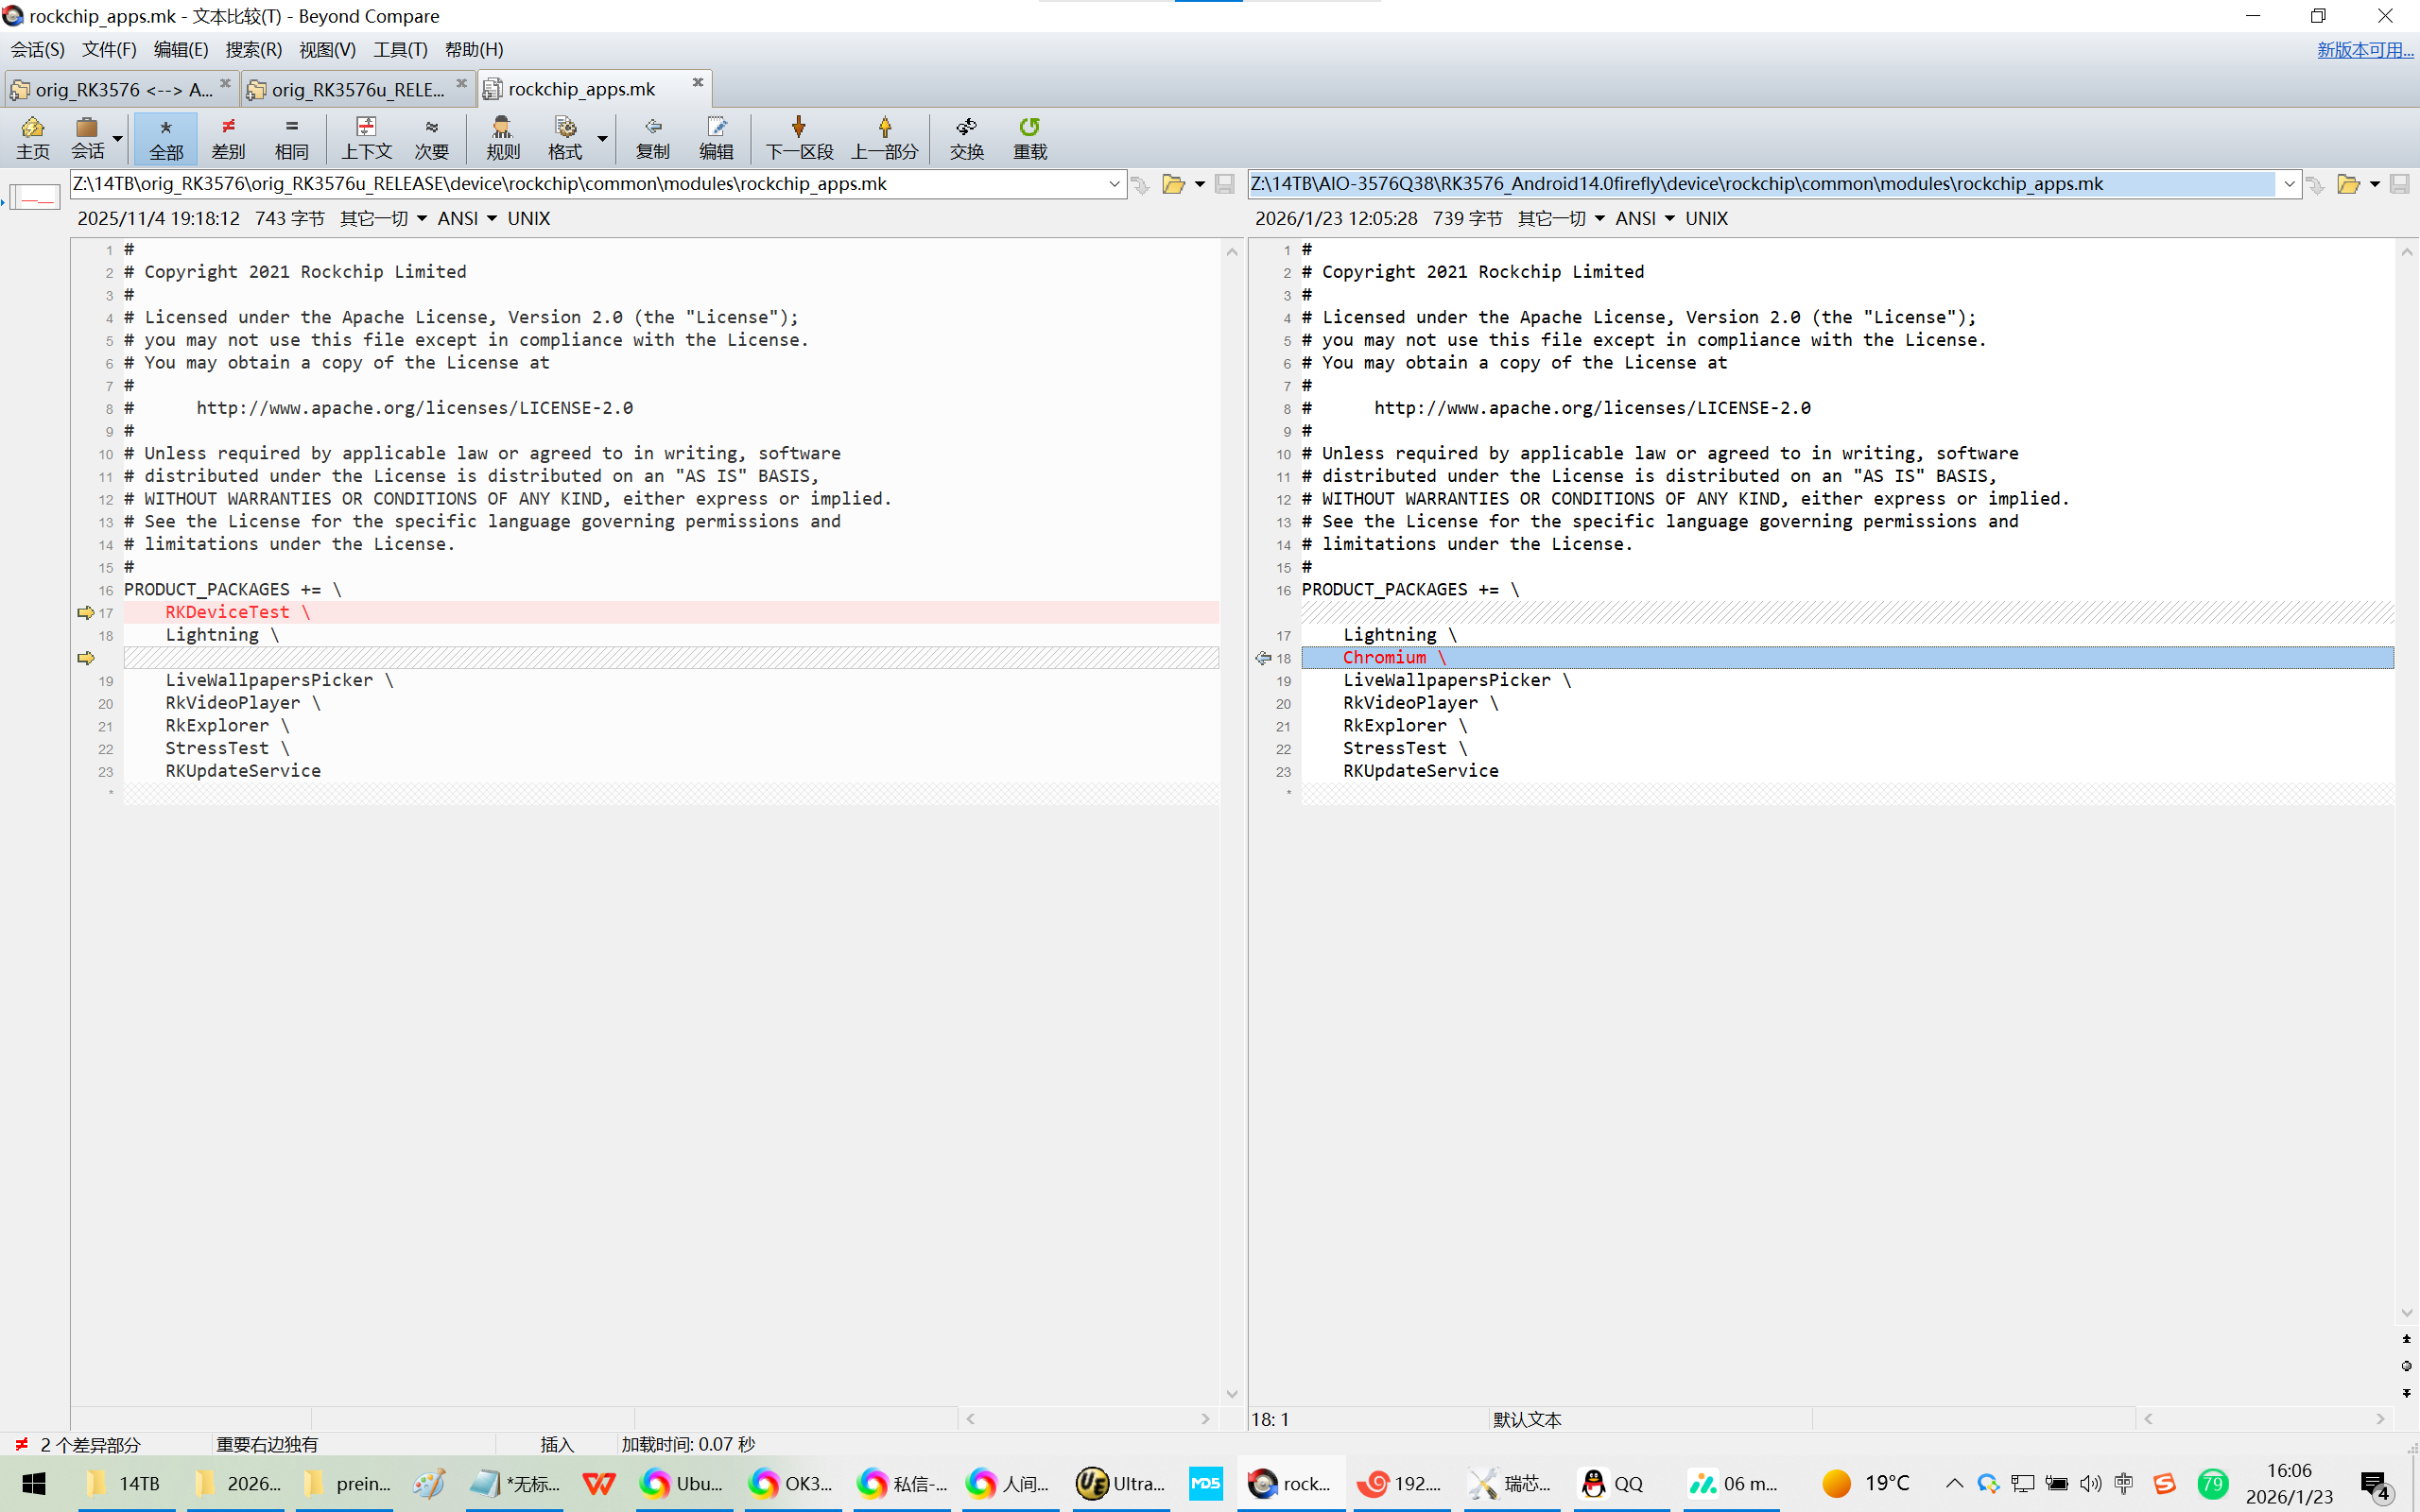
Z:\14TB\AIO-3576Q38\RK3576_Android14.0firefly\device\rockchip\common\modules\rockchip_apps.mk
20260123让天启AIO-3576Q38开发板在天启Android14下打包Chromium浏览器
2026/1/23 15:47
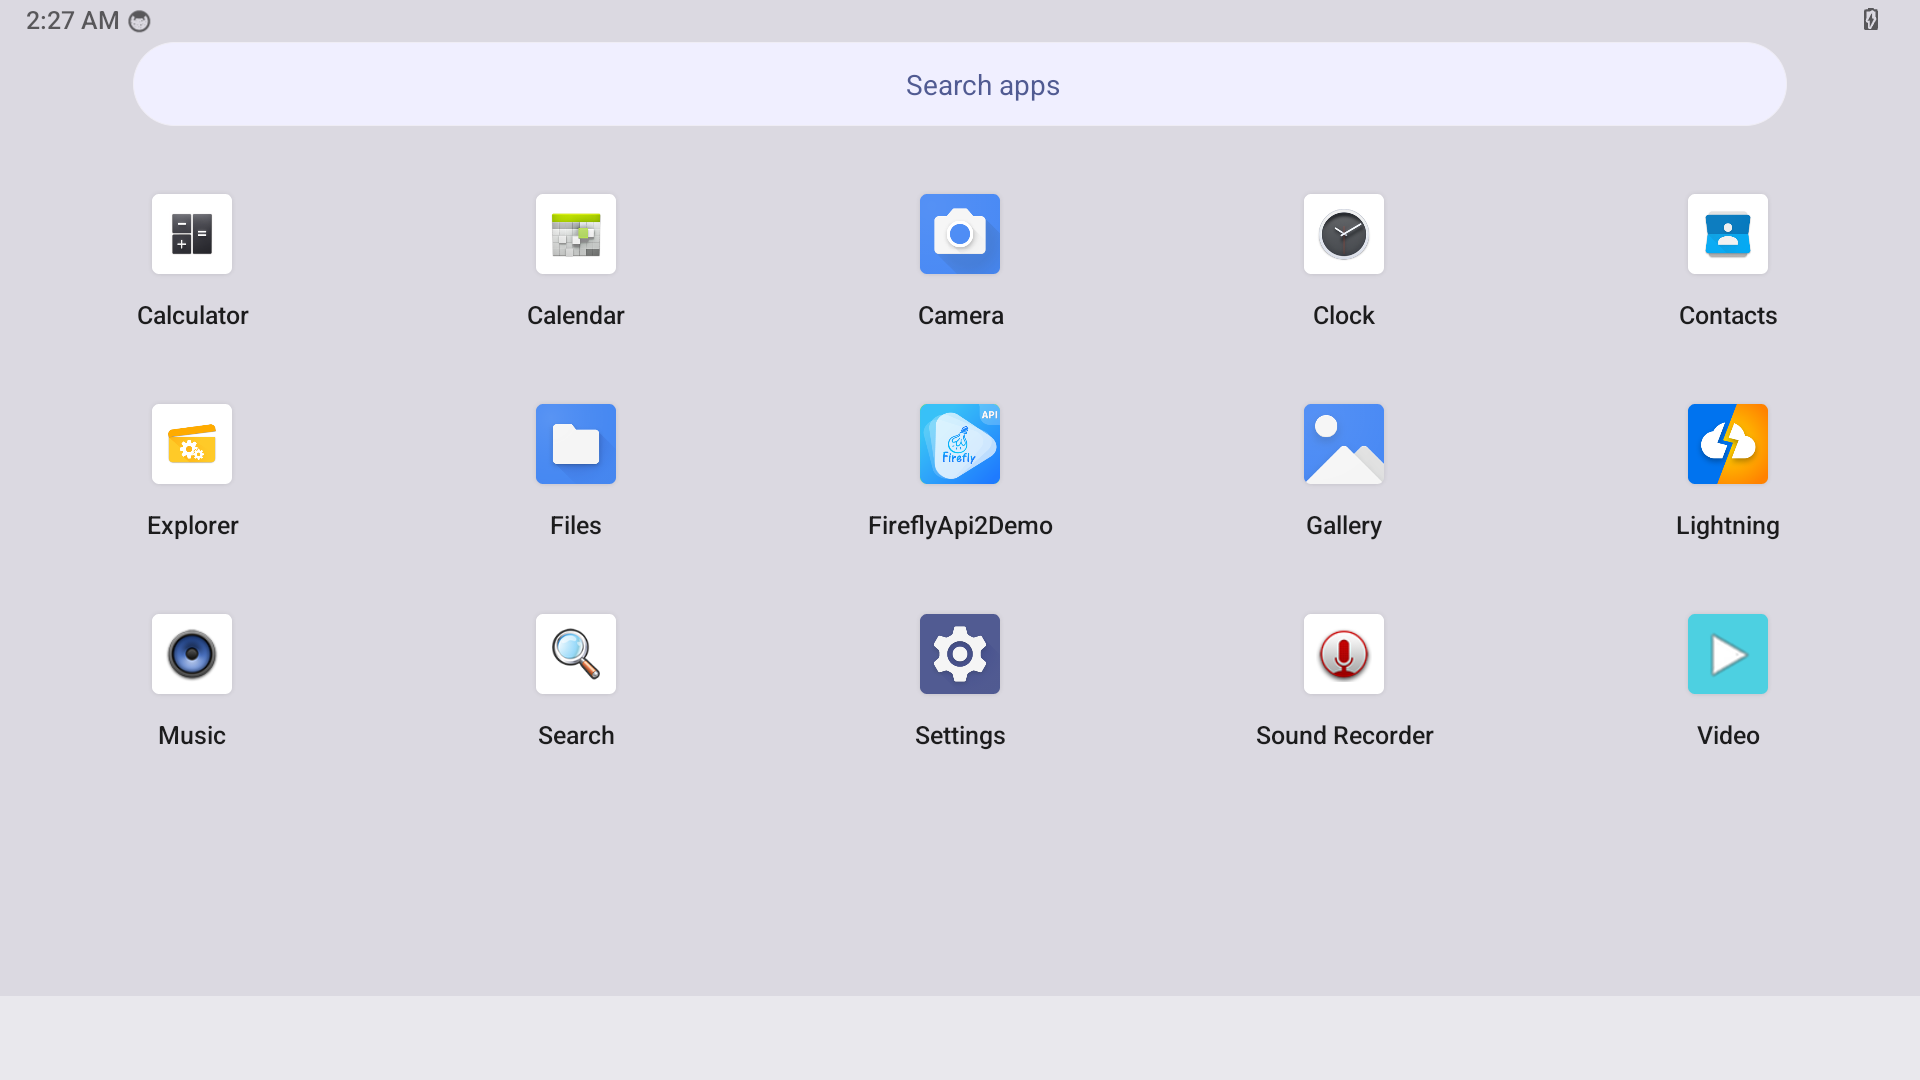
天启AIO-3576Q38开发板的Android14下没有浏览器?
1、我们必须要给客户一个好用的浏览器?请问 有哪一个可以推荐的?
2、我们希望直接将chrome直接打包到IMG固件中,请问如何操作?
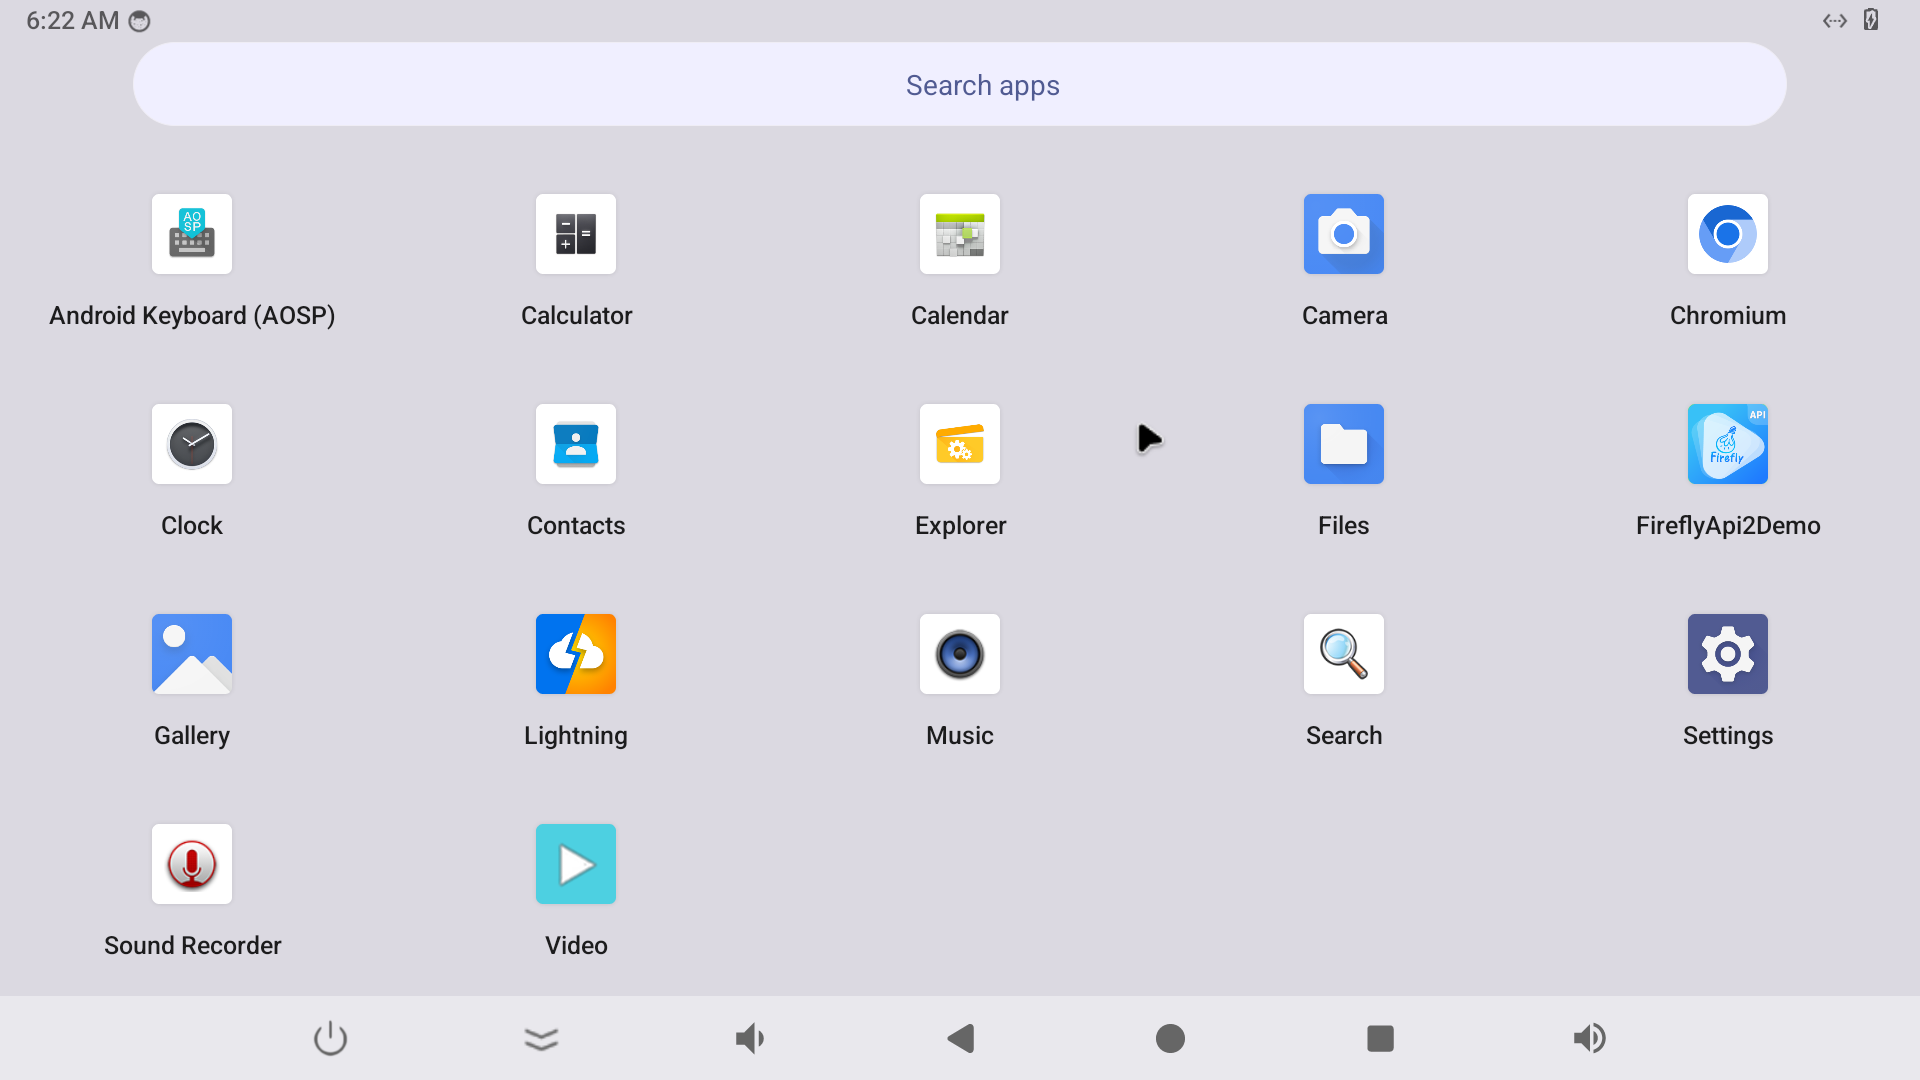
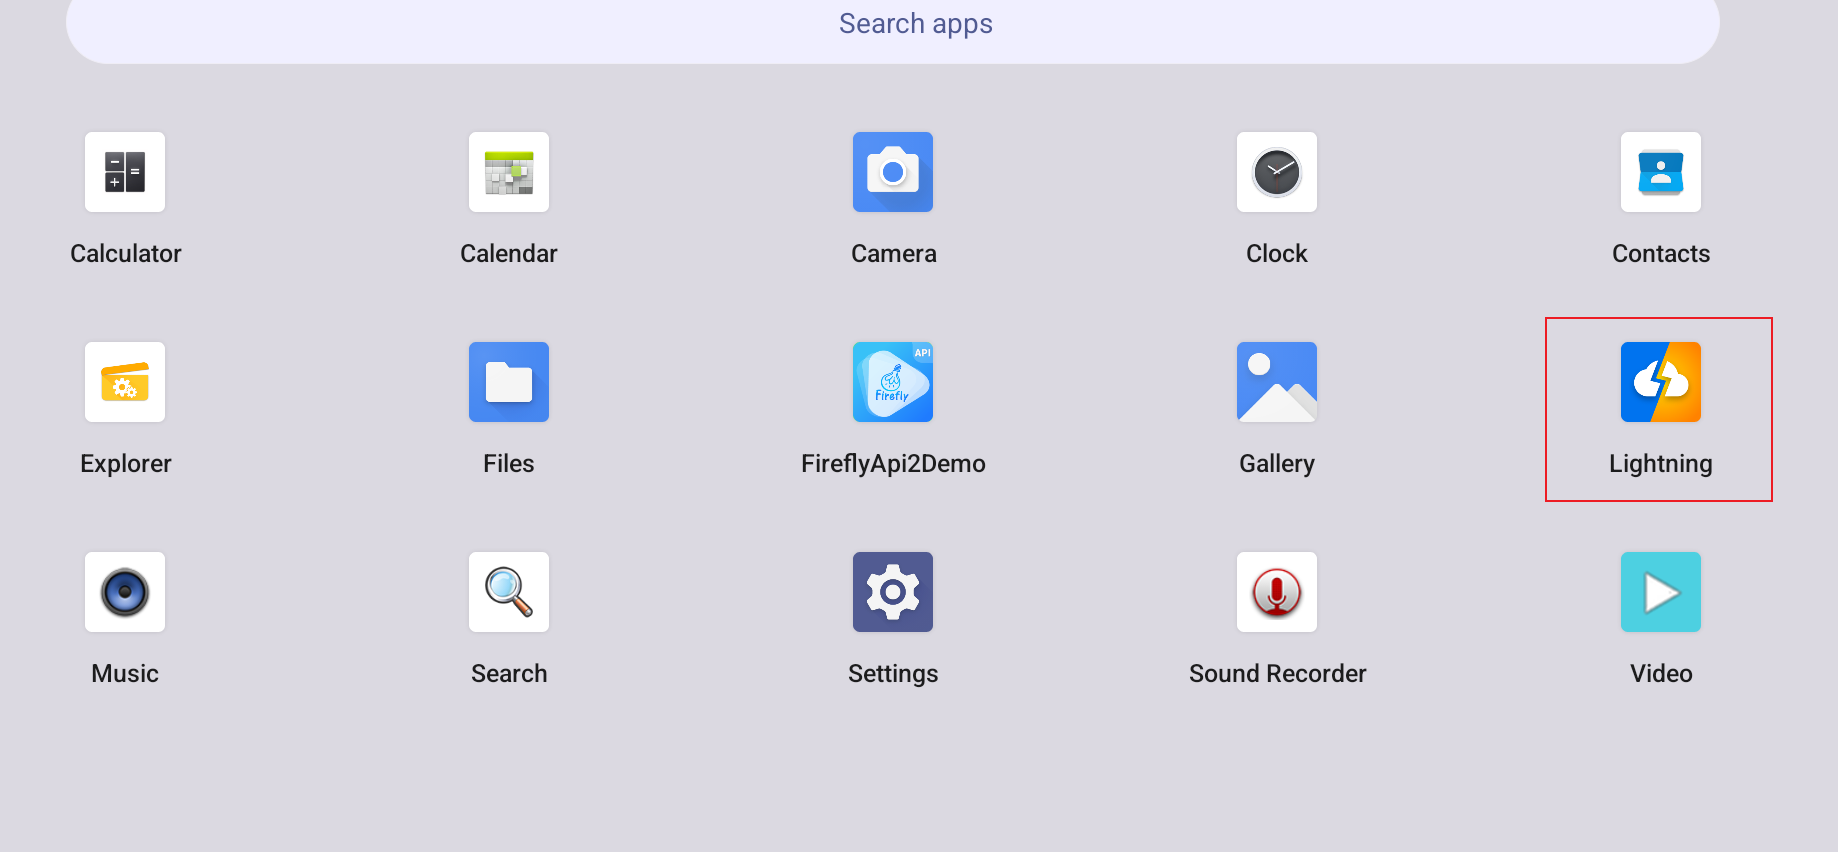
这个就是浏览器
参考内置
内置的Lightning过于 简陋 了。捂脸
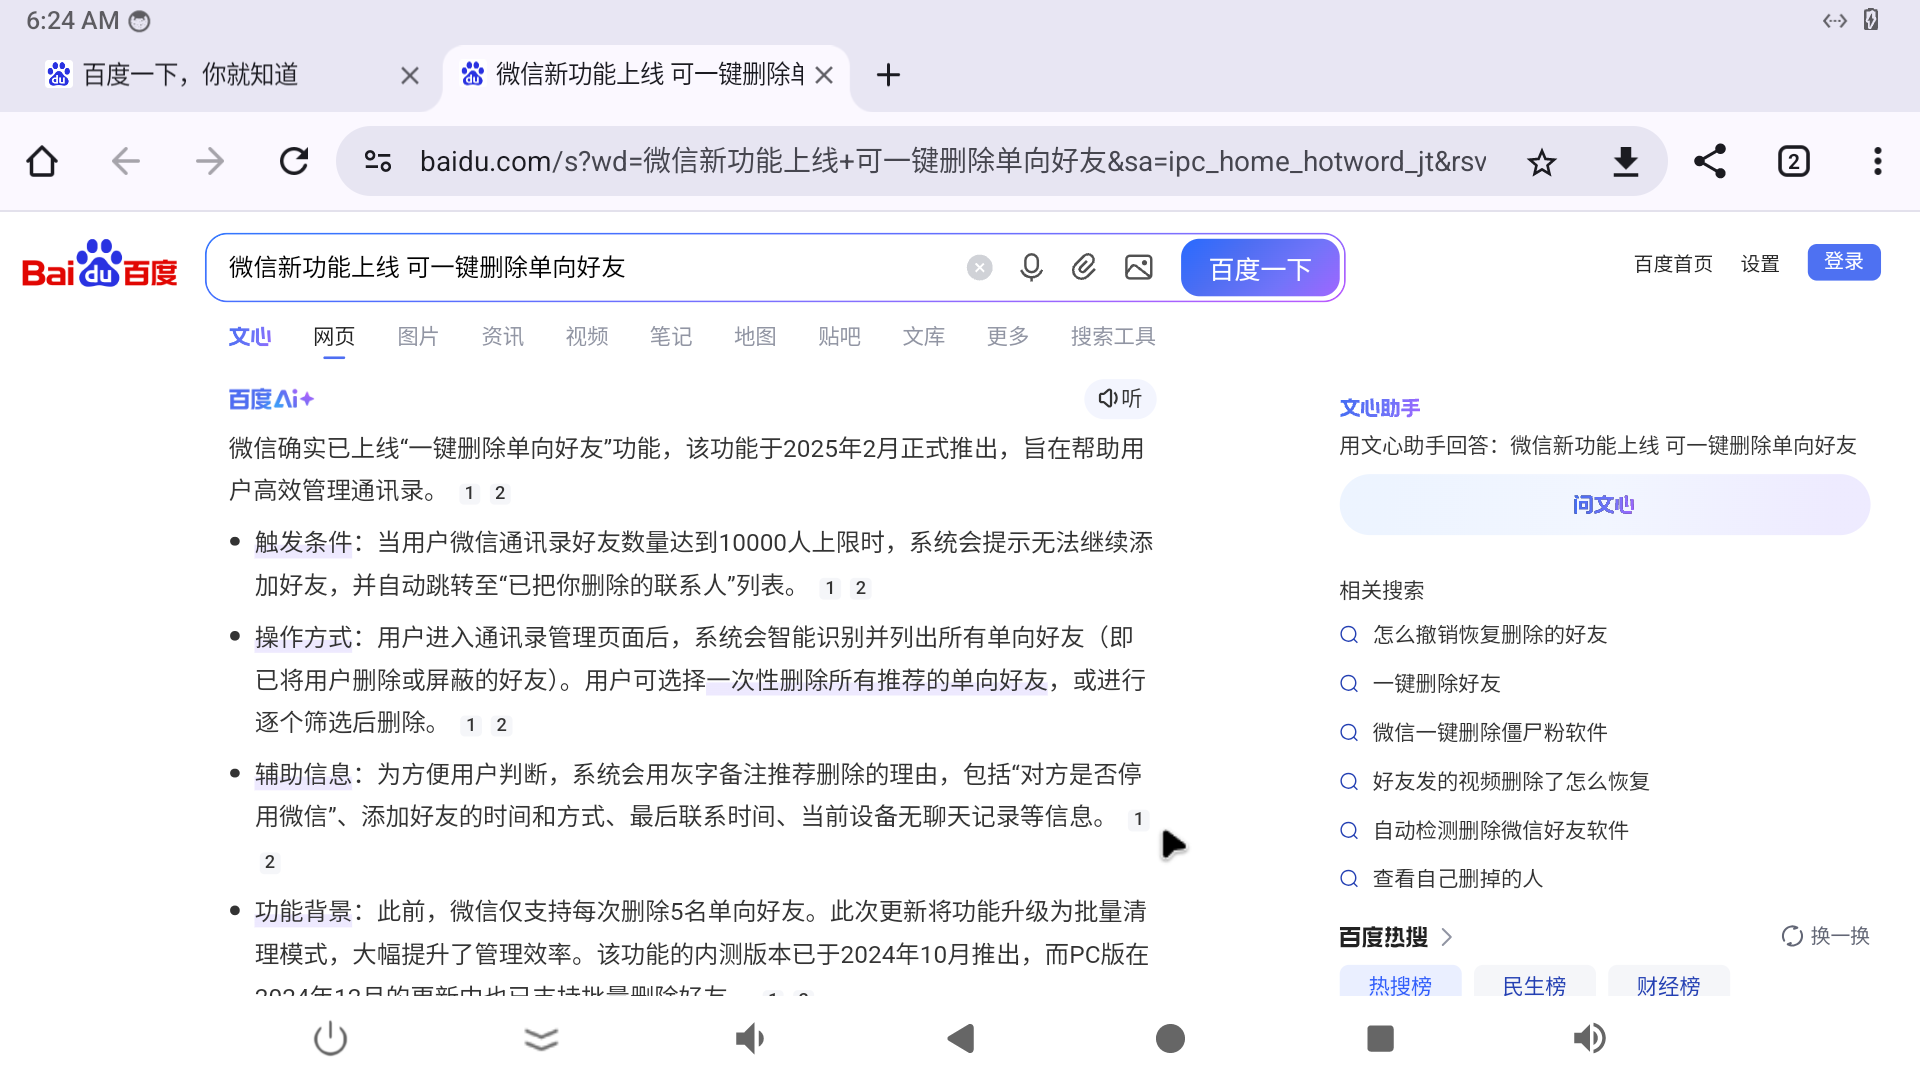
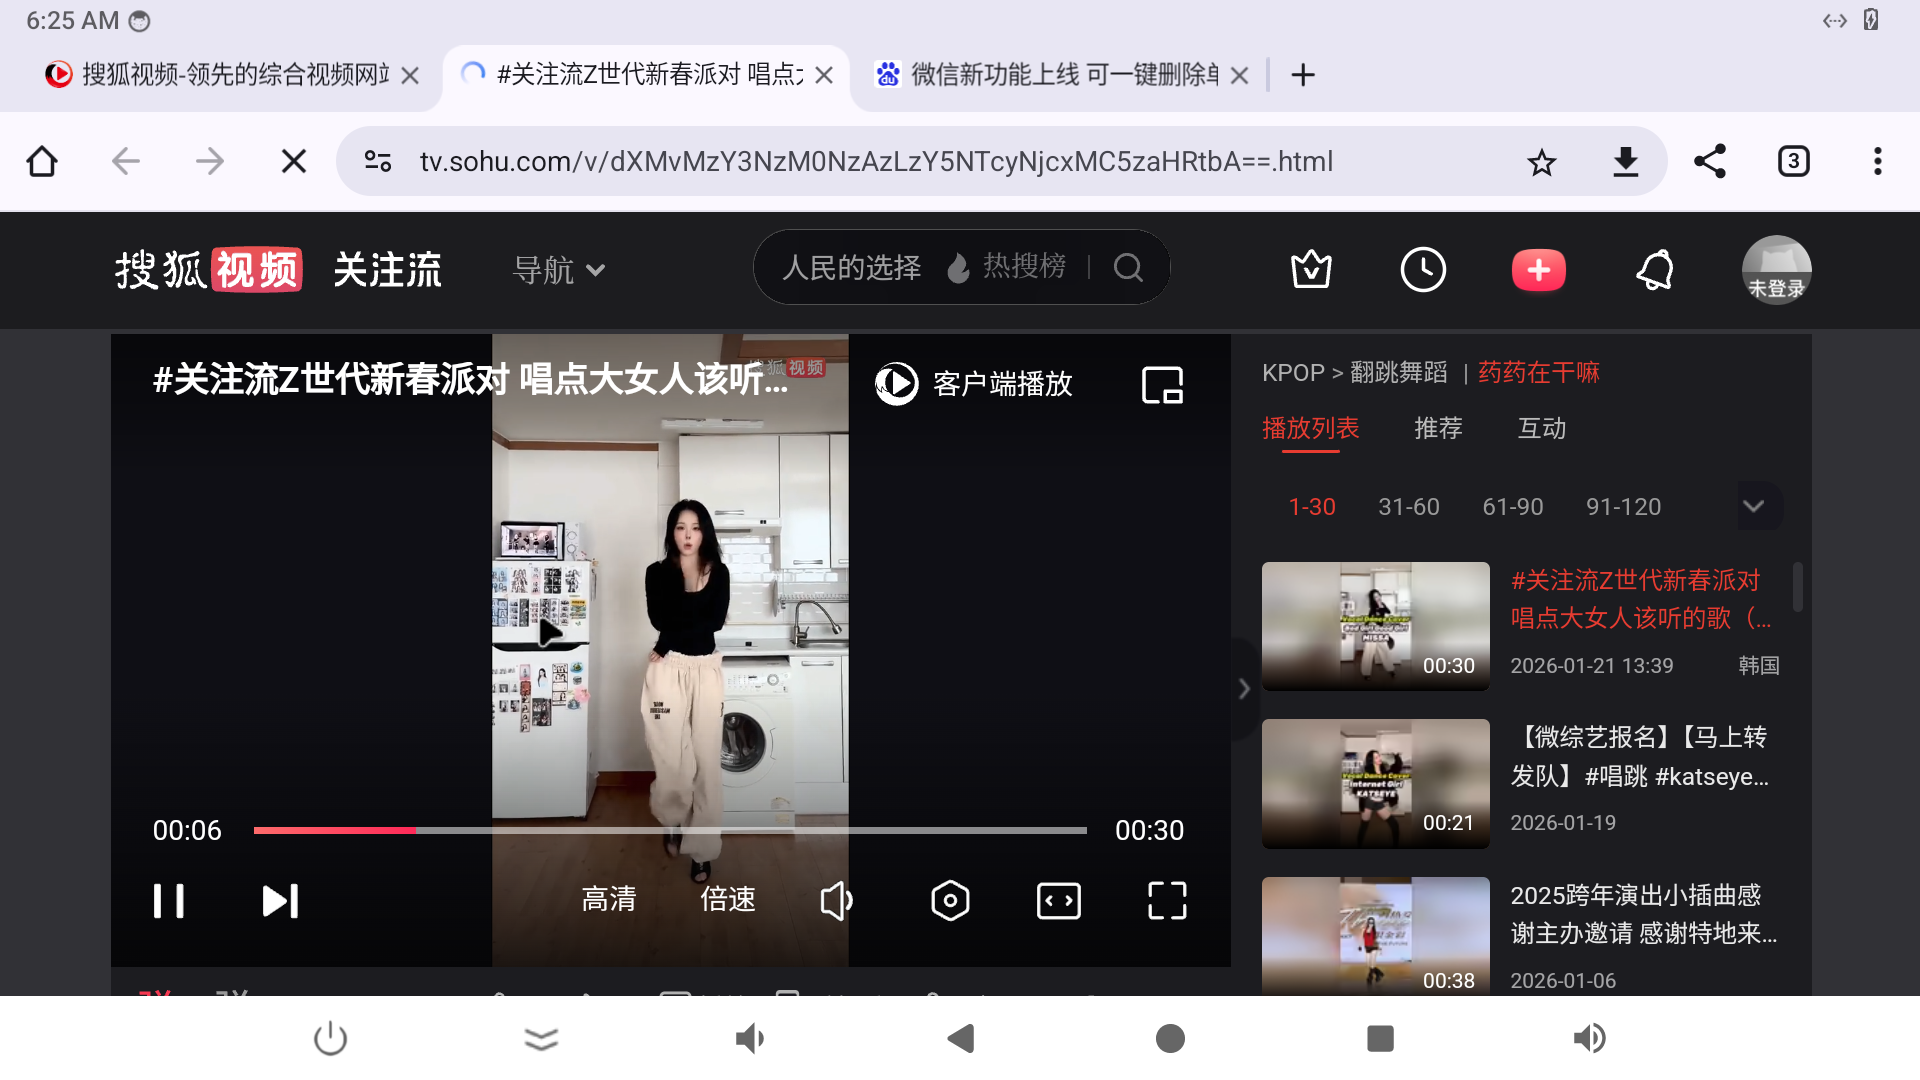
上百度,很多视频 都播放不了。
帮忙内置一个chrome吧捂脸
你们一定有海外客户?他们怎么/如何处理的?
你编译的是最新的吗
默认应该就有带啊
是android14吗
最近刚刚编译的Android14,系统 里面没有chrome
1、chrome不好下载?貌似要去 google play下载?
2、请提供一个 chrome的APK。
3、并提供一个 打包到IMG固件的方法。打包刷机之后 ,chrome也要可以运行!
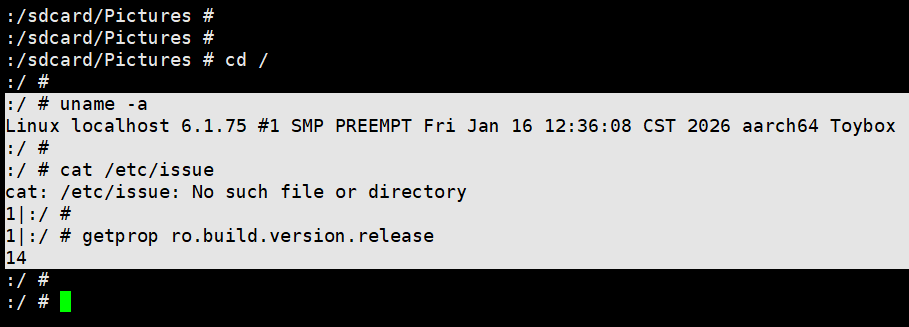
:/ #
:/ # uname -a
Linux localhost 6.1.75 #1 SMP PREEMPT Fri Jan 16 12:36:08 CST 2026 aarch64 Toybox
:/ #
:/ # cat /etc/issue
cat: /etc/issue: No such file or directory
1|:/ #
1|:/ # getprop ro.build.version.release
14
:/ #
后面会更新sdk, 最新的sdk已经自带chrome
1、有时间表?
2、我司 近期 需要/急需给 客户演示,请提供一个方法捂脸
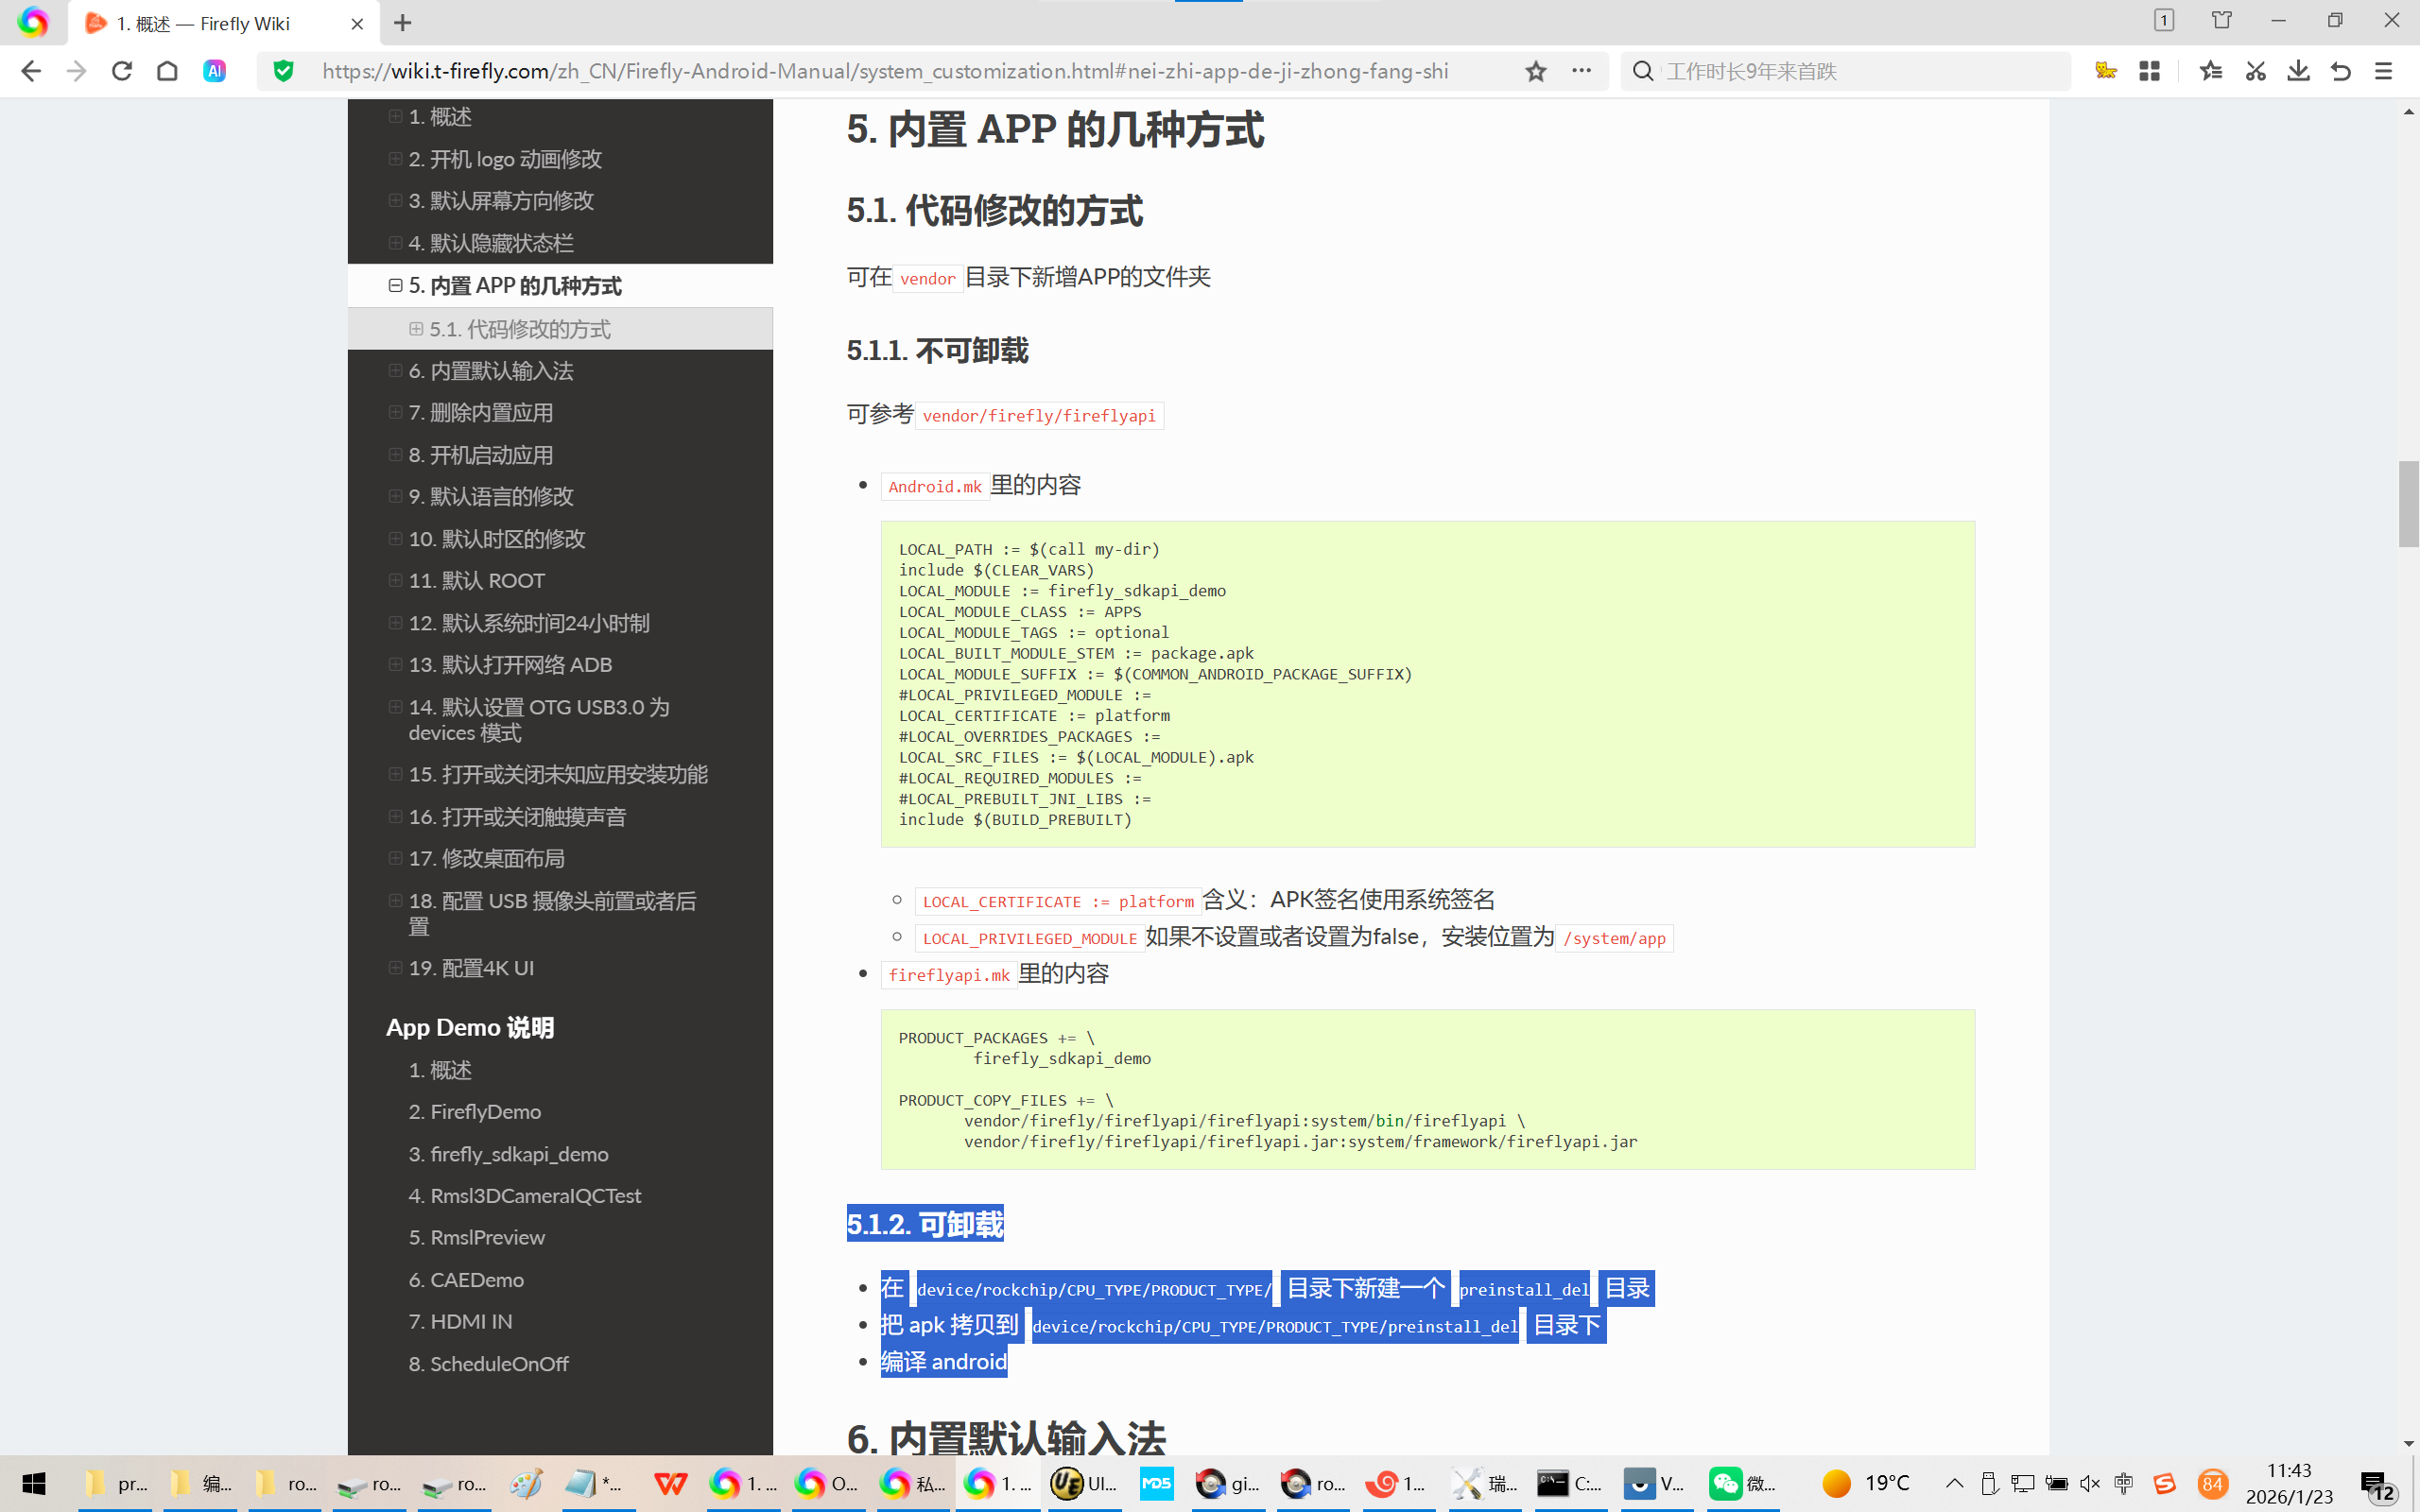
5.1.2. 可卸载
在 device/rockchip/CPU_TYPE/PRODUCT_TYPE/ 目录下新建一个 preinstall_del 目录
把 apk 拷贝到 device/rockchip/CPU_TYPE/PRODUCT_TYPE/preinstall_del 目录下
编译 android
按照你的 文档。我想内置 chrome 内置不了呀?
您抽空试试?
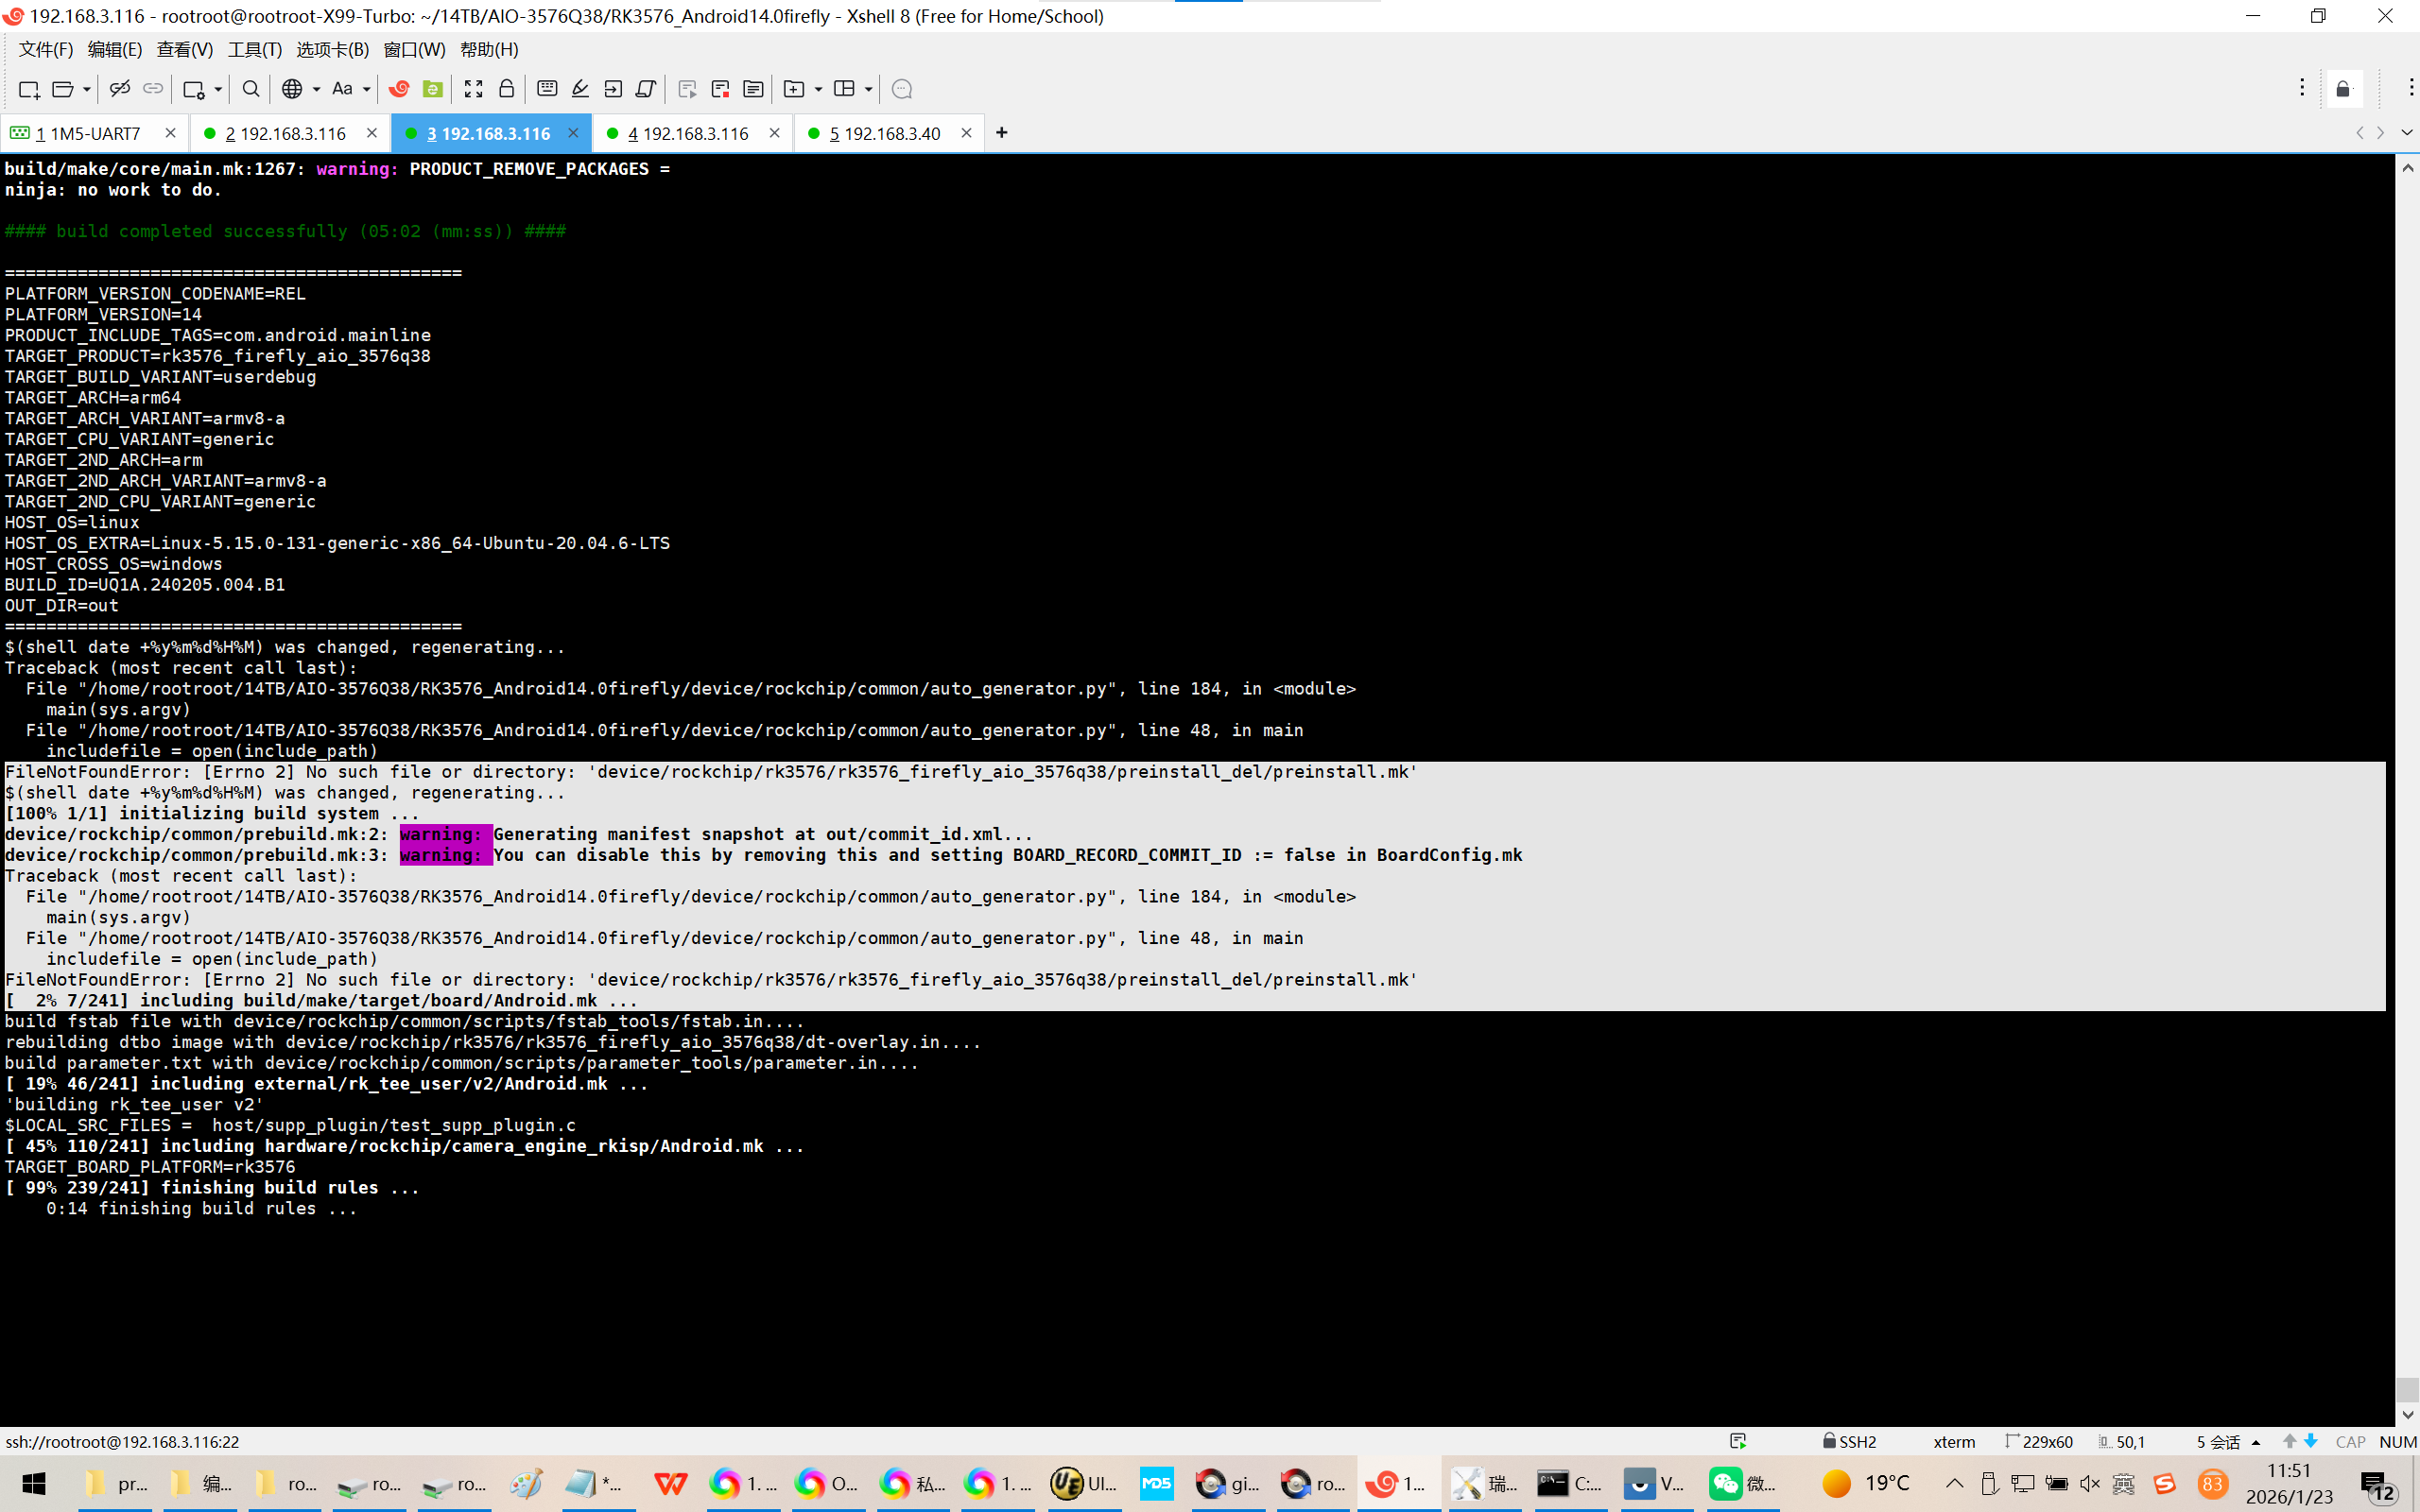
$(shell date +%y%m%d%H%M) was changed, regenerating...
Traceback (most recent call last):
File "/home/rootroot/14TB/AIO-3576Q38/RK3576_Android14.0firefly/device/rockchip/common/auto_generator.py", line 184, in <module>
main(sys.argv)
File "/home/rootroot/14TB/AIO-3576Q38/RK3576_Android14.0firefly/device/rockchip/common/auto_generator.py", line 48, in main
includefile = open(include_path)
FileNotFoundError: Errno 2 No such file or directory: 'device/rockchip/rk3576/rk3576_firefly_aio_3576q38/preinstall_del/preinstall.mk'
$(shell date +%y%m%d%H%M) was changed, regenerating...
100% 1/1 initializing build system ...
device/rockchip/common/prebuild.mk:2: warning: Generating manifest snapshot at out/commit_id.xml...
device/rockchip/common/prebuild.mk:3: warning: You can disable this by removing this and setting BOARD_RECORD_COMMIT_ID := false in BoardConfig.mk
Traceback (most recent call last):
File "/home/rootroot/14TB/AIO-3576Q38/RK3576_Android14.0firefly/device/rockchip/common/auto_generator.py", line 184, in <module>
main(sys.argv)
File "/home/rootroot/14TB/AIO-3576Q38/RK3576_Android14.0firefly/device/rockchip/common/auto_generator.py", line 48, in main
includefile = open(include_path)
FileNotFoundError: Errno 2 No such file or directory: 'device/rockchip/rk3576/rk3576_firefly_aio_3576q38/preinstall_del/preinstall.mk'
2% 7/241 including build/make/target/board/Android.mk ...
build fstab file with device/rockchip/common/scripts/fstab_tools/fstab.in....
rebuilding dtbo image with device/rockchip/rk3576/rk3576_firefly_aio_3576q38/dt-overlay.in....
build parameter.txt with device/rockchip/common/scripts/parameter_tools/parameter.in....
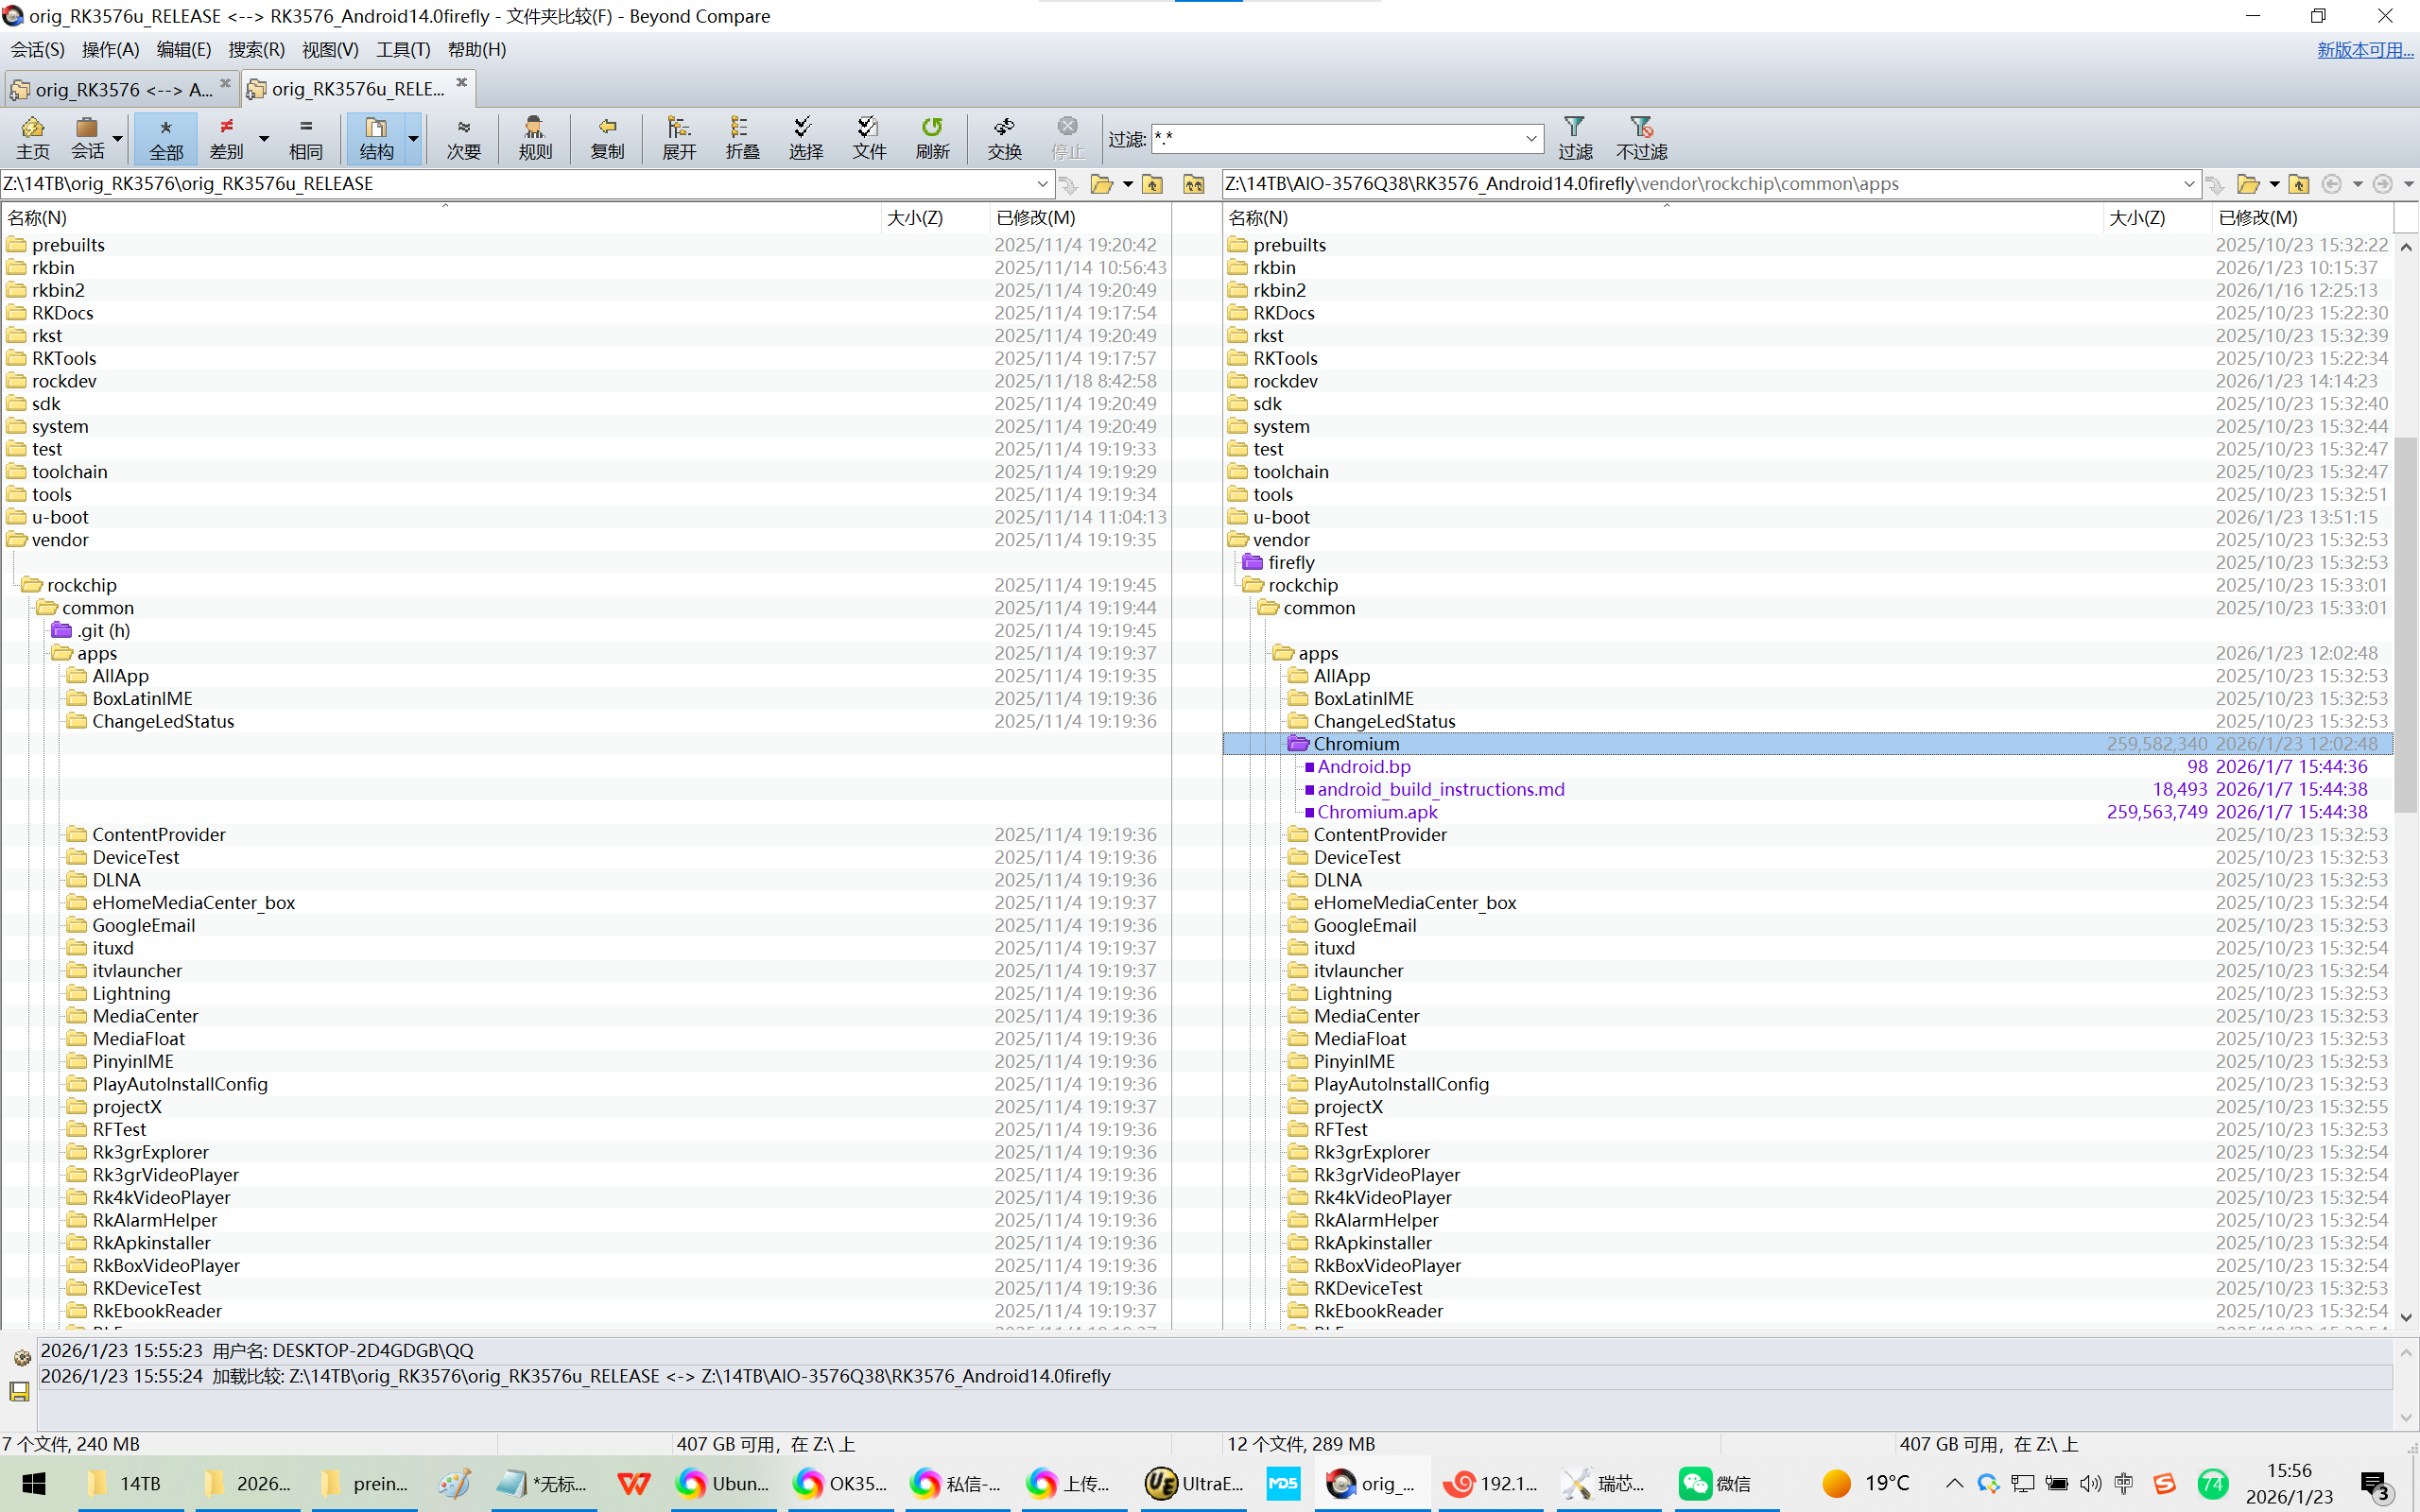
Chromium.7z解压出来放vendor/rockchip/common/apps/
解压出来放vendor/rockchip/common/apps/
在编译的mk 文件添加
Lightning \
这个 内置浏览器需要拿掉吗?
看你需要
https://blog.csdn.net/weixin_43245753/article/details/144408463
Chromium for Android 浏览器的编译和安装
一、
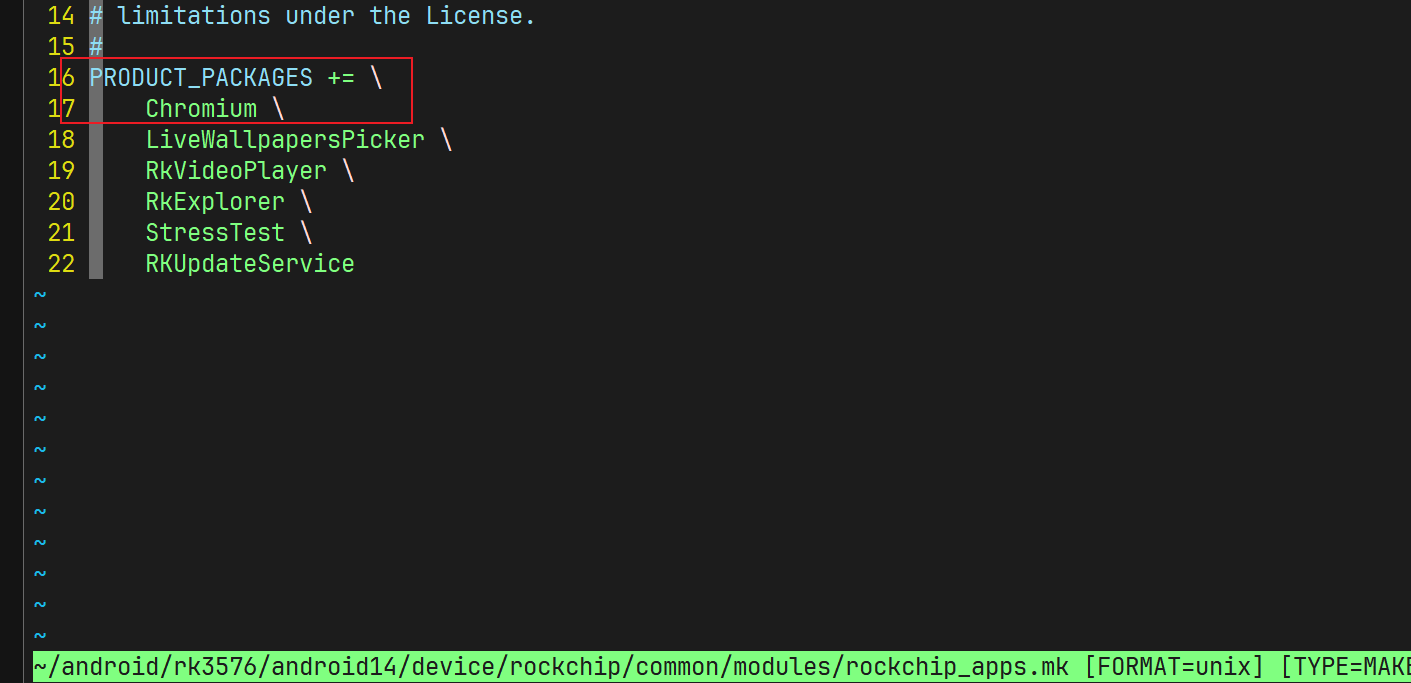
Z:\14TB\AIO-3576Q38\RK3576_Android14.0firefly\device\rockchip\common\modules\rockchip_apps.mk
Copyright 2021 Rockchip Limited
Licensed under the Apache License, Version 2.0 (the "License");
you may not use this file except in compliance with the License.
You may obtain a copy of the License at
http://www.apache.org/licenses/LICENSE-2.0
Unless required by applicable law or agreed to in writing, software
distributed under the License is distributed on an "AS IS" BASIS,
WITHOUT WARRANTIES OR CONDITIONS OF ANY KIND, either express or implied.
See the License for the specific language governing permissions and
limitations under the License.
PRODUCT_PACKAGES += \
Lightning \
Chromium \
LiveWallpapersPicker \
RkVideoPlayer \
RkExplorer \
StressTest \
RKUpdateService
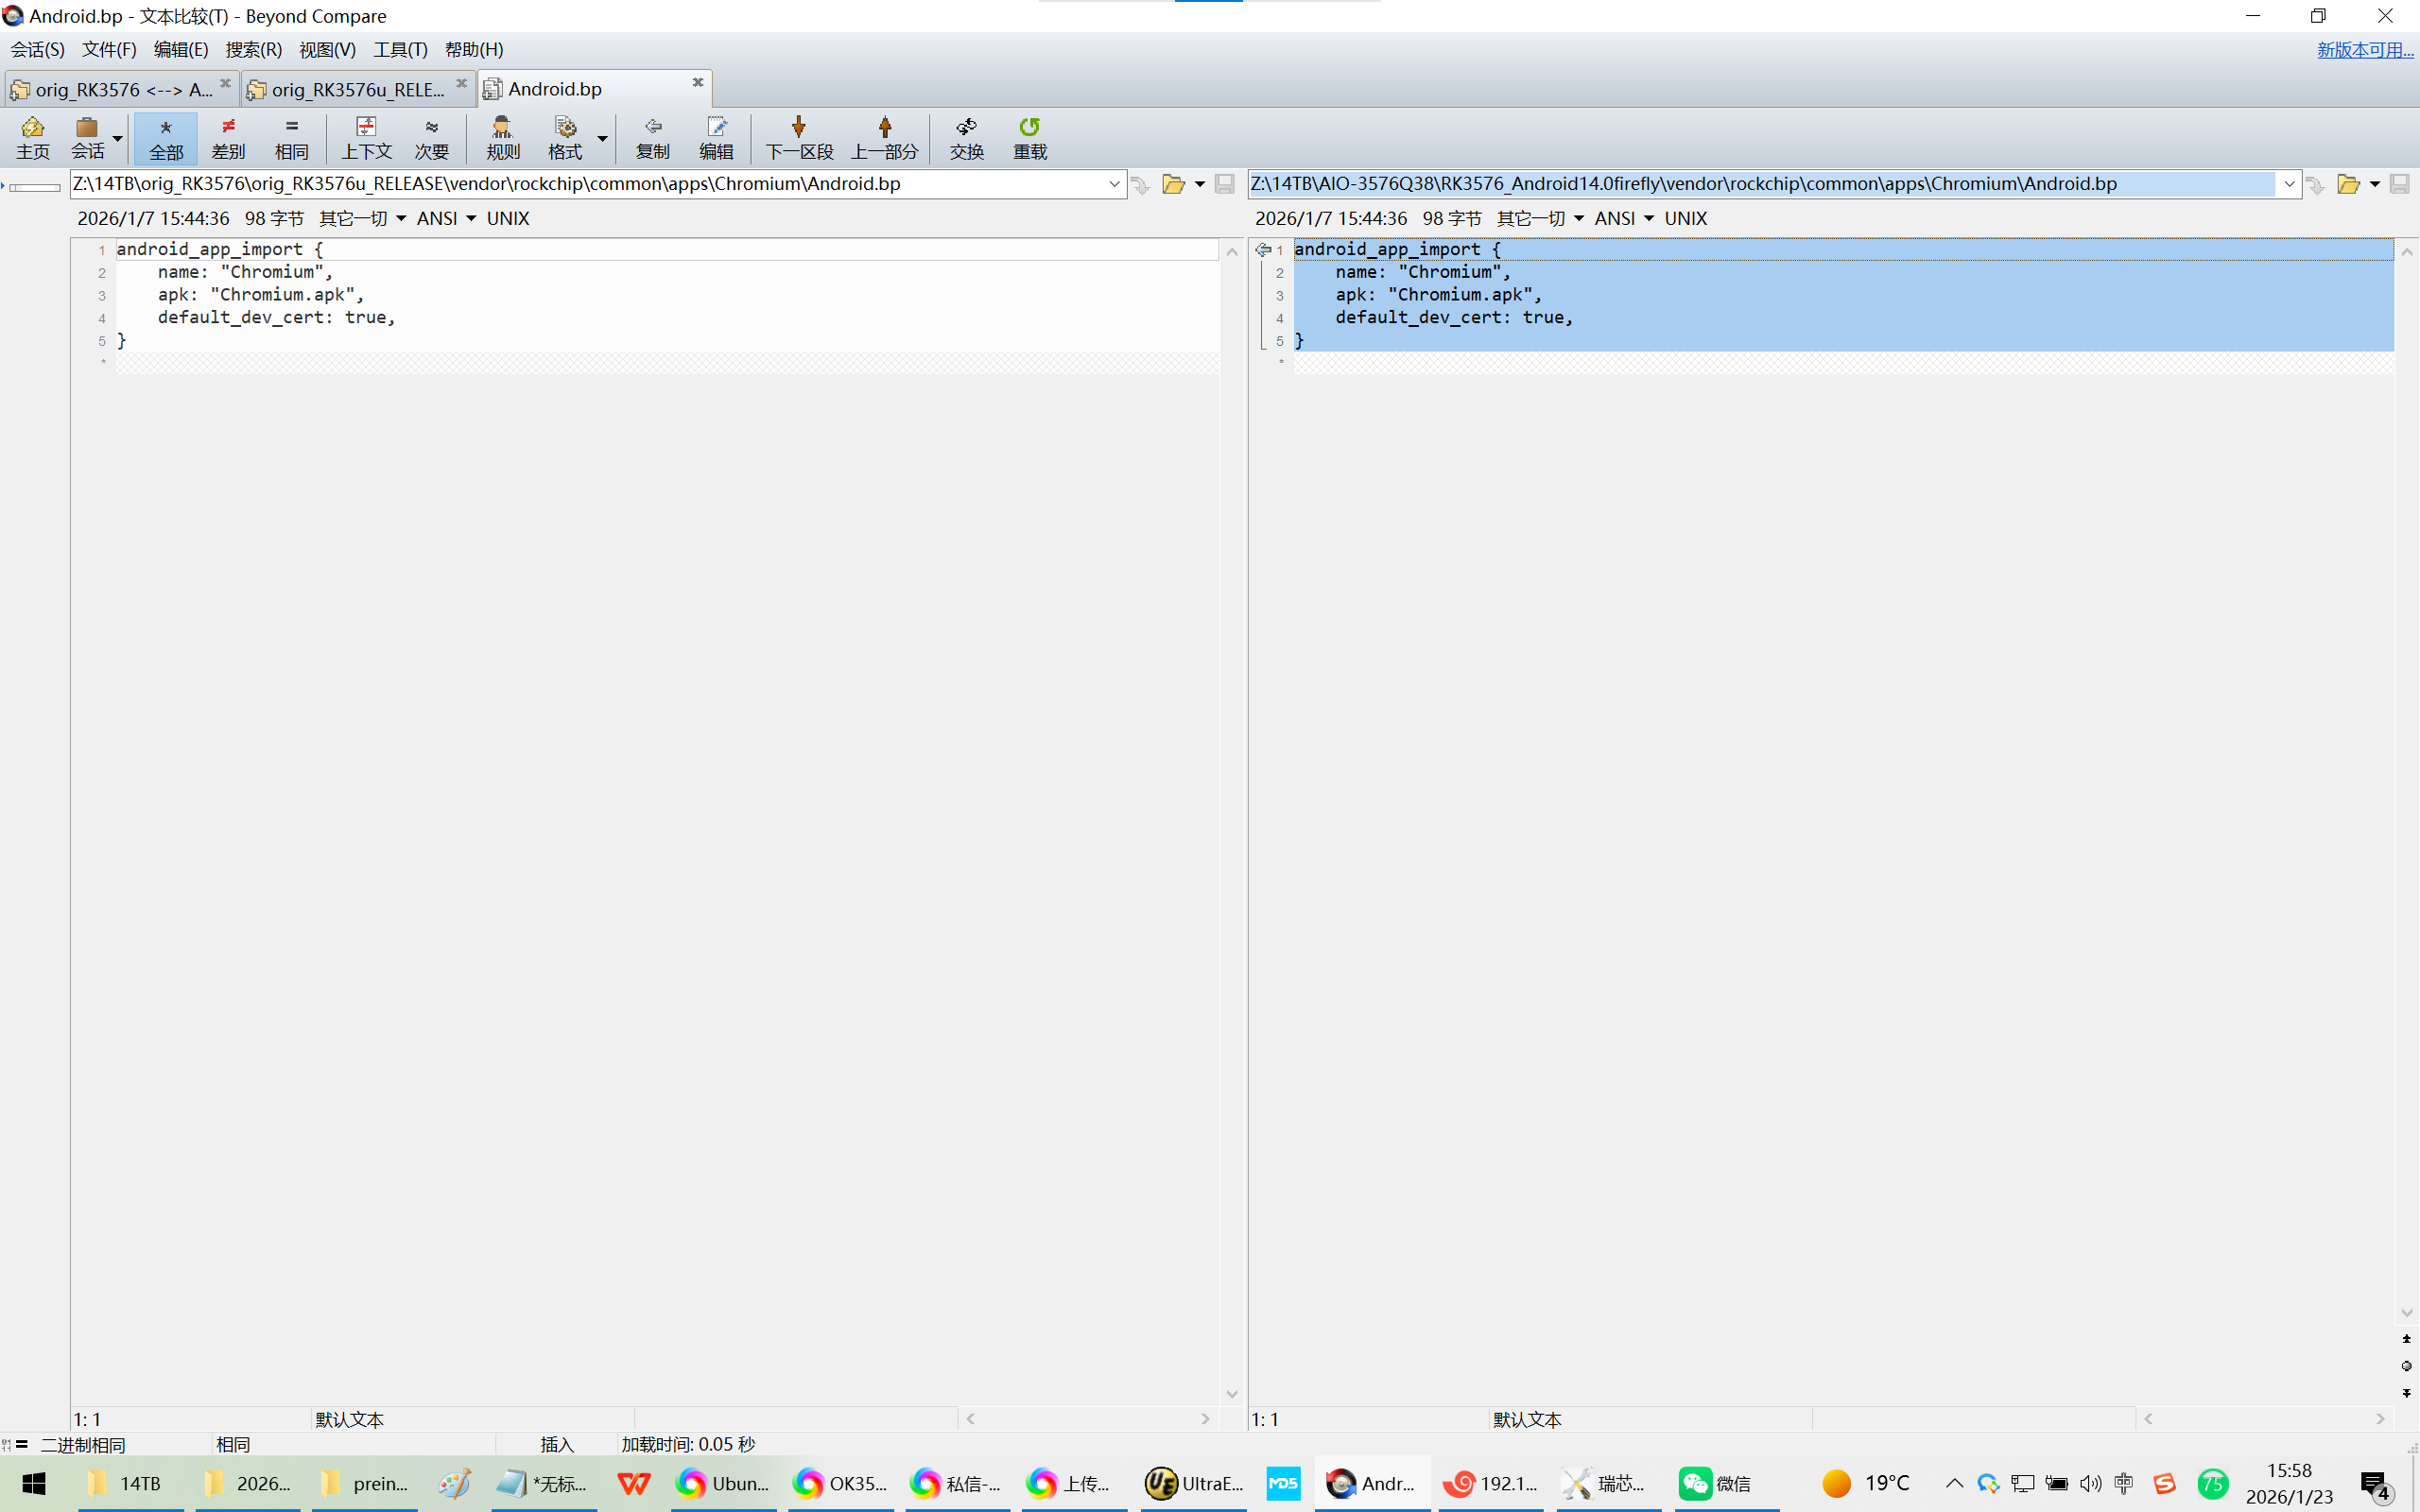
二、
Z:\14TB\AIO-3576Q38\RK3576_Android14.0firefly\vendor\rockchip\common\apps\Chromium\Android.bp
android_app_import {
name: "Chromium",
apk: "Chromium.apk",
default_dev_cert: true,
}
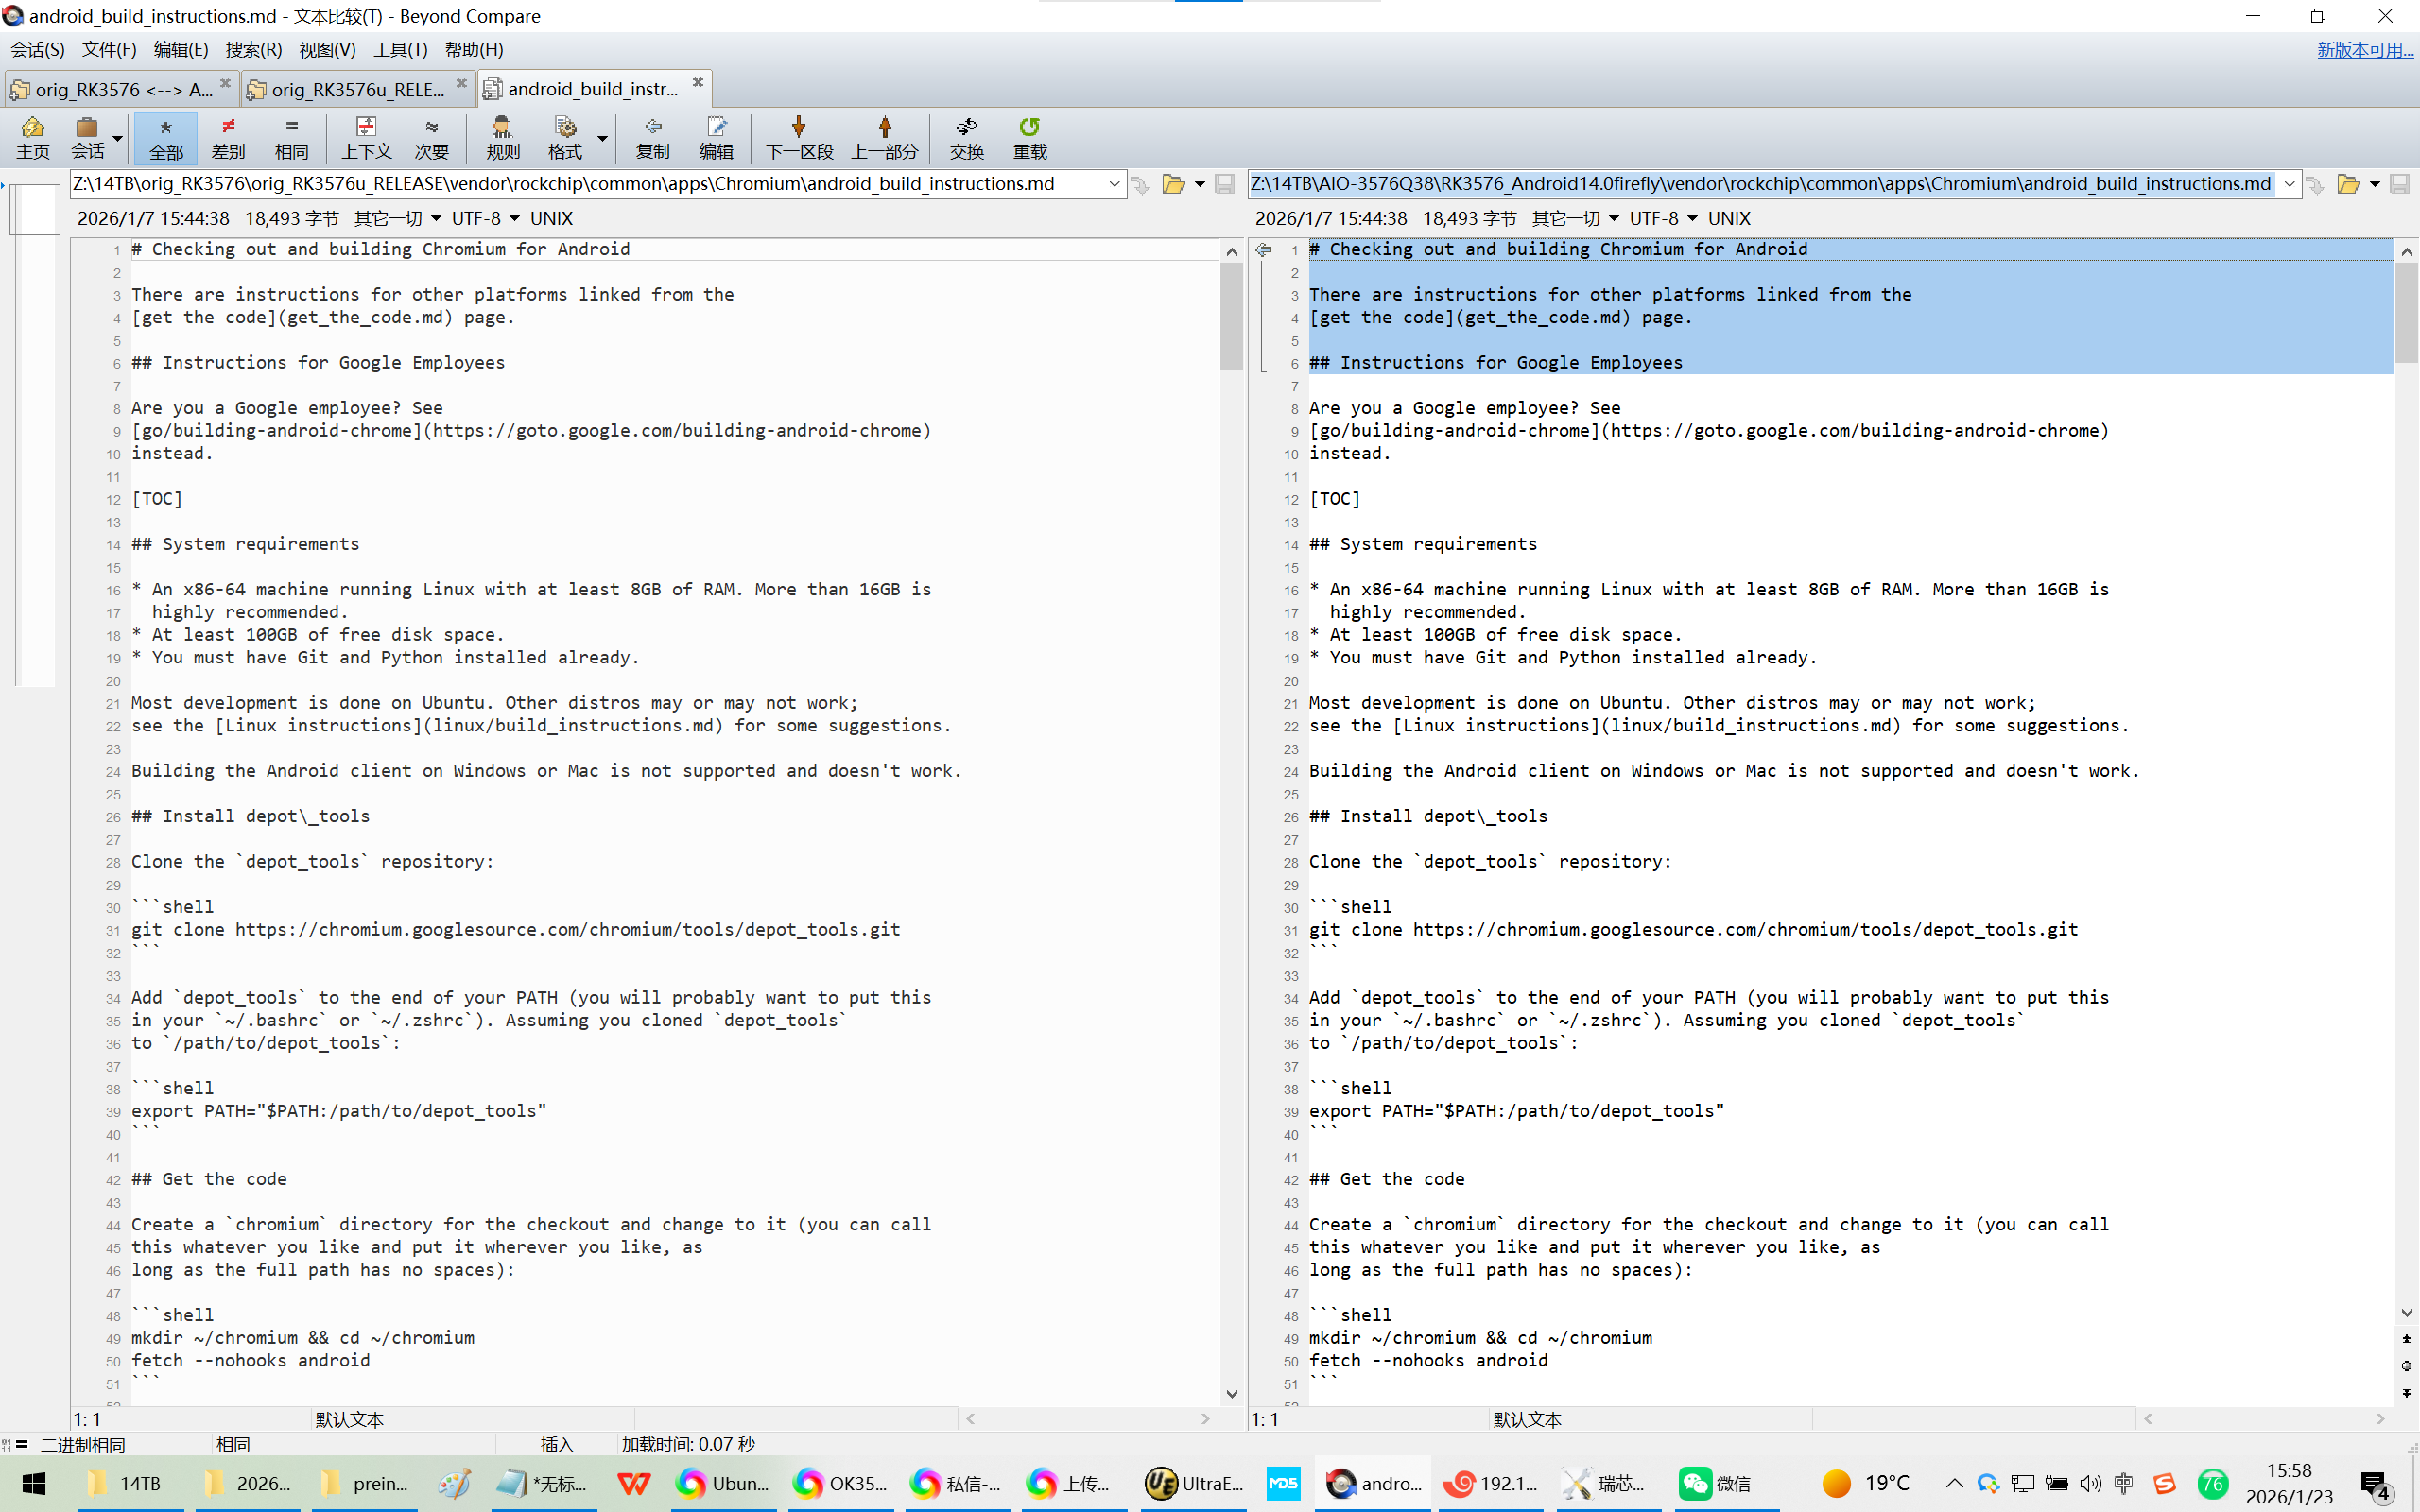
Z:\14TB\AIO-3576Q38\RK3576_Android14.0firefly\vendor\rockchip\common\apps\Chromium\android_build_instructions.md
Checking out and building Chromium for Android
There are instructions for other platforms linked from the
get the code(get_the_code.md) page.
Instructions for Google Employees
Are you a Google employee? See
go/building-android-chrome(https://goto.google.com/building-android-chrome)
instead.
TOC
System requirements
* An x86-64 machine running Linux with at least 8GB of RAM. More than 16GB is
highly recommended.
* At least 100GB of free disk space.
* You must have Git and Python installed already.
Most development is done on Ubuntu. Other distros may or may not work;
see the Linux instructions(linux/build_instructions.md) for some suggestions.
Building the Android client on Windows or Mac is not supported and doesn't work.
Install depot\_tools
Clone the `depot_tools` repository:
```shell
git clone https://chromium.googlesource.com/chromium/tools/depot_tools.git
```
Add `depot_tools` to the end of your PATH (you will probably want to put this
in your `~/.bashrc` or `~/.zshrc`). Assuming you cloned `depot_tools`
to `/path/to/depot_tools`:
```shell
export PATH="$PATH:/path/to/depot_tools"
```
Get the code
Create a `chromium` directory for the checkout and change to it (you can call
this whatever you like and put it wherever you like, as
long as the full path has no spaces):
```shell
mkdir ~/chromium && cd ~/chromium
fetch --nohooks android
```
If you don't want the full repo history, you can save a lot of time by
adding the `--no-history` flag to `fetch`.
Expect the command to take 30 minutes on even a fast connection, and many
hours on slower ones.
If you've already installed the build dependencies on the machine (from another
checkout, for example), you can omit the `--nohooks` flag and `fetch`
will automatically execute `gclient runhooks` at the end.
When `fetch` completes, it will have created a hidden `.gclient` file and a
directory called `src` in the working directory. The remaining instructions
assume you have switched to the `src` directory:
```shell
cd src
```
Converting an existing Linux checkout
If you have an existing Linux checkout, you can add Android support by
appending `target_os = 'linux', 'android'` to your `.gclient` file (in the
directory above `src`):
```shell
echo "target_os = 'linux', 'android' " >> ../.gclient
```
Then run `gclient sync` to pull the new Android dependencies:
```shell
gclient sync
```
(This is the only difference between `fetch android` and `fetch chromium`.)
Install additional build dependencies
Once you have checked out the code, run
```shell
build/install-build-deps.sh
```
to get all of the dependencies you need to build on Linux, *plus* all of the
Android-specific dependencies (you need some of the regular Linux dependencies
because an Android build includes a bunch of the Linux tools and utilities).
NOTE: For 32-bit builds, the `--lib32` command line switch could be used.
You may run into issues where `gperf` or `pkgconf` don't get installed,
without it. To remedy this, and potentially other missing packages, you will
have to install them manually using:
```shell
sudo apt-get install {missing_pkg}
```
Run the hooks
Once you've run `install-build-deps` at least once, you can now run the
Chromium-specific hooks, which will download additional binaries and other
things you might need:
```shell
gclient runhooks
```
*Optional*: You can also [install API
keys](https://www.chromium.org/developers/how-tos/api-keys) if you want your
build to talk to some Google services, but this is not necessary for most
development and testing purposes.
Setting up the build
Chromium uses Ninja(https://ninja-build.org) as its main build tool along with
a tool called GN(https://gn.googlesource.com/gn/+/main/docs/quick_start.md)
to generate `.ninja` files. You can create any number of *build directories*
with different configurations. To create a build directory which builds Chrome
for Android, run `gn args out/Default` and edit the file to contain the
following arguments:
```gn
target_os = "android"
target_cpu = "arm64" # See "Figuring out target_cpu" below
symbol_level = 0
enable_android_apk_bundles = true
is_official_build = true
android_channel = "stable"
enable_r8 = true
chrome_pgo_phase = 0
proprietary_codecs = true
ffmpeg_branding = "Chrome"
enable_media_router = true
enable_cast_receivers = true
enable_widevine = true
版权声明:本文为博主原创文章,遵循 CC 4.0 BY-SA 版权协议,转载请附上原文出处链接和本声明。
原文链接:https://blog.csdn.net/weixin_43245753/article/details/144408463
```
* You only have to run this once for each new build directory, Ninja will
update the build files as needed.
* You can replace `Default` with another name, but
it should be a subdirectory of `out`.
* For other build arguments, including release settings, see [GN build
configuration](https://www.chromium.org/developers/gn-build-configuration).
The default will be a debug component build.
* For more info on GN, run `gn help` on the command line or read the
quick start guide(https://gn.googlesource.com/gn/+/main/docs/quick_start.md).
Also be aware that some scripts (e.g. `tombstones.py`, `adb_gdb.py`)
require you to set `CHROMIUM_OUTPUT_DIR=out/Default`.
Figuring out target\_cpu
The value of
\`target_cpu\`(https://gn.googlesource.com/gn/+/main/docs/reference.md#var_target_cpu)
determines what instruction set to use for native code. Given a device (or
emulator), you can determine the correct instruction set with `adb shell getprop
ro.product.cpu.abi`:
| `getprop ro.product.cpu.abi` output | `target_cpu` value |
|-------------------------------------|--------------------|
| `arm64-v8a` | `arm64` |
| `armeabi-v7a` | `arm` |
| `x86` | `x86` |
| `x86_64` | `x64` |
*** promo
`arm` and `x86` may optionally be used instead of `arm64` and `x64` for
non-WebView targets. This is also allowed for Monochrome, but only when not set
as the WebView provider.
***
Build Chromium
Build Chromium with Ninja using the command:
```shell
autoninja -C out/Default chrome_public_apk
```
(`autoninja` is a wrapper that automatically provides optimal values for the
arguments passed to `ninja`.)
You can get a list of all of the other build targets from GN by running `gn ls
out/Default` from the command line. To compile one, pass the GN label to Ninja
with no preceding "//" (so, for `//chrome/test:unit_tests` use `autoninja -C
out/Default chrome/test:unit_tests`).
Multiple Chrome Targets
The Google Play Store allows apps to send customized bundles (`.aab` files)
depending on the version of Android running on a device. Chrome uses this
feature to package optimized versions for different OS versions.
- `monochrome_public_bundle` (`MonochromePublic.aab`)
* `minSdkVersion=26` (Oreo).
* Contains both Chrome and WebView (to save disk space).
- `trichrome_chrome_bundle` (`TrichromeChrome.aab`)
* `minSdkVersion=29` (Android 10).
* Native code shared with WebView through a "Static Shared Library APK": `trichrome_library_apk`
* Corresponding WebView target: `trichrome_webview_bundle`
- `chrome_public_bundle` & `chrome_public_apk` (`ChromePublic.aab`, `ChromePublic.apk`)
* `minSdkVersion=26` (Oreo).
* Used for local development (to avoid building WebView).
* WebView packaged independently (`system_webview_bundle` / `system_webview_apk`).
*** note
**Notes:**
* These instructions use `chrome_public_apk`, but any of the other targets can
be substituted.
* For more about bundles, see android_dynamic feature modules.md(android_dynamic_feature_modules.md).
* For more about native library packaging & loading, see android_native_libraries.md(android_native_libraries.md).
* There are closed-source equivalents to these targets (for Googlers), which
are identical but link in some extra code.
***
Updating your checkout
To update an existing checkout, you can run
```shell
$ git rebase-update
$ gclient sync
```
The first command updates the primary Chromium source repository and rebases
any of your local branches on top of tip-of-tree (aka the Git branch
`origin/main`). If you don't want to use this script, you can also just use
`git pull` or other common Git commands to update the repo.
The second command syncs dependencies to the appropriate versions and re-runs
hooks as needed.
Installing and Running Chromium on a device
Plug in your Android device
Make sure your Android device is plugged in via USB, and USB Debugging
is enabled.
To enable USB Debugging:
* Navigate to Settings \> About Phone \> Build number
* Click 'Build number' 7 times
* Now navigate back to Settings \> Developer Options
* Enable 'USB Debugging' and follow the prompts
You may also be prompted to allow access to your PC once your device is
plugged in.
You can check if the device is connected by running:
```shell
third_party/android_sdk/public/platform-tools/adb devices
```
Which prints a list of connected devices. If not connected, try
unplugging and reattaching your device.
Enable apps from unknown sources
Allow Android to run APKs that haven't been signed through the Play Store:
* Enable 'Unknown sources' under Settings \> Security
In case that setting isn't present, it may be possible to configure it via
`adb shell` instead:
```shell
third_party/android_sdk/public/platform-tools/adb shell settings put global verifier_verify_adb_installs 0
```
Build the full browser
```shell
autoninja -C out/Default chrome_public_apk
```
And deploy it to your Android device:
```shell
out/Default/bin/chrome_public_apk install
```
The app will appear on the device as "Chromium".
Build Content shell
Wraps the content module (but not the /chrome embedder). See
https://www.chromium.org/developers/content-module(https://www.chromium.org/developers/content-module)
for details on the content module and content shell.
```shell
autoninja -C out/Default content_shell_apk
out/Default/bin/content_shell_apk install
```
this will build and install an Android apk under
`out/Default/apks/ContentShell.apk`.
Build WebView
Android WebView(https://developer.android.com/reference/android/webkit/WebView.html)
is a system framework component. Since Android KitKat, it is implemented using
Chromium code (based off the content module(https://dev.chromium.org/developers/content-module)).
If you want to build the complete Android WebView framework component and test
the effect of your chromium changes in Android apps using WebView, you should
follow the [Android AOSP + chromium WebView
instructions](https://www.chromium.org/developers/how-tos/build-instructions-android-webview)
Running
For Content shell:
```shell
out/Default/bin/content_shell_apk launch --args='--foo --bar' http://example.com
```
For Chrome public:
```shell
out/Default/bin/chrome_public_apk launch --args='--foo --bar' http://example.com
```
Logging and debugging
Logging is often the easiest way to understand code flow. In C++ you can print
log statements using the LOG macro. In Java, refer to
android_logging.md(android_logging.md).
You can see these log via `adb logcat`, or:
```shell
out/Default/bin/chrome_public_apk logcat
```
Logcat supports an additional feature of filtering and highlighting user-defined patterns. To use
this mechanism, define a shell variable: `CHROMIUM_LOGCAT_HIGHLIGHT` and assign your desired
pattern. The pattern will be used to search for any substring (ie. no need to prefix or suffix it
with `.*`), eg:
```shell
export CHROMIUM_LOGCAT_HIGHLIGHT='(WARNING|cr_Child)'
out/Default/bin/chrome_public_apk logcat
Highlights messages/tags containing WARNING and cr_Child strings.
```
Note: both Message and Tag portion of logcat are matched against the pattern.
To debug C++ code, use one of the following commands:
```shell
out/Default/bin/content_shell_apk gdb
out/Default/bin/chrome_public_apk gdb
```
See Android Debugging Instructions(android_debugging_instructions.md)
for more on debugging, including how to debug Java code.
Testing
For information on running tests, see
Android Test Instructions(/docs/testing/android_test_instructions.md)
Faster Builds
Use Reclient
*** note
**Warning:** If you are a Google employee, do not follow the instructions below.
See
go/building-android-chrome#initialize-remote-execution-distributed-builds(https://goto.google.com/building-android-chrome#initialize-remote-execution-distributed-builds)
instead.
***
Chromium's build can be sped up significantly by using a remote execution system
compatible with REAPI(https://github.com/bazelbuild/remote-apis). This allows
you to benefit from remote caching and executing many build actions in parallel
on a shared cluster of workers.
To use Reclient, follow the corresponding
Linux build instructions(linux/build_instructions.md#use-reclient).
GN Args
Args that affect build speed:
* `use_remoteexec = true` *(default=false)*
* What it does: Enables distributed builds via Reclient
* `symbol_level = 0` *(default=1)*
* What it does: Disables debug information in native code.
* Use this when doing primarily Java development.
* To disable symbols only in Blink / V8: `blink_symbol_level = 0`, `v8_symbol_level = 0`
* `is_component_build = true` *(default=`is_debug`)*
* What it does: Uses multiple `.so` files instead of just one (faster links)
* `is_java_debug = true` *(default=`is_debug`)*
* What it does: Disables R8 (whole-program Java optimizer)
* `treat_warnings_as_errors = false` *(default=`true`)*
* Causes any compiler warnings or lint checks to not fail the build.
* Allows you to iterate without needing to satisfy static analysis checks.
* `android_static_analysis = "build_server"` *(default=`"on"`)*
* Offloads static analysis steps to the build server. Explained below.
* Set this to `"off"` if you want to turn off static analysis altogether.
* `incremental_install = true` *(default=`false`)*
* Makes build and install quite a bit faster. Explained in a later section.
* `enable_chrome_android_internal = false` *(Googlers only)*
* Disables non-public code, which exists even when building public targets.
* Use this is you do not need to test internal-only things.
Running Static Analysis Asynchronously
Normally analysis build steps like Lint and Error Prone will run as normal build
steps. The build will then wait for all analysis steps to complete successfully.
By offloading analysis build steps to a separate build server to be run lazily at
a low priority when the machine is idle, the actual build can complete much faster.
**Note**: Since the build completes before the analysis checks finish, the build
will not fail if an analysis check fails. Make sure to check the server's output
at regular intervals to fix outstanding issues caught by these analysis checks.
First way (by running it manually)
There are **two** steps to using the build server.
-
Add the gn arg `android_static_analysis = "build_server"`
-
Run the script at
//build/android/fast_local_dev_server.py\]\[fast_local_dev
All your local builds will now forward analysis steps to this server, including
android lint, errorprone, bytecode processor.
If you run (2) in a terminal, the output of the checks will be displayed there.
Second way (using systemd)
Alternatively, you can set up the server as a Linux service, so it runs on the
background and starts on boot. If you're using systemd:
Save the following as /etc/systemd/user/fast-local-dev-server.service.
```
Unit
Description=Chrome server for android build static analysis
Service
Type=simple
ExecStart=<path to fast_local_dev_server.py>
Restart=always
Install
WantedBy=default.target
```
Then
```bash
systemctl --user daemon-reload
systemctl --user enable fast-local-dev-server
systemctl --user start fast-local-dev-server
```
The output can be inspected with
```
journalctl --user -e -u fast-local-dev-server
```
fast_local_dev: https://source.chromium.org/chromium/chromium/src/+/main:build/android/fast_local_dev_server.py
Incremental Install
Incremental Install(/build/android/incremental_install/README.md) uses
reflection and sideloading to speed up the edit & deploy cycle (normally < 10
seconds). The initial launch of the apk will be a lot slower on older Android
versions (pre-N) where the OS needs to pre-optimize the side-loaded files, but
then be only marginally slower after the first launch.
To enable Incremental Install, add the gn args:
```gn
incremental_install = true
```
Some APKs (e.g. WebView) do not work with `incremental install = true` and are
always built as normal APKs. This behavior is controlled via
`never_incremental = true`.
Installing and Running Chromium on an Emulator
Running on an emulator is the same as on a device. Refer to
android_emulator.md(android_emulator.md) for setting up emulators.
Tips, tricks, and troubleshooting
Rebuilding libchrome.so for a particular release
These instructions are only necessary for Chrome 51 and earlier.
In the case where you want to modify the native code for an existing
release of Chrome for Android (v25+) you can do the following steps.
Note that in order to get your changes into the official release, you'll
need to send your change for a codereview using the regular process for
committing code to chromium.
-
Open Chrome on your Android device and visit chrome://version
-
Copy down the id listed next to "Build ID:"
-
Go to
http://storage.googleapis.com/chrome-browser-components/BUILD\\_ID\\_FROM\\_STEP\\_2/index.html(http://storage.googleapis.com/chrome-browser-components/BUILD_ID_FROM_STEP_2/index.html)
- Download the listed files and follow the steps in the README.
Building with Docker
To build Chromium for Android using Docker, please follow the
instructions in the Docker in Linux build instructions(/docs/linux/build_instructions.md#docker).
*** note
**Note:** You need install the Android dependencies(#install-additional-build-dependencies) after setting up the Build dependencies(/docs/linux/build_instructions.md#install-additional-build-dependencies).
***
打包chrome
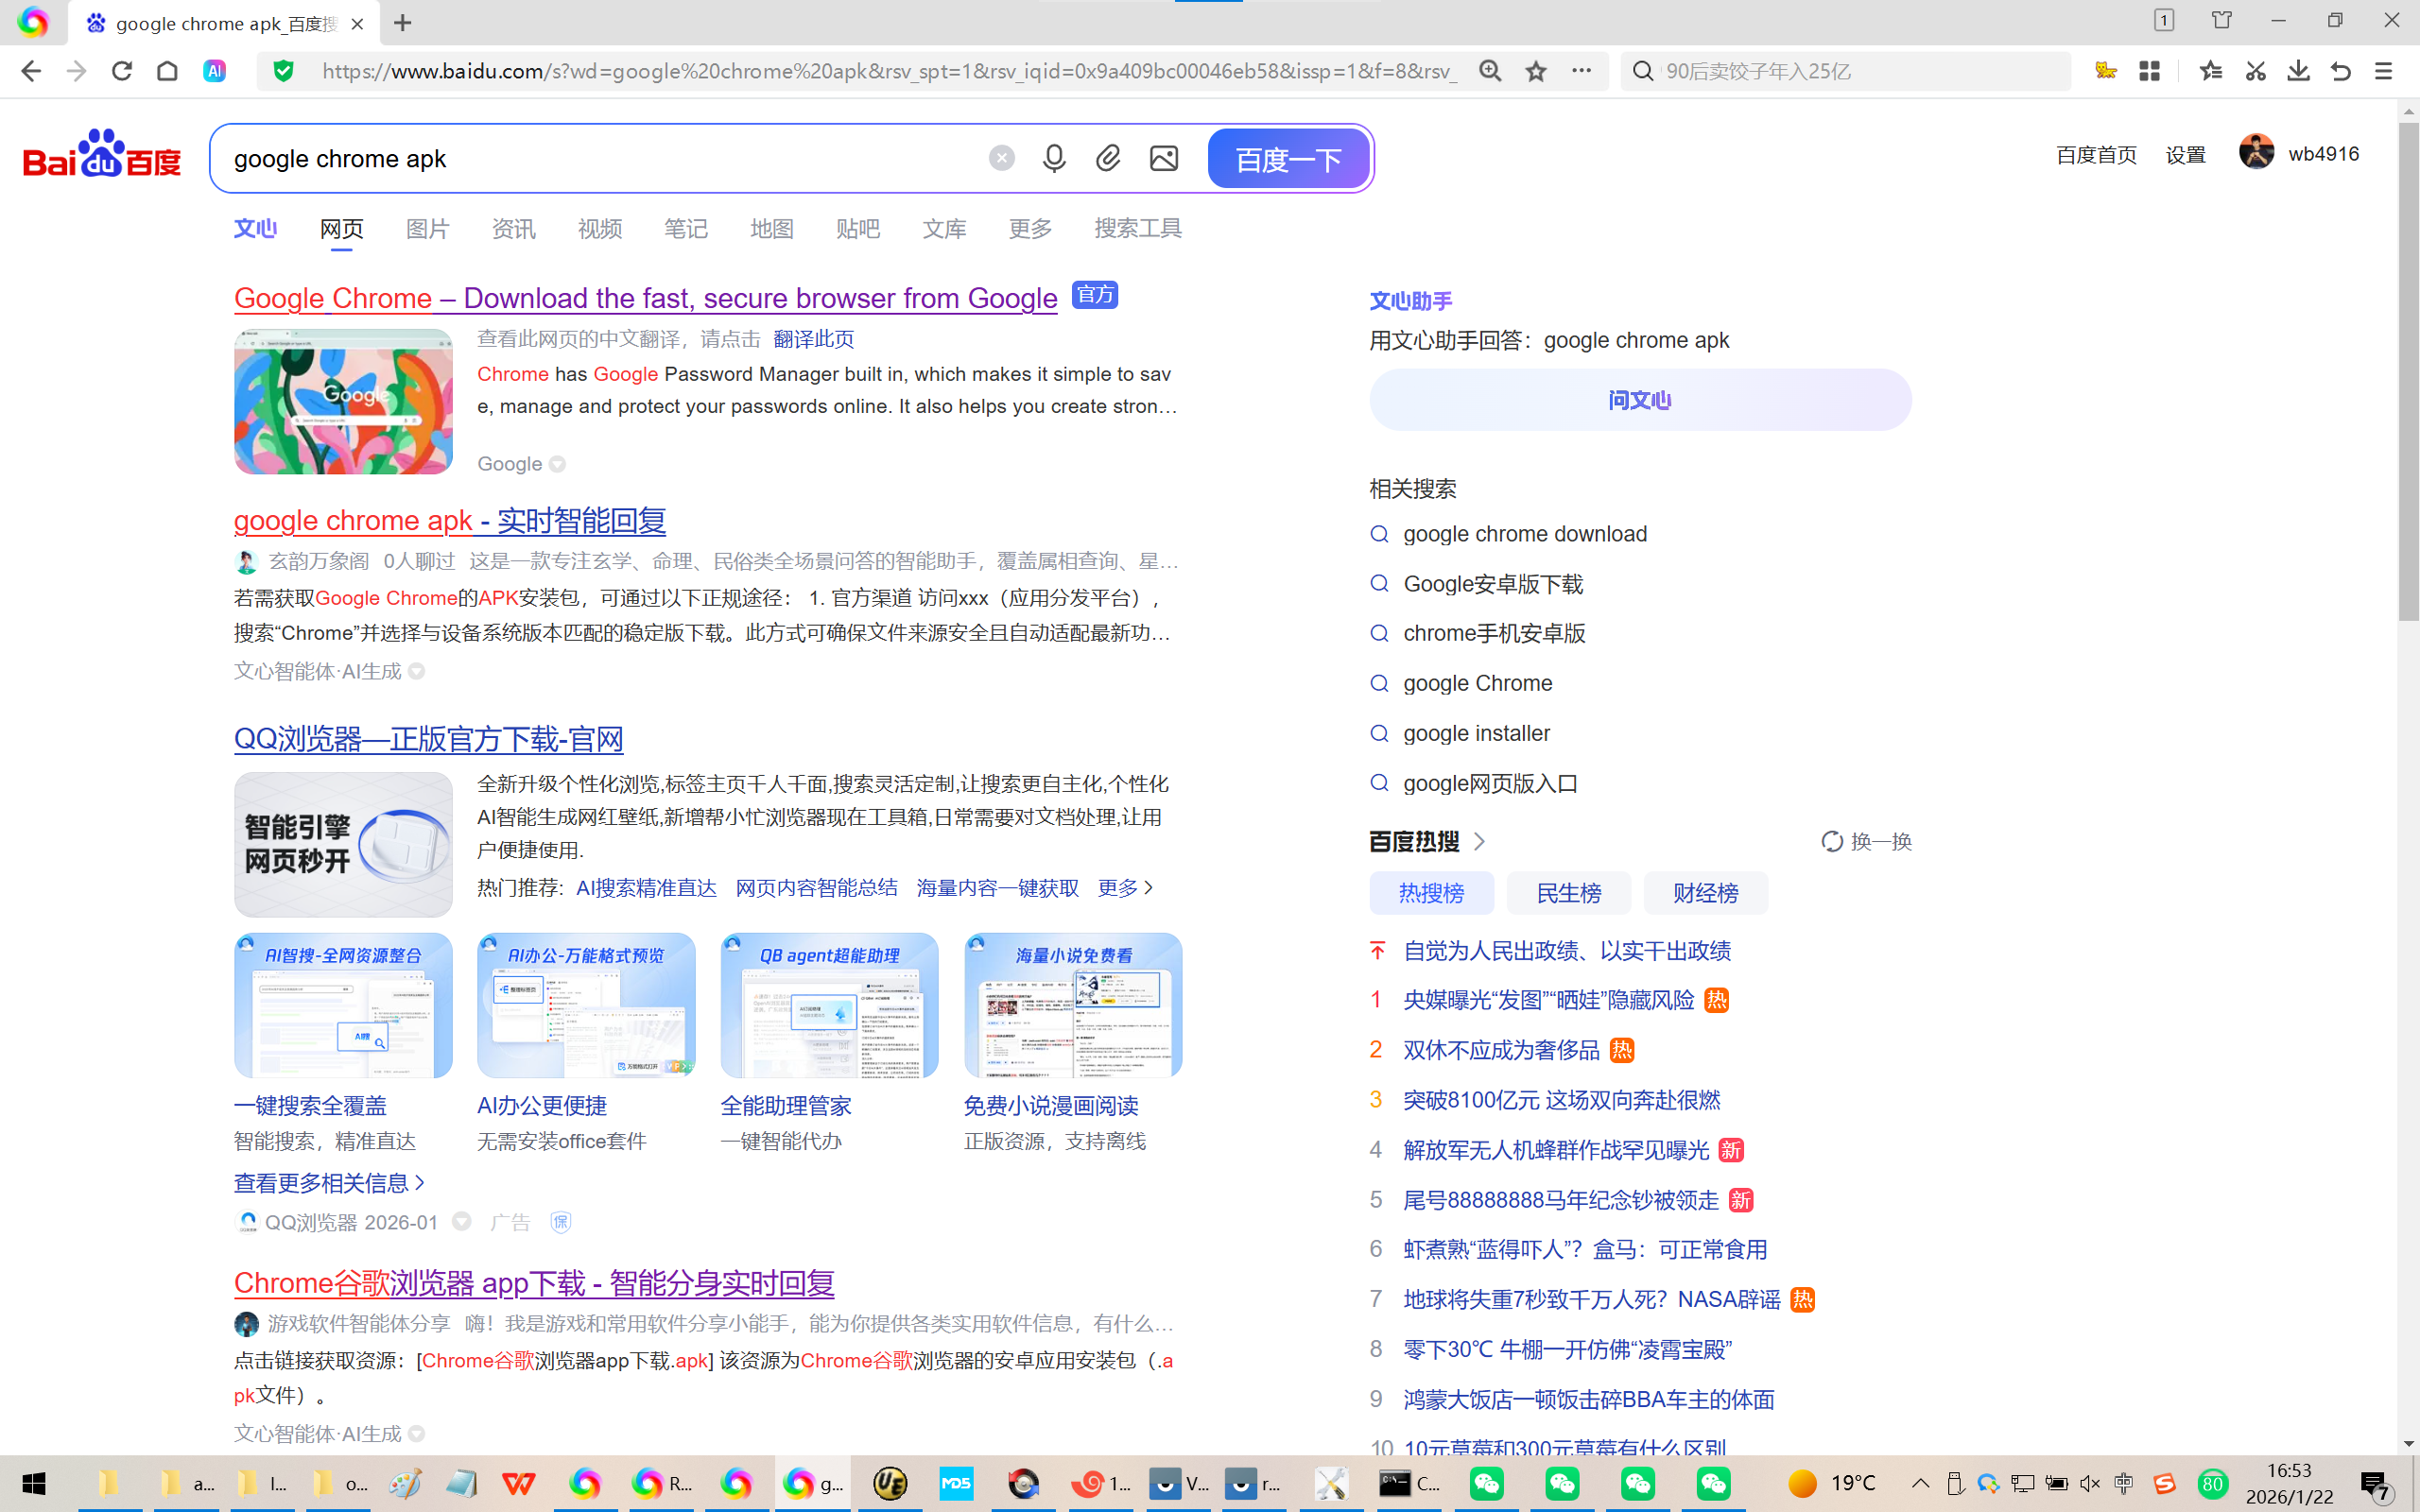
百度:google chrome apk
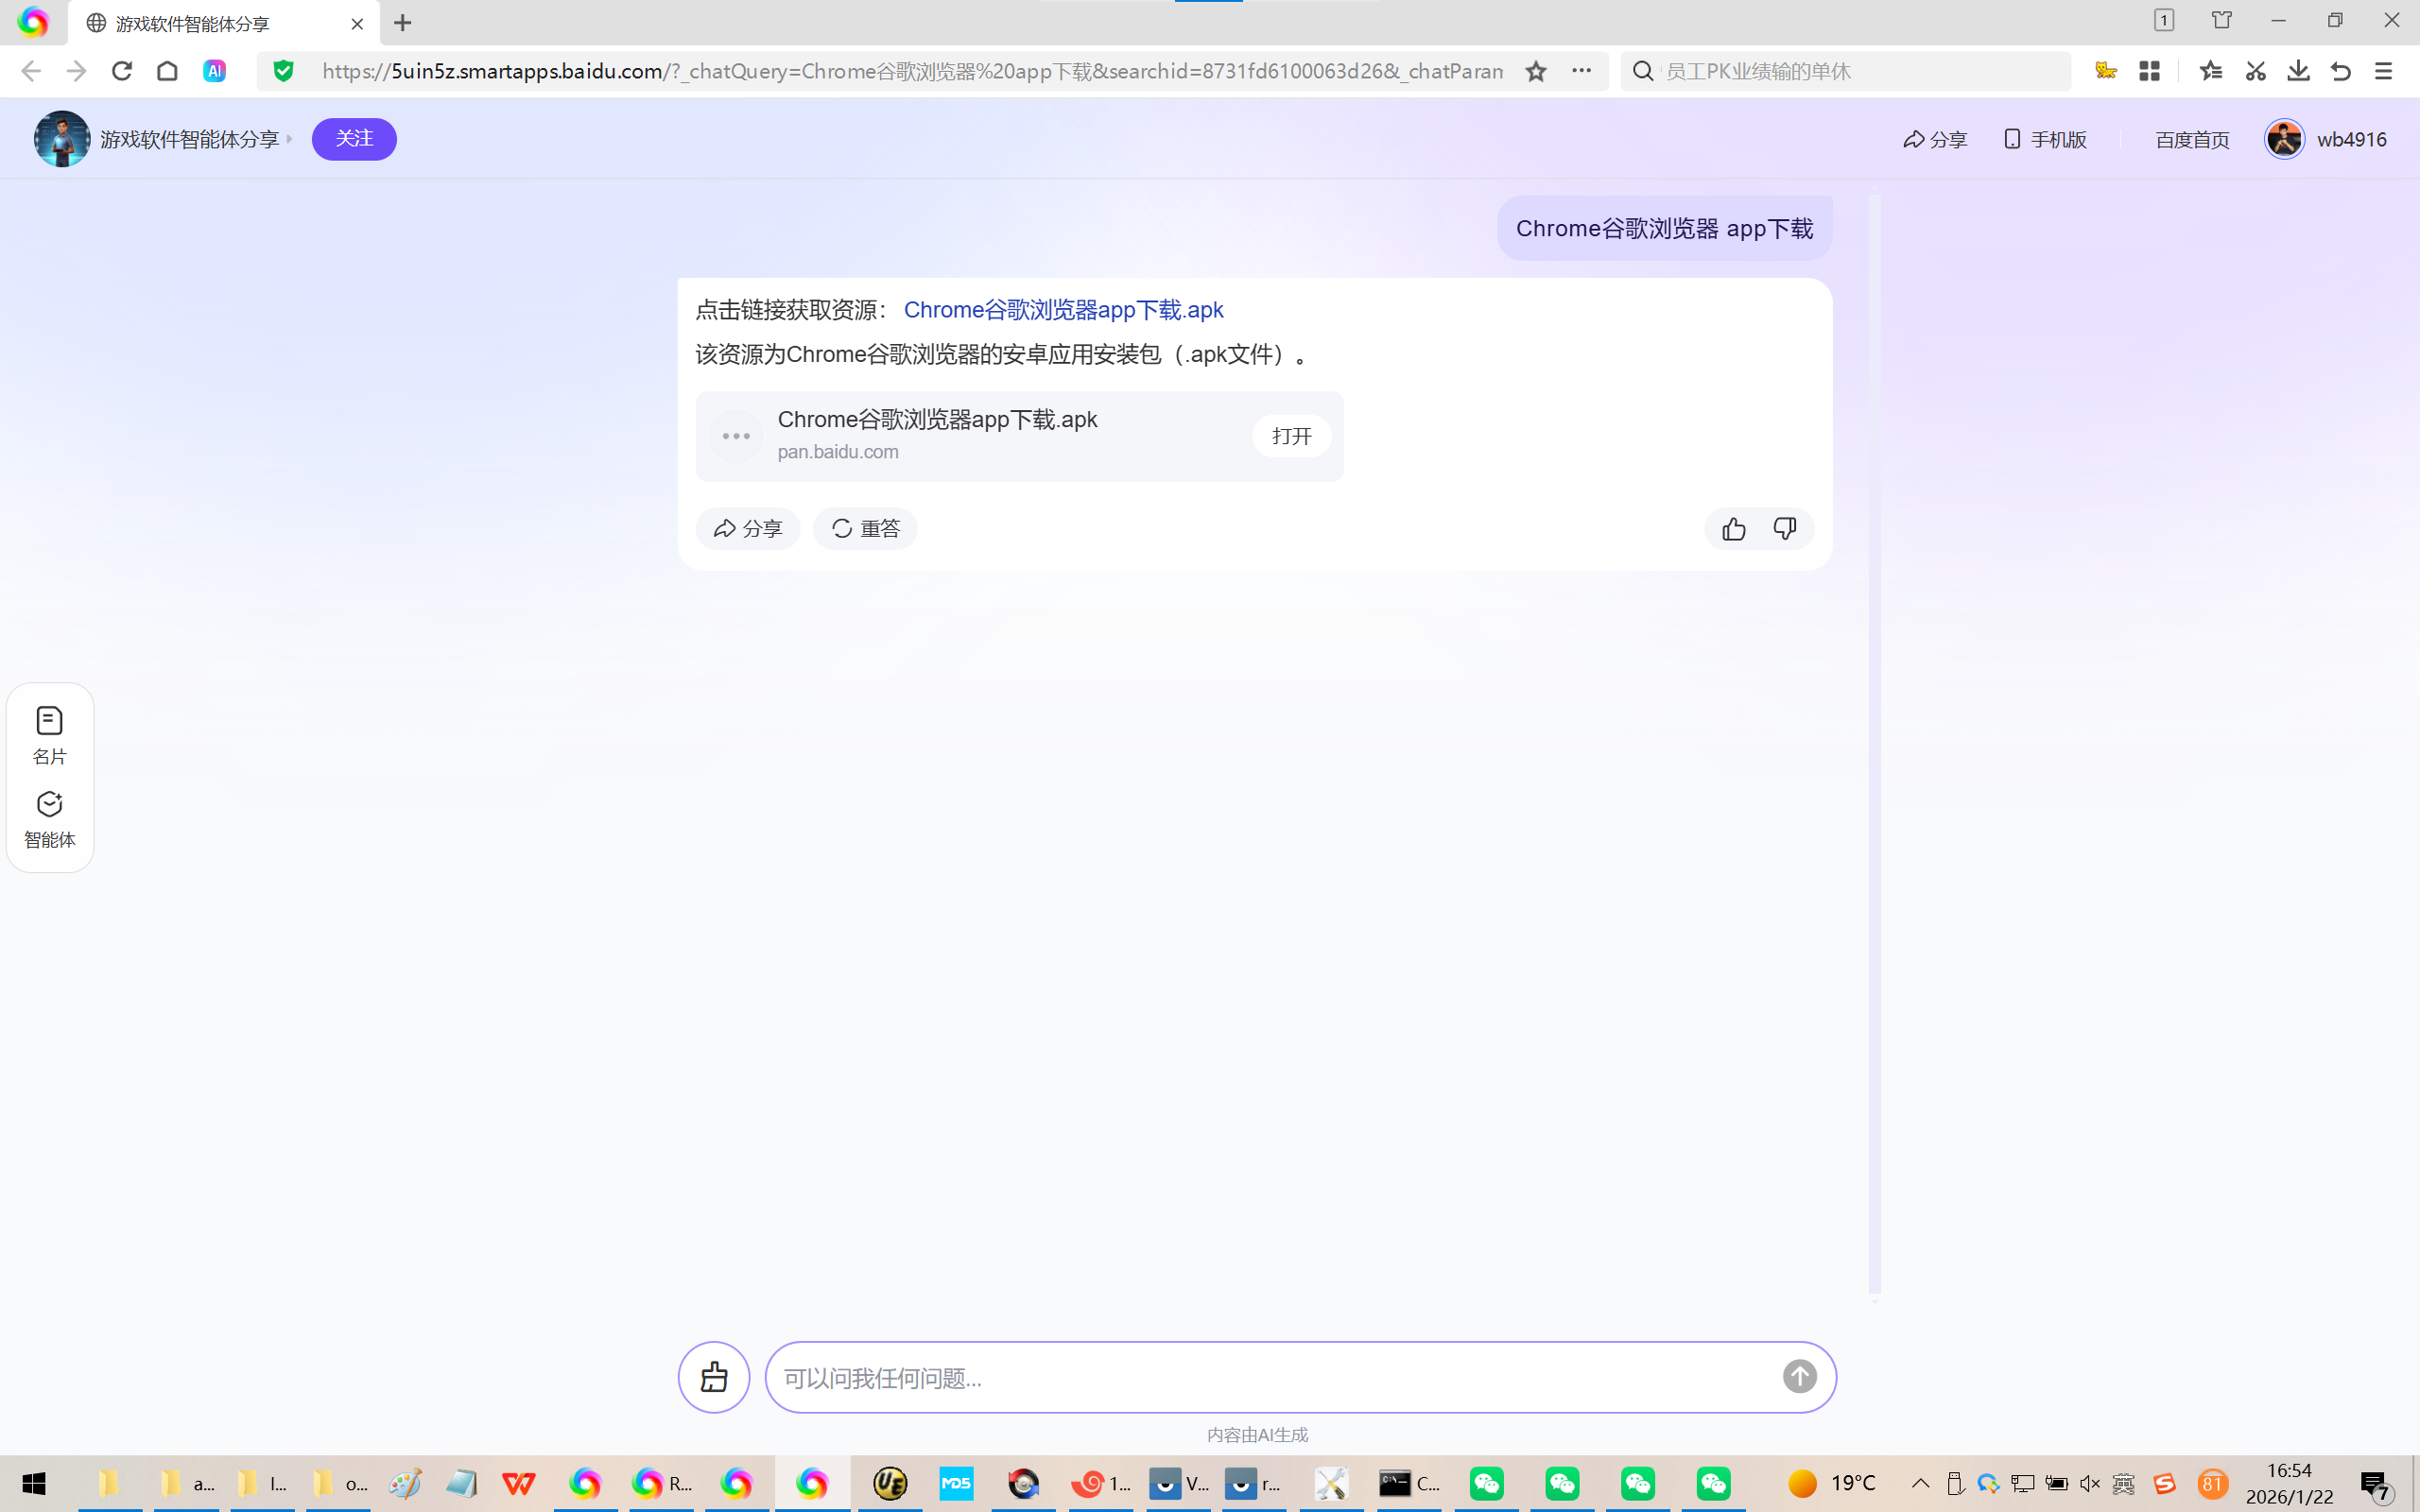
https://pan.baidu.com/s/1cwKOdkrlMCfmJWdA3g-XJg?pwd=wx8g
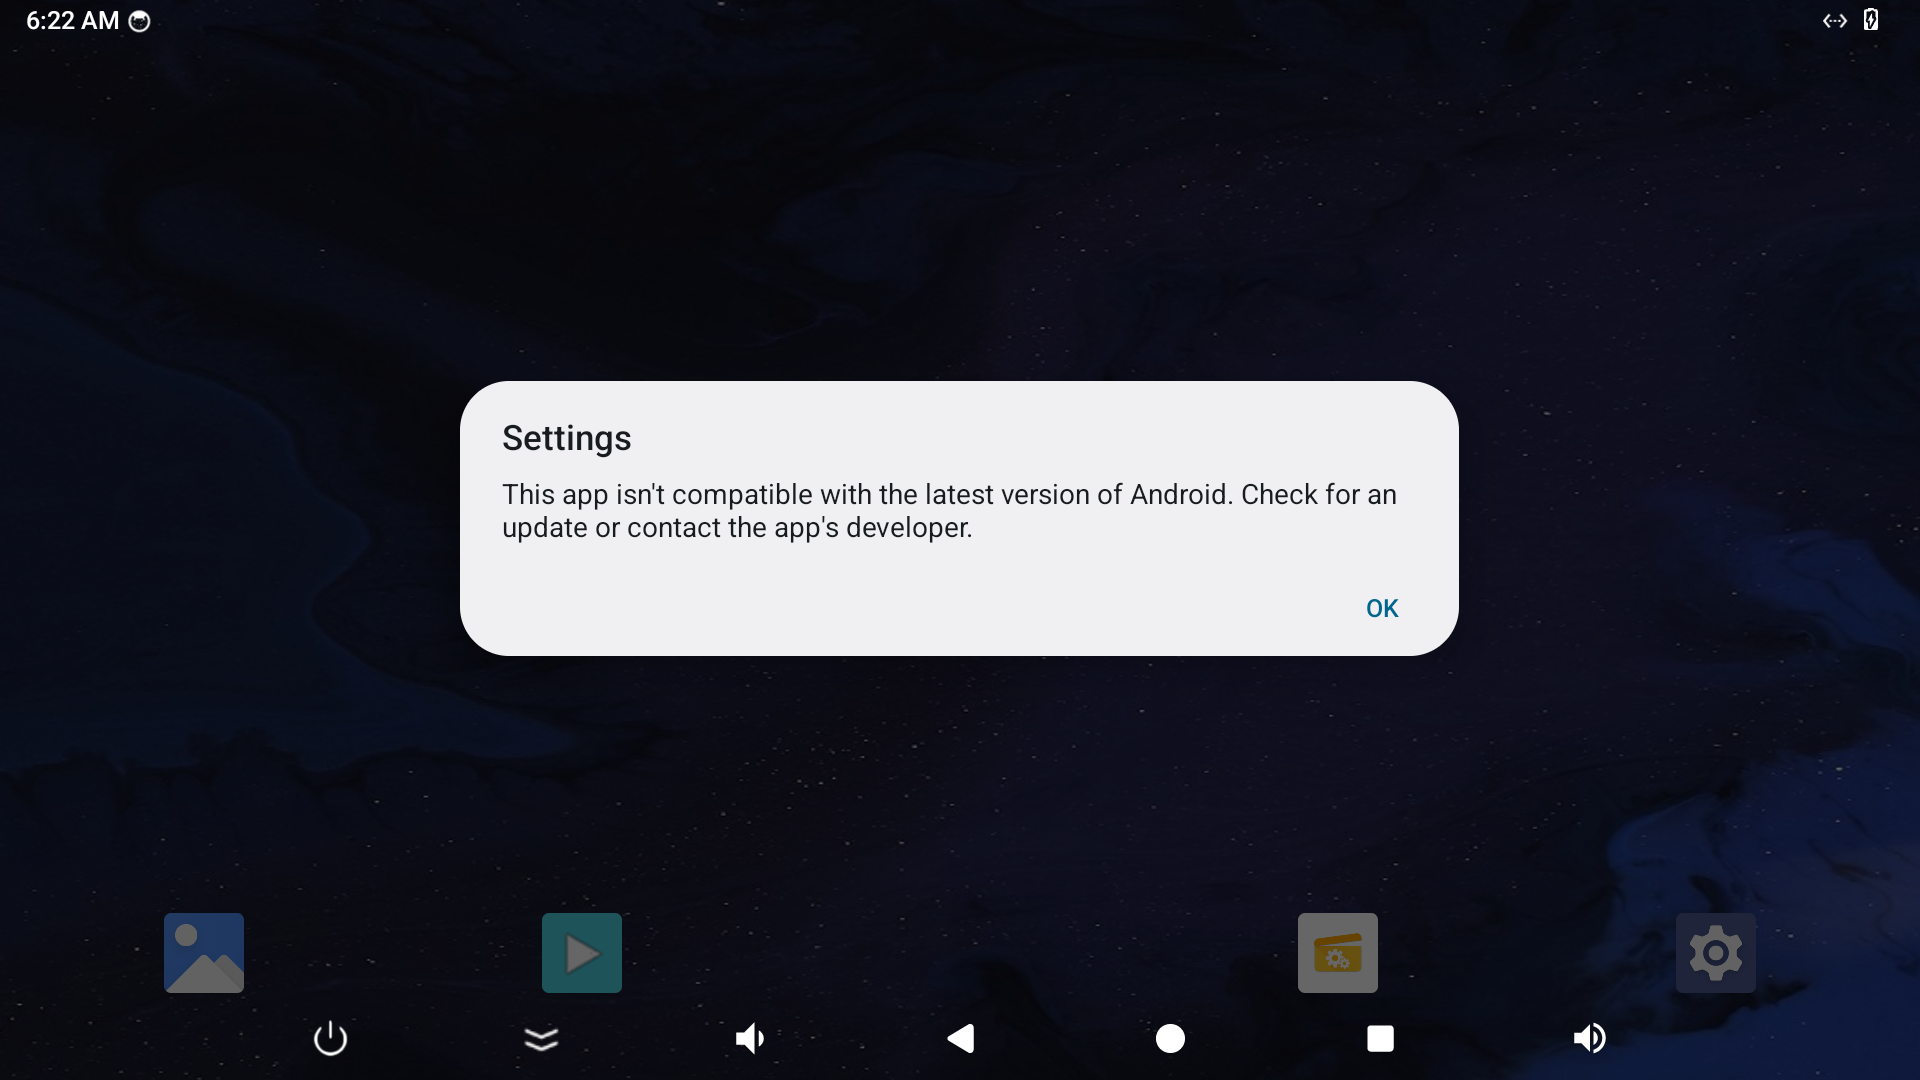
【这个只能使用adb install来安装,打包会异常的!】

参考资料:
https://forlinx-book.yuque.com/rh74yu/rkword/tdufpunvumhp360n
OK3568 4.19.193 Android11 预安装应用的三种方式
https://blog.csdn.net/weixin_71092993/article/details/132454235
Android11 软件应用预安装
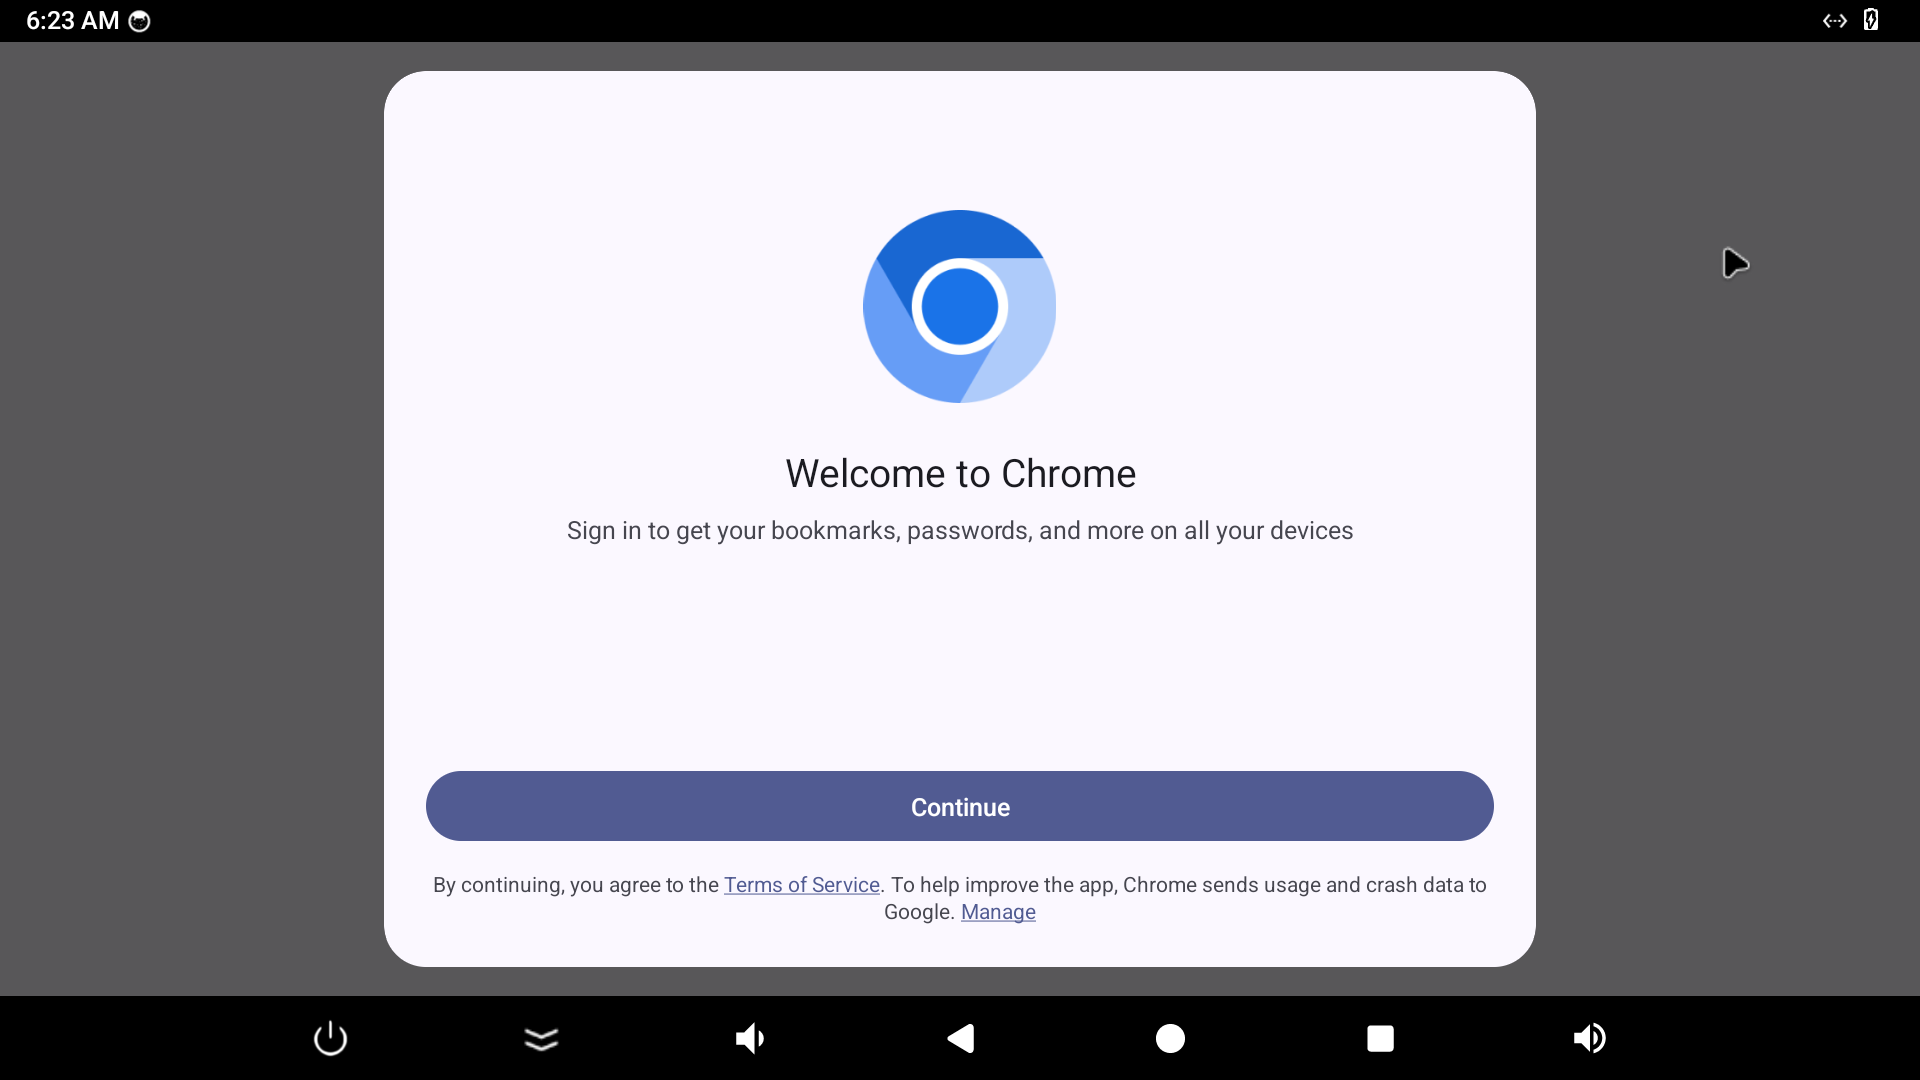
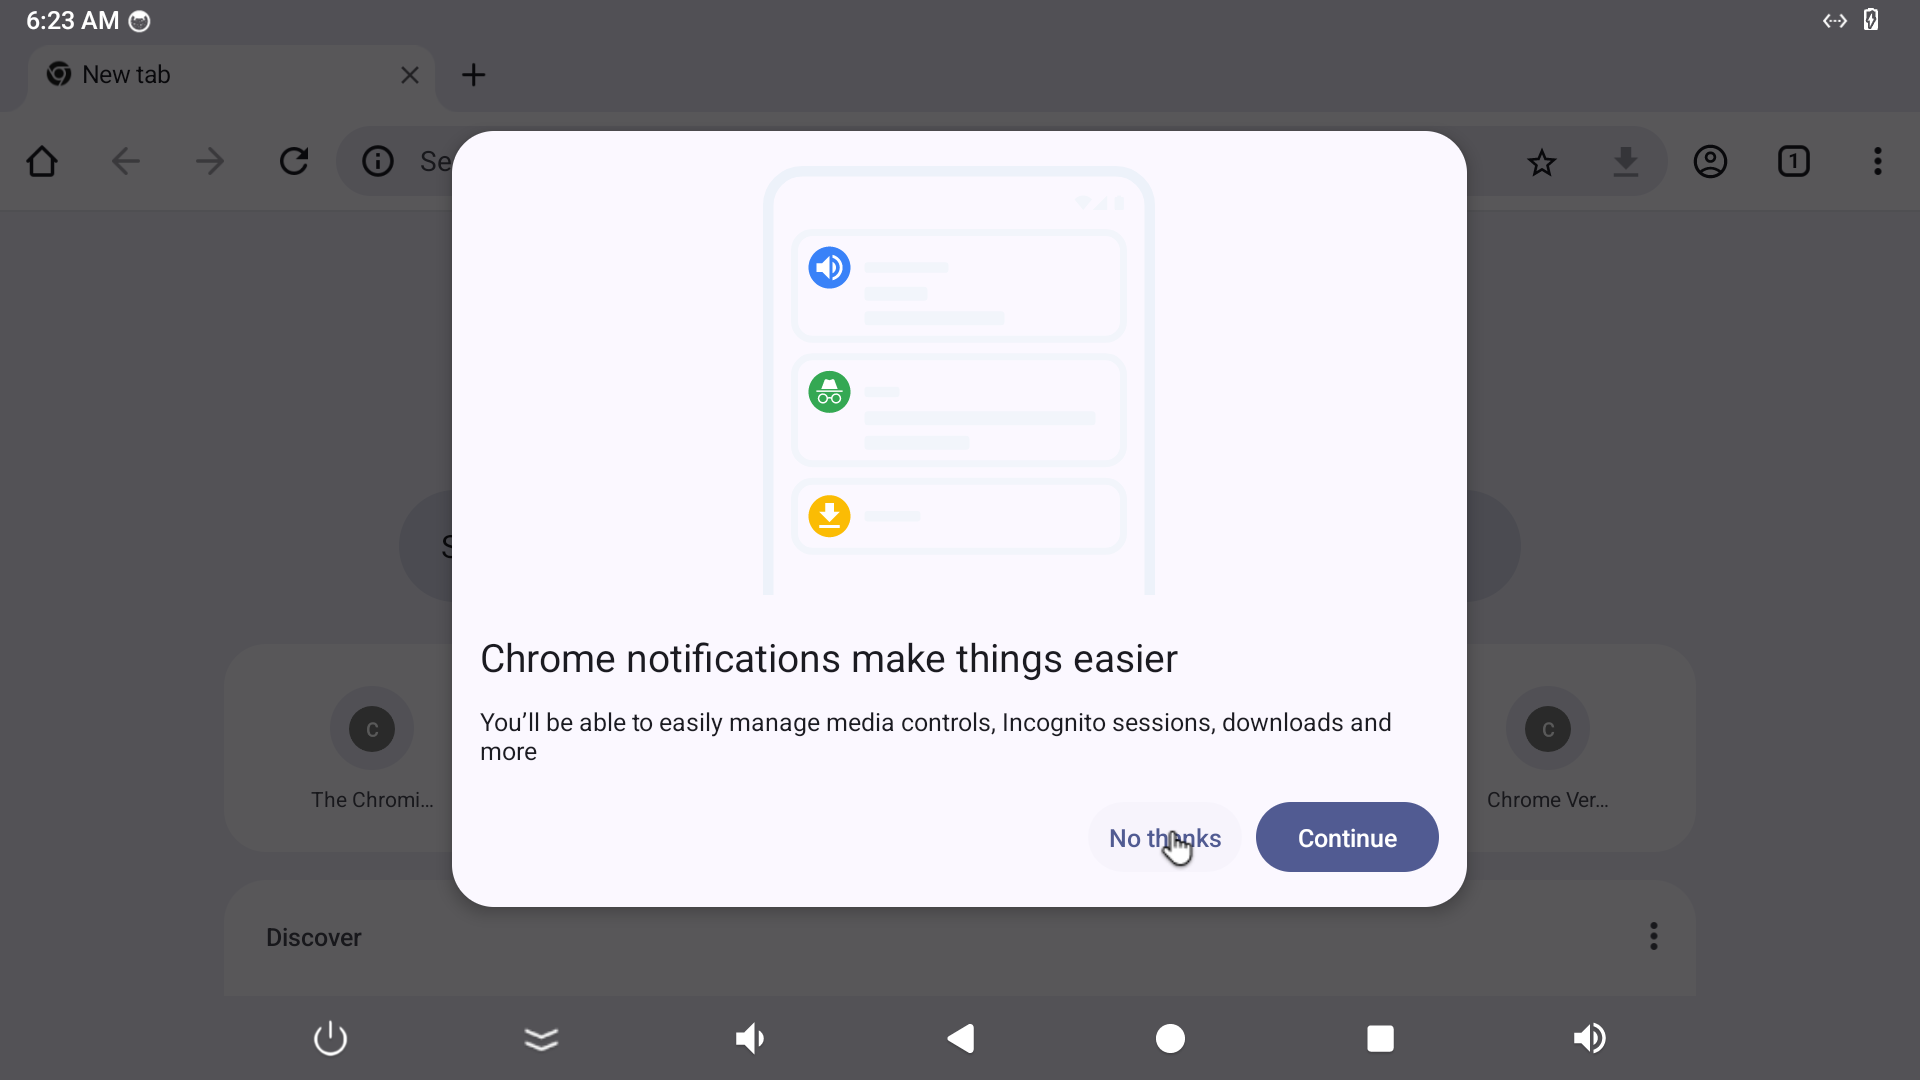
效果图: