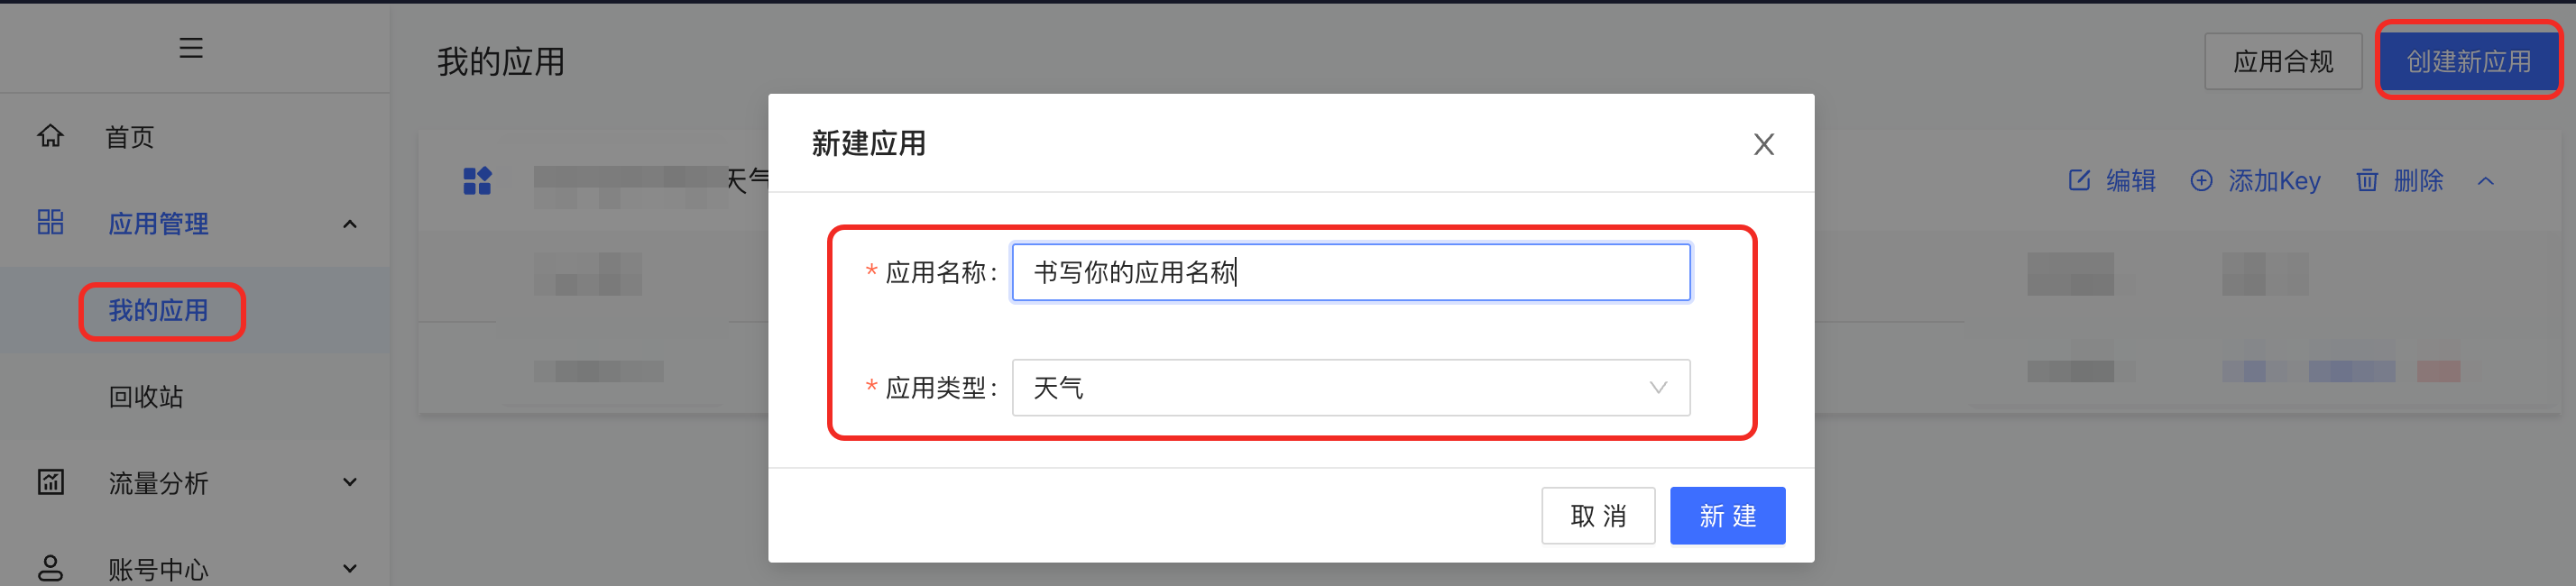
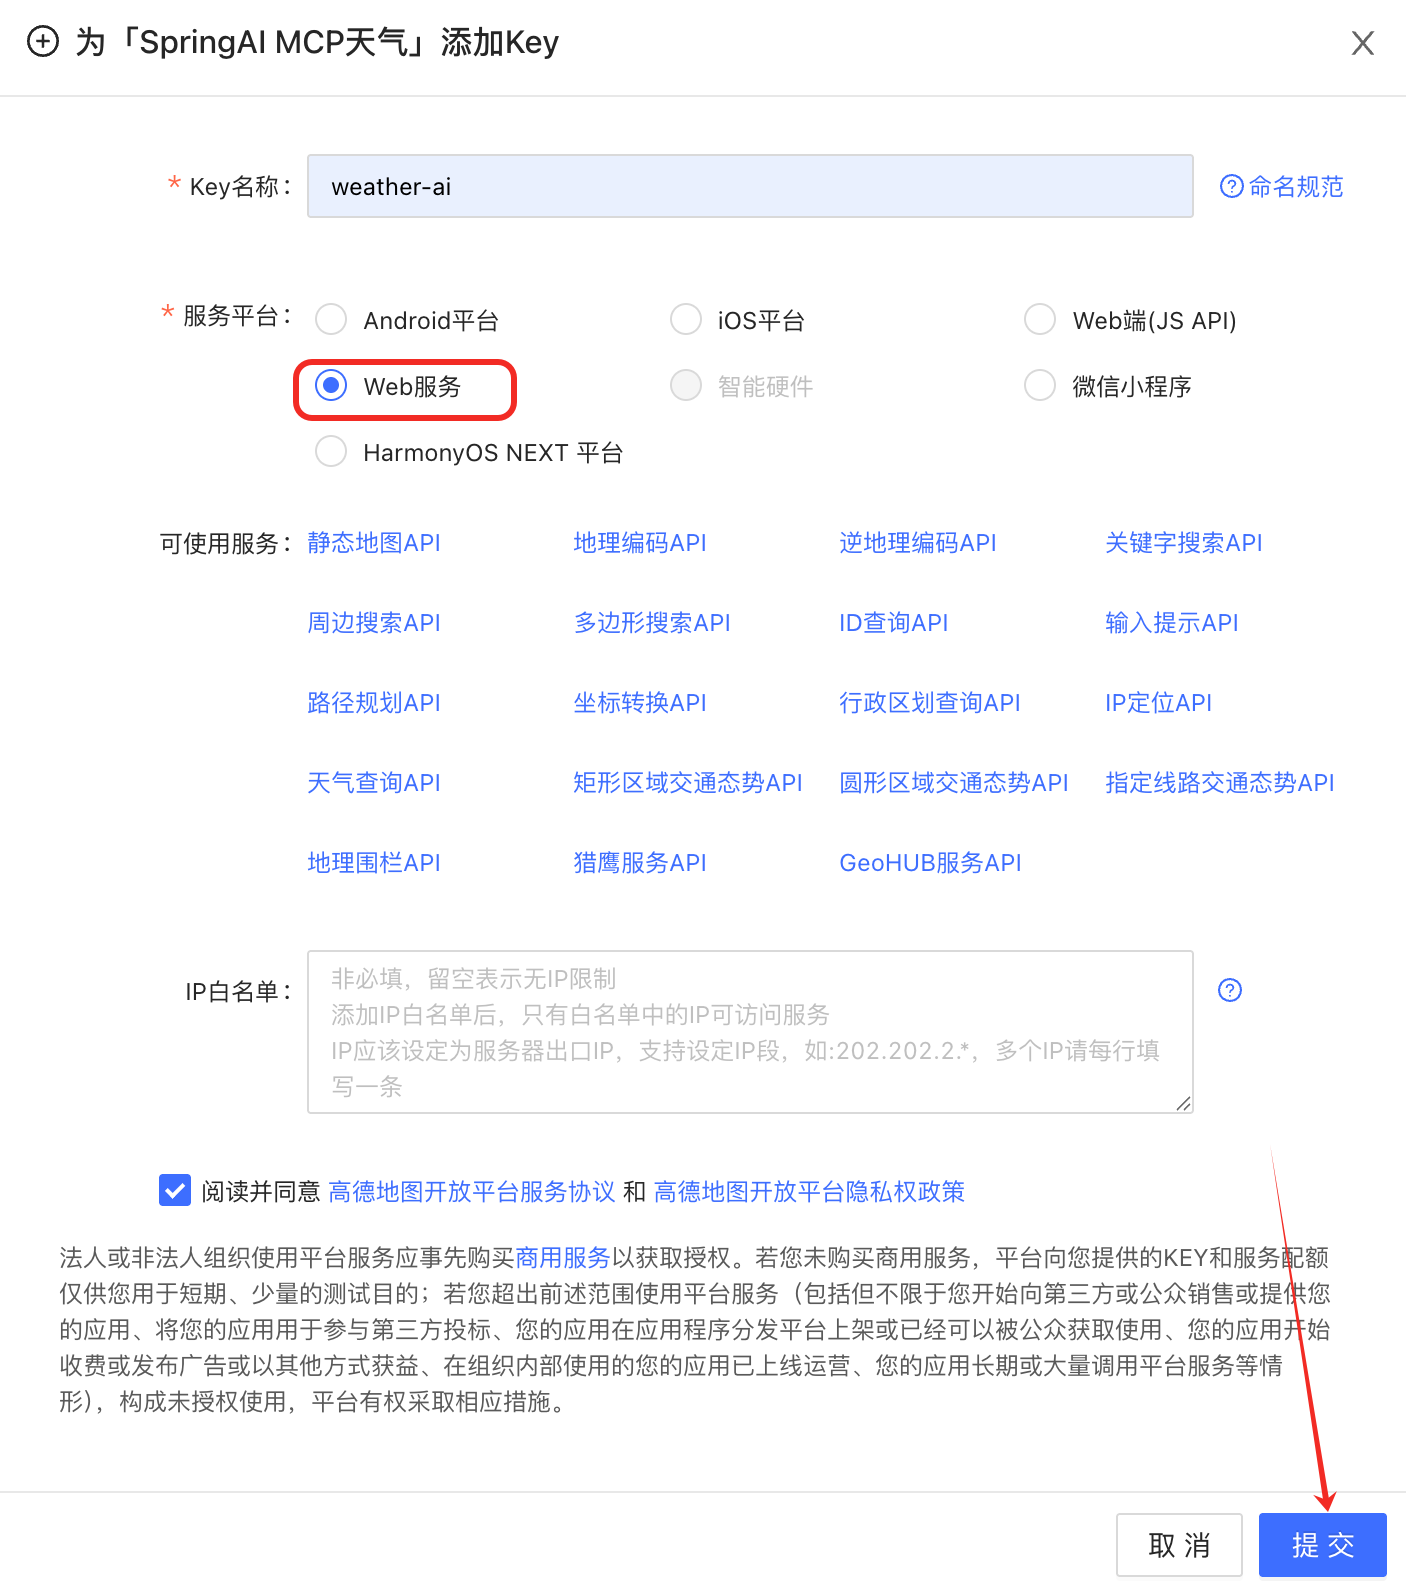
1.创建key
进入高德官网注册,创建key
https://console.amap.com/dev/id/phone(官网)
2.编写yml文件
引入自己的key
#高德的key
AMAP-KEY: #自己的key,复制上
3.创建工具类
3.1AmapService
java
package com.jiazhong.mingxing.ai.siliconflow.mcp.glm.service;

import org.springframework.stereotype.Service;

@Service
public interface AmapSrvice {
    String weatherAmap(String city);
}
3.2Impl类
java
package com.jiazhong.mingxing.ai.siliconflow.mcp.glm.service.impl;

import com.jiazhong.mingxing.ai.siliconflow.mcp.glm.service.AmapSrvice;
import jakarta.annotation.Resource;
import org.springframework.ai.tool.annotation.Tool;
import org.springframework.ai.tool.annotation.ToolParam;
import org.springframework.beans.factory.annotation.Value;
import org.springframework.stereotype.Service;
import org.springframework.web.client.RestTemplate;

@Service
public class AmapServiceImpl implements AmapSrvice {
    @Resource
    private RestTemplate restTemplate;

    @Value("${AMAP-KEY}")
    private String key;
    @Tool(description = "根据城市获取到具体天气情况")
    public String weatherAmap(@ToolParam(description = "具体的城市名称") String city) {
        String url="https://restapi.amap.com/v3/weather/weatherInfo?key="+
                key + "&city=" + city + "&extensions=all";
        return restTemplate.getForObject(url,String.class);
    }
}
4.注册工具类
java
@Configuration
public class ChatClientConfig {
    /*@Resource
    private OpenAiChatModel openAiChatModel;
    @Resource
    private NowDateToolService nowDateToolService;
    @Resource
    private WeatherJiaService weatherJiaService;*/
    @Resource
    private AmapSrvice amapService;
    @Bean("openAiChatClient")
    public ChatClient openAiChatClient(OpenAiChatModel openAiChatModel){
       /* FunctionToolCallback<Weather.WeatherRequest,Weather.WeatherResponse> toolCallback
                =FunctionToolCallback.builder("weatherJiaServiceImpl",weatherJiaService)
                .description("获取到执行位置的天气").inputType(Weather.WeatherRequest.class).build();*/
        return ChatClient.builder(openAiChatModel)
                /*.defaultTools(currentWeather)*/
                /*.defaultToolNames("currentWeather","currentDressing")*/
                .defaultTools(amapService)
                .build();
    }
}