目录
前言:本文提供了在windows系统下千问大模型的微调方法,并提供了数据集的来源。
一、在终端中识别minicoda
在windows下载好miniconda的时候,打开终端,发现左侧并没有虚拟环境的标识。为了有这个标识,需要做一些配置工作。
先运行一下
bashconda init,再重启终端,可能会报错:"无法加载文件 C:\Users\username\Documents\WindowsPowerShell\profile.ps1,因为在此系统上禁止运行脚本。"
此时管理员身份打开Powershell,运行
bashSet-ExecutionPolicy -ExecutionPolicy RemoteSigned,输入y确认修改。在vscode中重启终端即可。
最后的效果

二、环境搭建
1.查看显卡,下载对应的cuda
这个命令我的电脑自带的。windows下显卡默认就给搞好了。
12.5的意思是,最多支持12.5版本的cuda。
bash
nvidia-smi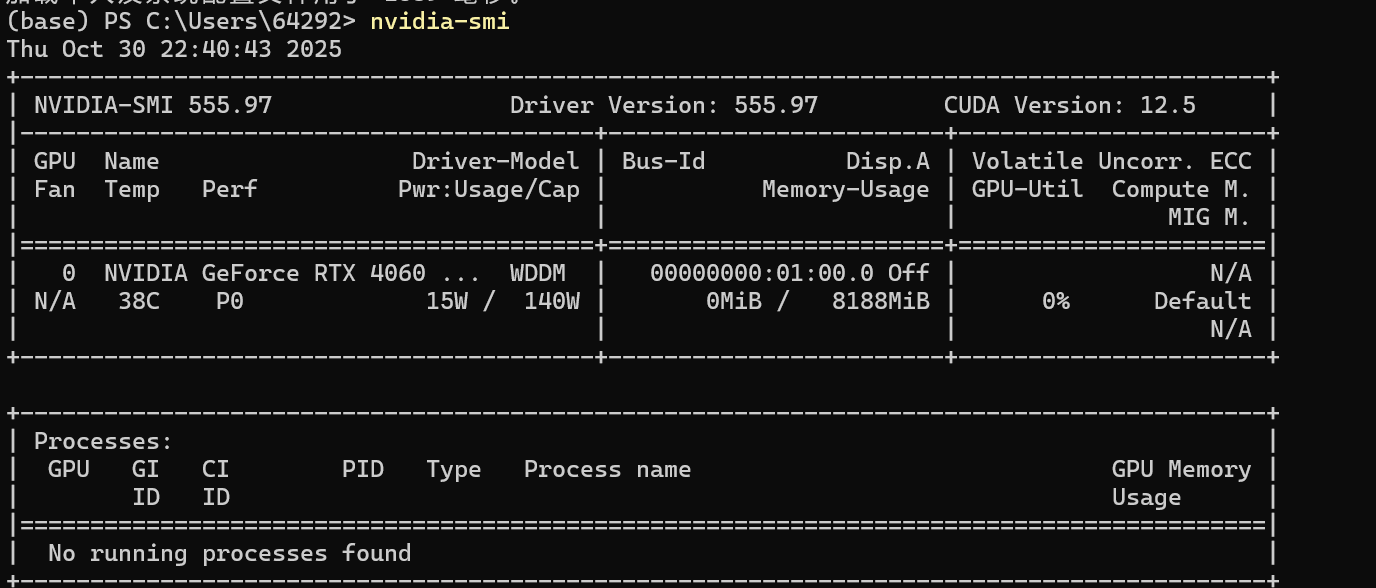
2.安装相关包
1️⃣ 安装 Python 环境
建议使用 Python 3.10+
bashconda create -n lora python=3.10 conda activate lora2️⃣ 安装 PyTorch(CUDA 12.1)
如果你之前能在 4060 上跑 PyTorch,可以跳过这步。
bashpip install torch torchvision torchaudio --index-url https://download.pytorch.org/whl/cu121验证:
bashpython -c "import torch; print(torch.cuda.is_available(), torch.cuda.get_device_name(0))"✅ 应输出
True和NVIDIA GeForce RTX 40603️⃣ 安装其他依赖
bashpip install transformers datasets peft bitsandbytes accelerate sentencepiece
transformers:Hugging Face 模型框架
datasets:加载和处理数据
peft:参数高效微调(LoRA、QLoRA)
bitsandbytes:低比特量化支持(4bit/8bit)
accelerate:自动多设备调度
sentencepiece:部分 tokenizer(如 LLaMA、Qwen)依赖
三、下载Qwen2.5-1.5B
1.关于Hugging Face
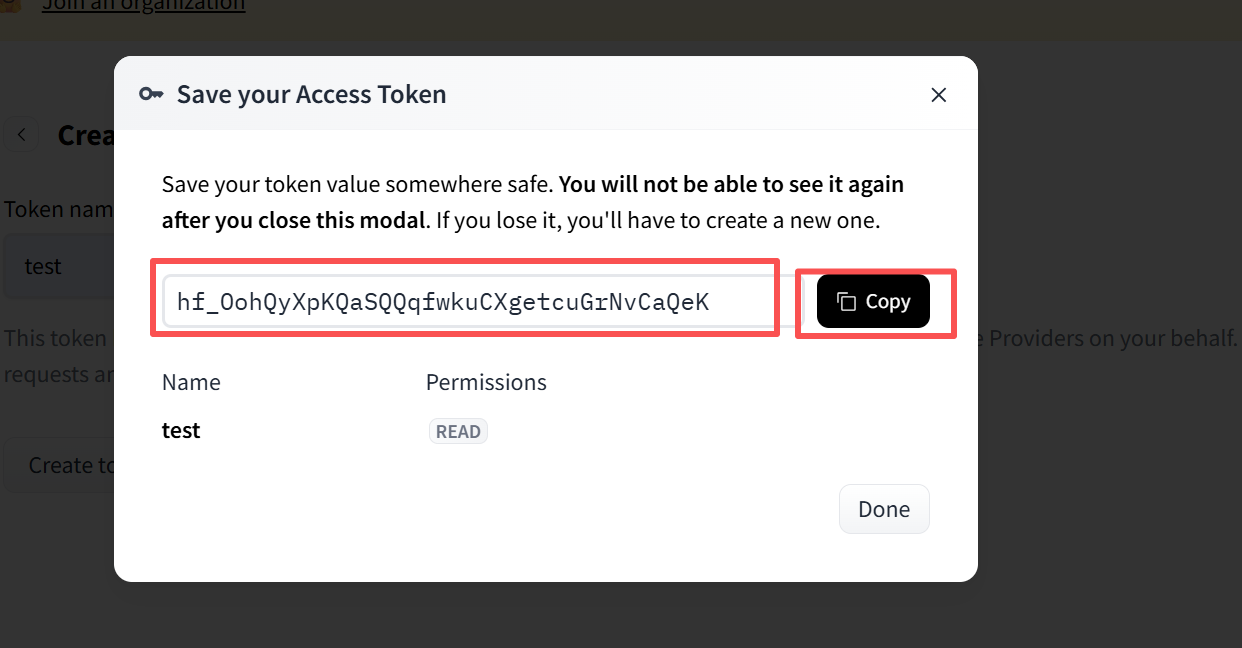
Hugging Face是一个大模型的github,可以从这个网站中拿到模型和数据集。你要做的就是首先注册一个账号,之后进入账号页面,如下图。之后Create new token。
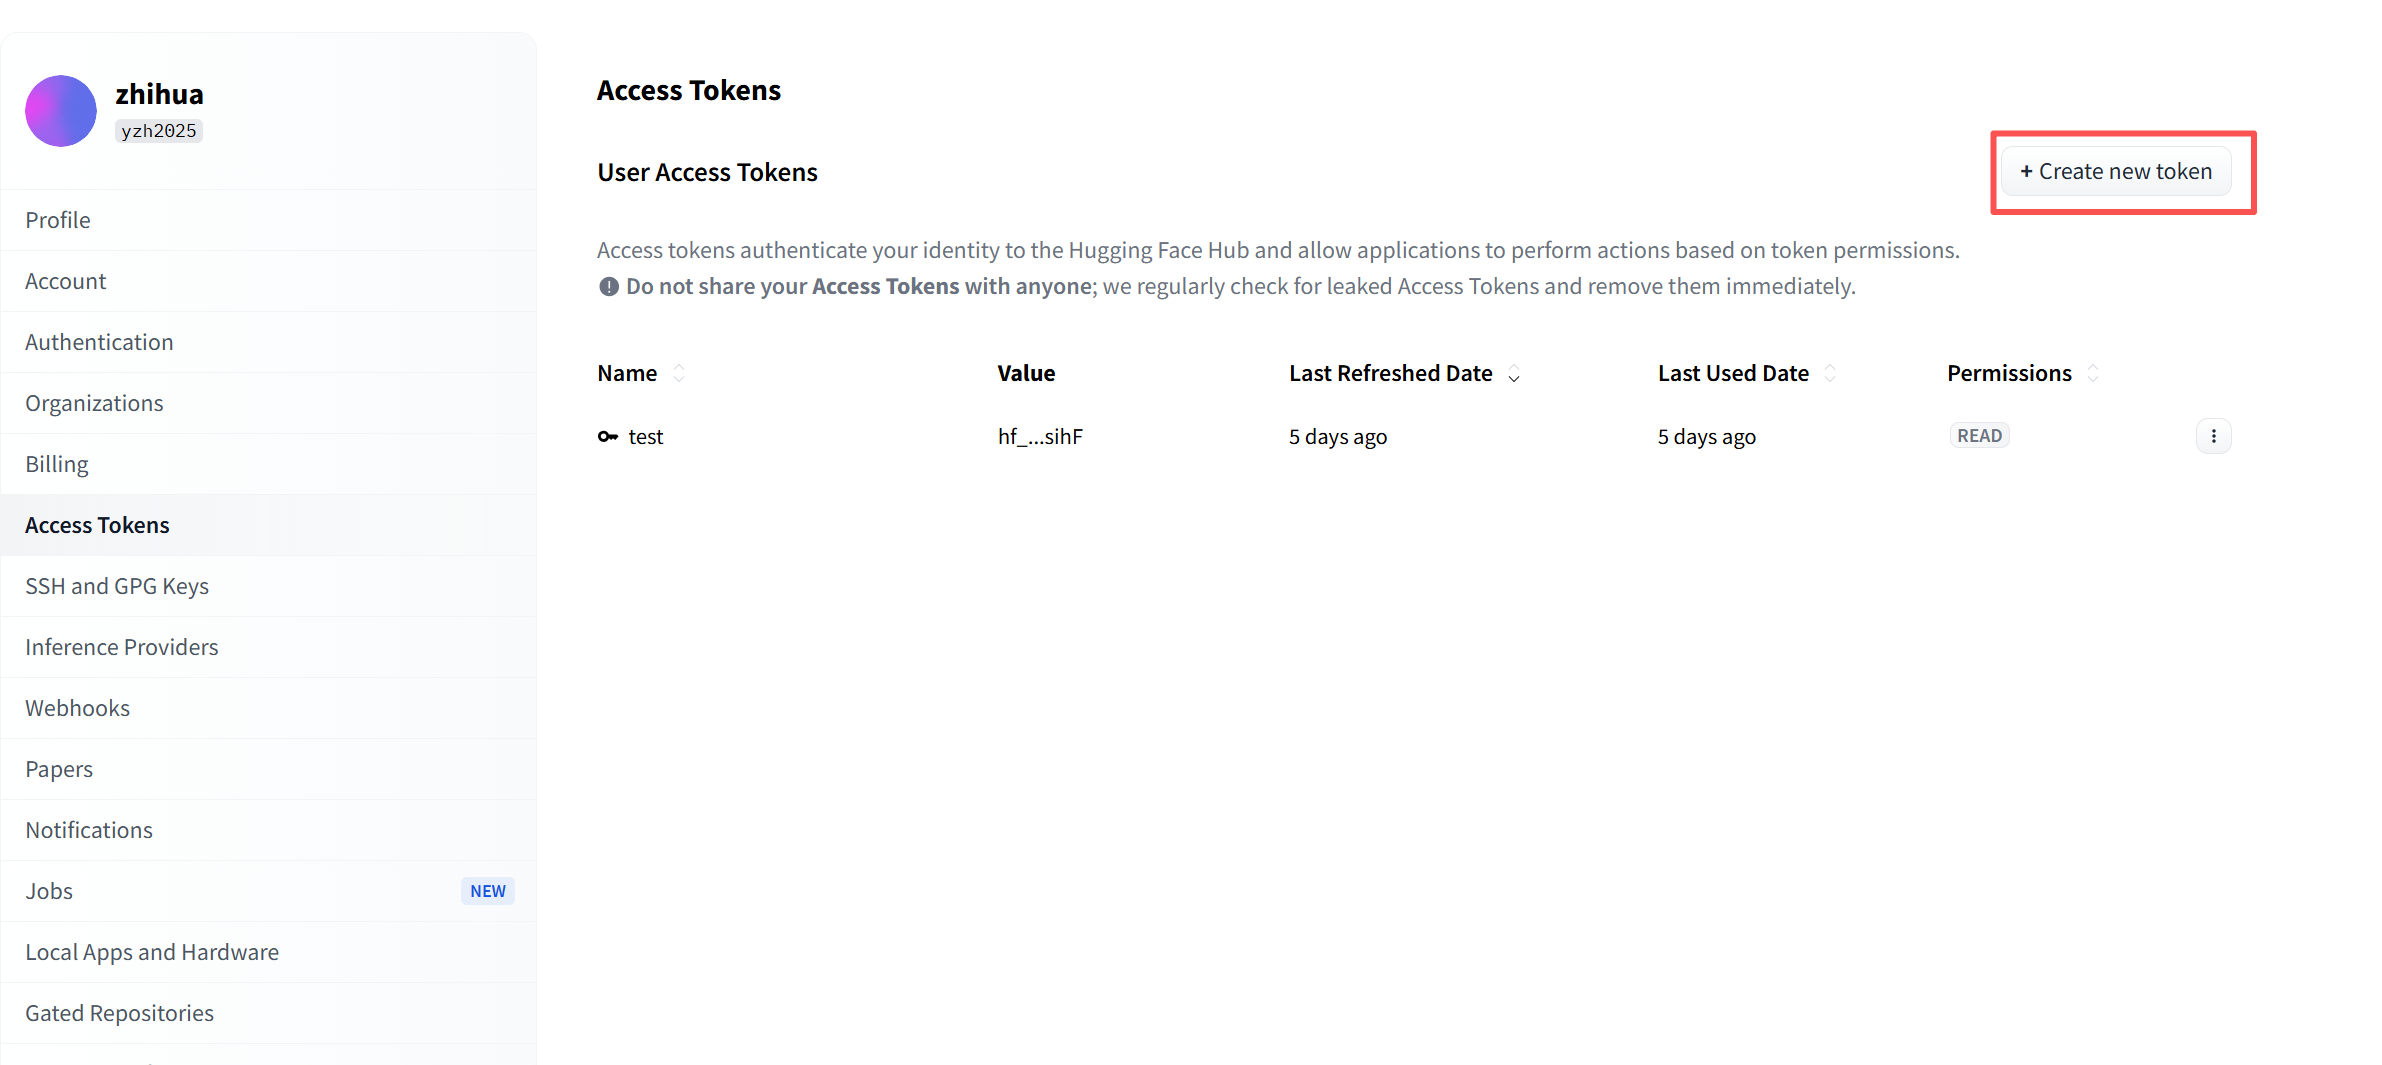
之后弹出页面如下,按照下面截图选择
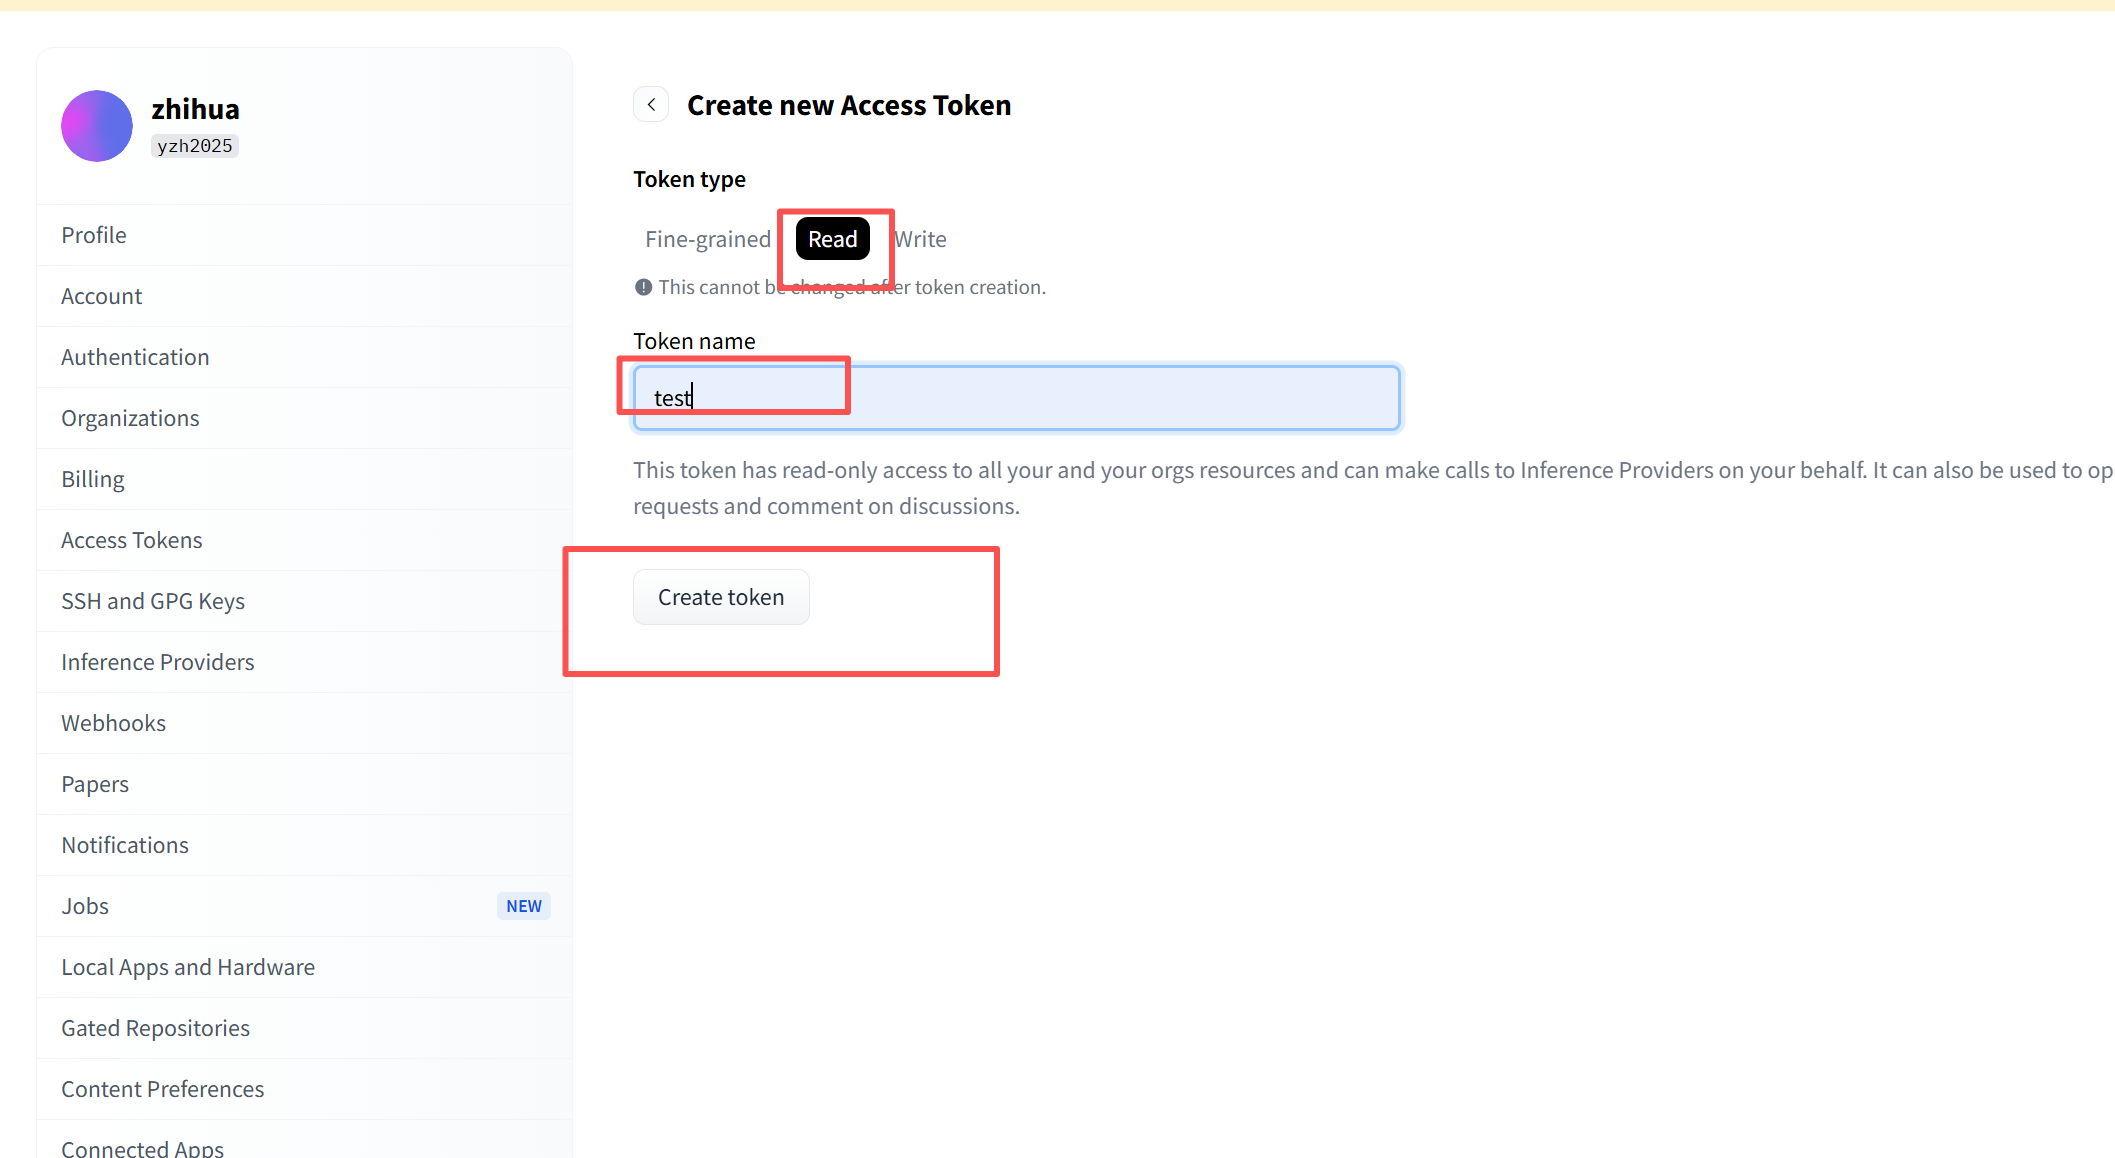
之后复制这个码。
2.下载模型
安装 huggingface 命令行工具
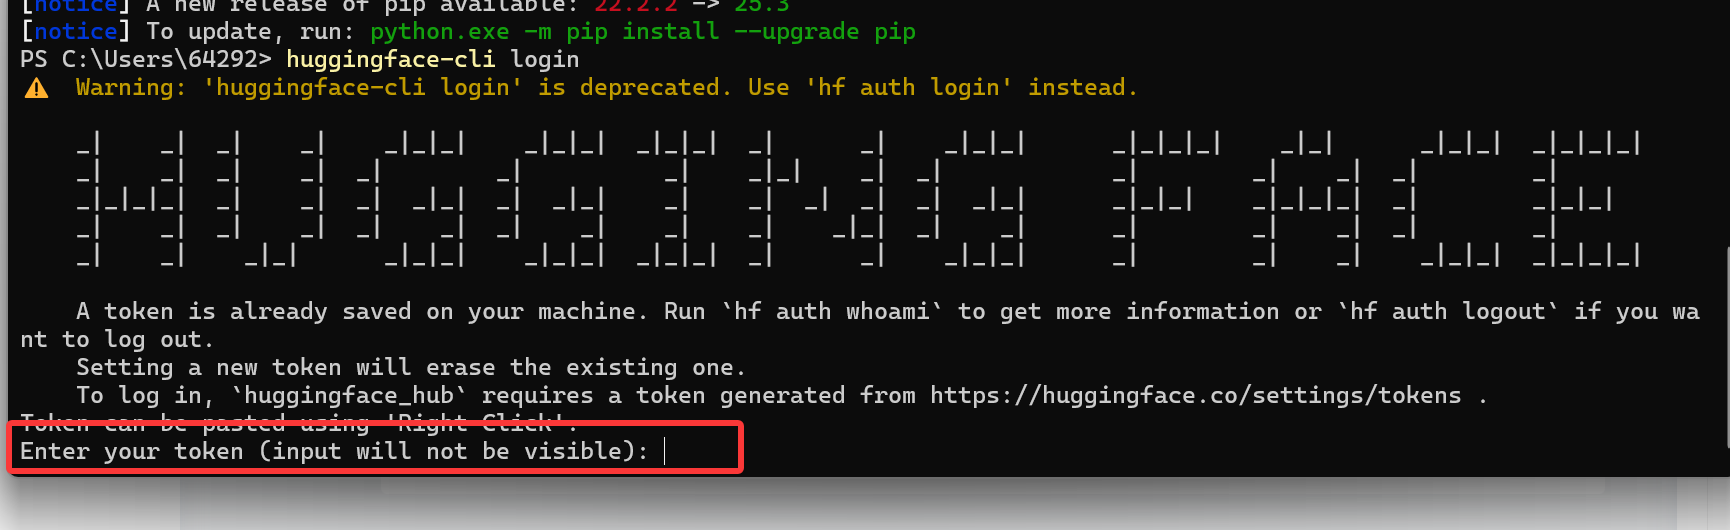
bashpip install huggingface_hub登录(如果模型需要授权)
bashhuggingface-cli login之后把上面的第一步的token码填上去
一键下载整个模型目录
bashhuggingface-cli download Qwen/Qwen2.5-1.5B-Instruct --local-dir ./Qwen2.5-1.5B-Instruct
四、调用Qwen2.5.1-1.5B
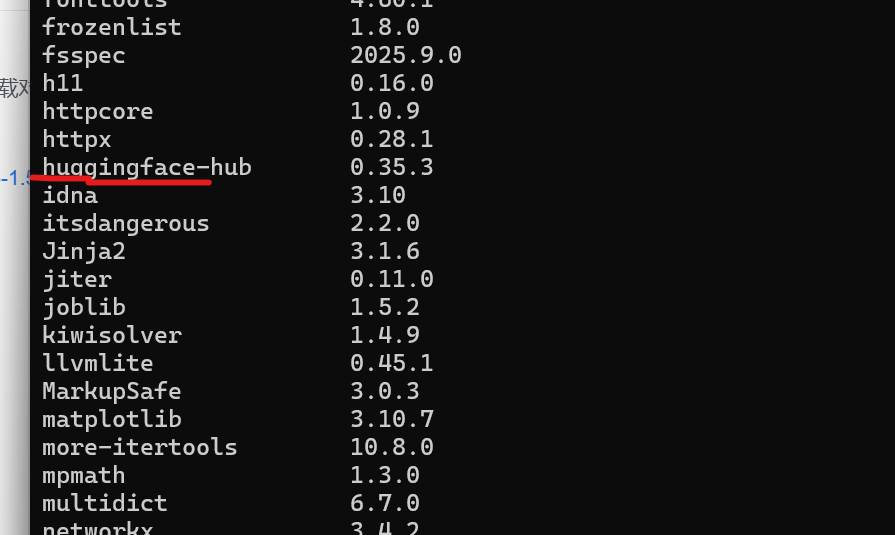
1.各功能包版本
python
(lora) PS C:\Users\64292\Desktop\大模型学习\xiaozhi\weitiao> pip list
Package            Version
------------------ ------------
accelerate         1.11.0
aiohappyeyeballs   2.6.1
aiohttp            3.13.1
aiosignal          1.4.0
anyio              4.11.0
async-timeout      5.0.1
attrs              25.4.0
bitsandbytes       0.48.1
certifi            2025.10.5
cffi               2.0.0
charset-normalizer 3.4.4
colorama           0.4.6
datasets           4.3.0
dill               0.4.0
docstring_parser   0.17.0
edge-tts           7.2.3
exceptiongroup     1.3.0
filelock           3.19.1
frozenlist         1.8.0
fsspec             2025.9.0
gensim             4.4.0
h11                0.16.0
httpcore           1.0.9
httpx              0.28.1
huggingface-hub    0.36.0
idna               3.11
Jinja2             3.1.6
llvmlite           0.45.1
markdown-it-py     4.0.0
MarkupSafe         2.1.5
mdurl              0.1.2
more-itertools     10.8.0
mpmath             1.3.0
multidict          6.7.0
multiprocess       0.70.16
networkx           3.3
numba              0.62.1
numpy              1.26.4
openai-whisper     20250625
packaging          25.0
pandas             2.3.3
peft               0.17.1
pillow             11.3.0
pip                25.2
propcache          0.4.1
psutil             7.1.1
pyarrow            22.0.0
pycparser          2.23
pydub              0.25.1
Pygments           2.19.2
python-dateutil    2.9.0.post0
pytz               2025.2
PyYAML             6.0.3
regex              2025.10.23
requests           2.32.5
rich               14.3.1
safetensors        0.6.2
scipy              1.15.3
sentencepiece      0.2.1
setuptools         80.9.0
six                1.17.0
smart_open         7.4.1
sniffio            1.3.1
sounddevice        0.5.3
soundfile          0.13.1
sympy              1.13.1
tabulate           0.9.0
tiktoken           0.12.0
tokenizers         0.22.1
torch              2.5.1+cu121
torchaudio         2.5.1+cu121
torchvision        0.20.1+cu121
tqdm               4.67.1
transformers       4.57.1
trl                0.11.4
typeguard          4.4.4
typing_extensions  4.15.0
tyro               1.0.5
tzdata             2025.2
urllib3            2.5.0
wheel              0.45.1
wrapt              2.0.0
xxhash             3.6.0
yarl               1.22.0
transformers       4.57.1
trl                0.11.4
typeguard          4.4.4
typing_extensions  4.15.0
tyro               1.0.5
tzdata             2025.2
urllib3            2.5.0
wheel              0.45.1
wrapt              2.0.0
xxhash             3.6.0
yarl               1.22.0
2.示例代码
python
from transformers import AutoModelForCausalLM, AutoTokenizer
import torch
# ① 模型路径(改成你的本地路径)
model_dir = r"C:\Users\64292\Desktop\大模型学习\xiaozhi\weitiao\Qwen2.5-1.5B-Instruct"
# ② 加载模型与分词器
print("🚀 正在加载模型,请稍候...")
tokenizer = AutoTokenizer.from_pretrained(model_dir, trust_remote_code=True)
model = AutoModelForCausalLM.from_pretrained(
model_dir,
torch_dtype=torch.float16,
device_map="cuda" if torch.cuda.is_available() else "cpu"
)
print("✅ 模型加载完成!现在可以开始对话啦(输入 exit 退出)\n")
# ③ 系统提示词(控制整体语气与风格)
system_prompt = (
"你是一个指令解析器。请把【用户指令】转换成 JSON,只能输出 JSON,不要输出任何解释或多余文字。"
)
chat_history = f"系统:{system_prompt}\n"
# ④ 对话循环
while True:
user_input = input("👤 你:").strip()
if user_input.lower() in ["exit", "quit", "q"]:
print("👋 再见!")
break
# 构建输入上下文
chat_history += f"用户:{user_input}\nAI:"
# 编码输入
inputs = tokenizer(chat_history, return_tensors="pt").to(model.device)
# 生成回答
outputs = model.generate(
**inputs,
max_new_tokens=256,
temperature=0.7,
top_p=0.9,
do_sample=True,
pad_token_id=tokenizer.eos_token_id
)
# 解码输出
reply = tokenizer.decode(outputs[0], skip_special_tokens=True)
new_text = reply[len(chat_history):].strip()
# (可选)进一步裁剪过长回答,只保留前几句
if "。" in new_text and len(new_text) > 50:
new_text = new_text.split("。")[0] + "。"
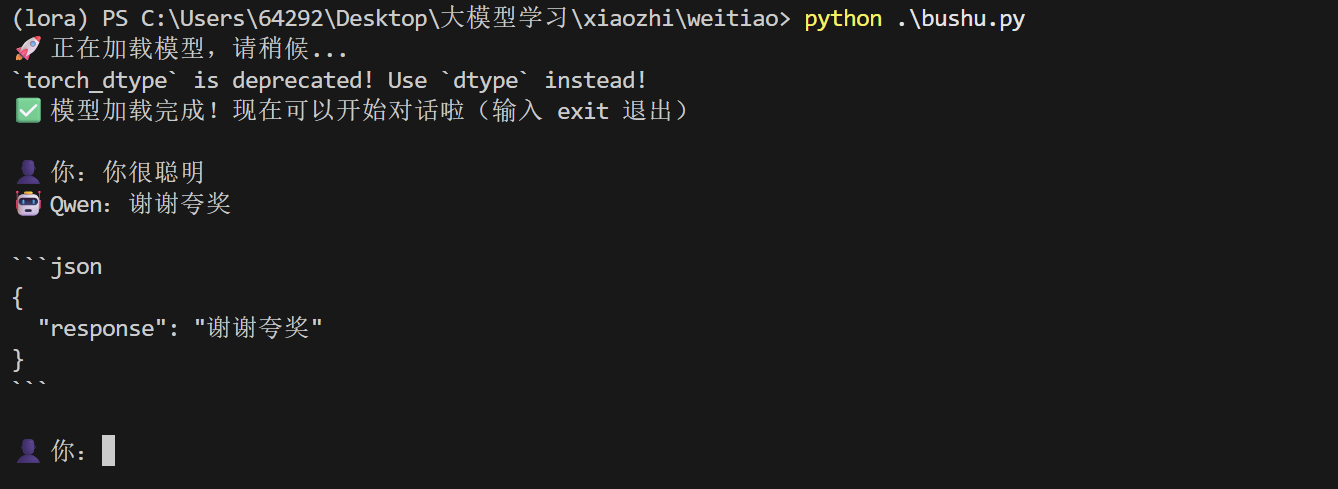
print(f"🤖 Qwen:{new_text}\n")
# 更新上下文
chat_history += new_text + "\n"3.运行结果