直接下载方法
git clone https://github.com/PX4/PX4-Autopilot.git --recursive

cd PX4-Autopilot/

git submodule update --init --recursive
直到不再下载东西为止
这样就可以把全部代码给拉下来
以下是国内下载的方法
1.先git clone px4的源码
git代码肯定需要先安装git
sudo apt-get install git我们可以从gitee拉下来px4
git clone https://gitee.com/voima/PX4-Autopilot.git

cd ~/PX4-Autopilot
#切换到1.17.0分支,当然也可以尝试其他版本
# 使用以下命令切换版本,以V1.17.0为例:
git checkout v1.17.0
2.git clone模块
因为PX4的完整项目是嵌套子模块存储的,以上命令只下载了px4的基本代码,所以我们要进行子模块的下载,运行下列命令:
# 此部分不执行,解释作用:
#在~/PX4-Autopilot目录下执行
#git submodule update --init --recursive
#以上命令中,submodule是子模块的意思, ---init 选项会初始化,并注册子模块的地址,---recursive选项会递归克隆子模块。
#此更新的链接来源于:~/PX4-Autopilot/.gitmodules(注意是隐藏文件)

# 执行此部分:
#需要先进入~/PX4-Autopilot/.gitmodules文件

vi ~/PX4-Autopilot/.gitmodules

#将文件打开,可以看到里面都github的地址,直接用上面的命令,会很难成功
#所以:将其更新为 gitee 的地址,已经整理测试好了,直接替换掉文件的内容即可


[submodule "src/modules/mavlink/mavlink"]
    path = src/modules/mavlink/mavlink
    url = https://gitee.com/wtp95/mavlink.git
    branch = master
[submodule "Tools/flightgear_bridge"]
    path = Tools/simulation/flightgear/flightgear_bridge
    url = https://gitee.com/seokhb/PX4-FlightGear-Bridge.git
[submodule "Tools/simulation/gazebo-classic/sitl_gazebo-classic"]
    path = Tools/simulation/gazebo-classic/sitl_gazebo-classic
    url = https://gitee.com/seokhb/PX4-SITL_gazebo-classic.git
    branch = main
[submodule "Tools/simulation/jmavsim/jMAVSim"]
    path = Tools/simulation/jmavsim/jMAVSim
    url = https://gitee.com/seokhb/jMAVSim.git
    branch = main
[submodule "Tools/simulation/jsbsim/jsbsim_bridge"]
    path = Tools/simulation/jsbsim/jsbsim_bridge
    url = https://gitee.com/seokhb/px4-jsbsim-bridge.git
[submodule "platforms/nuttx/NuttX/apps"]
    path = platforms/nuttx/NuttX/apps
    url = https://gitee.com/seokhb/NuttX-apps.git
    branch = px4_firmware_nuttx-10.3.0+
[submodule "platforms/nuttx/NuttX/nuttx"]
    path = platforms/nuttx/NuttX/nuttx
    url = https://gitee.com/seokhb/NuttX.git
    branch = px4_firmware_nuttx-10.3.0+-v1.14
[submodule "src/drivers/cyphal/public_regulated_data_types"]
    path = src/drivers/cyphal/public_regulated_data_types
    url = https://gitee.com/seokhb/public_regulated_data_types.git
[submodule "src/drivers/cyphal/legacy_data_types"]
    path = src/drivers/cyphal/legacy_data_types
    url = https://gitee.com/jiyuanwangxs/legacy_data_types.git
    branch = legacy
[submodule "src/drivers/cyphal/libcanard"]
    path = src/drivers/cyphal/libcanard
    url = https://gitee.com/seokhb/libcanard.git
[submodule "src/drivers/gps/devices"]
    path = src/drivers/gps/devices
    url = https://gitee.com/seokhb/PX4-GPSDrivers.git
    branch = main
[submodule "src/drivers/uavcan/libuavcan"]
    path = src/drivers/uavcan/libuavcan
    url = https://gitee.com/seokhb/libuavcan.git
[submodule "src/lib/crypto/libtomcrypt"]
    path = src/lib/crypto/libtomcrypt
    url = https://gitee.com/seokhb/libtomcrypt.git
    branch = px4
[submodule "src/lib/crypto/libtommath"]
    path = src/lib/crypto/libtommath
    url = https://gitee.com/seokhb/libtommath.git
    branch = px4
[submodule "src/lib/crypto/monocypher"]
    path = src/lib/crypto/monocypher
    url = https://gitee.com/seokhb/Monocypher.git
    branch = px4
[submodule "src/lib/events/libevents"]
    path = src/lib/events/libevents
    url = https://gitee.com/seokhb/libevents.git
    branch = main
[submodule "src/modules/uxrce_dds_client/Micro-XRCE-DDS-Client"]
    path = src/modules/uxrce_dds_client/Micro-XRCE-DDS-Client
    url = https://gitee.com/seokhb/Micro-XRCE-DDS-Client.git
    branch = px4

# 然后执行下面的命令,就可以了
git submodule update --init --recursive

有的子模块还是走的github,失败了就多执行几次,直到用上面命令不再下载东西了就可以了
3.一键配置环境
px4内部有对部分操作系统有一键配置的功能
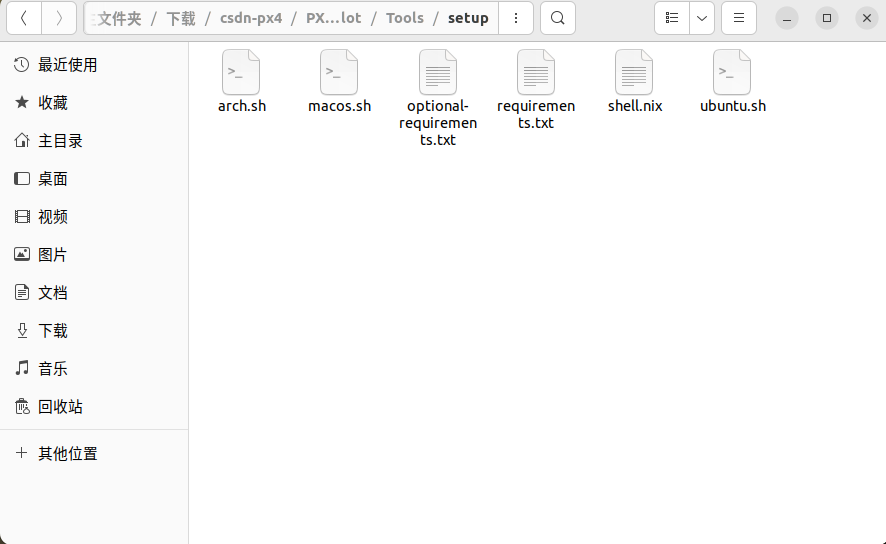
路径::~/下载/csdn-px4/PX4-Autopilot/Tools/setup
./ubuntu.sh然后就等待就可以了,等待安装完成为止
在PX4-Autopilot下面执行
make px4_fmu-v5_default编译没有报错,就算是完成了
4.安装qgc
qgc支持ubuntu22.04和24版本的,这俩个版本可以直接下载对应的包,就可以直接使用,如果是低于22.04的操作系统,需要编译qgc源码来安装
qgc下载链接
chmod +x QGroundControl-<arch>.AppImage
./QGroundControl-<arch>.AppImage
第二种办法,编译源码安装
参考链接