前置准备
ubuntu服务器和域名
下载nginx
shell
sudo apt install nginx -y修改配置文件
shell
sudo vim /etc/nginx/sites-available/default增加内容如下:
js
location /xray {  # 自定义路径
    proxy_redirect off;
    proxy_pass http://127.0.0.1:10000;  # xRay监听的端口
    proxy_http_version 1.1;
    proxy_set_header Upgrade $http_upgrade;
    proxy_set_header Connection "upgrade";
    proxy_set_header Host $host;
}
至此,nginx的工作就算做完了
下载xray
shell
sudo bash -c "$(curl -L https://github.com/XTLS/Xray-install/raw/main/install-release.sh)" @ install修改配置文件
先准备一个uuid,在配置文件与客户端都需要用到
shell
xray uuid将返回的uuid复制下来
shell
sudo vim /usr/local/etc/xray/config.json以下是全部内容,可以直接复制使用,按需调整port/uuid/path
js
{
  "log": {
    "loglevel": "warning"
  },
  "inbounds": [
    {
      "port": 10000, #监听的端口
      "listen": "127.0.0.1",
      "protocol": "vless",
      "settings": {
        "clients": [
          {
            "id": "UUID" #自定义一个uuid,这里跟客户端一样即可,范围是1-30字节的字符(这里就是填刚才获得的uuid,你也可以不使用uuid,随便几个字符串也行)
          }
        ],
        "decryption": "none"
      },
      "streamSettings": {
        "network": "ws",
        "wsSettings": {
          "path": "/xray" #nginx的路径
        }
      }
    }
  ],
  "outbounds": [
    {
      "protocol": "freedom",
      "tag": "direct"
    }
  ]
}
申请证书
shell
#安装Certbot
sudo apt install certbot python3-certbot-nginx -y
#申请证书
sudo certbot --nginx -d domian.com #填你的域名
#自动续期
sudo systemctl enable certbot.timer
开放端口
shell
sudo ufw allow 22/tcp  # SSH端口
sudo ufw allow 80/tcp   # HTTP
sudo ufw allow 443/tcp  # HTTPS
sudo ufw allow 10000/tcp #xray的端口
sudo ufw enable  #开启防火墙
所有准备工作都做完了,现在可以启动我们的xray和nginx服务了
如果之前启动了,那么修改了配置文件之后,记得重启
shell
#启动xray
sudo systemctl start xray
#重启nginx
sudo systemctl start nginx
客户端的配置
下载地址
在release下载自己的版本就好了,下面以window版举例。
1-点击配置项,添加一个vless服务
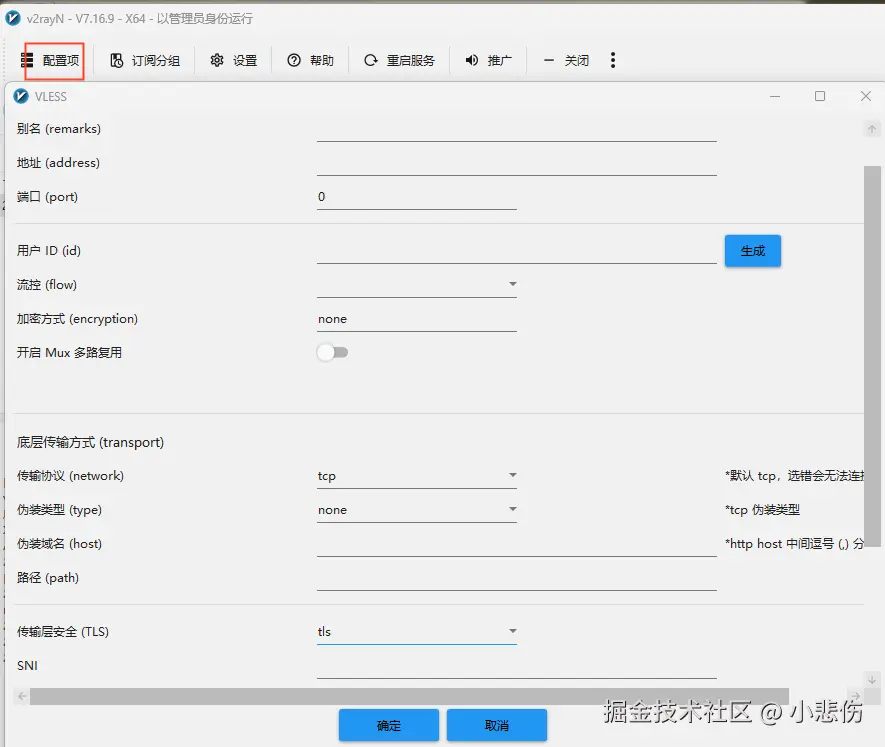
| 标题 | 值 |
|---|---|
| 别名 | 随便取一个 |
| 地址 | 你的服务器域名 |
| 端口 | 443 |
| 用户id | 配置文件的uuid |
| 传输协议 | ws |
| 伪装域名 | 你的服务器域名 |
| 路径 | nginx配置的路径 |
| 传输层安全 | tls |
| SNI | 你的服务器域名 |
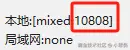
至此,服务端与客户端就搭建好了,最后,在网络设置打开代理模式,
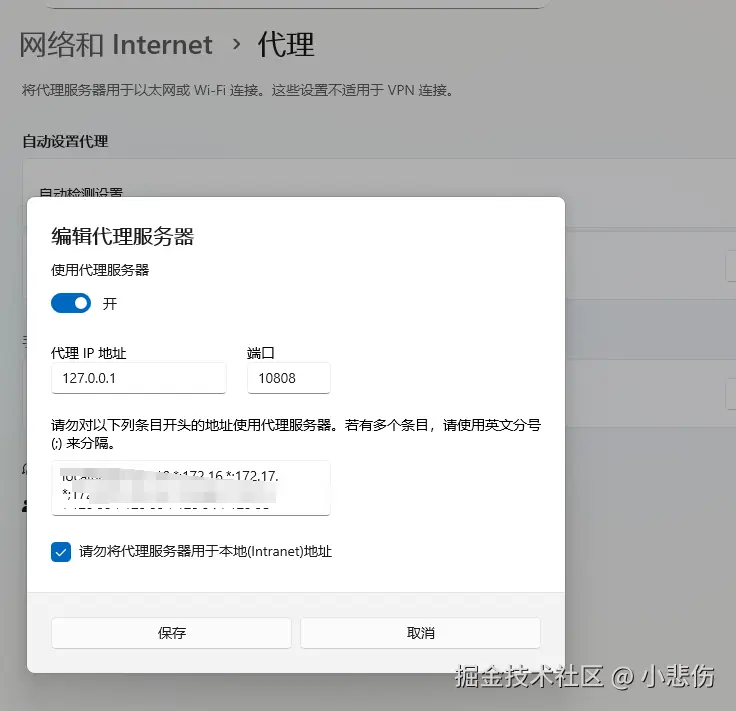
端口为客户端右下角的