在今天的文章中,我们将使用 Workflow 来展示如何使用 HTTP 来查询天气,以及发送消息到 Slack。
发送消息到 Slack
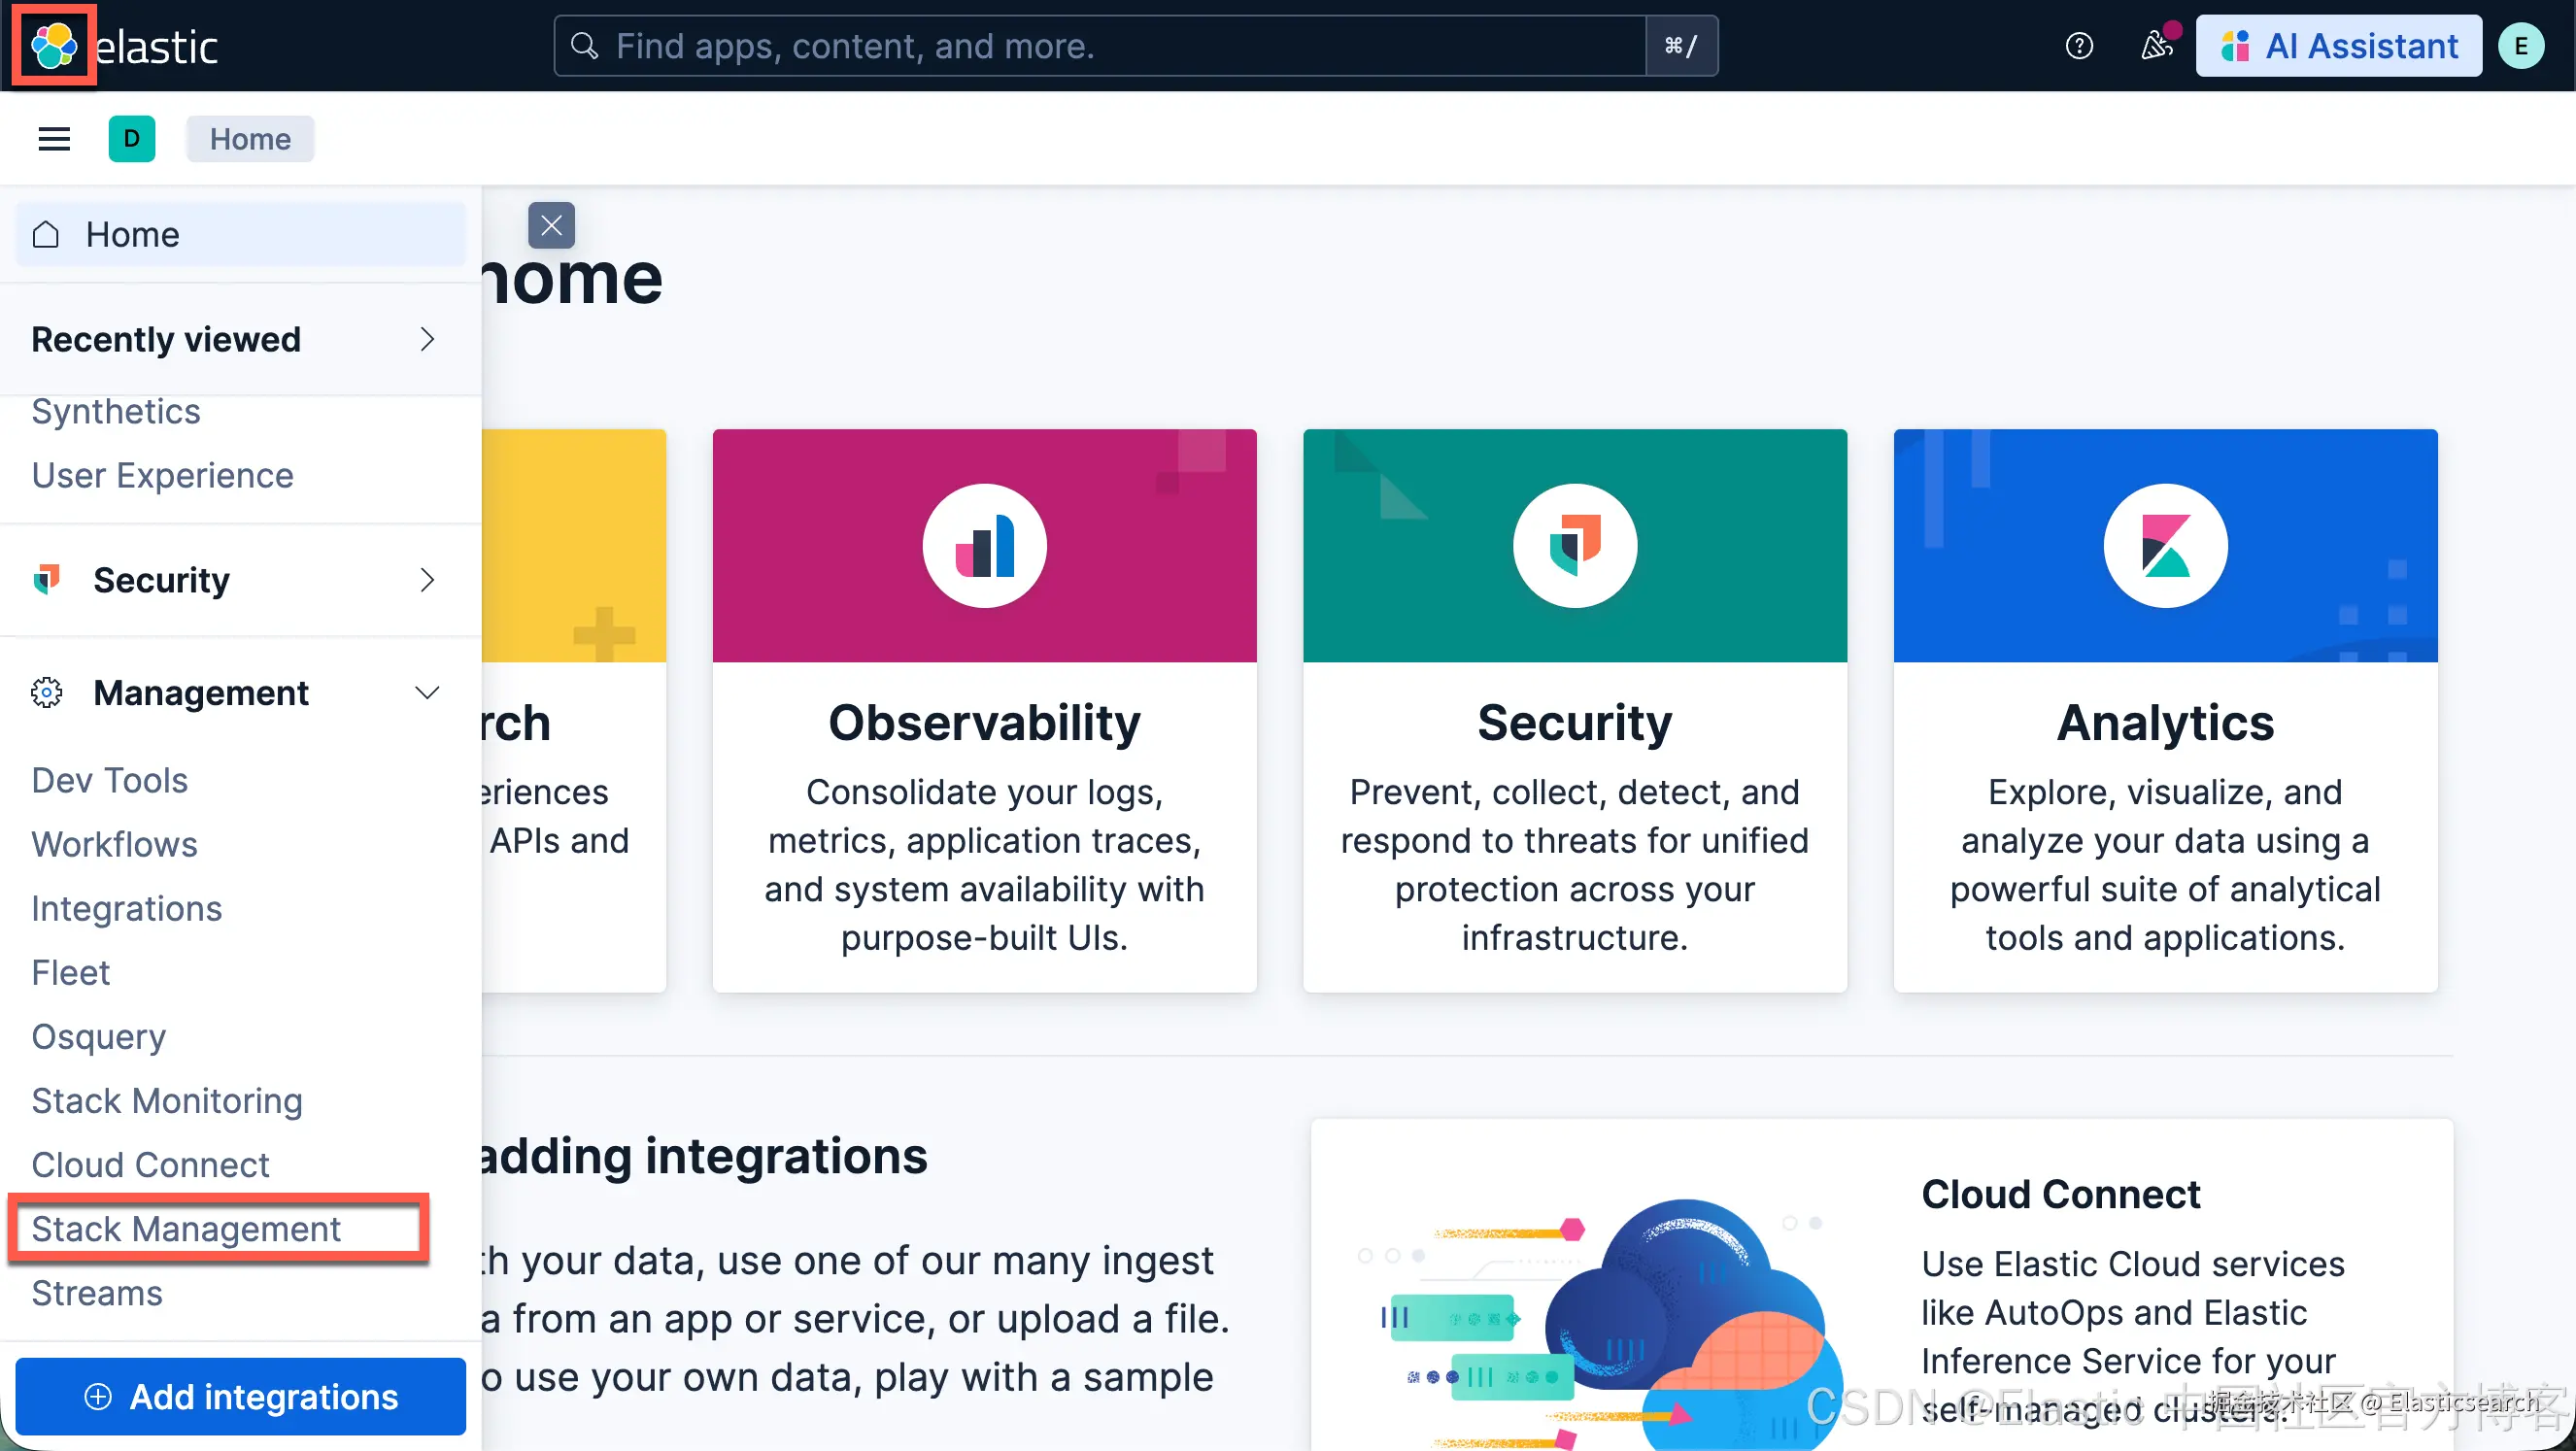
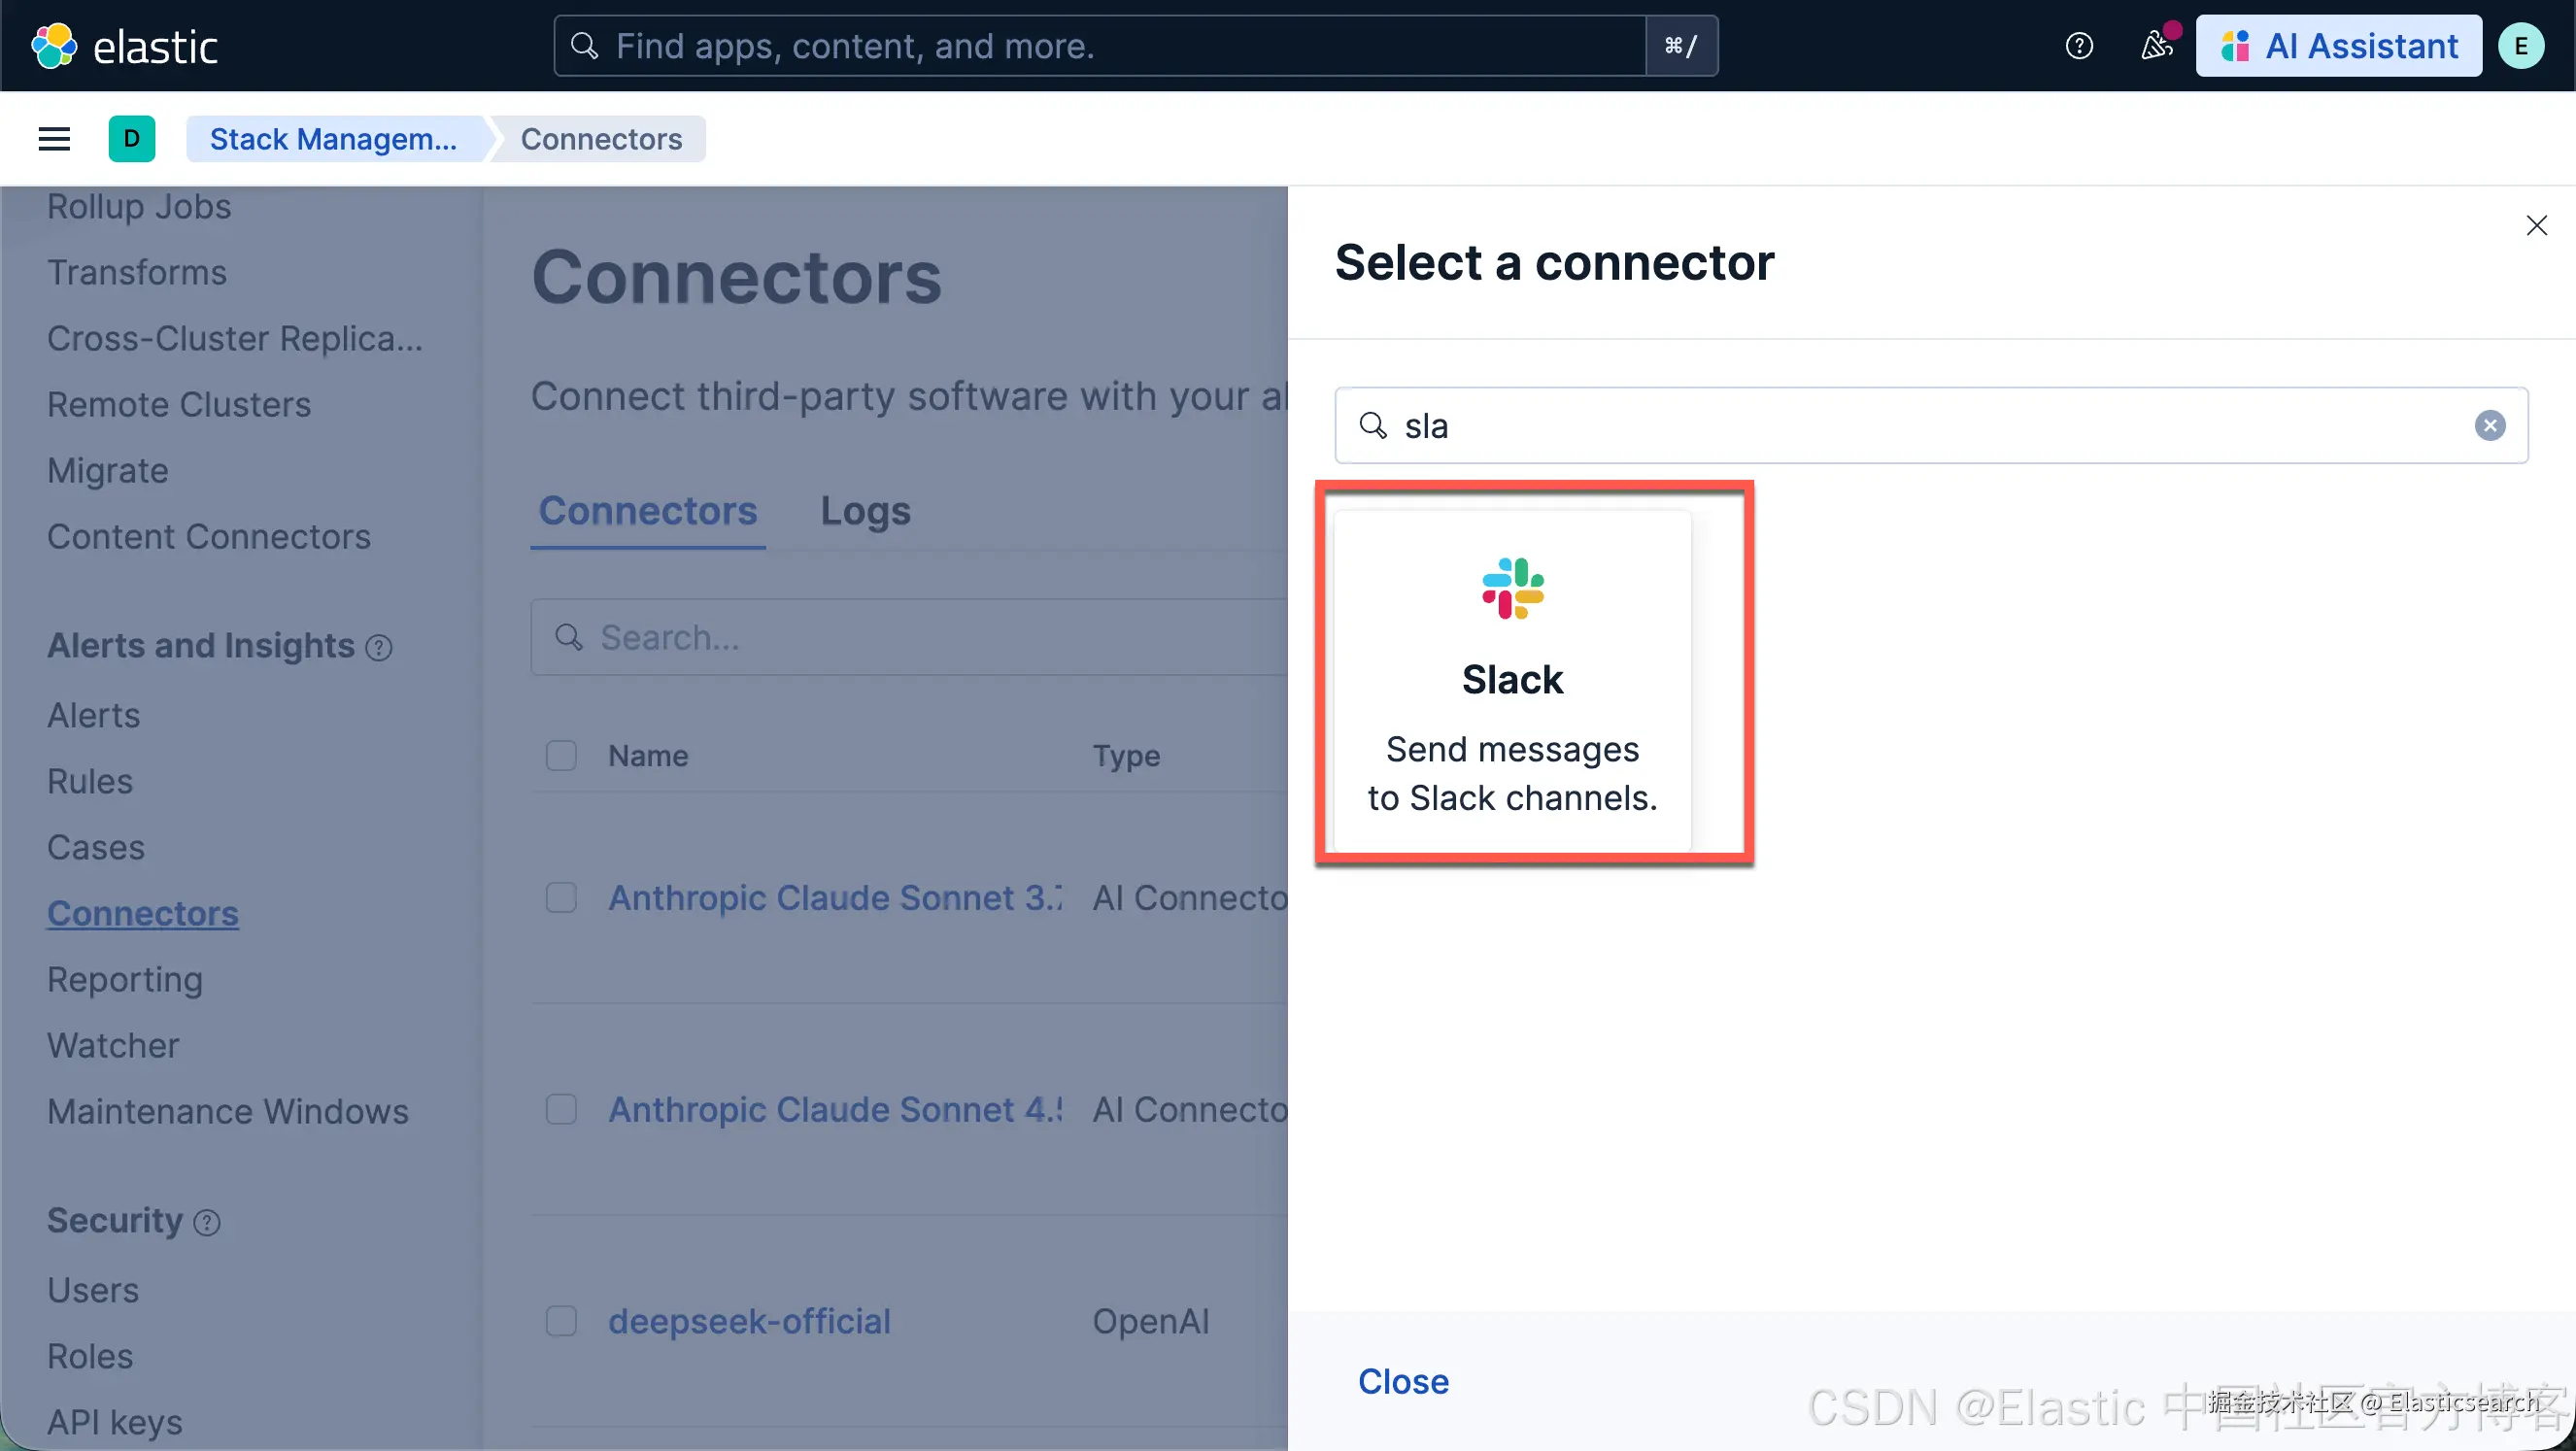
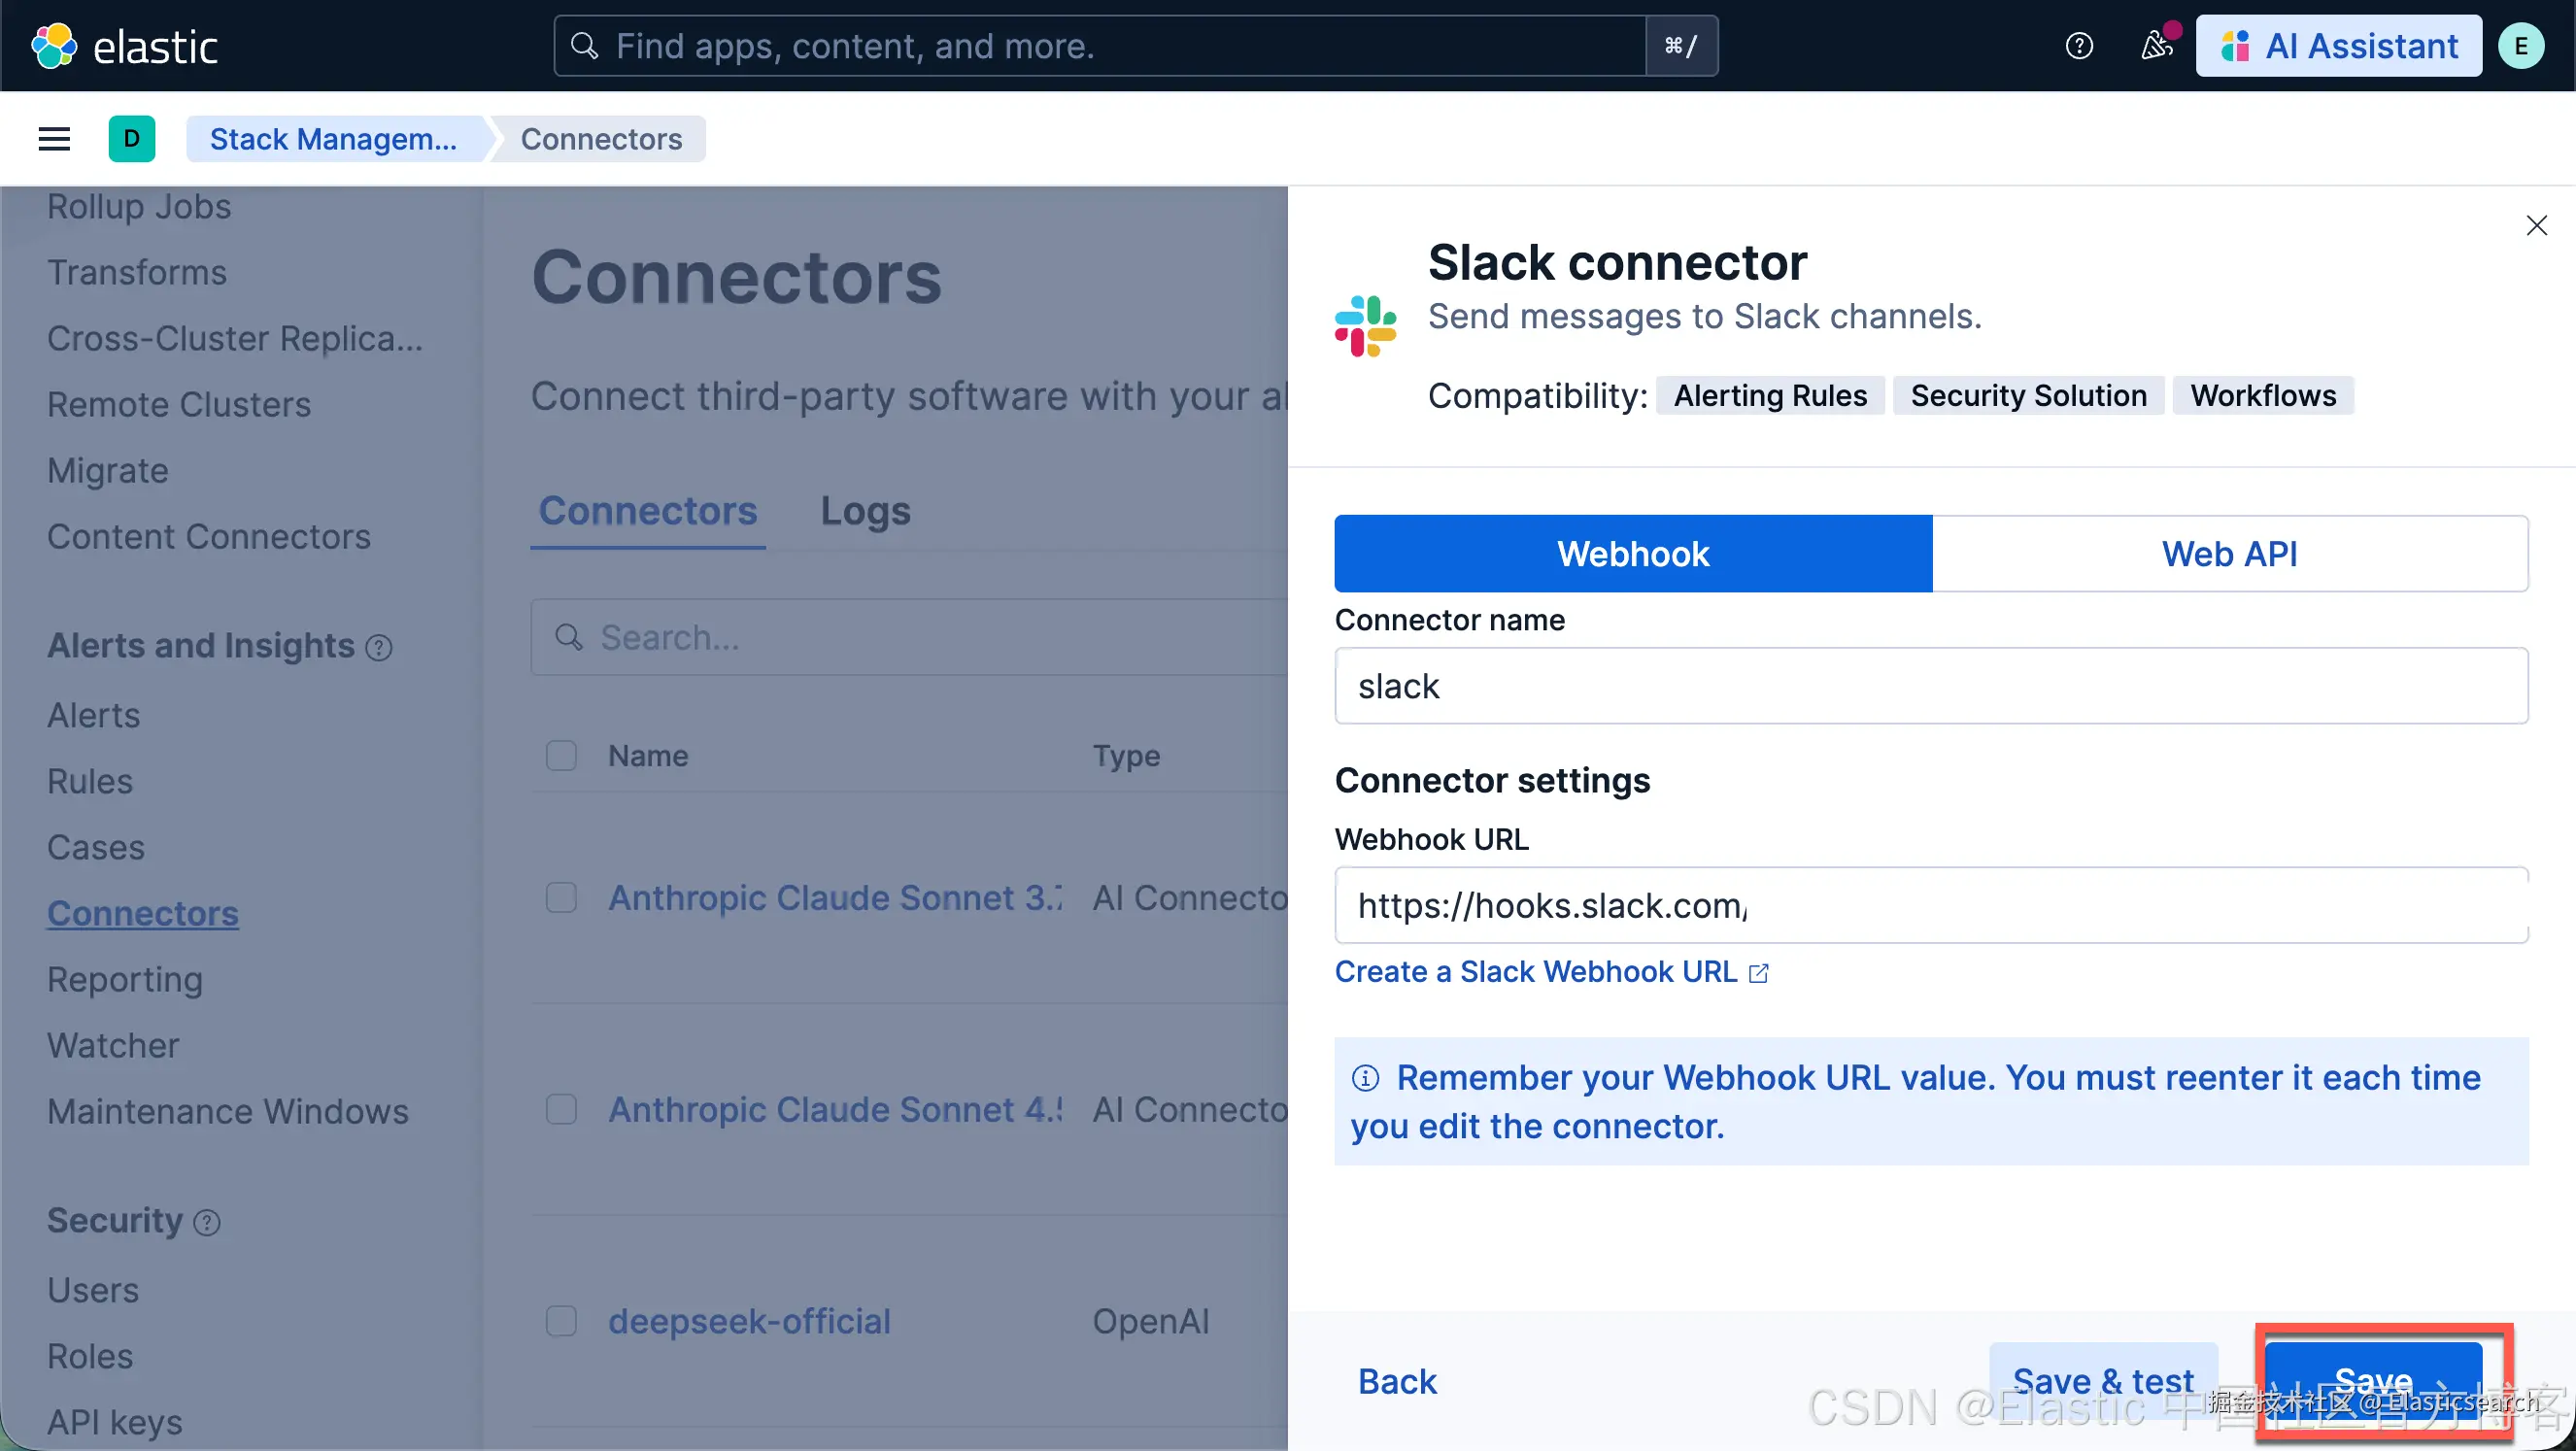
首先,我们参考之前的文章 "Elasticsearch:如何创建知识库并使用 AI Assistant 来配置 slack 连接器" 来创建一个 Webhook 链接。我们然后参考如下的步骤来创建一个叫做 slack 的连接器:
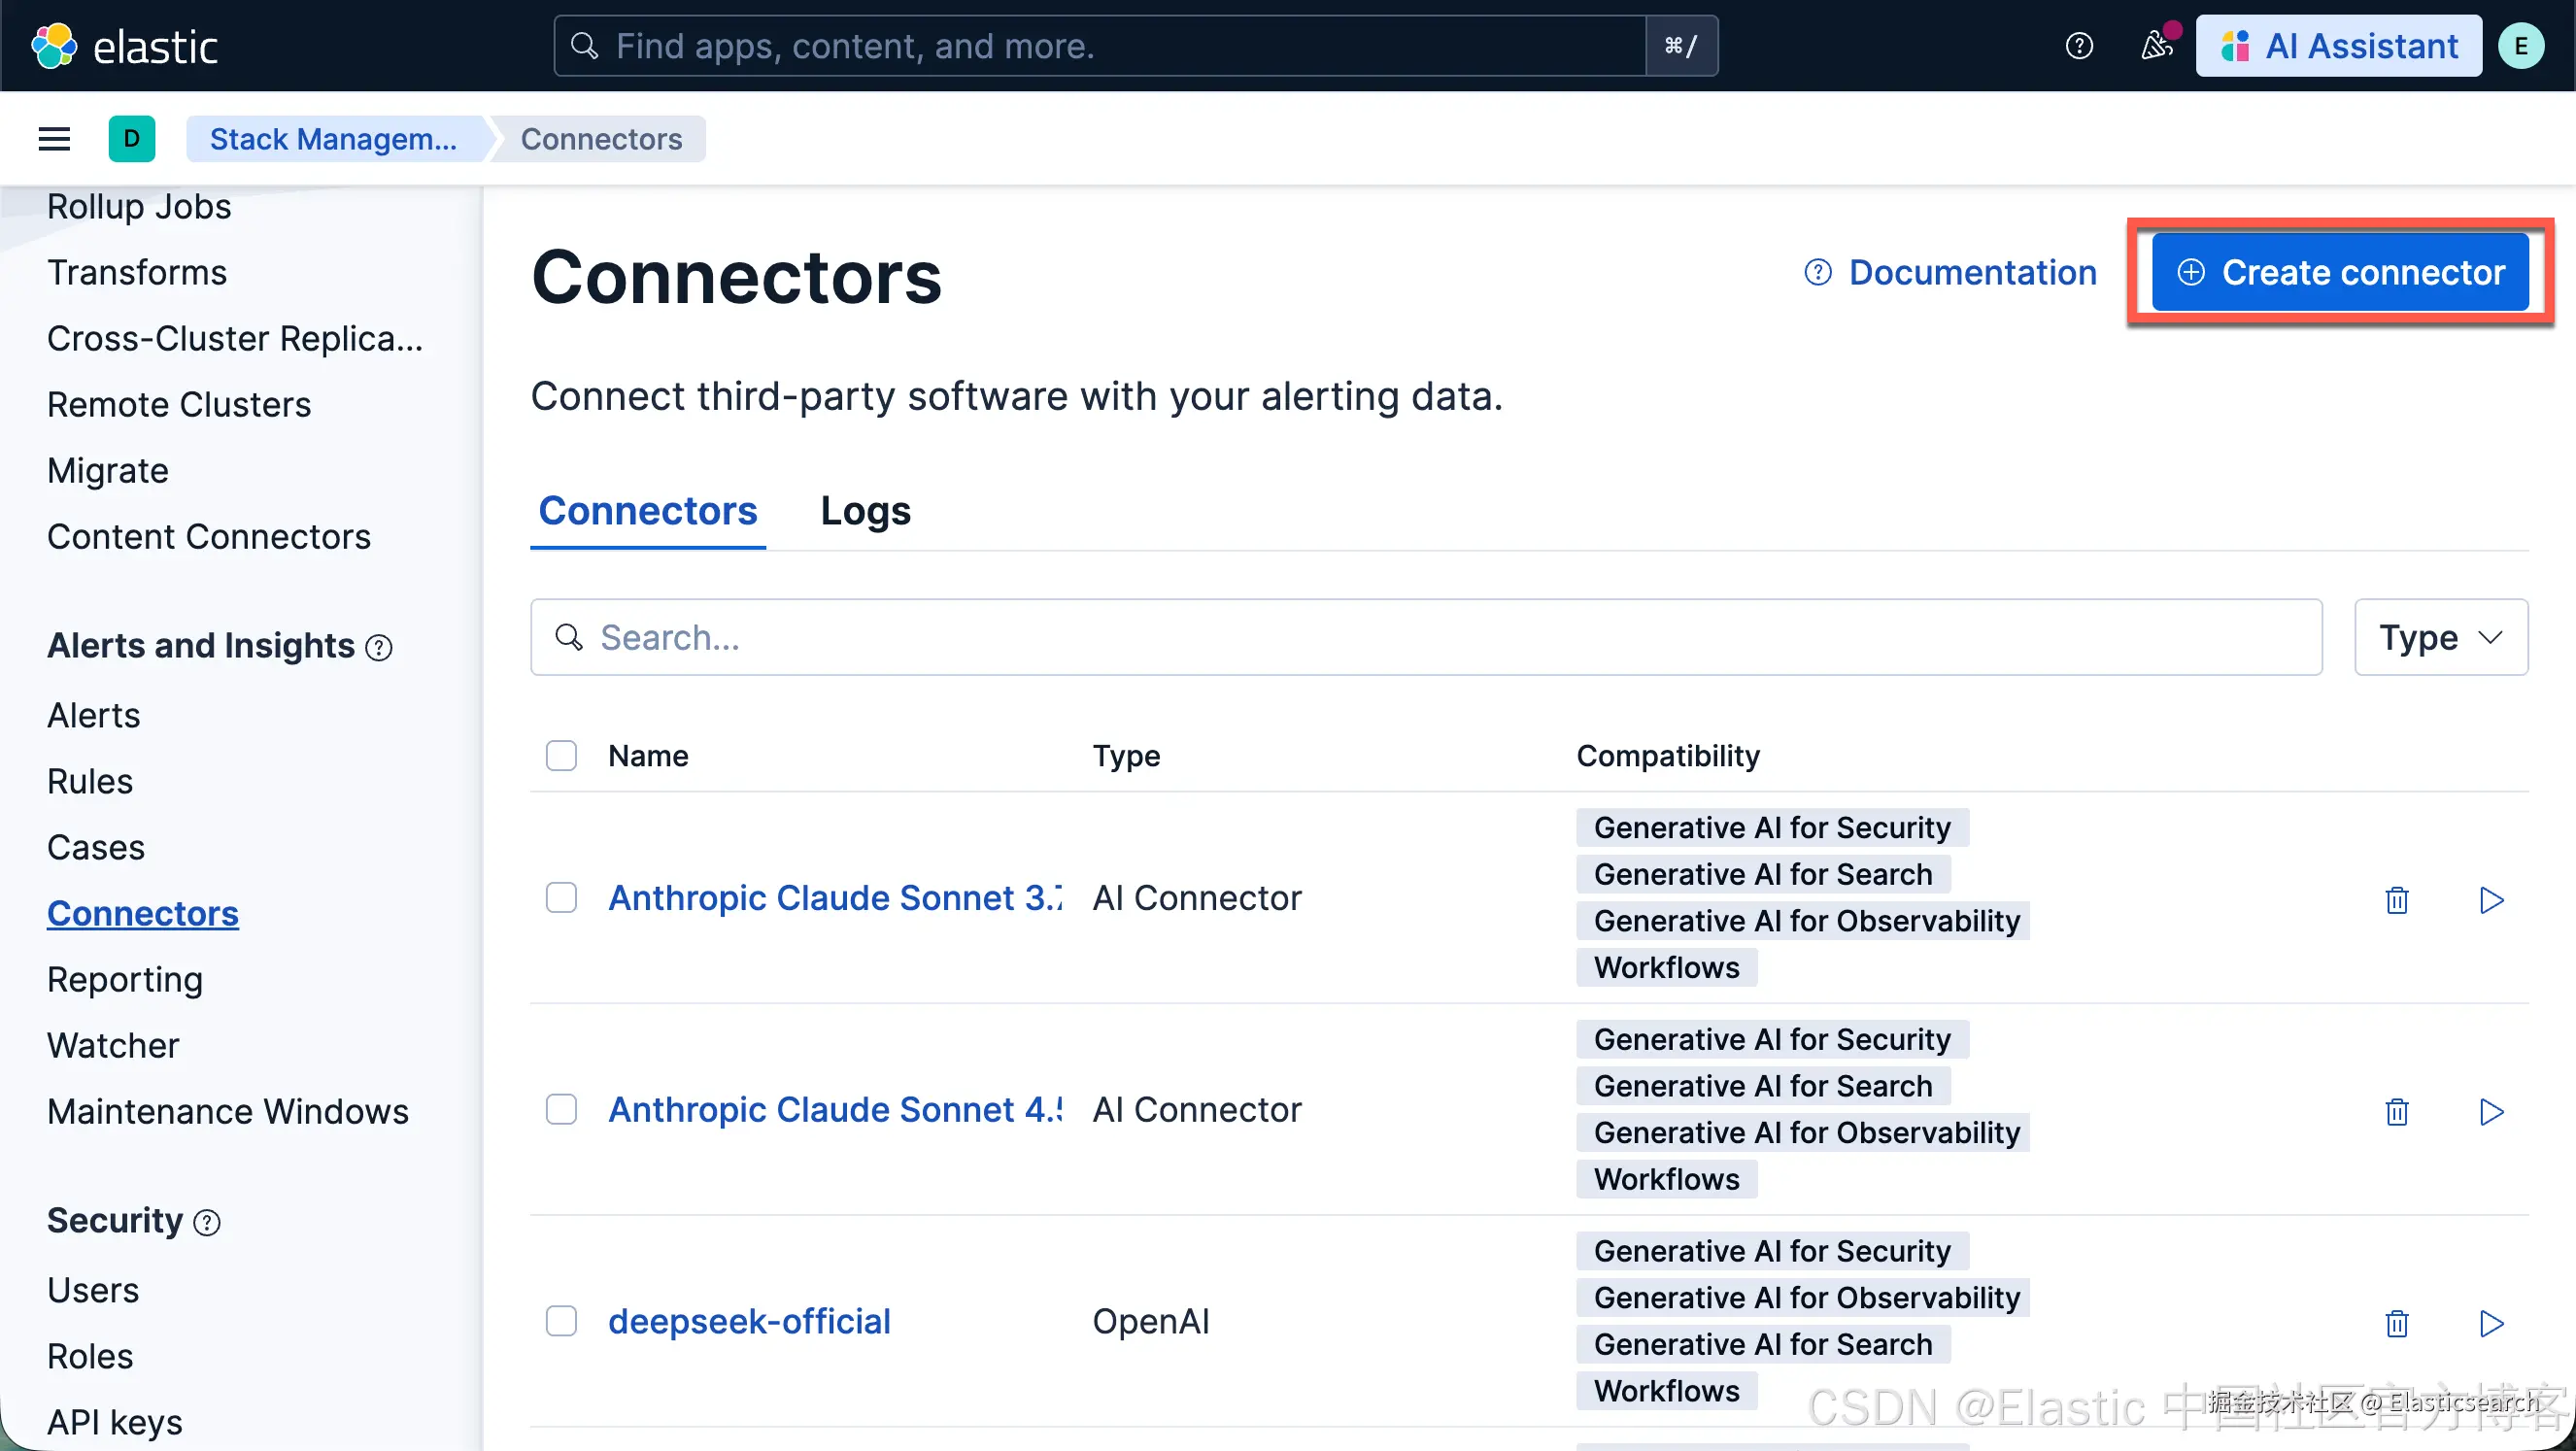
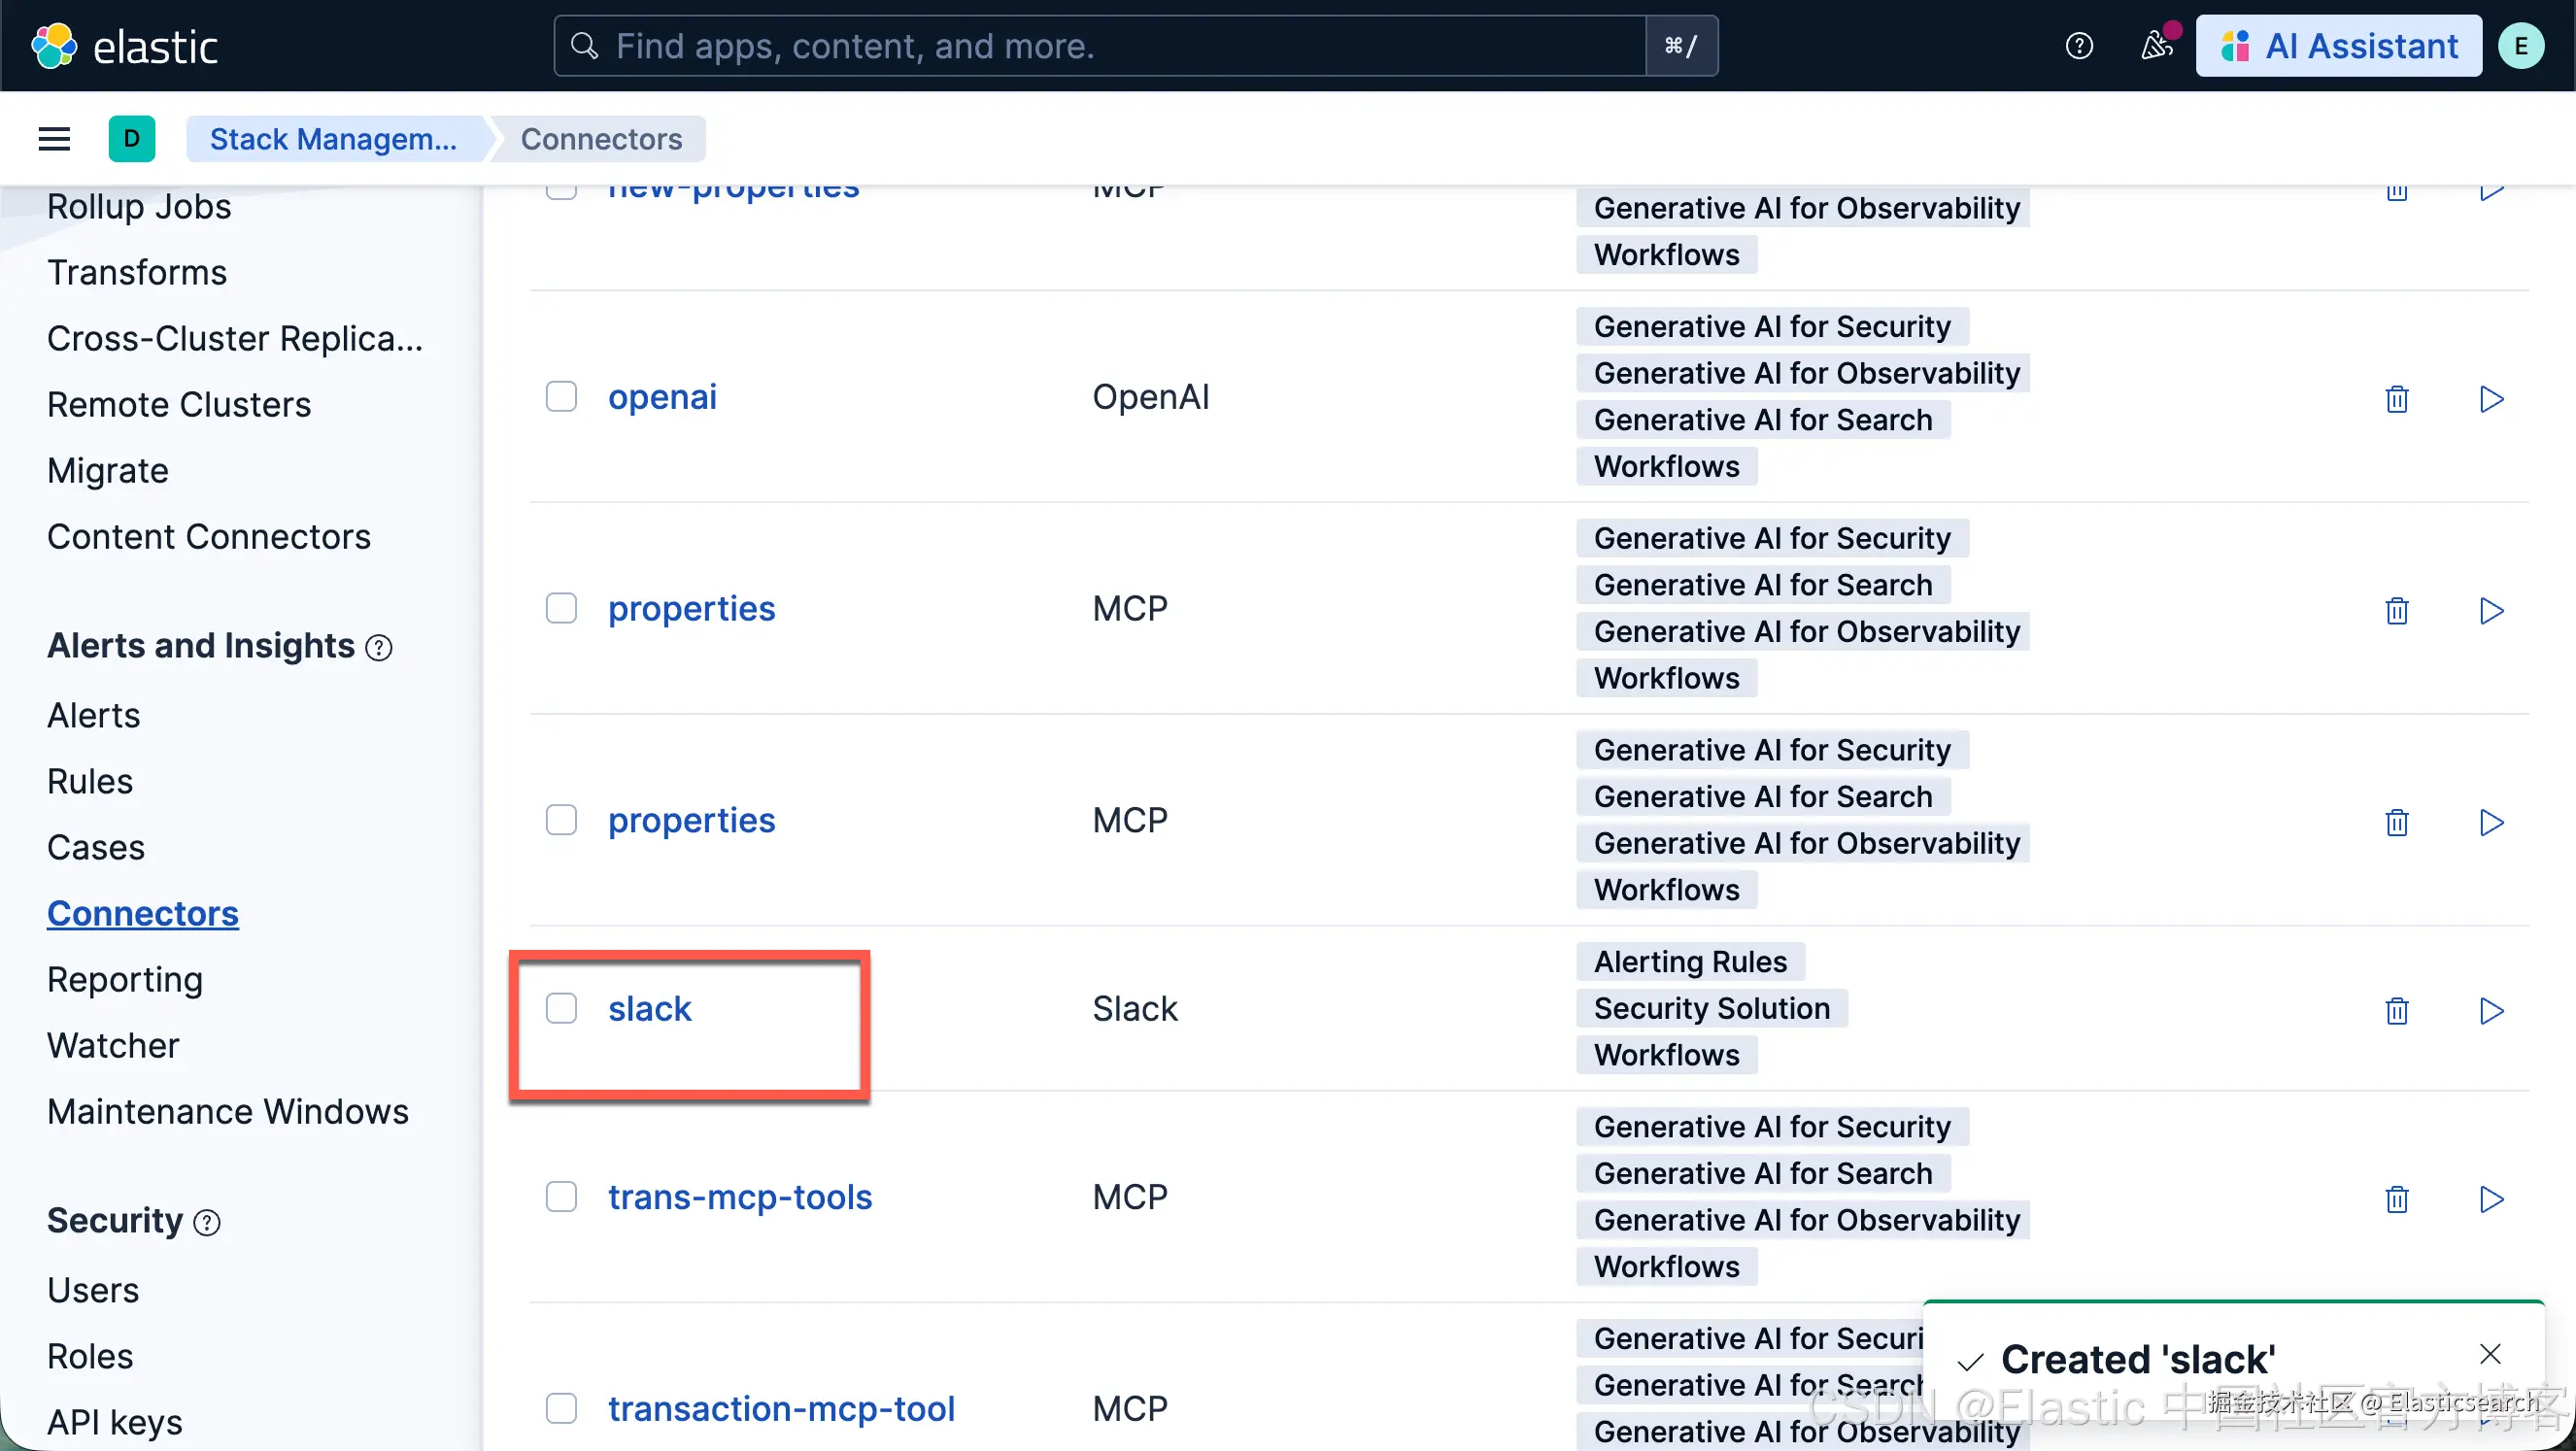
这样我们就创建了一个叫做 Slack 的连接器。
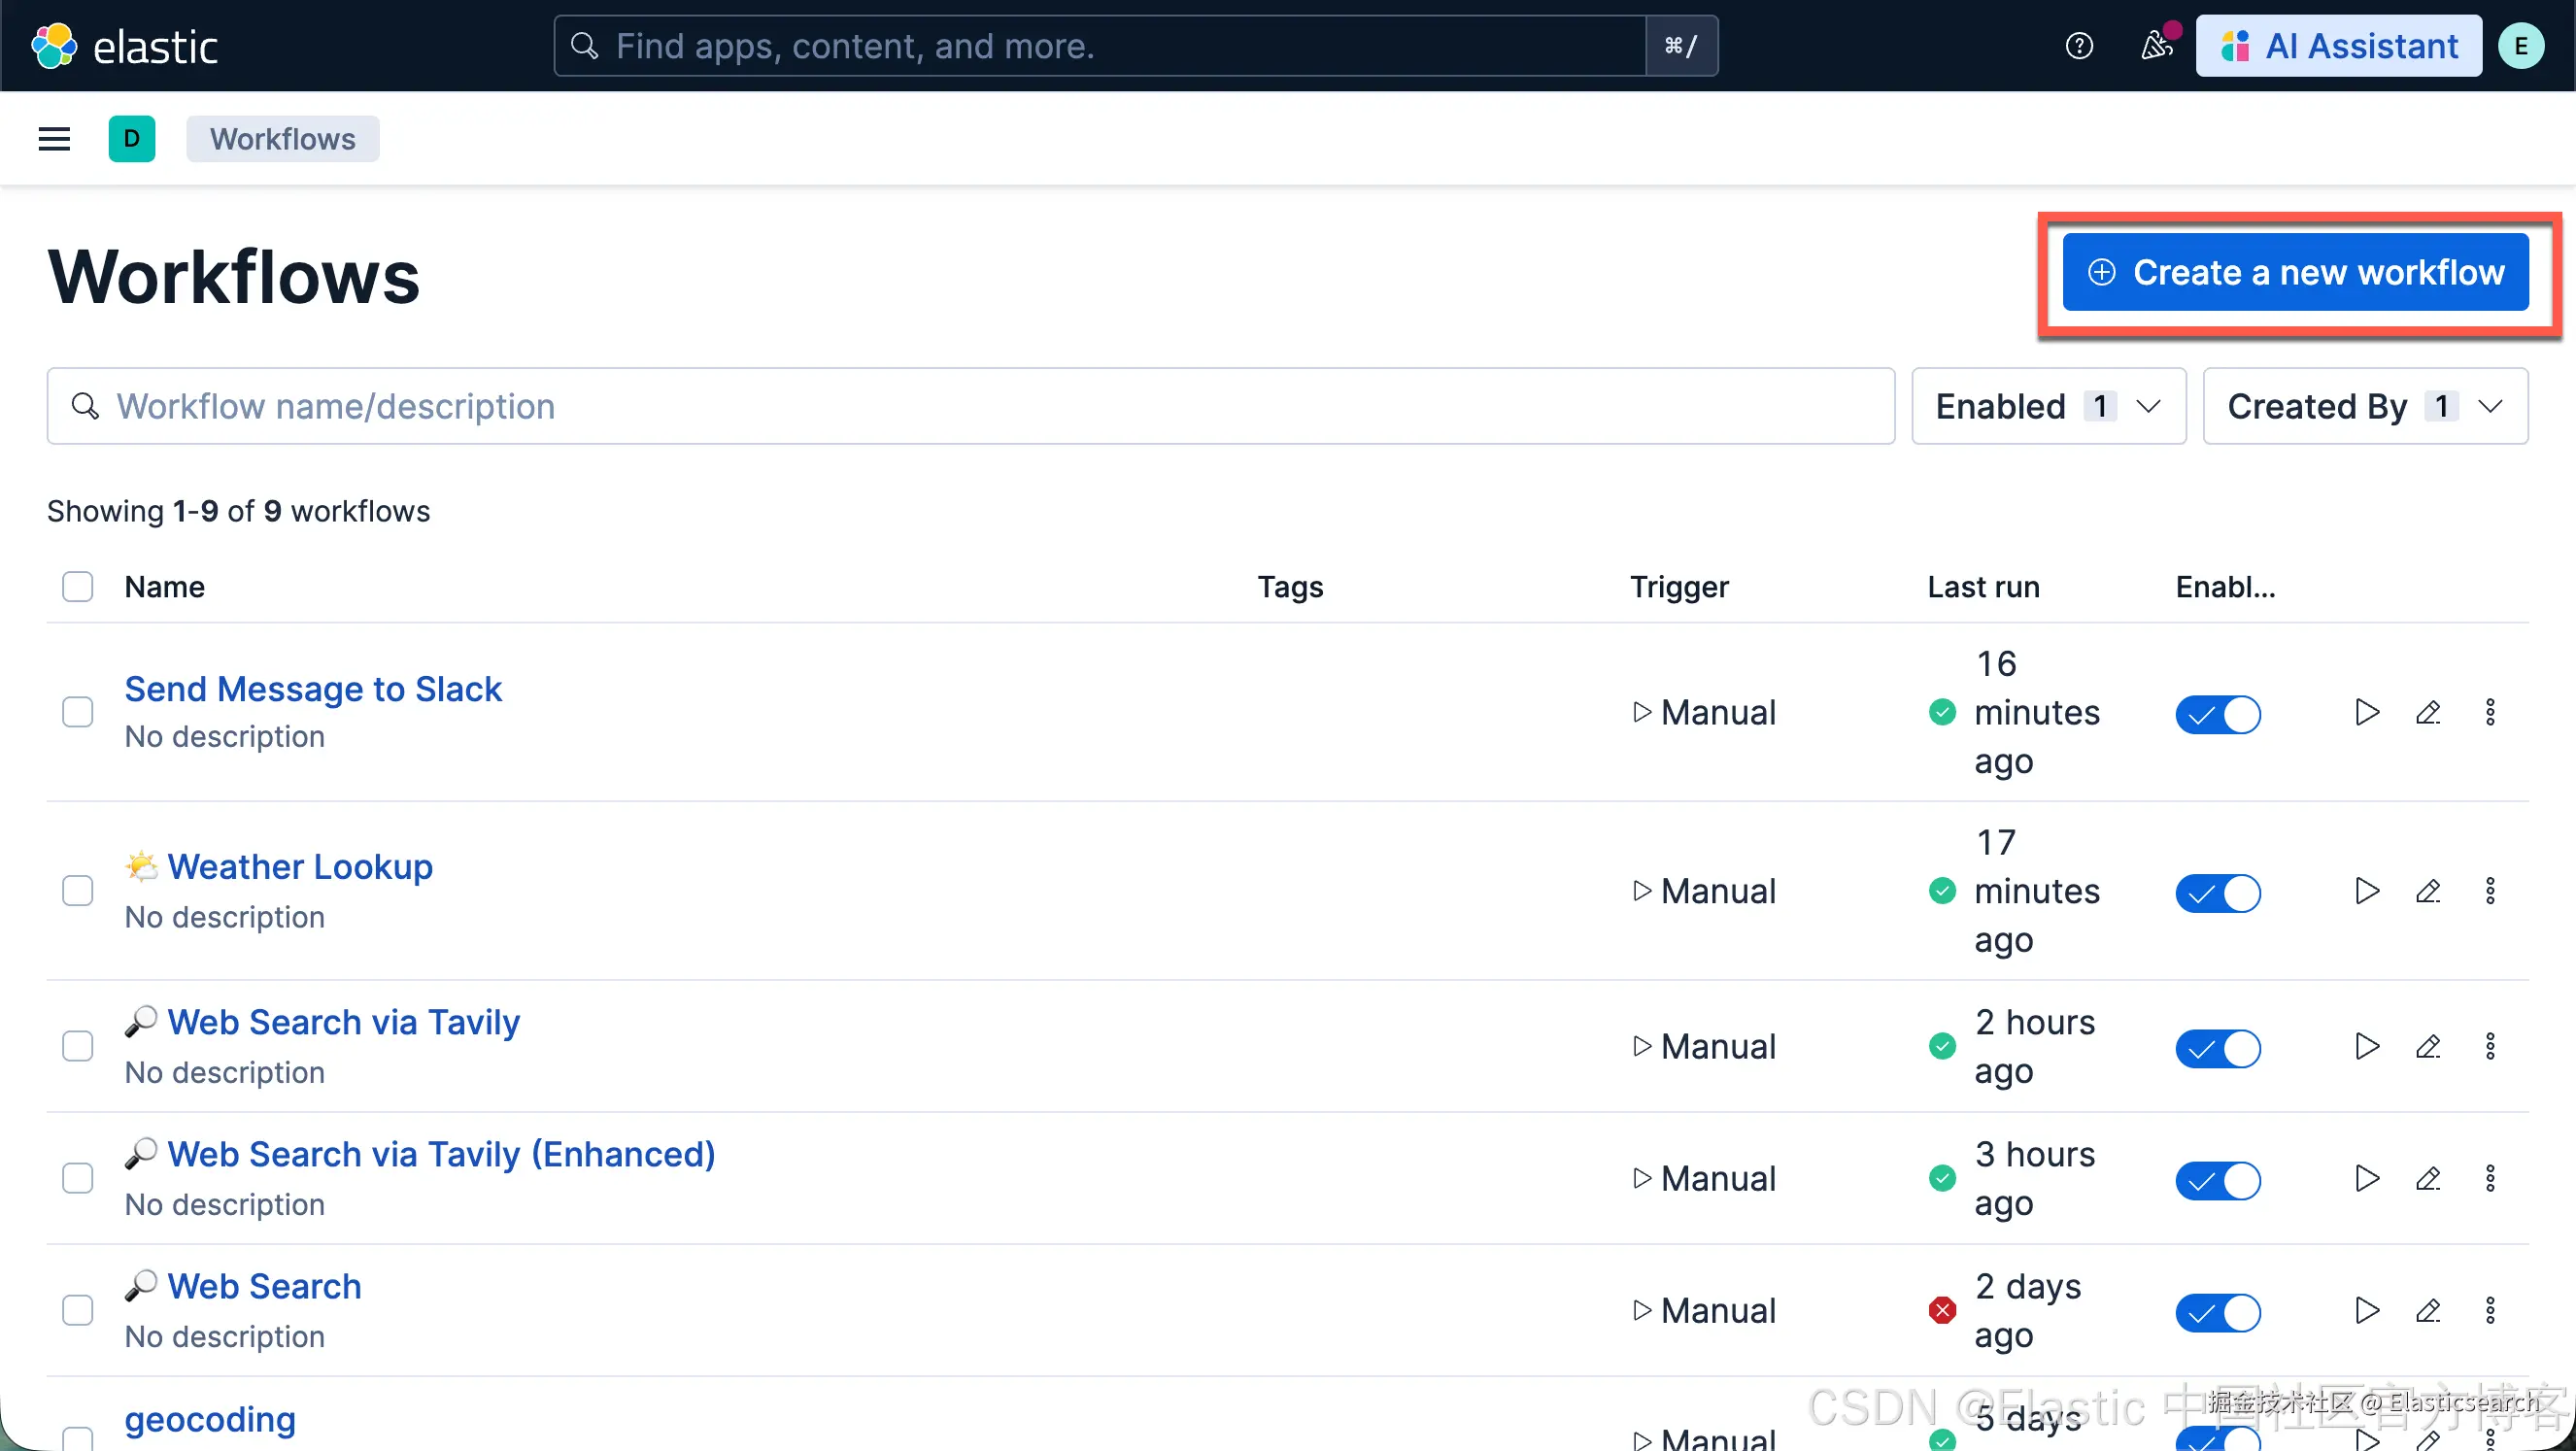
我们接下来使用如下的方法来创建一个 Workflow:

yaml
`
1. name: Send Message to Slack
2. enabled: true
4. triggers:
5. - type: manual
7. inputs:
8. - name: message
9. default: "Hello from workflow!"
10. description: Message to send to Slack
11. type: string
13. steps:
14. - name: share_message
15. type: slack
16. connector-id: slack
17. with:
18. message: |
19. {{ inputs.message }}
`AI写代码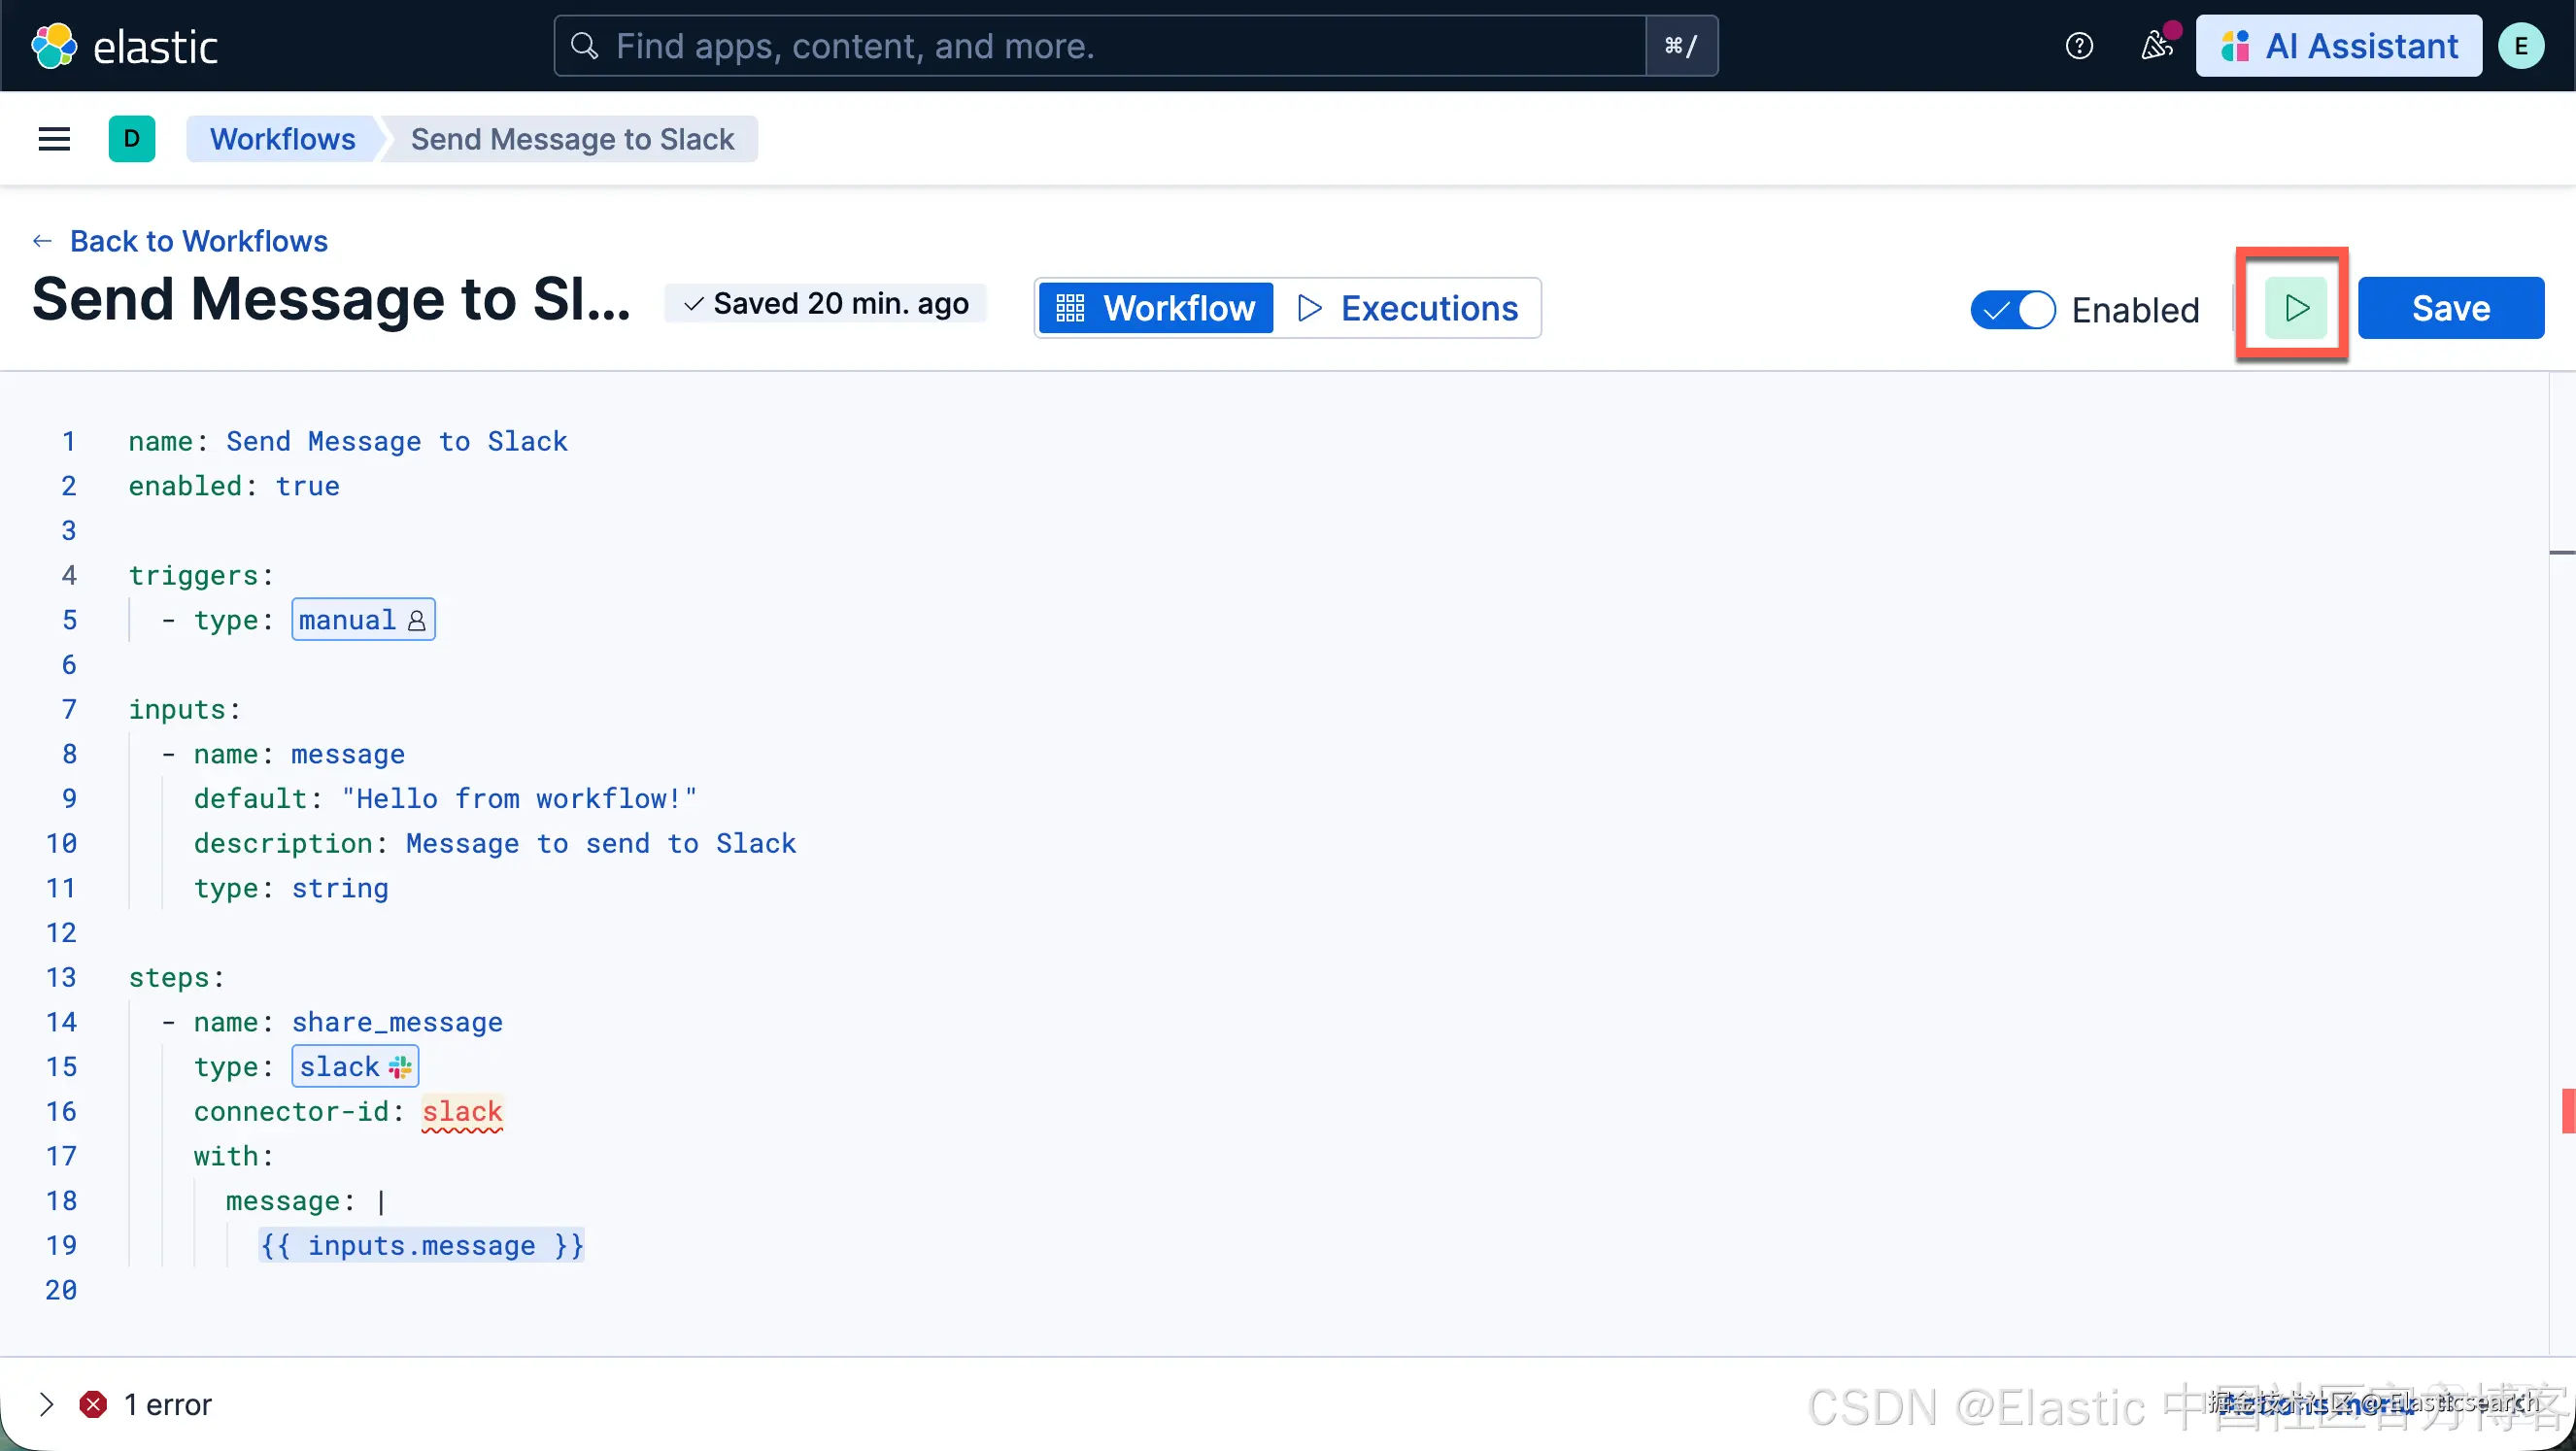
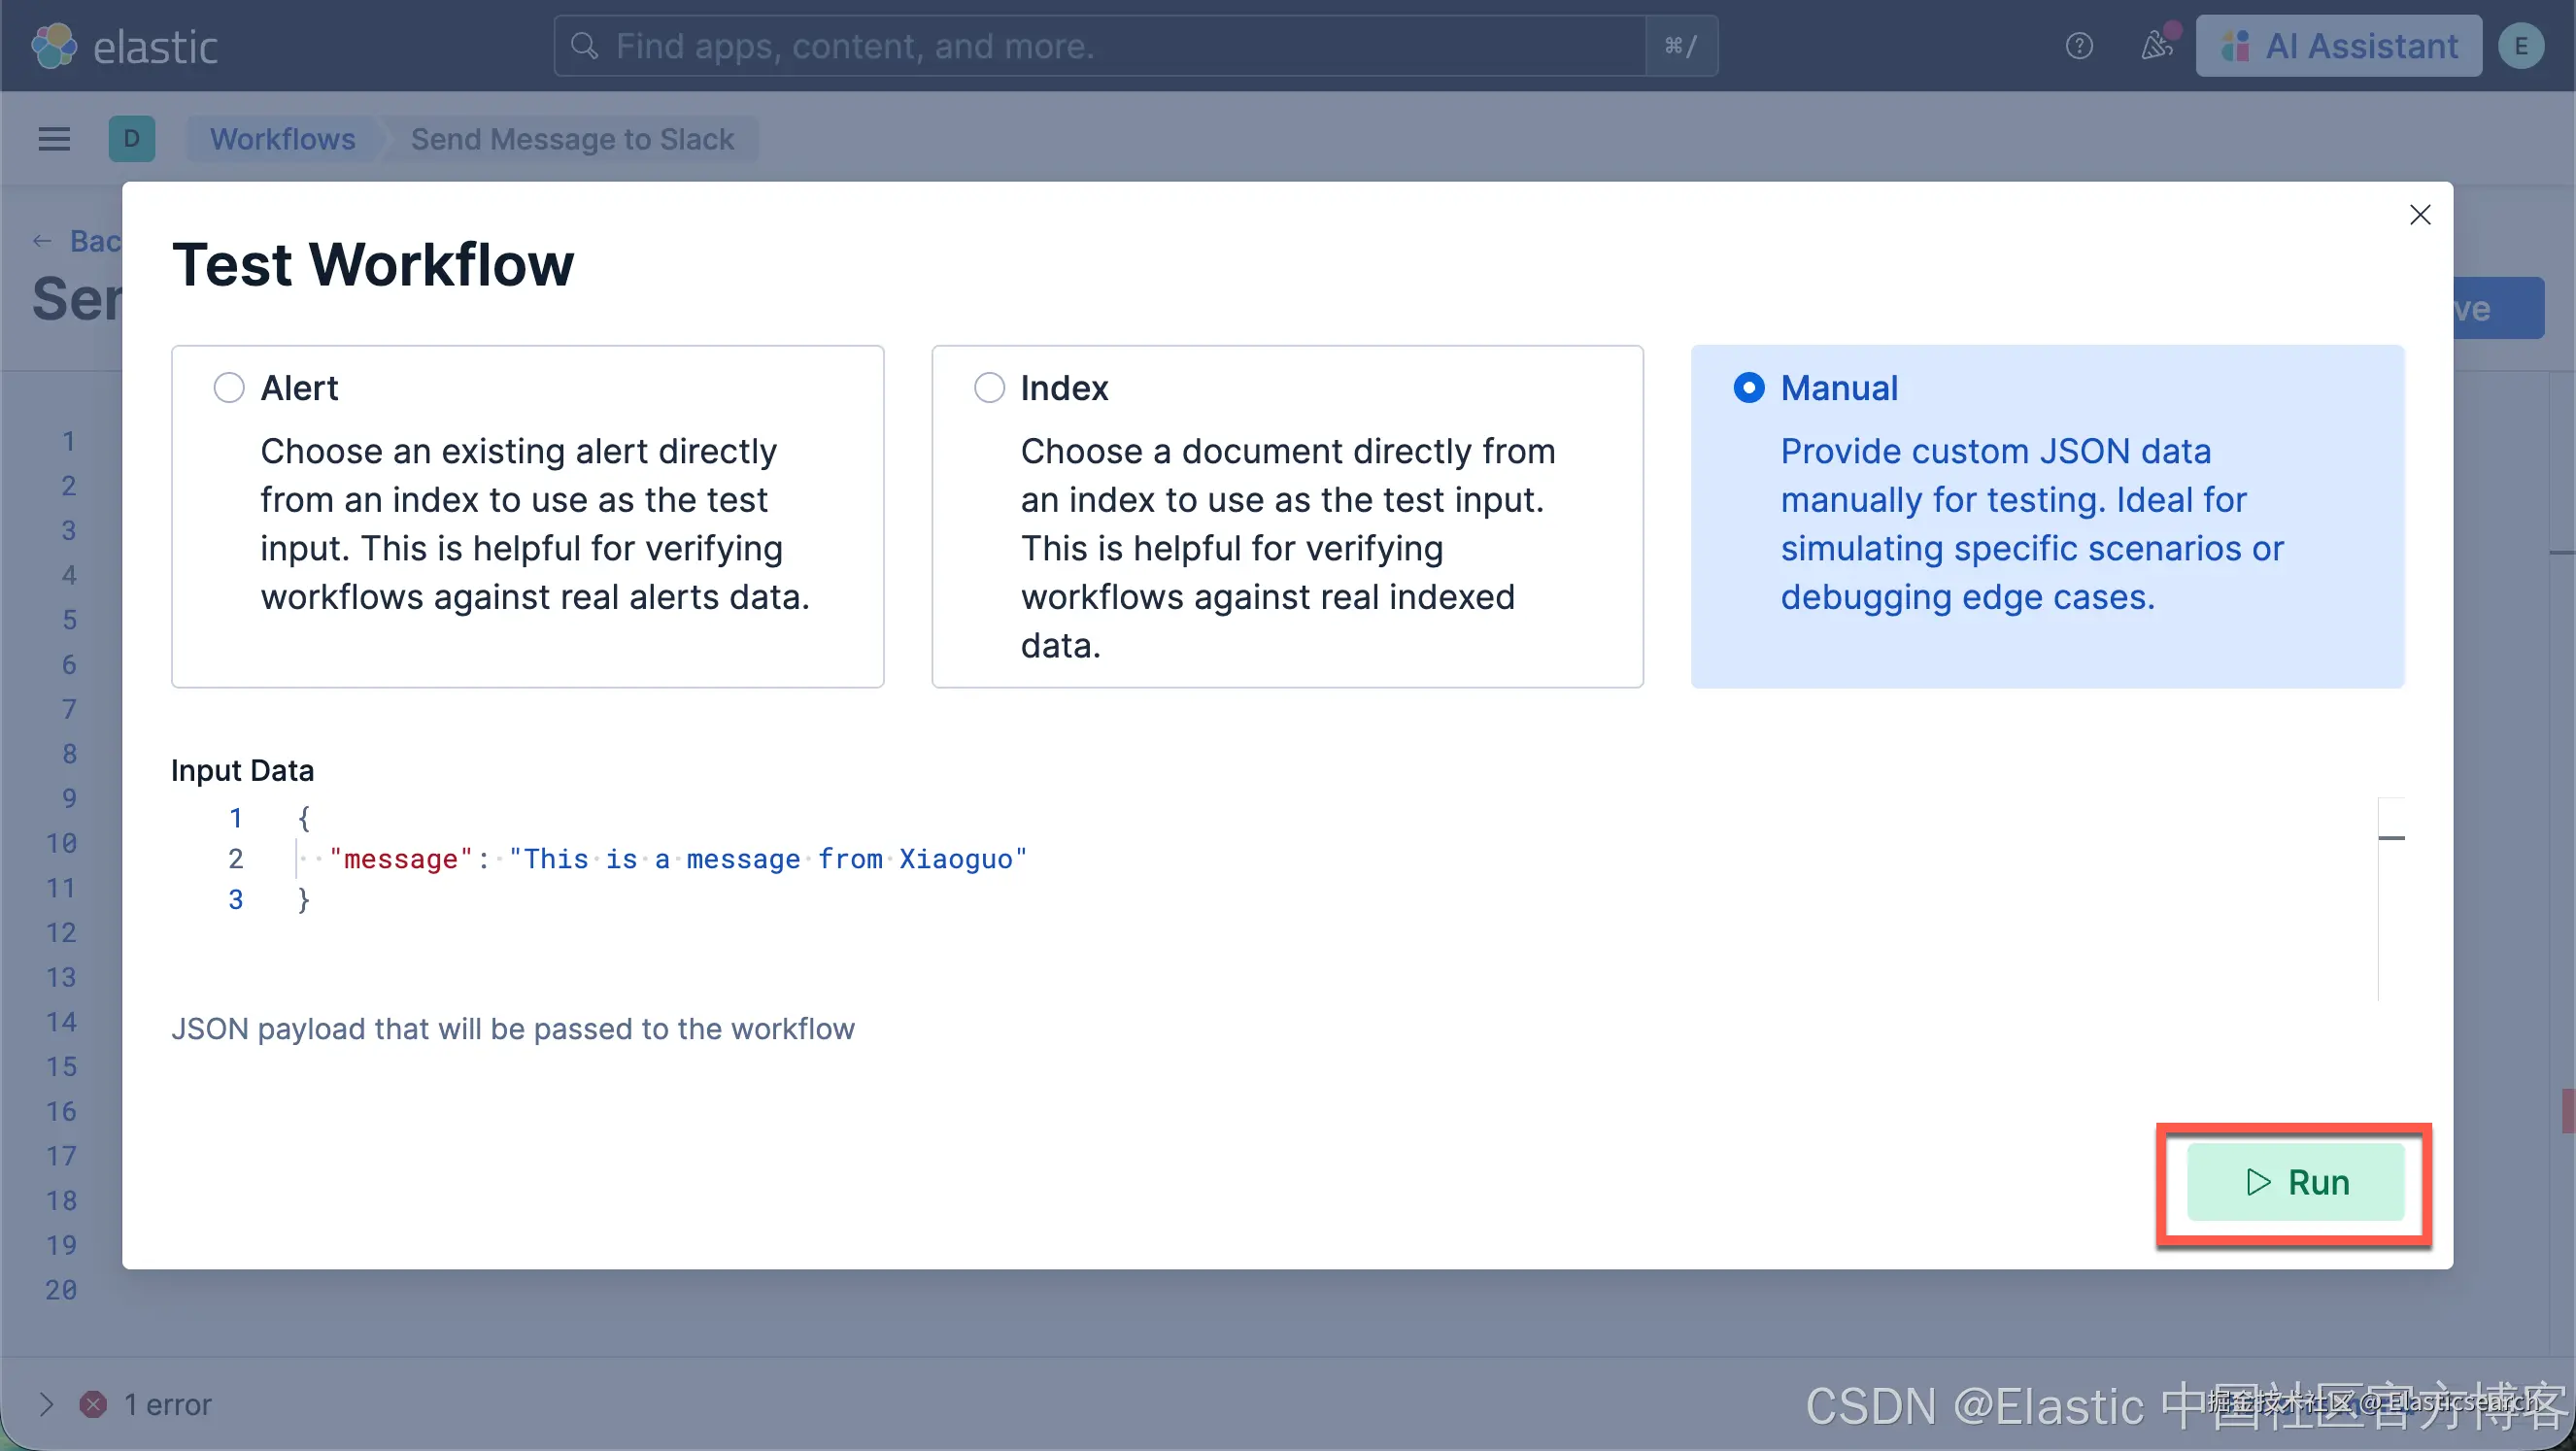
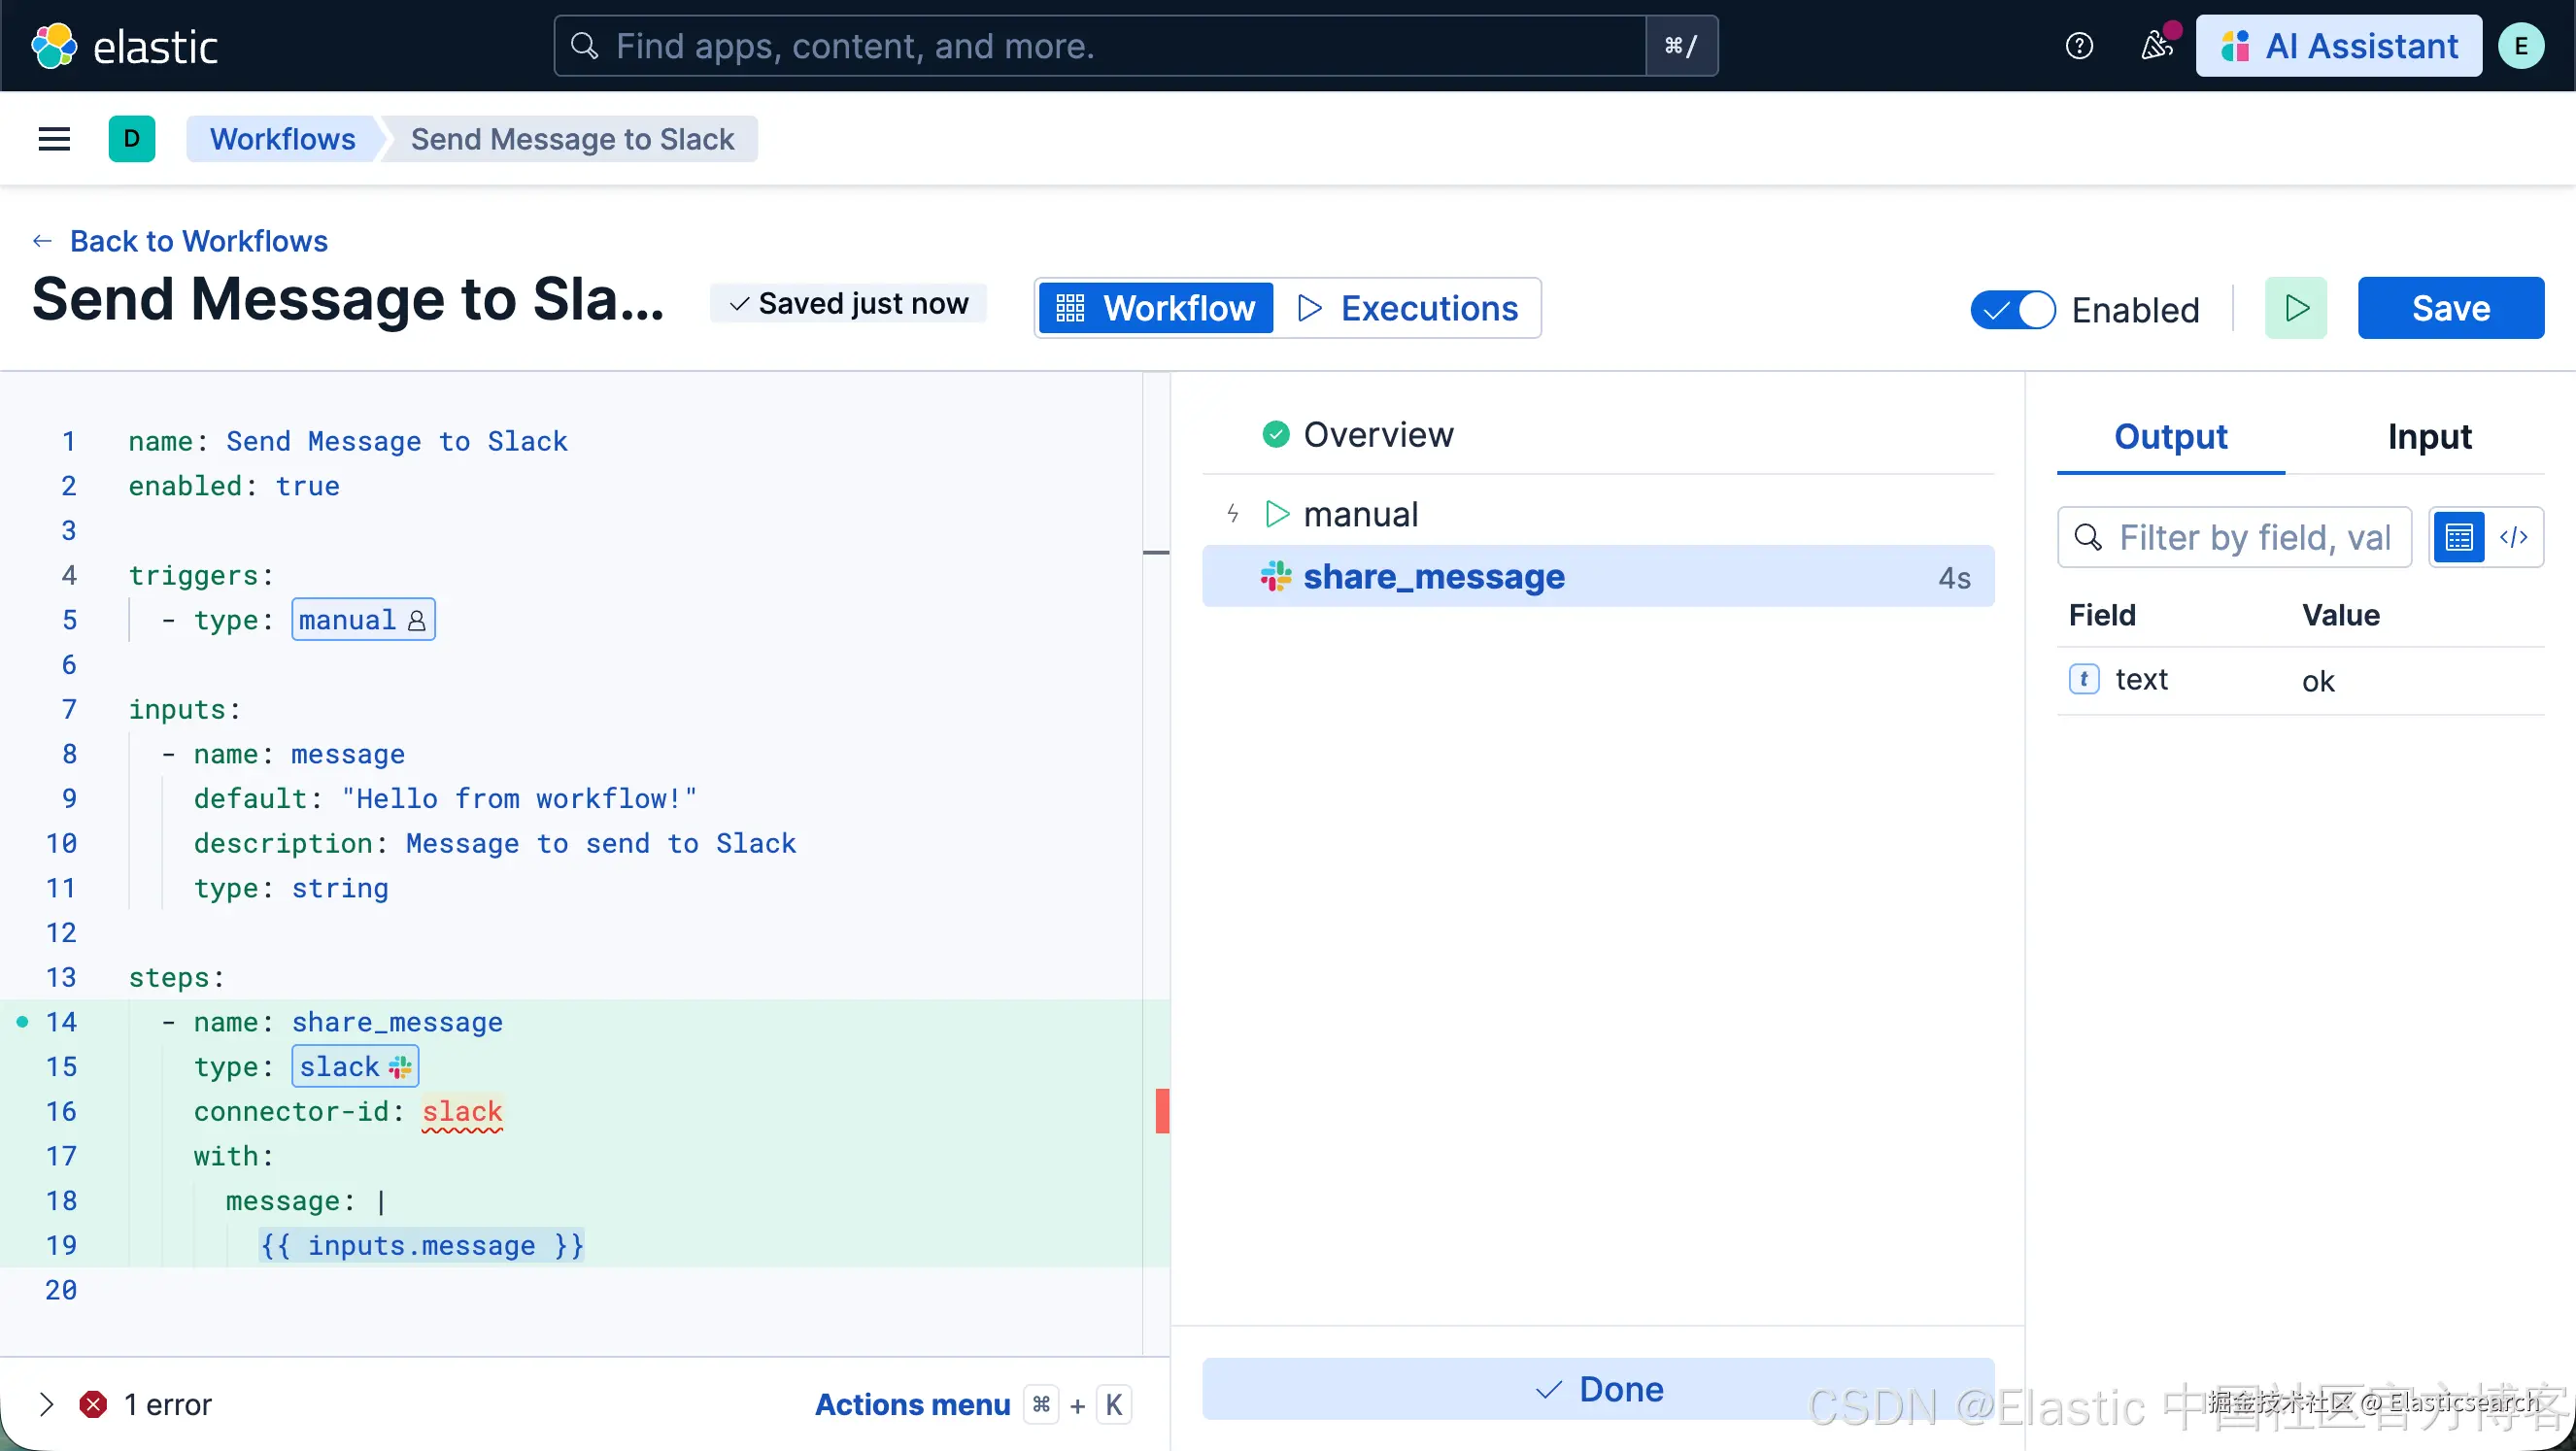
我们可以进行测试:
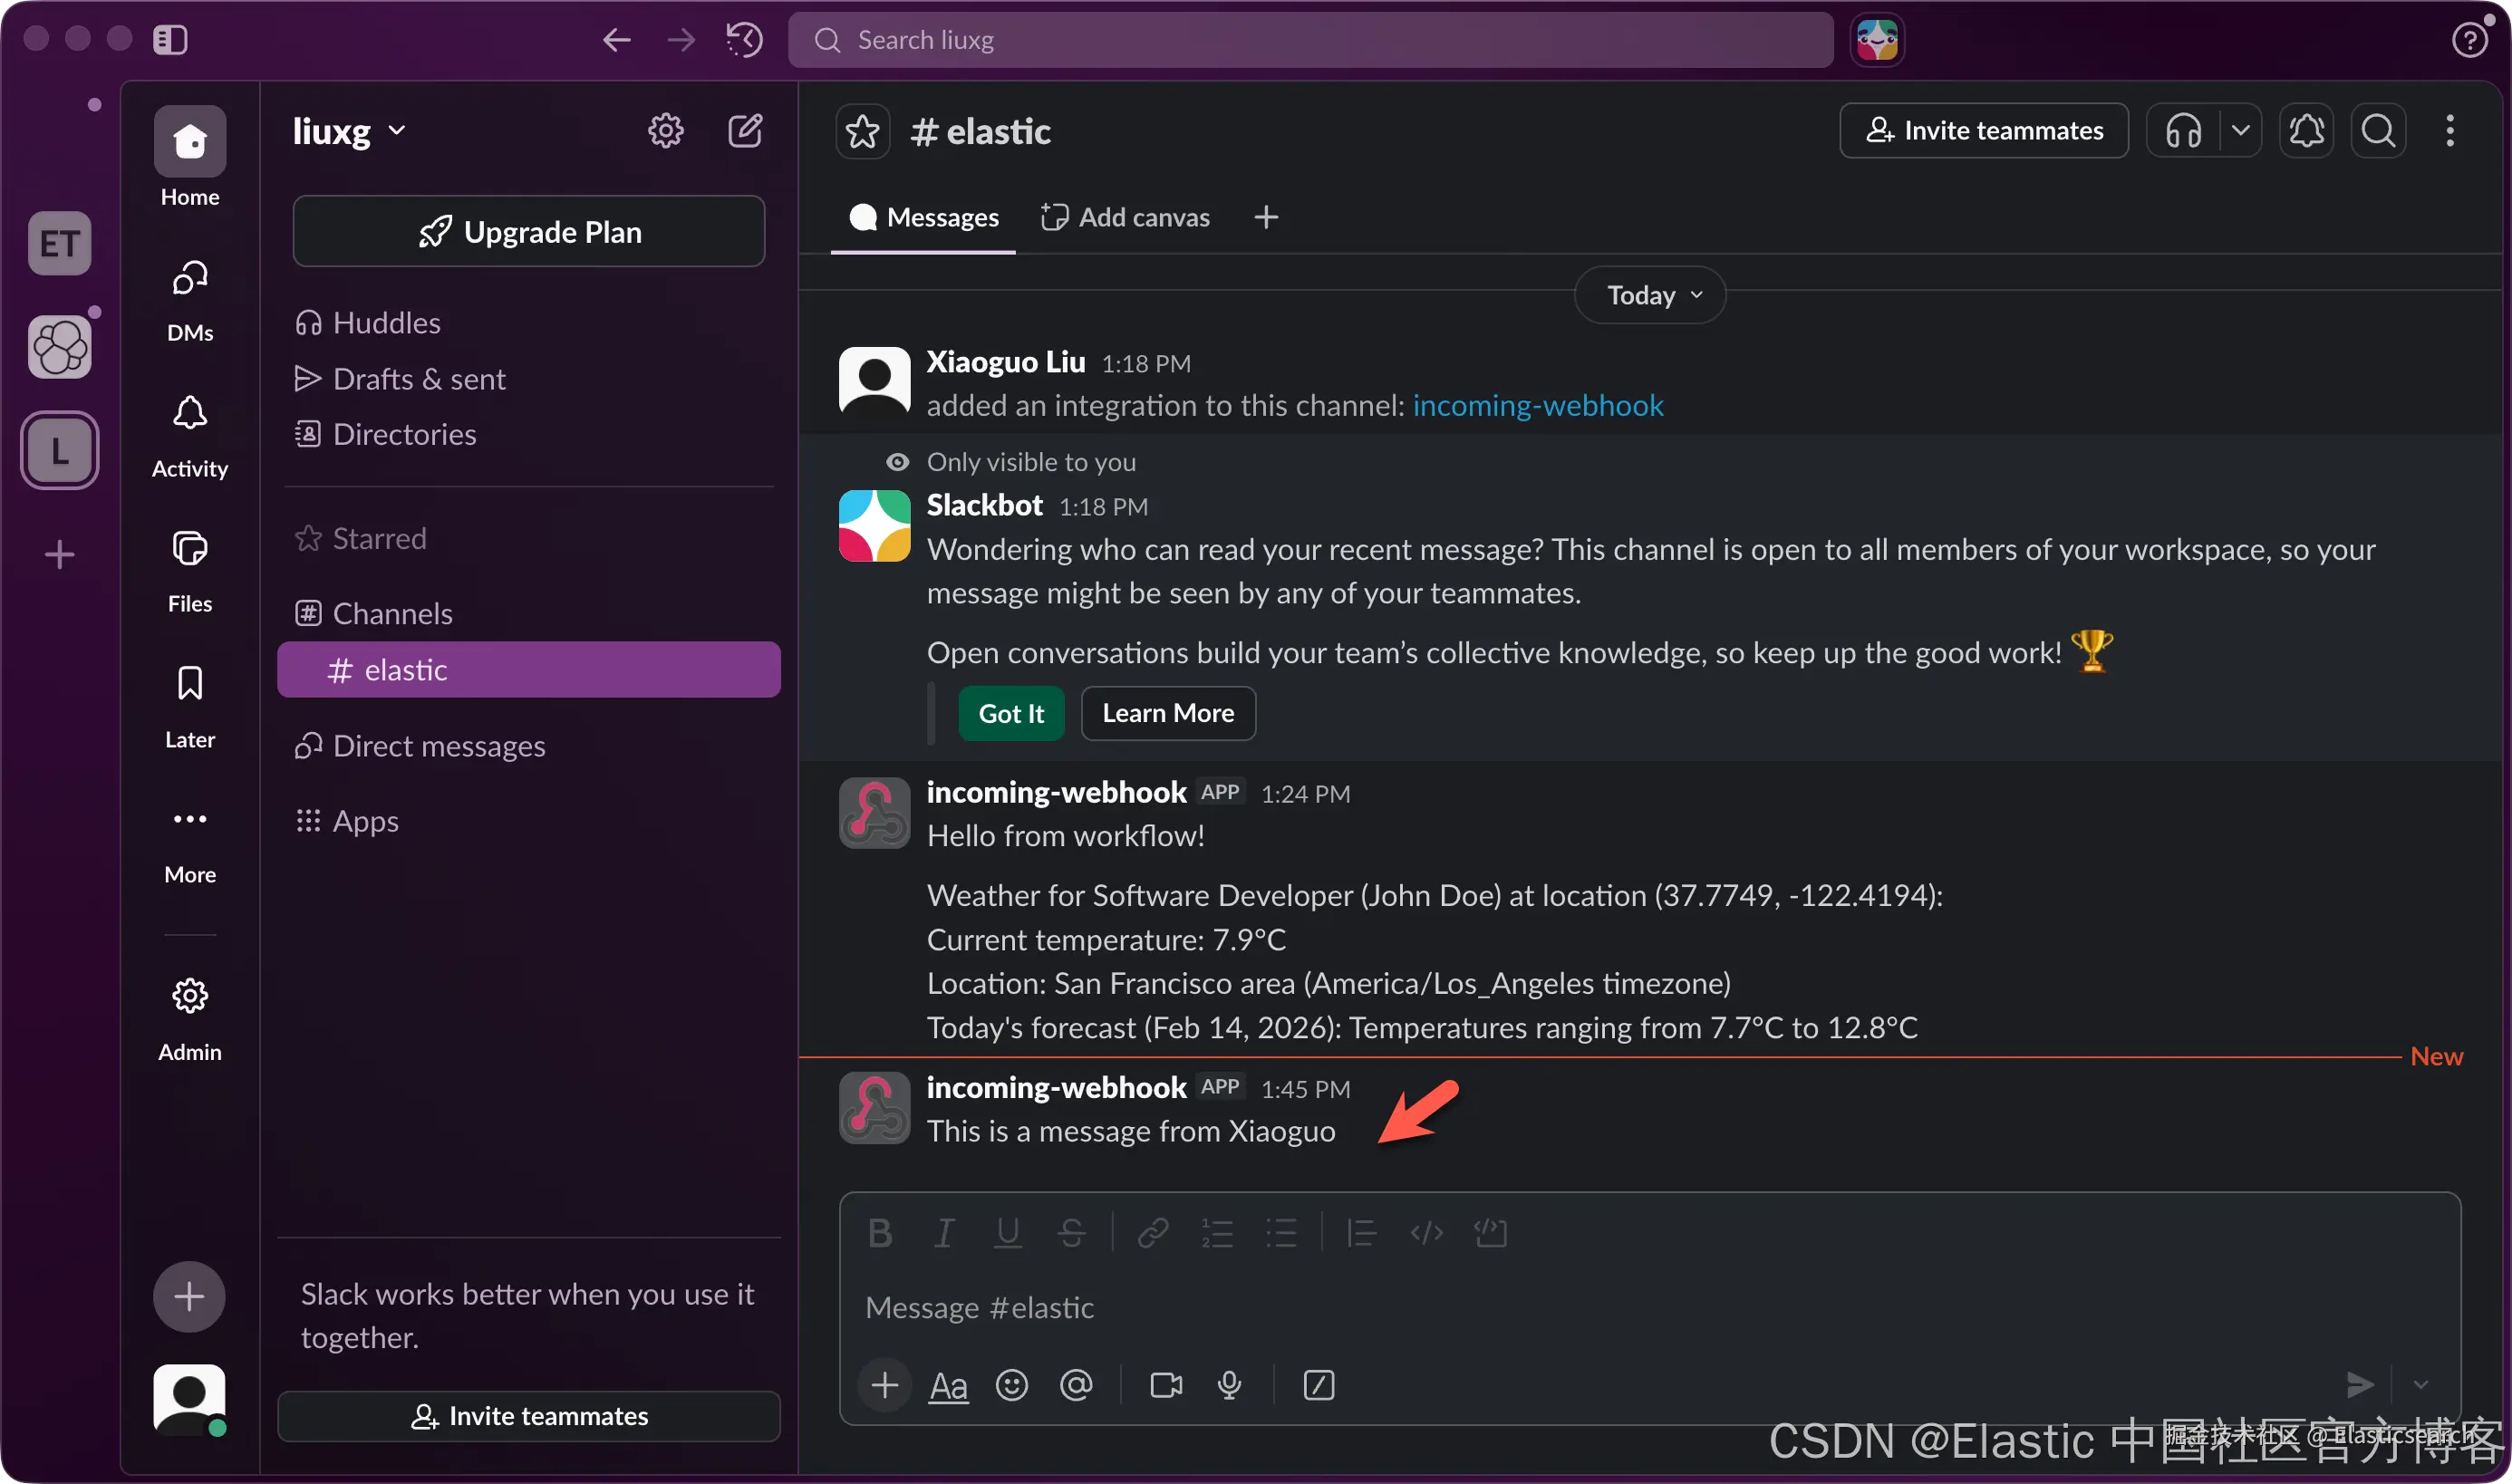
我们检查 Slack:
我们当然也可以发送大微信或者 DingDing。这里就不再累述了。
创建 send slack msg 工具
我们按照如下的步骤来创建一个叫做 send_msg_slack 的工具:
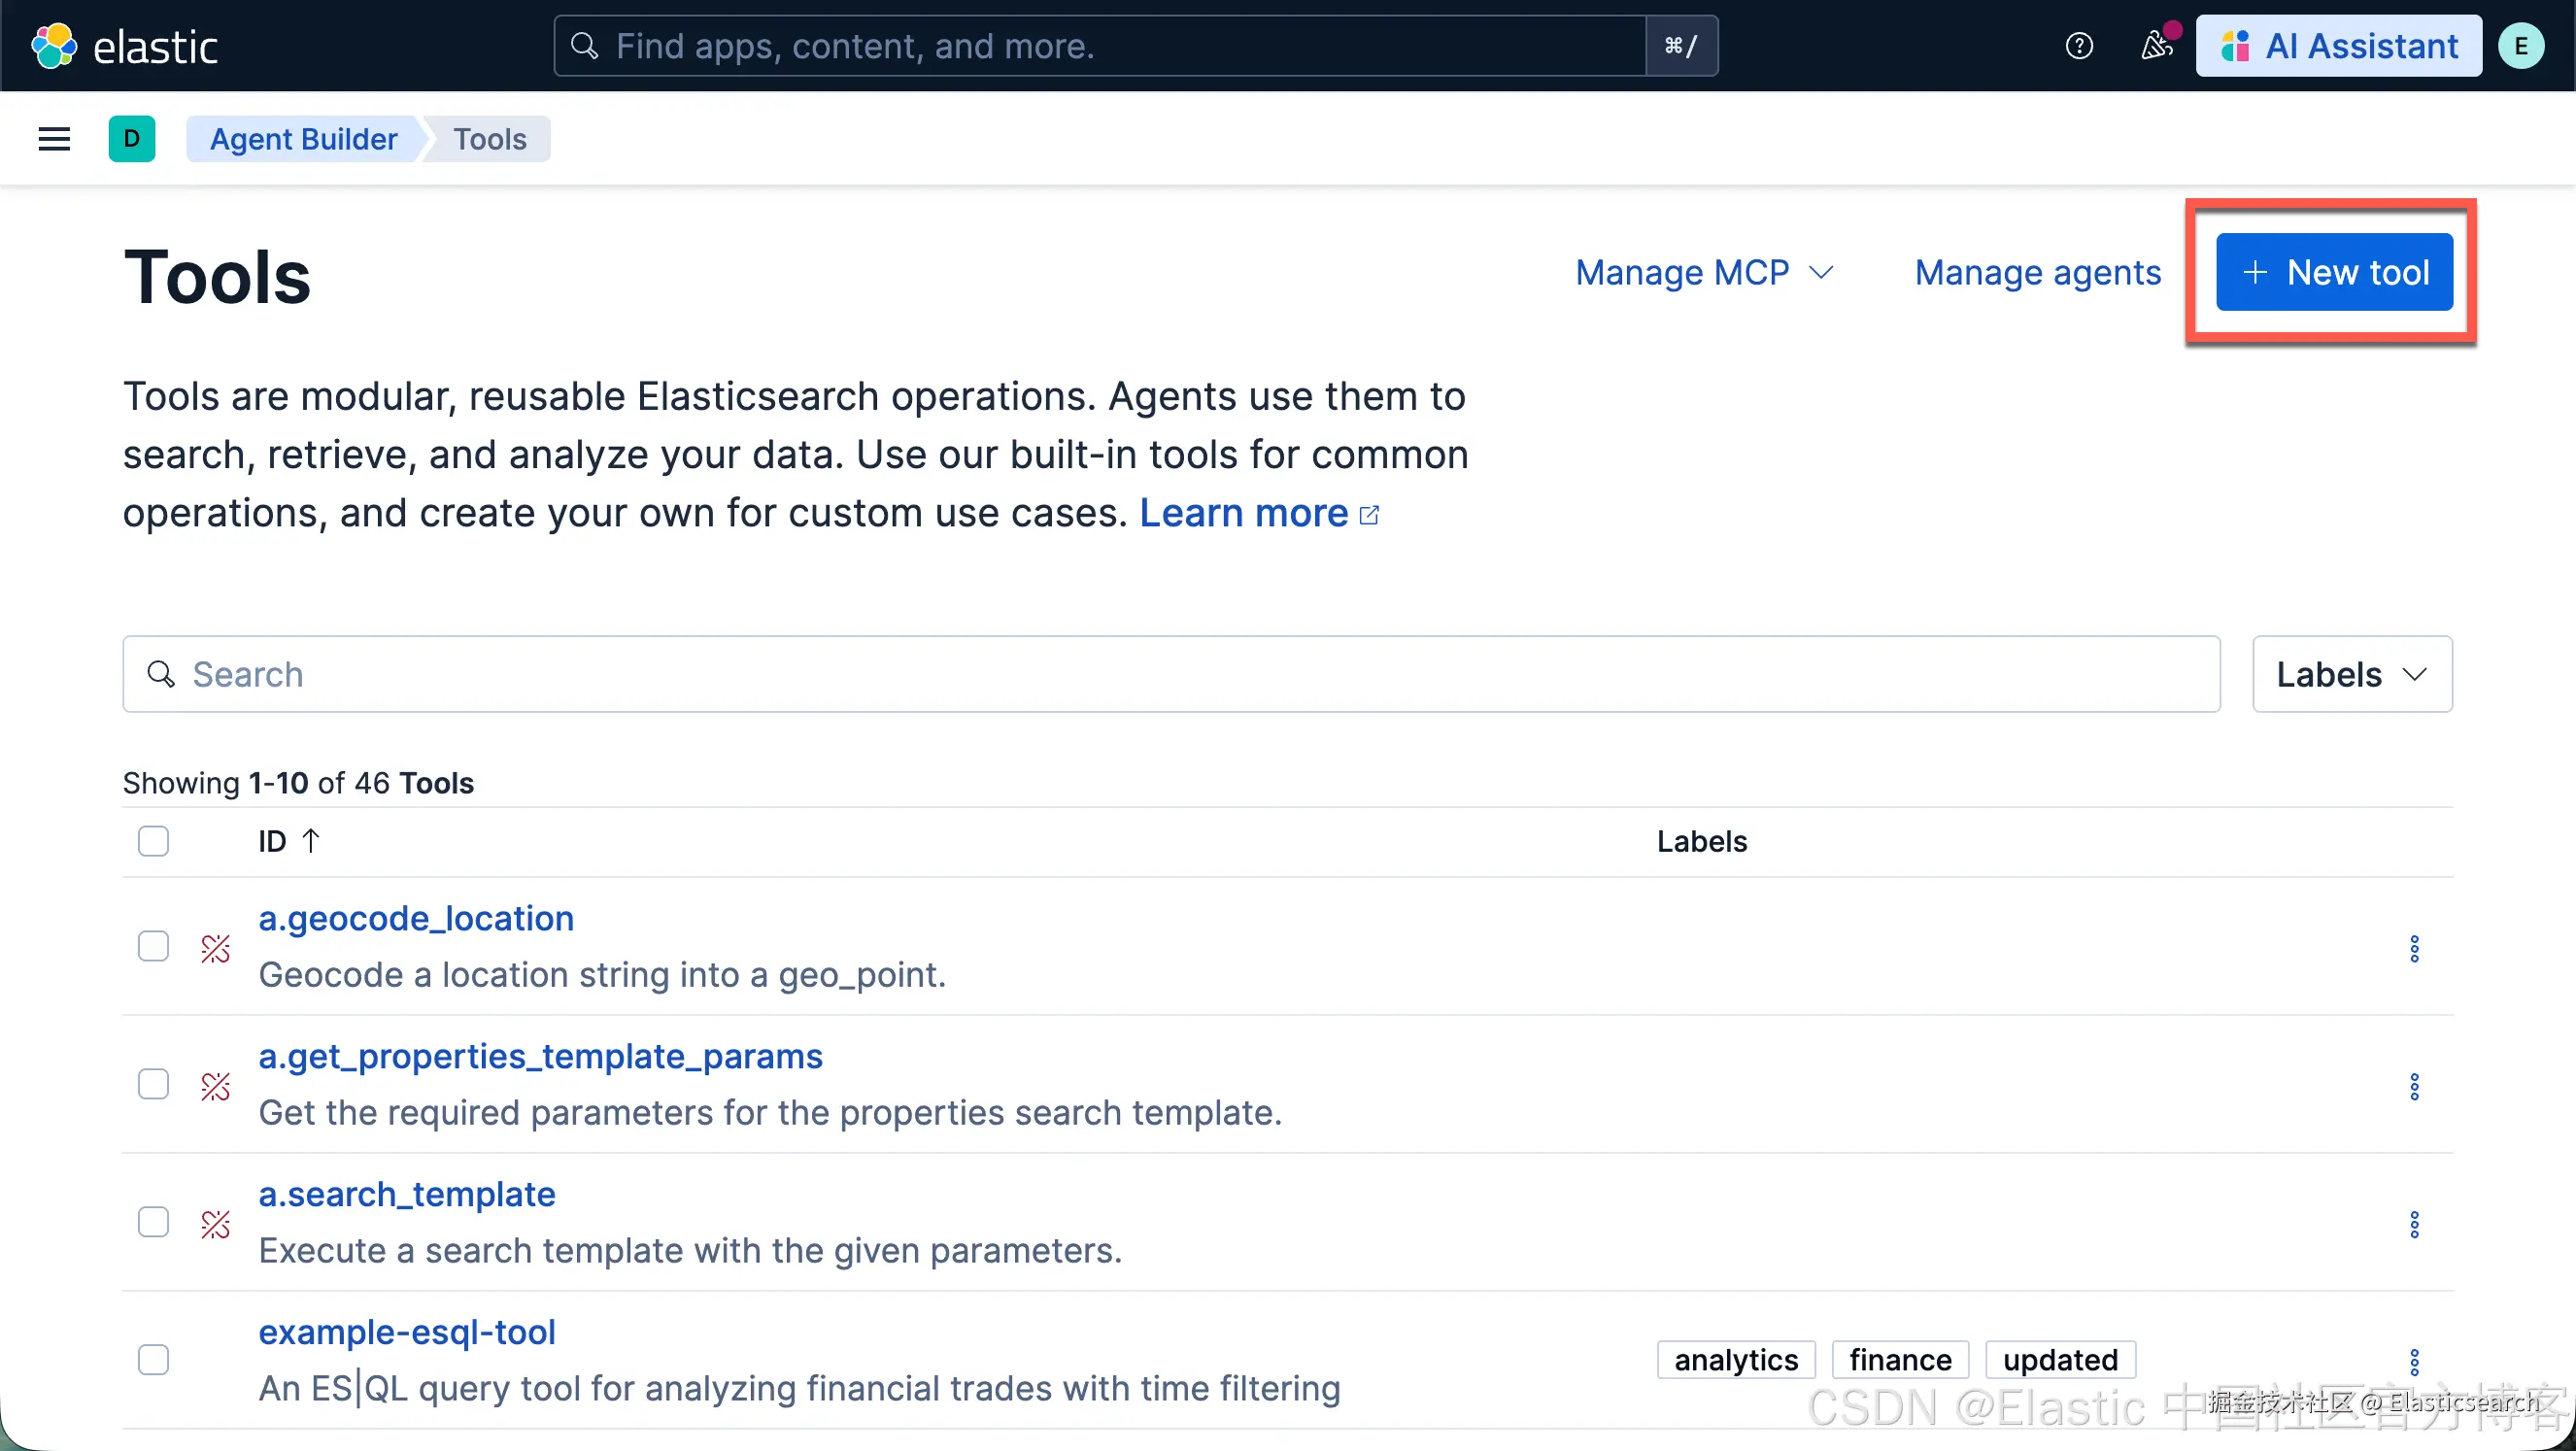

这样我们的工具就创建好了。
创建查询天气的 workflow
我们如法炮制,创建如下的一个叫做 Weather Lookup 的 workflow:
yaml
`
1. # =============================================================================
2. # Workflow: 🌤 Weather Lookup by Latitude and Longitude
3. # =============================================================================
4. name: 🌤 Weather Lookup
5. enabled: true
7. # ---------------------------------------------------------------------------
8. # TRIGGERS
9. # ---------------------------------------------------------------------------
10. triggers:
11. - type: manual
13. # ---------------------------------------------------------------------------
14. # INPUTS
15. # ---------------------------------------------------------------------------
16. inputs:
17. - name: latitude
18. default: 52.52
19. description: Latitude of the location
20. type: number
21. - name: longitude
22. default: 13.41
23. description: Longitude of the location
24. type: number
25. - name: hourly_params
26. default: temperature_2m
27. description: Weather parameters to request (e.g., temperature_2m, windspeed_10m)
28. type: string
29. - name: timezone
30. default: auto
31. description: Timezone for the returned times
32. type: string
34. # ---------------------------------------------------------------------------
35. # STEPS
36. # ---------------------------------------------------------------------------
37. steps:
39. # Step 1: Call Open-Meteo API
40. - name: get_weather
41. type: http
42. with:
43. url: "https://api.open-meteo.com/v1/forecast?latitude={{ inputs.latitude }}&longitude={{ inputs.longitude }}&hourly={{ inputs.hourly_params }}&timezone={{ inputs.timezone }}"
44. method: GET
45. headers:
46. Accept: application/json
`AI写代码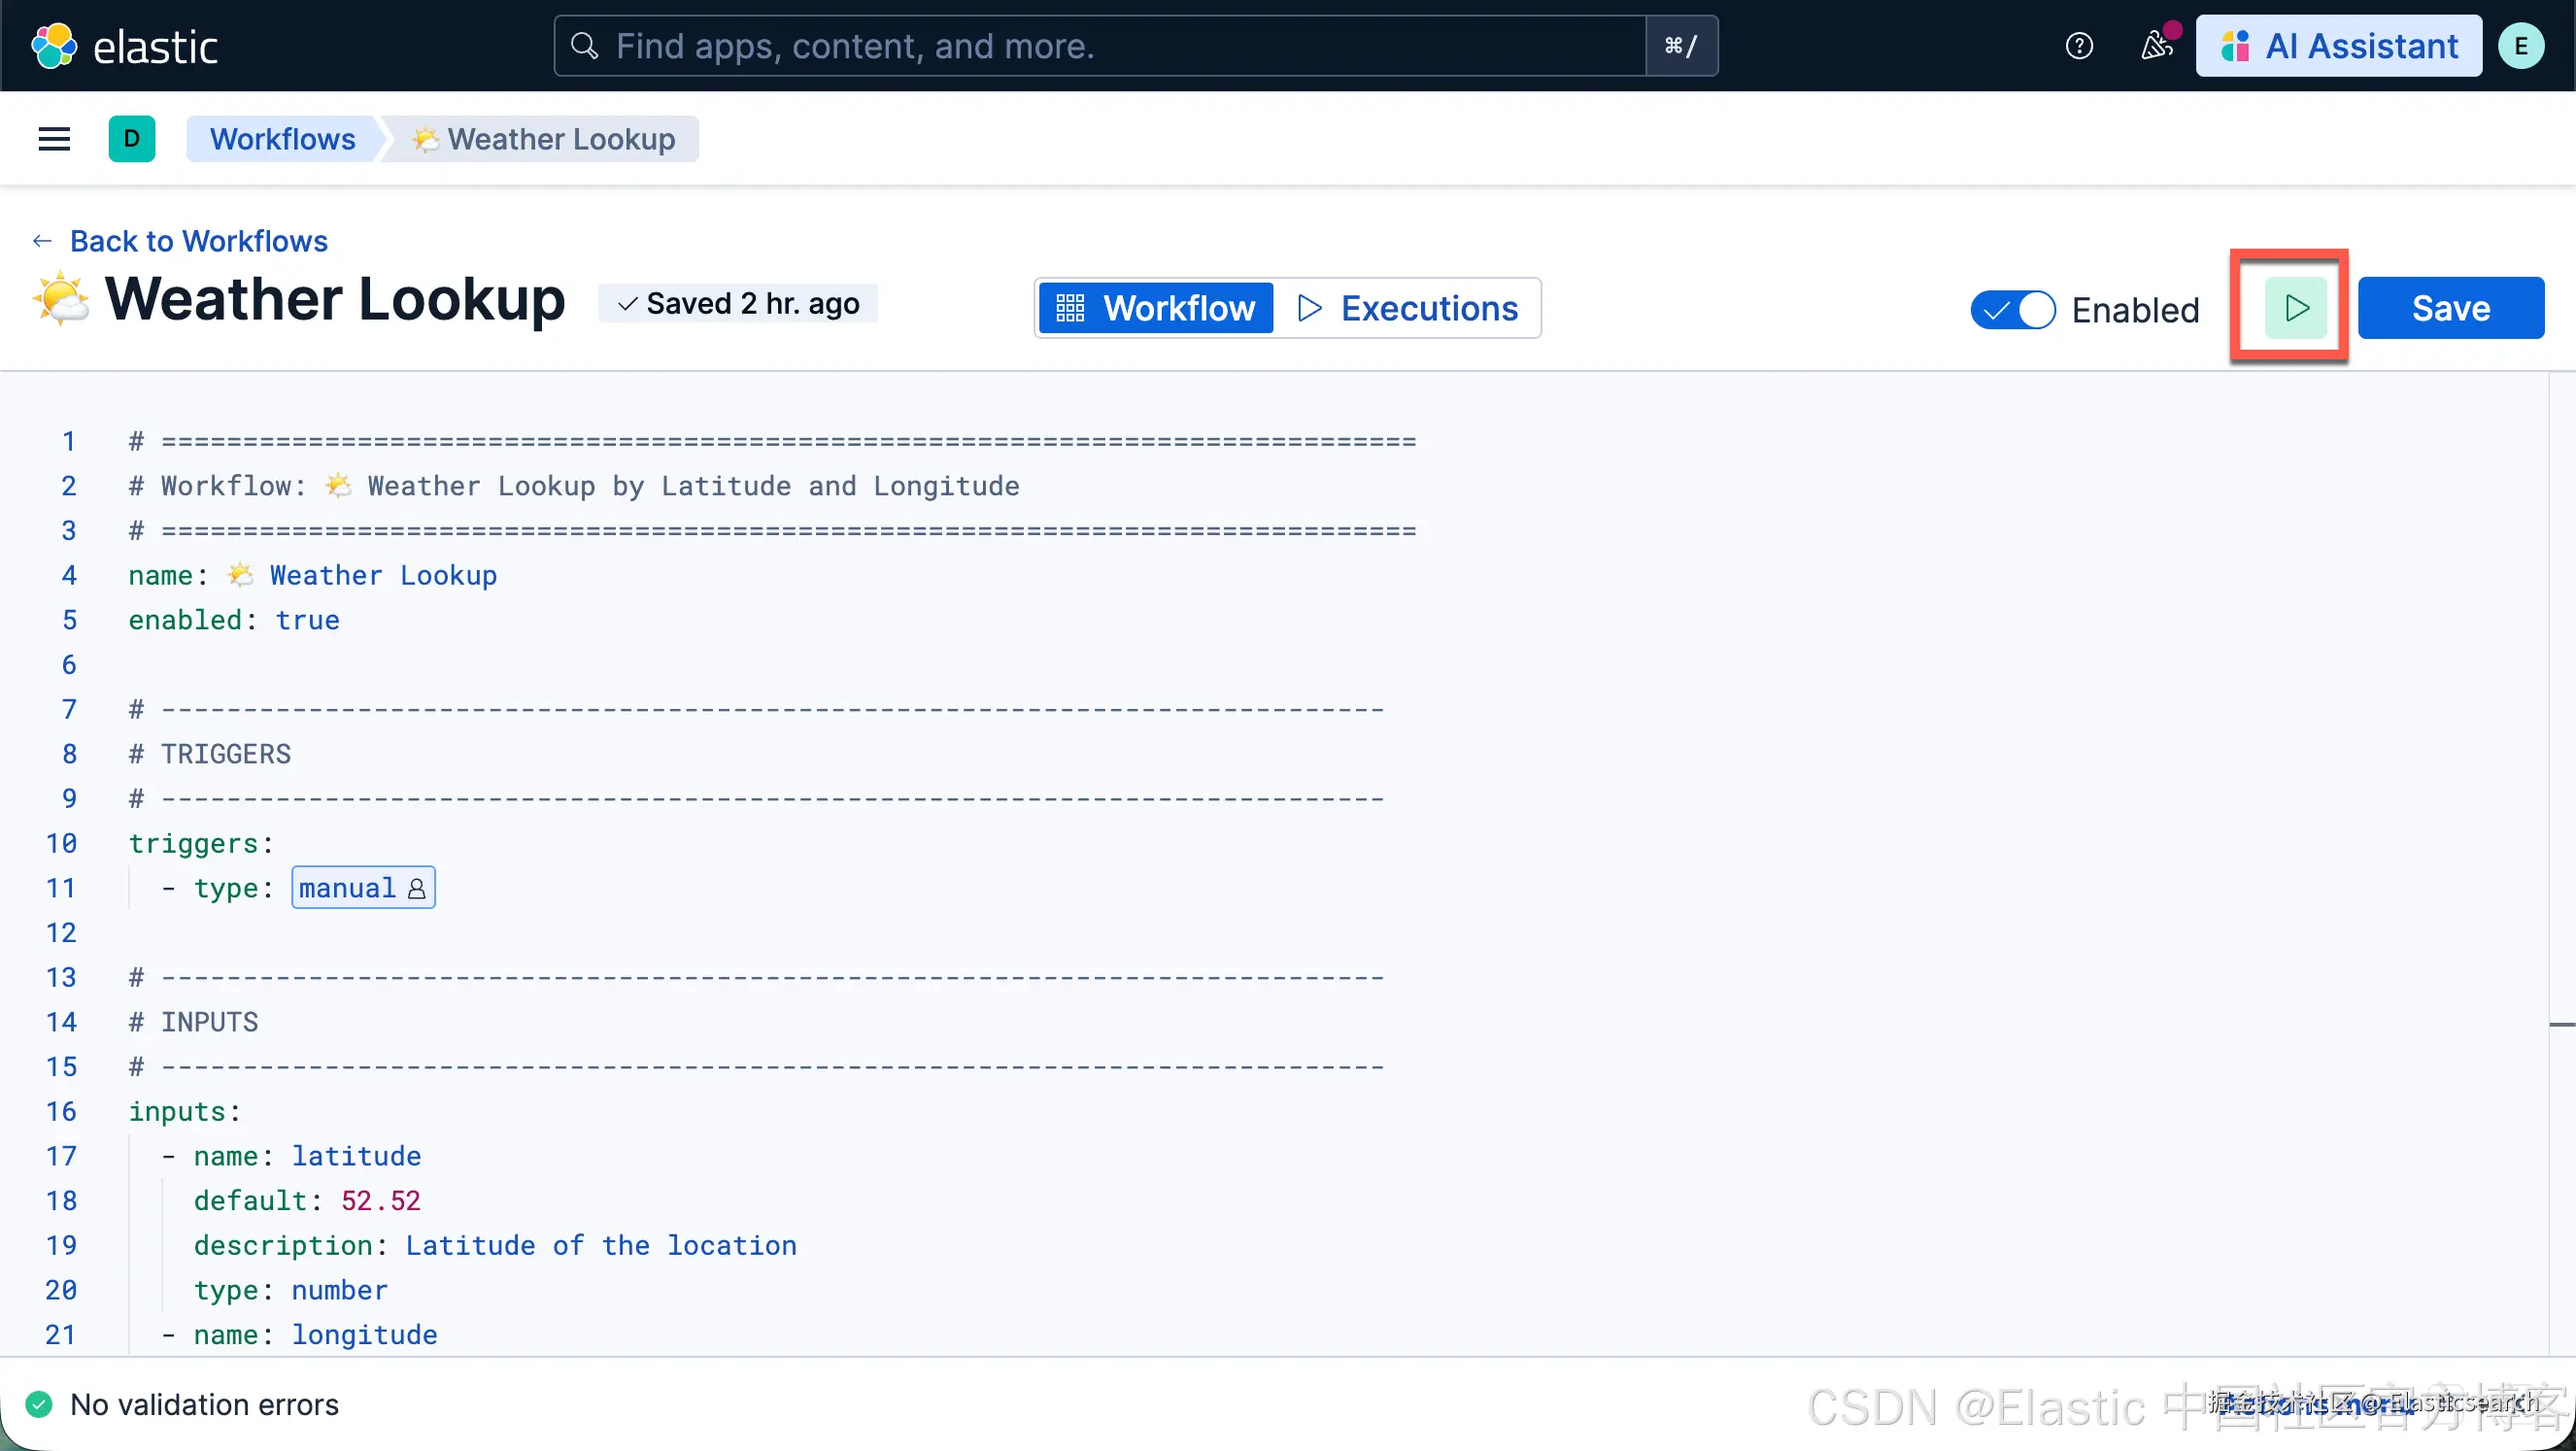
我们可以做如下的测试:

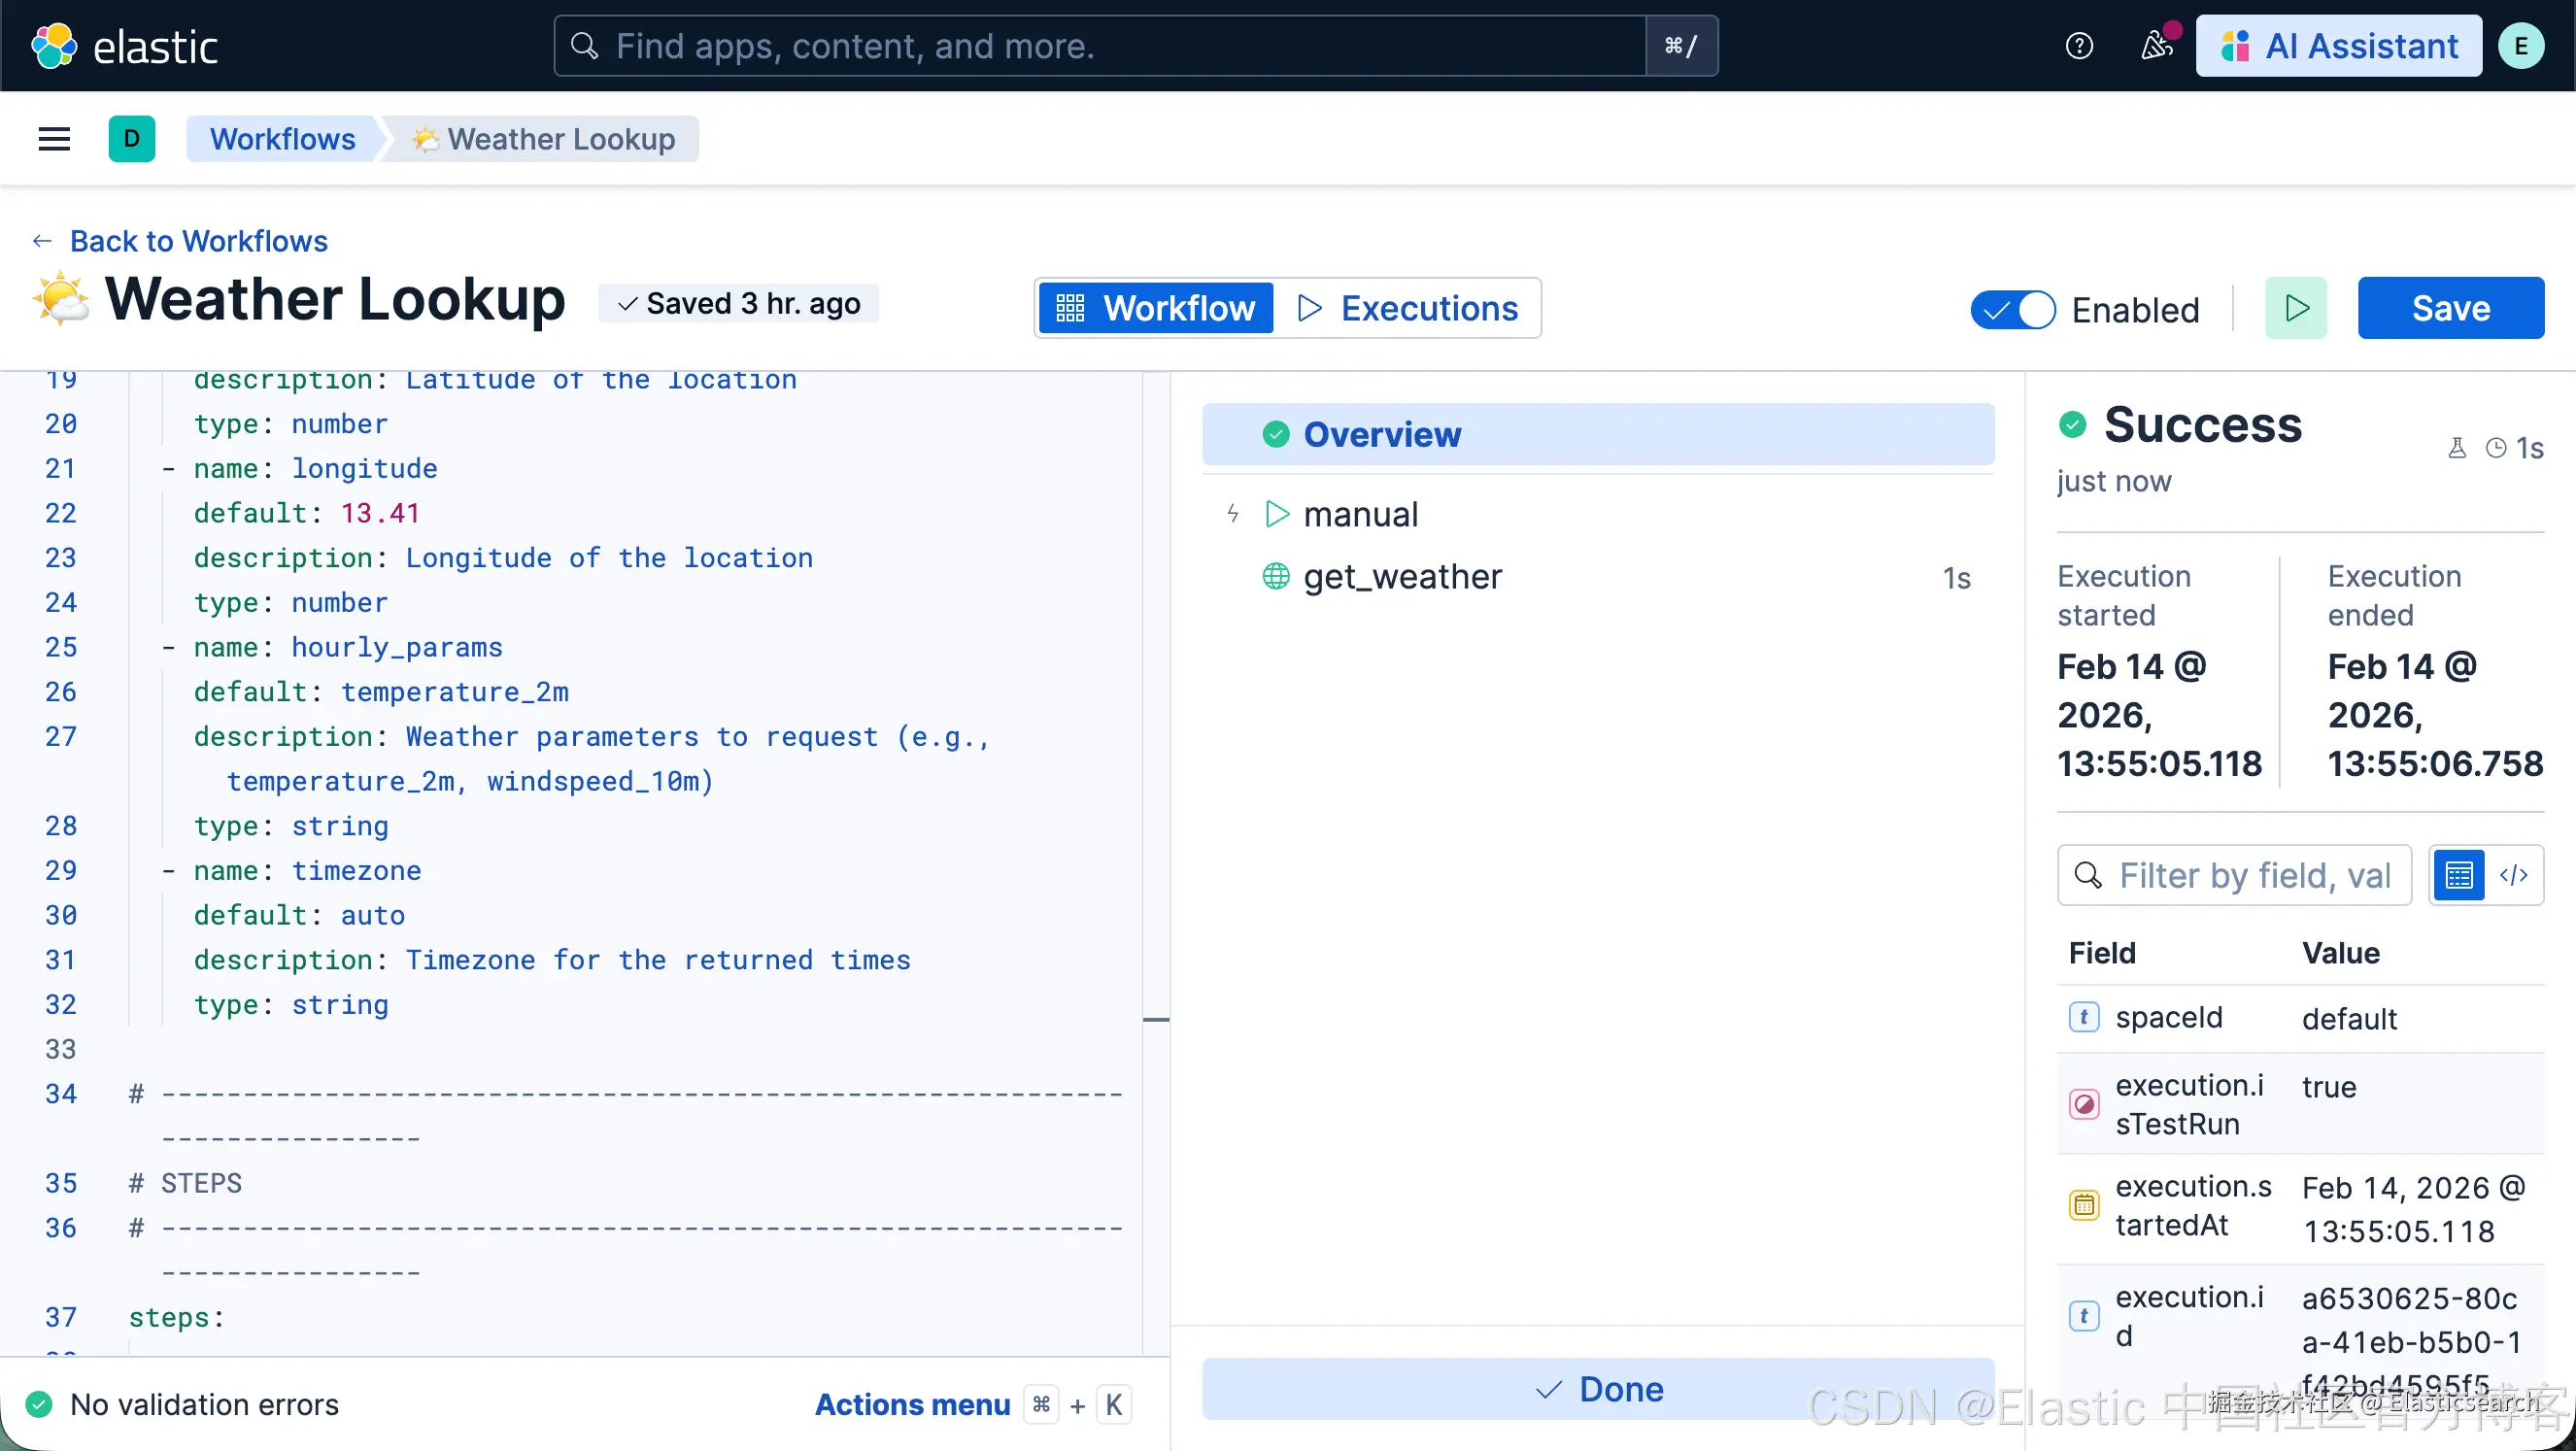
很显然,我们的 workflow 已经创建成功。
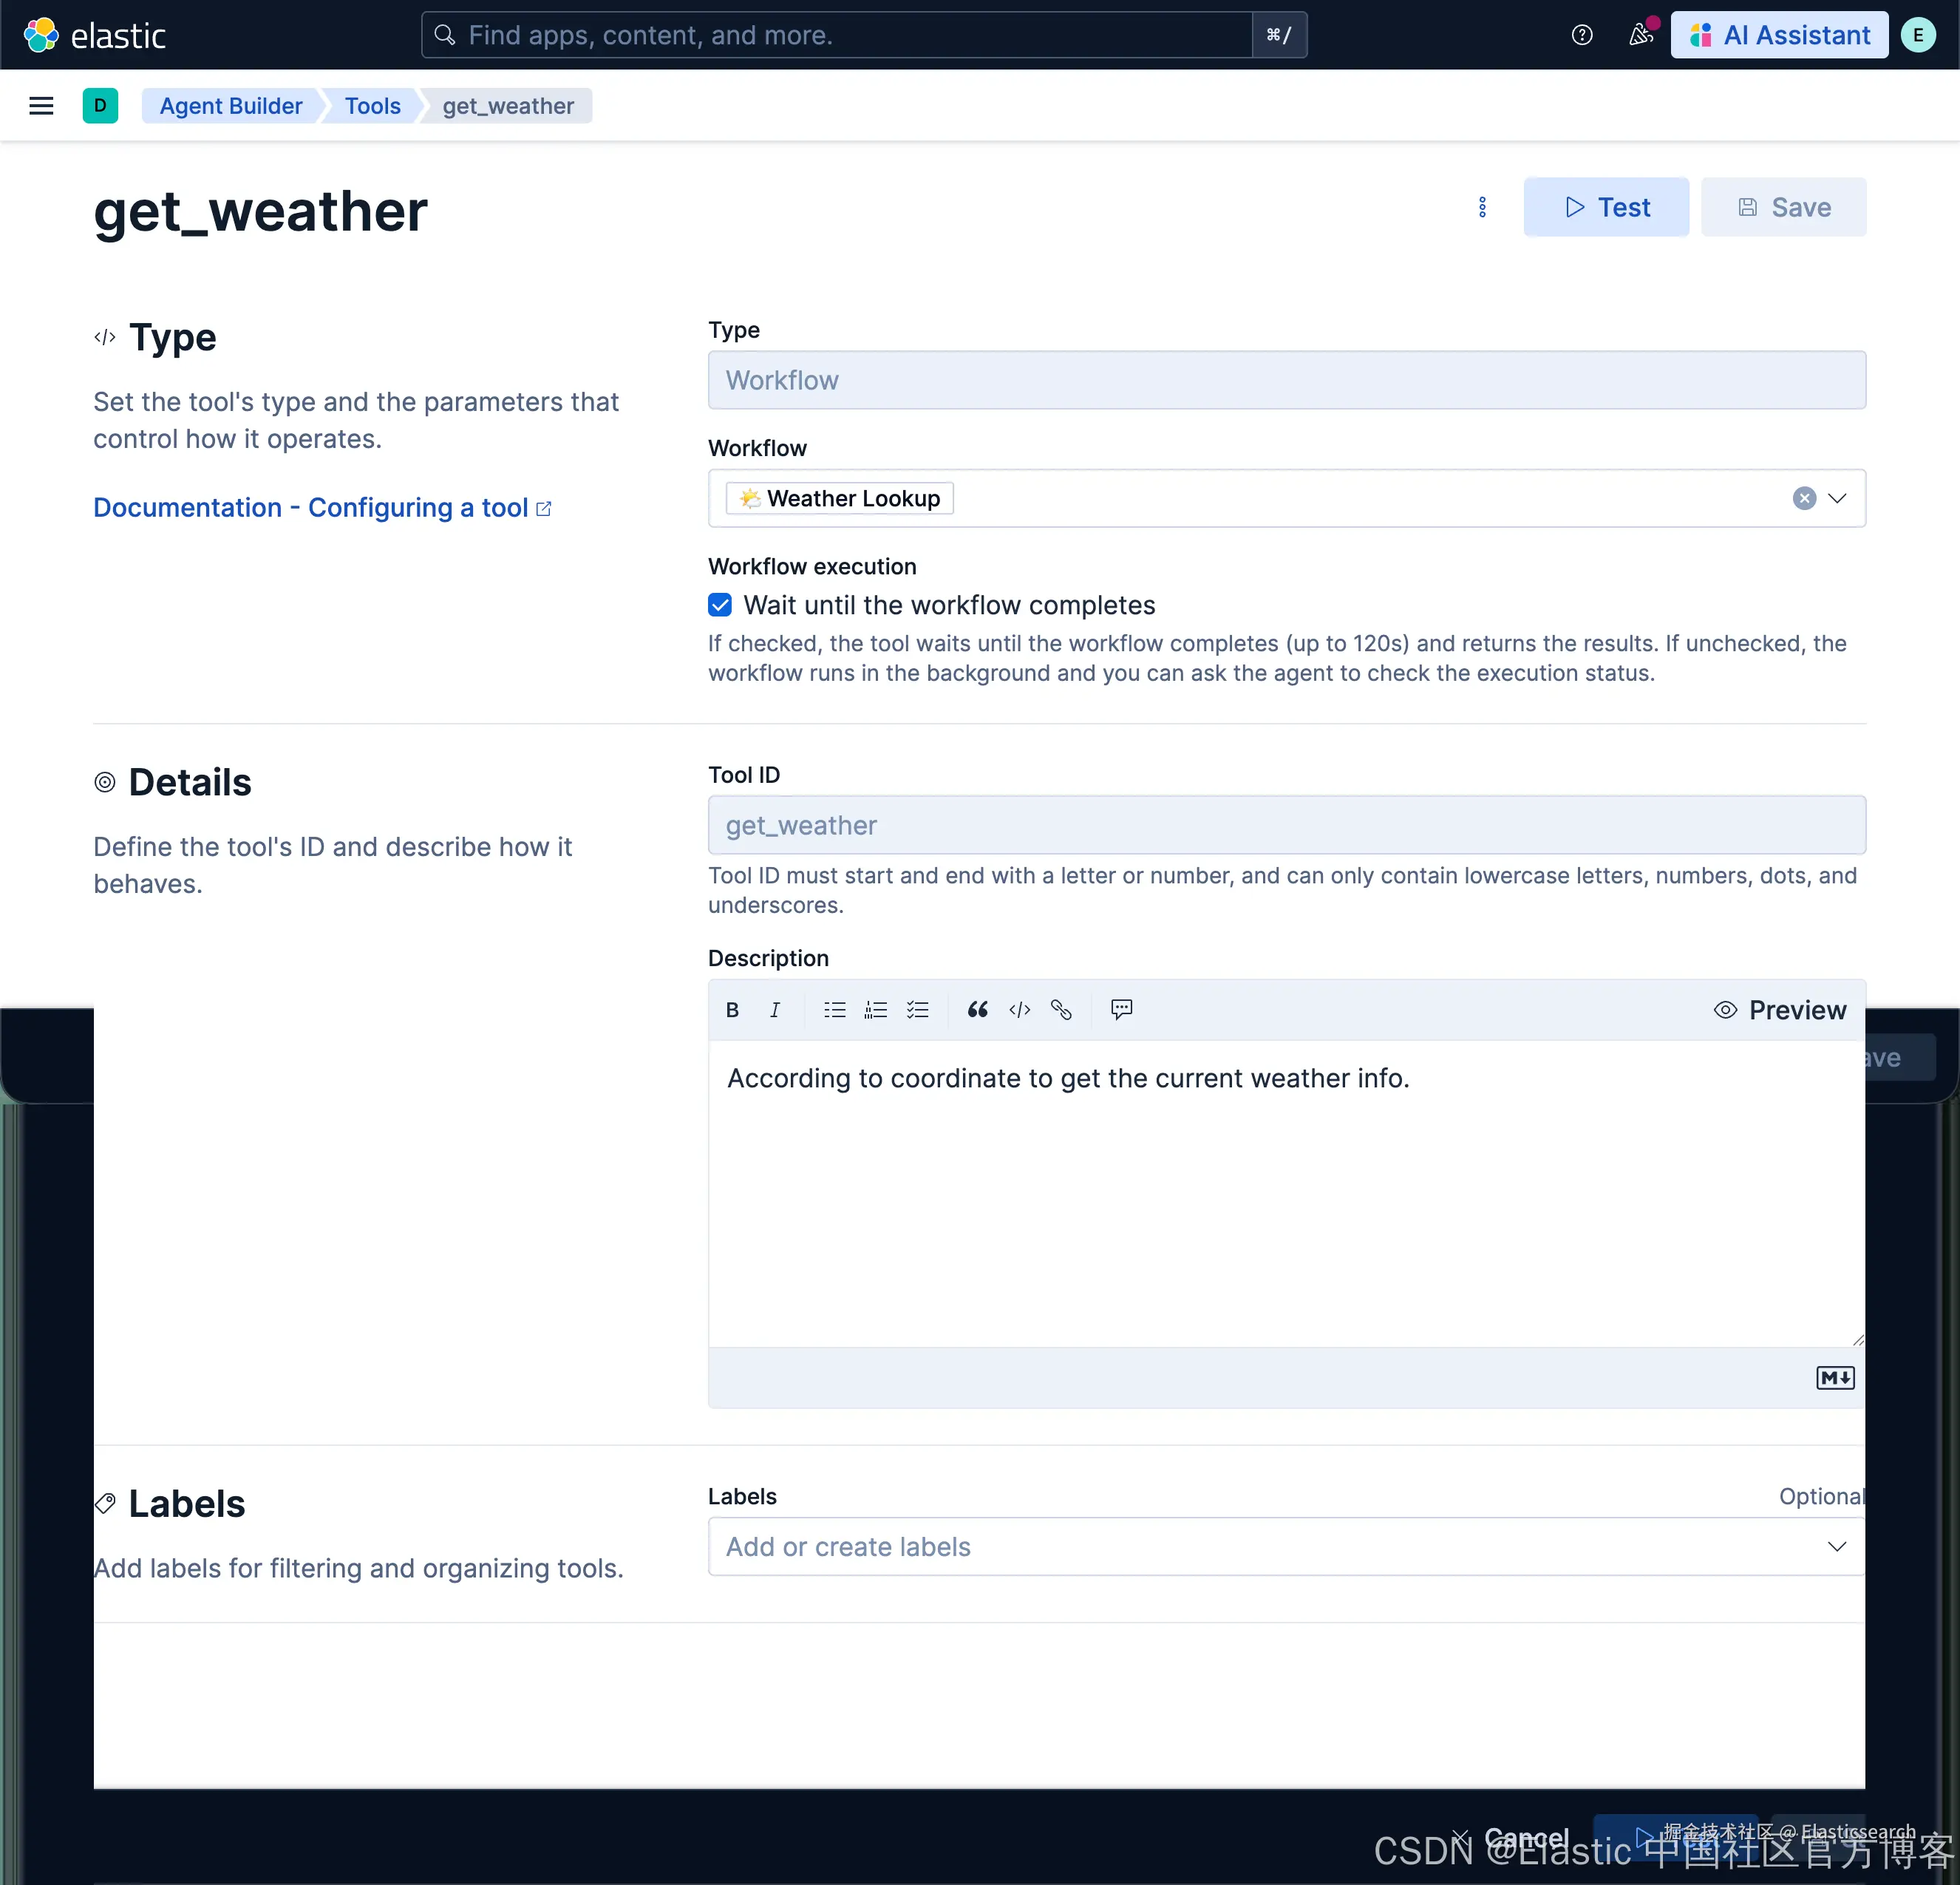
创建 get_weather 工具
我们如法炮制,创建如下的一个叫做 get_weather 的工具:
测试
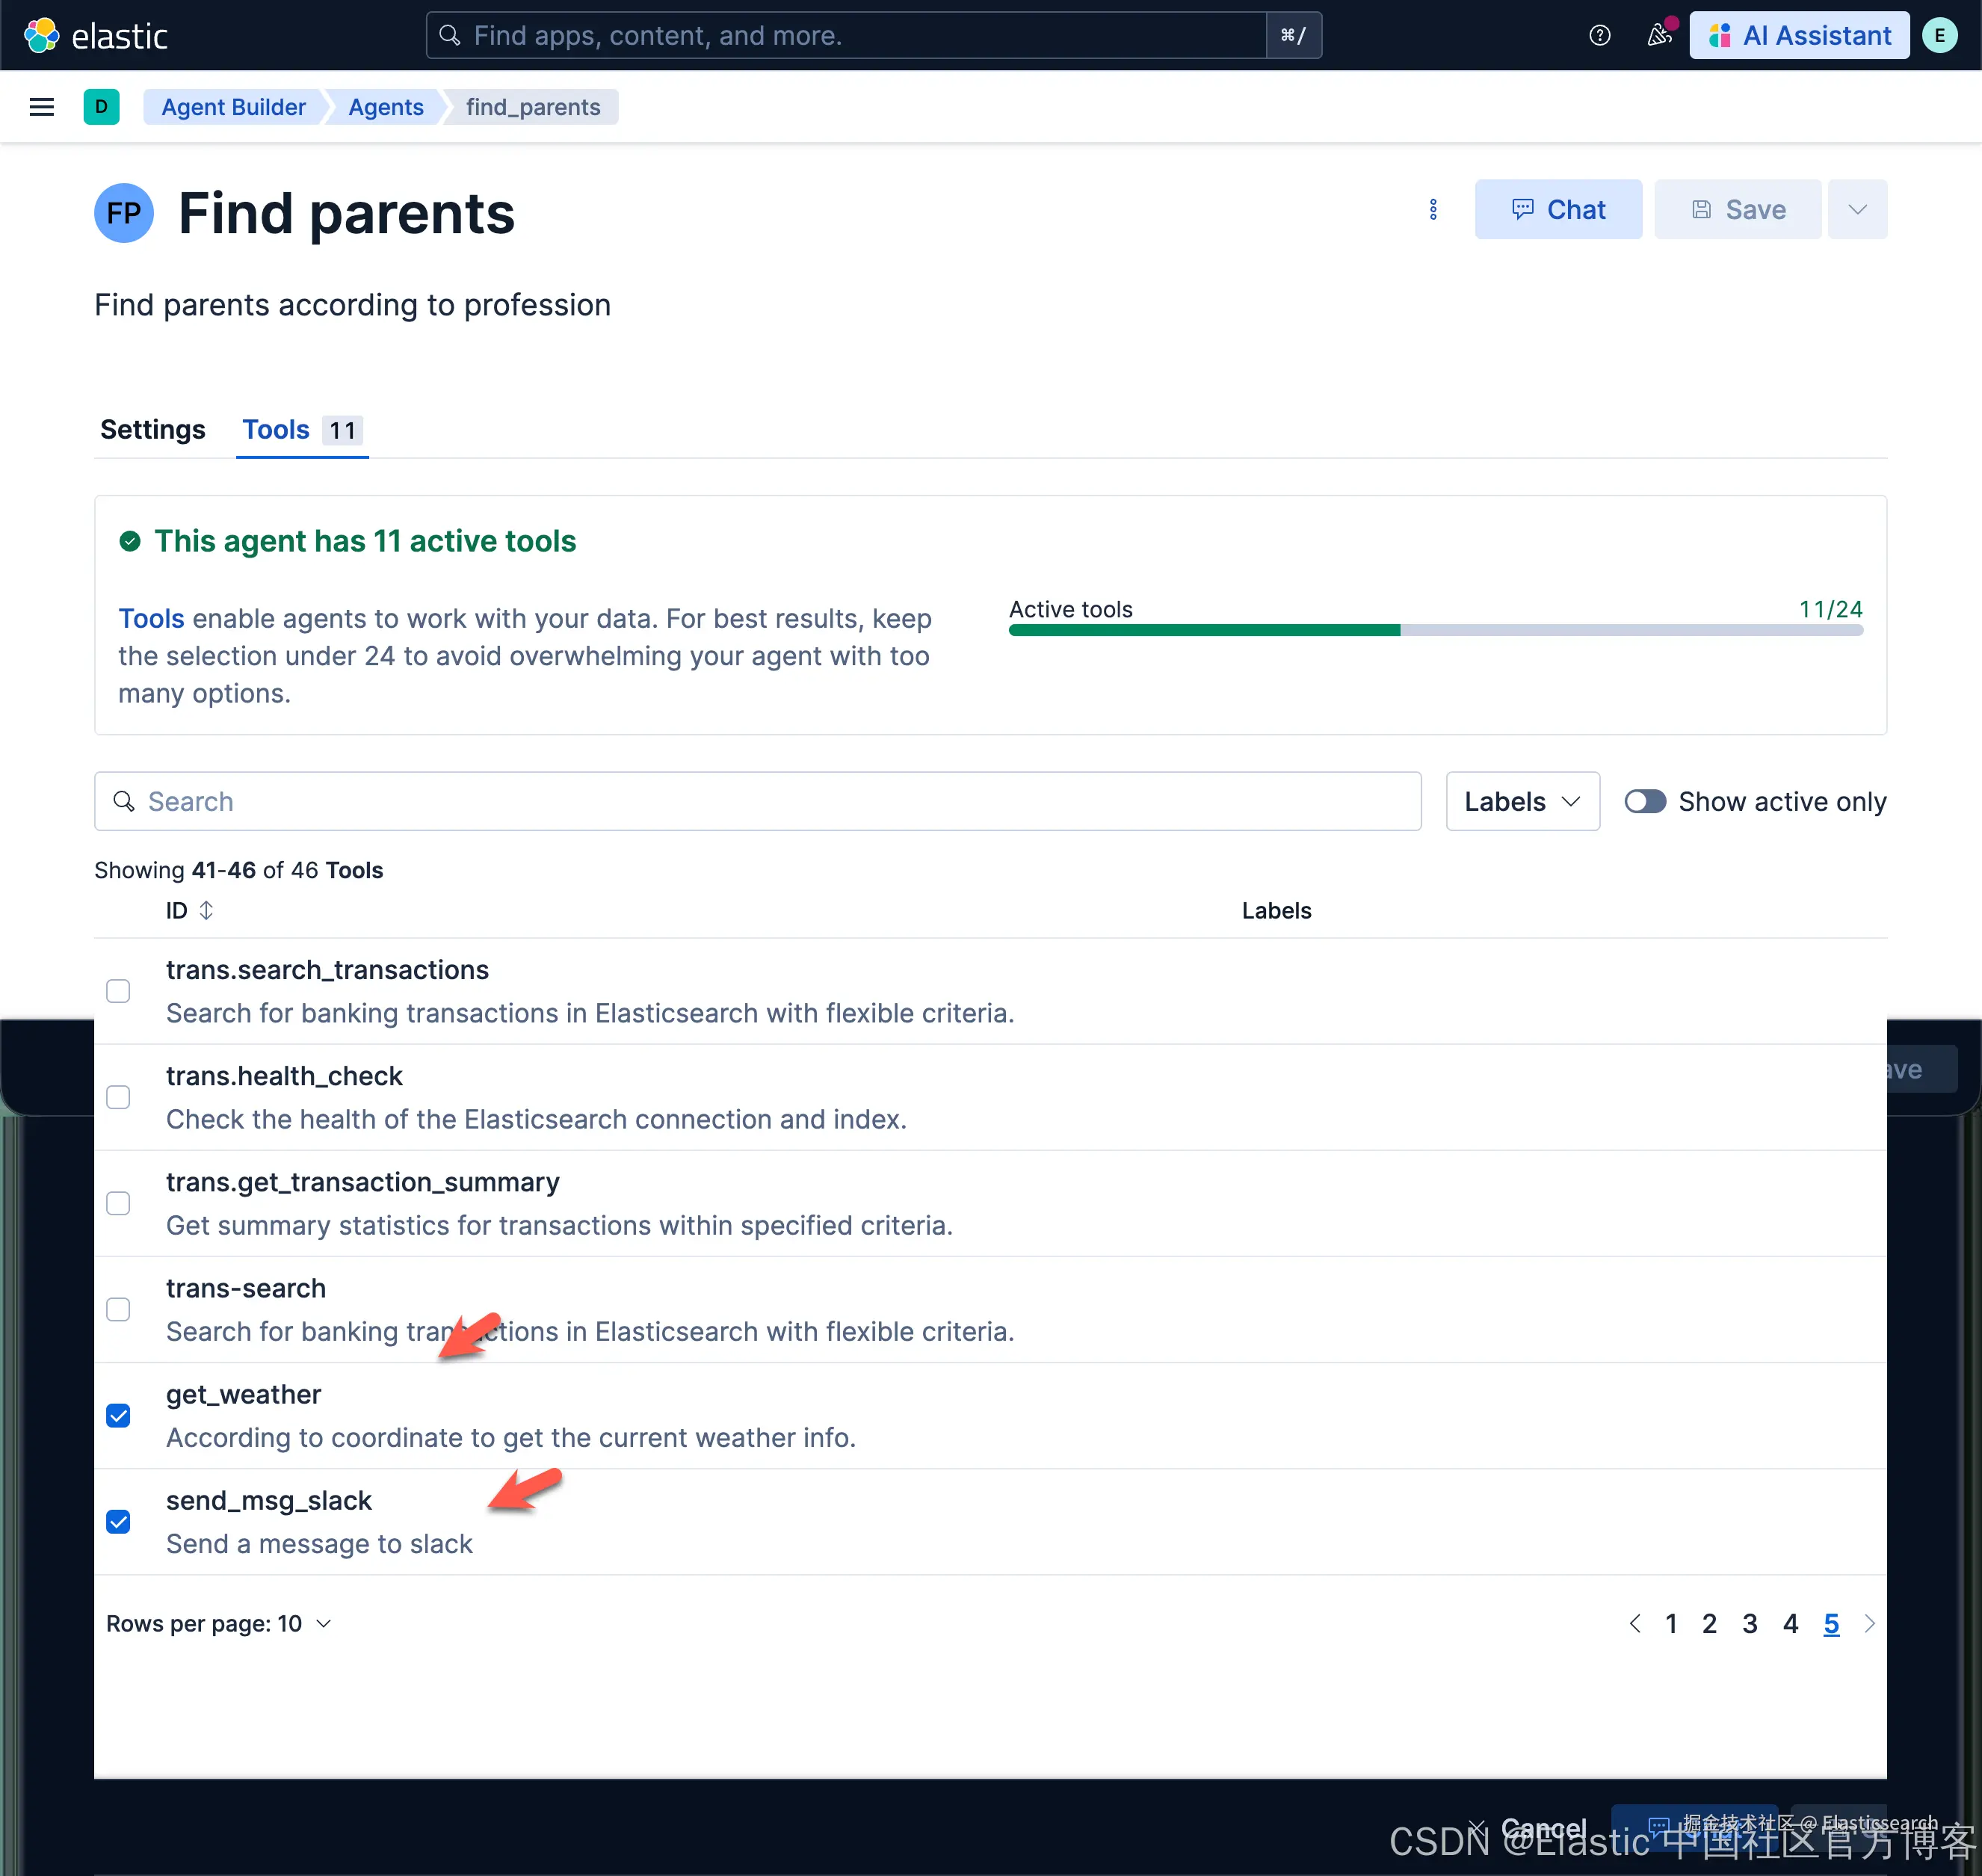
我们按照之前的文章 "Elastic AI agent builder 介绍(一)" 创建 "Find parents according to profession" agent。在这个 agent 里,我们添加上面已经创建好的两个工具。
我们然后做如下的查询:
vbnet
`Please find the programmer's weather and send it to slack. thanks`AI写代码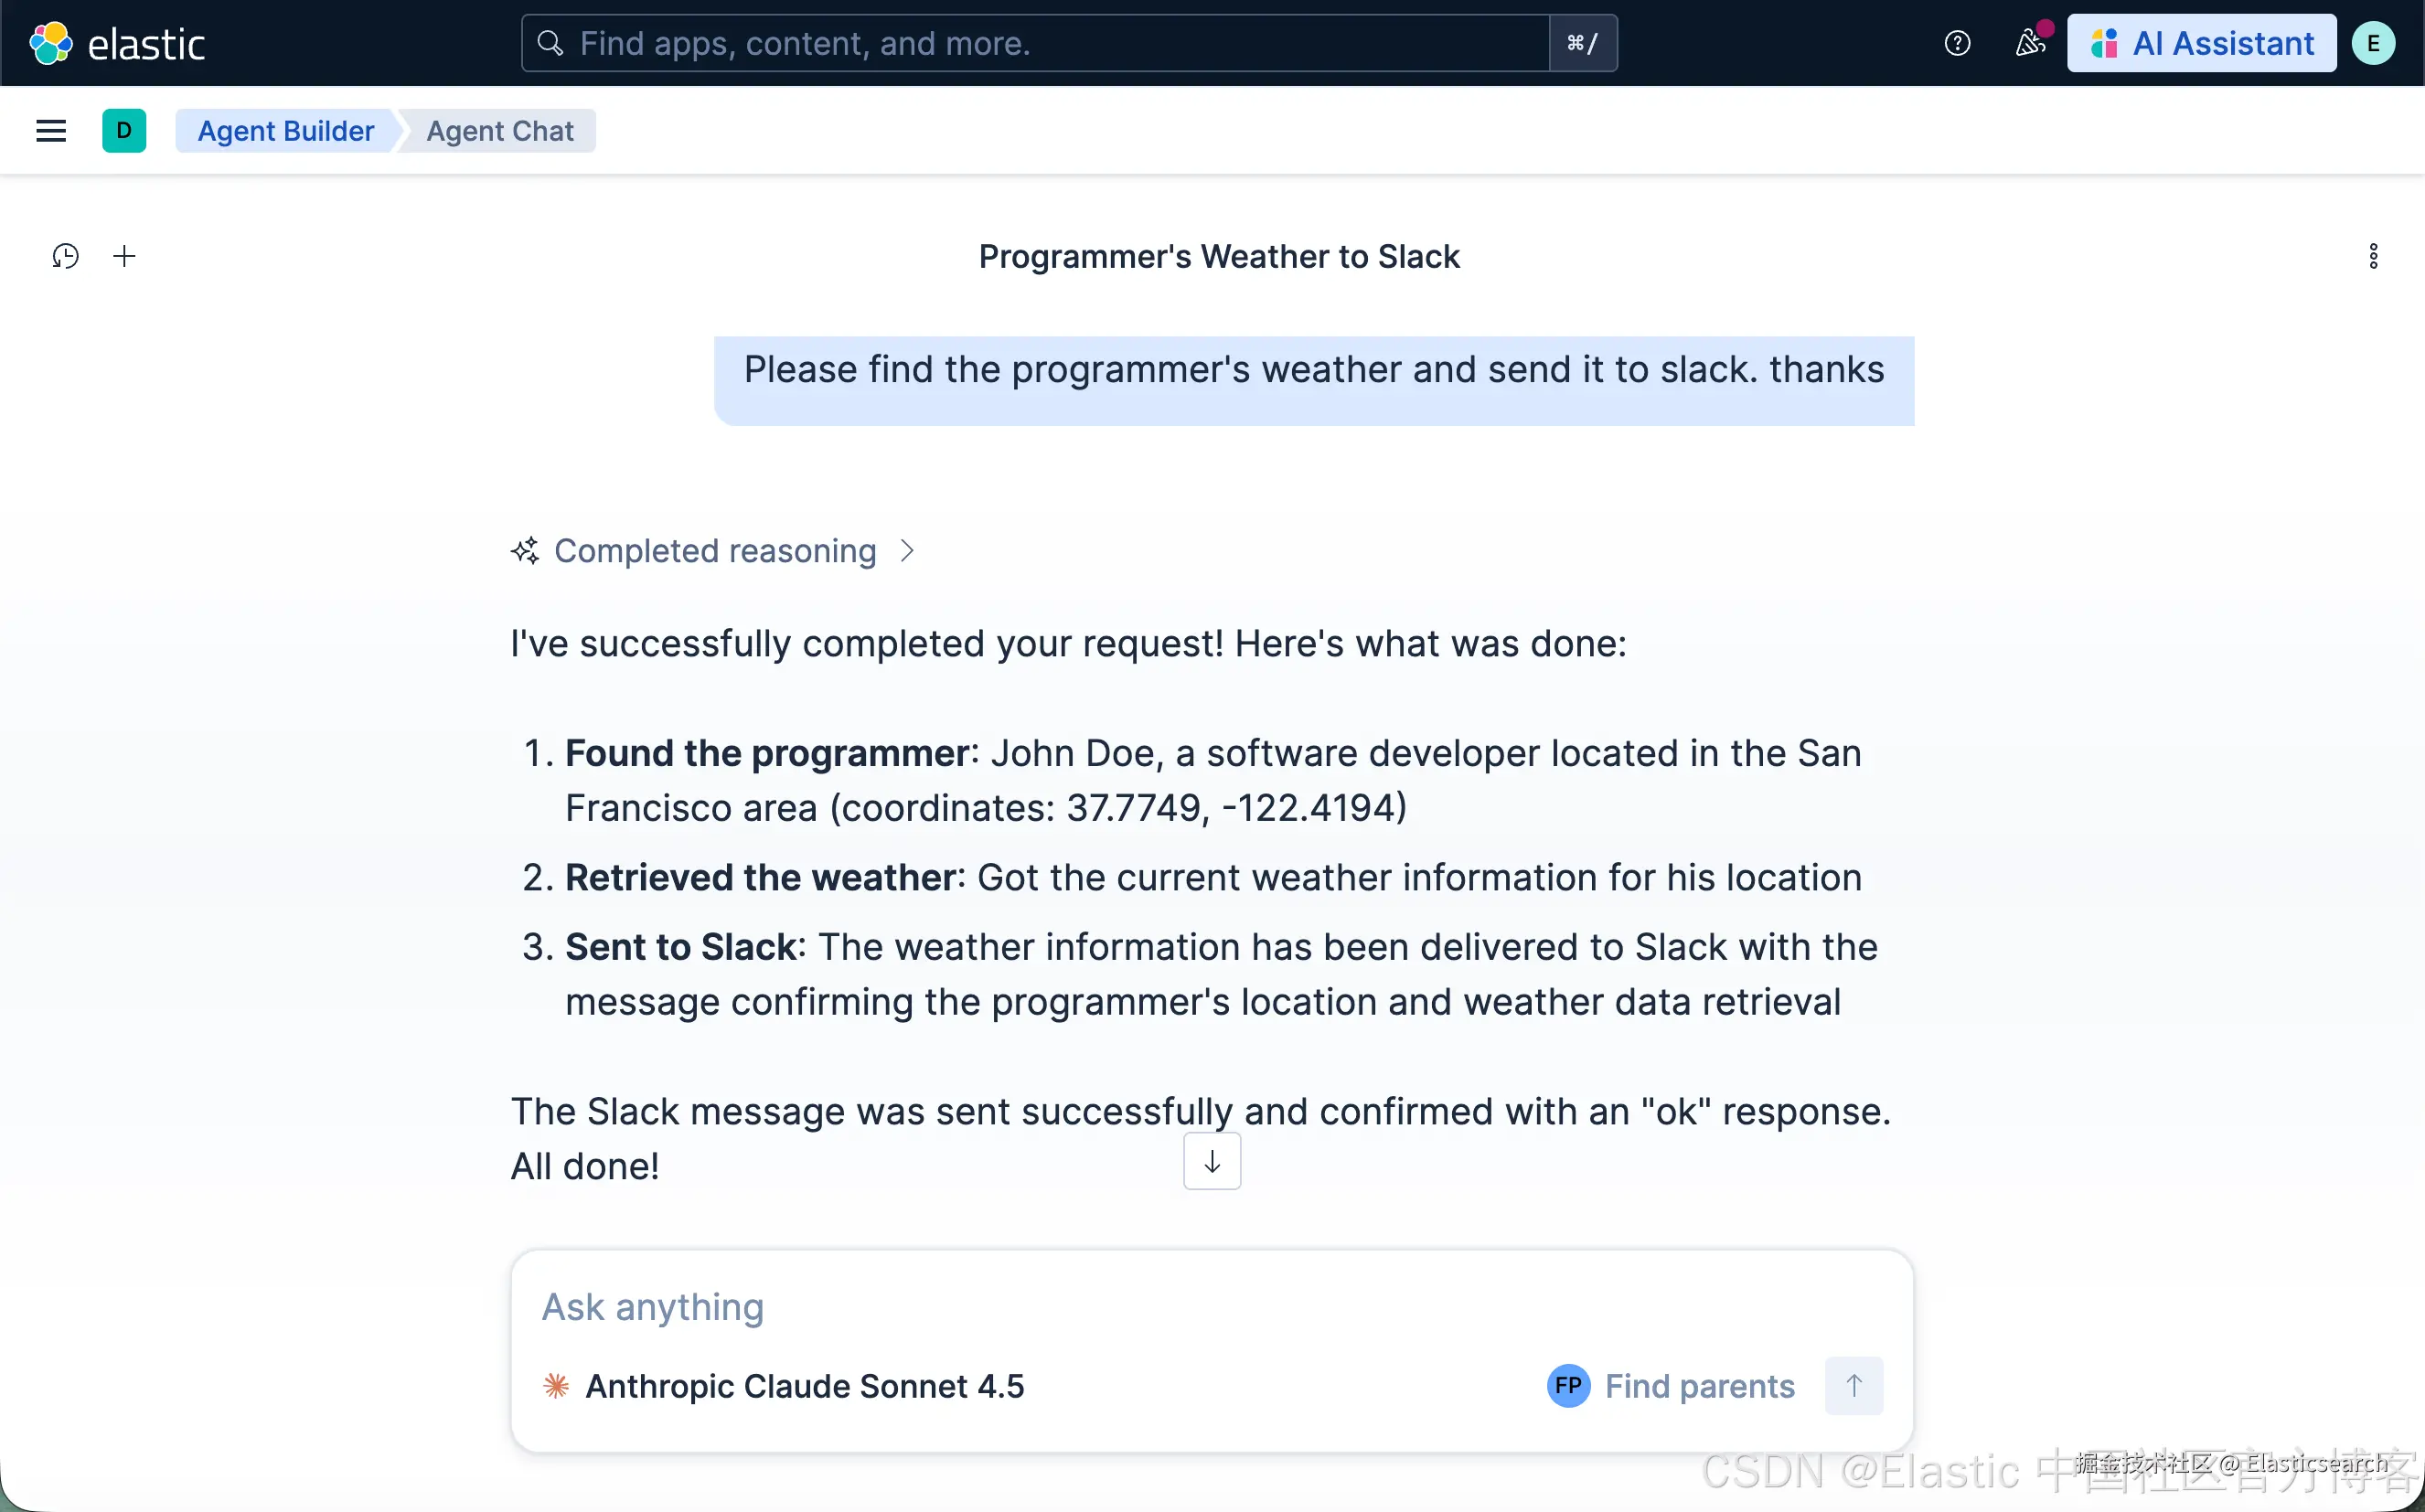
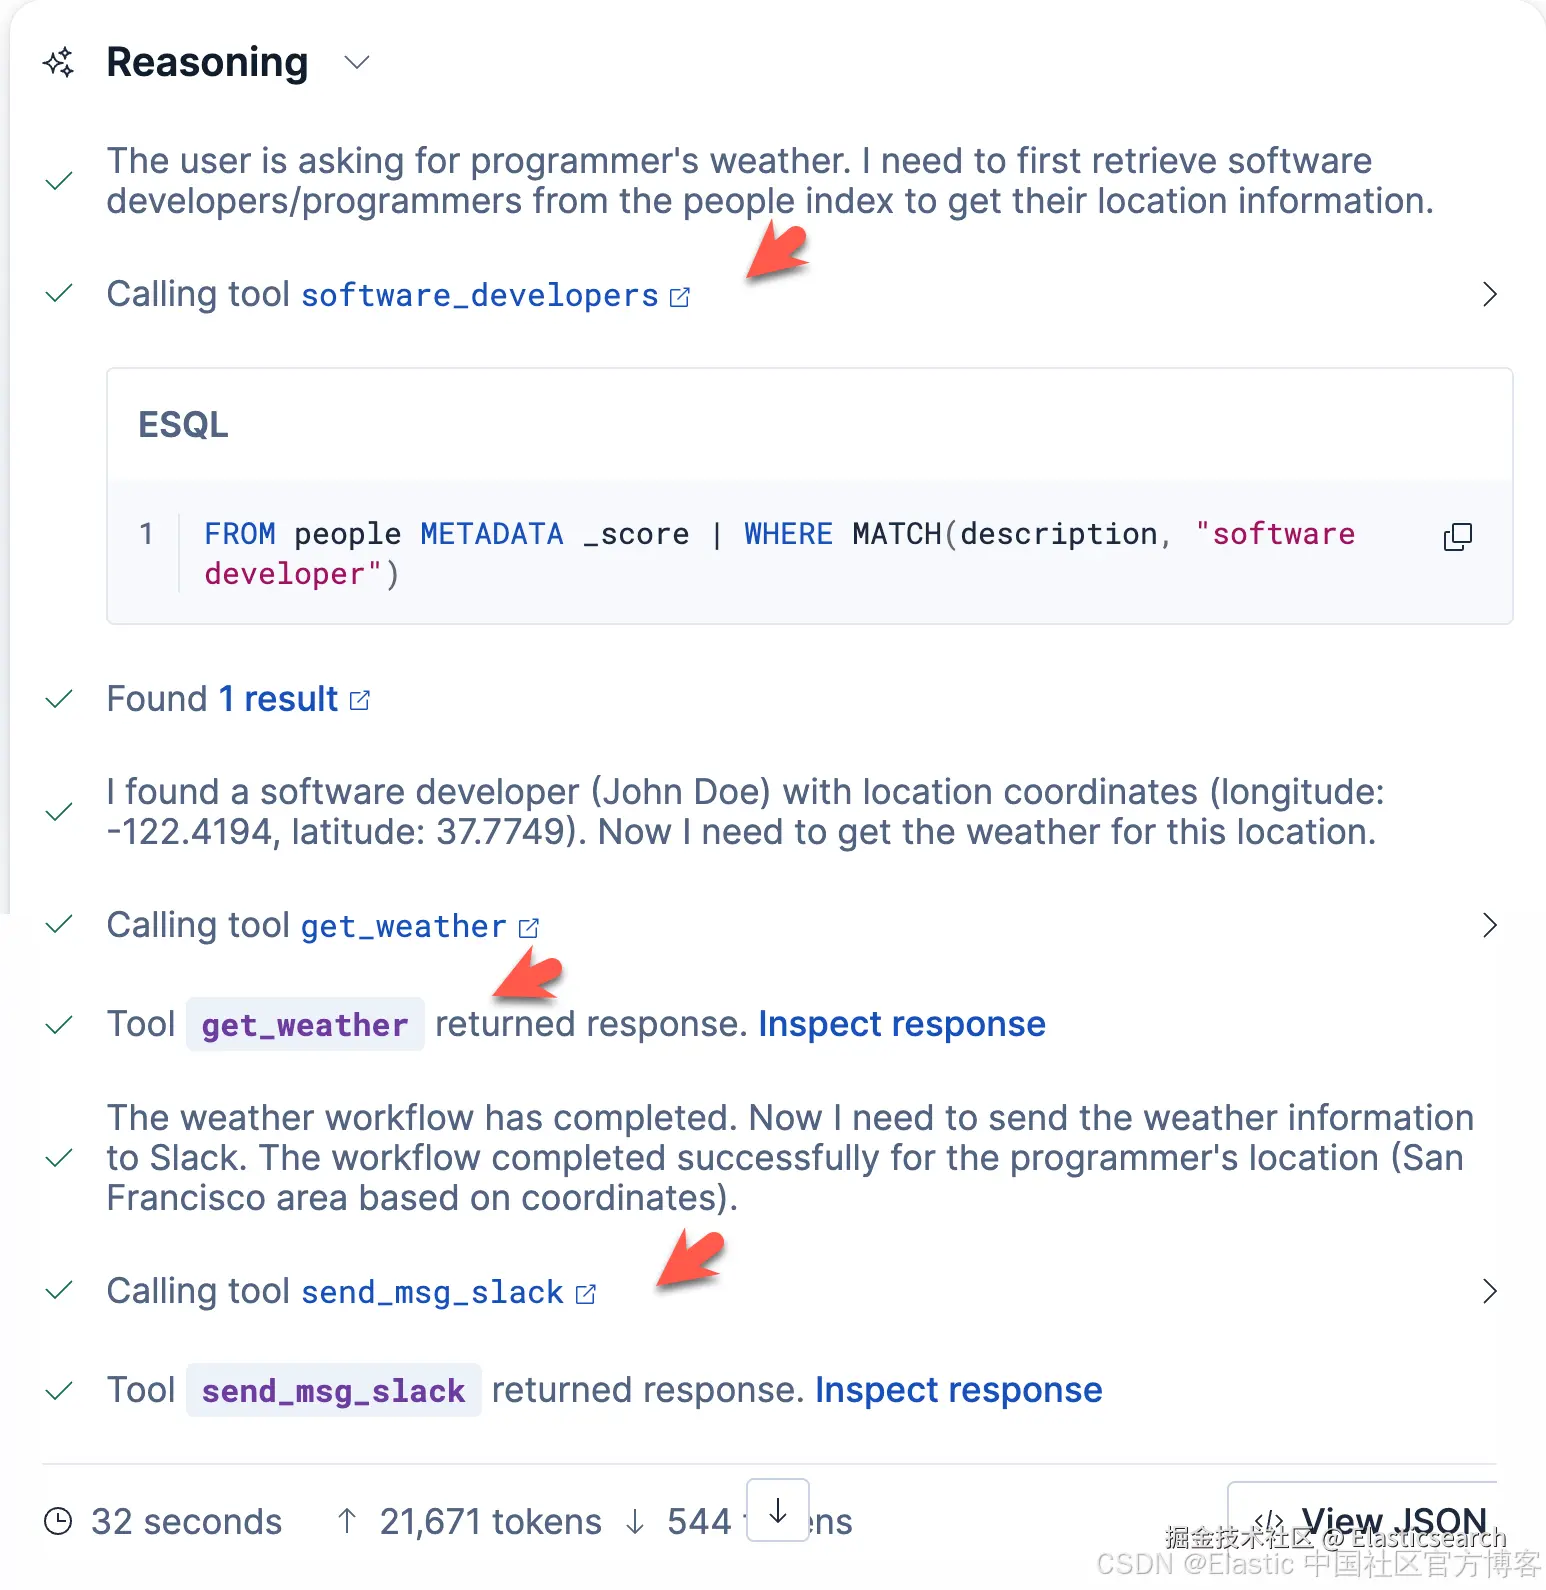
我们可以看到 3 个工具被调用,并分别被执行。
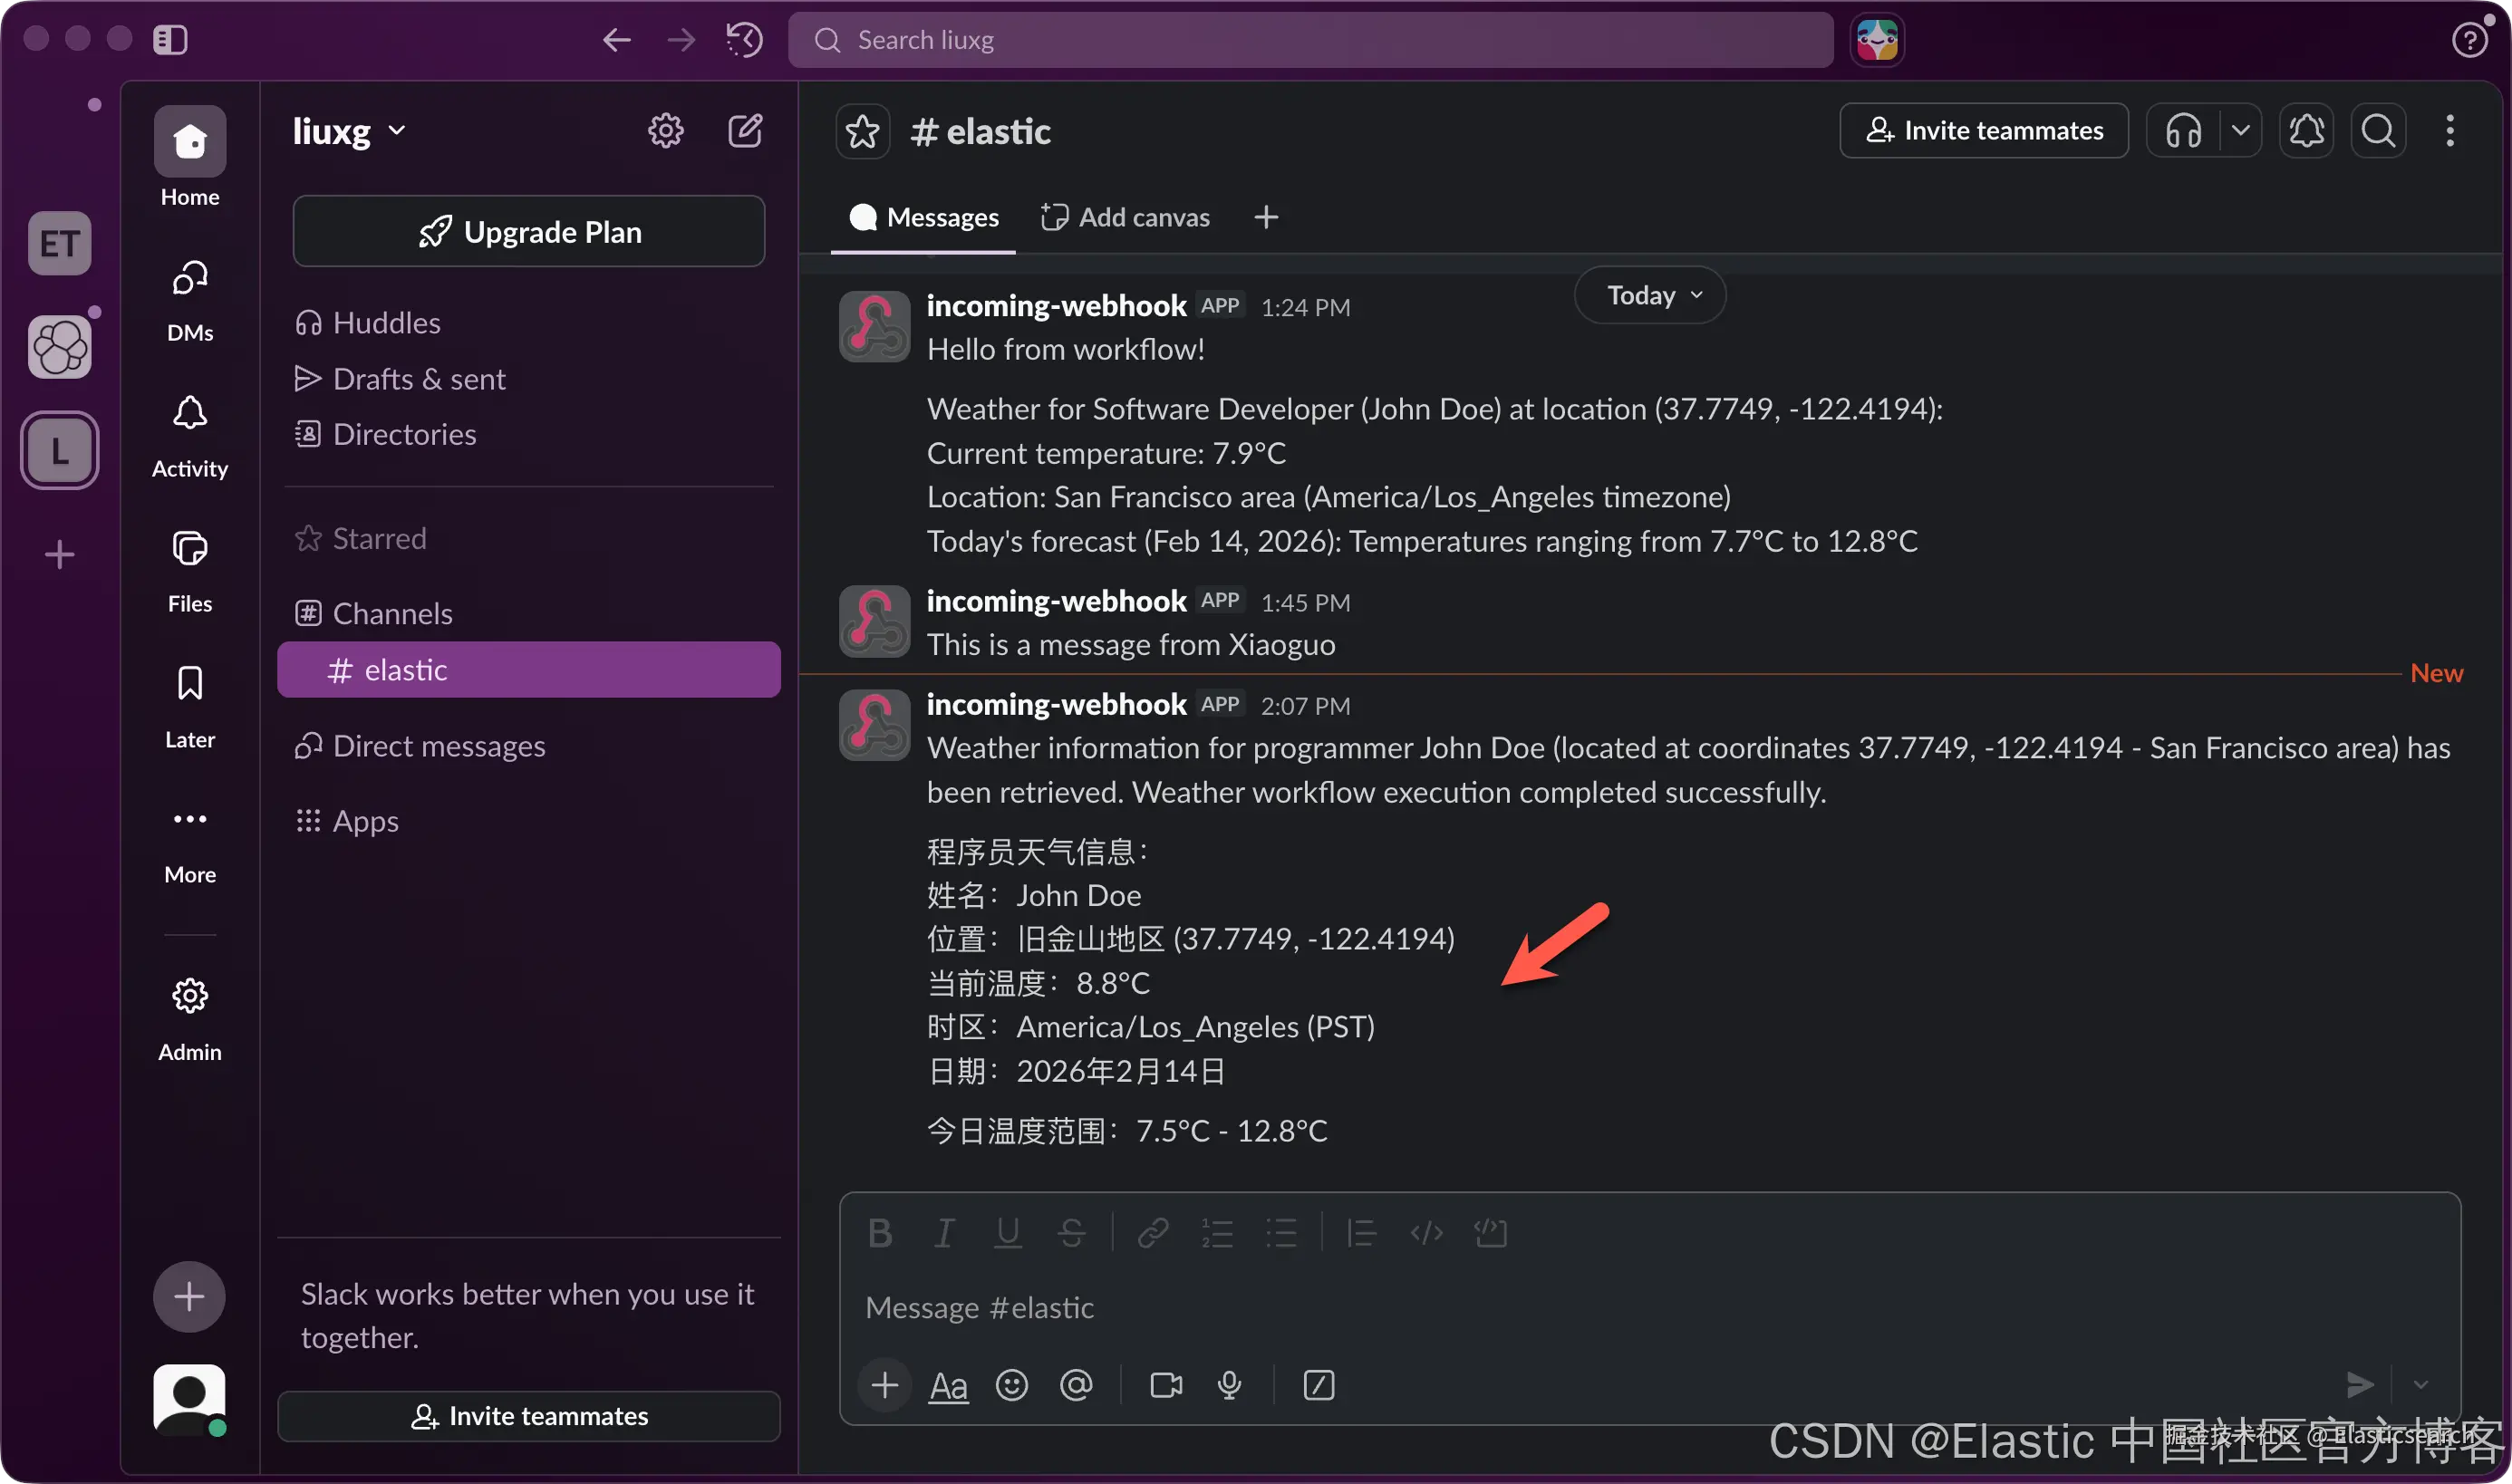
我们也可以尝试是用中文来进行搜索:
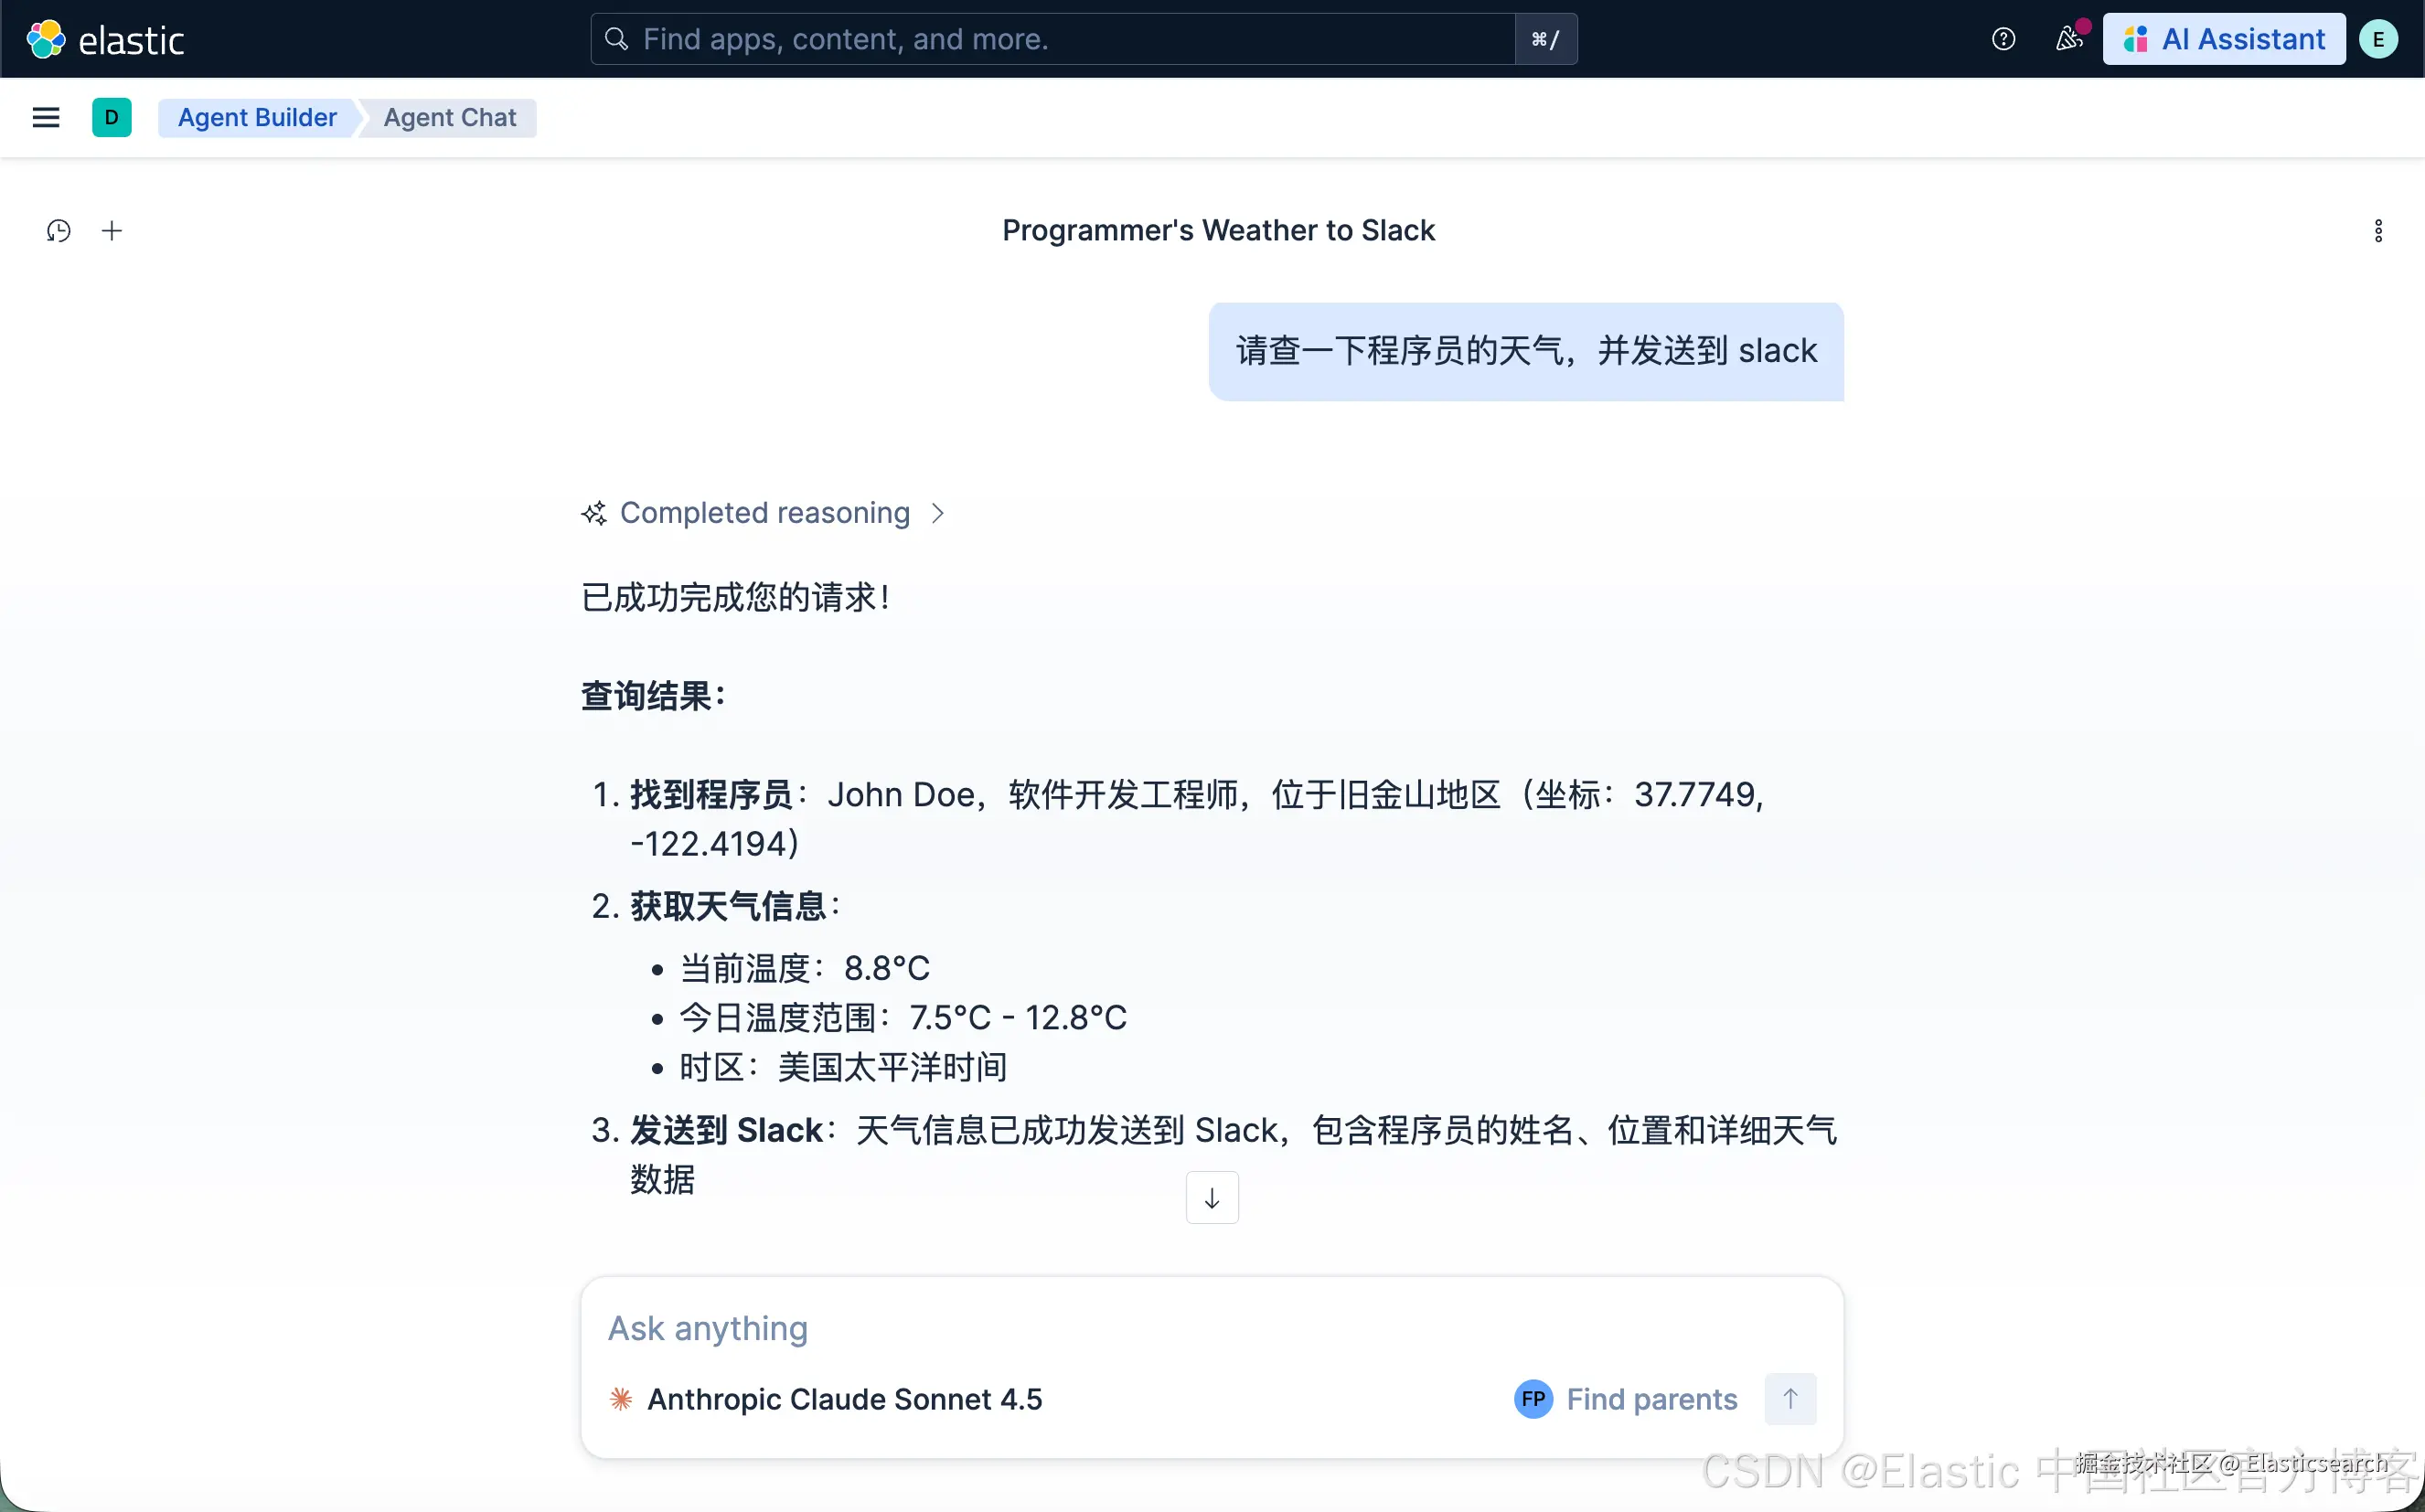
我们可以查看一下 Slack 上的信息: