🎨 什么是ColorJitter?
在PyTorch中,transforms.ColorJitter 是一个数据增强工具,它的作用是在训练过程中随机改变图像的颜色属性,包括亮度、对比度、饱和度和色调。
python
from torchvision import transforms

# 创建一个ColorJitter增强器
color_jitter = transforms.ColorJitter(
    brightness=0.3,    # 亮度调整范围
    contrast=0.3,       # 对比度调整范围
    saturation=0.3,     # 饱和度调整范围
    hue=0.1             # 色调调整范围
)
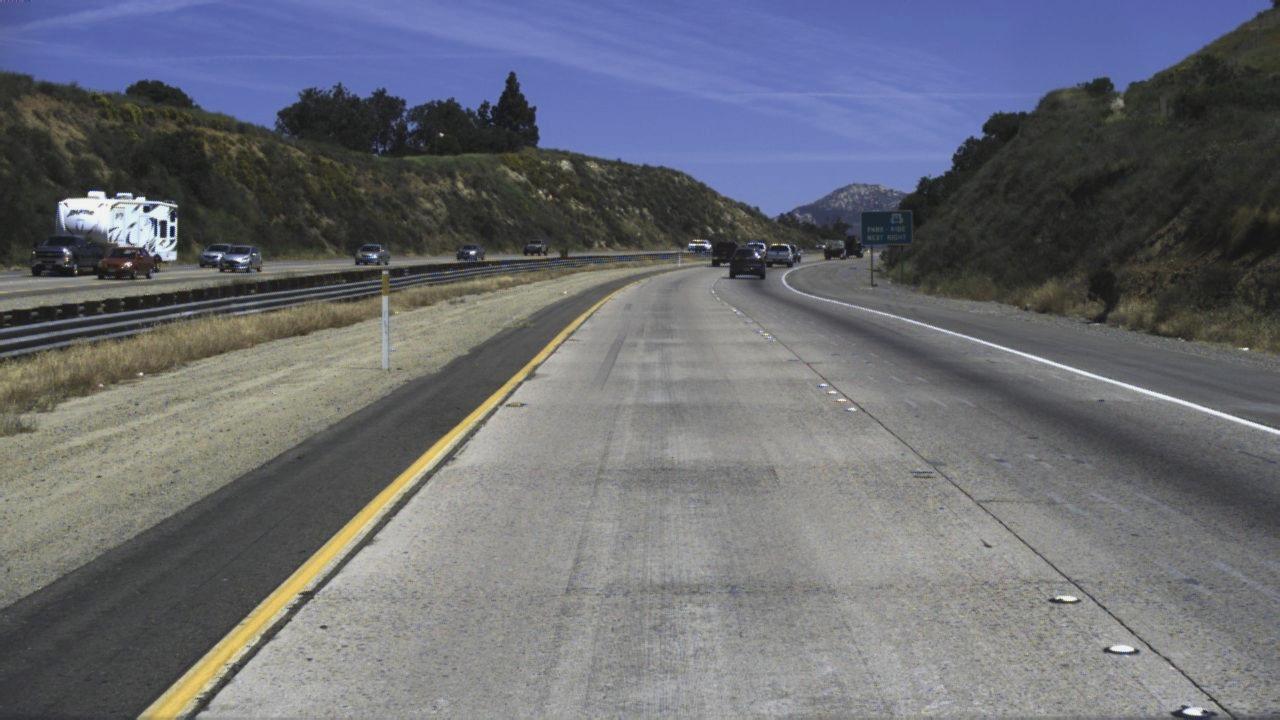
📸 一张图片,千种风情
经过 transforms.ColorJitter 处理图片颜色会有所不同(第一张是原图,其余是随机变化图)。



🚀 实践代码
python
import random

import cv2
from torchvision import transforms
from PIL import Image
import numpy as np
import matplotlib.pyplot as plt
import torch

# 设置随机种子,确保结果可重复
torch.manual_seed(22)
np.random.seed(22)
random.seed(22)

img_bgr = cv2.imread('2.jpg')
img_rgb = cv2.cvtColor(img_bgr, cv2.COLOR_BGR2RGB)
img_pil = Image.fromarray(img_rgb)
color_jitter = transforms.ColorJitter(brightness=0.3, contrast=0.3, saturation=0.3, hue=0.1)
img_pil = color_jitter(img_pil)
plt.imshow(img_pil)
plt.show()
🔍 参数详解:四个维度玩转颜色
1. 亮度(Brightness)
取值范围 :[max(0, 1-brightness), 1+brightness]
示例 :brightness=0.3 → 实际调整范围为 [0.7, 1.3]倍原始亮度
效果:数值越大,图像可能变得越亮或越暗
2. 对比度(Contrast)
取值范围 :[max(0, 1-contrast), 1+contrast]
示例 :contrast=0.3 → 实际调整范围为 [0.7, 1.3]倍原始对比度
效果:控制图像明暗区域的差异程度
3. 饱和度(Saturation)
取值范围 :[max(0, 1-saturation), 1+saturation]
示例 :saturation=0.3 → 实际调整范围为 [0.7, 1.3]倍原始饱和度
效果:数值越低图像越接近灰度图,数值越高色彩越鲜艳
4. 色调(Hue)
取值范围 :[-hue, hue],且hue必须在 [0, 0.5]之间
示例 :hue=0.1 → 实际调整范围为 [-0.1, 0.1]
效果:改变图像的整体色彩偏向
💡 为什么ColorJitter如此重要?
1. 增强模型的泛化能力
现实世界的图片千变万化,不同相机、不同光照条件、不同后期处理都会影响图片的颜色。通过在训练时随机改变颜色,模型学会关注物体的形状、纹理等本质特征,而不是过度依赖特定的颜色分布。
2. 数据扩充(Data Augmentation)
一张训练图片,通过ColorJitter可以产生无数种颜色变体:
python
# 同样的图片,不同的颜色效果
for i in range(5):
    augmented_image = color_jitter(original_image)
    # 保存增强后的图片
3. 减少过拟合
当训练数据有限时,模型容易"死记硬背"训练集中的颜色特征。ColorJitter为模型提供了更丰富的数据分布,有效减少过拟合。
🚀 实战应用
python
from torchvision import transforms

# 定义训练数据增强
train_transforms = transforms.Compose([
    transforms.Resize((224, 224)),
    transforms.RandomHorizontalFlip(p=0.5),  # 随机水平翻转
    transforms.ColorJitter(                  # 颜色抖动
        brightness=0.3,
        contrast=0.3,
        saturation=0.3,
        hue=0.1
    ),
    transforms.ToTensor(),
    transforms.Normalize(                     # 标准化
        mean=[0.485, 0.456, 0.406],
        std=[0.229, 0.224, 0.225]
    )
])

# 验证集通常不使用数据增强
val_transforms = transforms.Compose([
    transforms.Resize((224, 224)),
    transforms.ToTensor(),
    transforms.Normalize(
        mean=[0.485, 0.456, 0.406],
        std=[0.229, 0.224, 0.225]
    )
])