1、新建agent
openclaw agents add <your-name> --workspace ~/.openclaw/workspace-<your-name>
openclaw agent --agent <your-name> --message "你好" --channel webchat
创建好后给它发个消息,这样在webchat里面就能找到这个会话,让后通过它完成相关设置,也可以直接修改SOUL.md等文件,告诉agent让他重新加载这些md文件
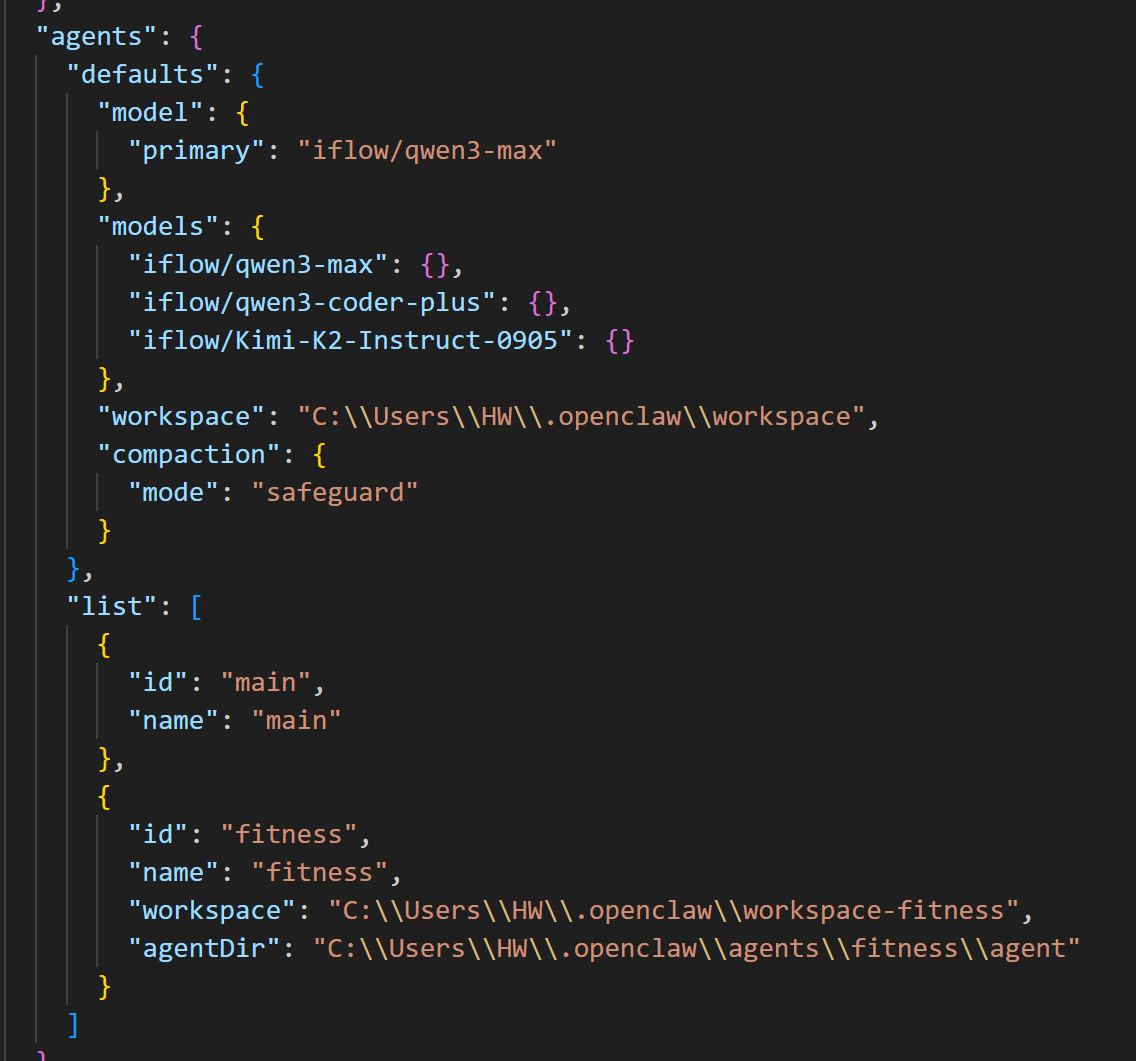
在openclaw的配置文件中就会有你创建的agent
2、创建飞书机器人
进入飞书开发者后台:https://open.feishu.cn/app ,
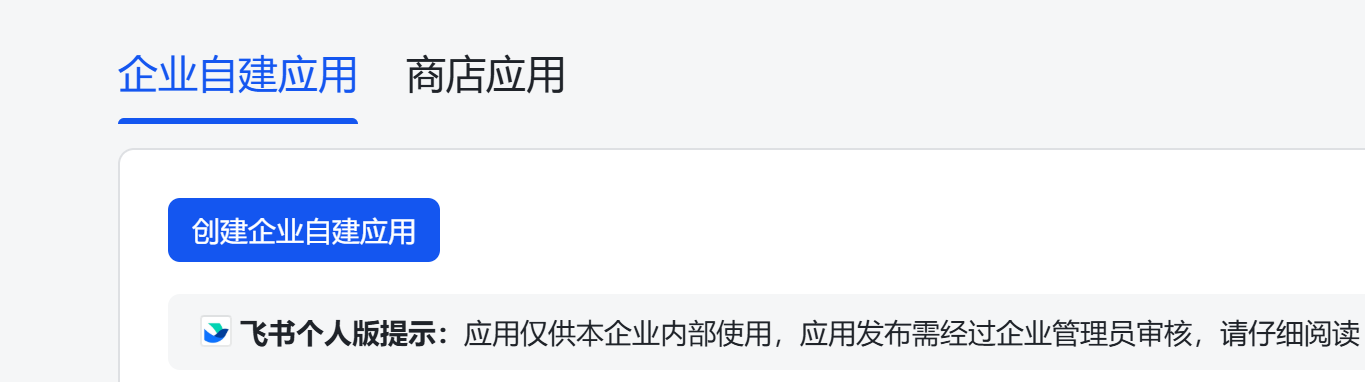
1)点击自建应用
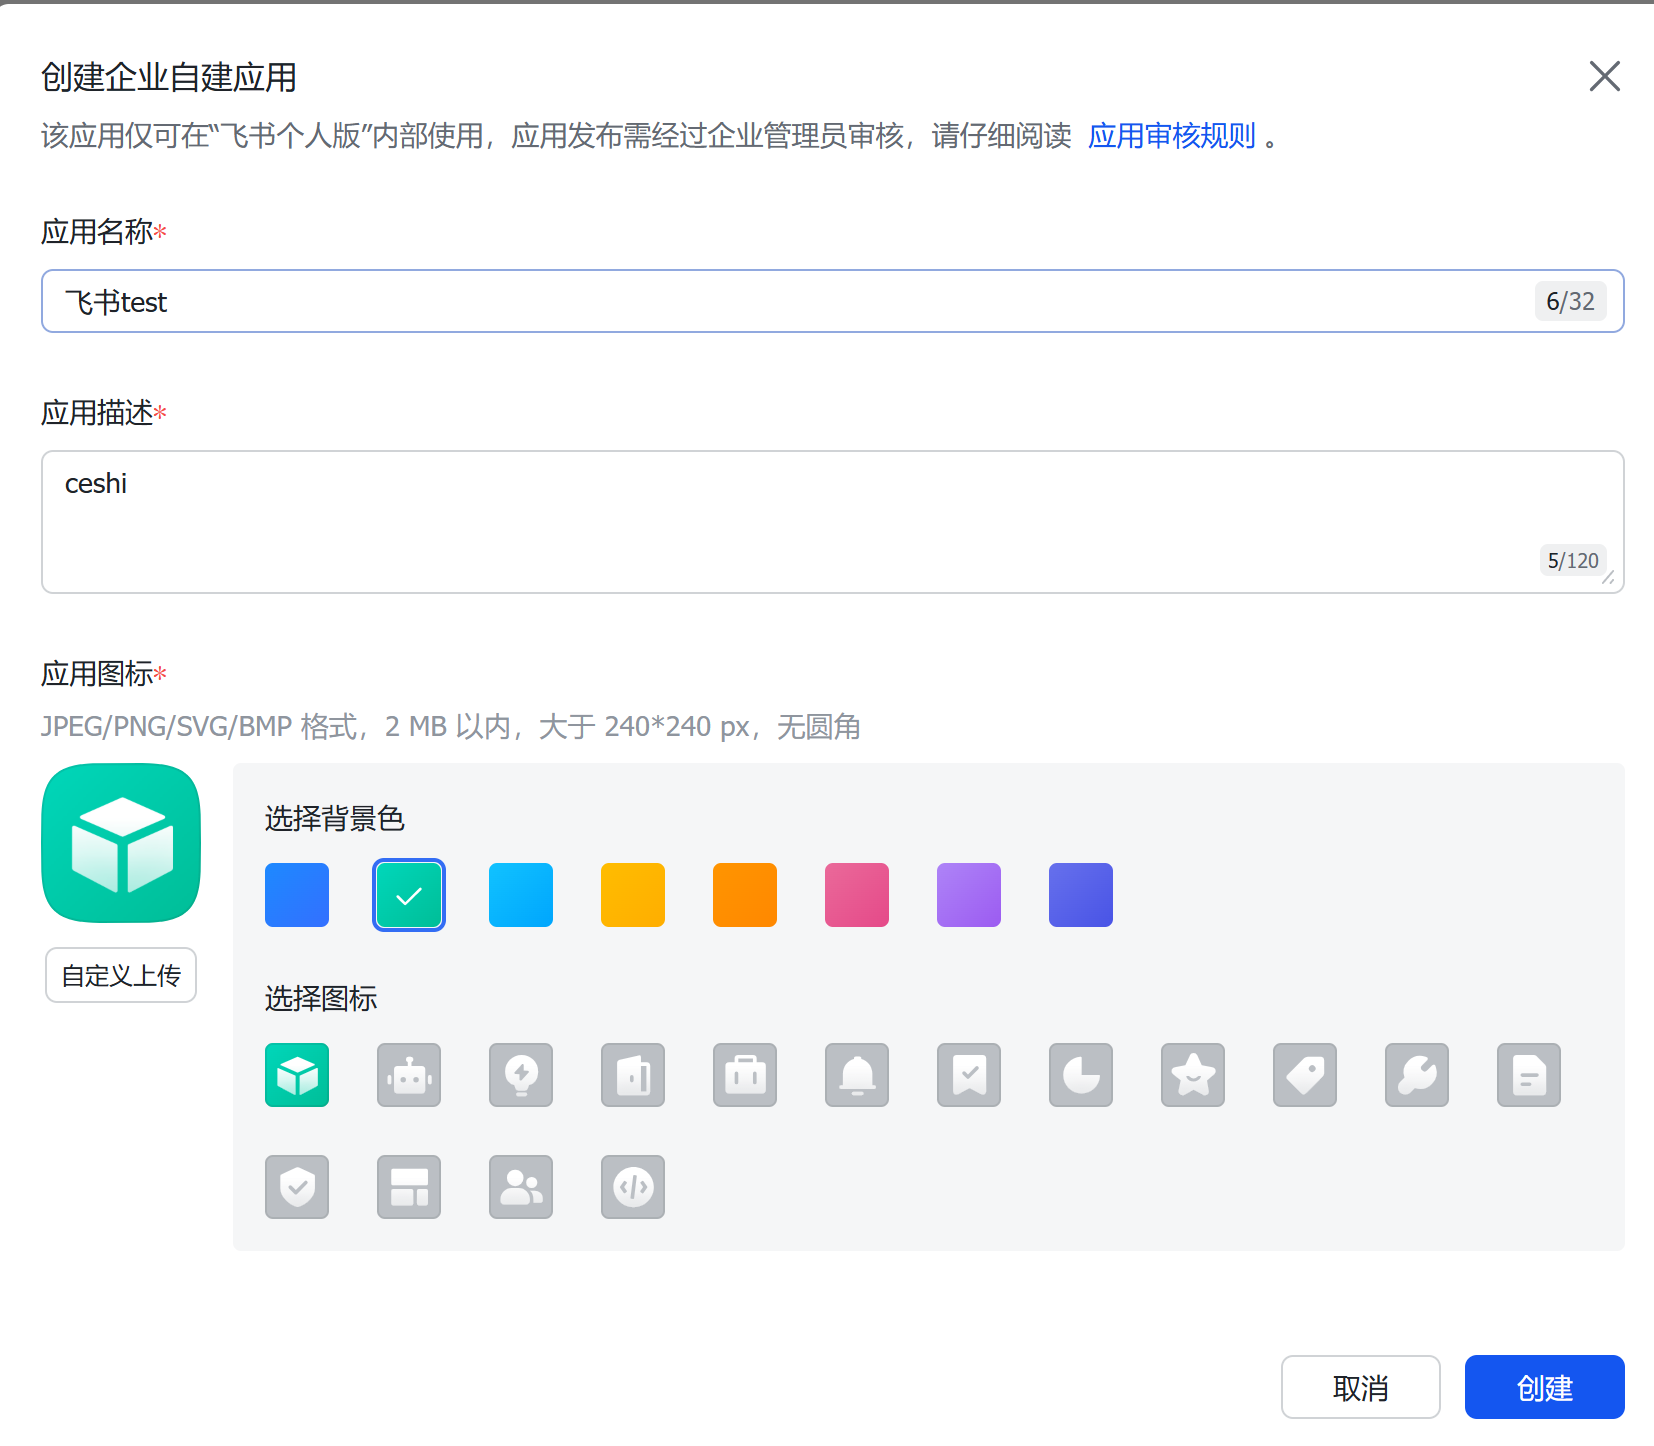
输入名字和描述
创建好后需要完成一下几个步骤,切记不要弄错
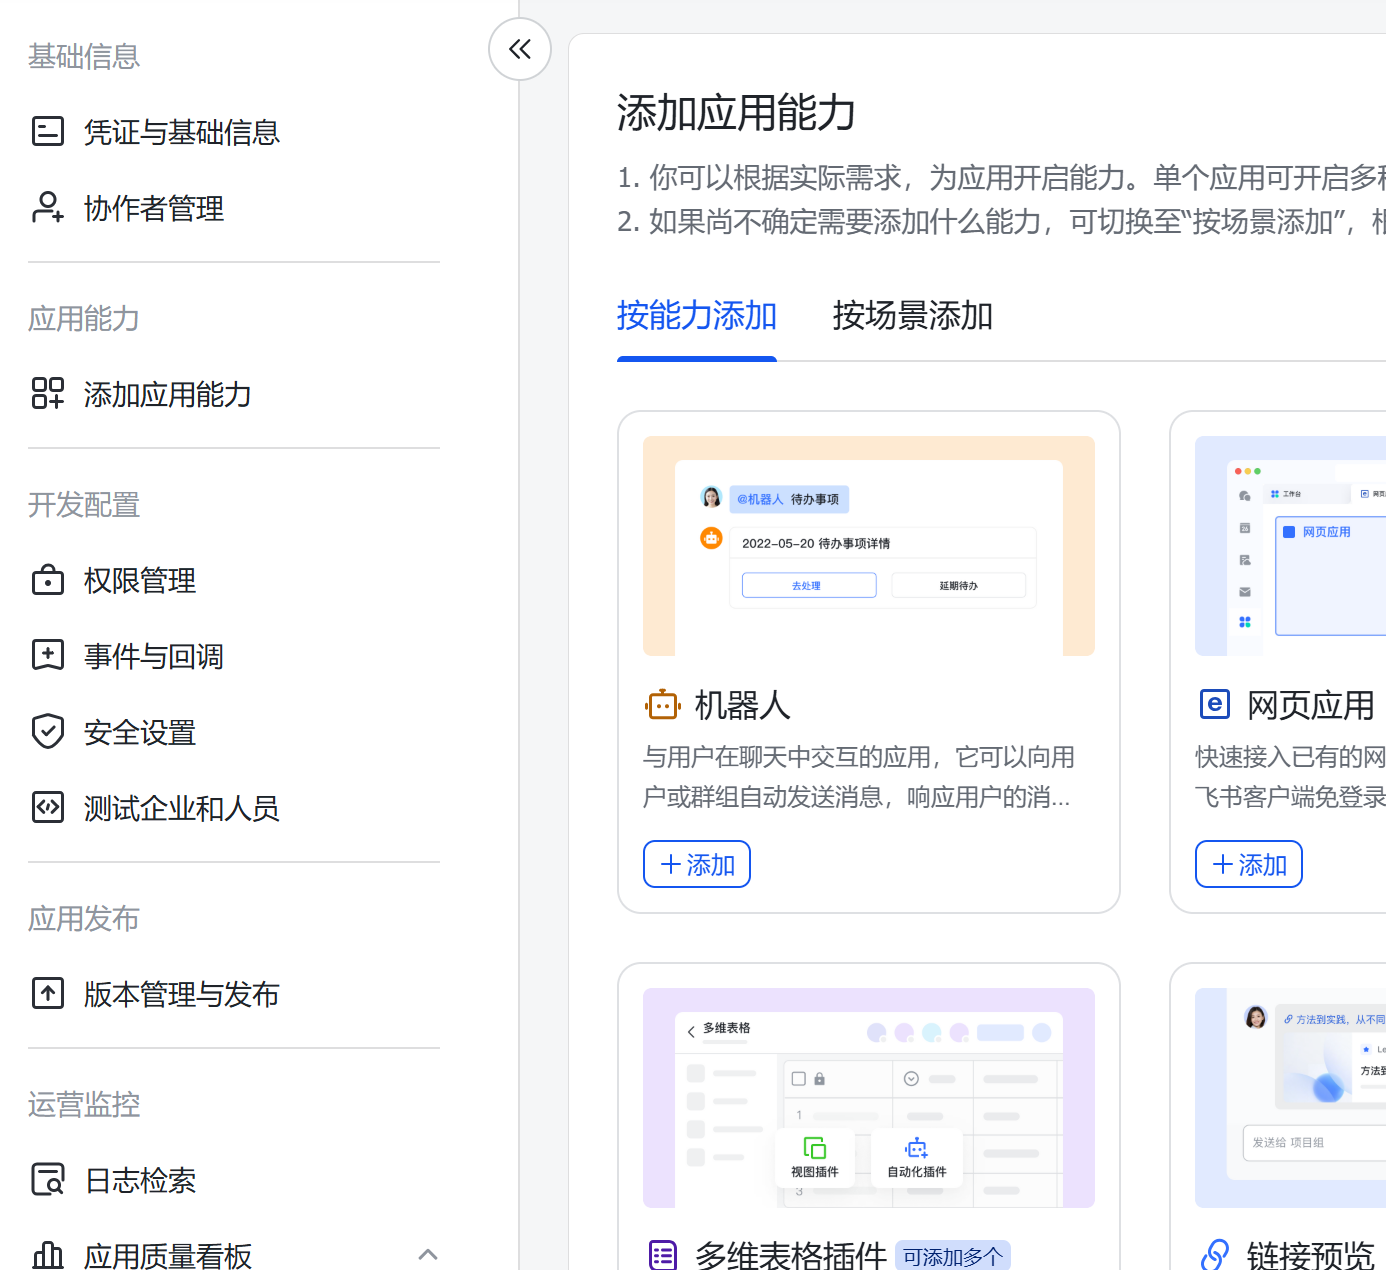
2)添加应用能力,点击添加机器人
3)权限管理
添加必要的去哪先,后面有json配置,可以无脑导入;权限选择批量导入
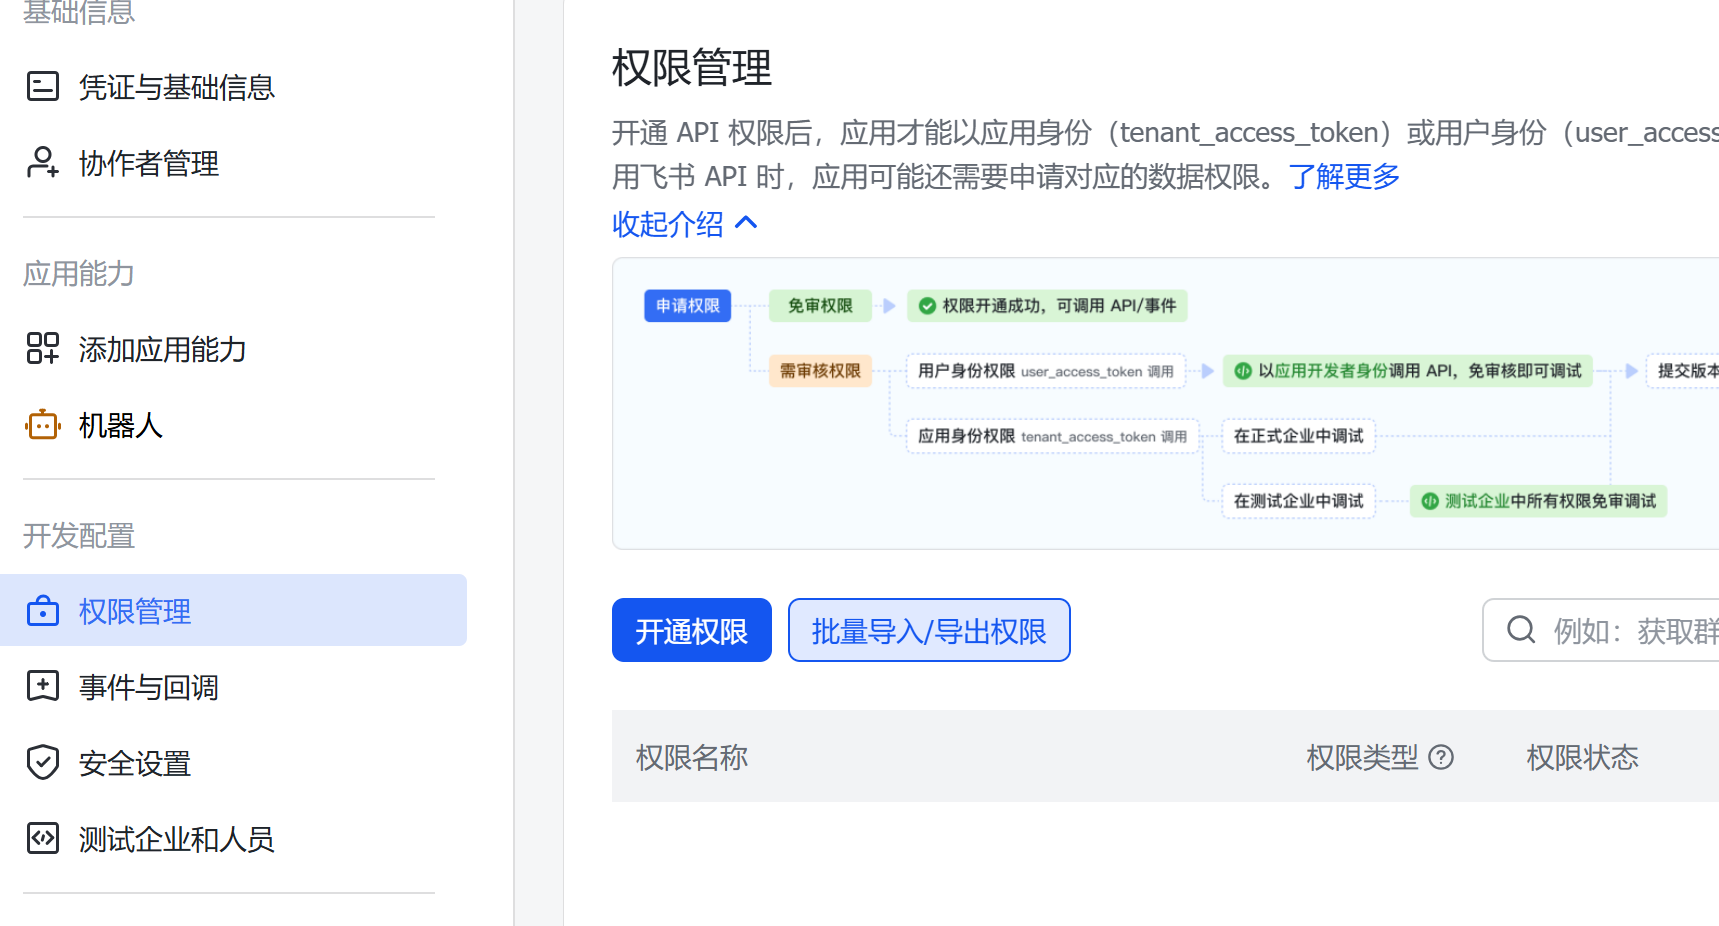
直接拷贝这个即可
{
  "scopes": {
    "tenant": [
      "aily:file:read",
      "aily:file:write",
      "application:application.app_message_stats.overview:readonly",
      "application:application:self_manage",
      "application:bot.menu:write",
      "cardkit:card:write",
      "contact:contact.base:readonly",
      "contact:user.employee_id:readonly",
      "corehr:file:download",
      "docs:document.content:read",
      "event:ip_list",
      "im:app_feed_card:write",
      "im:biz_entity_tag_relation:read",
      "im:biz_entity_tag_relation:write",
      "im:chat",
      "im:chat.access_event.bot_p2p_chat:read",
      "im:chat.announcement:read",
      "im:chat.announcement:write_only",
      "im:chat.chat_pins:read",
      "im:chat.chat_pins:write_only",
      "im:chat.collab_plugins:read",
      "im:chat.collab_plugins:write_only",
      "im:chat.managers:write_only",
      "im:chat.members:bot_access",
      "im:chat.members:read",
      "im:chat.members:write_only",
      "im:chat.menu_tree:read",
      "im:chat.menu_tree:write_only",
      "im:chat.moderation:read",
      "im:chat.tabs:read",
      "im:chat.tabs:write_only",
      "im:chat.top_notice:write_only",
      "im:chat.widgets:read",
      "im:chat.widgets:write_only",
      "im:chat:create",
      "im:chat:delete",
      "im:chat:moderation:write_only",
      "im:chat:operate_as_owner",
      "im:chat:read",
      "im:chat:readonly",
      "im:chat:update",
      "im:datasync.feed_card.time_sensitive:write",
      "im:message",
      "im:message.group_at_msg:readonly",
      "im:message.group_msg",
      "im:message.p2p_msg:readonly",
      "im:message.pins:read",
      "im:message.pins:write_only",
      "im:message.reactions:read",
      "im:message.reactions:write_only",
      "im:message.urgent",
      "im:message.urgent.status:write",
      "im:message.urgent:phone",
      "im:message.urgent:sms",
      "im:message:readonly",
      "im:message:recall",
      "im:message:send_as_bot",
      "im:message:send_multi_depts",
      "im:message:send_multi_users",
      "im:message:send_sys_msg",
      "im:message:update",
      "im:resource",
      "im:tag:read",
      "im:tag:write",
      "im:url_preview.update",
      "im:user_agent:read",
      "sheets:spreadsheet",
      "wiki:wiki:readonly"
    ],
    "user": [
      "aily:file:read",
      "aily:file:write",
      "contact:contact.base:readonly",
      "im:chat.access_event.bot_p2p_chat:read"
    ]
  }
}
4)发布版本
保存后点击发布版本,在基本信息获取id和secert

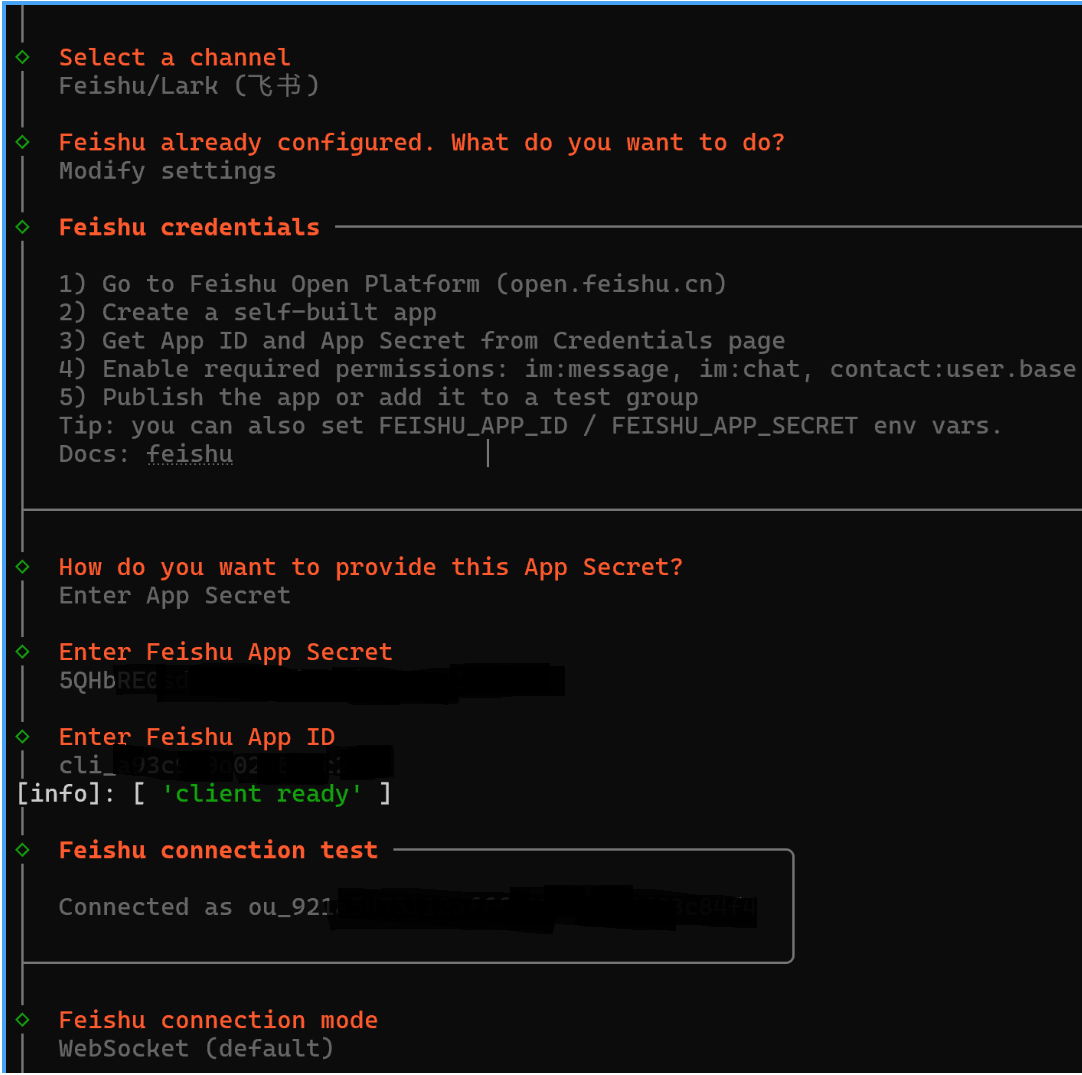
5)本地添加channel
openclaw channels add;选择飞书,然后按照知道输入Secret和ID
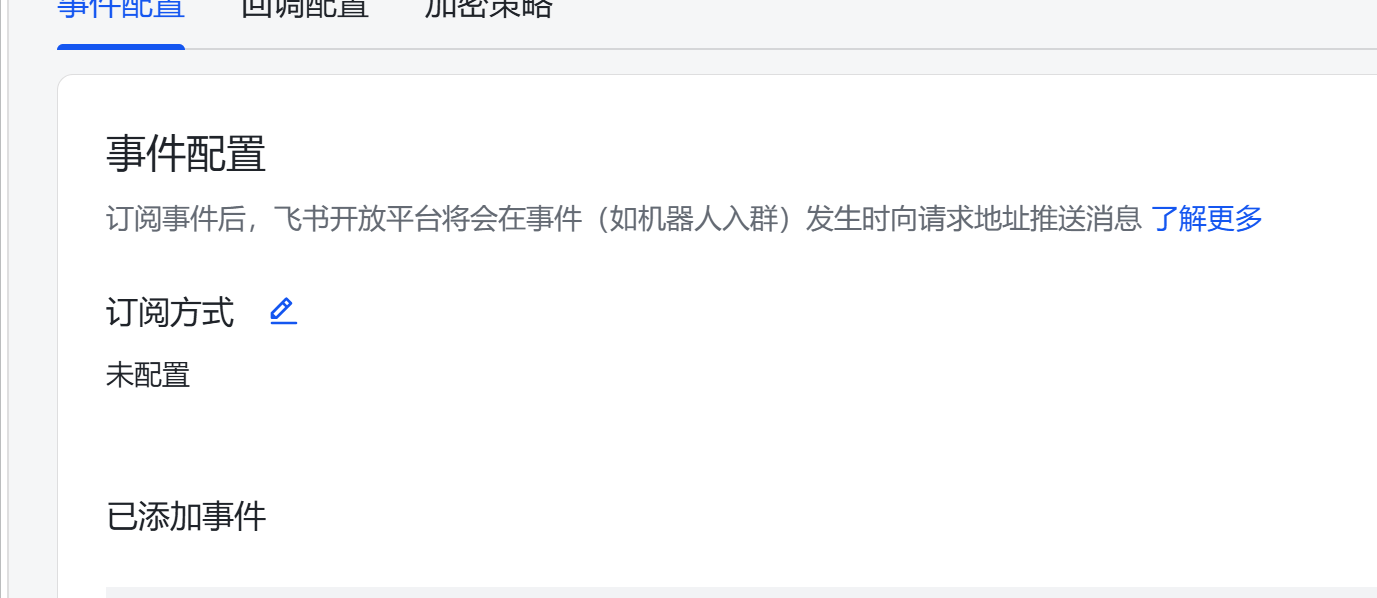
6)添加事件和回调
再次回到飞书开发者空间,添加事件和回调,用于消息响应,注意要先通过之前的步骤发布飞书机器人,通过openclaw建立连接(如上图绿色 client ready)后再添加事件和回调;
事件和回调:先配置订阅方式,选择推荐的长连接然后保存
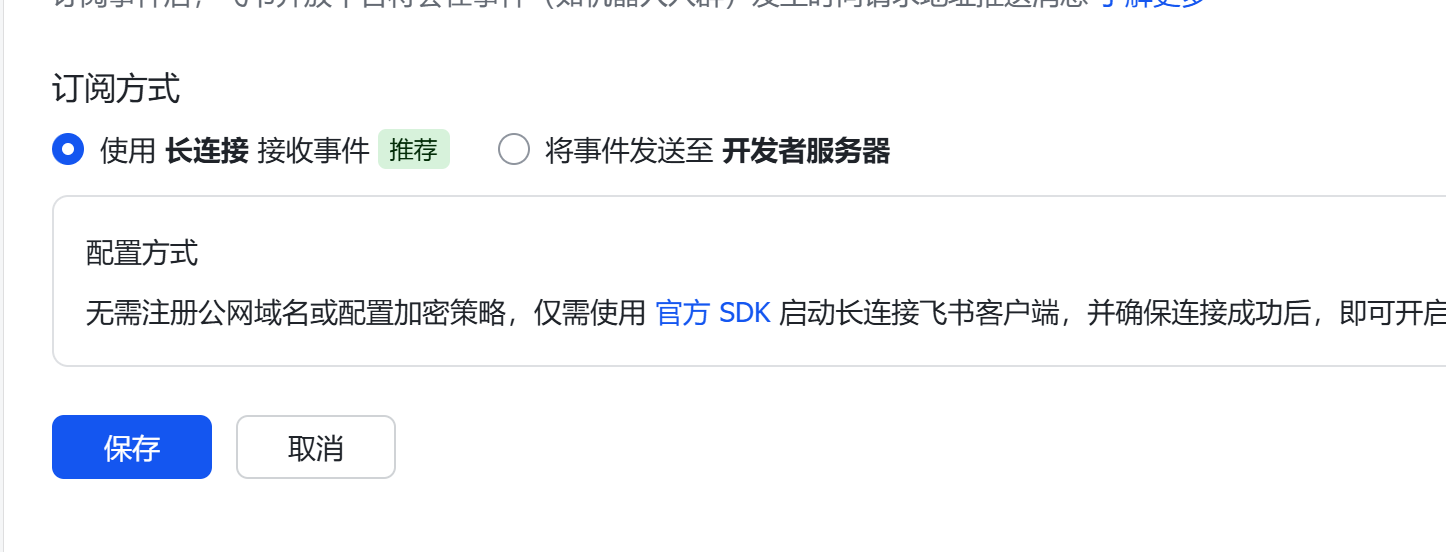
添加事件:im.message.receive_v1
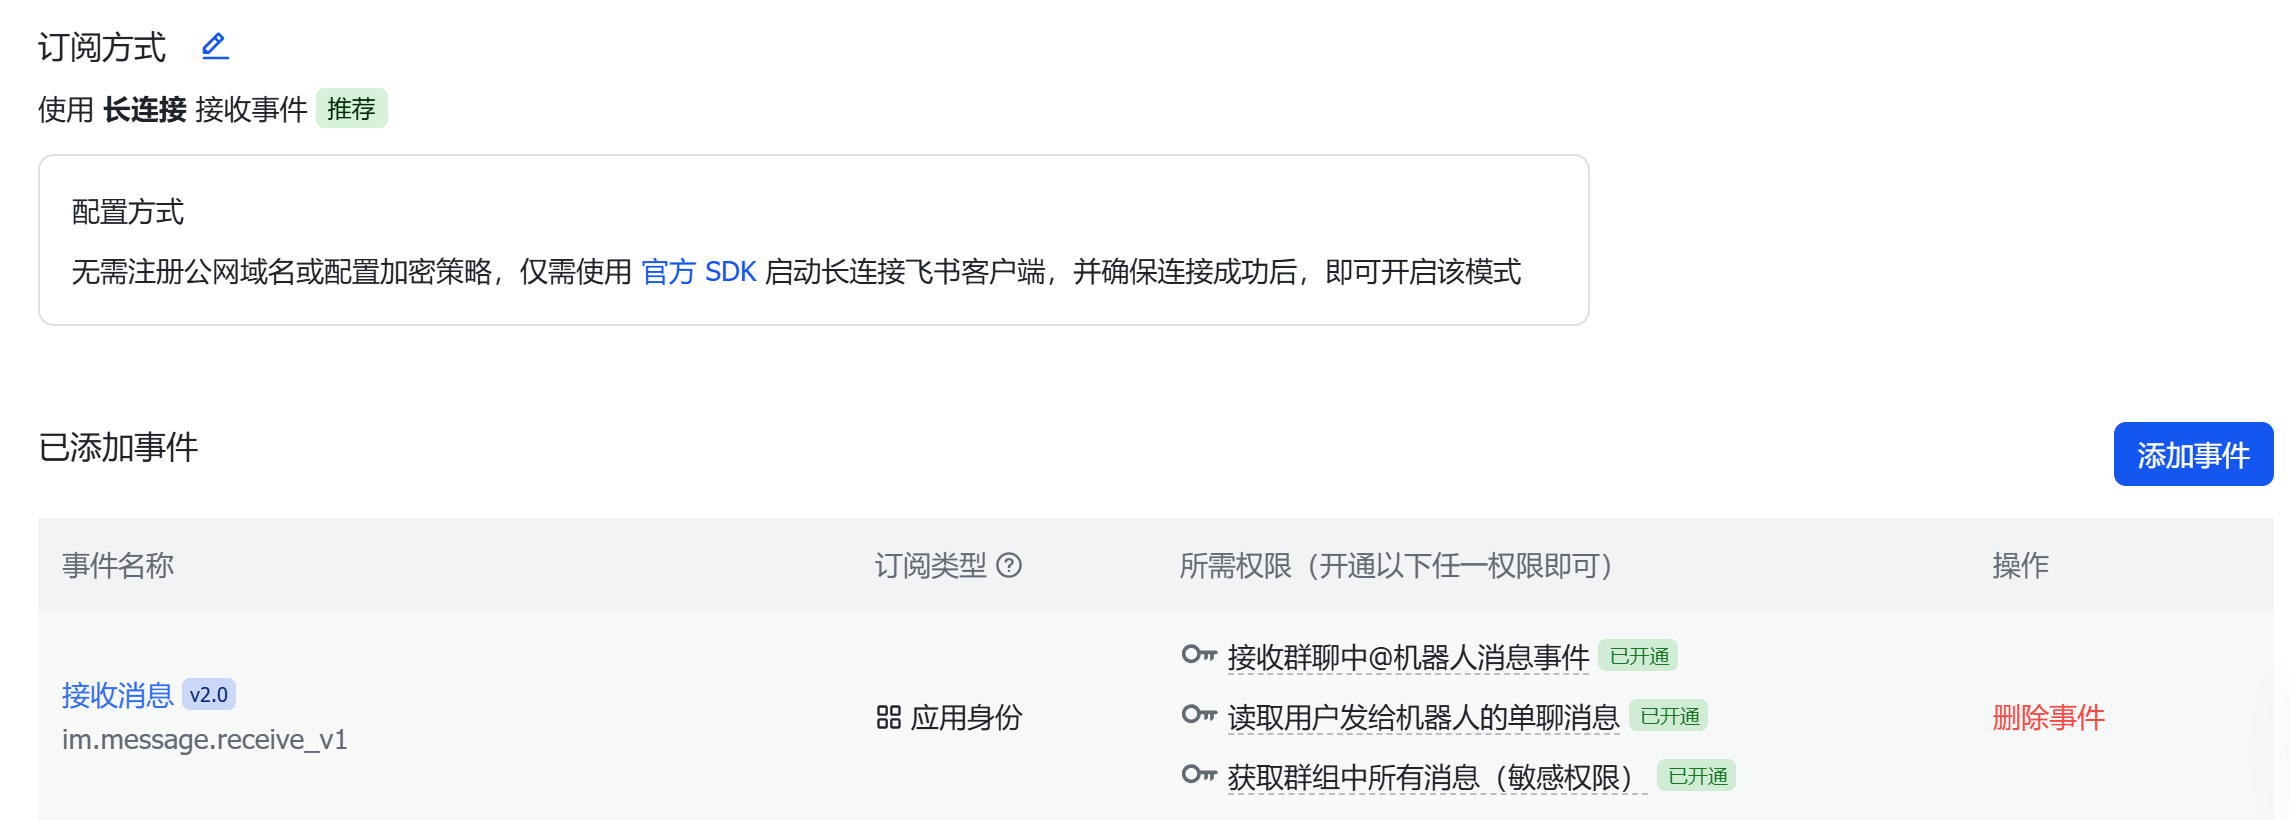
然后保存发布版本;
7)消息配对
在飞书中给机器发消息,会提示一个配对码
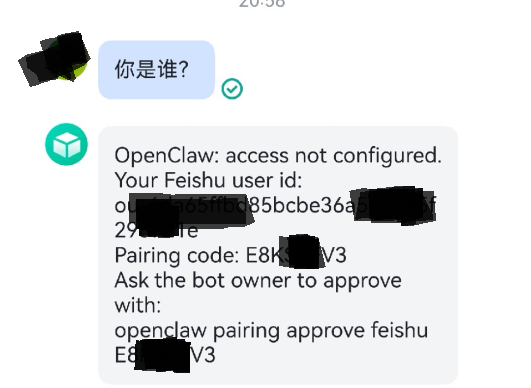
把这个配对码在本地输入
openclaw pairing approve Exxxxx
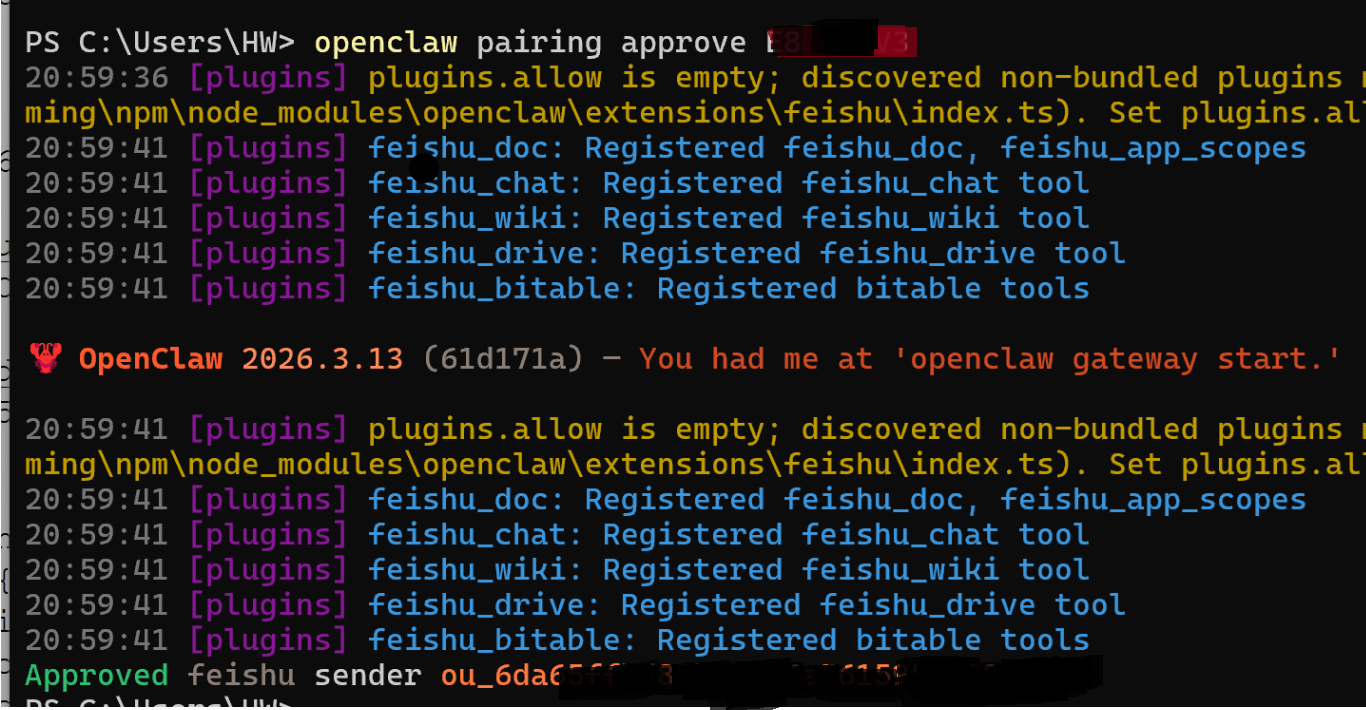 ok,完成配置即可通信
8)每个agent独立飞书机器人绑定配置
在openclaw本地可以绑定各agent的飞书机器人,配置参考下面:
"bindings": [
    {
      "agentId": "main",
      "match": {
        "channel": "feishu",
        "accountId": "main"
      }
    },
    {
      "agentId": "fitness",
      "match": {
        "channel": "feishu",
        "accountId": "fitness"
      }
    },
    {
      "agentId": "expert",
      "match": {
        "channel": "feishu",
        "accountId": "expert"
      }
    }
  ],
"channels": {
    "feishu": {
      "enabled": true,
      "accounts": {
        "main": {
          "appId": "cli_a9xxx",
          "appSecret": "nvvUU0xxx",
          "domain": "feishu",
          "connectionMode": "websocket",
          "groupPolicy": "allowlist",
          "groupAllowFrom": [
            "oc_cd1xxx"
          ]
        },
        "fitness": {
          "appId": "cli_a93fxxxx",
          "appSecret": "nb9sK5xxxx",
          "domain": "feishu",
          "connectionMode": "websocket",
          "groupPolicy": "allowlist",
          "groupAllowFrom": [
            "oc_cd13xxx"
          ]
        },
        "chipexpert": {
          "appId": "cli_a9xxx",
          "appSecret": "5QHbRExxx",
          "connectionMode": "websocket",
          "domain": "feishu",
          "groupPolicy": "allowlist",
          "groupAllowFrom": [
            "oc_cd1xxx"
          ]
        },
        "default": {
          "appId": "cli_a9xxxx",
          "appSecret": "5QHbRE0sxxx",
          "connectionMode": "websocket",
          "domain": "feishu",
          "groupPolicy": "allowlist",
          "groupAllowFrom": [
            "oc_cd13xxx"
          ]
        }
      }
    }