引言
最近很多朋友问我,手上有一批历史运维工单数据和文件,想做一个专属的智能运维助手,能自动分析问题给出解决方案,不知道从何下手。其实这个场景非常适合做LoRA指令微调,而且现在整个流程已经非常成熟,在24GB显存的A30显卡上就能完整跑通。
这篇文章我会把整个实战过程完整记录下来,从环境准备到最后模型导入Ollama提供API服务,每一步都有实际运行的命令和效果截图,你跟着走就能复现全部流程。
一、前期准备
1.1 环境说明
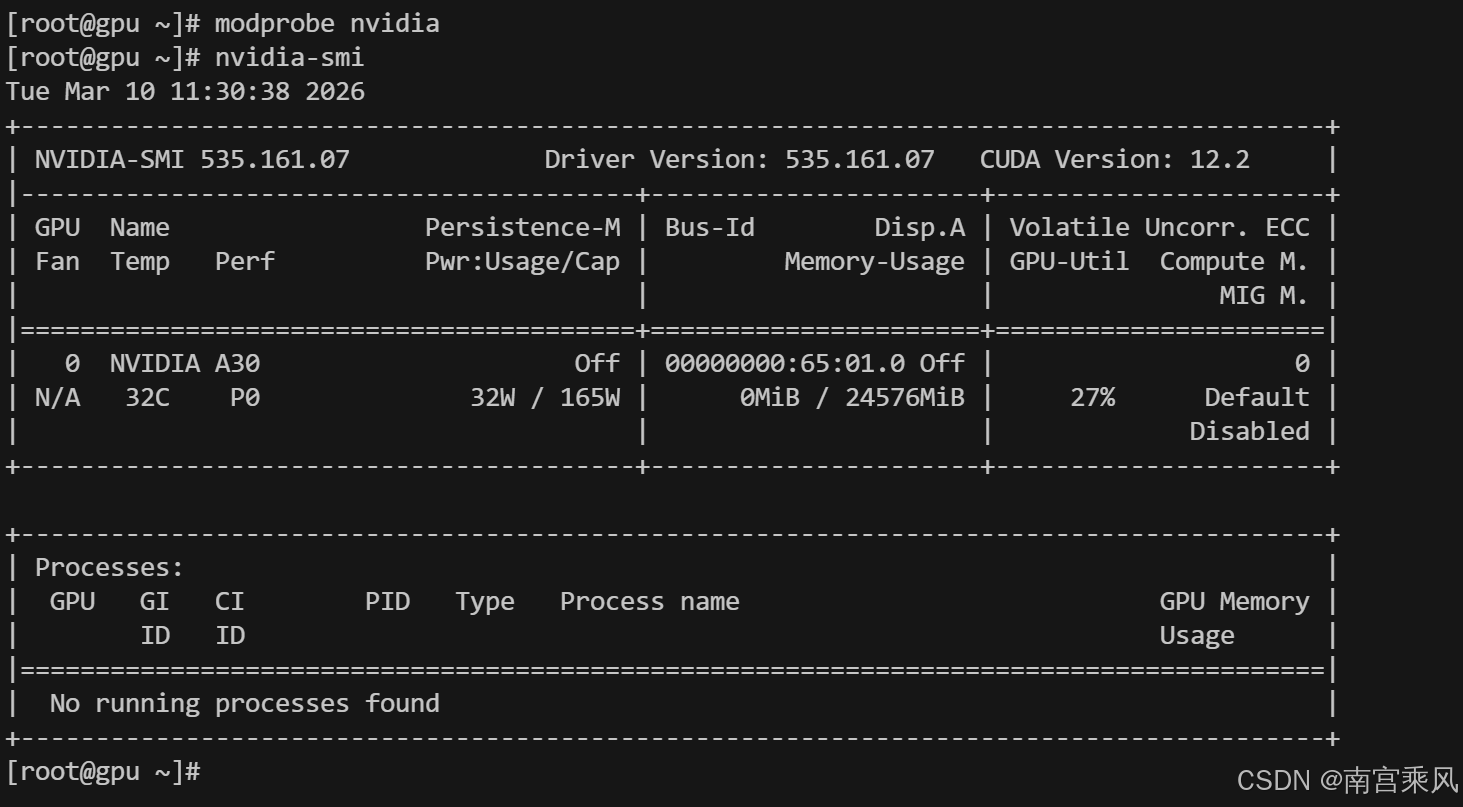
我们用的是Ubuntu 22.04系统,显卡是A30(24GB显存),已经安装了CUDA 12.x,并且之前已经在用Ollama跑大模型。如果你的环境差不多,完全可以直接跟着操作。
二、数据处理
2.1 原始数据格式
我们的原始数据是历史运维工单,每一行是一个JSON对象,包含问题描述、原因、解决方案等字段:
json
{"问题描述": "点击用量分析功能报错:sql: Scan error on column index 4, name \"statistic_value\":converting driver.Value type [uint8 (\"301.00\") to a int32: invalid syntax;", "问题原因": "", "解决方案": "客户Redis问题解决之后,随240大版本升级时一起修复", "变更/缺陷/需求": "无", "timestamp": "2025-11-19 14:13:17"}
{"问题描述": "知识库模块中,用户上传大量文档(17万份)后,文档状态一直显示\"获取中\",文档解析任务持续排队无法完成", "问题原因": "上传大量文档的用户账号信息在数据库中查询不到,疑似用户上传完成后账号被删除或销户,导致相关任务无法正常关联和处理", "解决方案": "数据变更修改数据库数据", "变更/缺陷/需求": "https://meego.larkoffice.com/io_pmo/deploy_upgrade/detail/6787923479", "timestamp": "2025-11-19 14:14:01"}
2.2 数据清洗转换
我们需要把原始数据转换成指令微调需要的格式,包含instruction、input、output三个字段。写个简单的Python脚本处理:
python
import json

data = []
with open("raw.json", "r", encoding="utf-8") as f:
    for line in f:
        line = line.strip()
        # 跳过空行
        if not line:
            continue
        item = json.loads(line)
        data.append({
            "instruction": "分析以下Hiagent的运维问题,并给出原因和解决方案",
            "input": item["问题描述"],
            "output": f"问题原因:{item['问题原因']}\n解决方案:{item['解决方案']}"
        })

with open("train.json", "w", encoding="utf-8") as f:
    json.dump(data, f, ensure_ascii=False, indent=2)
转换后的数据格式如下:
json
[
  {
    "instruction": "分析以下的运维问题,并给出原因和解决方案",
    "input": "点击用量分析功能报错:sql: Scan error on column index 4, name \"statistic_value\":converting driver.Value type [uint8 (\"301.00\") to a int32: invalid syntax;",
    "output": "问题原因:\n解决方案:客户Redis问题解决之后,随240大版本升级时一起修复"
  },
  {
    "instruction": "分析以下的运维问题,并给出原因和解决方案",
    "input": "知识库模块中,用户上传大量文档(17万份)后,文档状态一直显示\"获取中\",文档解析任务持续排队无法完成",
    "output": "问题原因:上传大量文档的用户账号信息在数据库中查询不到,疑似用户上传完成后账号被删除或销户,导致相关任务无法正常关联和处理\n解决方案:数据变更修改数据库数据"
  }
]
记住:数据质量直接决定微调效果,这一步多花点时间清洗数据绝对值得。
三、LoRA 微调实战
我们用的是transformers + peft + bitsandbytes的QLoRA方案,这个组合在24GB显存上跑7B模型完全没问题。
3.1 环境依赖安装
先装PyTorch,国内用户建议用清华源:
bash
# A30(CUDA 12.x)推荐
pip install torch torchvision torchaudio --index-url https://download.pytorch.org/whl/cu121

# 安装其他依赖
pip install -i https://pypi.tuna.tsinghua.edu.cn/simple \
transformers datasets peft accelerate bitsandbytes sentencepiece
验证CUDA是否可用:
bash
python -c "import torch;print(torch.cuda.is_available())"输出True就没问题。
3.2 下载基础模型
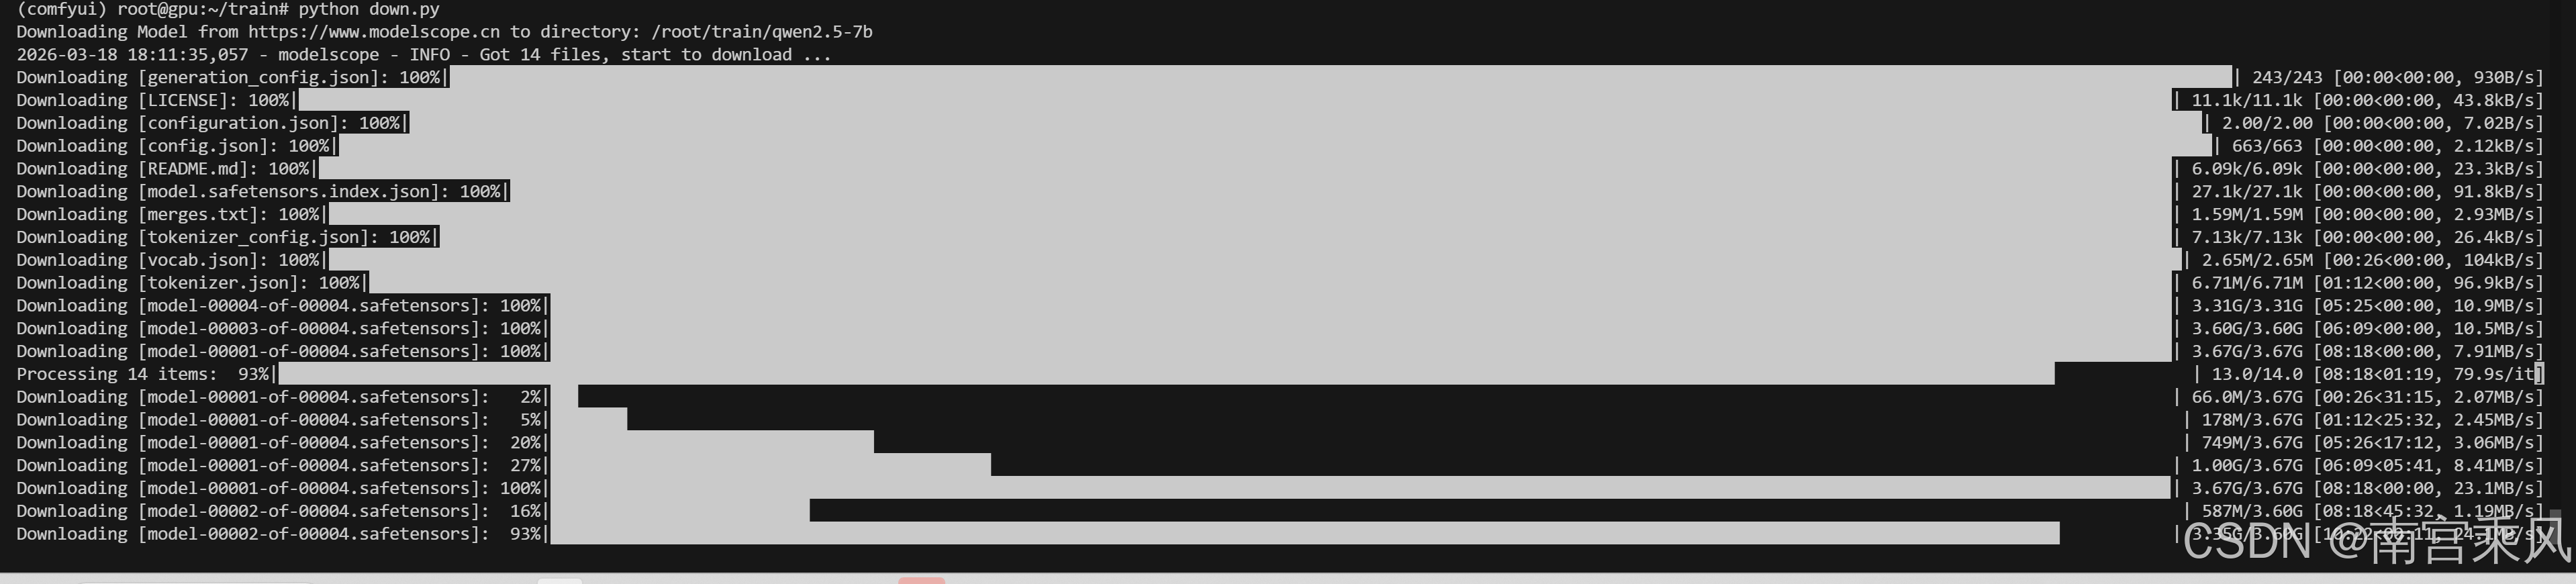
国内用户用ModelScope下载模型速度更快:
bash
pip install modelscope写个下载脚本:
python
from modelscope import snapshot_download
snapshot_download(
"qwen/Qwen2.5-7B-Instruct",
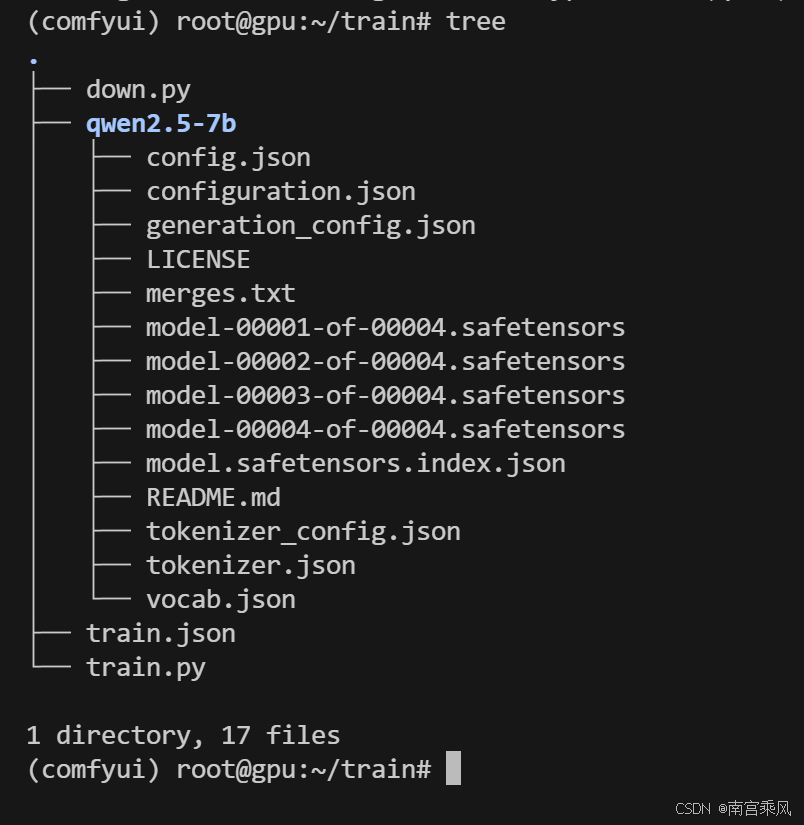
local_dir="/root/train/qwen2.5-7b"
)
3.3 训练脚本
完整的训练脚本如下,我已经把参数调整到适合A30显卡的配置,直接用就行:
python
import torch
from datasets import load_dataset
from transformers import (
AutoTokenizer,
AutoModelForCausalLM,
TrainingArguments,
Trainer,
BitsAndBytesConfig,
DataCollatorForLanguageModeling
)
from peft import LoraConfig, get_peft_model
# ======================
# 1. 模型路径
# ======================
model_path = "/root/train/qwen2.5-7b"
# ======================
# 2. tokenizer
# ======================
tokenizer = AutoTokenizer.from_pretrained(
model_path,
trust_remote_code=True
)
# Qwen 必须设置,否则 padding 会报错
tokenizer.pad_token = tokenizer.eos_token
# ======================
# 3. 4bit 量化(QLoRA 核心)
# ======================
bnb_config = BitsAndBytesConfig(
load_in_4bit=True,
bnb_4bit_compute_dtype=torch.bfloat16,
bnb_4bit_use_double_quant=True,
bnb_4bit_quant_type="nf4"
)
# ======================
# 4. 加载模型
# ======================
model = AutoModelForCausalLM.from_pretrained(
model_path,
device_map="auto",
quantization_config=bnb_config,
torch_dtype=torch.bfloat16,
trust_remote_code=True
)
# ======================
# 5. LoRA 配置
# ======================
lora_config = LoraConfig(
r=8,
lora_alpha=16,
target_modules=["q_proj", "v_proj"], # Qwen 常用
lora_dropout=0.05,
bias="none",
task_type="CAUSAL_LM"
)
model = get_peft_model(model, lora_config)
# 打印可训练参数(建议)
model.print_trainable_parameters()
# ======================
# 6. 数据集加载
# ======================
dataset = load_dataset(
"json",
data_files="/root/train/train.json"
)
# ======================
# 7. 数据预处理
# ======================
def preprocess(example):
text = f"""<|user|>
{example.get('instruction', '')}
{example.get('input', '')}
<|assistant|>
{example.get('output', '')}"""
tokenized = tokenizer(
text,
truncation=True,
max_length=1024,
padding="max_length"
)
tokenized["labels"] = tokenized["input_ids"].copy()
return tokenized
dataset = dataset.map(
preprocess,
remove_columns=dataset["train"].column_names
)
# ======================
# 8. DataCollator(必须)
# ======================
data_collator = DataCollatorForLanguageModeling(
tokenizer=tokenizer,
mlm=False
)
# ======================
# 9. 训练参数
# ======================
training_args = TrainingArguments(
output_dir="/root/train/lora-qwen",
per_device_train_batch_size=2,
gradient_accumulation_steps=8,
num_train_epochs=3,
logging_steps=10,
save_steps=200,
save_total_limit=2,
learning_rate=2e-4,
bf16=True, # A30 强烈建议
fp16=False,
optim="paged_adamw_32bit", # QLoRA 推荐
report_to="none"
)
# ======================
# 10. Trainer
# ======================
trainer = Trainer(
model=model,
args=training_args,
train_dataset=dataset["train"],
data_collator=data_collator
)
# ======================
# 11. 开始训练
# ======================
trainer.train()
# ======================
# 12. 保存 LoRA
# ======================
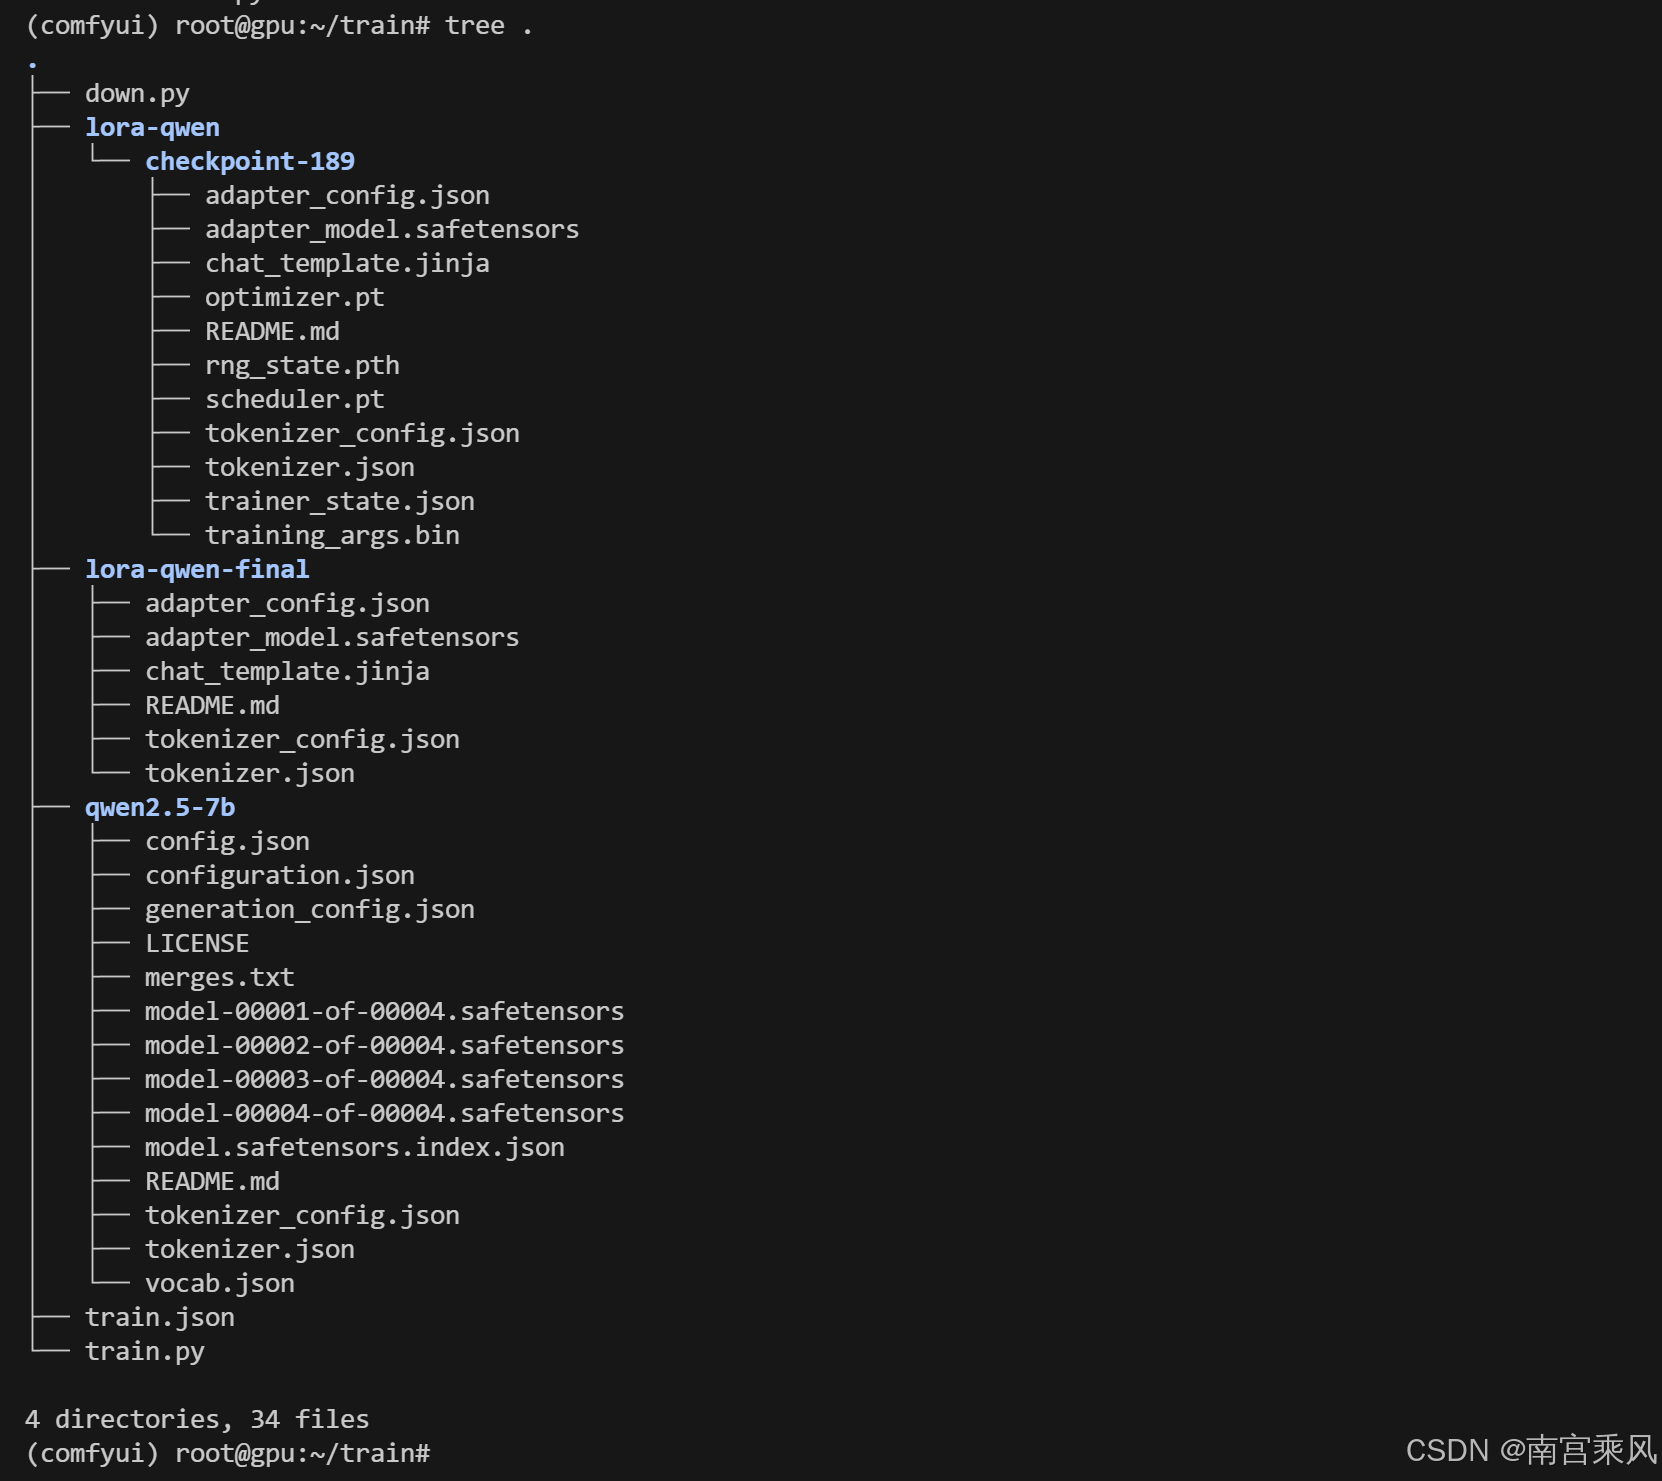
model.save_pretrained("/root/train/lora-qwen-final")
tokenizer.save_pretrained("/root/train/lora-qwen-final")3.4 开始训练
直接运行脚本就行:
bash
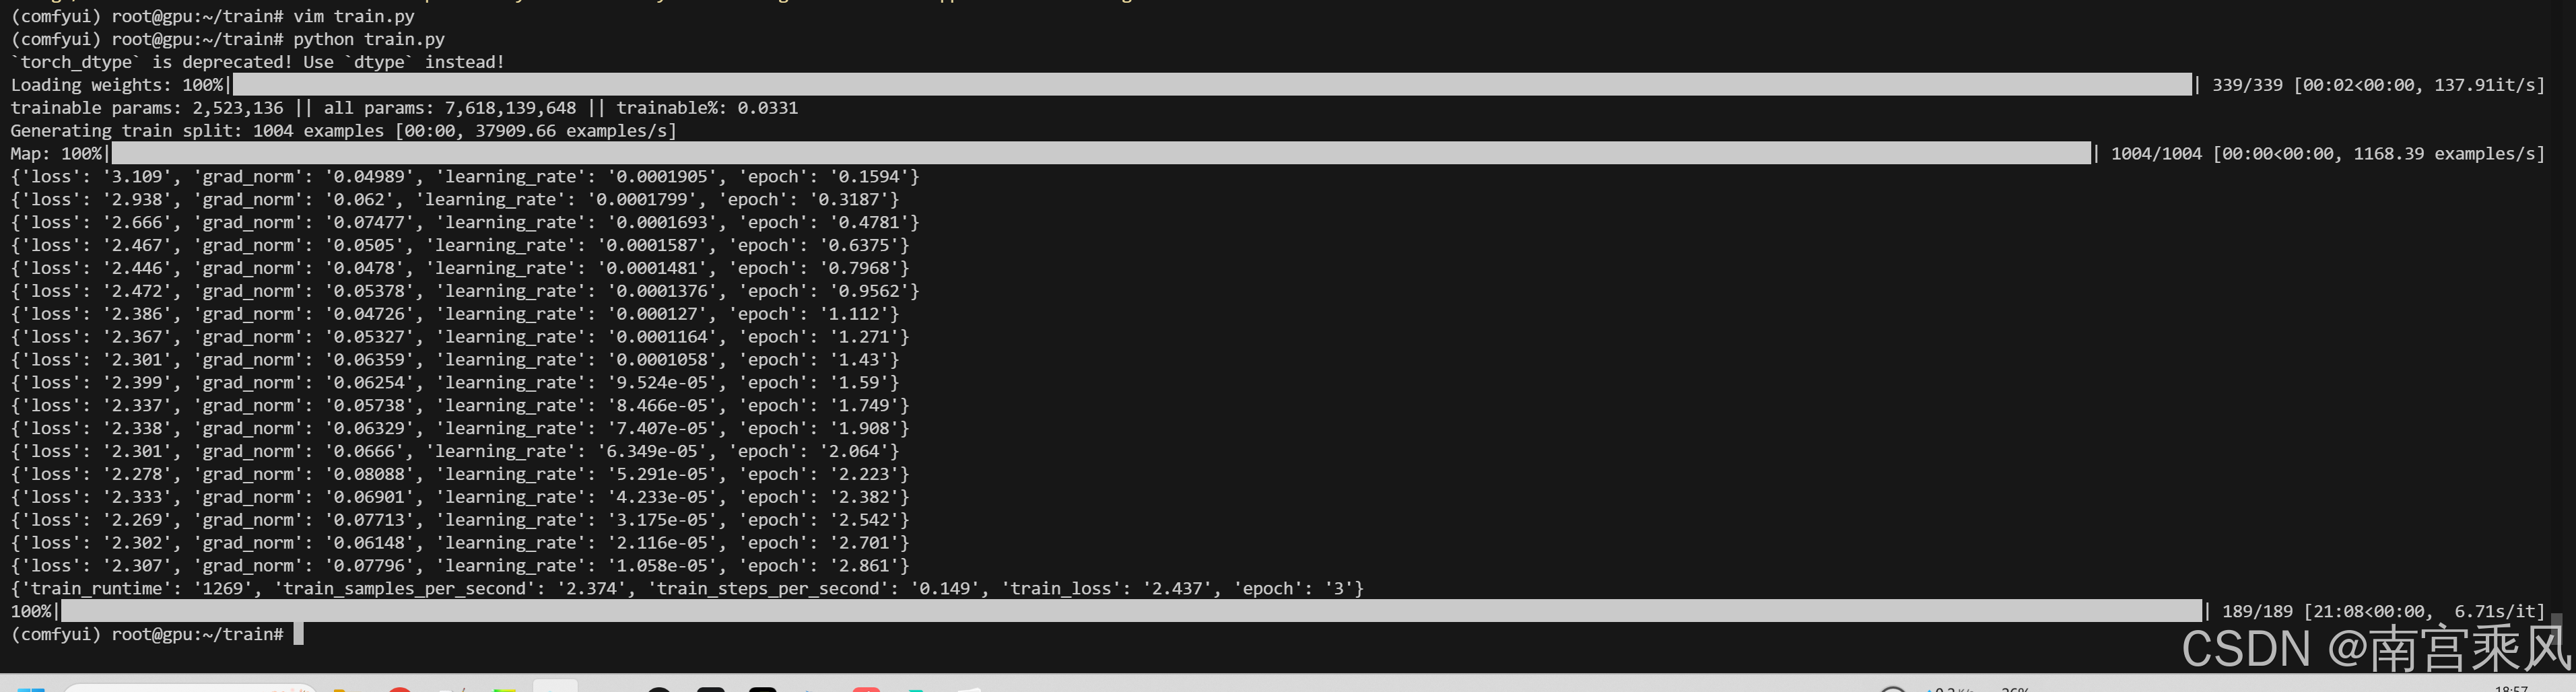
python train.py训练过程中你会看到类似这样的输出:
trainable params: 2,523,136 || all params: 7,618,139,648 || trainable%: 0.0331
Generating train split: 1004 examples [00:00, 37909.66 examples/s]
Map: 100%|████████████████████████████████████████████████████████████████████████████████████████████████████████████████████████████████████████████████████████████████████████████████████████████████████| 1004/1004 [00:00<00:00, 1168.39 examples/s]
{'loss': '3.109', 'grad_norm': '0.04989', 'learning_rate': '0.0001905', 'epoch': '0.1594'}
{'loss': '2.938', 'grad_norm': '0.062', 'learning_rate': '0.0001799', 'epoch': '0.3187'}
{'loss': '2.666', 'grad_norm': '0.07477', 'learning_rate': '0.0001693', 'epoch': '0.4781'}
...
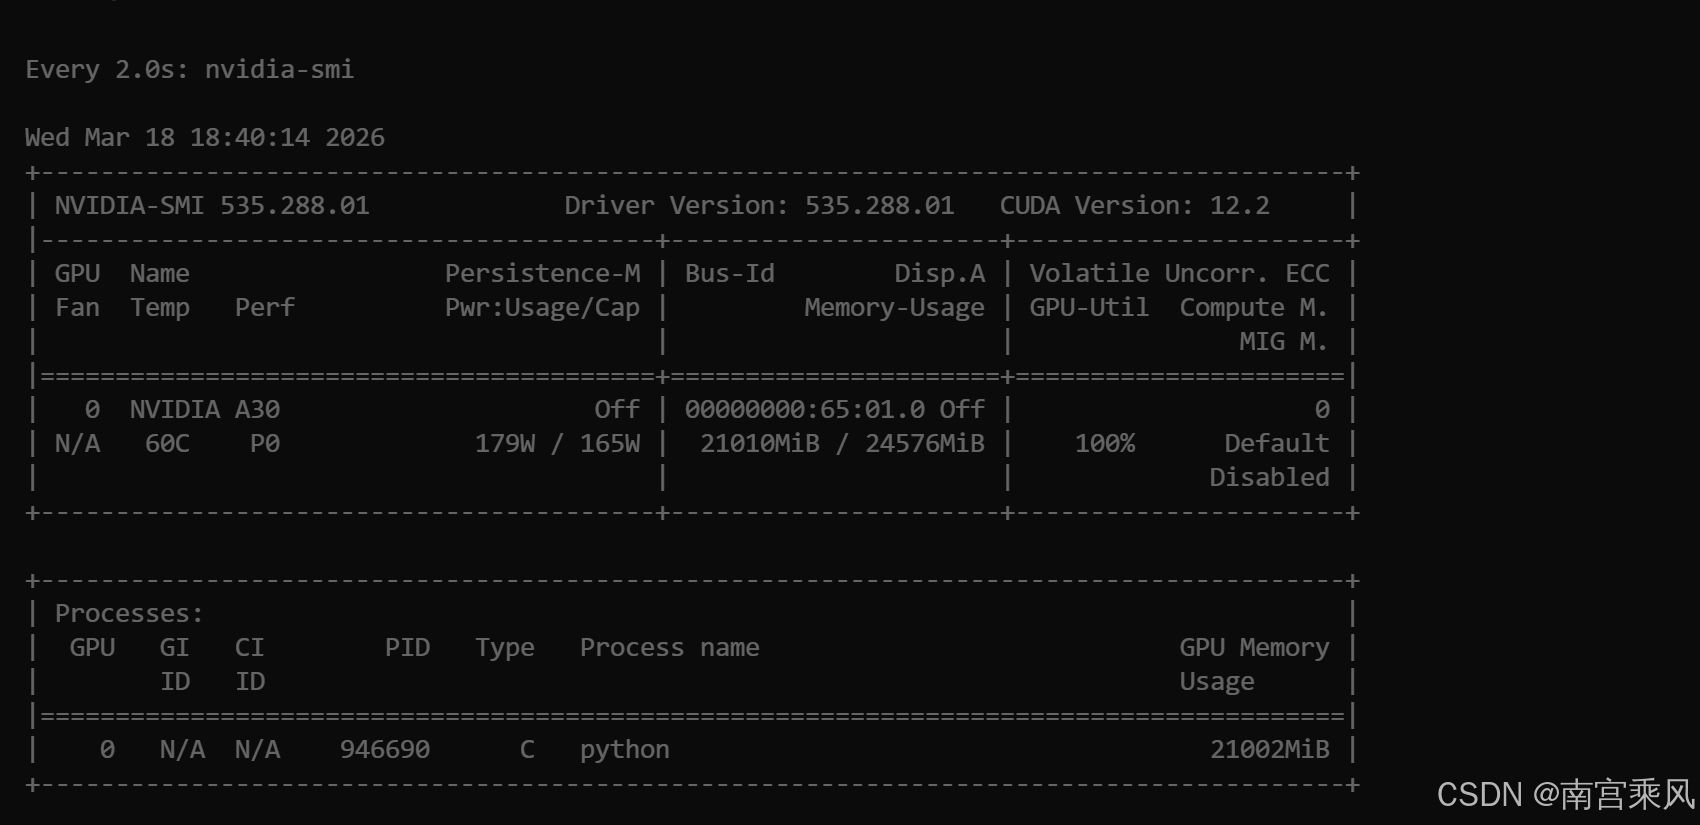
{'train_runtime': '1269', 'train_samples_per_second': '2.374', 'train_steps_per_second': '0.149', 'train_loss': '2.437', 'epoch': '3'}1000条数据大概跑20分钟左右,显存占用大概18GB左右,完全在A30的承受范围内。

四、模型合并与转换
4.1 合并LoRA权重
训练完成后我们得到的是LoRA小权重,需要和基础模型合并成完整的模型用于推理:
python
import torch
from transformers import AutoModelForCausalLM, AutoTokenizer
from peft import PeftModel

# ======================
# 路径
# ======================
base_model_path = "/root/train/qwen2.5-7b"
lora_path = "/root/train/lora-qwen-final"
output_path = "/root/train/merged-model"

# ======================
# 加载 tokenizer
# ======================
tokenizer = AutoTokenizer.from_pretrained(
    base_model_path,
    trust_remote_code=True
)

# ======================
# 加载 base model(不要4bit)
# ======================
base_model = AutoModelForCausalLM.from_pretrained(
    base_model_path,
    torch_dtype=torch.float16,   # 或 bfloat16(A30推荐)
    device_map="auto",
    trust_remote_code=True
)

# ======================
# 加载 LoRA
# ======================
model = PeftModel.from_pretrained(
    base_model,
    lora_path
)

# ======================
# 合并 LoRA
# ======================
model = model.merge_and_unload()

# ======================
# 保存
# ======================
model.save_pretrained(output_path)
tokenizer.save_pretrained(output_path)

print("✅ merge 完成,输出路径:", output_path)
4.2 本地推理测试
合并完成后可以先测试一下效果:
python
from transformers import AutoTokenizer, AutoModelForCausalLM

model_path = "/root/train/merged-model"

tokenizer = AutoTokenizer.from_pretrained(model_path)
model = AutoModelForCausalLM.from_pretrained(model_path, device_map="auto")

inputs = tokenizer("你好,介绍一下你自己", return_tensors="pt").to("cuda")

outputs = model.generate(**inputs, max_new_tokens=100)
print(tokenizer.decode(outputs[0]))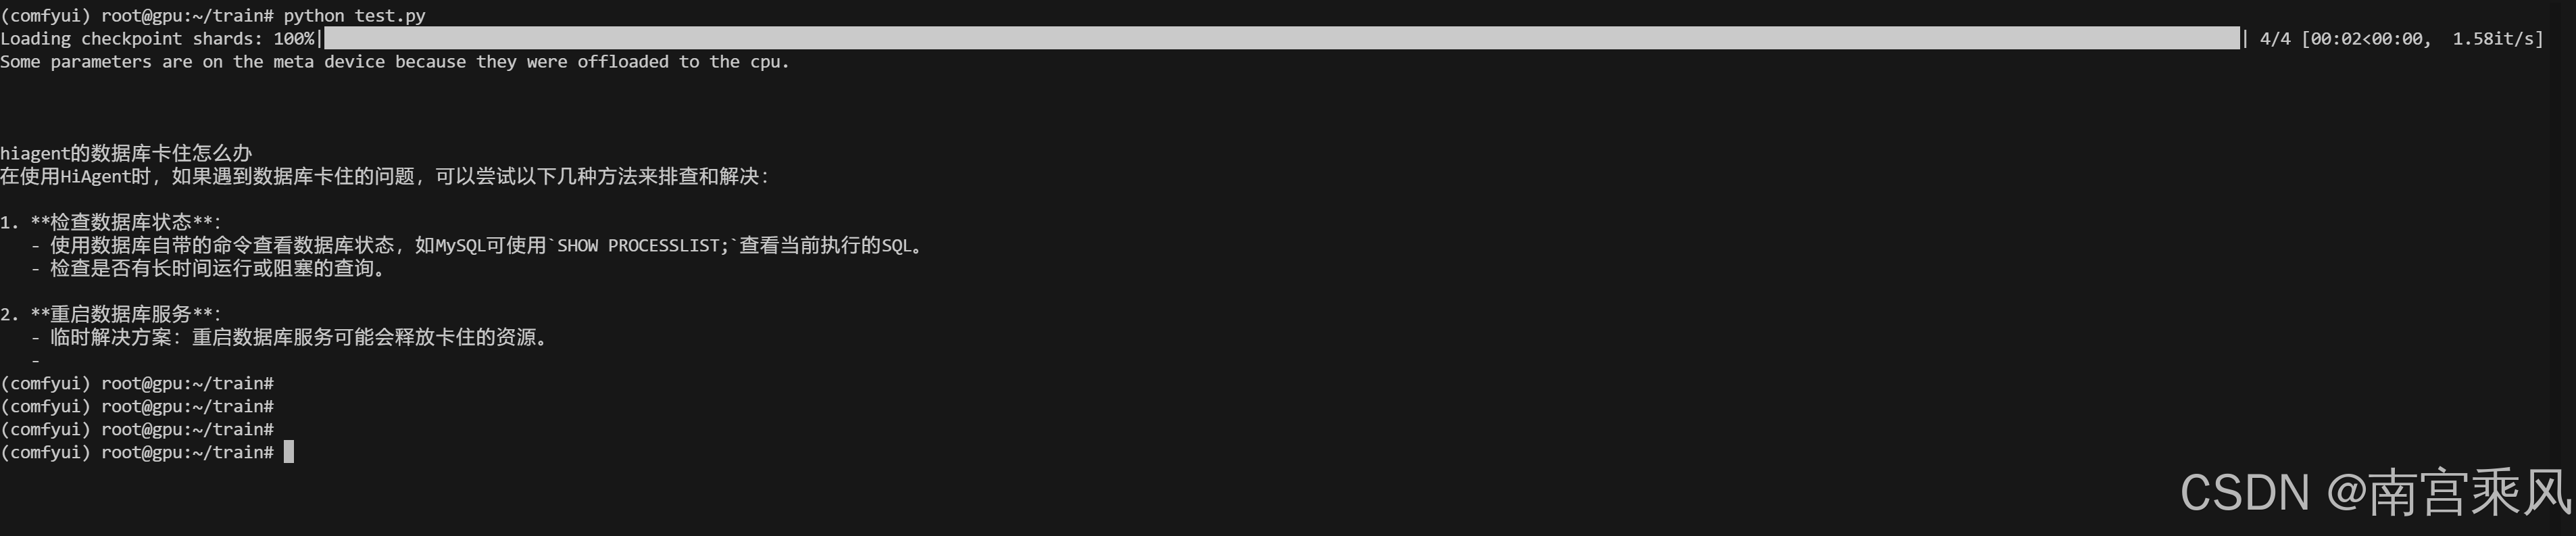
五、转GGUF格式导入Ollama
如果想把模型放到Ollama里用,需要转成GGUF格式。
5.1 准备llama.cpp环境
bash
git clone https://github.com/ggerganov/llama.cpp
cd llama.cpp

# 编译
cmake -B build
cmake --build build --config Release

# 安装依赖
pip install -r requirements.txt
# 降级transformers,避免兼容性问题
pip install transformers==4.37.2
5.2 复制配置文件
先把基础模型的配置文件复制到合并后的模型目录:
bash
cp config.json generation_config.json merges.txt configuration.json tokenizer_config.json vocab.json tokenizer.json /root/train/merged-model/5.3 转换为GGUF格式
第一步先转成FP16格式:
bash
python convert_hf_to_gguf.py /root/train/merged-model --outfile /root/train/qwen2.5-7b-f16.gguf --outtype f16 --verbose第二步量化成q4_k_m格式(兼顾大小和效果):
bash
./build/bin/llama-quantize \
  /root/train/qwen2.5-7b-f16.gguf \
  /root/train/qwen-q4.gguf \
  q4_k_m
如果想要更好的效果可以用q5_k_m:
bash
./build/bin/llama-quantize \
  /root/train/qwen2.5-7b-f16.gguf \
  /root/train/qwen-q5.gguf \
  q5_k_m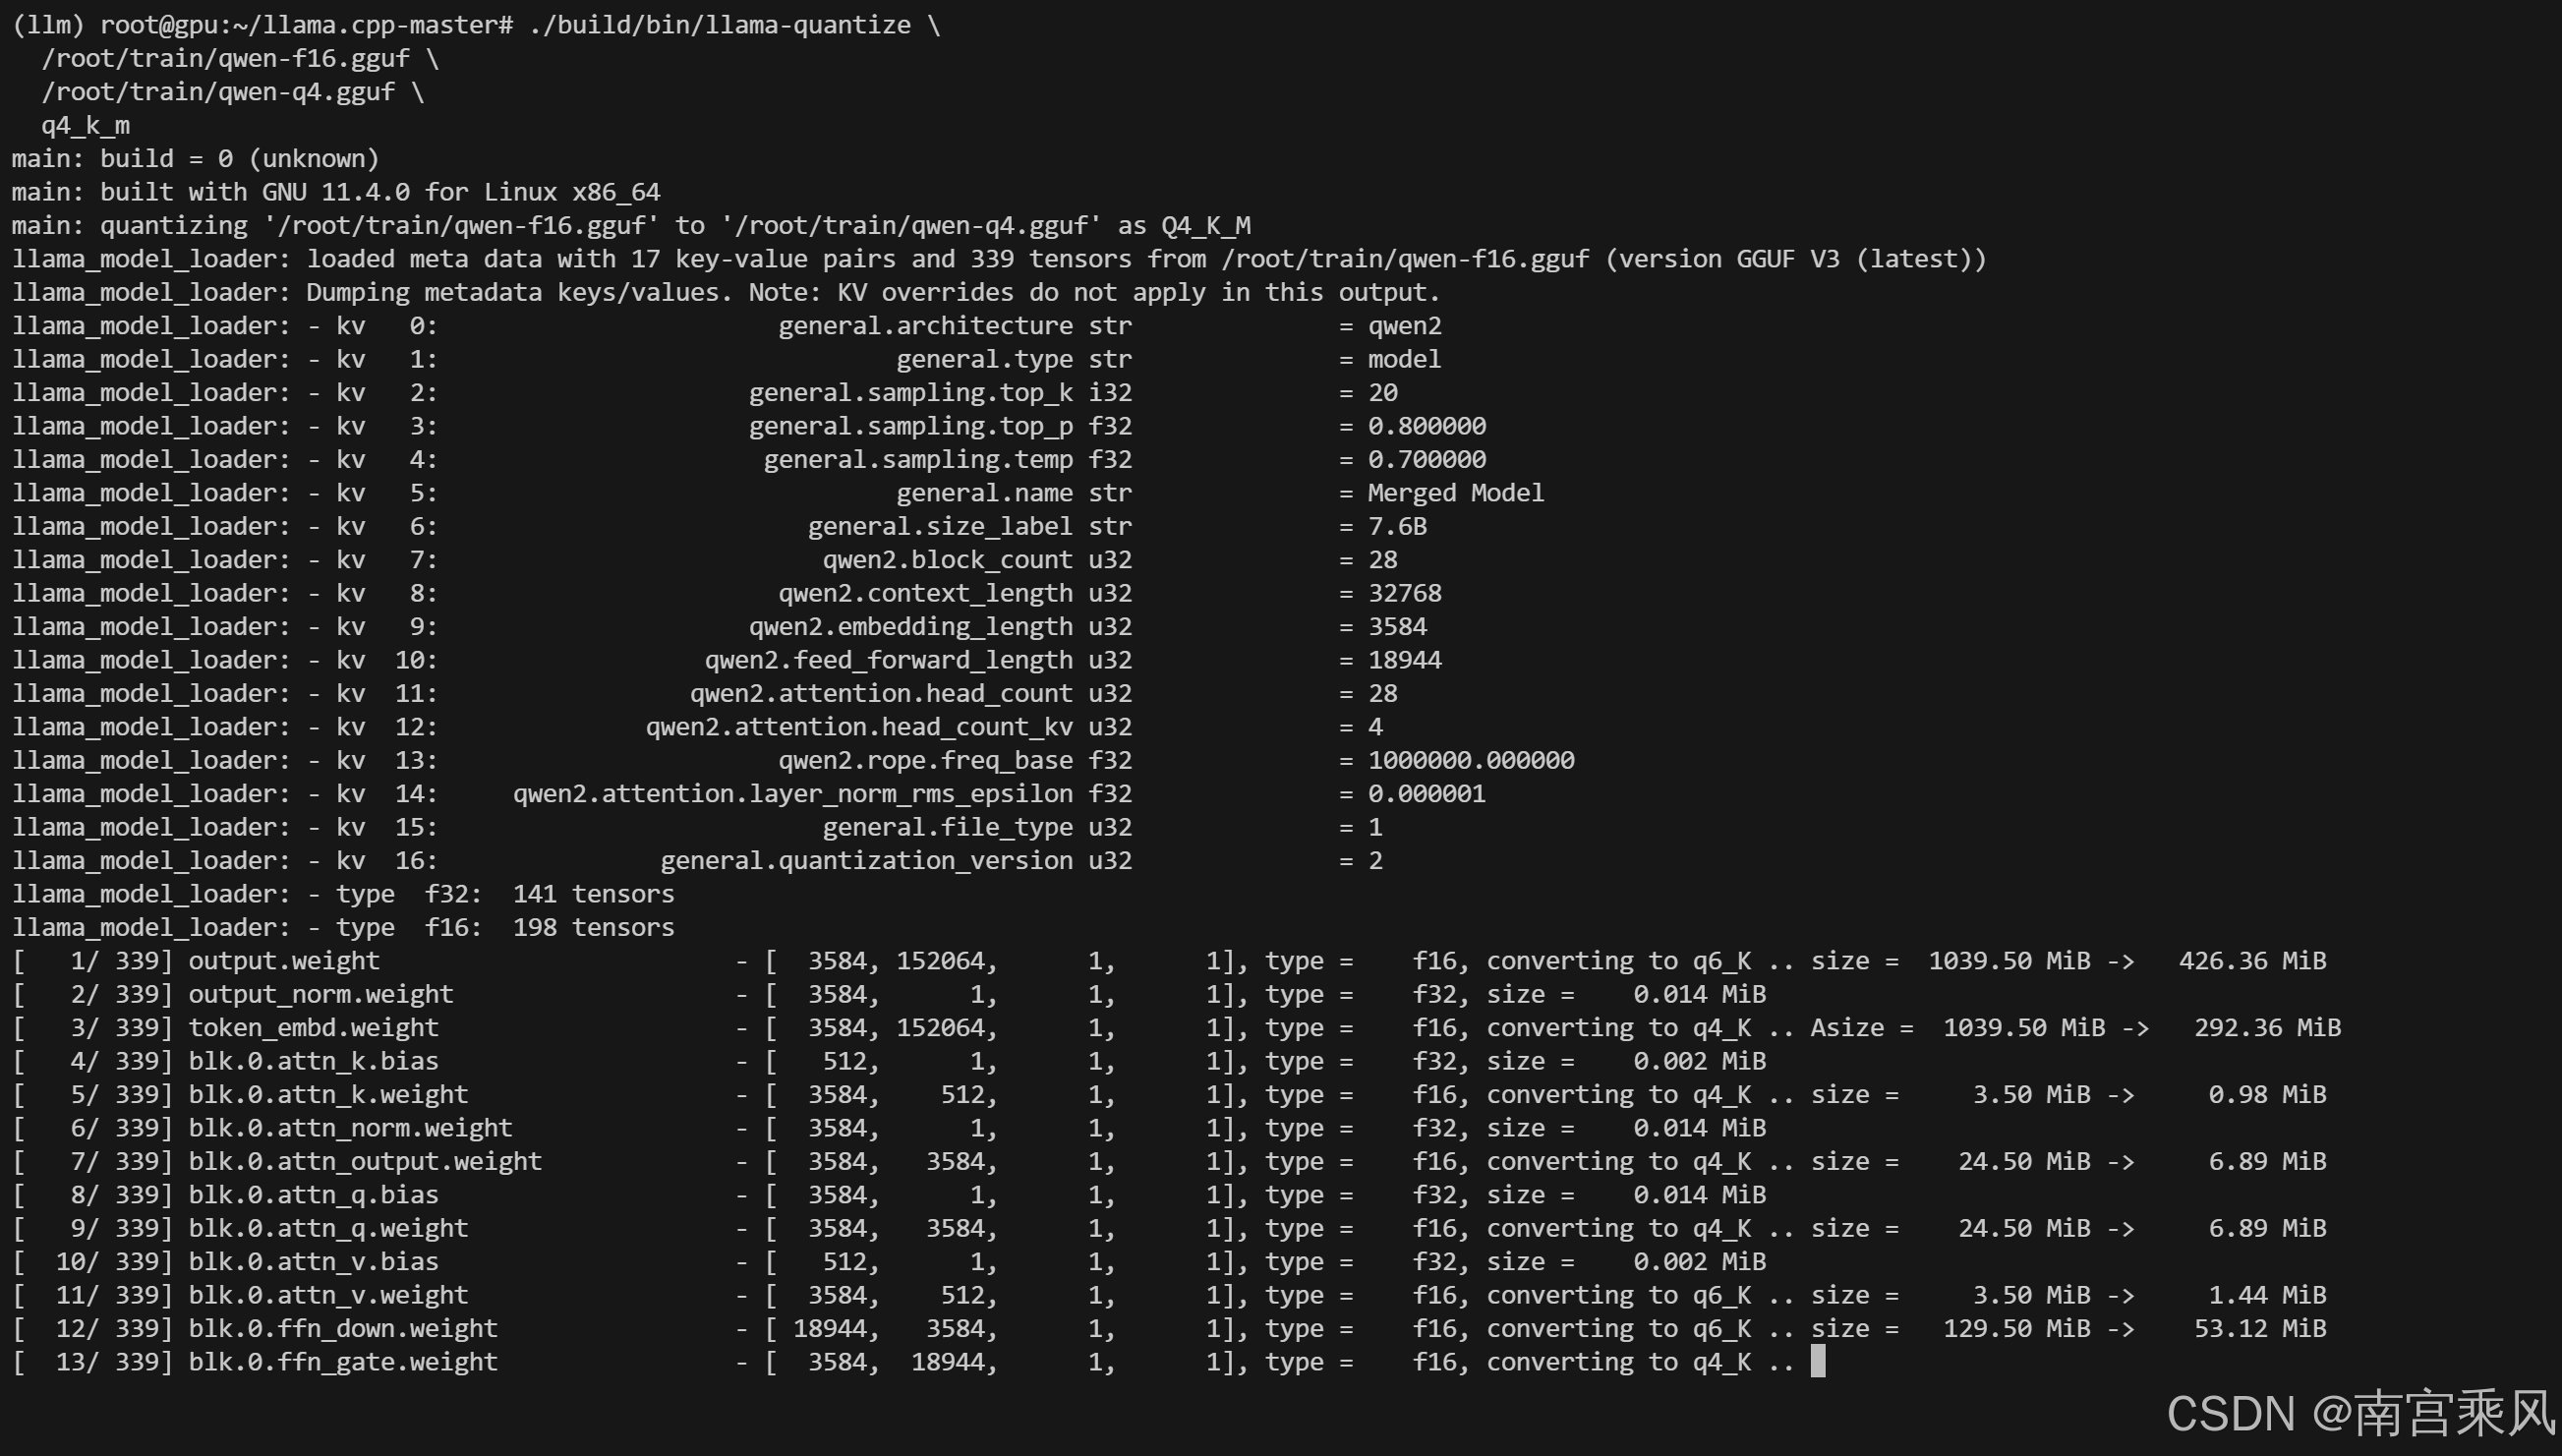
5.4 导入Ollama
创建Modelfile:
bash
cat > /root/train/Modelfile <<EOF
FROM /root/train/qwen-q4.gguf

SYSTEM """
你是一个专业的AI助手,基于Qwen2.5微调模型,擅长技术问题解答。
"""
EOF
创建模型:
bash
ollama create qwen-lora -f /root/train/Modelfile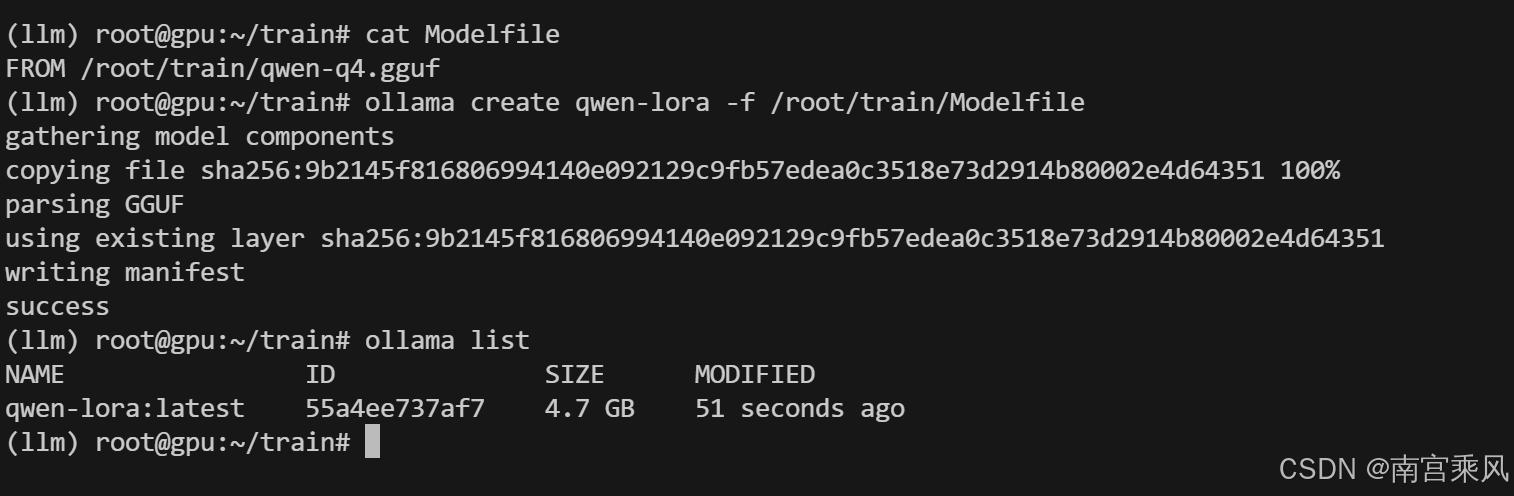
运行测试:
bash
ollama run qwen-lora5.5 API服务
Ollama自带API服务,直接启动就行:
bash
ollama serve然后就可以通过API调用了:
bash
curl http://localhost:11434/api/generate -d '{
  "model": "qwen-lora",
  "prompt": "分析以下运维问题:点击用量分析功能报错sql Scan error on column index 4"
}'
完全可以作为OpenAI的替代方案使用。
常见问题解答
Q1:训练时显存不够怎么办?
A:可以调小per_device_train_batch_size,或者增大gradient_accumulation_steps,也可以把max_length从1024改成512,都能降低显存占用。
Q2:微调后效果不好怎么办?
A:先检查数据格式是否正确,prompt模板是否和模型匹配,然后可以增加训练轮数,或者调大LoRA的r值(比如16、32),最关键的还是数据质量,多清洗数据比调参数有用。
Q3:转GGUF的时候报错怎么办?
A:大部分是transformers版本问题,用4.37.2版本基本都能解决,还有就是要把所有的配置文件都复制到合并后的模型目录。