Running a sample.war file in a Tomcat Docker container is straightforward with the right configuration. Here's a step-by-step guide:
1. Prepare Your Project
Ensure you have the following ready:
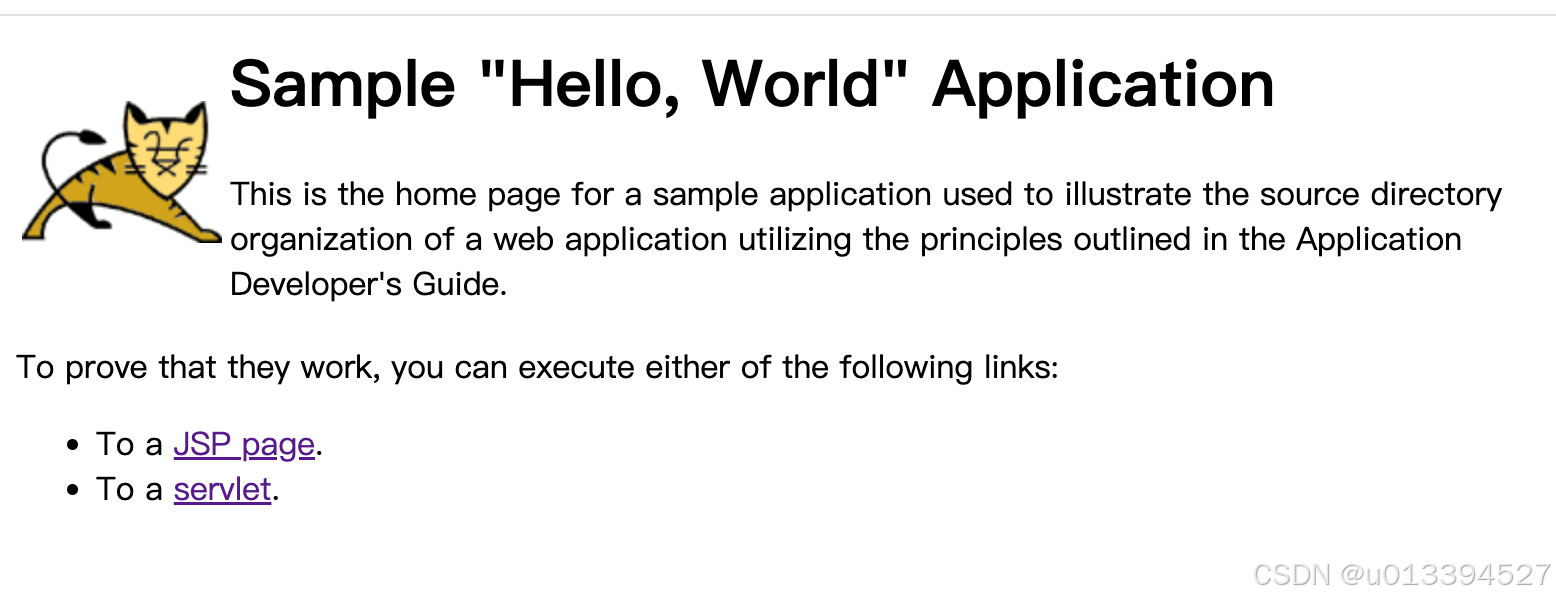
- A sample.war file (your Java web application archive - for example Tomcat doc sample).
- A Dockerfile to configure the Docker container.
2. Dockerfile Configuration
Create a Dockerfile in the same directory as your sample.war file with the following content:
FROM tomcat:11.0.2

ADD sample.war /usr/local/tomcat/webapps/

EXPOSE 8080
CMD ["catalina.sh", "run"]
Explanation:
- FROM tomcat:11.0.2 Uses the official Tomcat 11.0.2 image as the base.
- ADD sample.war /usr/local/tomcat/webapps/ Adds the sample.war file to the Tomcat webapps directory for deployment.
- EXPOSE 8080 Exposes port 8080 for accessing the application.
- CMD "catalina.sh", "run" Starts Tomcat in the foreground.
3. Build the Docker Image
Run the following command to build the Docker image:
docker build -t tomcat-sample .Here:
- -t tomcat-sample specifies the name of the image.
4. Run the Docker Container
Start the container using:
docker run -d -p 8080:8080 --name tomcat-sample-container tomcat-sampleExplanation:
- -d Runs the container in detached mode.
- -p 8080:8080 Maps port 8080 of the container to port 8080 on the host.
- --name tomcat-sample-container Assigns a name to the container.
- tomcat-sample Specifies the image to use.
5. Access the Application
Once the container is running, access your application in a web browser at: http://localhost:8080/sample
Replace localhost with the appropriate IP address if running on a remote server.
6. Verify the Deployment
You should see your application's homepage or a Tomcat message confirming successful deployment.