一、前言
你在浏览网页时,一定见过这种效果: 一张高清大图,不是瞬间显示,而是从上到下、一行一行慢慢"刷"出来。
这种效果叫渐进式图片加载,既能提升视觉体验,又能大幅降低内存占用。今天这篇文章,带你用实现一模一样的效果!
实现亮点:
- 图片从上到下逐行渲染
- 等比缩放,不拉伸、不变形
- 图片自动屏幕居中显示
- 内存占用极低,高清大图不OOM
二、效果展示
| 加载完成效果 | 动态渐进渲染效果 |
|---|---|
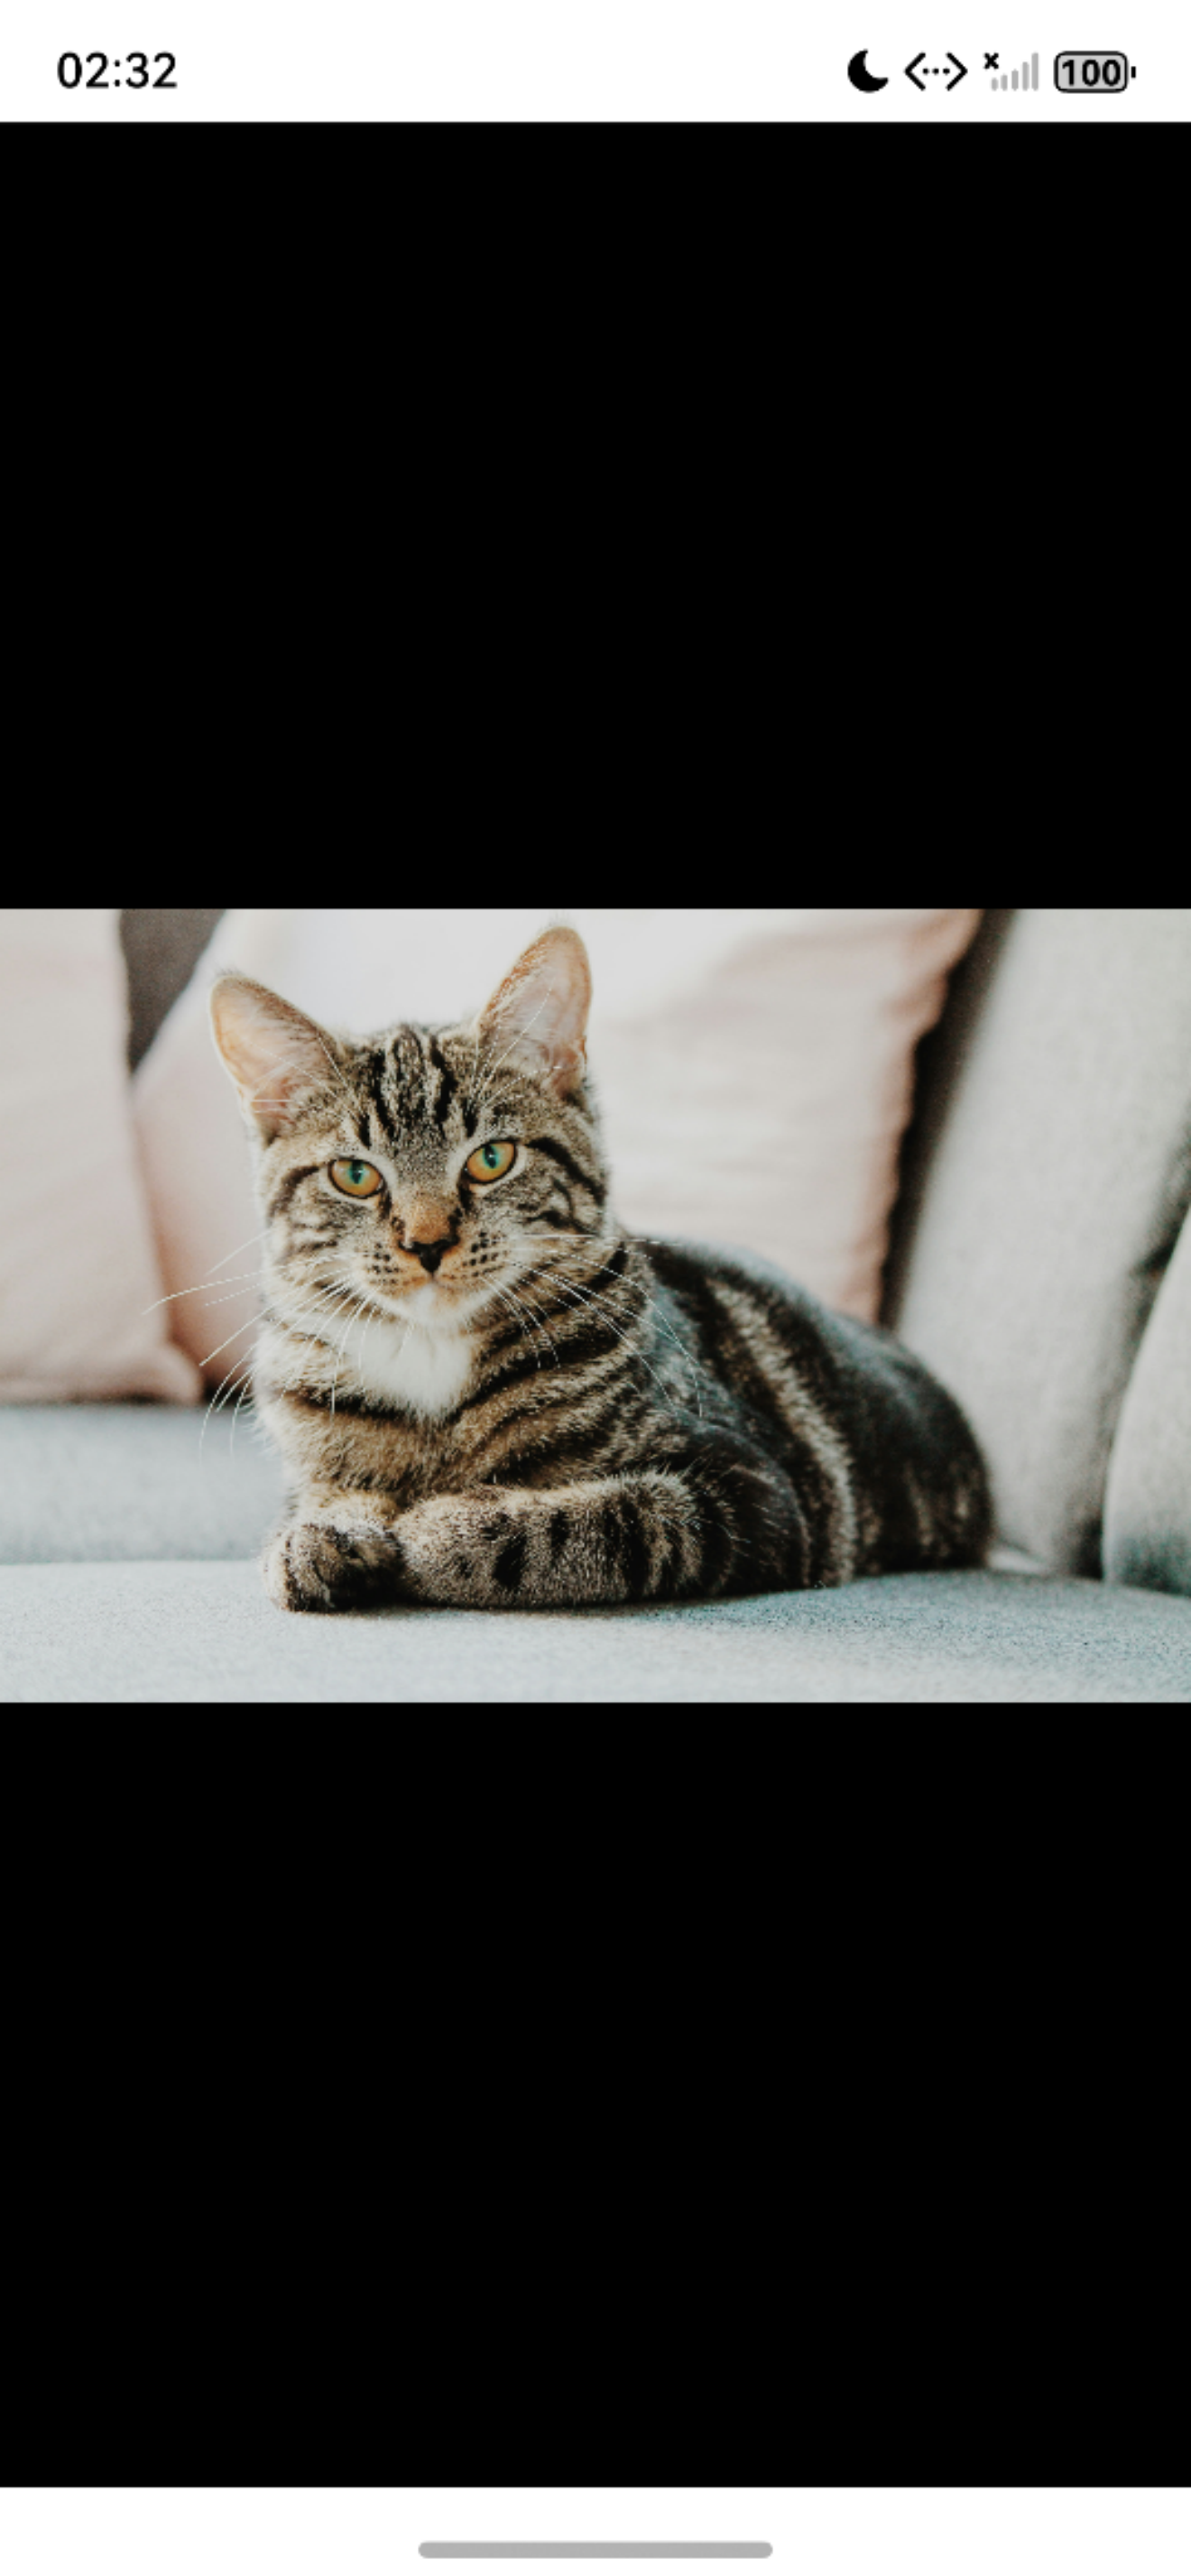 |
 |
三、实现原理
- 不一次性加载整张图片
- 每次只加载一小条区域
- 通过 Canvas 把这一小条画到屏幕上
- 不断重复,直到整张图片绘制完成
- 自动计算居中位置,让图片显示在屏幕正中间
四、实现思路
- 使用
ImageSource加载图片资源 - 按区域增量创建
PixelMap - 计算等比缩放尺寸与屏幕居中偏移量
- Canvas 逐行绘制图片条带
- 绘制完成后释放资源,避免内存泄漏
五、完整代码
javascript
import { image } from '@kit.ImageKit';
import { BusinessError } from '@kit.BasicServicesKit';

@Entry
@Component
struct Index {
  private canvasCtx: CanvasRenderingContext2D = new CanvasRenderingContext2D();
  private imageSource: image.ImageSource | null = null;

  private imageWidth = 0;
  private imageHeight = 0;
  private currentLine = 0;

  // 每次绘制的高度 这两行代码控制绘制速度
  private readonly stepHeight = 10;
  // 绘制间隔时间
  private readonly delayMs = 5;

  private displayWidth = 0;
  private displayHeight = 0;
  private canvasViewWidth = 0;
  private canvasViewHeight = 0;

  private timerId: number | null = null;

  build() {
    Column() {
      Canvas(this.canvasCtx)
        .width('100%')
        .height('100%')
        .onReady(() => {
          this.canvasViewWidth = this.canvasCtx.width ?? 0;
          this.canvasViewHeight = this.canvasCtx.height ?? 0;
          this.startLoadProgressiveImage();
        })
    }
    .width('100%')
    .height('100%')
    .backgroundColor('#000')
  }

  aboutToDisappear() {
    this.clearTimer();
  }

  clearTimer() {
    if (this.timerId !== null) {
      clearTimeout(this.timerId);
      this.timerId = null;
    }
  }

  // 等比缩放计算
  calcFitSize(srcW: number, srcH: number, maxW: number, maxH: number) {
    const ratio = Math.min(maxW / srcW, maxH / srcH);
    this.displayWidth = srcW * ratio;
    this.displayHeight = srcH * ratio;
  }

  // 加载图片
  private async getImageSource(path: string): Promise<image.ImageSource | null> {
    try {
      const host = this.getUIContext().getHostContext();
      if (!host) return null;
      const mgr = host.resourceManager;
      const buf = await mgr.getRawFileContent(path);
      return image.createImageSource(buf.buffer);
    } catch (e) {
      console.error("图片加载失败", (e as BusinessError).message);
      return null;
    }
  }

  // 启动渐进式加载
  async startLoadProgressiveImage() {
    const img = await this.getImageSource("mimi.jpeg");
    if (!img) return;

    this.imageSource = img;
    const info = await img.getImageInfo();
    this.imageWidth = info.size.width;
    this.imageHeight = info.size.height;
    this.currentLine = 0;

    this.calcFitSize(this.imageWidth, this.imageHeight, this.canvasViewWidth, this.canvasViewHeight);
    this.drawLineByLine();
  }

  // 逐行绘制核心
  async drawLineByLine() {
    if (!this.imageSource || !this.canvasCtx) return;

    if (this.currentLine >= this.imageHeight) {
      console.log("图片居中绘制完成");
      this.clearTimer();
      return;
    }

    const decodeH = Math.min(this.currentLine + this.stepHeight, this.imageHeight);
    const region: image.Region = {
      x: 0,
      y: this.currentLine,
      size: { width: this.imageWidth, height: decodeH - this.currentLine }
    };

    const pixelMap = await this.imageSource.createPixelMap({
      desiredRegion: region,
      desiredPixelFormat: image.PixelMapFormat.RGBA_8888
    });
    if (!pixelMap) return;

    // 水平 + 垂直居中
    const offsetX = (this.canvasViewWidth - this.displayWidth) / 2;
    const offsetY = (this.canvasViewHeight - this.displayHeight) / 2;

    const drawY = offsetY + this.currentLine * (this.displayHeight / this.imageHeight);
    const drawH = region.size.height * (this.displayHeight / this.imageHeight);

    // 绘制图片
    this.canvasCtx.drawImage(pixelMap, offsetX, drawY, this.displayWidth, drawH);
    pixelMap.release();

    this.currentLine += this.stepHeight;

    this.timerId = setTimeout(() => {
      this.drawLineByLine();
    }, this.delayMs);
  }
}
六、关键代码说明
-
全屏 Canvas
让画布占满整个屏幕,方便图片居中显示。
-
等比缩放
自动计算宽高比,保证图片不变形、不拉伸。
-
增量区域解码
每次只解码图片的一小条区域,而不是整张图,内存占用极低。
-
双向居中算法
自动计算水平、垂直偏移量,让图片无论什么尺寸,都显示在屏幕正中间。
-
资源安全释放
页面退出时清除定时器,释放像素资源,避免内存泄漏。
七、使用方法
- 将一张高清图片放入
src/main/resources/rawfile - 代码中图片名称改为你的图片名称
- 直接运行即可看到效果
我是散修
专注鸿蒙原生开发、持续分享鸿蒙技术,带你实现好玩有趣实用的功能!