一、Debian的UEFI网络引导自动安装原理
关于Debian的自动化安装配置,与Ubuntu还是有很多差异的,本文以debian13(trixie)版本为例,网络自动化安装debian不需要下载debian的iso系统镜像,只需要一个引导内核文件【linux或vmlinuz】、临时根文件系统【initrd.gz】,还有自动应答文件【preseed.cfg】即可。
此外,由于debian安装过程会联网下载所需软件包,因此,要保证安装环境能够连接到外网,当然,这个连接外网的地址也是可以在preseed.cfg中进行配置的(或使用自己在本地搭建的Debian源也可),本文会详解preseed.cfg这个文件的核心内容,并给出一份完整可在生产环境使用的配置文件。
二、搭建Debian的UEFI网络引导自动安装环境步骤
创建Debian的自动应答文件的注意内容:
1、【安装源的选择】默认是访问官方的源,国内安装就会很慢,因此,推荐使用国内的源,首推ftp.cn.debian.org,这个地址其实就是中科大的源(http://mirrors.ustc.edu.cn/)。
2、如果是内网或者无外网环境下,要自动化安装debian的话,可以先构建一个内部的源,然后安装过程同步内网的找个源即可。
3、若在自动应答文件中使用自己构建的安装源,在安装过程中安装程序需要Release及gpg认证,由于我们使用的不是官方源,是不含有公开的签名,在默认情况下,会出现认证错误,解决方法就是设置如下参数为true:
bash
#若是内网环境使用自己构建的源则需要在自动应答文件【preseed.cfg】文件中新增
d-i debian-installer/allow_unauthenticated boolean true
2.1、基于Cobbler搭建Debian的UEFI网络引导自动安装步骤实践
bash
#搭建Debian的UEFI网络引导自动安装环境步骤(以当前最新的【Debian 13.4】(13.X版本代号trixie)为例)
#1-进入指定目录下载Debian的UEFI网络引导安装包【netboot.tar.gz】(国内也可从【https://mirrors.ustc.edu.cn/debian/dists/】源地址下载)
cd /var/lib/cobbler/loaders/uefi/
mkdir debian13
wget https://deb.debian.org/debian/dists/trixie/main/installer-amd64/current/images/netboot/netboot.tar.gz -c -O netboot.tar.gz
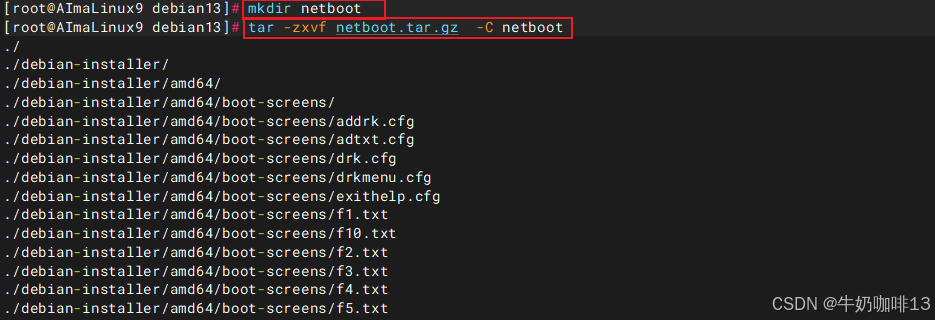
#2-解压下载好Debian的UEFI网络引导安装包并提取【压缩内核(linux或vmlinuz)】与临时根文件系统【initrd.gz】文件到【/var/lib/cobbler/loaders/uefi/debian13】目录中
mkdir netboot
tar -zxvf netboot.tar.gz -C netboot
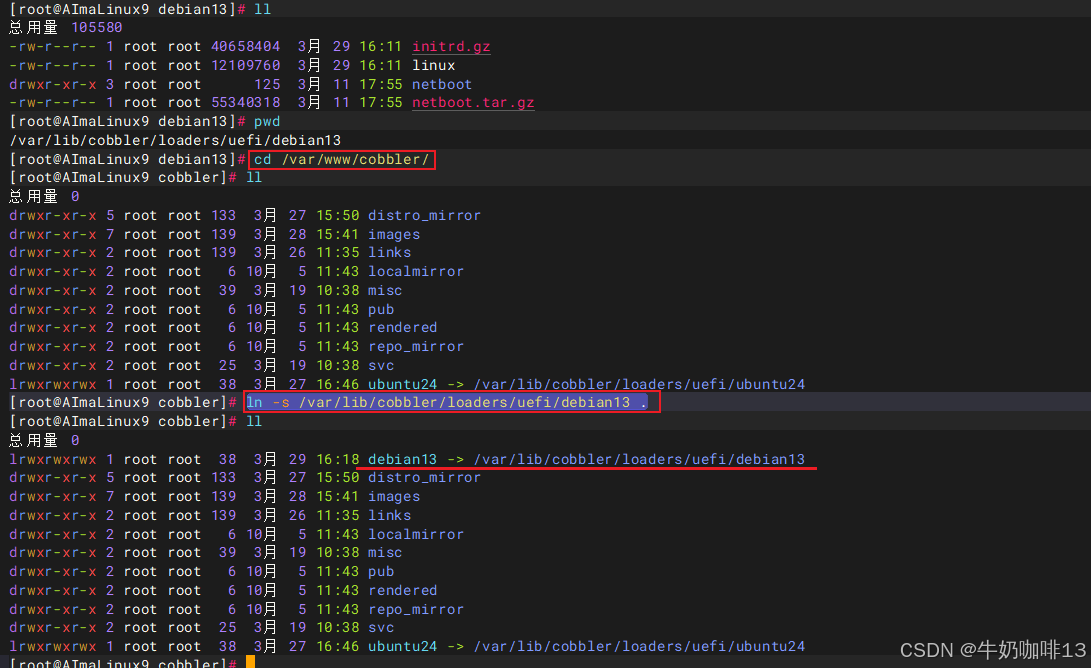
cd netboot/debian-installer/amd64
cp linux initrd.gz /var/lib/cobbler/loaders/uefi/debian13
cd /var/lib/cobbler/loaders/uefi/debian13
ll
rm -rf ./netboot.*
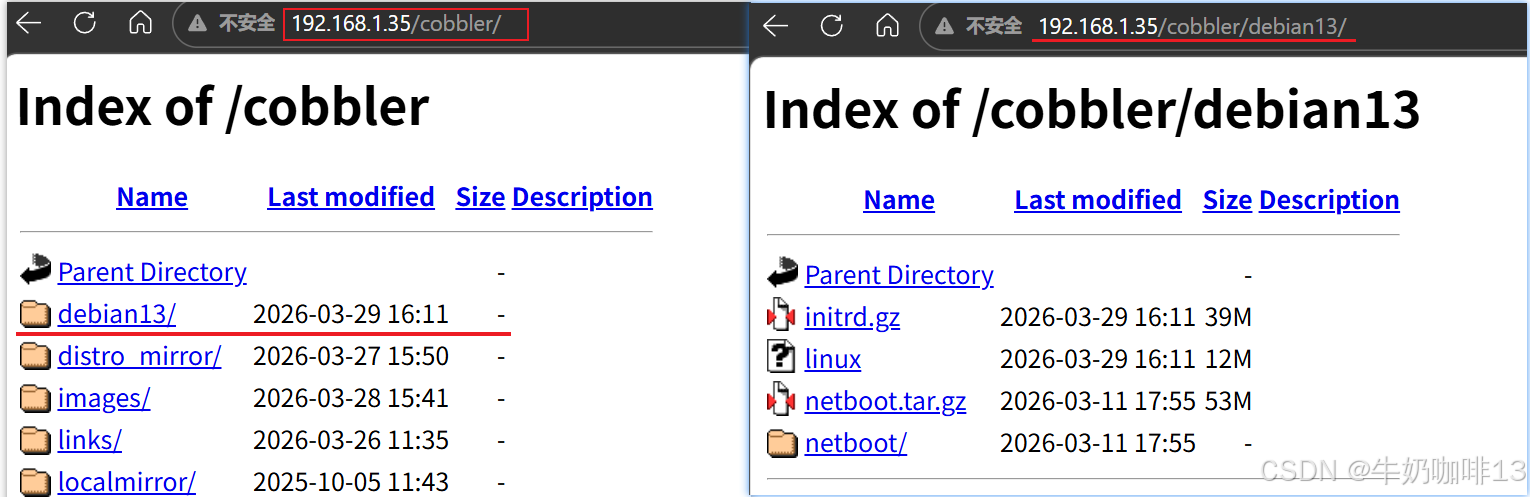
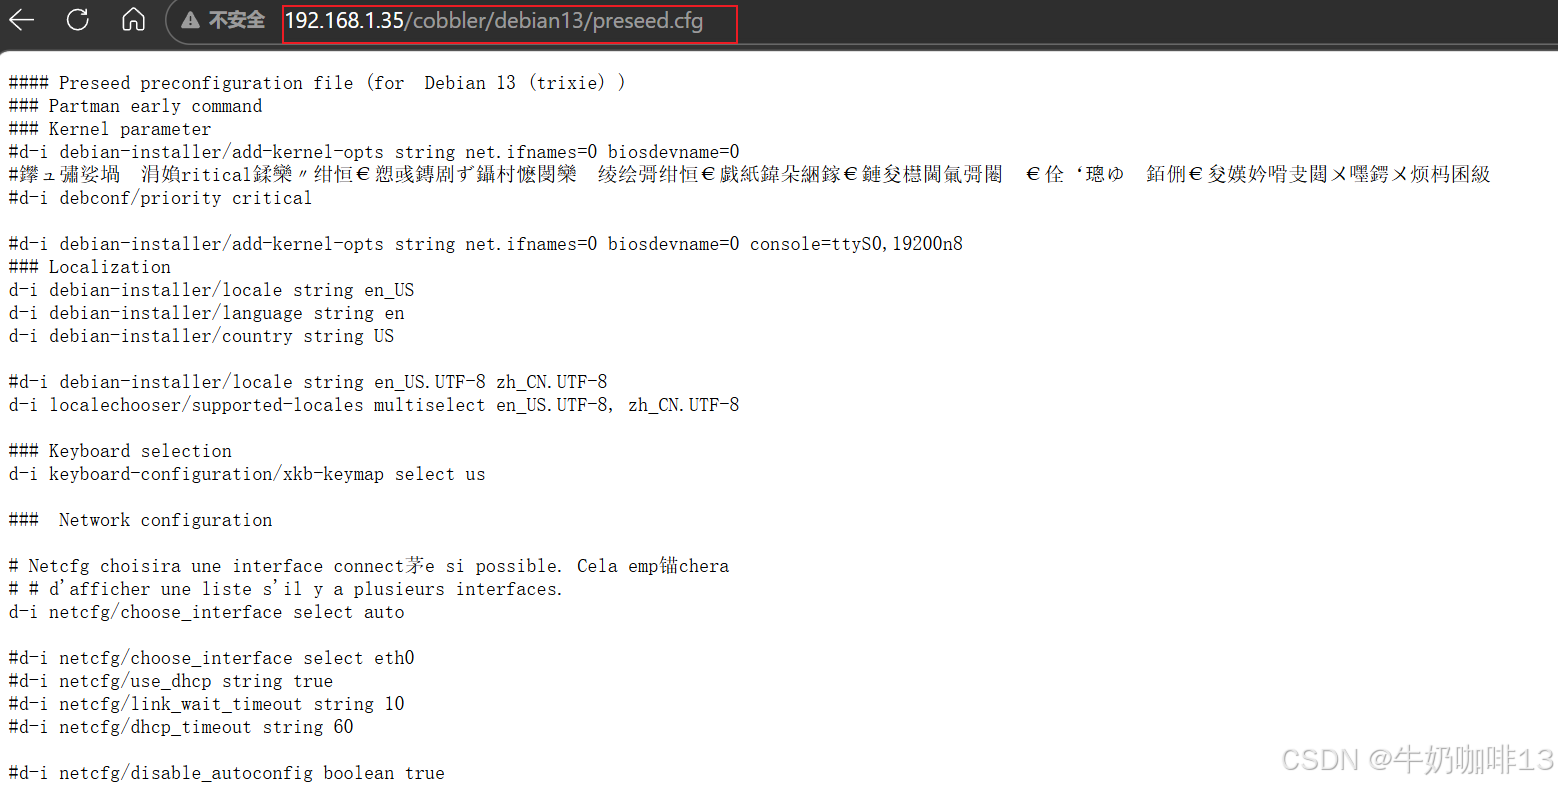
#3-设置【/var/lib/cobbler/loaders/uefi/debian13】目录可web访问
cd /var/www/cobbler/
ln -s /var/lib/cobbler/loaders/uefi/debian13 .
#4-编写Debian的自动应答文件【preseed.cfg】
cd /var/lib/cobbler/loaders/uefi/debian13
vi preseed.cfg
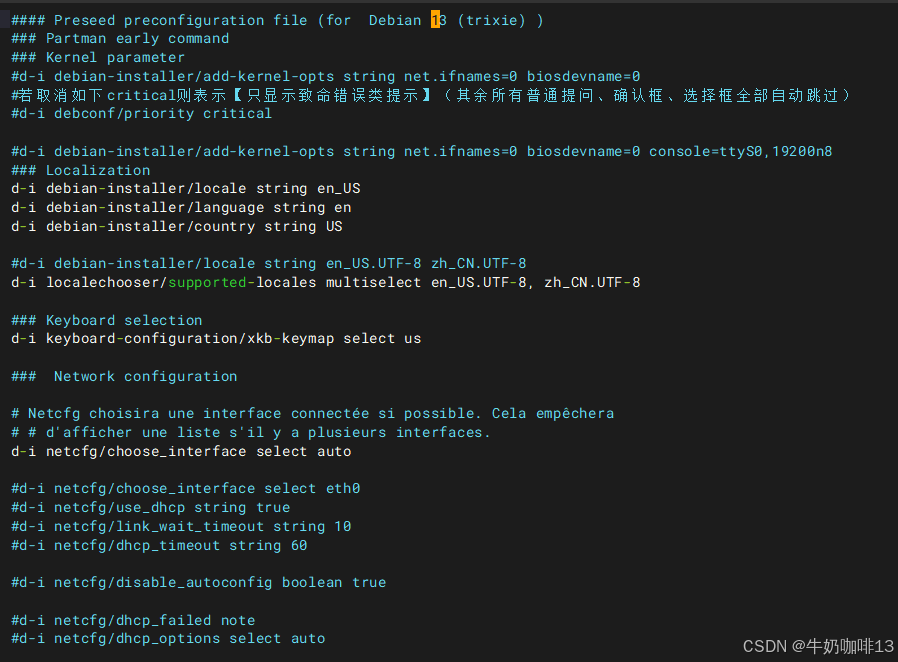
#【preseed.cfg】文件的完整内容:
#### Preseed preconfiguration file (for Debian 13 (trixie) )
### Partman early command
### Kernel parameter
#d-i debian-installer/add-kernel-opts string net.ifnames=0 biosdevname=0
#若取消如下critical则表示【只显示致命错误类提示】(其余所有普通提问、确认框、选择框全部自动跳过)
#d-i debconf/priority critical
#d-i debian-installer/add-kernel-opts string net.ifnames=0 biosdevname=0 console=ttyS0,19200n8
### Localization
d-i debian-installer/locale string en_US
d-i debian-installer/language string en
d-i debian-installer/country string US
#d-i debian-installer/locale string en_US.UTF-8 zh_CN.UTF-8
d-i localechooser/supported-locales multiselect en_US.UTF-8, zh_CN.UTF-8
### Keyboard selection
d-i keyboard-configuration/xkb-keymap select us
### Network configuration
# Netcfg choisira une interface connectée si possible. Cela empêchera
# # d'afficher une liste s'il y a plusieurs interfaces.
d-i netcfg/choose_interface select auto
#d-i netcfg/choose_interface select eth0
#d-i netcfg/use_dhcp string true
#d-i netcfg/link_wait_timeout string 10
#d-i netcfg/dhcp_timeout string 60
#d-i netcfg/disable_autoconfig boolean true
#d-i netcfg/dhcp_failed note
#d-i netcfg/dhcp_options select auto
#Configure network manually
# IPv4 Static network configuration
#d-i netcfg/get_ipaddress string 192.168.1.120
#d-i netcfg/get_netmask string 255.255.255.0
#d-i netcfg/get_gateway string 192.168.1.1
#d-i netcfg/get_nameservers string 192.168.1.1
#d-i netcfg/confirm_static boolean true
# Set a hostname
d-i netcfg/get_hostname string ck-debian13
#d-i netcfg/get_domain string ck.cn
# Force a hostname
#d-i netcfg/hostname string ck-debian13.ck.cn
# Disable that annoying WEP key dialog
d-i netcfg/wireless_wep string
#d-i netcfg/get_hostname=install
#d-i netcfg/get_hostname string unassigned-hostname
#d-i netcfg/get_domain string unassigned-domain
#d-i netcfg/get_hostname seen true
#d-i netcfg/get_domain seen true
### Mirror settings(这里使用的是中科大的系统镜像源,也可自己搭建)
d-i mirror/country string China
d-i mirror/http/hostname string mirrors.ustc.edu.cn
d-i mirror/http/directory string /debian
d-i mirror/http/proxy string
d-i debian-installer/allow_unauthenticated boolean true
### Account setup
# Skip creation of a normal user account(true则可以生成普通用户)
d-i passwd/make-user boolean false
#d-i passwd/user-fullname string coffeemilk
#d-i passwd/username string ck
#d-i passwd/user-password-crypted password 这里粘贴普通用户的加密密码
# Set root password
# 可使用【openssl passwd -6 '你需要设置为的明文密码'】命令生成加密密码
d-i passwd/root-password-crypted password $6$sRKugC0mn5FMCyCP$.S5vC0q//7I0wt7goC8YvjiWgx5udFU3k0bmxgKK8hrzvYVuLep4fnhupP8z0FVbp5vCCnQjZ0Bg3Cw5otgyO.
#allow root login
d-i passwd/root-login boolean true
### Clock and time zone setup
# Set hardware clock to UTC
d-i clock-setup/utc boolean false
# Set timezone
d-i time/zone string Asia/Shanghai
# Use NTP clock during installation
d-i clock-setup/ntp-server string cn.pool.ntp.org
### Partitioning
# LVM LUKS method
# Inhibit partman to fill the disk with random data
#d-i partman-auto-crypto/erase_disks boolean false
#d-i partman/early_command \
# string dd if=/dev/zero of=/dev/sda bs=512 count=1
# Force UEFI booting ('BIOS compatibility' will be lost). Default: false.
d-i partman-efi/non_efi_system boolean false
# Ensure the partition table is GPT - this is required for EFI
d-i partman-partitioning/choose_label string gpt
d-i partman-partitioning/default_label string gpt
d-i partman-auto/method string regular
d-i partman-lvm/device_remove_lvm boolean true
d-i partman-md/device_remove_md boolean true
d-i partman-lvm/confirm boolean true
# Auto select first disk
d-i partman/early_command string debconf-set partman-auto/disk "$(list-devices disk | head -n1)"
d-i partman-auto/choose_recipe select my-efi-scheme
# Custom EFI+GPT partition recipe (UEFI 全自动必备)【分区那里的三个数字:比如说512 2 512,第一个512代表最小分区大小,第二个数字代表优先级,数字越小表示优先级越高,第三个数字代表最大分区大小。若第三个数字与第一个数字一样,则表示该分区就固定为这个大小;若第三个数字设置为-1就代表剩下的空间全部划分给这个分区。】
d-i partman-auto/expert_recipe string \
my-efi-scheme :: \
512 2 512 fat32 \
$primary{ } \
$bootable{ } \
method{ efi } \
format{ } \
mountpoint{ /boot/efi } \
. \
1536 3 1536 ext4 \
method{ format } format{ } \
use_filesystem{ } filesystem{ ext4 } \
mountpoint{ /boot } \
. \
8192 4 8192 linux-swap \
method{ swap } format{ } \
. \
20480 5 20480 ext4 \
method{ format } format{ } \
use_filesystem{ } filesystem{ ext4 } \
mountpoint{ /usr } \
. \
20480 6 20480 ext4 \
method{ format } format{ } \
use_filesystem{ } filesystem{ ext4 } \
mountpoint{ /var } \
. \
20480 7 20480 ext4 \
method{ format } format{ } \
use_filesystem{ } filesystem{ ext4 } \
mountpoint{ / } \
. \
20480 8 -1 ext4 \
method{ format } format{ } \
use_filesystem{ } filesystem{ ext4 } \
mountpoint{ /data } \
.
# Auto confirm partitioning (NO PROMPTS!)
d-i partman-partitioning/confirm_write_new_label boolean true
d-i partman/choose_partition select finish
d-i partman/confirm boolean true
d-i partman/confirm_nooverwrite boolean true
d-i partman-md/confirm boolean true
### Apt setup
#d-i apt-setup/cdrom/set-first boolean false
#d-i apt-setup/cdrom/set-next boolean false
#d-i apt-setup/cdrom/set-failed boolean false
#d-i apt-setup/services-select multiselect security, updates
#d-i apt-setup/security_host string security.debian.org
#d-i apt-setup/no_mirror boolean true
#d-i apt-setup/use_mirror boolean false
#d-i apt-setup/contrib boolean false
#d-i apt-setup/non-free boolean false
#d-i apt-setup/cdrom/set-next boolean false
#d-i apt-setup/services-select multiselect
#配置安全更新源(这里使用中科大的源)
d-i apt-setup/security_host string mirrors.ustc.edu.cn
d-i apt-setup/security_path string /debian-security
d-i apt-setup/security_suite string trixie-security
### Package selection
tasksel tasksel/first multiselect standard
# Individual additional packages to install(安装软件是"d-i pkgsel/include",可将需要安装的软件名称都写上,自动安装过程就会安装这些需要的软件)
d-i pkgsel/include string openssh-server vim net-tools lrzsz
d-i pkgsel/upgrade select none
#d-i pkgsel/update-policy select none
#d-i pkgsel/updatedb boolean true
popularity-contest popularity-contest/participate boolean false
### GRUB STUFF
d-i grub-installer/only_debian boolean true
d-i grub-installer/bootdev string default
# Note: options passed to the installer will be added automatically.
#d-i debian-installer/add-kernel-opts string nousb
# Optional password for grub, either in clear text
# #d-i grub-installer/password password r00tme
# #d-i grub-installer/password-again password r00tme
# # or encrypted using an MD5 hash, see grub-md5-crypt(8).
# #d-i grub-installer/password-crypted password [MD5 hash]
#
# # Use the following option to add additional boot parameters for the
# # installed system (if supported by the bootloader installer).
# # Note: options passed to the installer will be added automatically.
# #d-i debian-installer/add-kernel-opts string nousb
#
# ### Finishing up the installation
# # Avoid that last message about the install being complete.
d-i finish-install/reboot_in_progress note
# 如下命令表示【系统安装完成后,可以执行的一些操作(如:这里是允许root用户登录)】
d-i preseed/late_command string in-target sed -i 's/#PermitRootLogin.*/PermitRootLogin yes/g' /etc/ssh/sshd_config
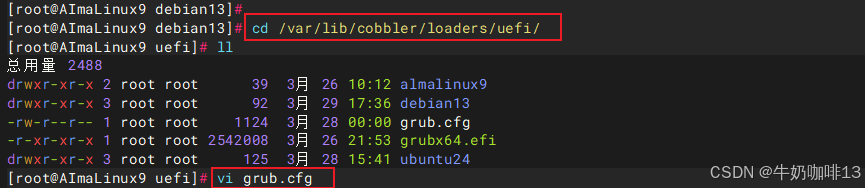
#5-编写debian的UEFI引导菜单
cd /var/lib/cobbler/loaders/uefi/
vi grub.cfg
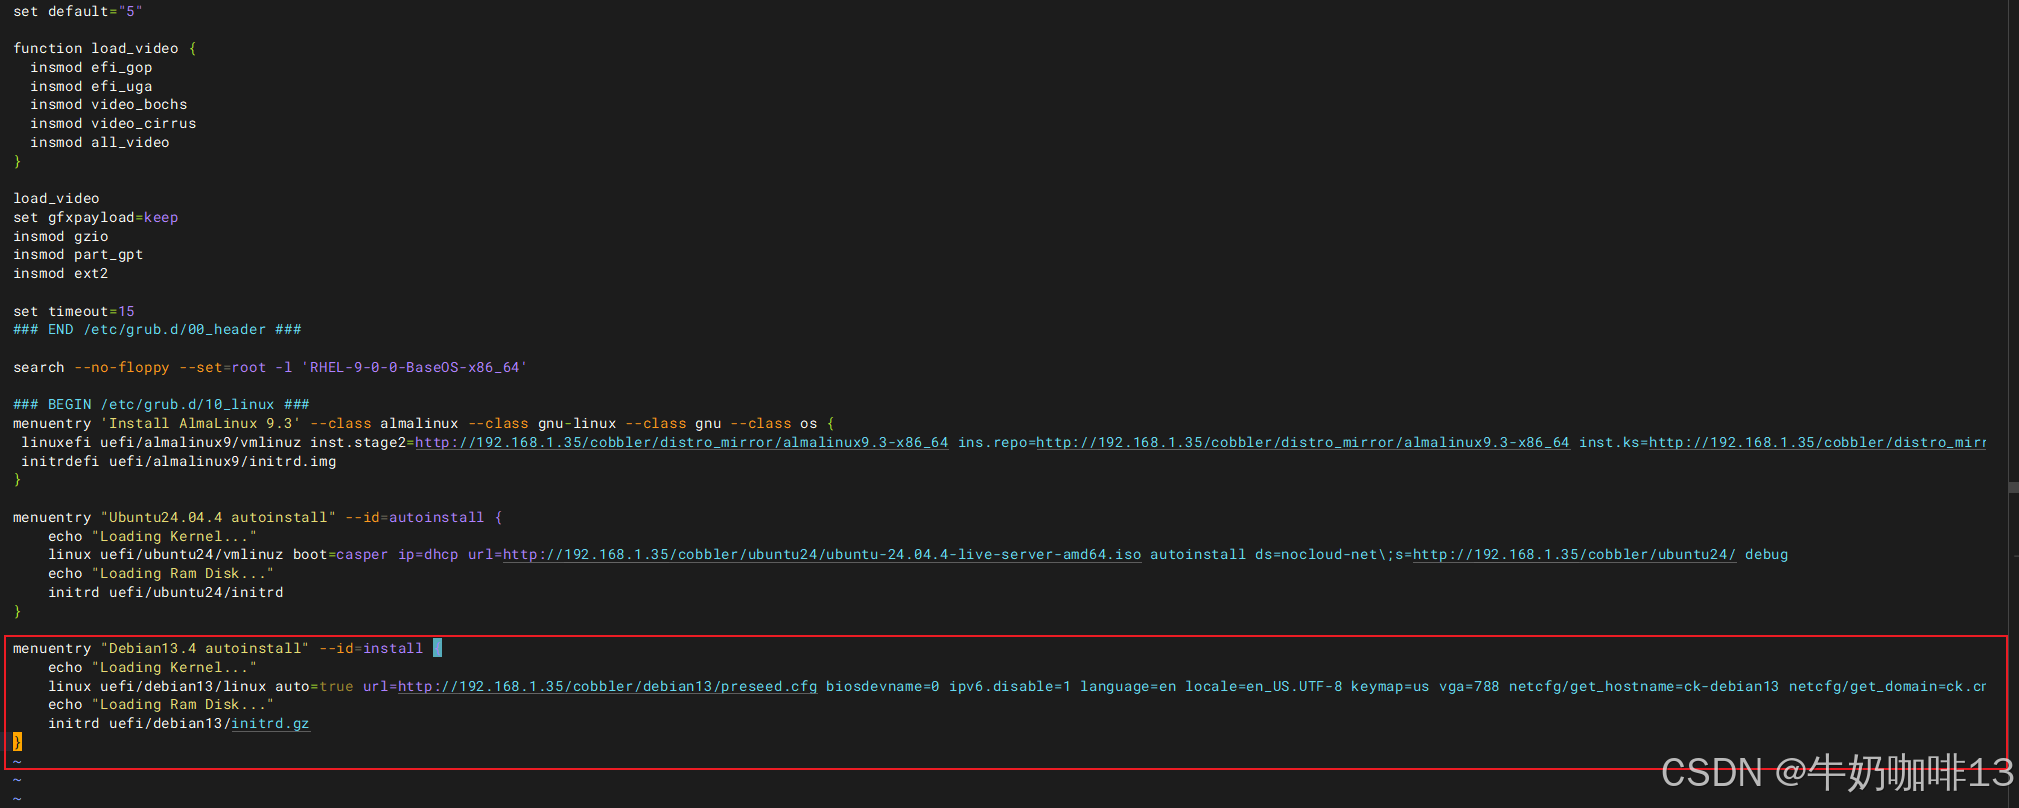
#【grub.cfg】文件末尾添加的debian的UEFI引导菜单内容如下:
menuentry "Debian13.4 autoinstall" --id=install {
echo "Loading Kernel..."
linux uefi/debian13/linux auto=true url=http://192.168.1.35/cobbler/debian13/preseed.cfg biosdevname=0 ipv6.disable=1 language=en locale=en_US.UTF-8 keymap=us vga=788 netcfg/get_hostname=ck-debian13 netcfg/get_domain=ck.cn noprompt DEBCONF_DEBUG=5 --- quiet
echo "Loading Ram Disk..."
initrd uefi/debian13/initrd.gz
}
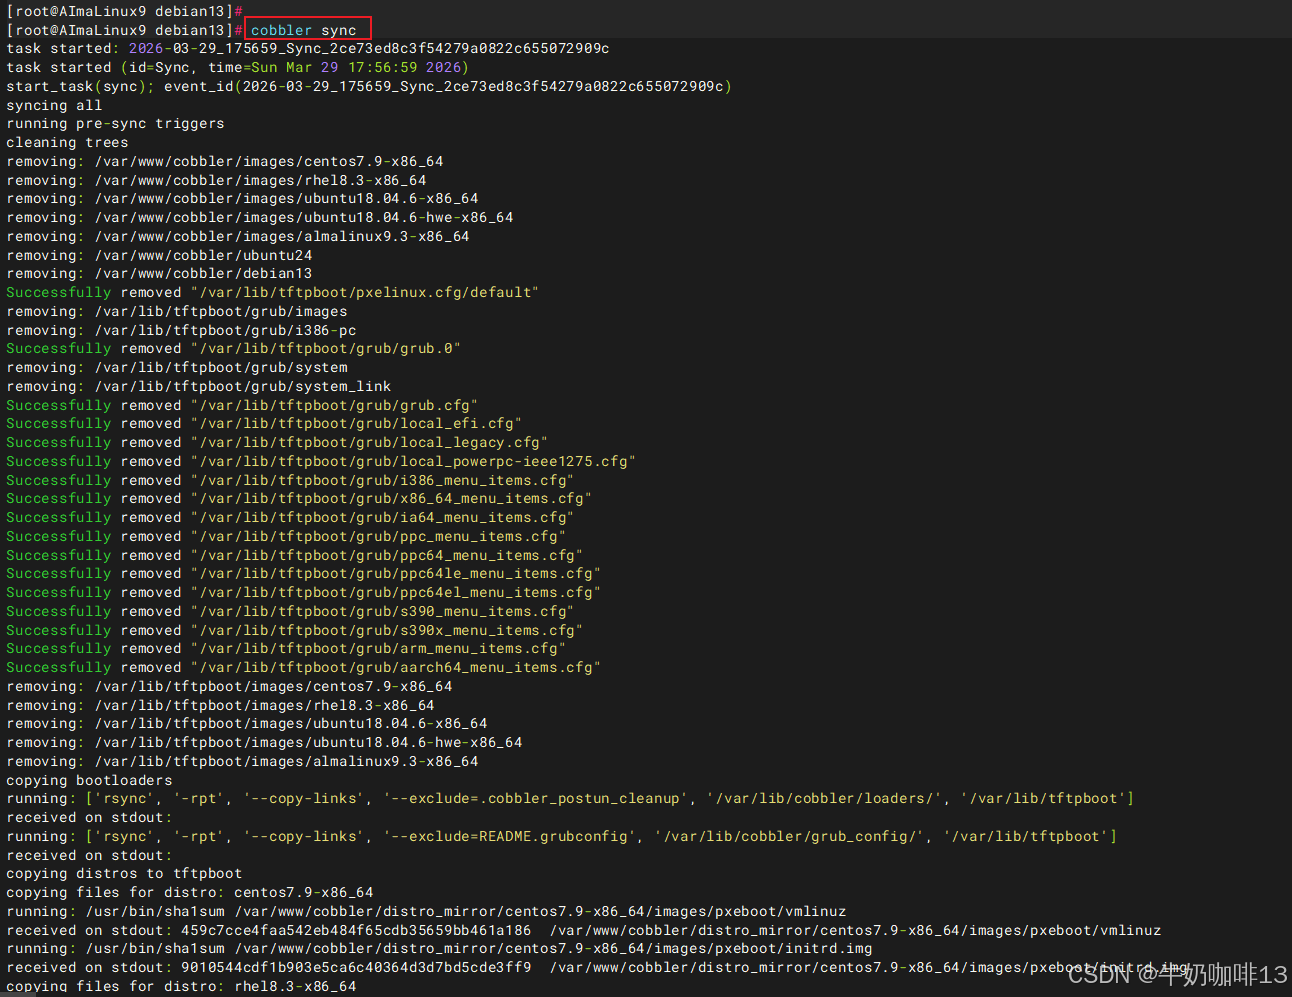
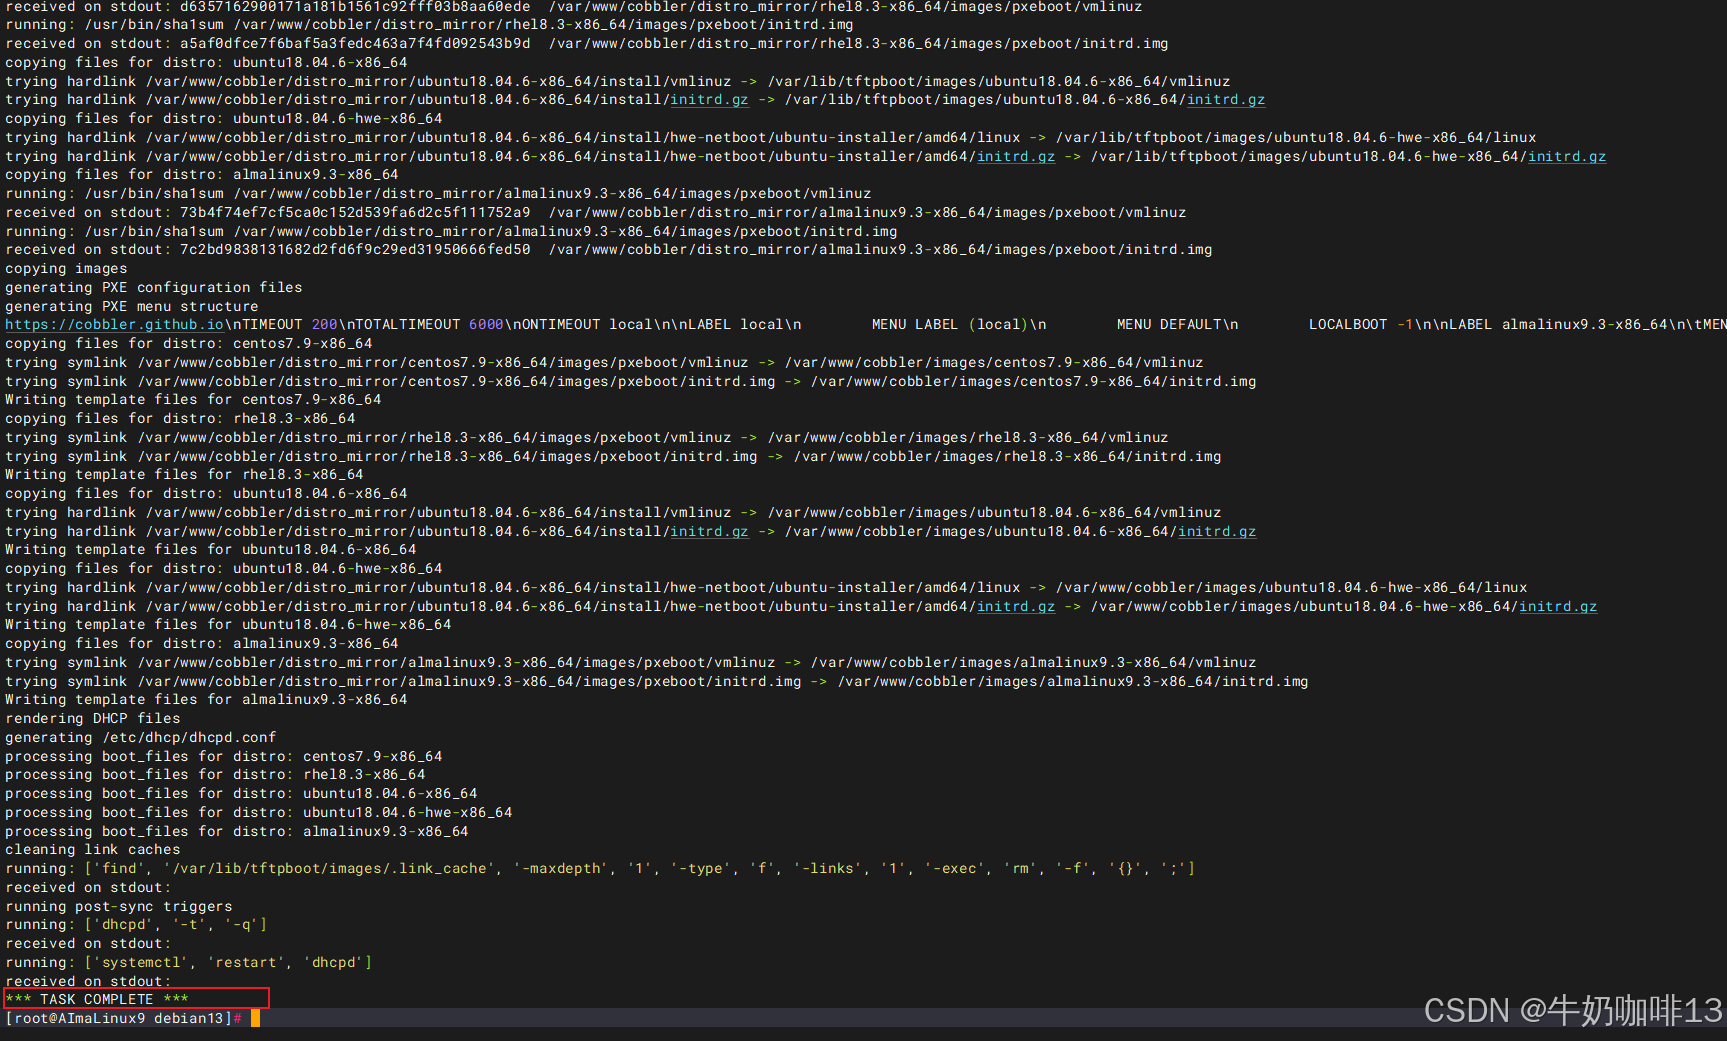
#6-同步cobbler的所有配置(实现将【/var/lib/cobbler/loaders】目录下的内容都同步到【/var/lib/tftpboot/】目录下)
cobbler sync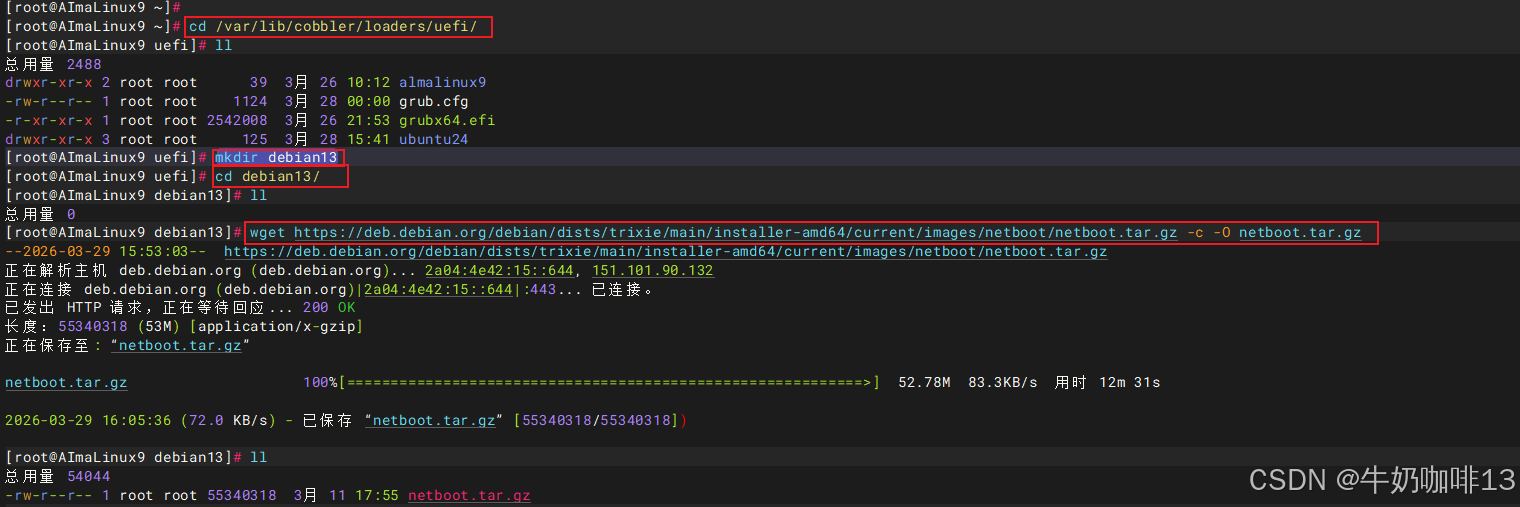

| 挂载点 | 大小 | 格式 | 用途 |
|---|---|---|---|
| /boot/efi | 512M | fat32 | EFI 分区 |
| /boot | 1.5G | ext4 | 内核 |
| swap | 8G | swap | 交换分区 |
| /usr | 20G | ext4 | 系统程序 |
| /var | 20G | ext4 | 日志 / 数据 |
| / | 20G | ext4 | 根分区 |
| /data | 剩余所有 | ext4 | 数据分区 |
| 自动应答文件中分区那里的三个数字:比如说512 2 512,第一个512代表最小分区大小,第二个数字代表优先级,数字越小表示优先级越高,第三个数字代表最大分区大小。若第三个数字与第一个数字一样,则表示该分区就固定为这个大小;若第三个数字设置为-1就代表剩下的空间全部划分给这个分区。 | |||
| [debian服务器上的100G磁盘划分参考示例] |

2.2、搭建适合内网 PXE 自动安装的 Debian 本地源操作步骤【可选】
搭建的整体思路是:
1、使用一台内网服务器做源镜像节点(注意:硬盘至少 150GB+(Debian 13 完整源约 120GB));
2、用 apt-mirror 同步官方 Debian 完整源;
3、配置 Nginx/Apache 提供 HTTP 访问;
4、内网机器通过 HTTP 使用本地源;
5、配合你现有的 Cobbler + Preseed 全自动安装。
bash
#搭建适合内网 PXE 自动安装的 Debian 本地源操作步骤【可选】

#0-环境准备
apt update
apt install -y apt-mirror nginx

#1-配置 apt-mirror
vim /etc/apt/mirror.list
#【mirror.list】文件里面替换为如下内容:
set base_path    /var/spool/apt-mirror
set run_postmirror 0
set nthreads     20
set _tilde 0

# 只同步 amd64 架构(可节省大量空间;可选)
#set defaultarch amd64

## 主源
#deb http://deb.debian.org/debian trixie main contrib non-free non-free-firmware
#deb http://deb.debian.org/debian trixie-updates main contrib non-free non-free-firmware
#deb http://deb.debian.org/debian-security trixie-security main contrib non-free non-free-firmware

# 中科大源(同步更快)
deb http://mirrors.ustc.edu.cn/debian trixie main contrib non-free non-free-firmware
deb http://mirrors.ustc.edu.cn/debian trixie-updates main contrib non-free non-free-firmware
deb http://mirrors.ustc.edu.cn/debian-security trixie-security main contrib non-free non-free-firmware

# 源码(可选,可注释)
# deb-src http://deb.debian.org/debian trixie main contrib non-free non-free-firmware
# deb-src http://deb.debian.org/debian trixie-updates main contrib non-free non-free-firmware
# deb-src http://deb.debian.org/debian-security trixie-security main contrib non-free non-free-firmware

clean http://deb.debian.org/debian


#2-开始同步源(时间较长,请耐心等待)【同步完成后,文件在【/var/spool/apt-mirror/mirror/deb.debian.org/debian】】
apt-mirror

#3-配置 Nginx 提供 HTTP 访问
vim /etc/nginx/sites-available/default
#【default】文件中添加
server {
    listen 80 default_server;
    root /var/spool/apt-mirror/mirror;
    autoindex on;
}

#4-重启nginx服务,让配置生效
systemctl restart nginx

#5-在浏览器测试访问搭建的Debian本地源是否可用
http://IP/debian/
三、客户端测试UEFI网络引导全自动安装系统
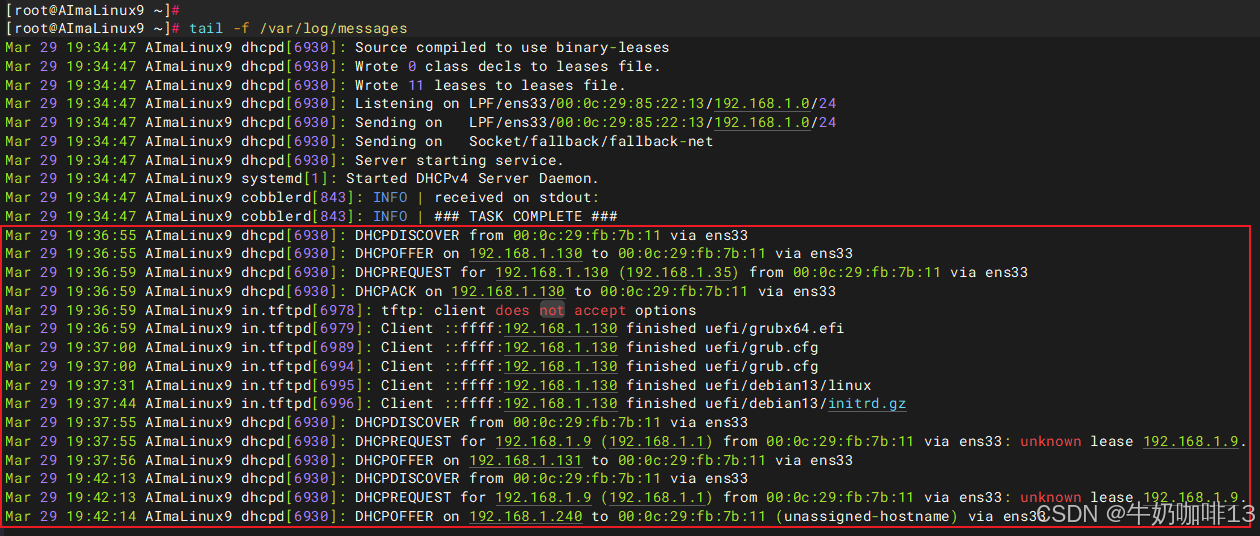
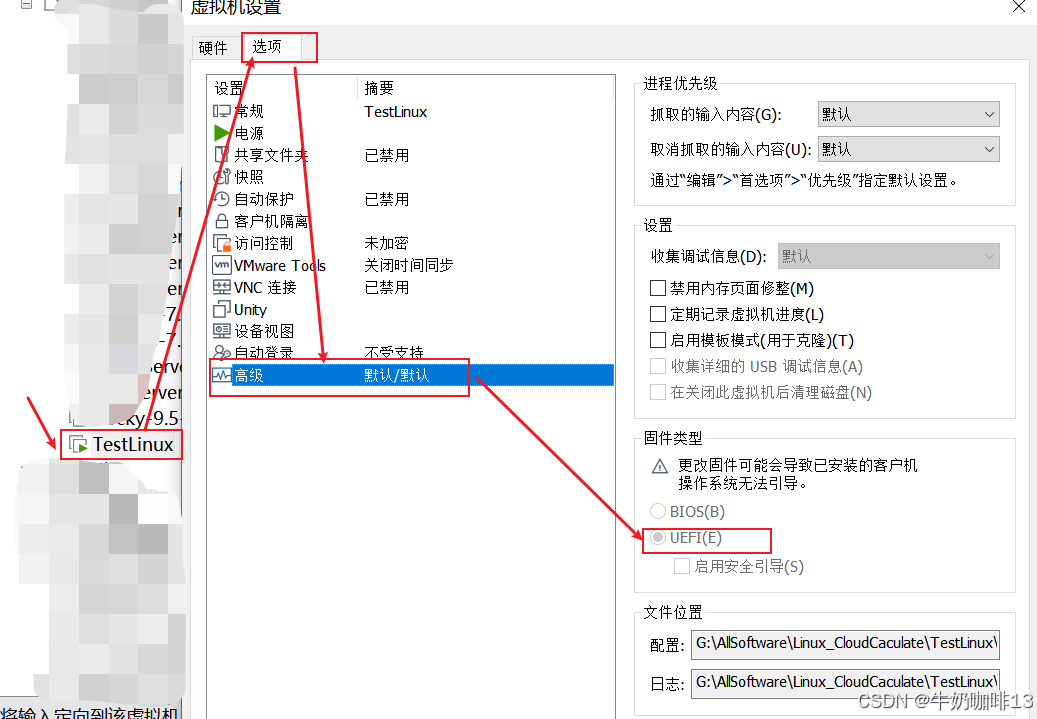
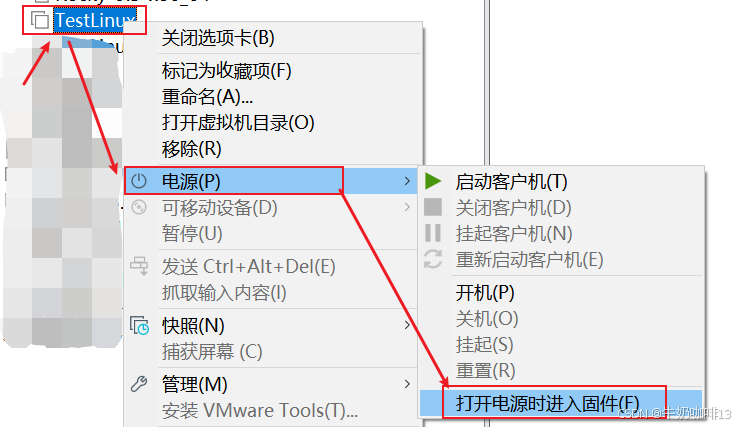
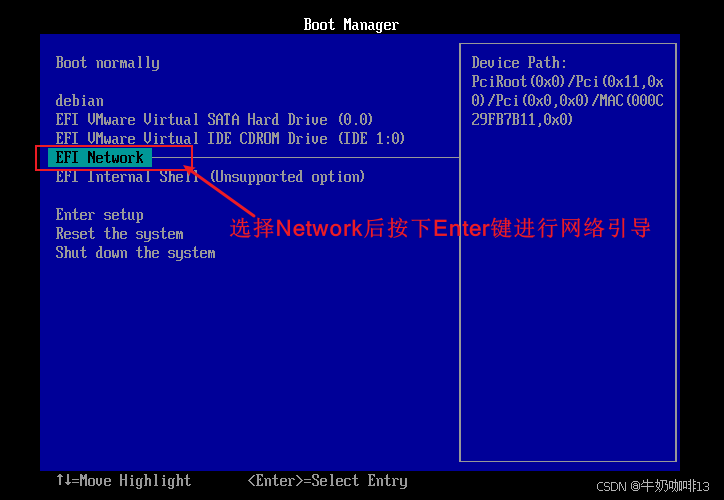
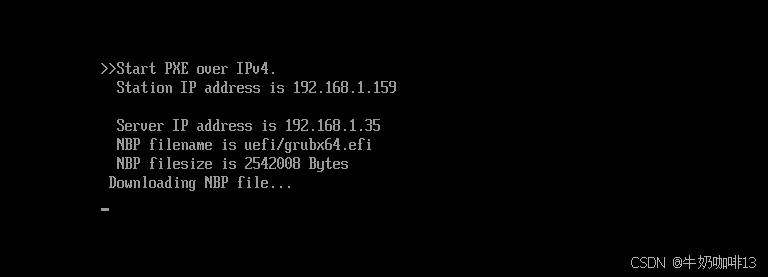
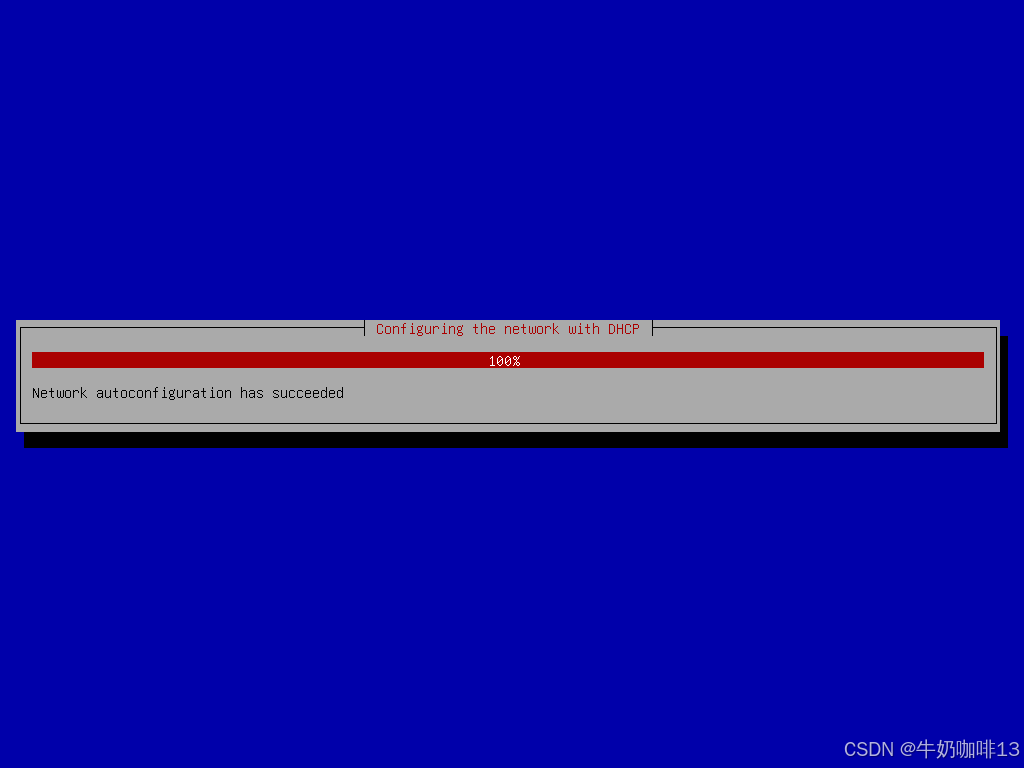
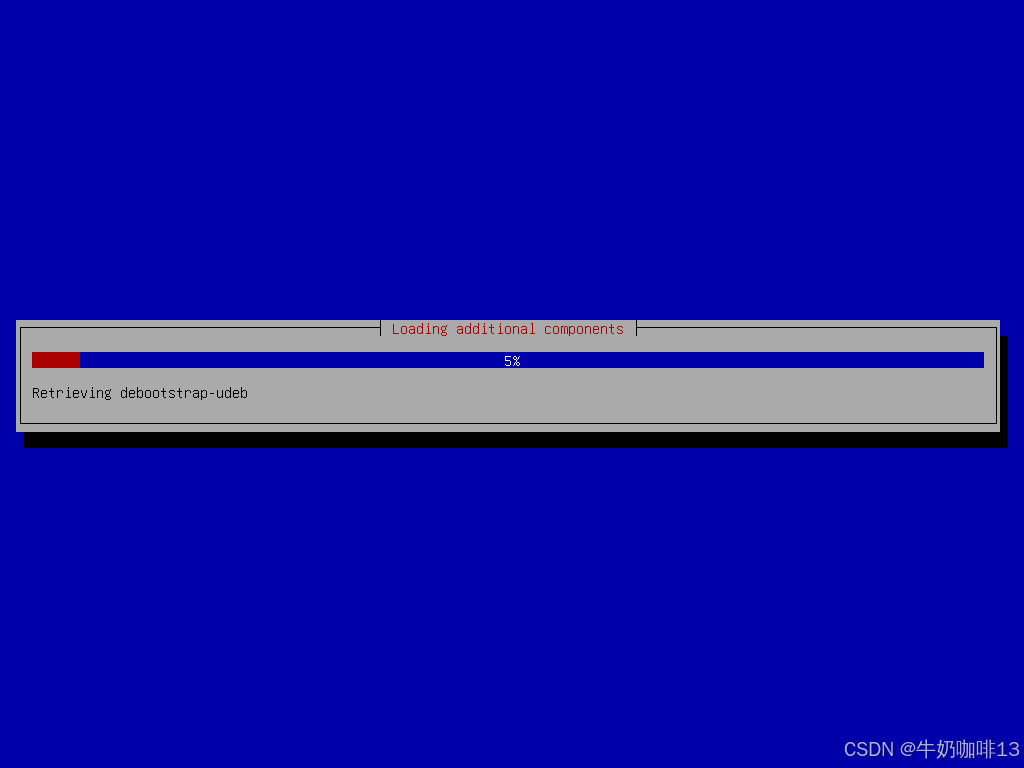
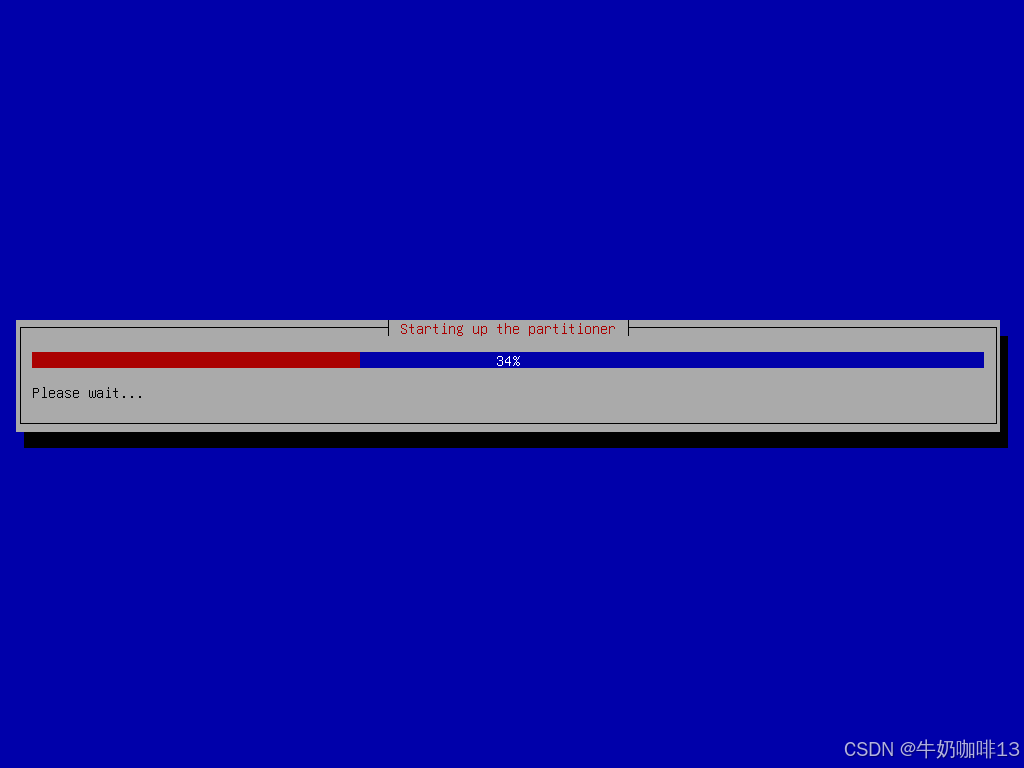
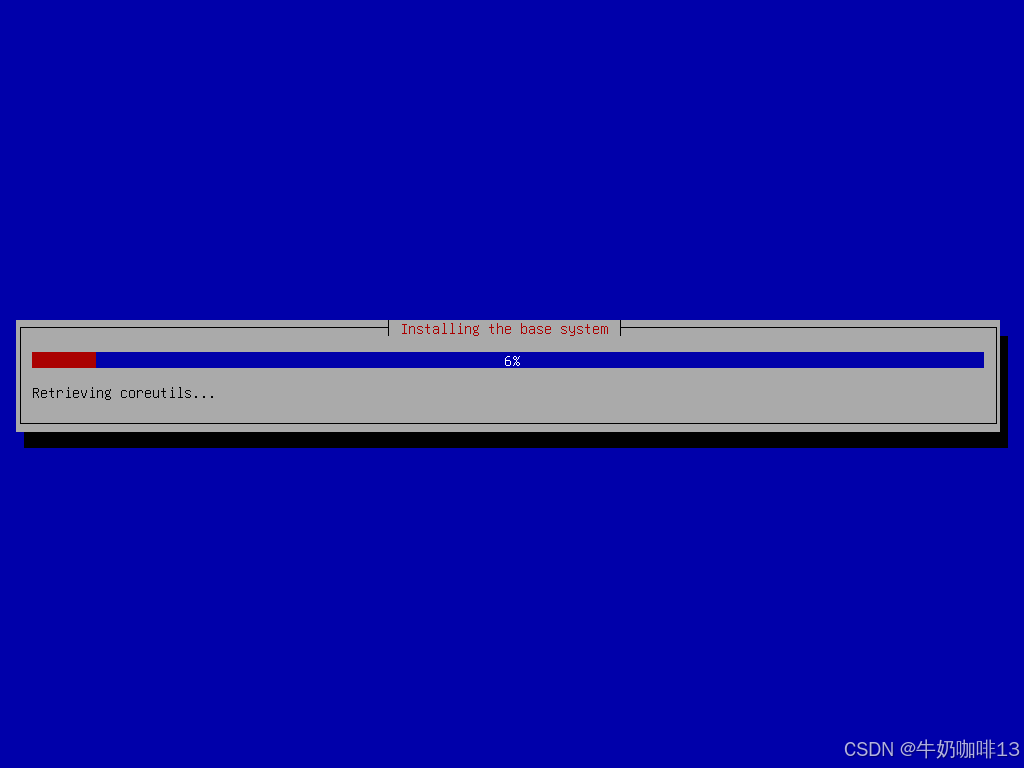
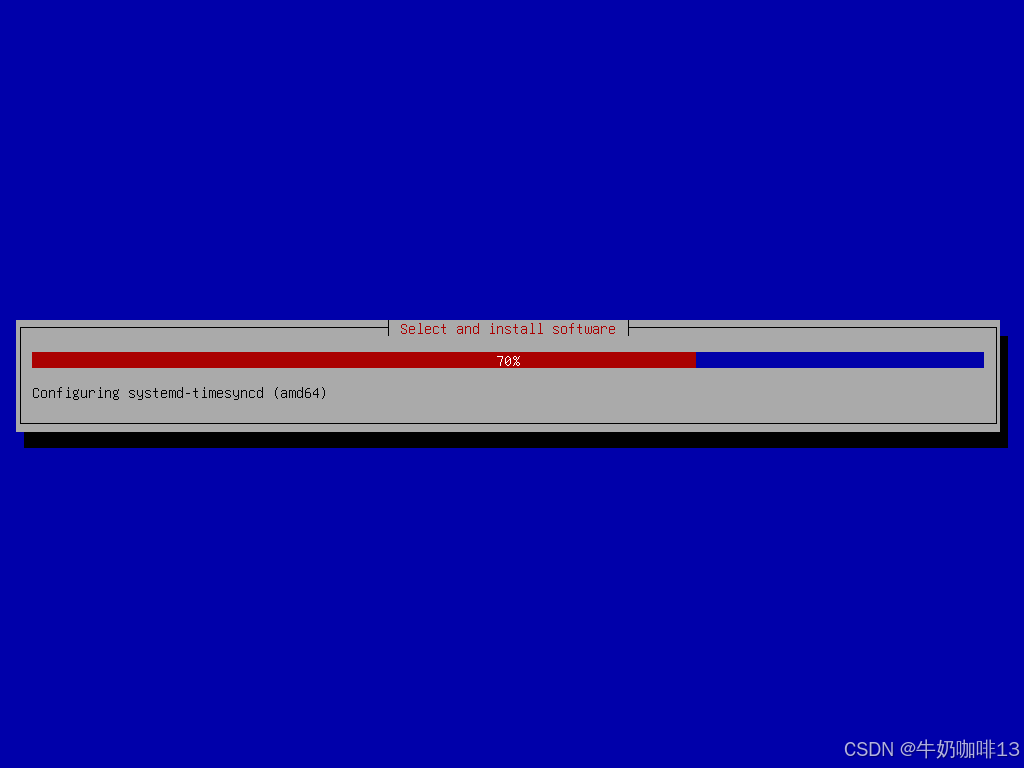
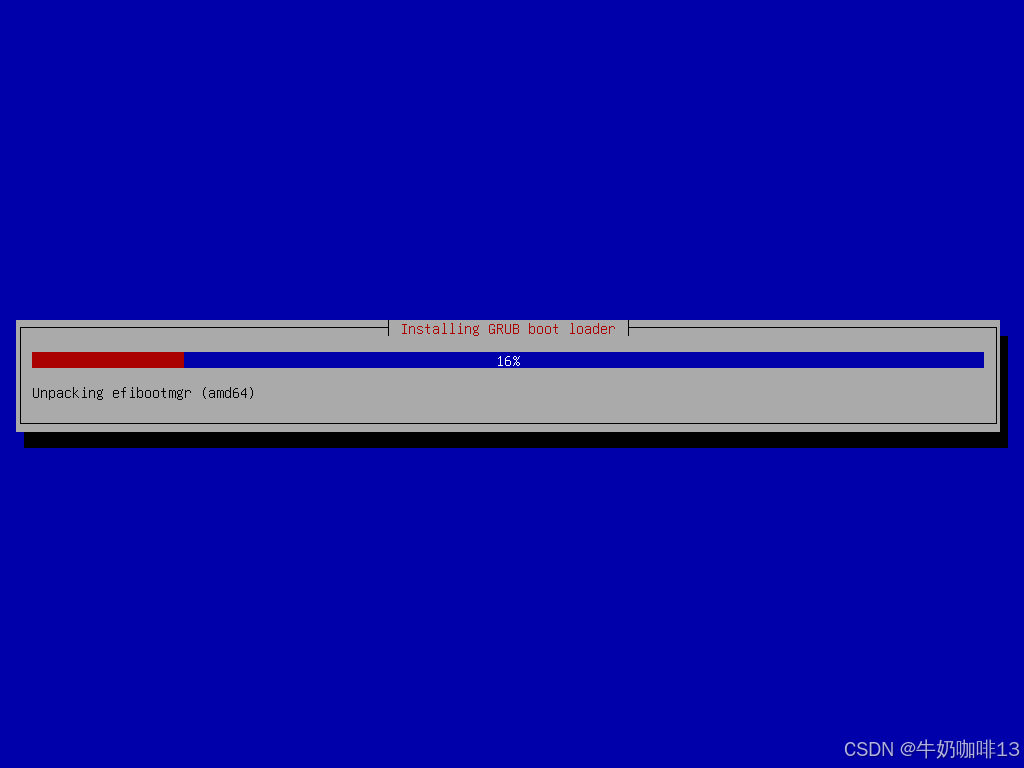
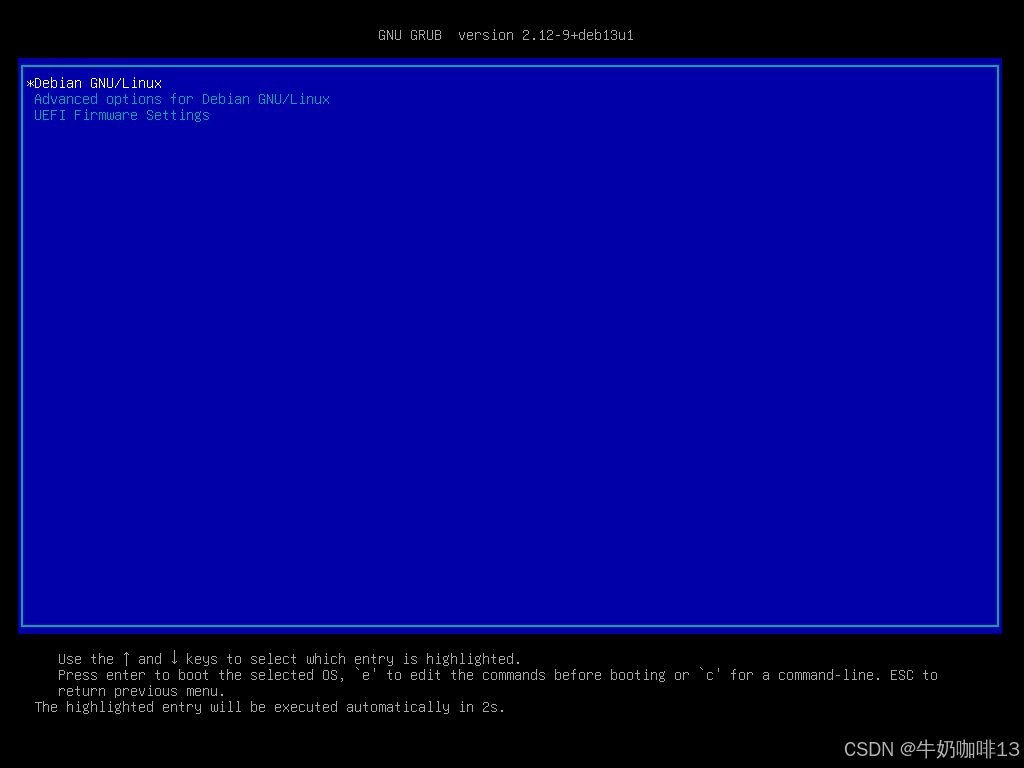
找一台全新的服务器或者新建一个虚拟机与我们这里搭建好的TFTP+DHCP(Cobbler)服务器在同一个网段内(如:我这里是192.168.1网段);然后设置该设备从网络引导是否可以显示【Debian13 autoinstall】并选择该系统后,耐心等待全自动安装我们部署好的Debian13.4系统即可(注意:在安装之前:可以先在TFTP服务器上执行【tail -f /var/log/messages】命令查看系统安装的流程或报错内容)详细操作如下所示:
注意:如果在如下的安装过中出现问题,或者想要查看安装的细节,可在控制台按下**【Ctrl+Alt+F4】键**,即可查看详细的安装过程,这样当安装出现问题时,可通过查看日志获取错误信息。要返回安装界面按下【Ctrl+Alt+F1】键即可。


bash
#登录系统后检查内容

#1-检查磁盘分区情况是否与user-data自动安装系统文件中的配置相符
df -hT

#2-查看主机名称
hostname

#3-查看系统信息
uname -a
cat /etc/os-release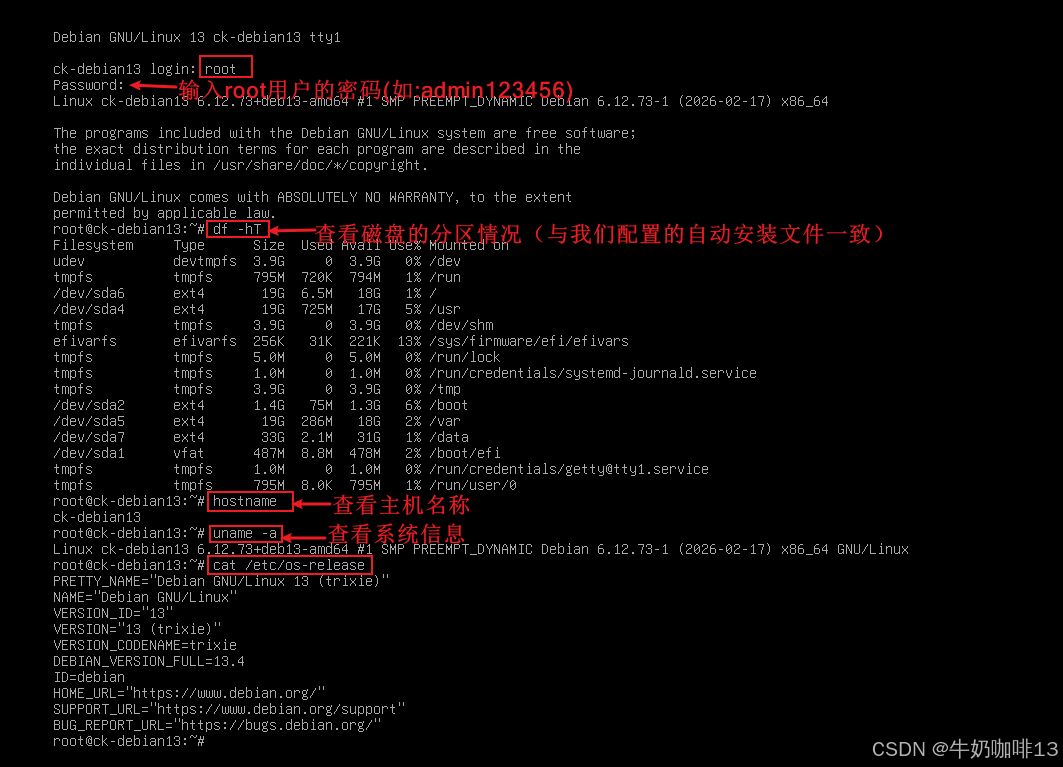
到这里,恭喜你,使用基于Cobbler服务实现UEFI网络引导全自动安装Debian13系统成功!