文章目录
什么是 SonarQube
用于持续代码库检查的自托管静态分析工具
准备
在本指南中,使用了以下占位符:
sonarqube.company 是 sonarqube 安装的 FQDN。
authentik.company 是 authentik 安装的 FQDN。
Terraform 提供商
安装
https://developer.hashicorp.com/terraform/install#linux
bash
wget -O - https://apt.releases.hashicorp.com/gpg | sudo gpg --dearmor -o /usr/share/keyrings/hashicorp-archive-keyring.gpg
echo "deb [arch=$(dpkg --print-architecture) signed-by=/usr/share/keyrings/hashicorp-archive-keyring.gpg] https://apt.releases.hashicorp.com $(grep -oP '(?<=UBUNTU_CODENAME=).*' /etc/os-release || lsb_release -cs) main" | sudo tee /etc/apt/sources.list.d/hashicorp.list
sudo apt update && sudo apt install terraform

#或者

brew tap hashicorp/tap
brew install hashicorp/tap/terraform
安装 Authentik Provider
- 创建一个 versions.tf 文件,固定写法:
bash
terraform {
  required_providers {
    authentik = {
      source  = "goauthentik/authentik"
      version = "~> 2025.10.0" # 匹配你的 Authentik 版本
    }
  }
}

provider "authentik" {
  # 你的 Authentik 地址
  url  = "http://authentik.company"
  # API 令牌(在 Authentik 后台创建)
  token = ""
  insecure = false # 正式环境关闭
}
获取 Authentik API Token
登录 Authentik 后台
左侧:Directory → Tokens
创建令牌,勾选 超级管理员权限
复制生成的 token 填入上面代码
-
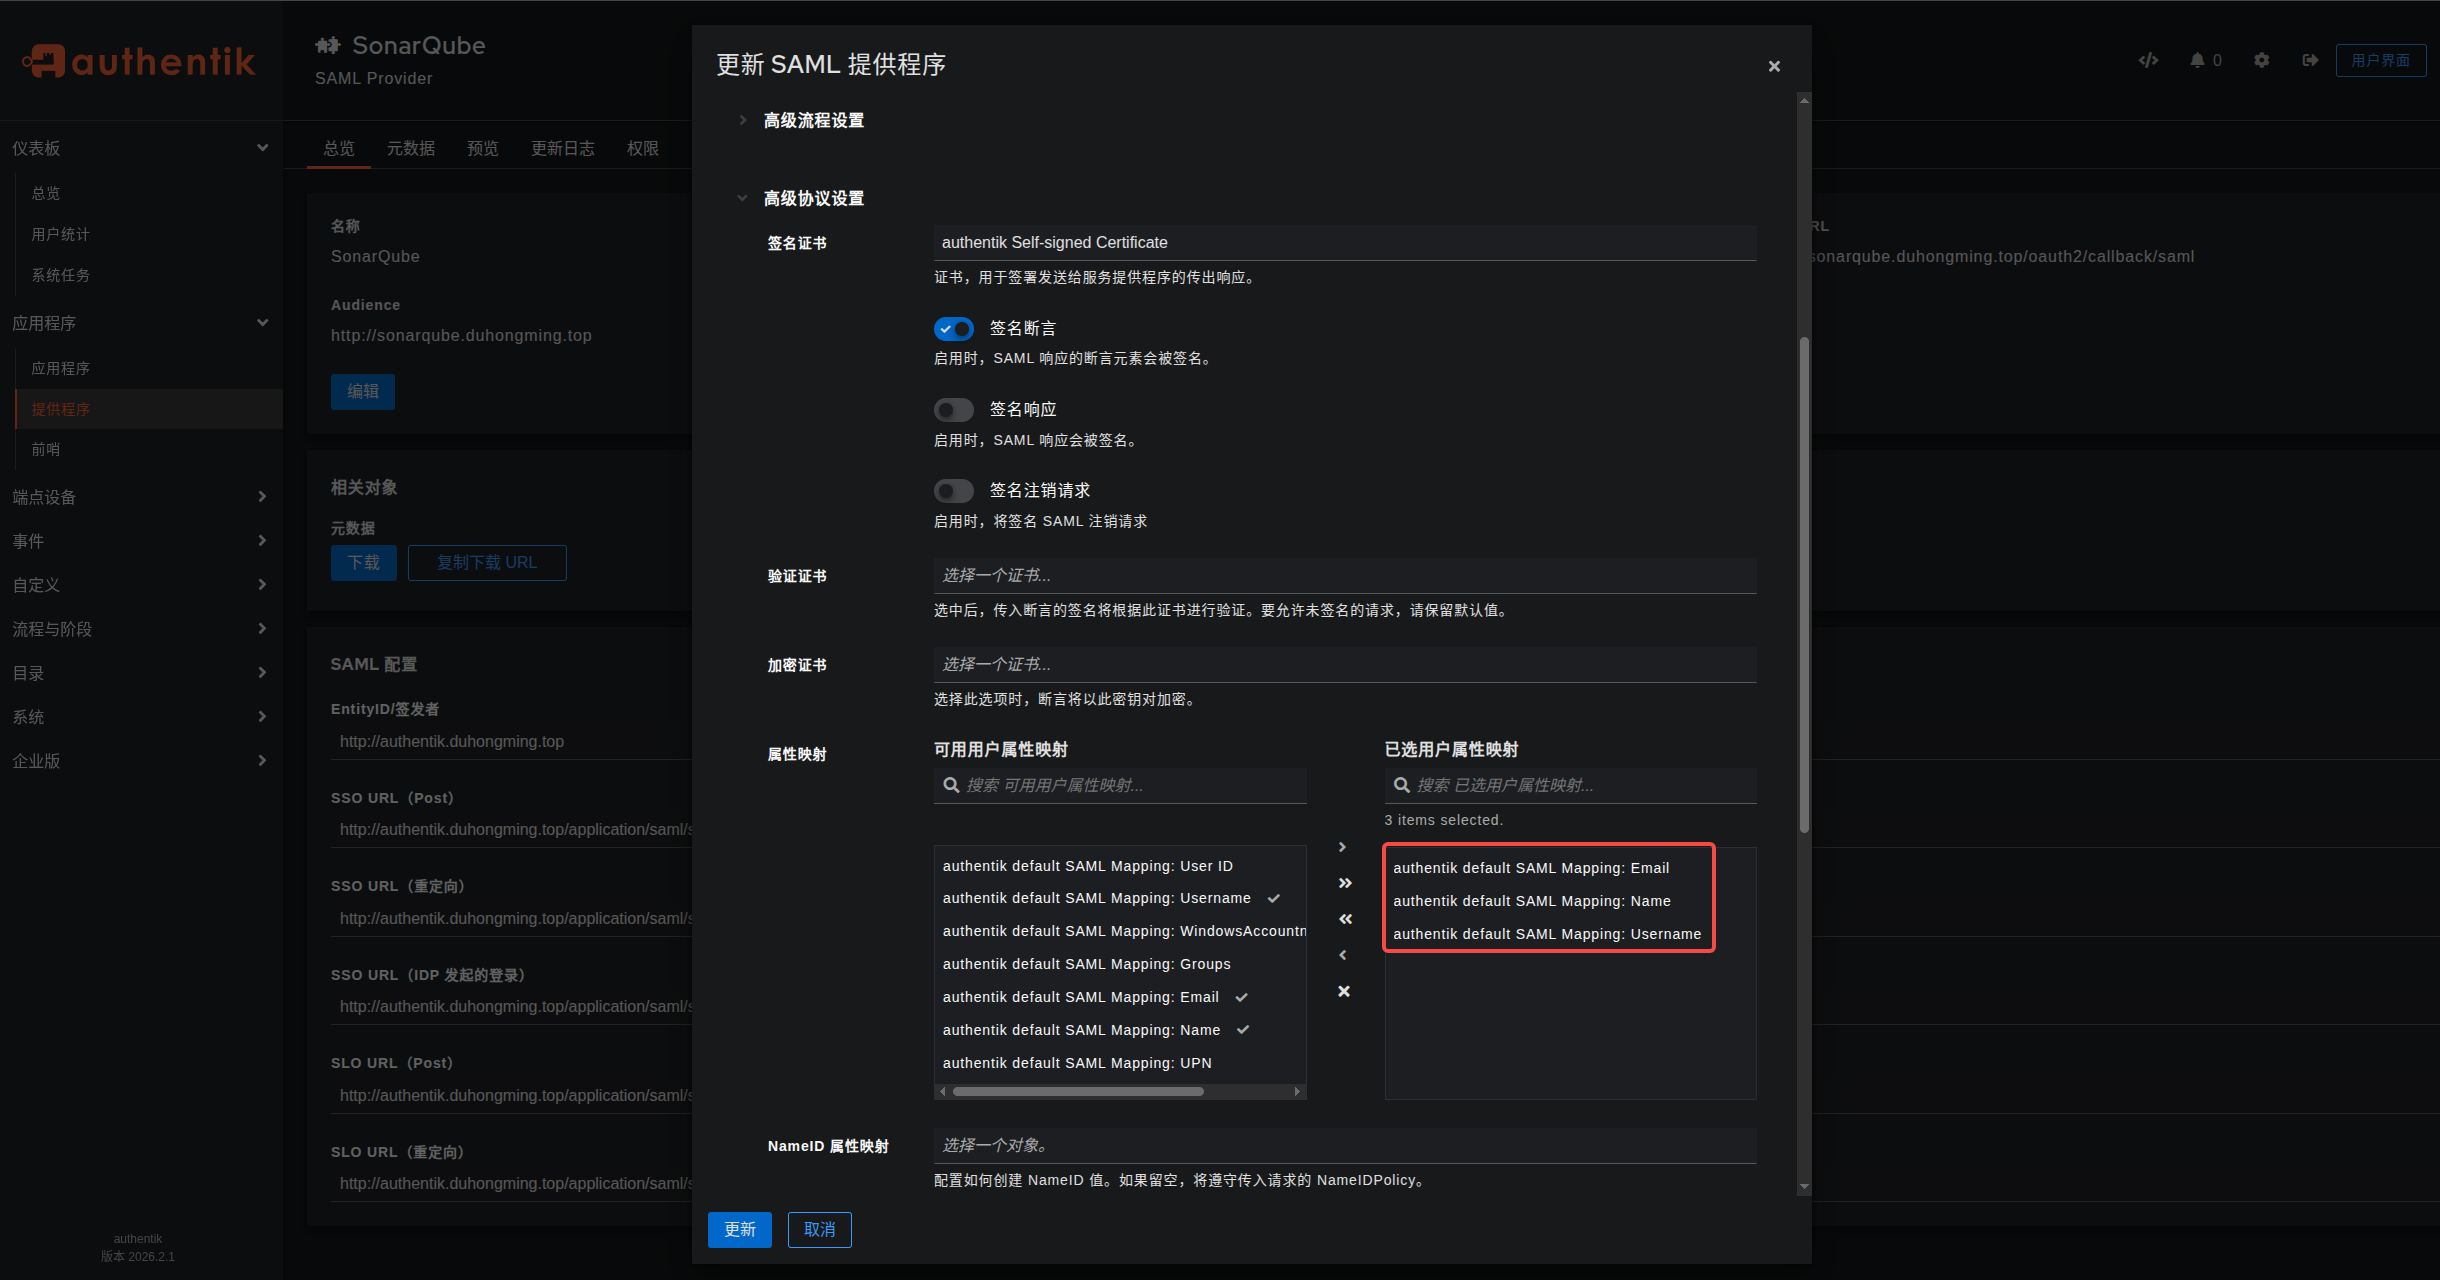
在 authentik 中创建一个应用程序。使用以下值创建一个 SAML 提供程序.创建main.tf文件
授权流程
data "authentik_flow" "auth" {
slug = "default-provider-authorization-implicit-consent"
}登出流程
data "authentik_flow" "invalidation" {
slug = "default-invalidation-flow"
}创建 SAML 提供商
🔥 关键:不填 property_mappings,让系统自动使用默认映射
resource "authentik_provider_saml" "sonarqube" {
name = "SonarQube"
authorization_flow = data.authentik_flow.auth.id
invalidation_flow = data.authentik_flow.invalidation.idacs_url = "http://sonarqube.company/oauth2/callback/saml"
issuer = "http://authentik.company"
sp_binding = "post"
audience = "http://sonarqube.company/saml2/metadata"🔥 完全去掉 property_mappings,不配置!
}
创建应用
resource "authentik_application" "sonarqube" {
name = "SonarQube"
slug = "sonarqube"
protocol_provider = authentik_provider_saml.sonarqube.id
}
执行 Terraform 命令
bash
# 1. 初始化(下载 Authentik 插件)
terraform init

# 2. 预览要创建的资源(检查是否正确)
terraform plan

# 3. 真正创建(输入 yes 确认)
terraform apply
配置属性映射
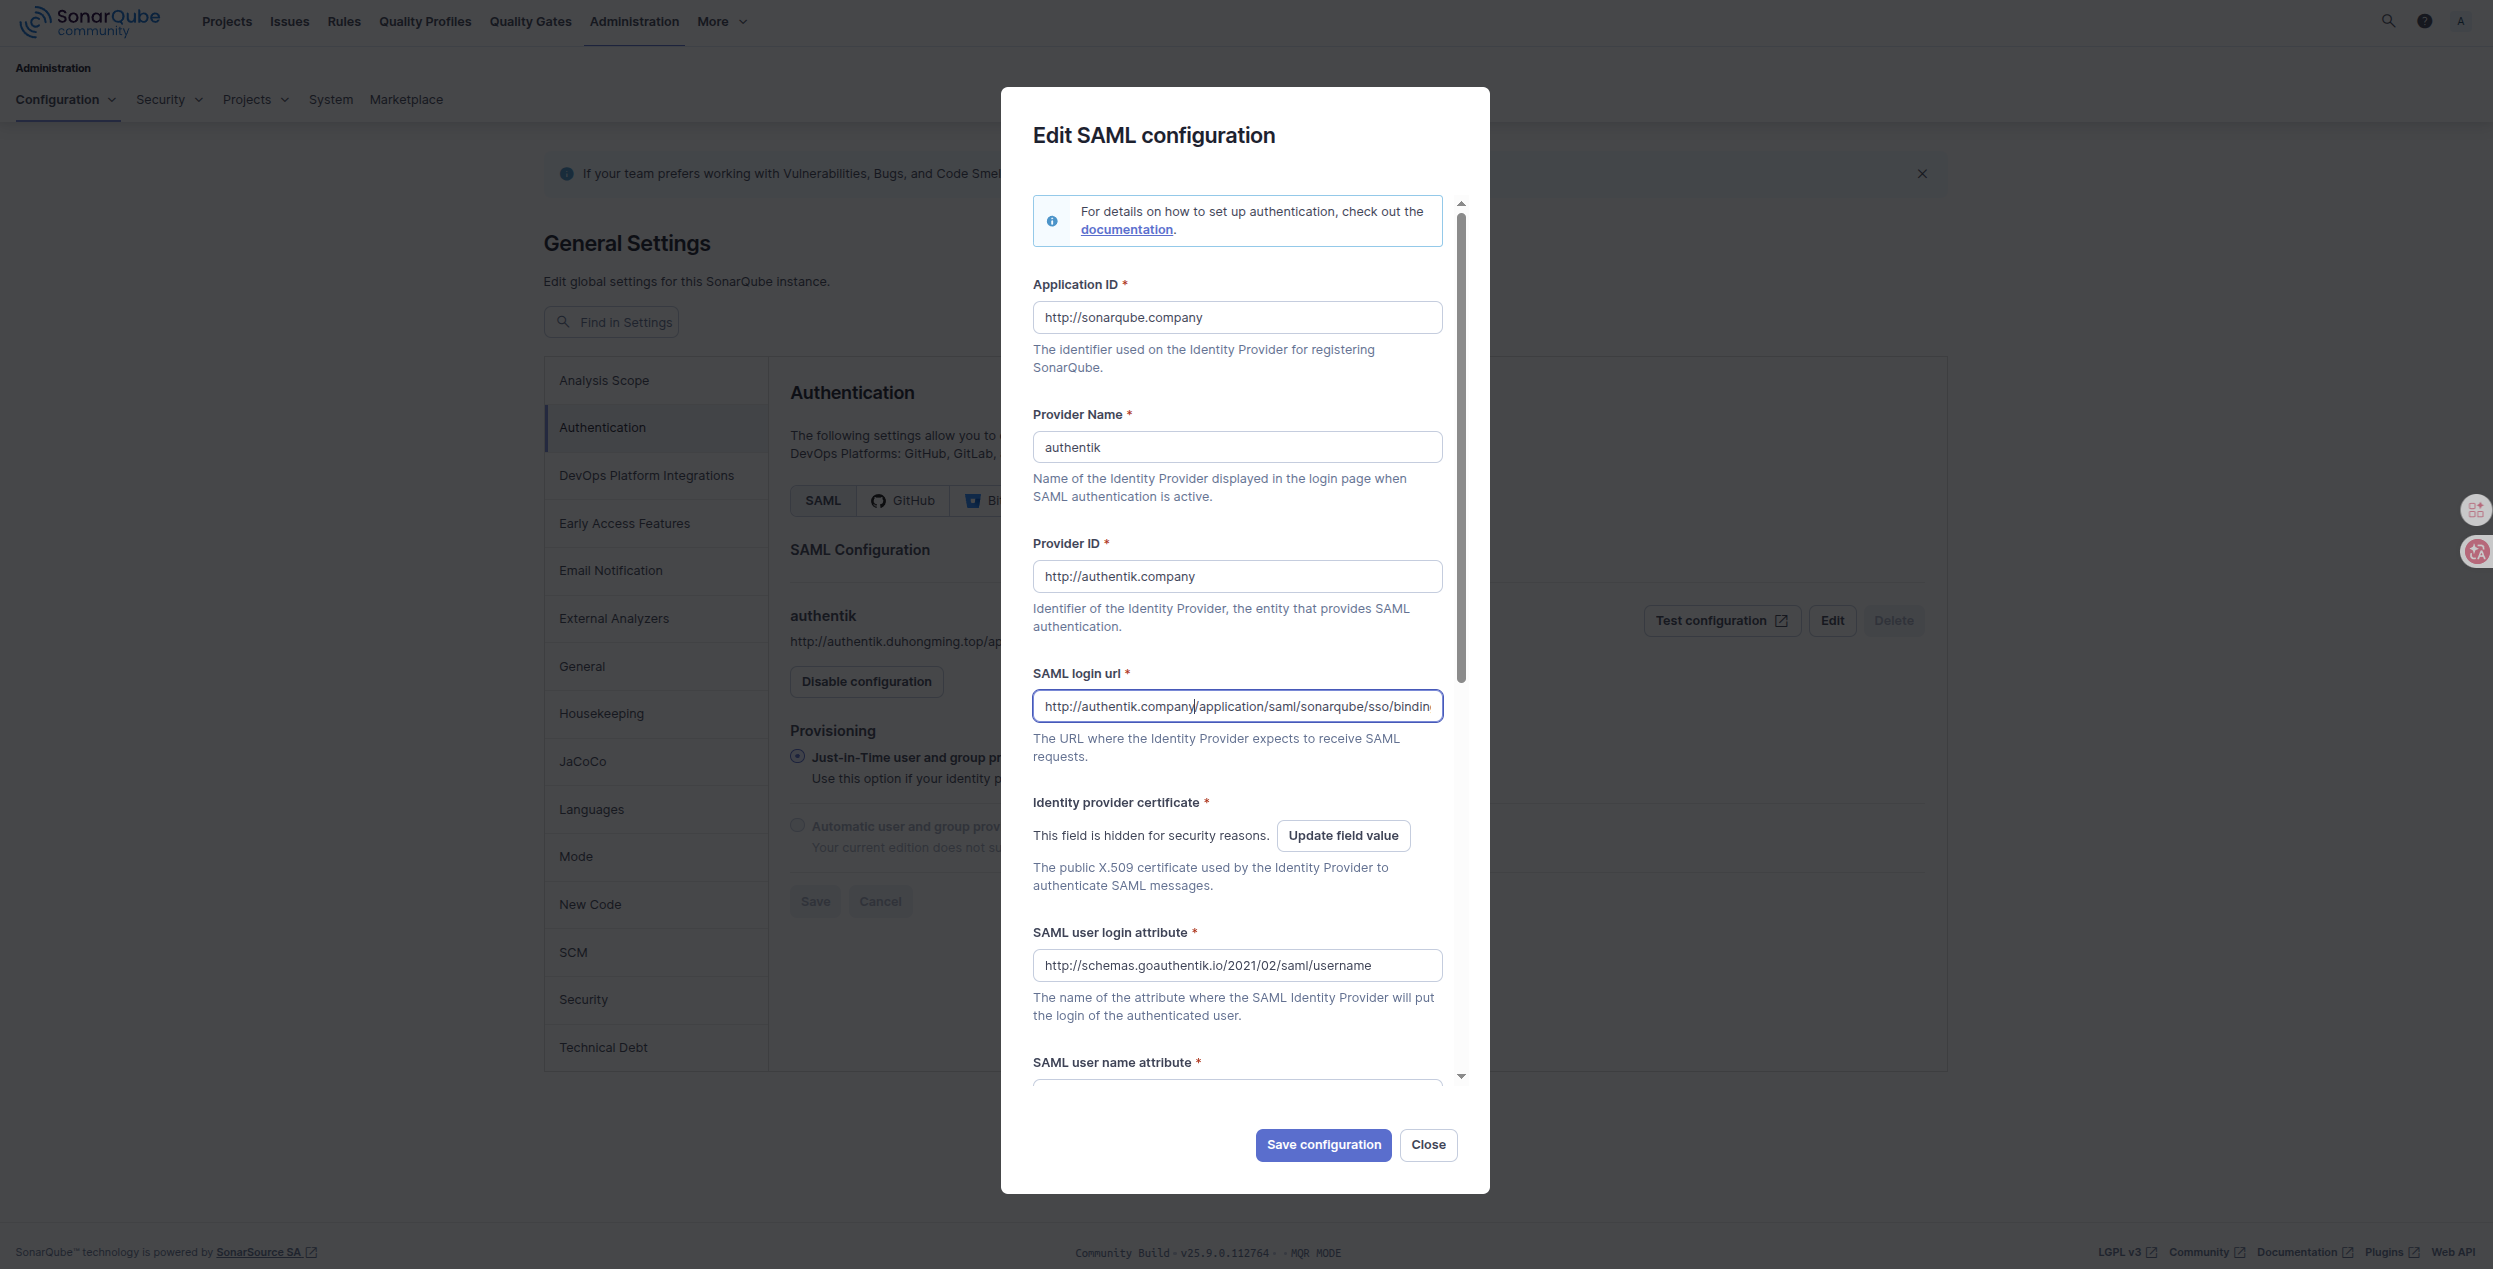
SonarQube
导航至管理 > 配置 > 身份验证 >SAML。
Administration > Configuration > General Settings > Authentication > SAML > SAML Configuration
输入这些值
应用程序 ID:https://sonarqube.company/saml2/metadata
应用程序 ID:http://sonarqube.company
提供者名称:authentik
提供者 ID:http://authentik.company
SAML 登录 URL:http://authentik.company/application/saml/sonarqube/sso/binding/redirect/
身份提供者证书:从 authentik 下载
SAML 用户登录属性:http://schemas.goauthentik.io/2021/02/saml/username
SAML 用户名属性:http://schemas.xmlsoap.org/ws/2005/05/identity/claims/name
SAML 用户电子邮件属性:http://schemas.xmlsoap.org/ws/2005/05/identity/claims/emailaddress
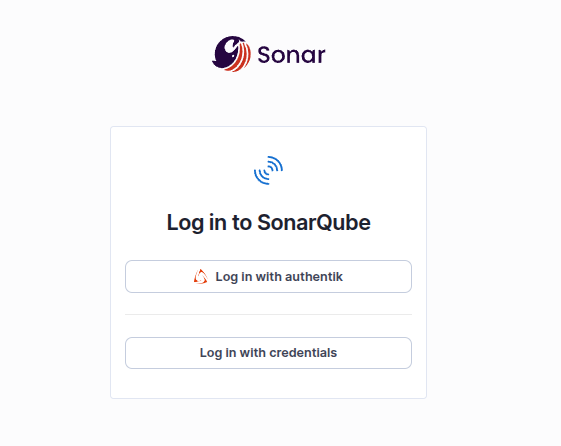
配置验证
为了验证 SonarQube 中的 authentik 设置是否正确,请注销,然后使用使用 authentik 登录按钮重新登录。