腾讯地图 Map Skills 快速入门:从零搭建 AI 智能行程规划应用
💡 摘要: 本文深入讲解了腾讯位置服务开发者征文大赛的参赛指南,通过实战案例展示了如何使用腾讯地图 Map Skills 从零开始搭建 AI 智能行程规划应用。涵盖 API Key 申请、Vue3 项目初始化、地图集成、AI Agent 架构设计等核心内容。结合腾讯云开发环境,提供完整的项目模板和最佳实践,帮助开发者快速入门并构建高质量的参赛作品。包含 8 个常见问题和完整的代码示例。
🗺️ 技术方案总览
推荐
备选
参赛准备
技术选型
方向选择
AI+ 智能行程规划
LBS 社交应用
环境搭建
腾讯地图集成
AI Agent 设计
MCP Server 实现
文章撰写
Demo 优化
提交参赛
核心技术栈
前端框架:Vue 3.4 + TypeScript 5.x
UI 组件库:Element Plus 2.x
地图 SDK: @tencentmap/jsapi-gl
状态管理:Pinia 5.x
路由管理:Vue Router 4.x
HTTP 客户端:Axios 1.x
AI 框架:LangChain / MCP 协议
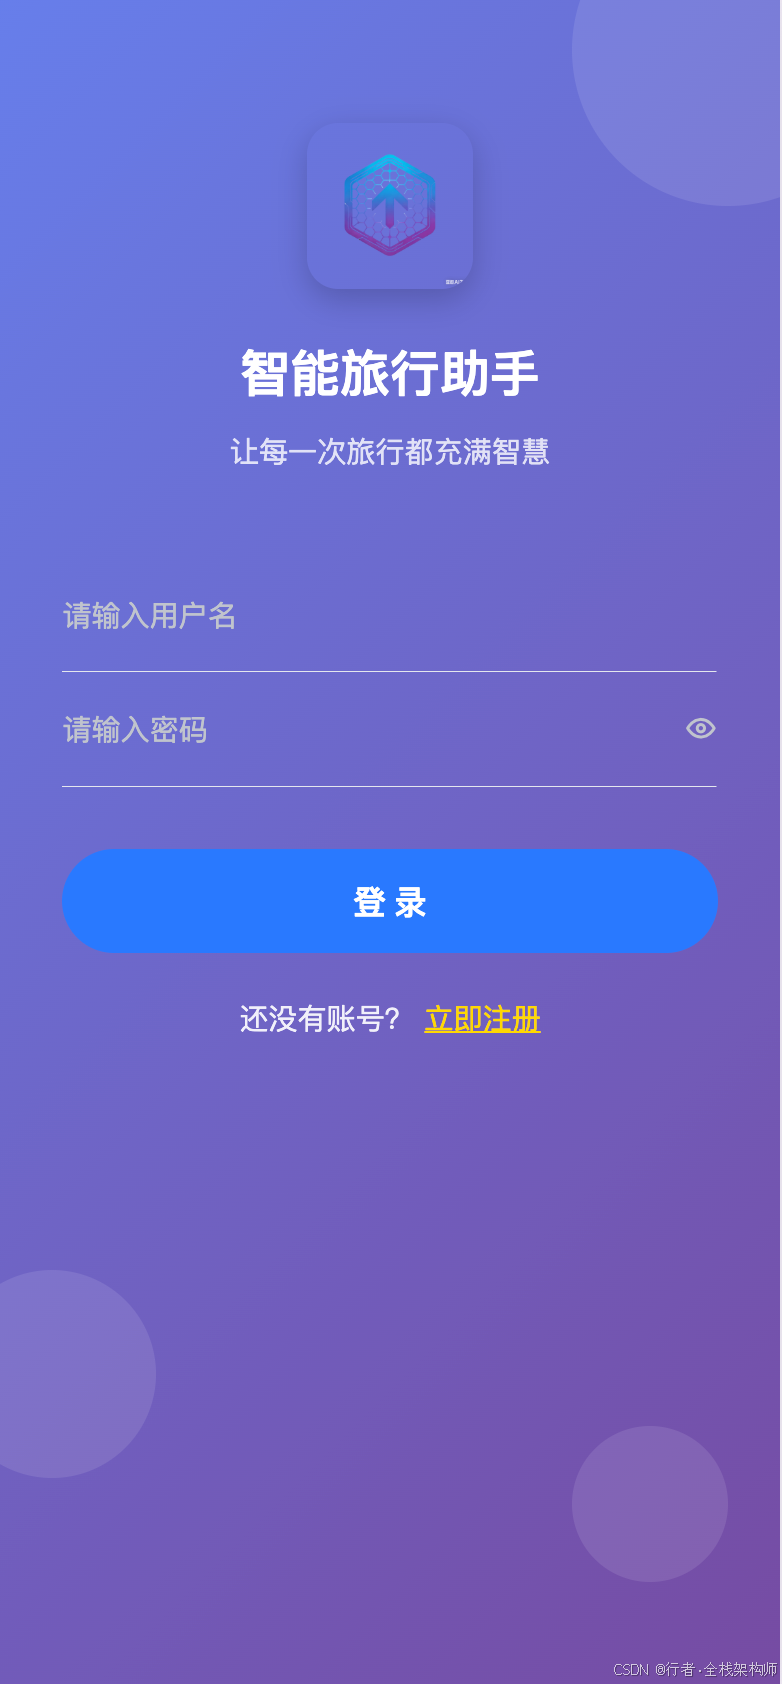
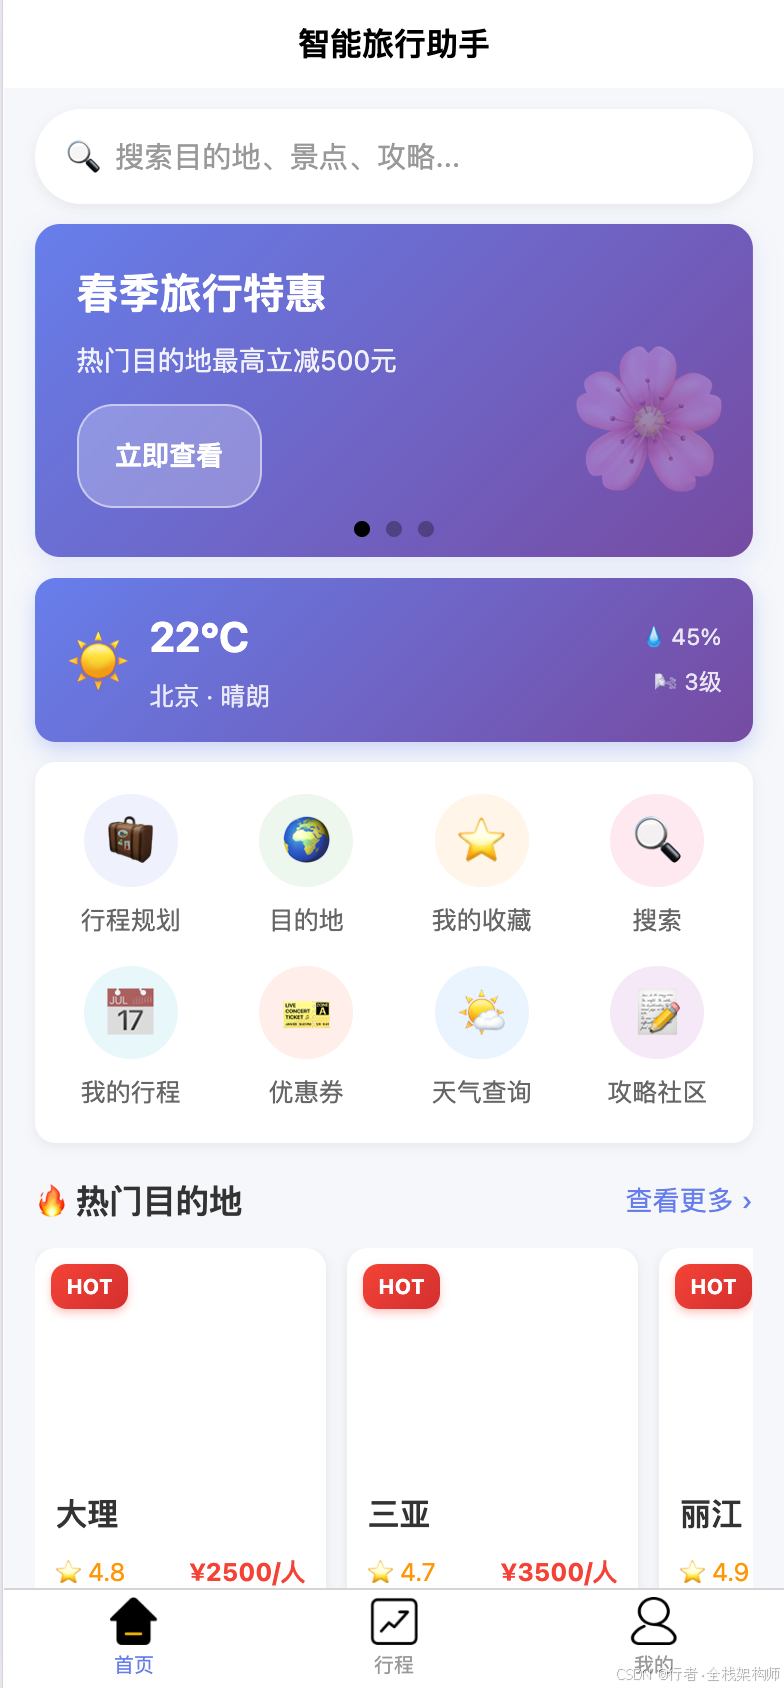
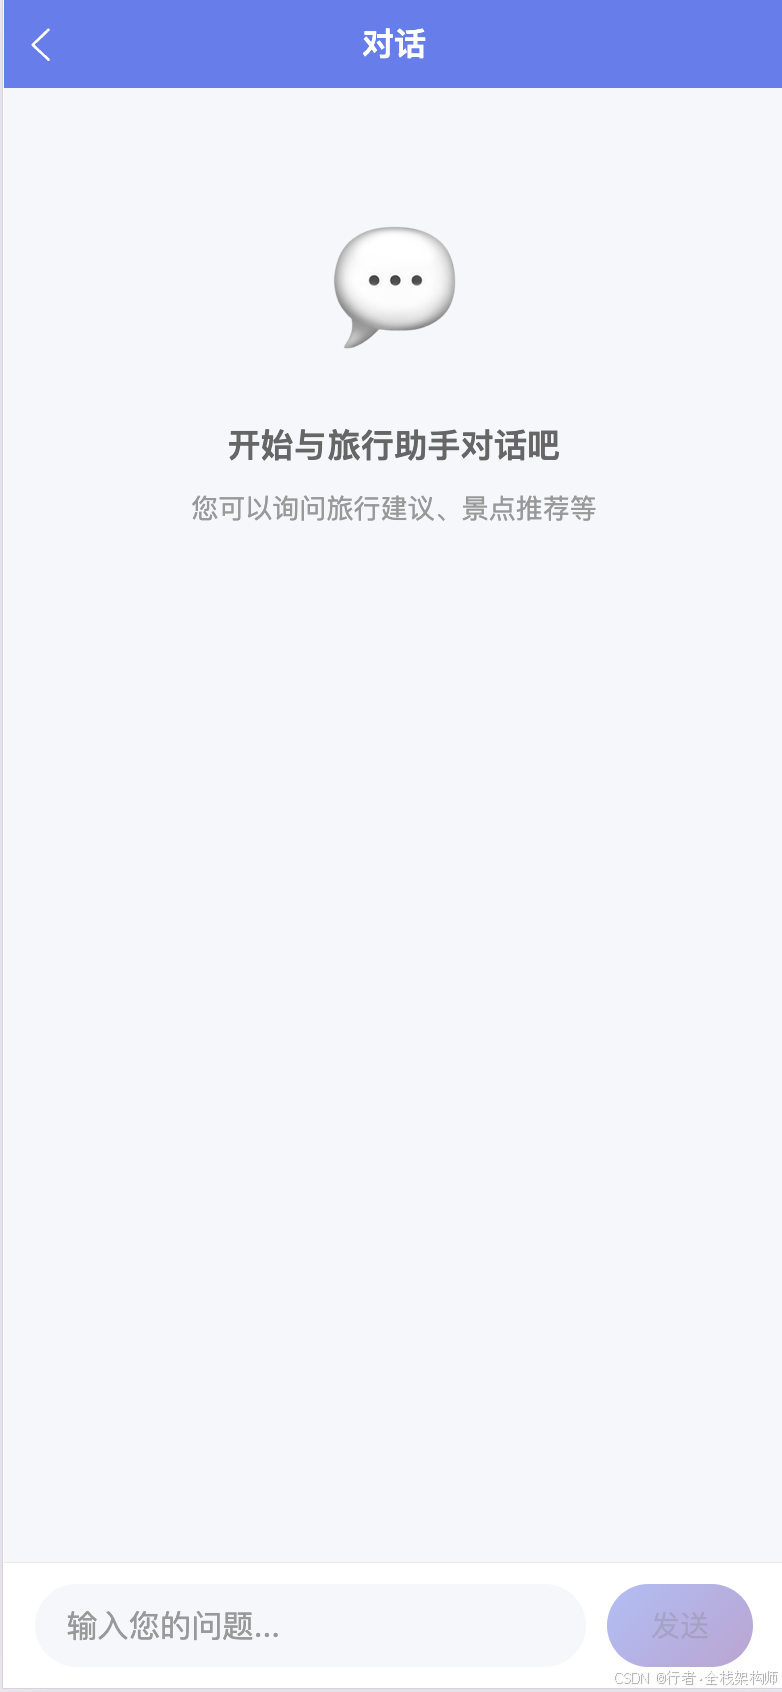
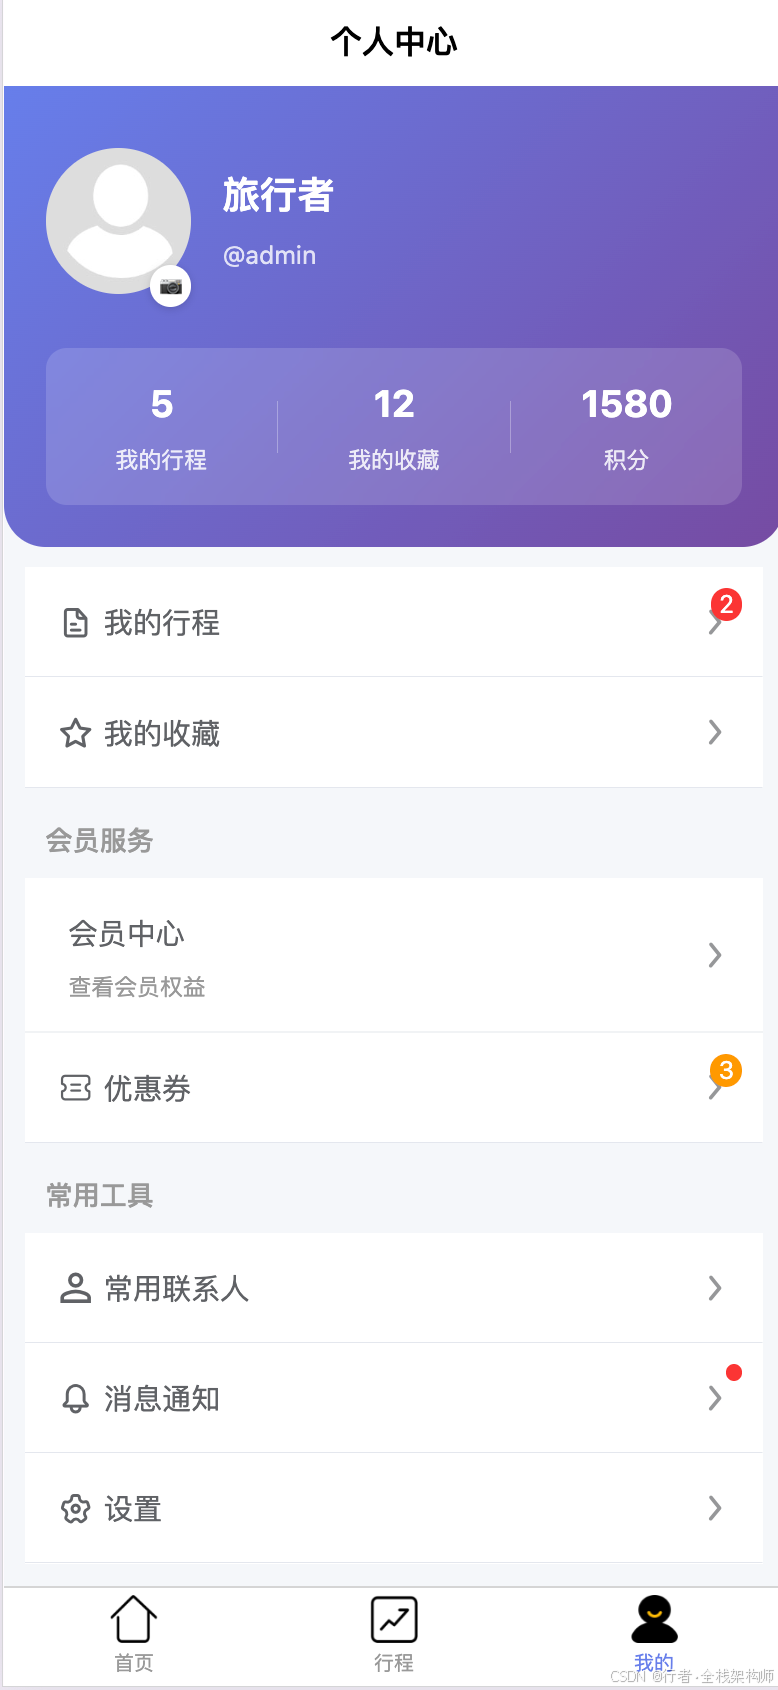
构建工具:Vite 5.x已完成的前端效果如下
🔧 方案一:快速入门(主推)
问题分析
新手常见困惑:
- 腾讯地图 API 怎么用?
- 如何与 AI 结合?
- 文章应该写什么主题?
- Demo 要做到什么程度?
解决方案
Step 1: 注册与配置(30 分钟)
-
访问官网: https://lbs.qq.com/
-
注册账号: 使用手机号或邮箱
-
实名认证: 上传身份证,等待审核(通常 1-2 小时)
-
创建应用 :
-
进入控制台 → 应用管理
-
点击"创建应用"
-
填写信息:
应用名称:智行助手
应用类型:Web 端
白名单:localhost,127.0.0.1
-
-
获取 API Key: 复制保存(后续会用到)
Step 2: 项目初始化(20 分钟)
bash
# 创建 Vue3+TypeScript 项目
pnpm create vite@latest smart-trip-assistant --template vue-ts

# 进入项目目录
cd smart-trip-assistant

# 安装依赖
pnpm install element-plus @tencentmap/jsapi-gl pinia vue-router axios echarts
Step 3: 配置环境变量
在项目根目录创建 .env 文件:
env
VITE_TENCENT_MAP_KEY=你的 API_KEY
VITE_API_BASE_URL=http://localhost:3000
VITE_APP_TITLE=智行助手
Step 4: 第一个地图应用
创建 src/components/MapView.vue:
vue
<template>
  <div class="map-container">
    <div ref="mapContainer" class="map"></div>
  </div>
</template>

<script setup lang="ts">
  import {ref, onMounted} from 'vue'
  import {TMap} from '@tencentmap/jsapi-gl'

  const mapContainer = ref<HTMLDivElement | null>(null)
  let map: TMap | null = null

  onMounted(() => {
    if (mapContainer.value) {
      // 初始化地图
      map = new TMap.Map(mapContainer.value, {
        center: new TMap.LatLng(39.9042, 116.4074), // 北京
        zoom: 11,
        viewMode: '3D'
      })

      console.log('🗺️ 地图初始化成功!')

      // 添加测试标记
      addTestMarker()
    }
  })

  function addTestMarker() {
    if (!map) return

    new TMap.Marker({
      map: map,
      position: new TMap.LatLng(39.9042, 116.4074),
      title: '北京'
    })

    console.log('📍 标记添加成功!')
  }
</script>

<style scoped>
  .map-container {
    width: 100%;
    height: 500px;
  }

  .map {
    width: 100%;
    height: 100%;
  }
</style>
Step 5: 在首页使用
修改 src/views/Home.vue:
vue
<template>
  <div class="home">
    <h1>智行助手 - Smart Trip Assistant</h1>
    <p>Day 1: 环境搭建完成 ✓</p>
    <MapView/>
  </div>
</template>

<script setup lang="ts">
  import MapView from '@/components/MapView.vue'
</script>

<style scoped>
  .home {
    text-align: center;
    padding: 20px;
  }

  h1 {
    color: #409EFF;
    margin-bottom: 20px;
  }
</style>
Step 6: 启动测试
bash
cd frontend
pnpm dev
访问 http://localhost:5173,你应该能看到地图了!
⚠️ 常见问题
问题 1: 地图无法显示,控制台报错"TMap is not defined"
现象:
javascript
Uncaught
ReferenceError: TMap
is
not
defined原因:
- API Key 未正确配置
- 白名单未设置 localhost
解决方案:
bash
# 1. 检查.env 文件
cat .env
# 确认 VITE_TENCENT_MAP_KEY 已正确填写

# 2. 登录腾讯地图控制台
# 访问 https://lbs.qq.com/dev/console/application/manage
# 检查白名单是否包含 localhost 和 127.0.0.1

# 3. 清除浏览器缓存,重启开发服务器
rm -rf node_modules/.vite
pnpm dev
预防机制 :
创建项目时立即配置环境变量,不要等到报错才检查。
问题 2: 地图显示空白,没有错误信息
现象 :
地图区域是空白的,没有任何内容
原因:
- 容器高度为 0
- CSS 样式问题
解决方案:
vue
<!-- ✅ 正确做法 -->
<style scoped>
  .map-container {
    width: 100%;
    height: 500px; /* 必须指定具体高度 */
  }

  .map {
    width: 100%;
    height: 100%;
  }
</style>

<!-- ❌ 错误做法 -->
<style scoped>
  .map-container {
    width: 100%;
    /* 缺少 height,默认为 0 */
  }
</style>调试技巧:
javascript
// 在浏览器控制台检查
document.querySelector('.map').clientHeight
// 如果返回 0,说明高度未正确设置
问题 3: POI 搜索失败,返回"Invalid Key"
现象:
json
{
  "status": 109,
  "message": "Invalid Key"
}原因:
- API Key 与服务不匹配
- 使用了错误的接口地址
解决方案:
typescript
// ✅ 正确的 POI 搜索 URL
const url = `https://apis.map.qq.com/ws/place/v1/search?keyword=${keyword}&location=${lat},${lng}&radius=${radius}&key=${apiKey}`

// ❌ 错误的 URL(缺少 key 参数)
const wrongUrl = `https://apis.map.qq.com/ws/place/v1/search?keyword=${keyword}&location=${lat},${lng}&radius=${radius}`验证方法:
bash
# 直接在浏览器访问测试
curl "https://apis.map.qq.com/ws/place/v1/search?keyword=餐厅&location=39.9042,116.4074&radius=1000&key=你的 API_KEY"
问题 4: TypeScript 类型错误
现象:
typescript
Property
'TMap'
does
not
exist
on
type
'typeof import("...")'原因:
- @tencentmap/jsapi-gl 类型定义不完整
解决方案:
typescript
// 在 src/types/tencent-map.d.ts 中添加类型声明
declare module '@tencentmap/jsapi-gl' {
    export class TMap {
        constructor(container: HTMLElement, options: any)

        static LatLng: any
        static Marker: any
    }
}

// 或者临时使用 any
// @ts-ignore
import {TMap} from '@tencentmap/jsapi-gl'
🔧 方案二:AI Agent 架构设计
问题分析
单纯展示地图太简单了,如何体现技术深度?
答案是:AI Agent + MCP 协议
解决方案
AI Agent 整体架构
行程规划
POI 搜索
路线查询
用户输入
NLU 模块
意图识别
意图类型
Planning Agent
Search Agent
Route Agent
MCP Client
Tencent Map API
返回结果
自然语言生成
用户
MCP Client 实现
创建 src/services/mcp-client.ts:
typescript
// src/services/mcp-client.ts
import axios from 'axios'

export interface ToolCallRequest {
    tool: string
    arguments: Record<string, any>
}

export interface ToolCallResponse {
    success: boolean
    data?: any
    error?: string
}

export class MCPClient {
    private baseUrl: string

    constructor(baseUrl: string = '/api/mcp') {
        this.baseUrl = baseUrl
    }

    /**
     * 调用 Tool
     */
    async callTool(request: ToolCallRequest): Promise<ToolCallResponse> {
        try {
            const response = await axios.post(`${this.baseUrl}/call`, request)
            return response.data
        } catch (error) {
            console.error('Tool 调用失败:', error)
            return {
                success: false,
                error: error instanceof Error ? error.message : 'Unknown error'
            }
        }
    }

    /**
     * 生成行程规划
     */
    async generateTripPlan(prompt: string, preferences: any): Promise<ToolCallResponse> {
        return this.callTool({
            tool: 'generateTripPlan',
            arguments: {
                prompt,
                preferences
            }
        })
    }

    /**
     * 搜索 POI
     */
    async searchPOI(keyword: string, location: {
        lat: number,
        lng: number
    }, radius: number): Promise<ToolCallResponse> {
        return this.callTool({
            tool: 'searchPOI',
            arguments: {
                keyword,
                location,
                radius
            }
        })
    }

    /**
     * 路径规划
     */
    async planRoute(from: { lat: number, lng: number }, to: {
        lat: number,
        lng: number
    }, mode: string): Promise<ToolCallResponse> {
        return this.callTool({
            tool: 'planRoute',
            arguments: {
                from,
                to,
                mode
            }
        })
    }
}
NLU 模块实现
创建 src/composables/useNLU.ts:
typescript
// src/composables/useNLU.ts
import {ref} from 'vue'

interface Intent {
    type: 'trip_plan' | 'poi_search' | 'route_query' | 'unknown'
    entities: {
        location?: string
        poi_type?: string
        duration?: string
        preferences?: string[]
    }
    confidence: number
}

export function useNLU() {
    const loading = ref(false)

    /**
     * 解析用户输入
     */
    function parseIntent(input: string): Intent {
        // 简单的规则匹配(实际项目应该用 AI 模型)
        if (input.includes('规划') || input.includes('行程')) {
            return {
                type: 'trip_plan',
                entities: {
                    location: extractLocation(input),
                    duration: extractDuration(input)
                },
                confidence: 0.8
            }
        }

        if (input.includes('附近') || input.includes('推荐')) {
            return {
                type: 'poi_search',
                entities: {
                    poi_type: extractPOIType(input),
                    location: extractLocation(input)
                },
                confidence: 0.7
            }
        }

        return {
            type: 'unknown',
            entities: {},
            confidence: 0.3
        }
    }

    function extractLocation(text: string): string | undefined {
        const matches = text.match(/(?:去 | 到 | 在)([\u4e00-\u9fa5]+)/)
        return matches ? matches[1] : undefined
    }

    function extractDuration(text: string): string | undefined {
        const matches = text.match(/(\d+) 天/)
        return matches ? `${matches[1]}天` : undefined
    }

    function extractPOIType(text: string): string | undefined {
        if (text.includes('餐厅') || text.includes('吃饭')) return '餐饮'
        if (text.includes('酒店') || text.includes('住宿')) return '住宿'
        if (text.includes('景点') || text.includes('游玩')) return '景点'
        return undefined
    }

    return {
        loading,
        parseIntent
    }
}
⚠️ 常见问题
问题 5: AI 响应速度慢
现象 :
用户输入后,需要等待 5-10 秒才有响应
原因:
- AI 模型推理时间长
- 网络延迟
解决方案:
typescript
// 1. 流式输出
async function sendMessage(input: string) {
    const stream = await fetch('/api/chat', {
        method: 'POST',
        body: JSON.stringify({message: input})
    })

    const reader = stream.body.getReader()

    while (true) {
        const {done, value} = await reader.read()
        if (done) break

        // 逐字显示
        displayText(new TextDecoder().decode(value))
    }
}

// 2. 加载动画
const loadingStates = ref({
    thinking: true,
    searching: false,
    planning: false
})

// 3. 本地缓存
const cache = new Map<string, any>()

function getCached(key: string) {
    if (cache.has(key)) {
        return cache.get(key)
    }
    return null
}
问题 6: 意图识别不准确
现象 :
用户说"我想去北京玩 3 天",识别成了 POI 搜索
原因:
- 规则过于简单
- 缺少上下文理解
解决方案:
typescript
// 使用更强大的 NLU 模型
import {ChatOpenAI} from '@langchain/openai'

const llm = new ChatOpenAI({
    modelName: 'gpt-3.5-turbo',
    temperature: 0
})

async function parseWithLLM(input: string): Promise<Intent> {
    const prompt = `
请分析以下用户输入的意图:
"${input}"

可能的意图类型:
- trip_plan: 行程规划
- poi_search: POI 搜索
- route_query: 路线查询

请返回 JSON 格式:
{
  "type": "意图类型",
  "entities": {...},
  "confidence": 0.9
}
`

    const response = await llm.invoke(prompt)
    return JSON.parse(response.content as string)
}
📊 方案对比
| 特性 | 方案一(纯地图展示) | 方案二(AI+ 地图) |
|---|---|---|
| 技术难度 | ⭐⭐ 入门 | ⭐⭐⭐⭐ 进阶 |
| 开发周期 | 1-2 天 | 1-2 周 |
| 创新性 | ⭐⭐ | ⭐⭐⭐⭐⭐ |
| 评委印象 | 一般 | 优秀 |
| 获奖概率 | 较低 | 较高 |
| 学习价值 | 掌握地图 API | 掌握 AI+ 全栈 |
| 推荐度 | ⭐⭐ 适合新手练手 | ⭐⭐⭐⭐⭐ 强烈推荐 |
结论:
- 如果你是纯新手,先从方案一开始
- 如果你有一定基础,直接上方案二
- 最优策略: 先完成方案一,再迭代到方案二
🎁 福利资源包
1. 完整项目模板
我已经创建了完整的项目模板,包含:
- ✅ Vue3 + TypeScript 项目结构
- ✅ 腾讯地图集成示例
- ✅ AI Agent 基础框架
- ✅ MCP Client 实现
- ✅ 常用工具函数
获取方式:
bash
git clone https://gitee.com/dickeryang/smart-trip-assistant.git
cd smart-trip-assistant/frontend
pnpm install
pnpm dev
📝 总结
关键收获
✅ 参赛流程 : 从注册到提交的完整步骤
✅ 技术选型 : AI+ 地图的创新应用场景
✅ 环境搭建 : 详细的配置步骤和避坑指南
✅ 代码示例 : 可直接运行的地图应用
✅ 架构设计: AI Agent + MCP 协议的实现思路
👍 如果本文对你有帮助,欢迎点赞、收藏、转发!
💬 有任何问题或建议,请在评论区留言交流~
🔔 关注我,获取《AI+ 腾讯地图实战》系列文章!
✍️ 行文仓促,定有不足之处,欢迎各位朋友在评论区批评指正,不胜感激!
专栏导航:
- 上一篇:《macOS 环境安装 Miniconda3 完全指南》
- 下一篇:AI 驱动的智能行程规划系统:腾讯地图 Map Skills 实战(待发布)