目录
[1.1 安装 npm](#1.1 安装 npm)
[1.2 安装 pnpm](#1.2 安装 pnpm)
[1.3 下载postman-mcp-server源码](#1.3 下载postman-mcp-server源码)
[1.4 安装依赖](#1.4 安装依赖)
[1.5 构建服务器](#1.5 构建服务器)
[1.6 在Cursor中添加配置](#1.6 在Cursor中添加配置)
[1.7 在Claude中添加配置](#1.7 在Claude中添加配置)
[2.1 安装node.js 和 chrome](#2.1 安装node.js 和 chrome)
[2.2 安装mcp-chrome-bridge](#2.2 安装mcp-chrome-bridge)
[2.3 安装 chrome 扩展](#2.3 安装 chrome 扩展)
[2.4 在Cursor中添加配置](#2.4 在Cursor中添加配置)
[2.5 在Claude中添加配置](#2.5 在Claude中添加配置)
[2.6 特别注意](#2.6 特别注意)
[3.1 更新 py](#3.1 更新 py)
[3.2 安装包管理工具uv](#3.2 安装包管理工具uv)
[3.3 下载源码](#3.3 下载源码)
[3.4 在Claude中添加配置](#3.4 在Claude中添加配置)
[3.5 在Cursor添加配置](#3.5 在Cursor添加配置)
1.postman-server-mcp
1.1 安装 npm
https://nodejs.org/en![]() https://nodejs.org/en
https://nodejs.org/en
1.2 安装 pnpm
npm install -g pnpm 1.3 下载postman-mcp-server源码
git clone https://github.com/delano/postman-mcp-server.git
cd postman-mcp-server 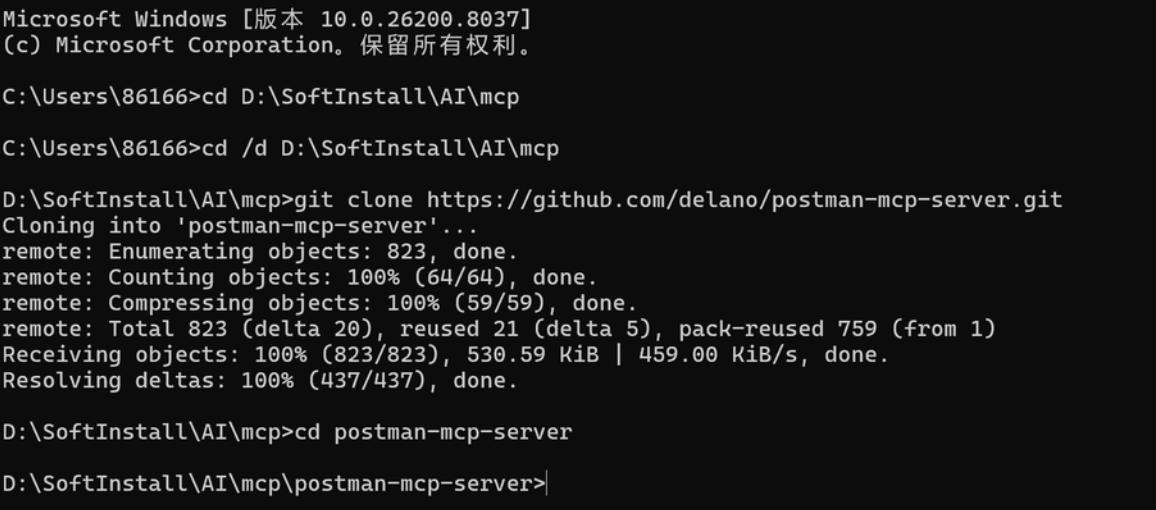
1.4 安装依赖
pnpm install 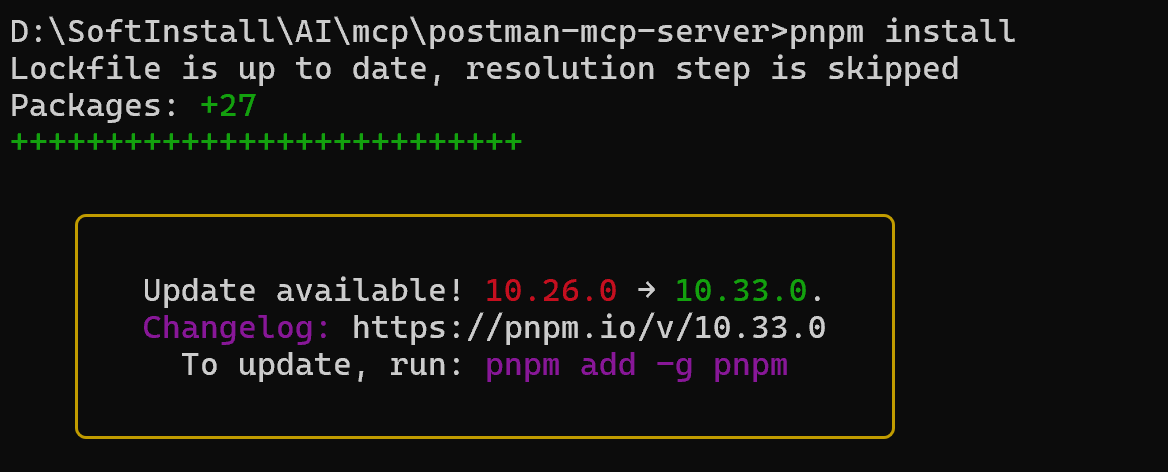
1.5 构建服务器
pnpm run build 
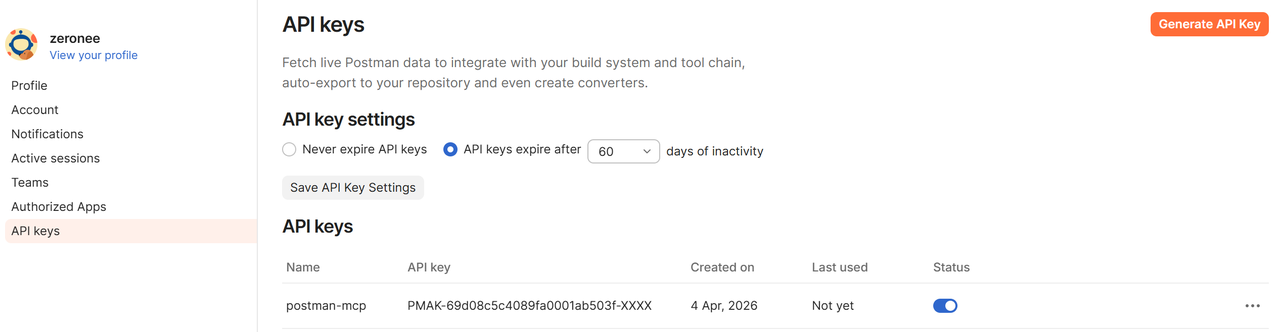
1.6 在Cursor中添加配置
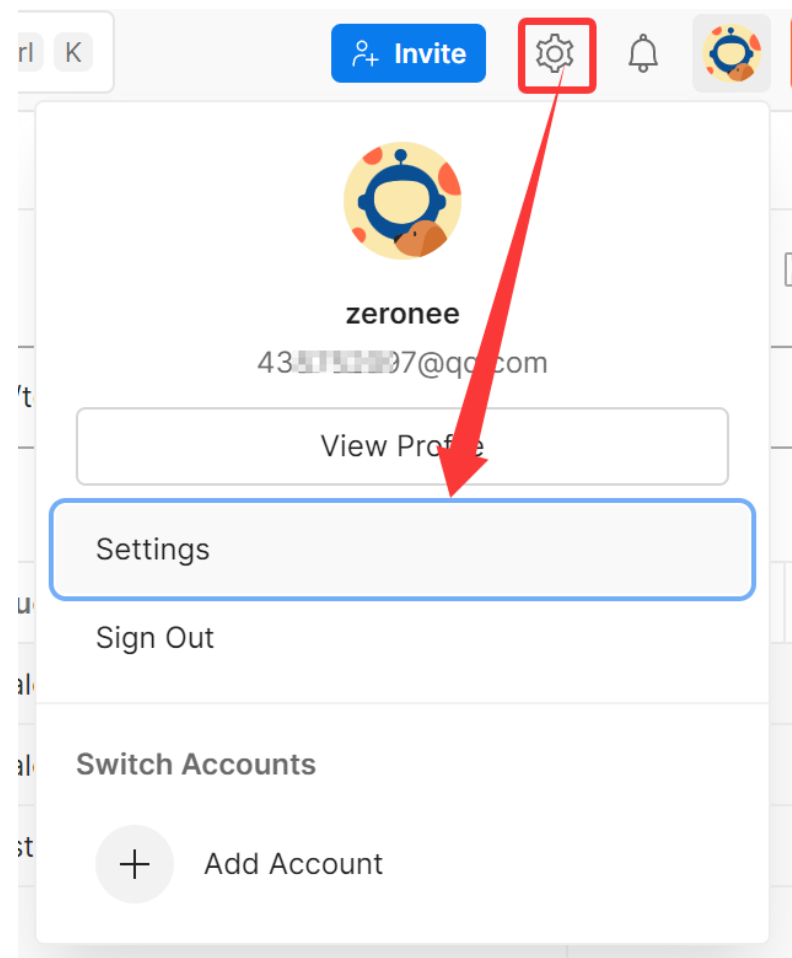
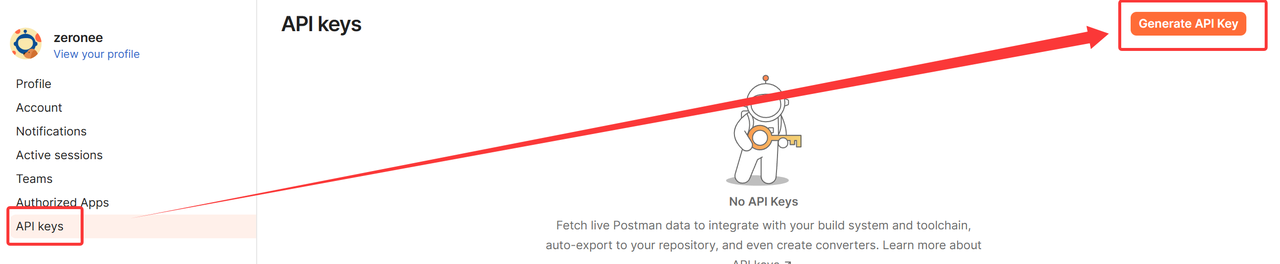
生成的Key只显示一次,要复制保存
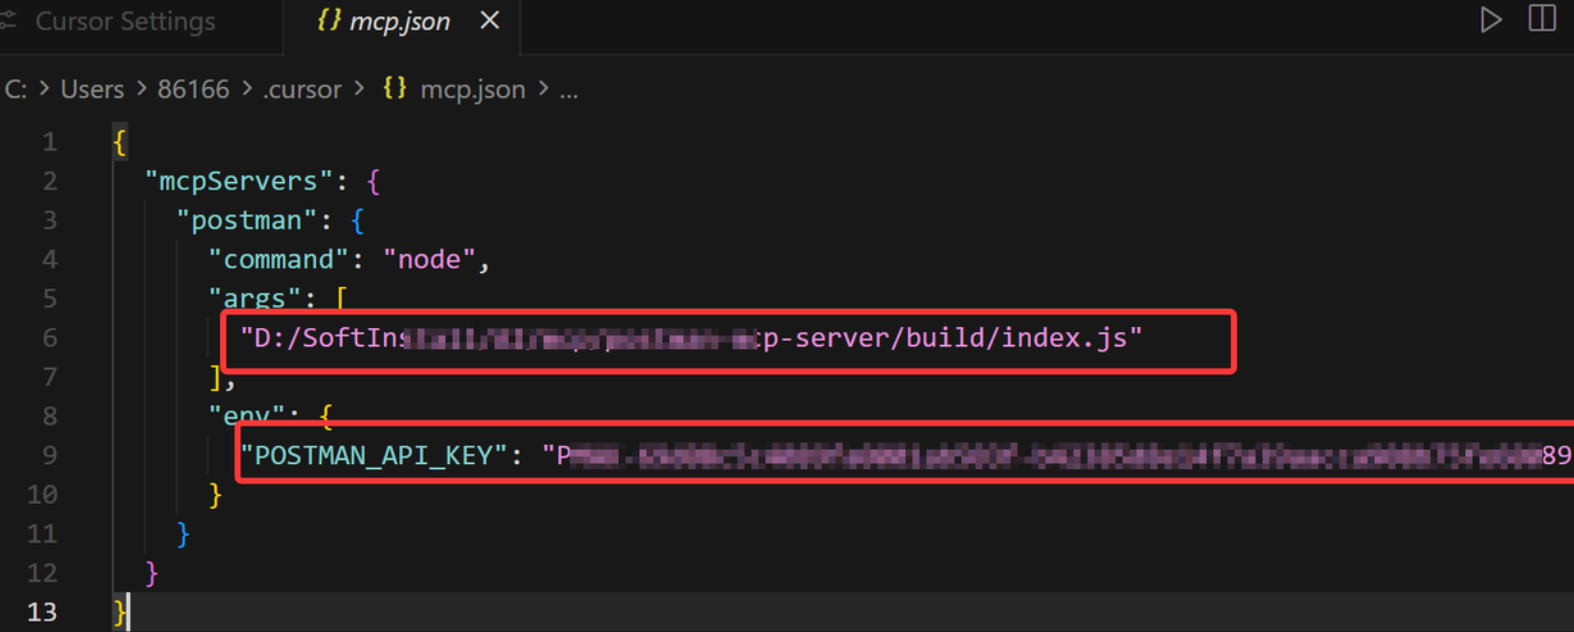
"mcpServers": {
    "postman": {
      "command": "node",
      "args": [
        "D:/SoftInstall/AI/mcp/postman-mcp-server/build/index.js"
      ],
      "env": {
        "POSTMAN_API_KEY": ""
      }
    }
  }
1.7 在Claude中添加配置
.claude.json 是 Claude Code 的核心配置文件,直接用文本编辑器修改很容易写错格式,导致所有 MCP 无法启动
claude mcp add postman -s user -e "POSTMAN_API_KEY=你的密钥" -- node "D:/SoftInstall/AI/mcp/postman-mcp-server/build/index.js"或者在 CC Switch中配置,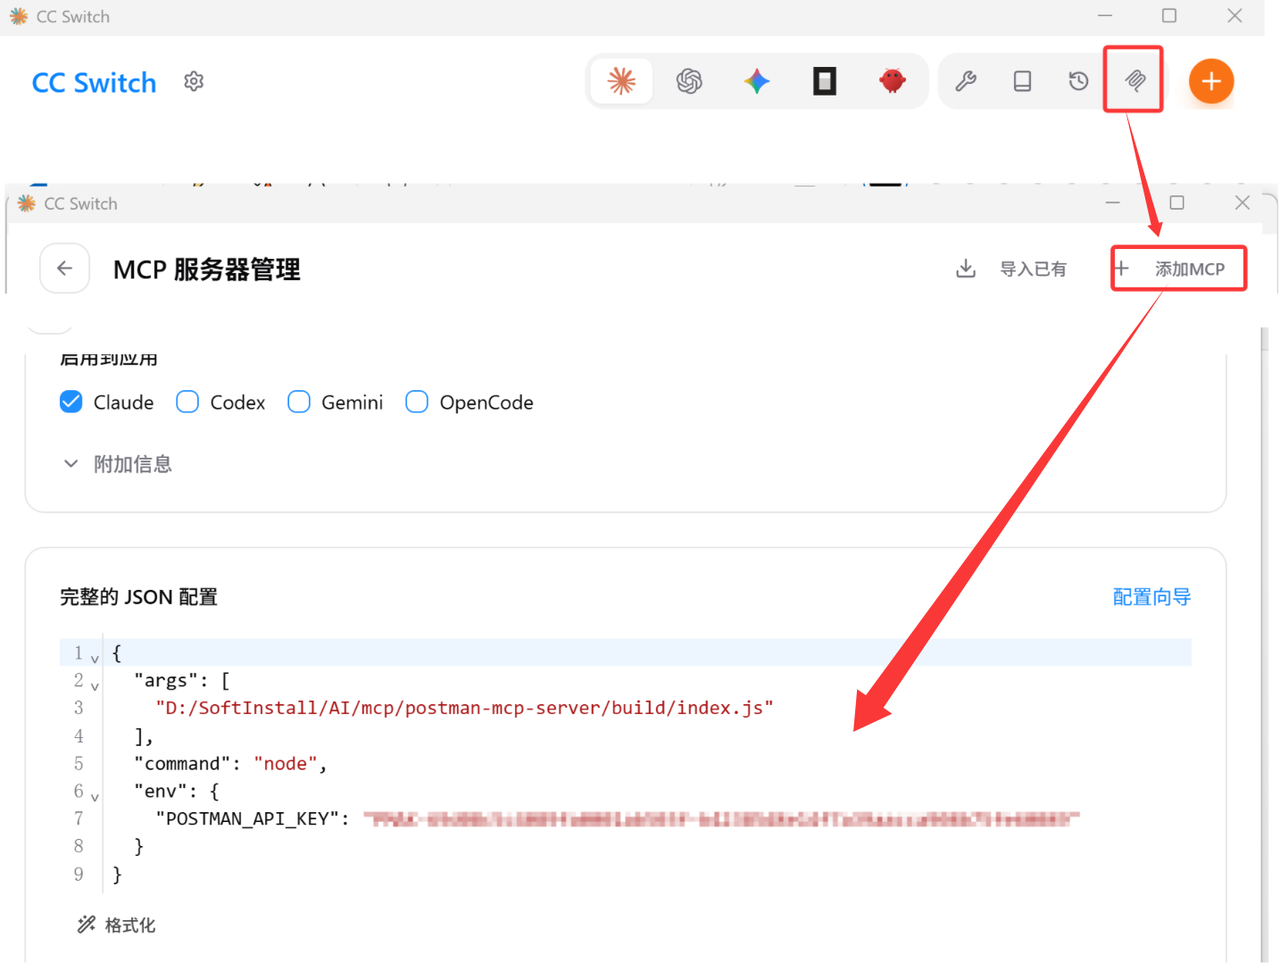
2.chrome-mcp-server
2.1 安装node.js 和 chrome
https://nodejs.org/zh-cn/download/current![]() https://nodejs.org/zh-cn/download/current
https://nodejs.org/zh-cn/download/current
>node -v
v20.18.0(出现版本号即可,版本可以不⼀致)
>npm -v
10.8.2(出现版本号即可,版本可以不⼀致)
2.2 安装mcp-chrome-bridge
npm install -g mcp-chrome-bridge 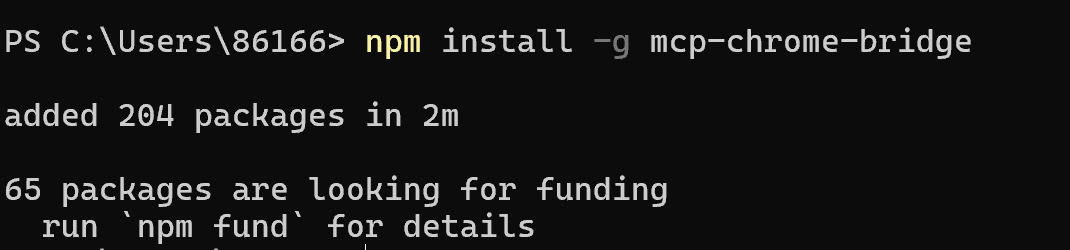
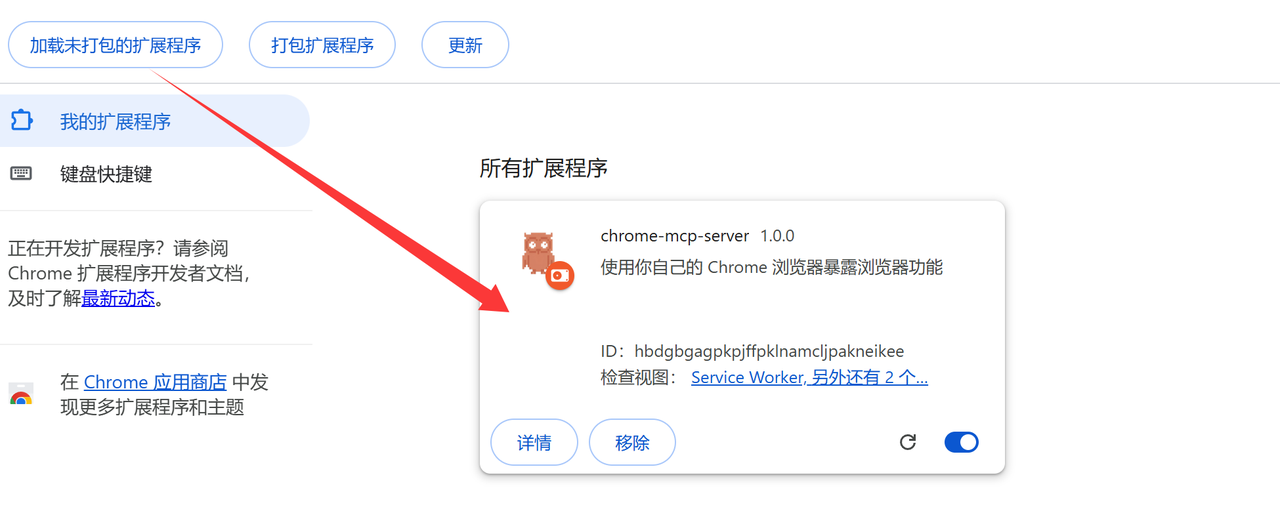
2.3 安装 chrome 扩展
https://github.com/hangwin/mcp-chrome/releases![]() https://github.com/hangwin/mcp-chrome/releases
https://github.com/hangwin/mcp-chrome/releases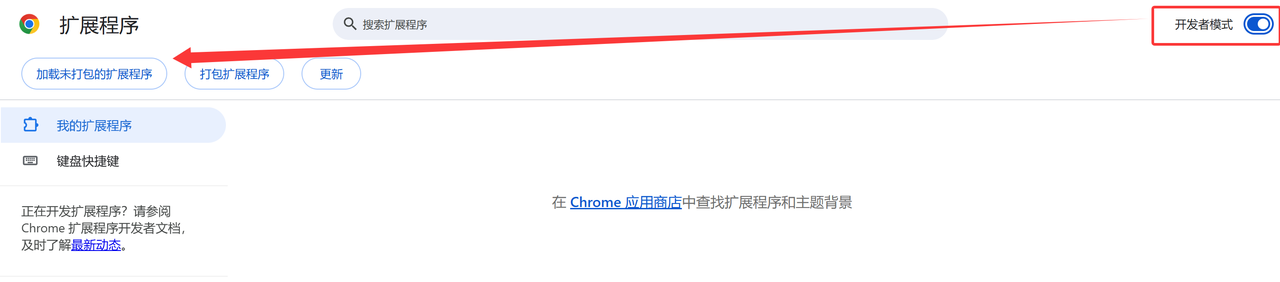
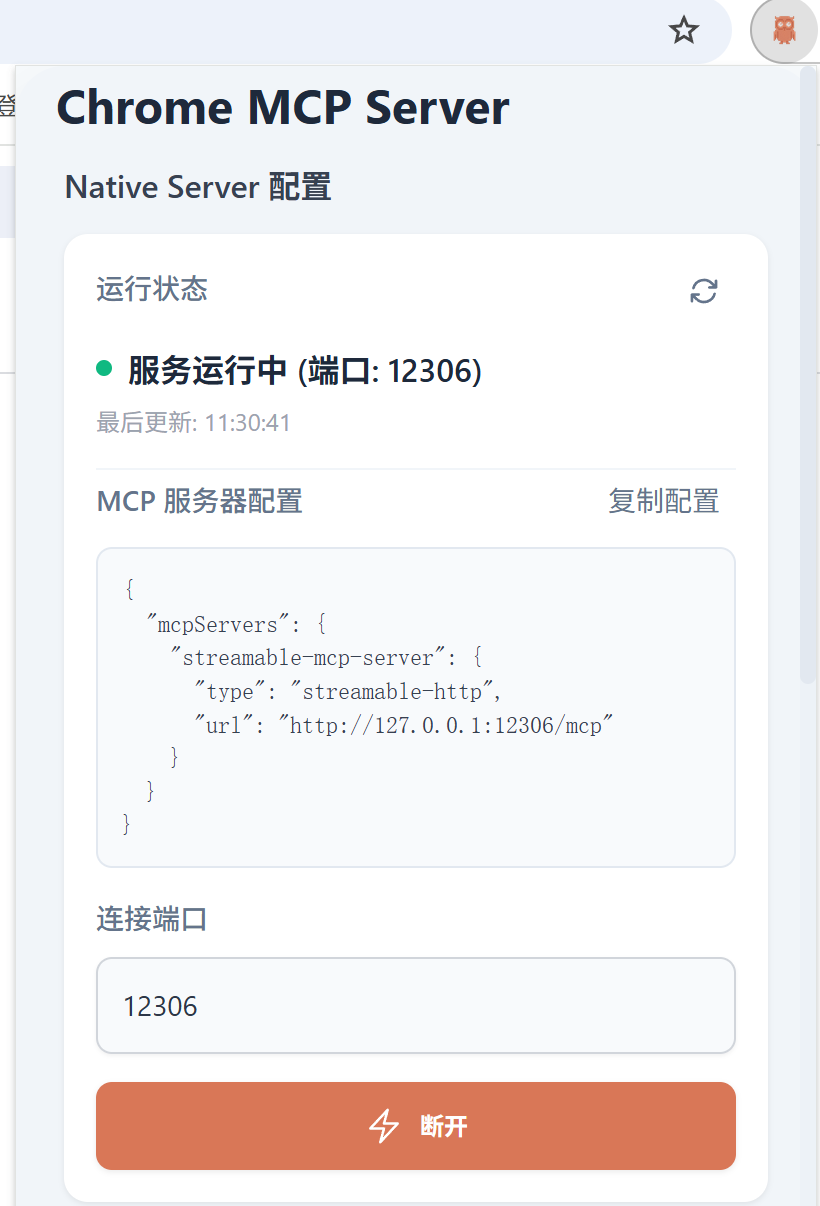
2.4 在Cursor中添加配置
{
  "mcpServers": {
    "chrome-mcp-server": {
      "type": "streamableHttp",
      "url": "http://127.0.0.1:12306/mcp"
    }
  }
}
2.5 在Claude中添加配置
claude mcp add chrome-mcp-server -s user --transport http "http://127.0.0.1:12306/mcp"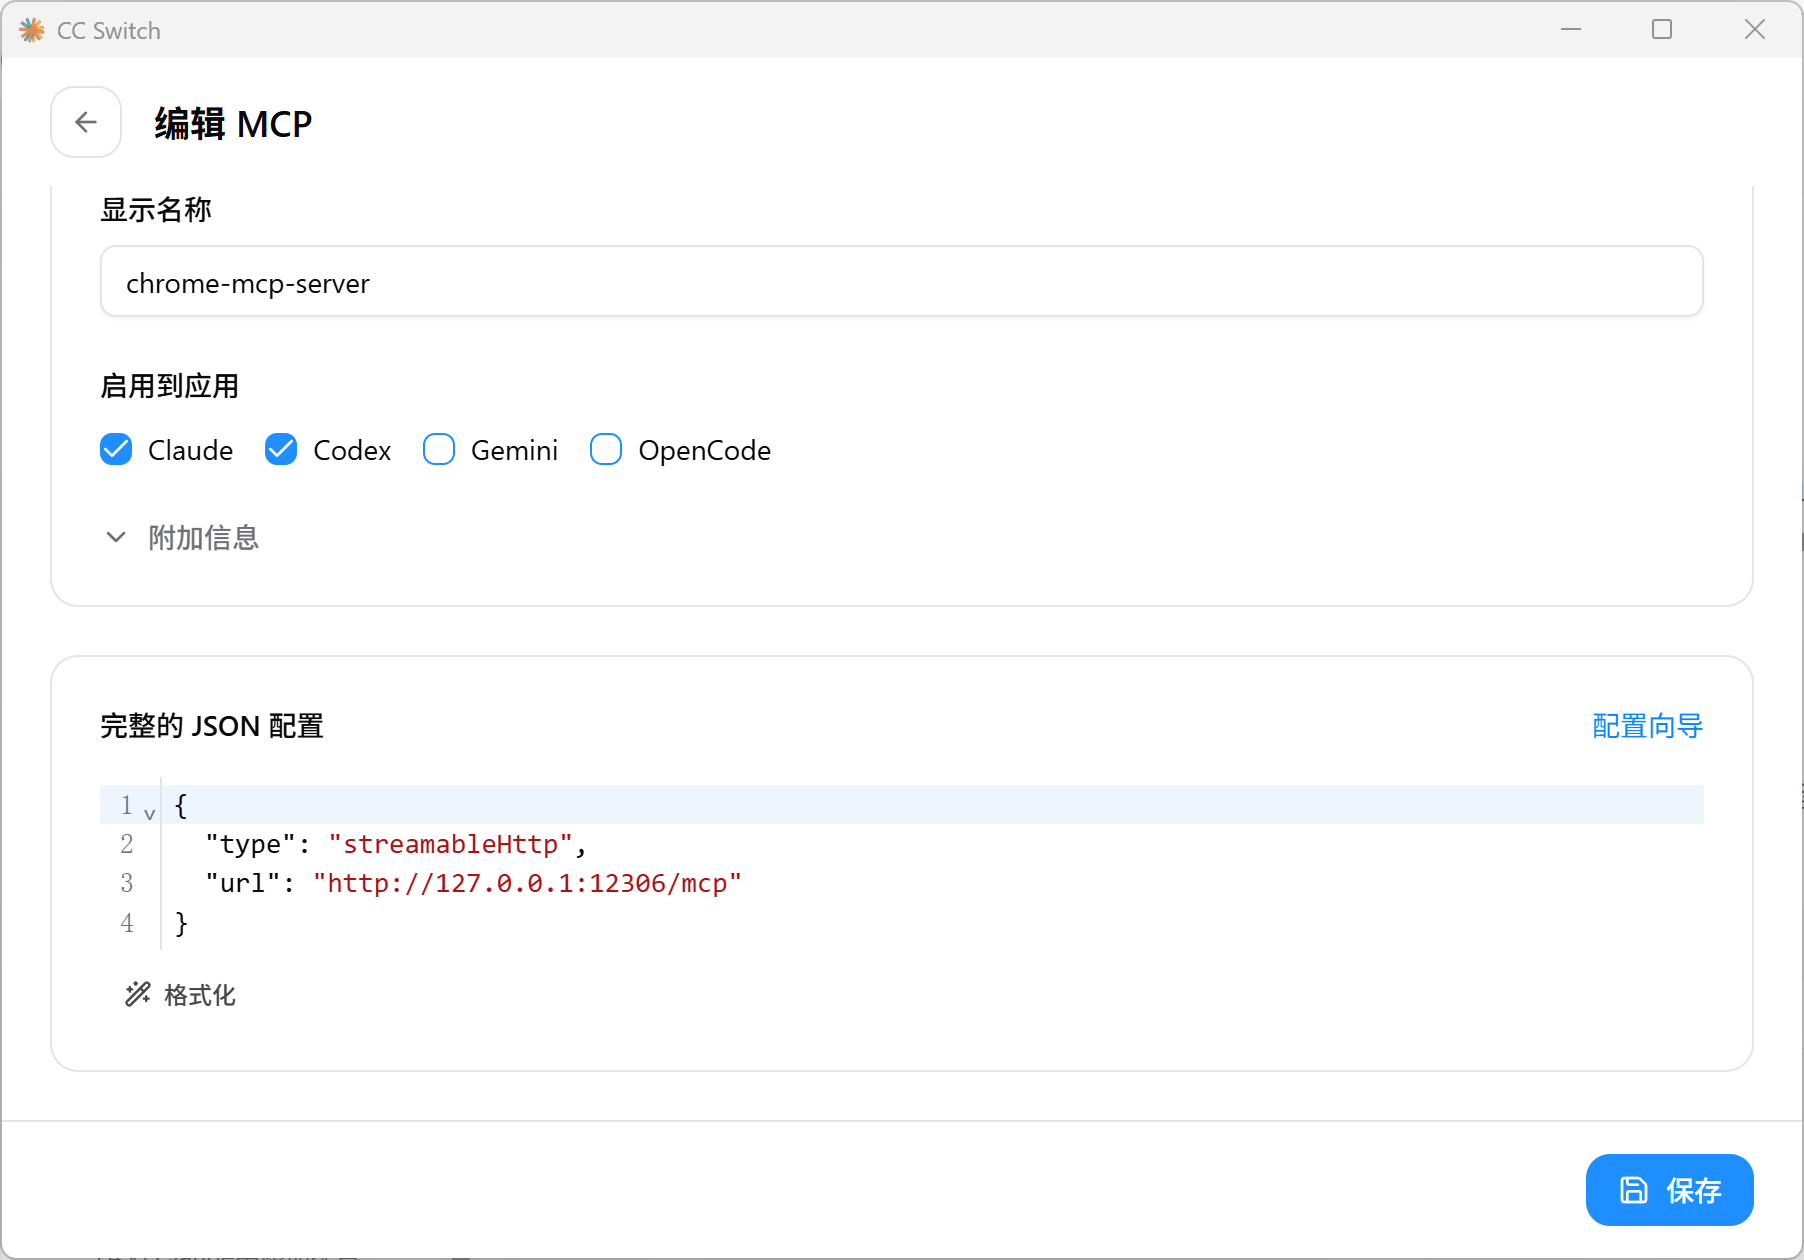
2.6 特别注意
核心限制:只支持单个客户端连接
该服务一次只能被 一个 MCP 客户端(Cursor 或 Claude Code)连接。两者同时运行时,先连上的客户端独占服务,后来的会报错
| 场景 | 操作 |
|---|---|
| 想在 Claude Code 中使用 | 关闭 Cursor,或在 Cursor 中禁用该 MCP |
| 想在 Cursor 中使用 | 重启 Claude Code 会话即可 |
3.Windows-mcp
https://github.com/CursorTouch/Windows-MCP![]() https://github.com/CursorTouch/Windows-MCP
https://github.com/CursorTouch/Windows-MCP
3.1 更新 py
基础环境要求:Python3.13+
winget install Python.Python.3.123.2 安装包管理工具uv
#cmd执⾏命令
pip install uv
uvx windows-mcp
3.3 下载源码
git clone https://github.com/CursorTouch/Windows-MCP.git 
3.4 在Claude中添加配置
claude mcp add windows-mcp -s user -- uvx windows-mcp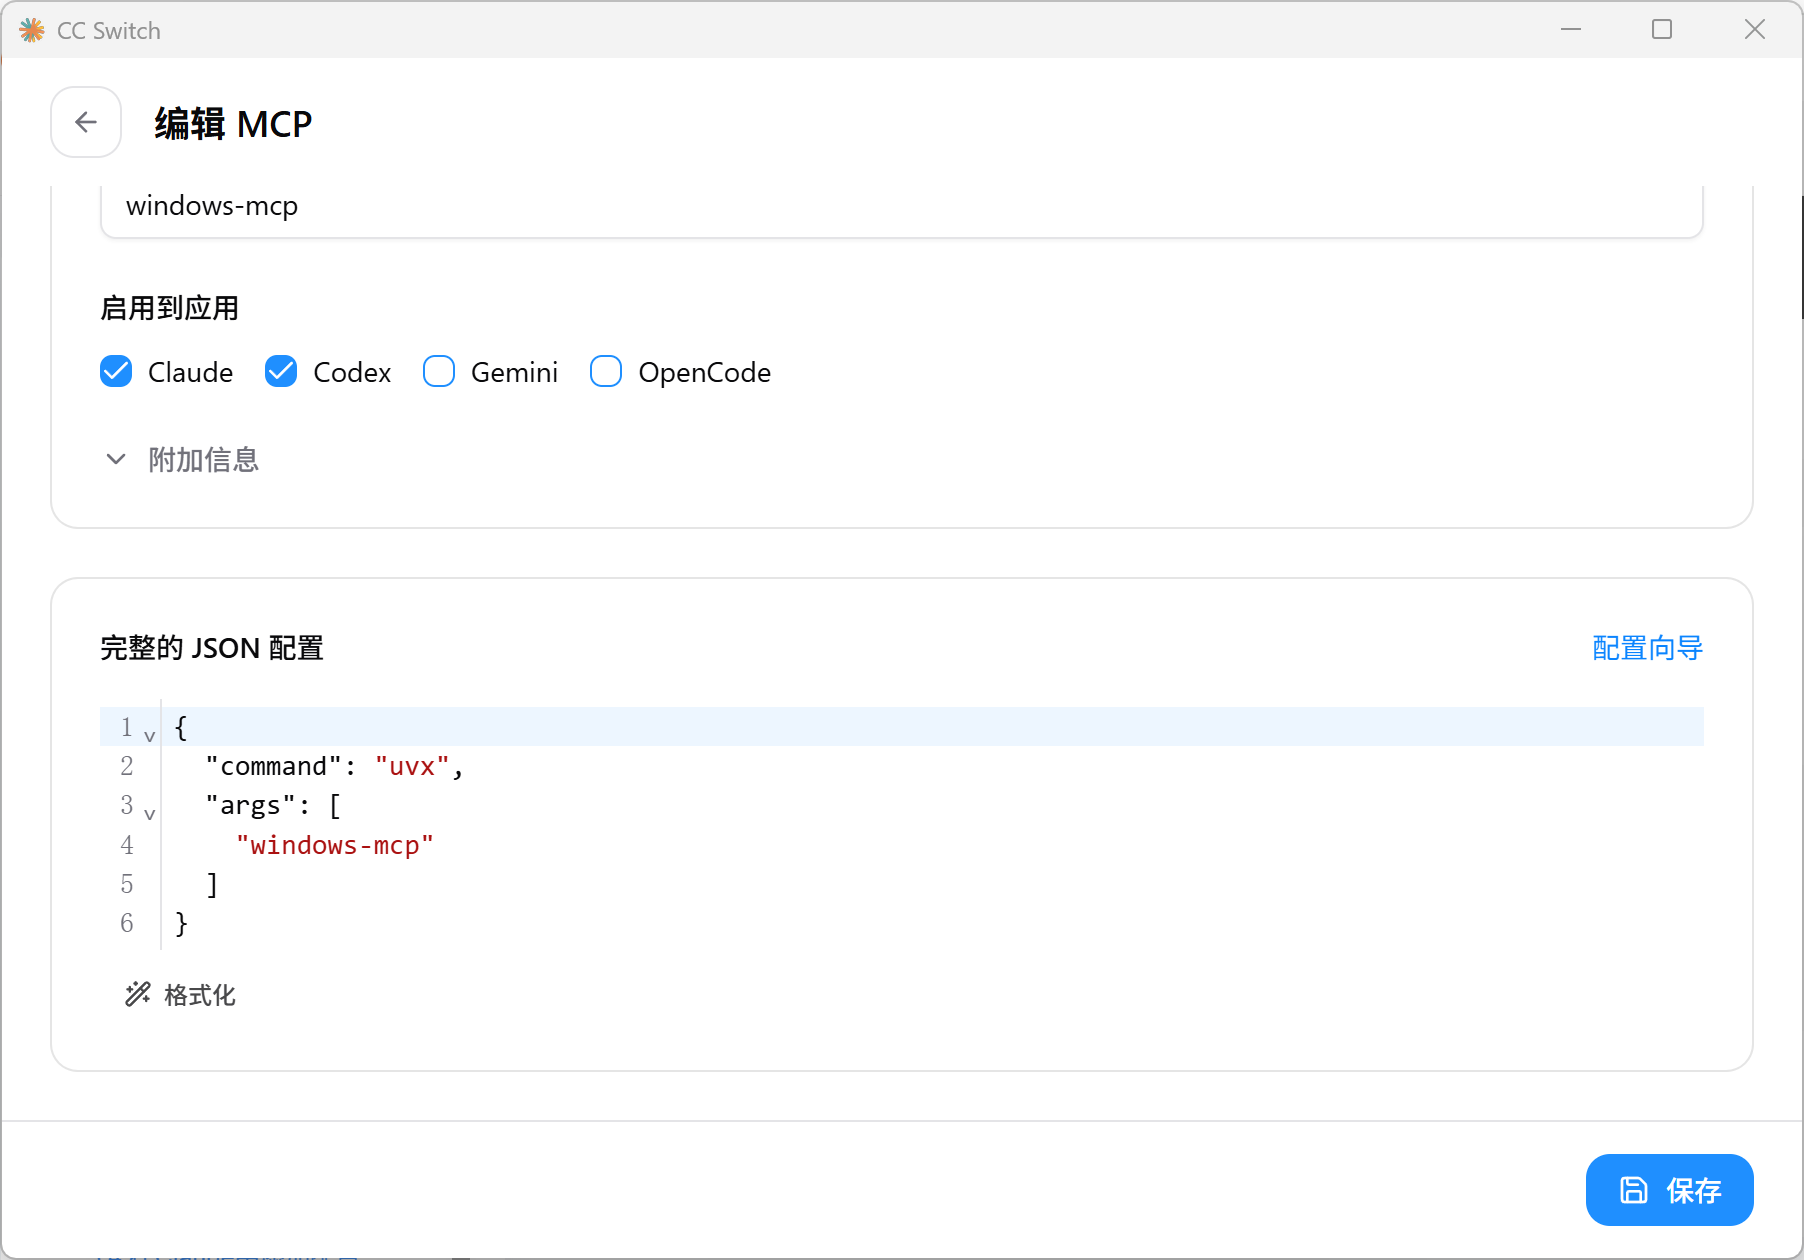
3.5 在Cursor添加配置
"windows-mcp": {
      "command": "uvx",
      "args": [
        "windows-mcp"
      ]
    }