1、环境准备
准备一台虚拟机,CentOS Stream 9/Redhat 9等这类系列的都可以,安装docker可以参考前期的shell脚本自动安装过程,直接一键安装就行。
这是我安装的docker版本

2、docker基本操作
2.1 基本操作
搜索镜像
bash
docker search 镜像名称:TAG例如:
bash
[root@localhost ~]# docker search mysql
Error response from daemon: Get "https://index.docker.io/v1/search?q=mysql&n=25": dial tcp 185.45.6.103:443: connect: connection refused
这里报错的原因是因为国内这个命令是直接访问官网进行搜索的,而国内是无法直接访问DockerHub的官网的,因此不能搜索到时正常的。
拉取和查看镜像信息
bash
# 这个命令是用来拉取镜像的,这里配置的了国内第三方的加速器的,可以直接拉取
[root@localhost ~]# docker pull mysql:8.0
8.0: Pulling from library/mysql
0940ecf5daec: Pull complete
6375ec02106f: Pull complete
d4c7048d1cf1: Pull complete
771773a1fe7a: Pull complete
c3b8cfb10b41: Pull complete
440208b3f29f: Pull complete
5915b0e5580c: Pull complete
60c3210ab1f6: Pull complete
10ee8ef3b9fc: Pull complete
cd8097e7c26b: Pull complete
1378718ee973: Pull complete
de0490608ca2: Download complete
2f1dcce71f1f: Download complete
Digest: sha256:64756cc92f707eb504496d774353990bcb0f6999ddf598b6ad188f2da66bd000
Status: Downloaded newer image for mysql:8.0
docker.io/library/mysql:8.0
bash
# 查看拉取下来镜像的详细信息
[root@localhost ~]# docker inspect mysql:8.0
[
    {
        "Id": "sha256:64756cc92f707eb504496d774353990bcb0f6999ddf598b6ad188f2da66bd000",
        "RepoTags": [
            "mysql:8.0"
        ],
        "RepoDigests": [
            "mysql@sha256:64756cc92f707eb504496d774353990bcb0f6999ddf598b6ad188f2da66bd000"
        ],
        "Comment": "buildkit.dockerfile.v0",
        "Created": "2026-03-20T01:13:38.67519033Z",
        "Config": {
            "ExposedPorts": {
                "3306/tcp": {},
                "33060/tcp": {}
            },
            "Env": [
                "PATH=/usr/local/sbin:/usr/local/bin:/usr/sbin:/usr/bin:/sbin:/bin",
                "GOSU_VERSION=1.19",
                "MYSQL_MAJOR=8.0",
                "MYSQL_VERSION=8.0.45-1.el9",
                "MYSQL_SHELL_VERSION=8.0.45-1.el9"
            ],
            "Entrypoint": [
                "docker-entrypoint.sh"
            ],
            "Cmd": [
                "mysqld"
            ],
            "Volumes": {
                "/var/lib/mysql": {}
            },
            "WorkingDir": "/"
        },
        "Architecture": "amd64",
        "Os": "linux",
        "Size": 232303510,
        "RootFS": {
            "Type": "layers",
            "Layers": [
                "sha256:a06588a07d8a70f60d73602f1849bea9e6339d916ad3aaa27984c4e81f4d6777",
                "sha256:fd356c26e57b7650fabfa86371c8be0601e6f50cd3678b7671e247284bb193f9",
                "sha256:66874193f60473c2699e507cf586ff4ddf8f2f23bb23b61e61047edc444877ba",
                "sha256:2617486313dca43927d085ec1f6007c92246c2f9be4a56db31e97d3a4cefc067",
                "sha256:75155403f352814fde85e177ee732c2e563599d82150f3d38d0b393d0ae315b7",
                "sha256:cd44f6797ca748f9a9a1a50a52098eafd10abd77bc2129c7862e341c6ccf342b",
                "sha256:df950a0564912deb7be2c5ee8025c704449bdd2ddbb1338dfa1406f321b52fb9",
                "sha256:0b0d9689dbbb5295e328b649aa43505d1160477a1441395bdd88a820fc7bb5be",
                "sha256:30d5e181779f3de43a58121a47ee81f4332b051235c1f60617019db6ba587ab5",
                "sha256:f6204add10a056fce63e4af7394e5aecdbc654dc904d59309c96e1d9bd504465",
                "sha256:e779b58be95bc00f1f103ec56ccdf3afe9dc6cf9294f5cf59f2a06714c153063"
            ]
        },
        "Metadata": {
            "LastTagTime": "2026-04-13T08:18:17.003945613Z"
        },
        "Descriptor": {
            "mediaType": "application/vnd.oci.image.index.v1+json",
            "digest": "sha256:64756cc92f707eb504496d774353990bcb0f6999ddf598b6ad188f2da66bd000",
            "size": 2605
        },
        "Identity": {
            "Pull": [
                {
                    "Repository": "docker.io/library/mysql"
                }
            ]
        }
    }
]
查看本地镜像
bash
docker images
导出镜像
bash
docker save -o 本地路径/文件名称 镜像名称:TAG .....
导入镜像
bash
docker load -i 本地路径/文件名称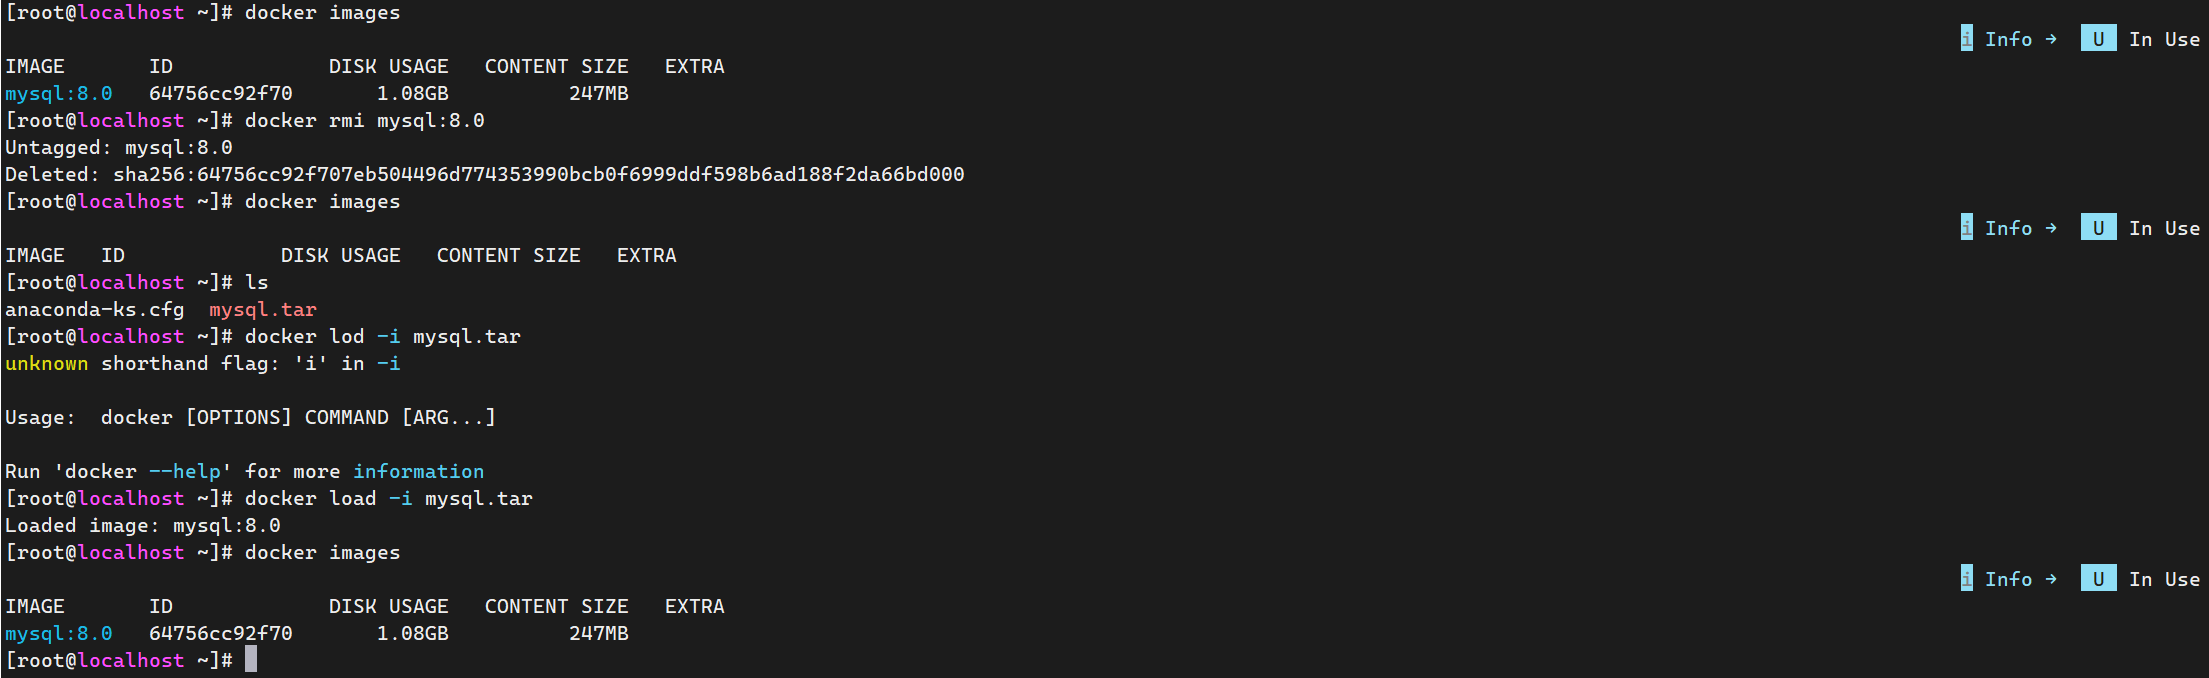
图片中的步骤是查看本地存在的镜像,然后删除,删除之后再导入之前导出的镜像,然后再次进行查看;如果可以查看到进行就说明是导入成功了的
上面那张图片中涉及到一条命令,docker rmi mysql:8.0,这个是删除镜像的命令。
删除镜像
bash
docker rmi 镜像名称:TAG .....2.2 容器管理
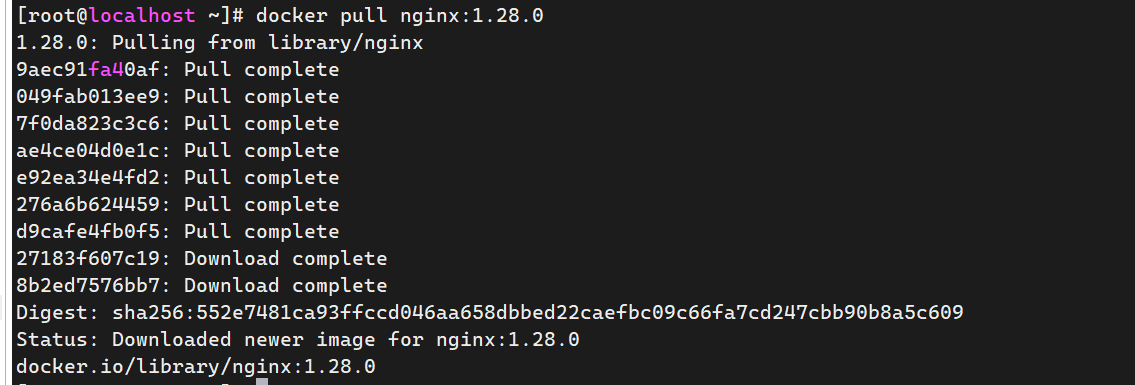
为了更好的显示这个部分的内容,我们拉取一个 nginx 镜像来进行演示:
bash
docker pull nginx:1.28.1
bash
[root@localhost ~]# docker pull nginx:1.28.1
1.28.1: Pulling from library/nginx
short read: expected 9081 bytes but got 1363: unexpected EOF
[root@localhost ~]# docker pull nginx:1.28.1
1.28.1: Pulling from library/nginx
short read: expected 9081 bytes but got 1363: unexpected EOF
[root@localhost ~]# docker system prune -a
WARNING! This will remove:
  - all stopped containers
  - all networks not used by at least one container
  - all images without at least one container associated to them
  - all build cache

Are you sure you want to continue? [y/N] y
Deleted Images:
untagged: mysql:8.0
deleted: sha256:64756cc92f707eb504496d774353990bcb0f6999ddf598b6ad188f2da66bd000
deleted: sha256:ce4d5c5f9df534fb059e6826805ad7dc3cb431589d4d99cc0869f5ee766e0f47
deleted: sha256:bb4568940fac09636f9ee1f2cd7f98666e1cf3f0734007f7cb1c163fedfd6620

Total reclaimed space: 247.3MB
拉取过程中报错了,错误信息 short read: expected 9081 bytes but got 1363: unexpected EOF 表明在下载 nginx:1.28.1 镜像的过程中,数据流意外中断了。简单来说,就是 Docker 客户端期望接收 9081 字节的数据,但只收到了 1363 字节,连接就被关闭了。
清理Docker系统缓存,
运行以下命令清理未使用的数据,这可以解决因缓存损坏导致的问题:
bash
docker system prune -a如果再次拉取还是成功,我们换一个版本
这个是因为网络原因引起的,然后重启docker就可以了
查看容器
bash
# 查看当前正在运行的容器
docker ps

# 查看所有的容器
docker ps -a
创建容器
bash
docker create -it nginx:1.28.0此时只是创建了容器,还没有运行

启动容器
bash
docker start 容器id/容器的name
进入容器内容
bash
docker exec -it 容器id/name /bin/bash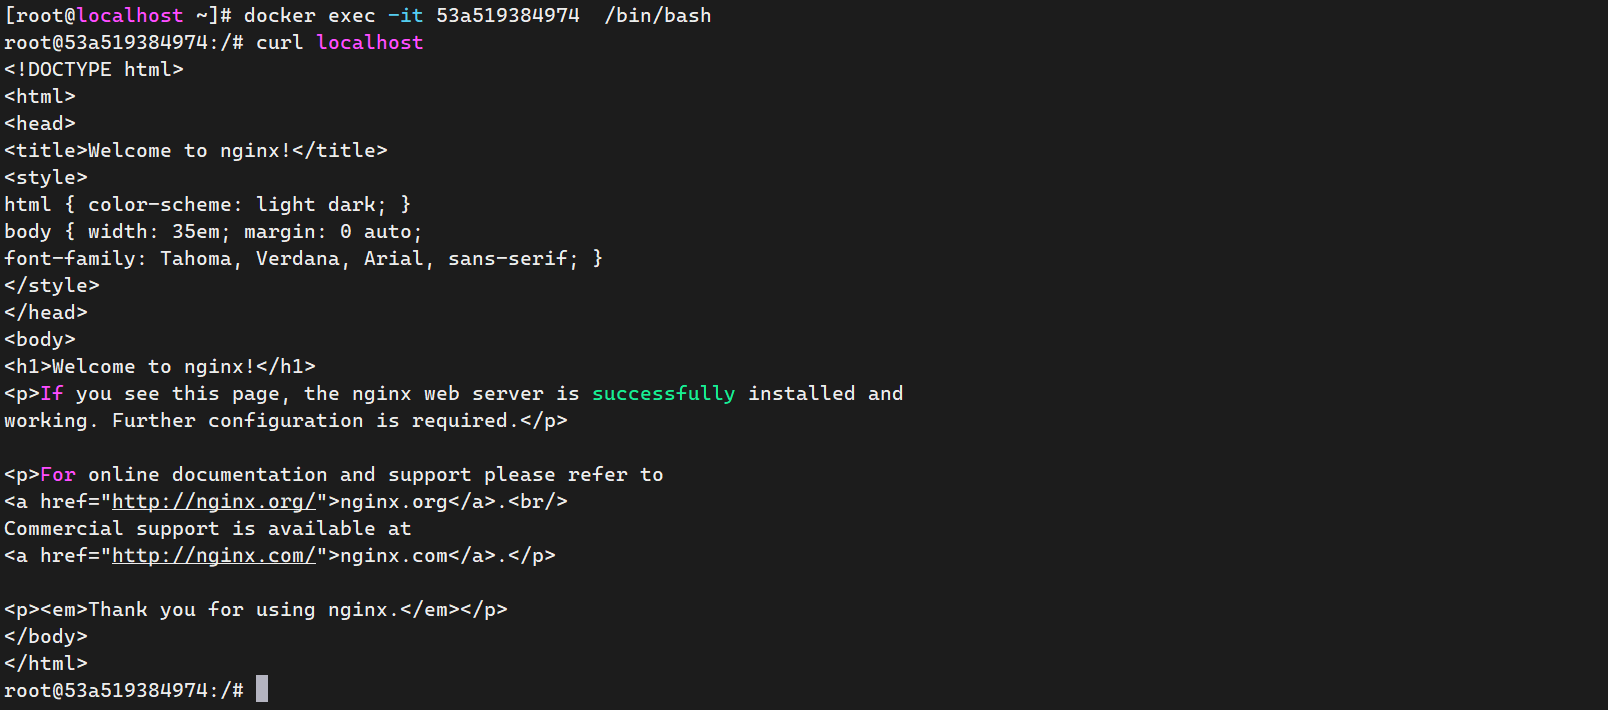
上面图片中成功进入了容器内部,并使用curl localhost访问nginx也成功了

退出容器内部直接使用命令exit
停止容器
bash
docker stop 容器id/name
暂停容器
bash
docker pause 容器id/name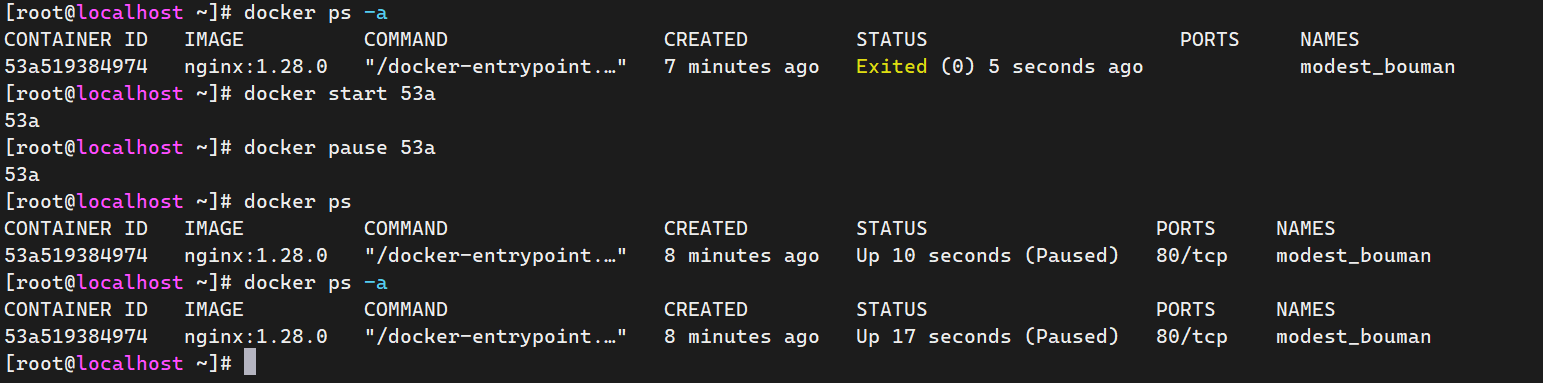
图片中的表示状态是暂停的,那么怎么回复呢?
恢复暂停
bash
docker unpause 容器id/name
现在查看的就是运行状态了,恢复了运行的状态
删除运行的容器
bash
# 删除停止运行的容器
docker rm 容器id/name

# 删除正在运行的容器,使用-f强制删除
docker rm -f 容器id/name
运行容器
使用 docker run 命令,这个命令的作用是将容器运行起来,如果容器对应的镜像在本地没有,则会先从仓库中拉取所需要的镜像后再运行容器。这里使用mysql的镜像来进行操作。
bash
# 查看本地是否存在MySQL镜像
[root@localhost ~]# docker images -a
                                                                                                                                                                   i Info →   U  In Use
IMAGE          ID             DISK USAGE   CONTENT SIZE   EXTRA
nginx:1.28.0   552e7481ca93        280MB         75.5MB

# 发现不存在,直接导入本地的,因为上面进行拉取和导出镜像的时候已经操作过,因此本地存在MySQL镜像
[root@localhost ~]# docker load -i mysql.tar
Loaded image: mysql:8.0

# 查看MySQL镜像是否导入成功
[root@localhost ~]# docker images
                                                                                                                                                                   i Info →   U  In Use
IMAGE          ID             DISK USAGE   CONTENT SIZE   EXTRA
mysql:8.0      64756cc92f70       1.08GB          247MB
nginx:1.28.0   552e7481ca93        280MB         75.5MB

# 使用docker run 命令运行并创建MySQL容器
[root@localhost ~]# docker run --name mysql -d -p 3306:3306 -e MYSQL_ROOT_PASSWORD=123456 mysql:8.0
e1a5ebe800352ed2ea48c8cbbae22b6b2bd306c27e7832ad56ac79a8758e4aa8

# 查看MySQL容器是否创建成功
[root@localhost ~]# docker ps
CONTAINER ID   IMAGE       COMMAND                  CREATED         STATUS         PORTS                                                    NAMES
e1a5ebe80035   mysql:8.0   "docker-entrypoint.s..."   3 seconds ago   Up 2 seconds   0.0.0.0:3306->3306/tcp, [::]:3306->3306/tcp, 33060/tcp   mysql

# 测试进入容器内部手动配置的密码能否使用
[root@localhost ~]# docker exec -it mysql /bin/bash
# 输入密码进行测试
bash-5.1# mysql -uroot -p
Enter password:
Welcome to the MySQL monitor.  Commands end with ; or \g.
Your MySQL connection id is 8
Server version: 8.0.45 MySQL Community Server - GPL

Copyright (c) 2000, 2026, Oracle and/or its affiliates.

Oracle is a registered trademark of Oracle Corporation and/or its
affiliates. Other names may be trademarks of their respective
owners.

Type 'help;' or '\h' for help. Type '\c' to clear the current input statement.

# 查看MySQL容器是否正常运行,如果正常运行是可以查看到数据库的
mysql> show databases;
+--------------------+
| Database           |
+--------------------+
| information_schema |
| mysql              |
| performance_schema |
| sys                |
+--------------------+
4 rows in set (0.00 sec)

# 退出MySQL
mysql> exit
Bye
# 退出当前的MySQL容器
bash-5.1# exit
exit
[root@localhost ~]#
使用docker run命令运行MySQL容器的命令解释
docker run:创建并运行容器
--name mysql:指定创建的容器名称,如果不指定 --name 选项则会自动随机生成一个容器名称
-d:表示后台运行这个容器
-e MYSQL_ROOT_PASSWORD=123456:指定MySQL数据库的 root 用户密码,必须指定否则无法成功启动容器
-p 3306:3306:向外晨露端口
mysql:8.0:指定创建容器所使用的镜像名:TAG
查看日志
bash
docker logs -f 容器id/容器name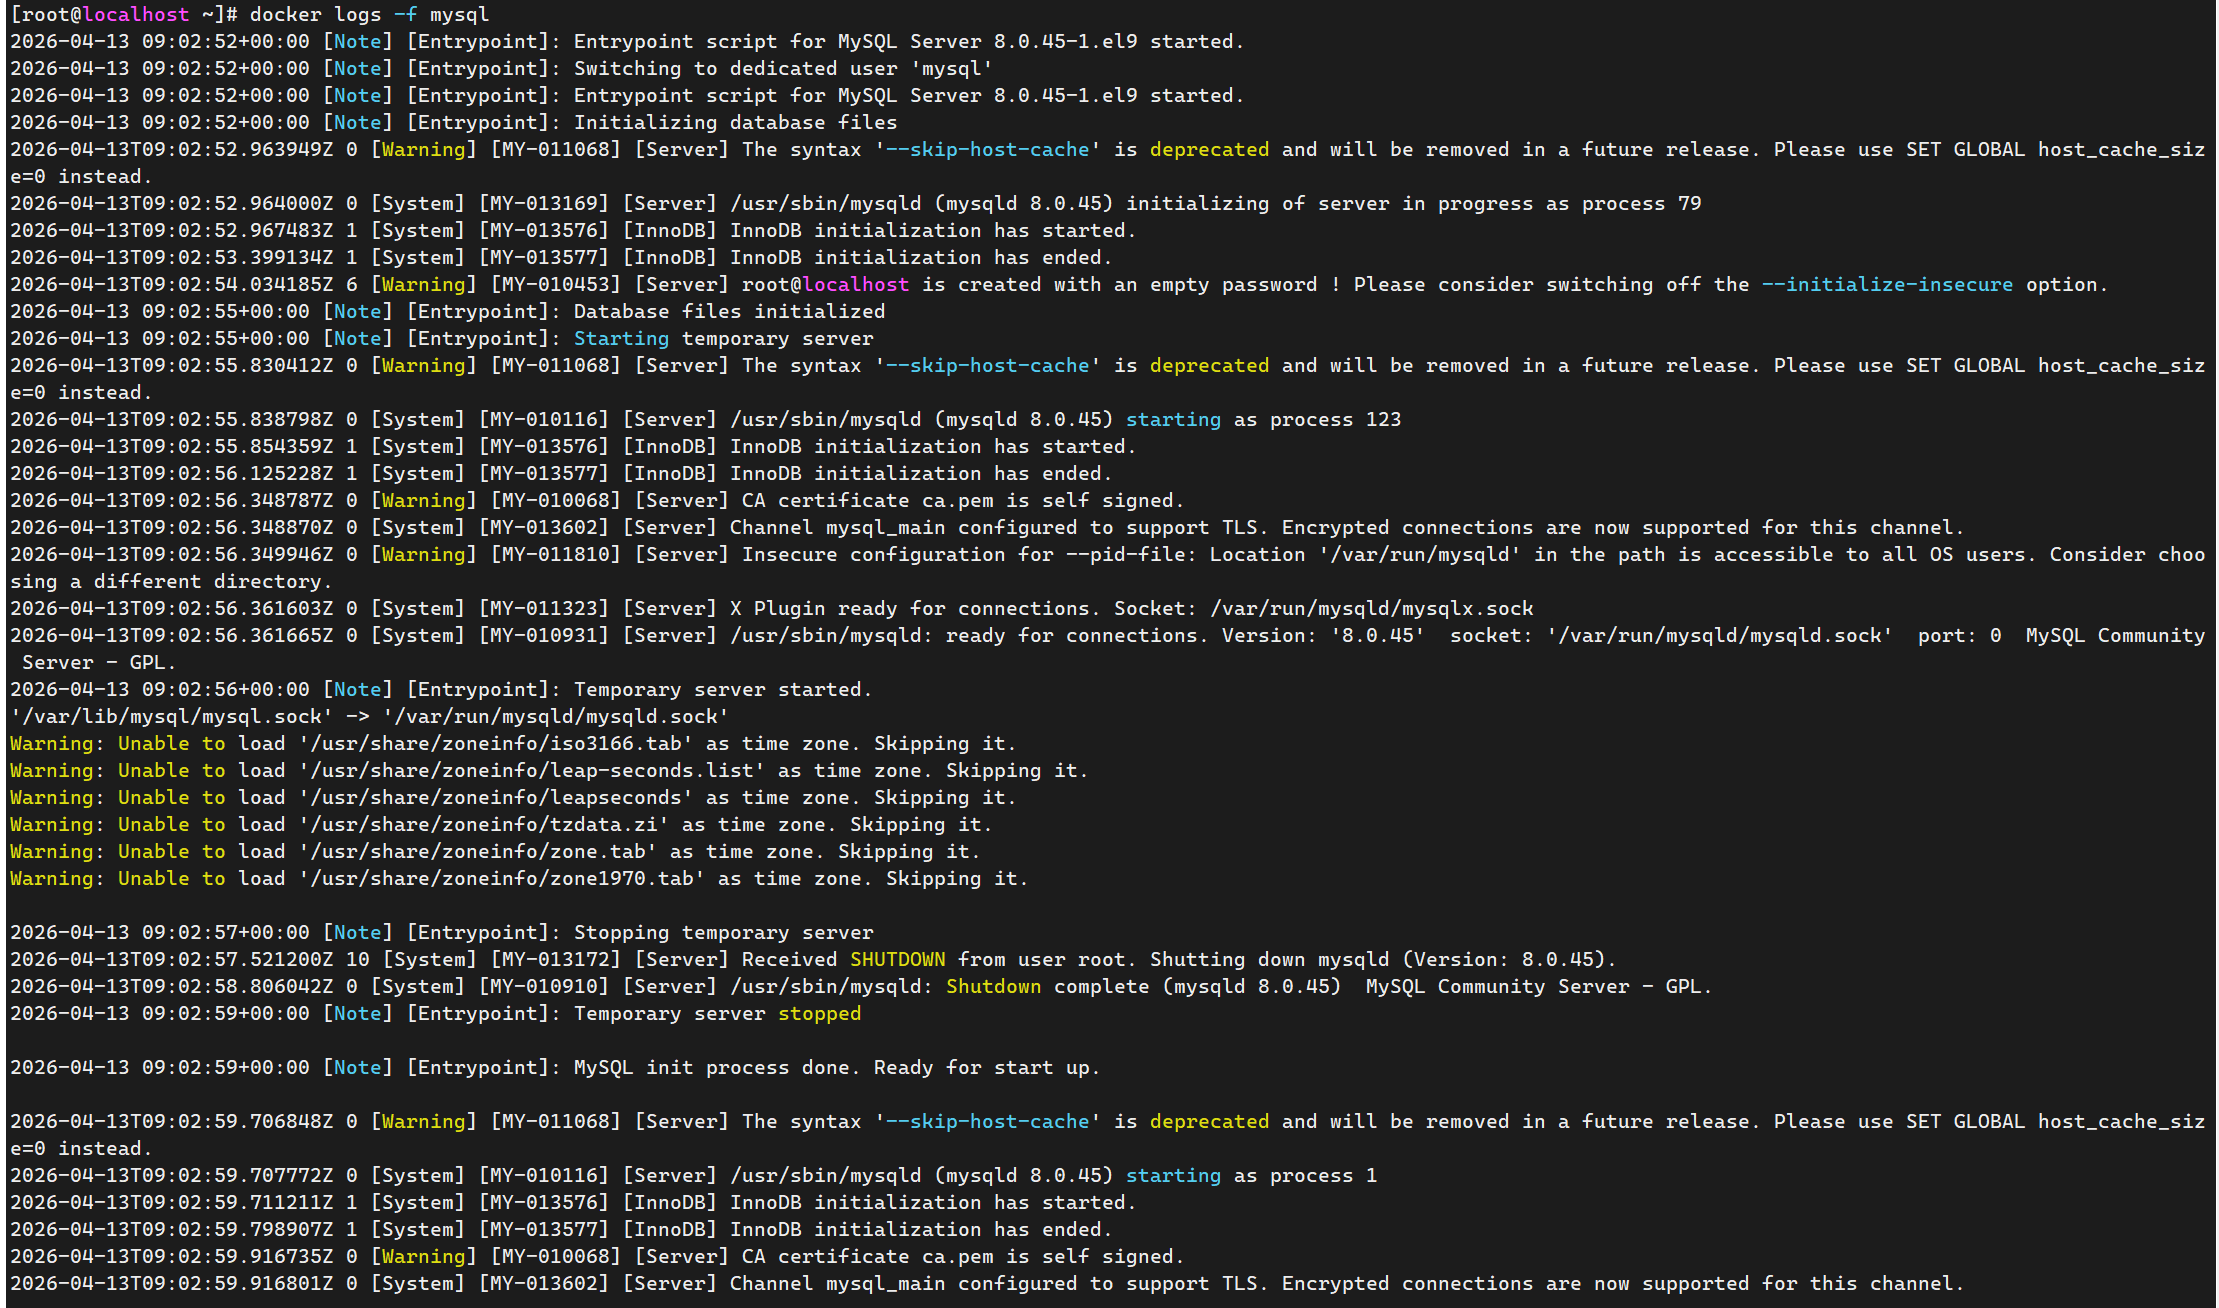
如果容器报错了,可以使用这个命令来查看错误日志确定报错的原因,进一步排查是容器恢复
查看容器状态
bash
docker stats 容器id/name
这里查看是实时查看的
查看容器进程
bash
docker top 容器id/容器name