文章目录
一、最终效果
- 加载已有的glb免费模型,增加走路、停止、旋转等属性,发现走路和停止属性不行;
- 已有模型不带骨骼动画,自己做一个带骨骼动画的人物模型;
- 加载自己做的人物模型,增加走路,停止、旋转等属性。
二、文章简介
上一篇已给草地和道路增加纹理效果,我的下一步计划,就是让人物动起来,本篇文章重点将如何让人物动起来。我本来想直接用之前在网上下载的glb免费模型的,就是之前的person.glb。但是发现它没有骨骼动画,想让这种不带骨骼动画的模型动起来只能旋转了,但是也不好看。想着未来还要给人物各种细节做修饰,我就想自己做一个人物模型,接下来一起看下我怎么做的吧!
三、具体步骤
3.1、先让之前的模型动起来
3.1.1、当前效果
可以旋转,但是控制台打印:❌ 无骨骼动画。
3.1.2、核心逻辑
- 加载时让 PlayCanvas 读取动画
- 缓存动画状态(idle 待机 /walk 走路)
- 用代码切换动画(走路、停下、转身)
3.1.3、源代码
创建 PersonAnimator.vue 文件,编写代码
html
<template>
  <div class="person-test-container">
    <canvas ref="canvas" class="playcanvas"></canvas>

    <!-- 调试控制面板 -->
    <div class="controls">
      <button @click="playIdle">待机 Idle</button>
      <button @click="playWalk">走路 Walk</button>
      <button @click="stopAnim">停止动画</button>
      <button @click="turnLeft">左转</button>
      <button @click="turnRight">右转</button>
    </div>
  </div>
</template>

<script setup>
import { ref, onMounted, onUnmounted } from 'vue';
import * as pc from 'playcanvas';

const canvas = ref(null);
let app = null;
let person = null;
const animState = ref('idle');

const turnSpeed = 90;

onMounted(() => {
  initPlayCanvas();
  loadPersonModel();
});

// ========== 修复 PlayCanvas 初始化 ==========
function initPlayCanvas() {
  if (!canvas.value) return;

  // 正确创建 APP
  app = new pc.Application(canvas.value);

  app.start();

  // 环境光
  app.scene.ambientLight = new pc.Color(0.7, 0.7, 0.7);

  // 相机
  const camera = new pc.Entity();
  camera.addComponent('camera', {
    clearColor: new pc.Color(0.23, 0.23, 0.22),
    farClip: 100
  });
  camera.setPosition(0, 2.5, 10);
  camera.lookAt(0, 0, 0);
  app.root.addChild(camera);

  // 灯光
  const light = new pc.Entity();
  light.addComponent('light', {
    type: 'directional',
    intensity: 1.8
  });
  light.setEulerAngles(60, 120, 0);
  app.root.addChild(light);
}

// ========== 加载人物模型 + 检测动画 ==========
function loadPersonModel() {
  const modelUrl = new URL('/download/person/person.glb', import.meta.url).href;
  const asset = new pc.Asset('person', 'model', { url: modelUrl });

  app.assets.add(asset);
  app.assets.load(asset);

  asset.on('load', () => {
    person = new pc.Entity();
    person.addComponent('model', {
      type: 'asset',
      asset: asset
    });
    person.setPosition(0, 0, 0);
    person.setLocalScale(1, 1, 1);

    // 添加动画组件
    person.addComponent('animation');

    app.root.addChild(person);

    // 输出动画信息
    console.log("=== 人物模型动画 ===");
    console.log(person.animation?.clips);

    if (person.animation?.clips?.length) {
      console.log("✅ 该模型带动画!");
      person.animation.play(person.animation.clips[0].name);
    } else {
      console.log("❌ 无骨骼动画");
    }
  });

  asset.on('error', (err) => {
    console.error("模型加载失败", err);
  });
}

// ========== 动画控制 ==========
function playIdle() {
  if (!person || !person.animation) return;
  person.animation.play('idle');
}
function playWalk() {
  if (!person || !person.animation) return;
  person.animation.play('walk');
}
function stopAnim() {
  if (!person || !person.animation) return;
  person.animation.stop();
}

// ========== 转向 ==========
function turnLeft() {
  if (!person) return;
  person.rotate(0, -turnSpeed, 0);
}
function turnRight() {
  if (!person) return;
  person.rotate(0, turnSpeed, 0);
}

onUnmounted(() => {
  app?.destroy();
});
</script>

<style scoped>
.person-test-container {
  position: relative;
  width: 100%;
  height: 100vh;
  background: #111;
}
.playcanvas {
  width: 100%;
  height: 100%;
  display: block;
}
.controls {
  position: absolute;
  bottom: 20px;
  left: 50%;
  transform: translateX(-50%);
  display: flex;
  gap: 8px;
}
button {
  padding: 10px 14px;
  background: #fff;
  border: none;
  border-radius: 6px;
  cursor: pointer;
}
</style>
3.2、创建个带骨骼动画的人物模型
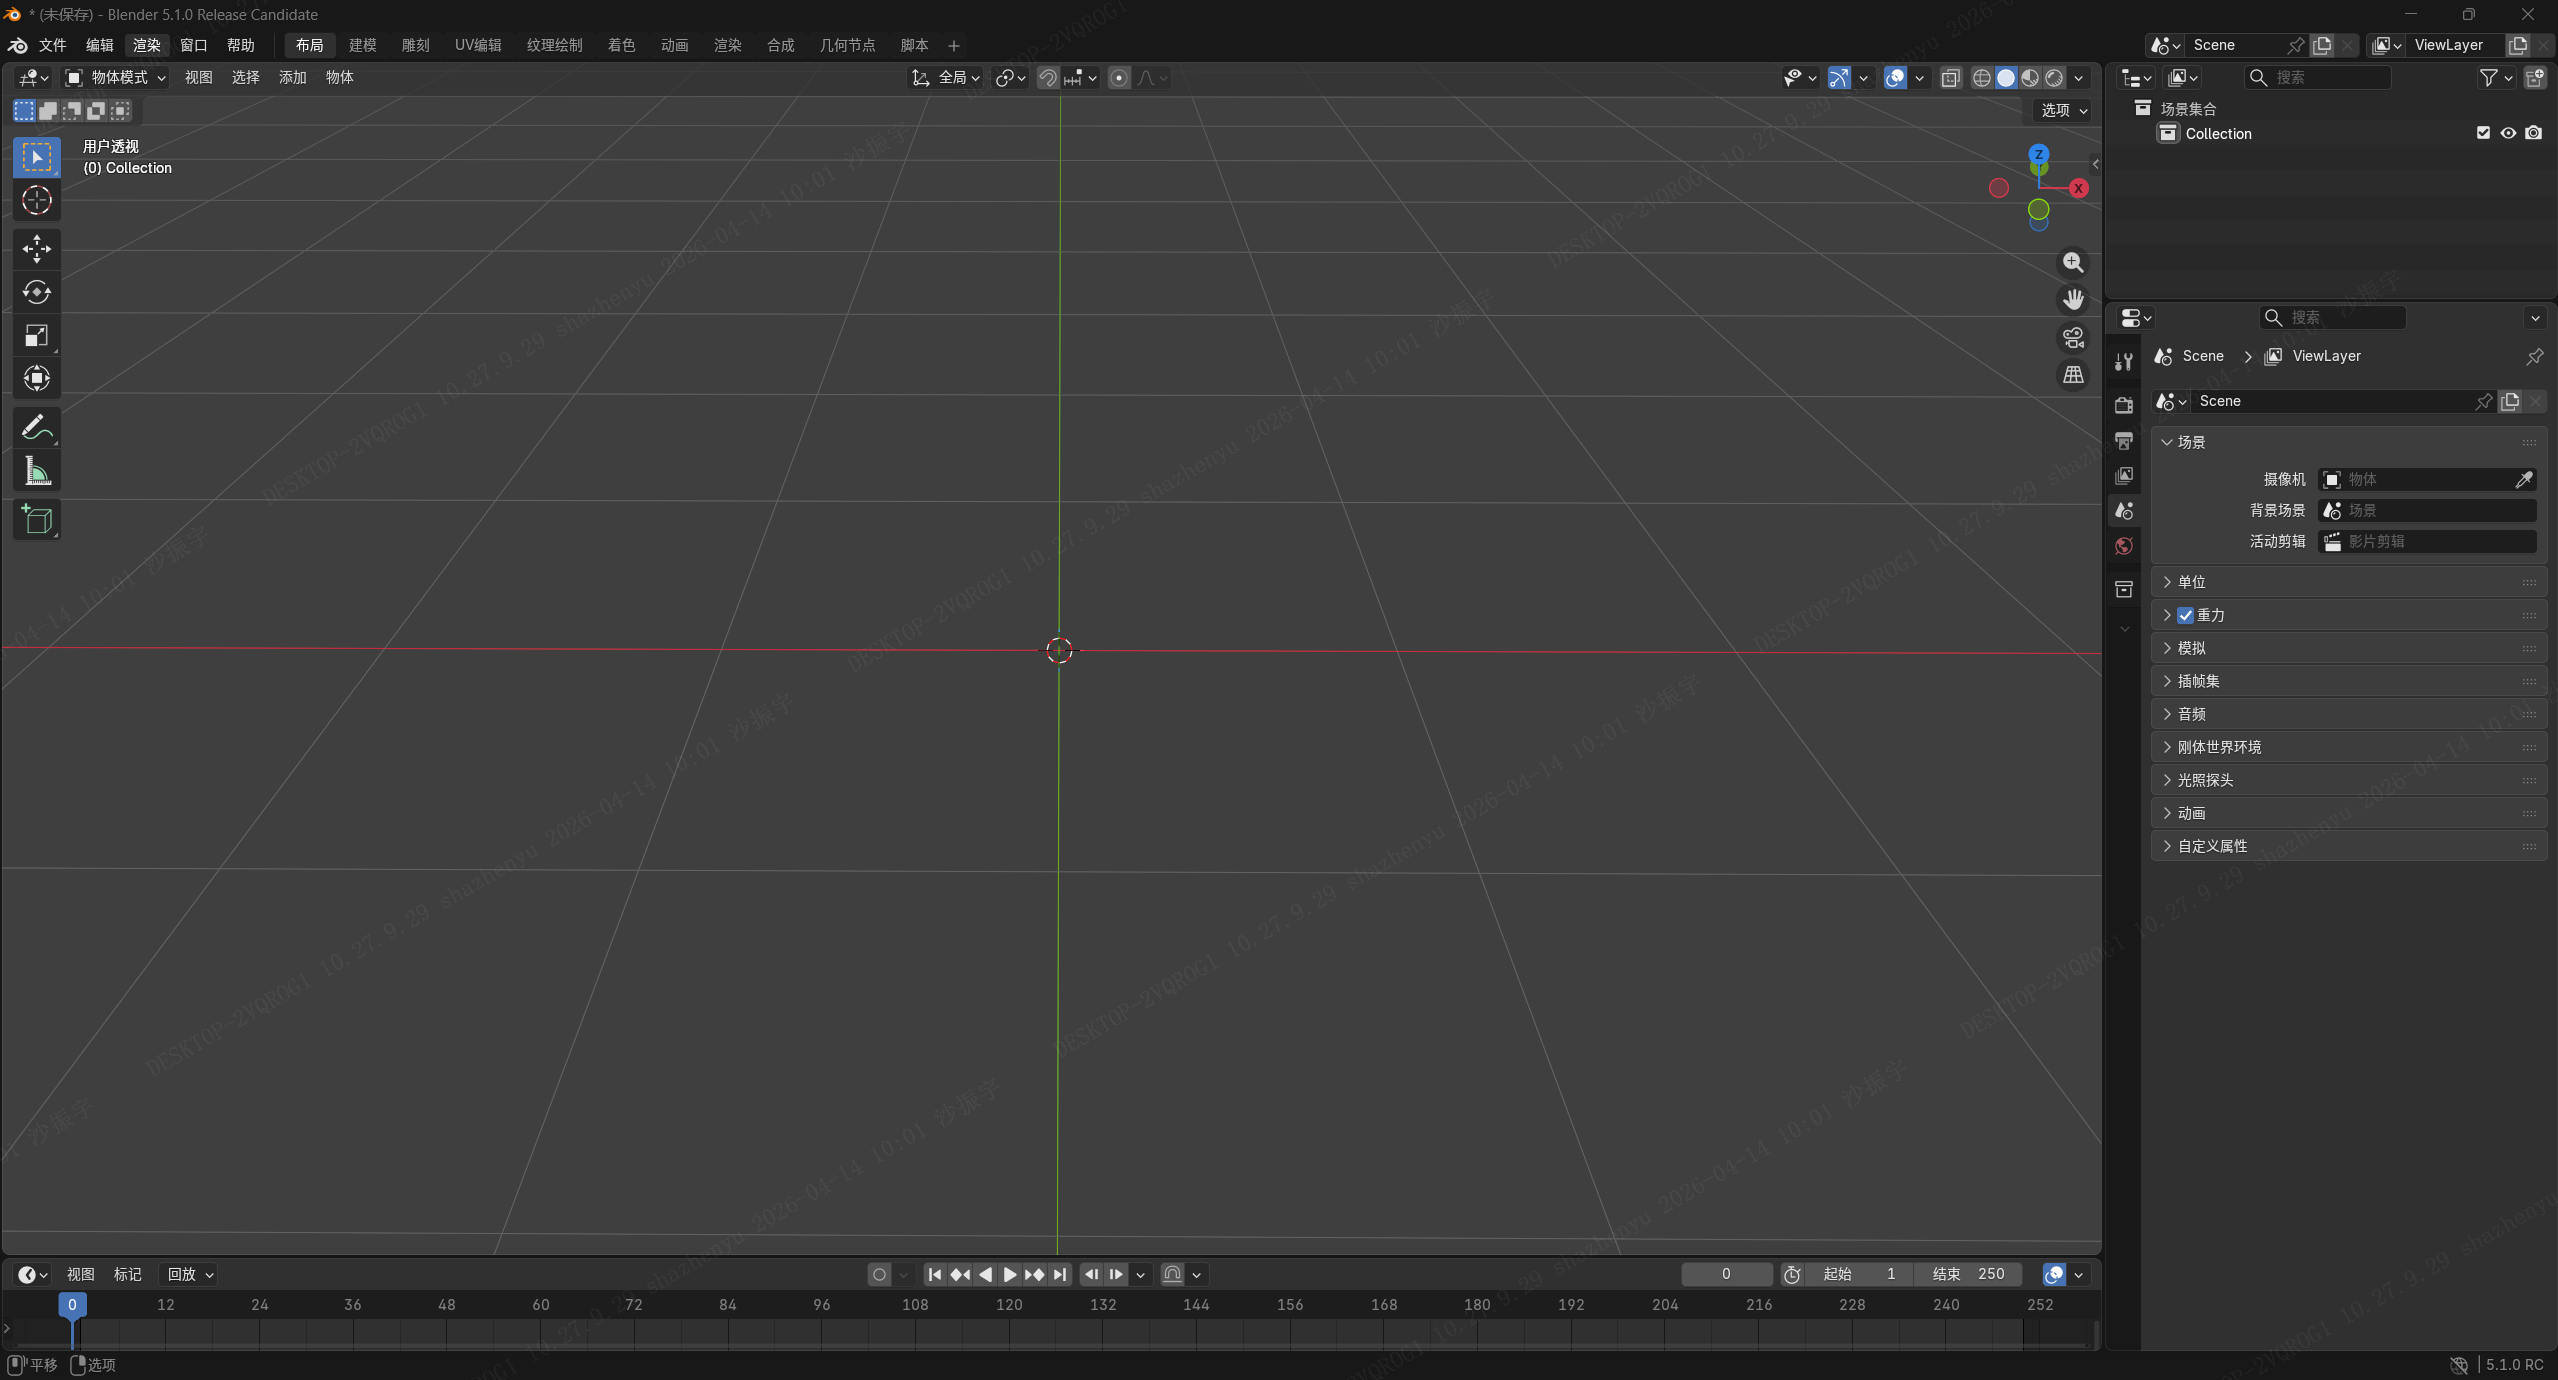
3.2.1、打开Blender
我用的是 Blender5.1.0 哈,不同版本略有差异哈,删除默认立方体。
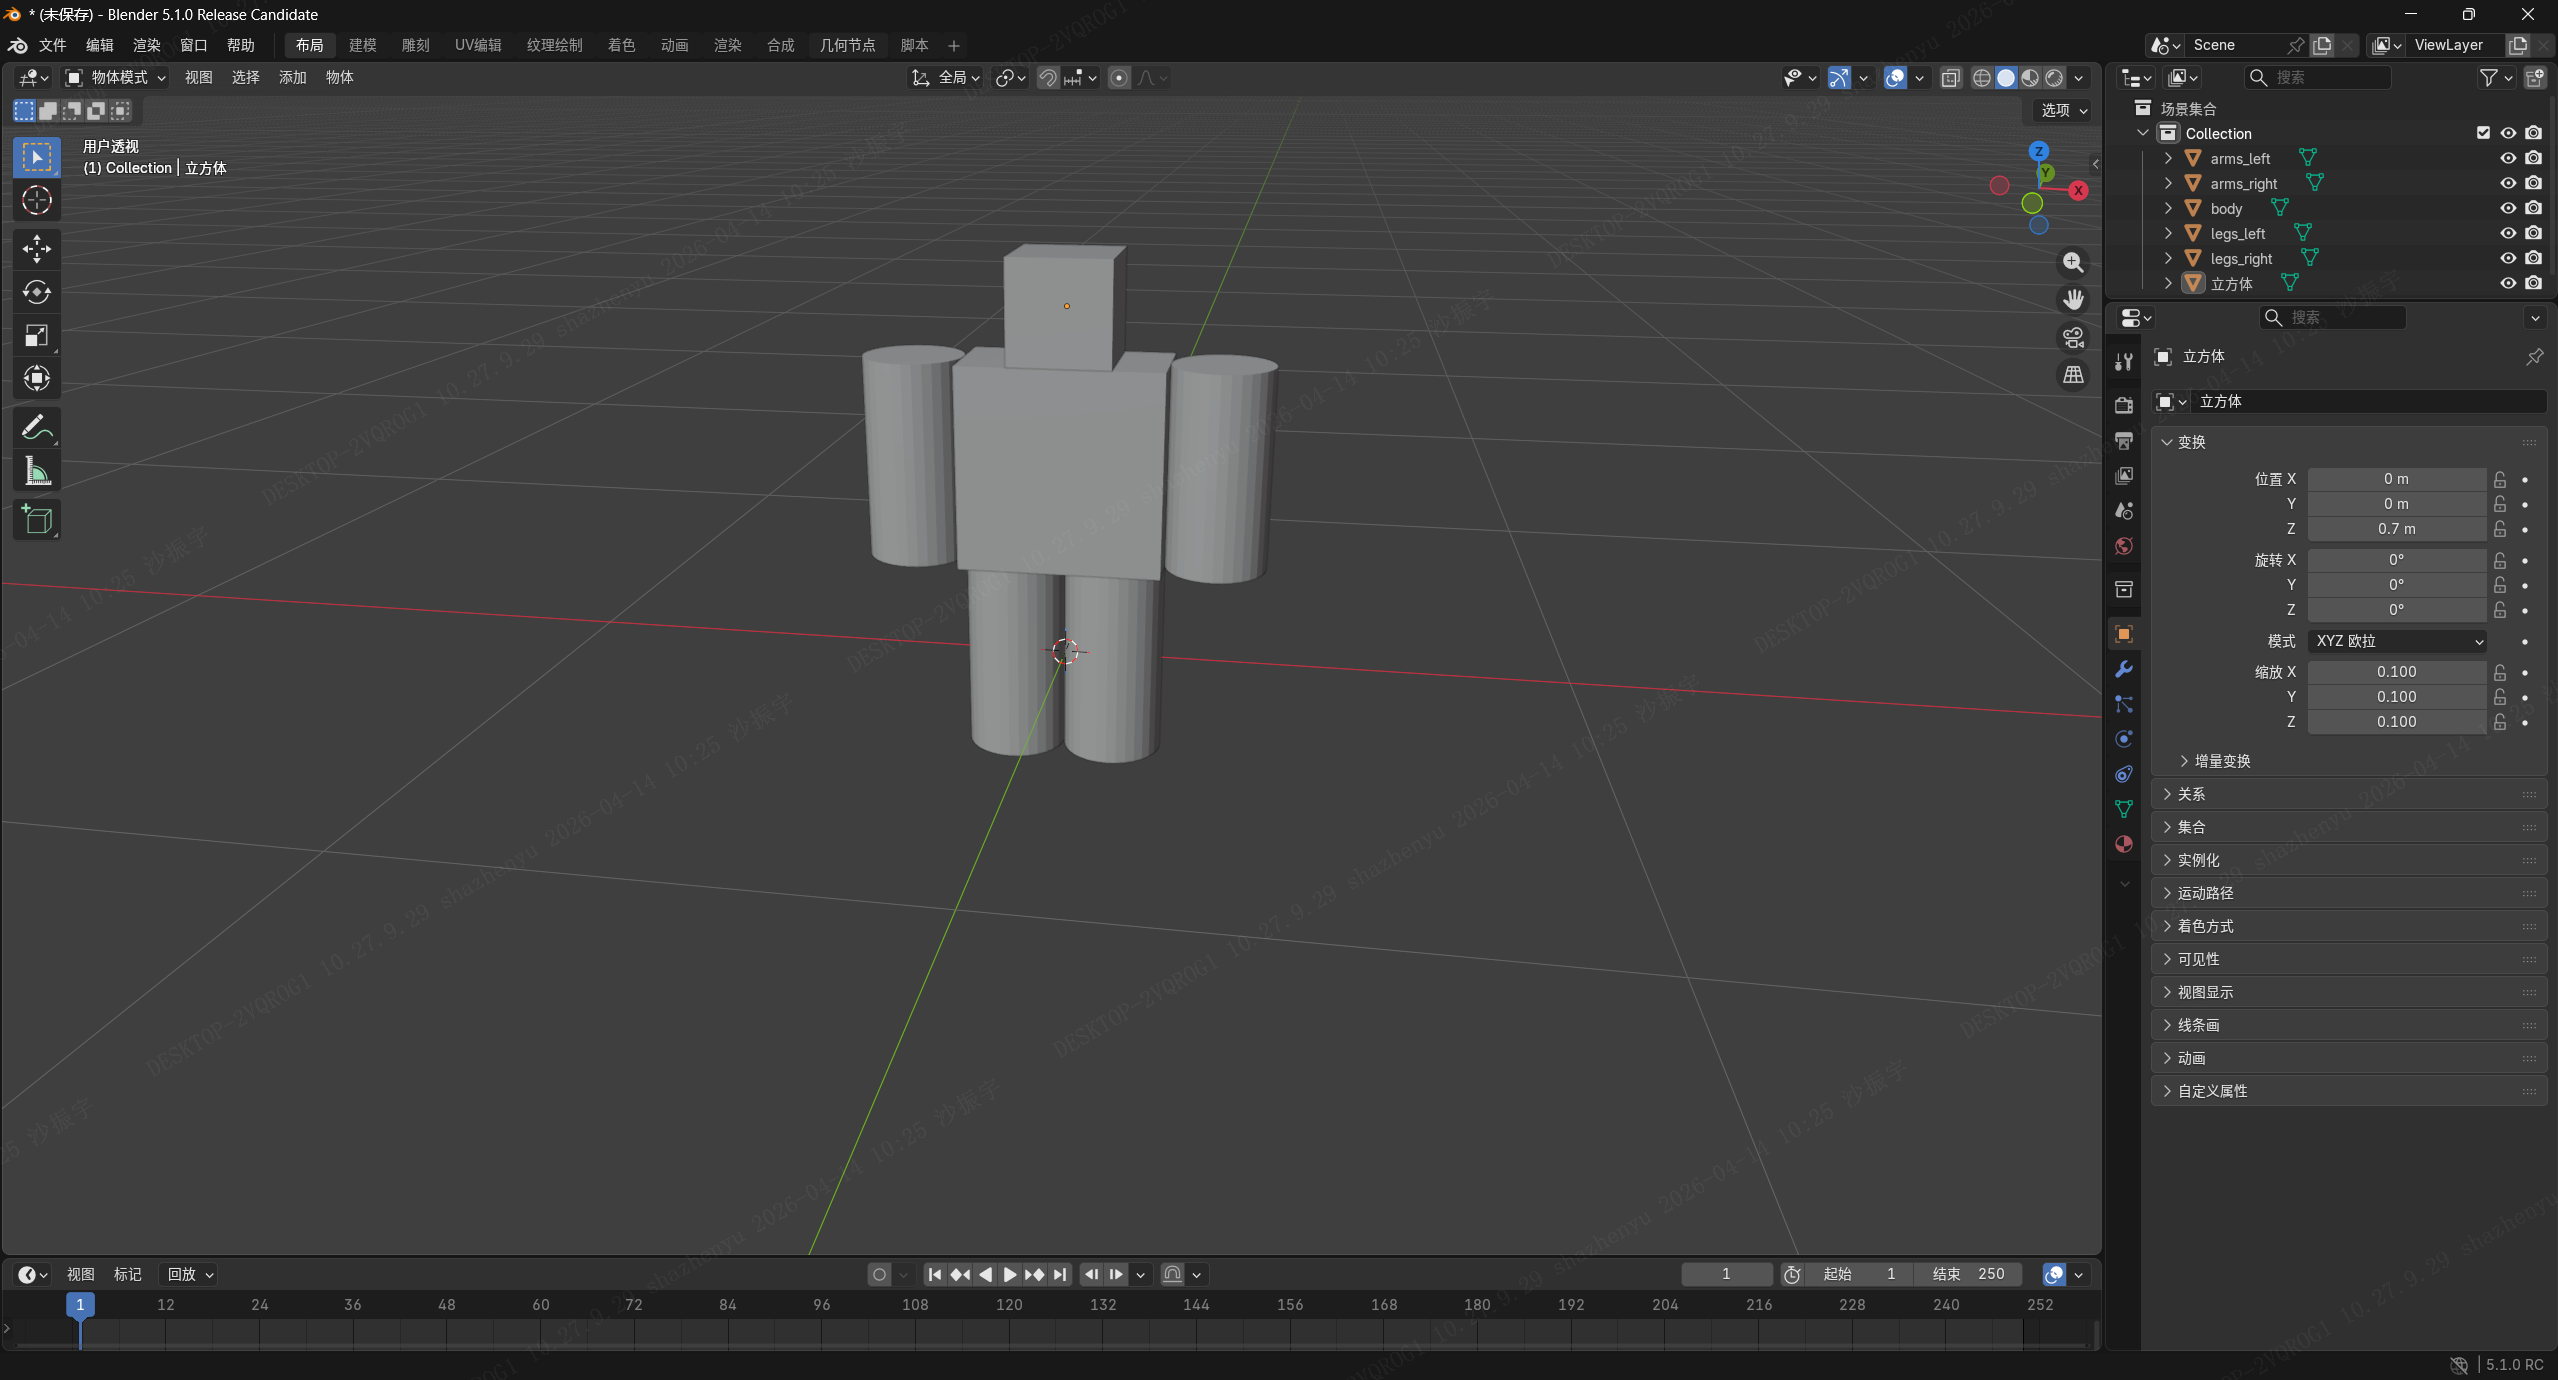
3.2.2、新建一个极简方块人
1.添加-网络-立方体;
2.缩放成小方块当身体;
3.再用立方体做出头;
4.圆柱体做出2 个手臂、2 条腿;
3.2.2.1、整体效果
不用做得好看,能看出是人形就行。
3.2.2.2、具体参数
-
头:
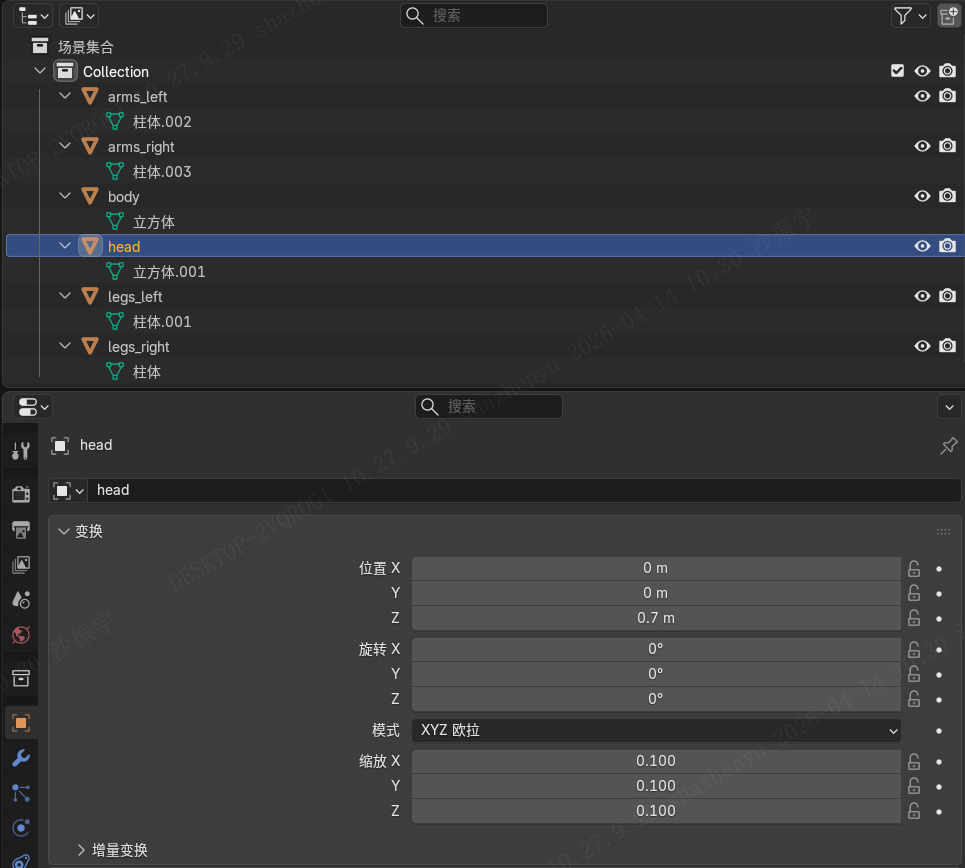
-
身体:
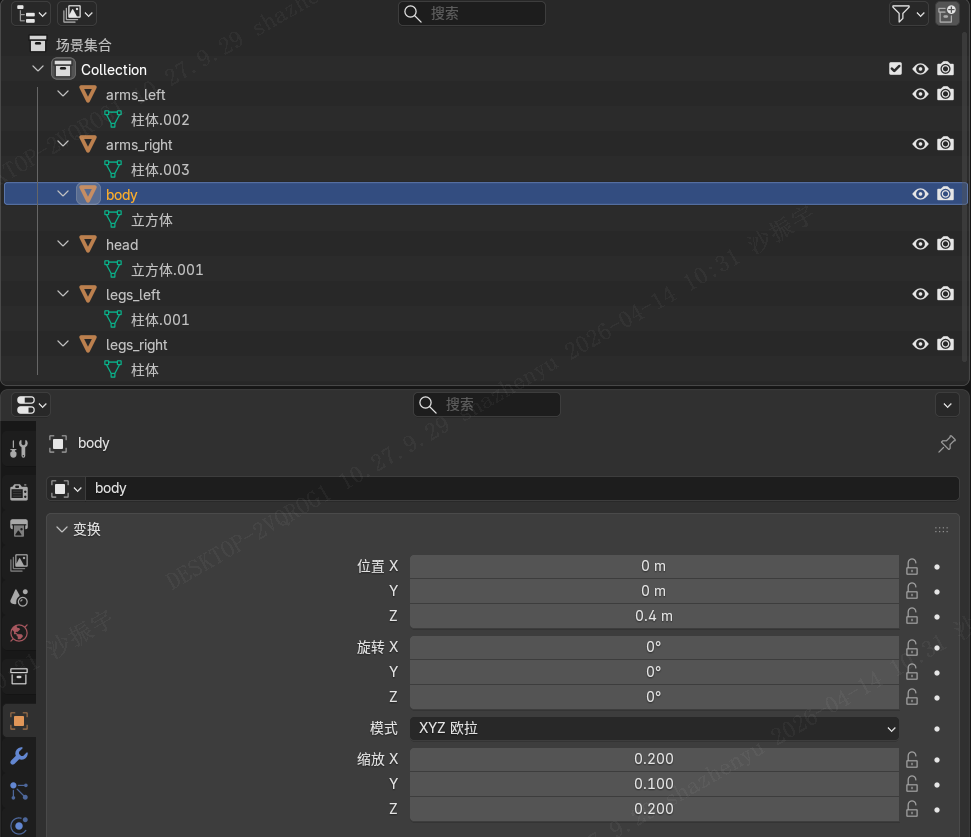
-
胳膊(以左为例):
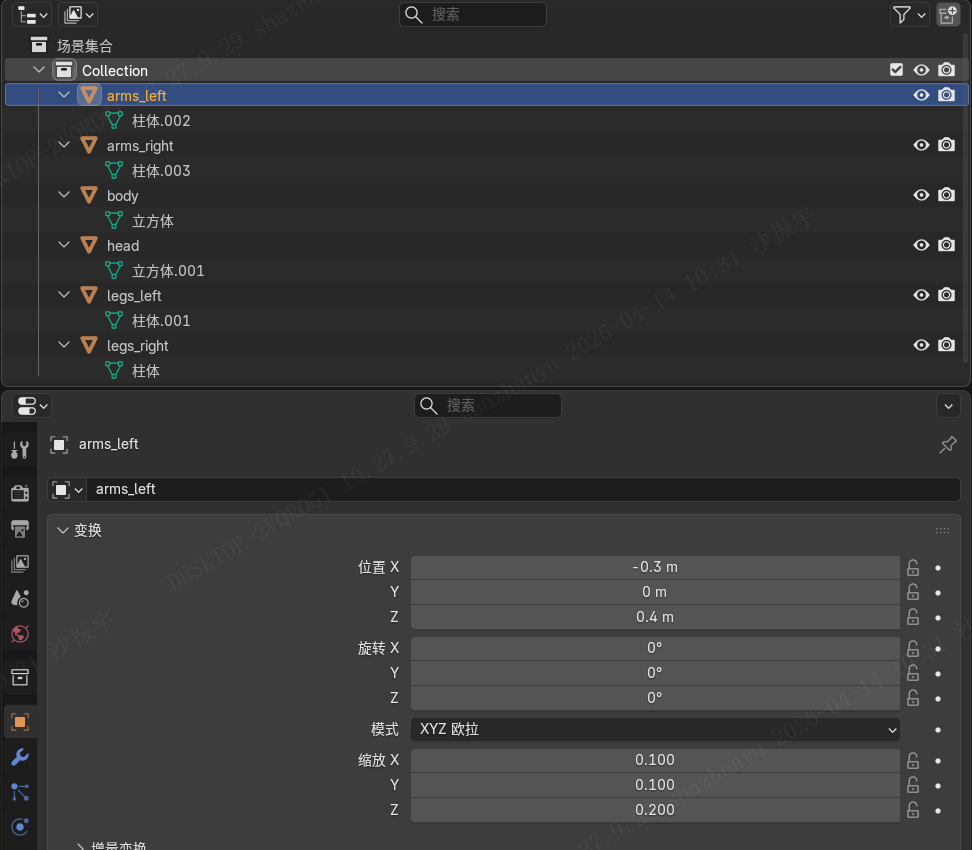
-
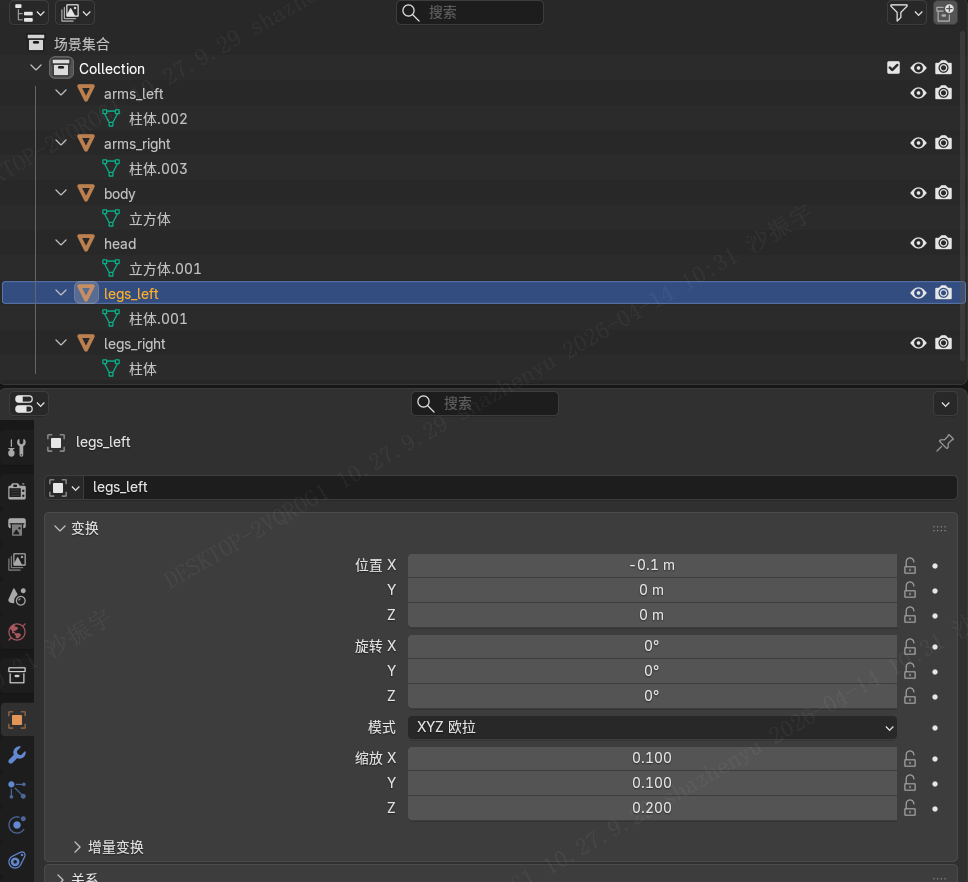
腿(以左为例):
3.2.3、创建骨骼
添加骨架,如图建立身体的各个部分:
(为了方便看效果,我统一将之前创建的身体各部分往Y方向从0移动到1m)

再将Y方向身体各个部分移动回来。
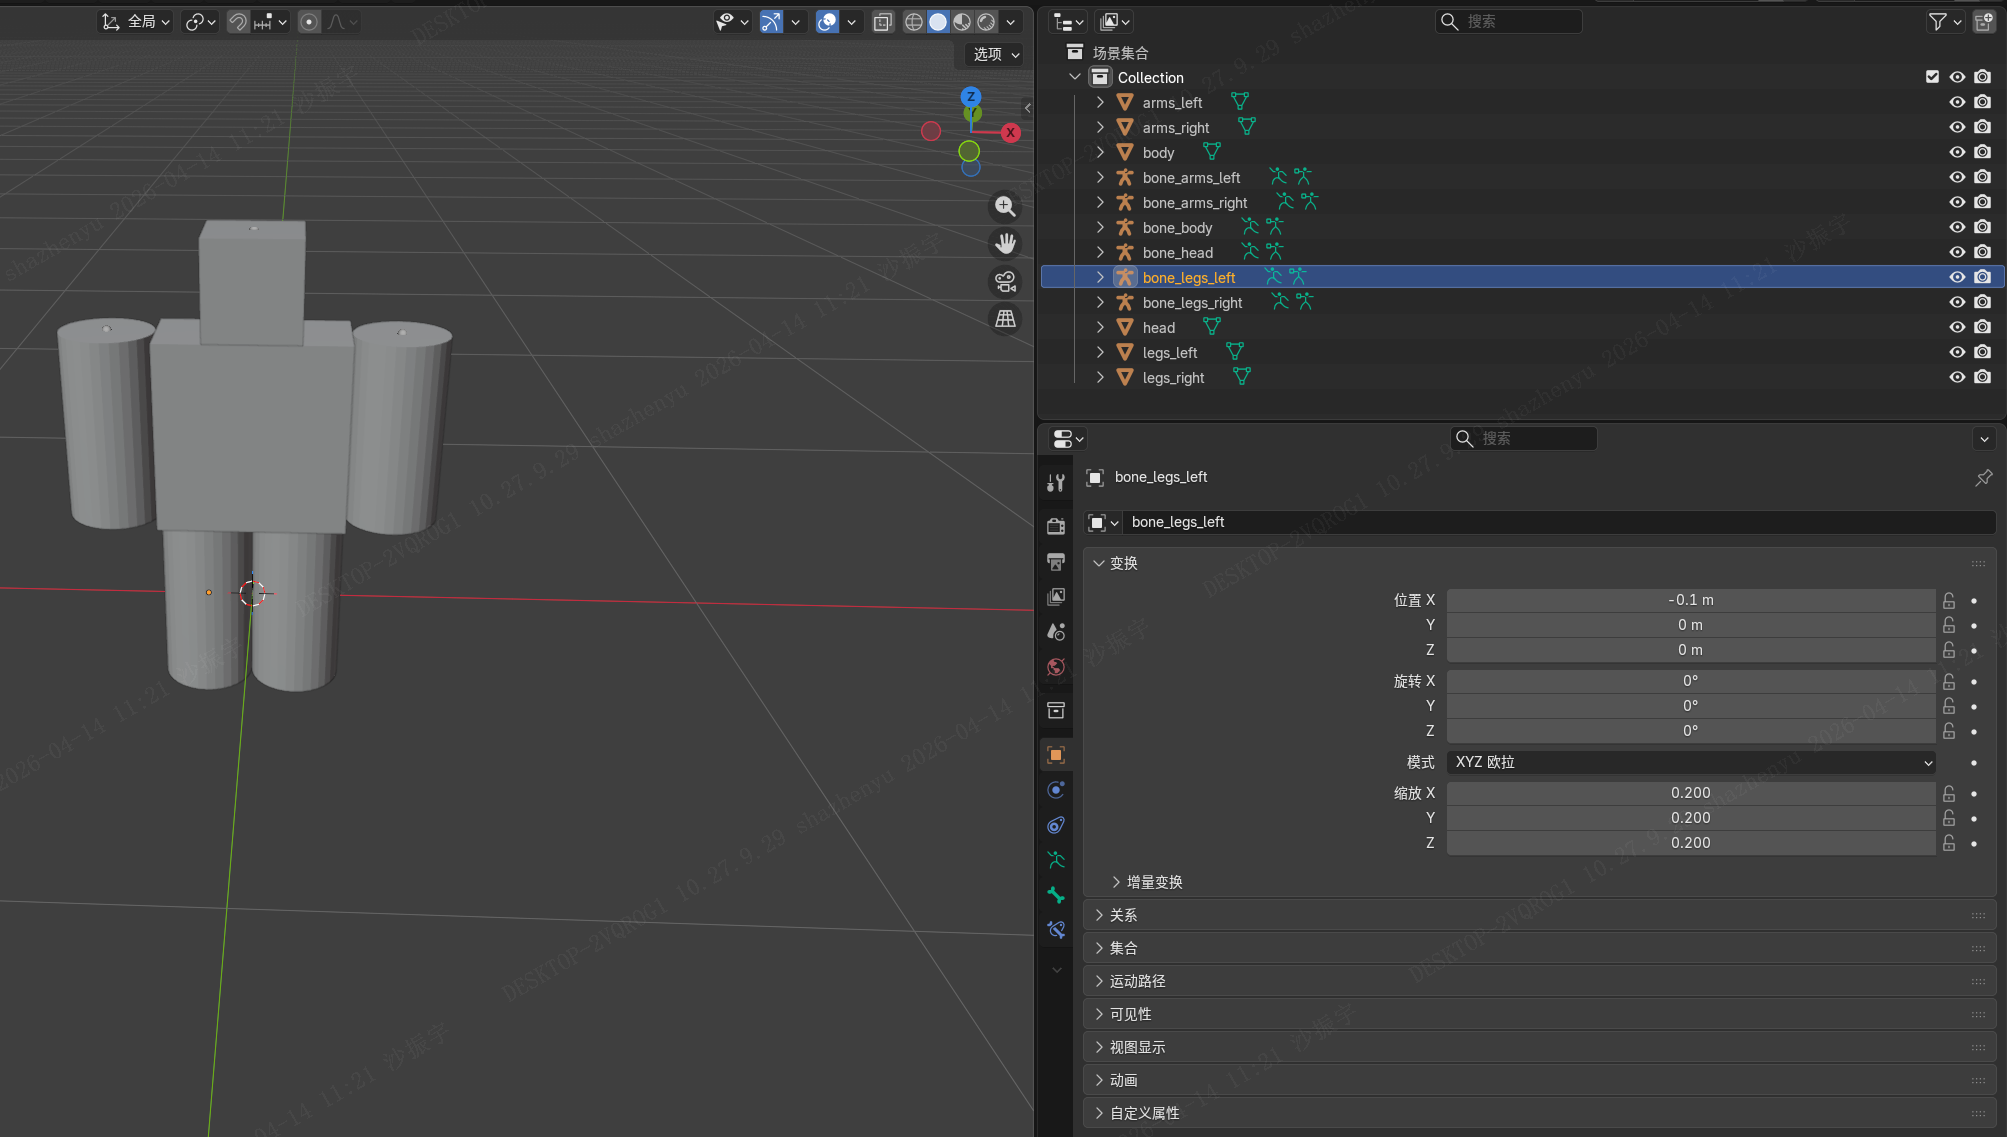
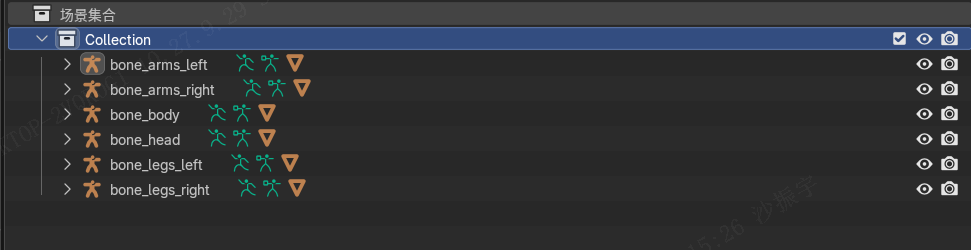
3.2.4、绑定骨骼
将物体和骨骼绑定,先点你的人物肢体模型,按住 Shift 再点骨架,按 Ctrl + P,选择骨骼,这样这个物体就会和你选定的骨骼绑定。全部绑定后,你将得到如下图所示的属性窗口:
3.2.5、制作动画
- 时间线拖到 第 1 帧
把双腿、双手都调正
每个骨骼,按一遍 I 键→ 右侧动画属性会解封。
在每个骨骼上面都插入关键帧。
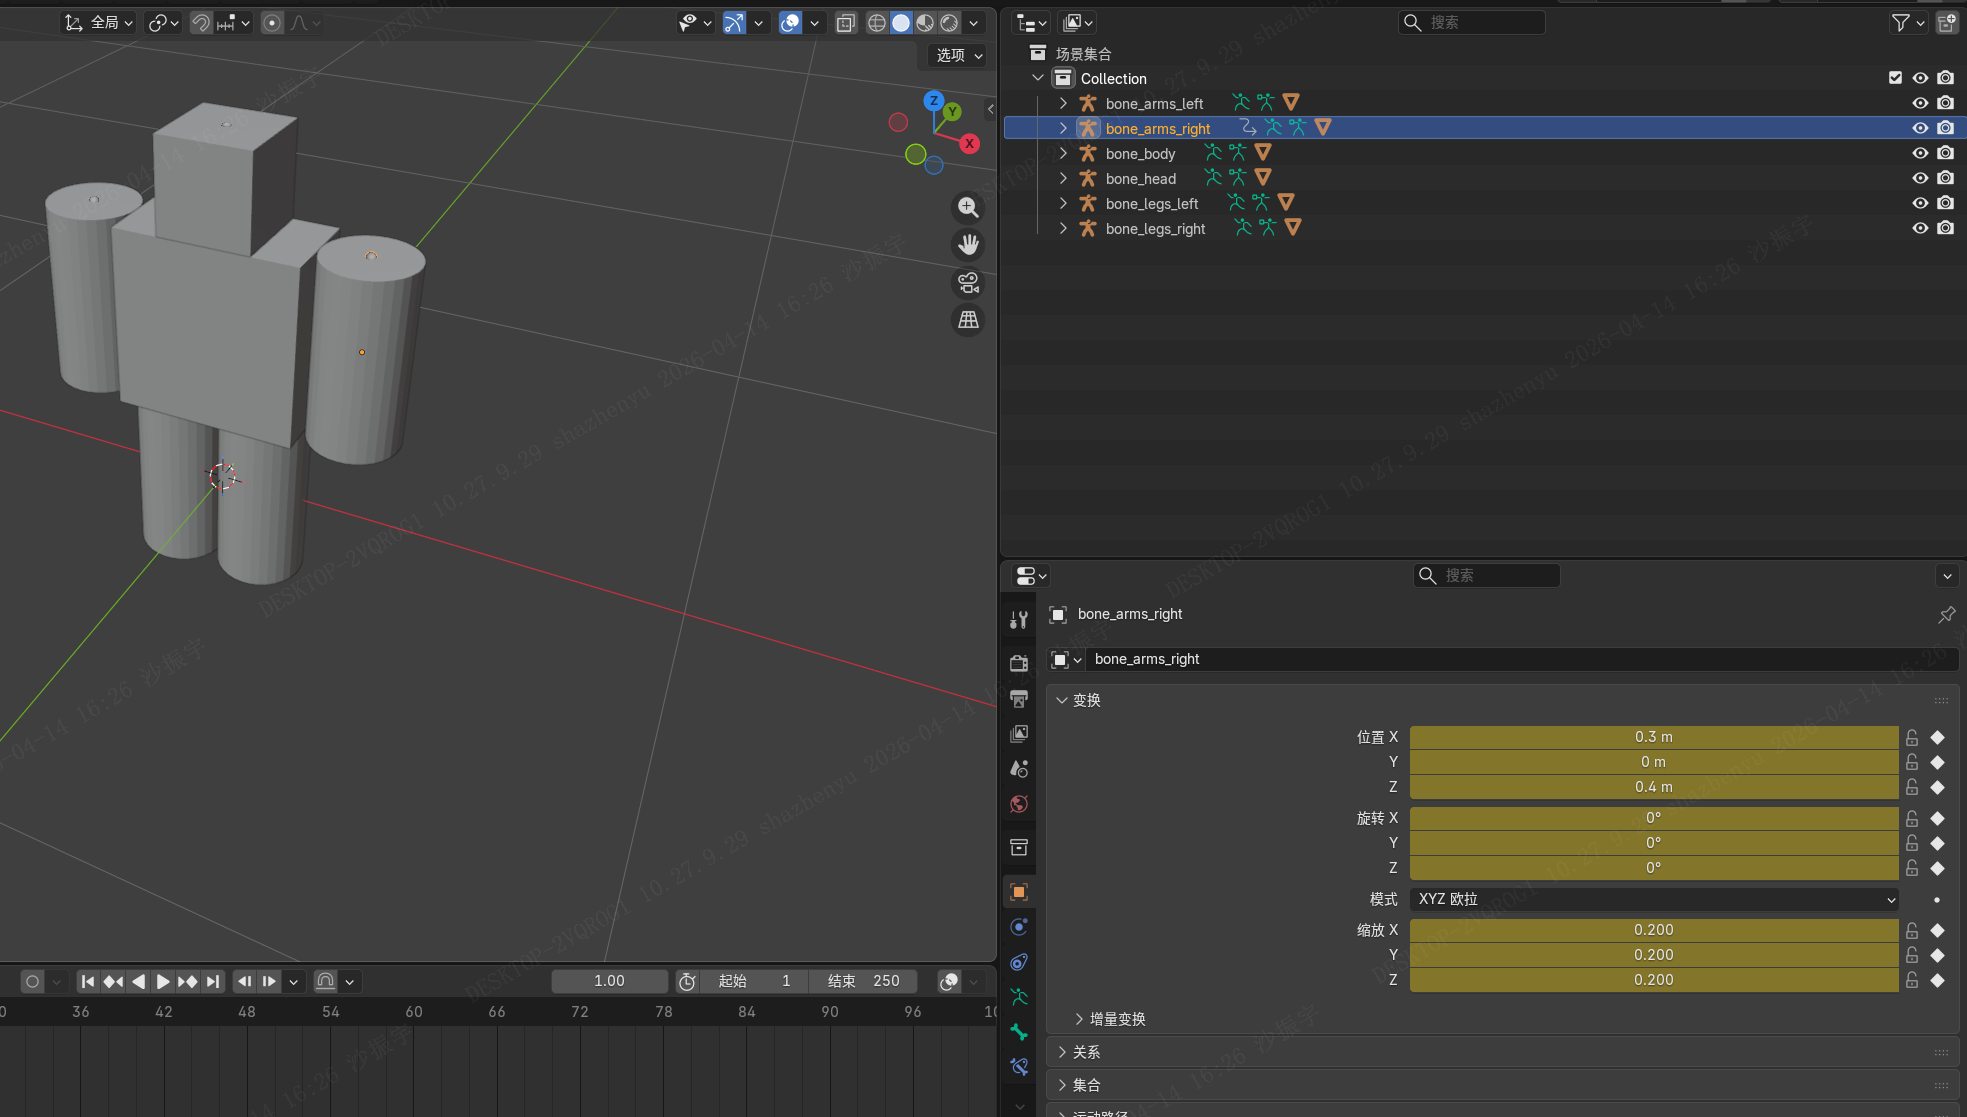
- 第 10 帧(左腿前、右腿后、右臂前、左臂后)
开始调整第10帧各个骨骼的角度,我是调整正负30度后,插入关键帧。
四肢都弄好后,滑动鼠标到动画区域看一下效果,如下:
- 第 20 帧(换腿,反过来,左腿后、右腿前、右臂后、左臂前)
开始调整第20帧各个骨骼的角度,我是调整正负30度后,插入关键帧。 - 第 30 帧(回到站立)
全部调整完毕,将帧滑到第1帧,按空格或滑动鼠标看下效果:
3.2.6、制作动画
导出 GLB(给 Vue/PlayCanvas 用)
顶部 文件 → 导出 → glTF 2.0 (.glb/.gltf)
右侧导出设置 只改这 3 个:
格式:GLB
选中物体:✅ 勾选
动画 → 动画:✅ 勾选
保存到:
你的项目/public/download/person/person1.glb
3.3、第三方工具测试模型
我们用第三方工具测试一下我们的模型:
我用的是:https://bj.glbxz.com/ 这个工具。
四、核心源码
编写PersonAnimator代码
我这里改用Three.js,没用PlayCanvas是因为本地版本太老了
html
<template>
  <div style="width:100%;height:100vh;position:fixed;top:0;left:0">
    <canvas ref="canvas"></canvas>

    <!-- 你要的4个按钮 -->
    <div style="position:absolute;bottom:30px;left:50%;transform:translateX(-50%);display:flex;gap:12px">
      <button @click="playWalk" style="padding:10px 16px;font-size:15px">走路</button>
      <button @click="stopWalk" style="padding:10px 16px;font-size:15px">停止</button>
      <button @click="turnLeft" style="padding:10px 16px;font-size:15px">左转</button>
      <button @click="turnRight" style="padding:10px 16px;font-size:15px">右转</button>
    </div>
  </div>
</template>

<script setup>
import { ref, onMounted, onUnmounted } from 'vue'
import * as THREE from 'three'
import { GLTFLoader } from 'three/addons/loaders/GLTFLoader.js'

const canvas = ref(null)
let scene, camera, renderer, mixer, model
let clips = []

onMounted(() => {
  // 初始化 ThreeJS(和在线预览工具完全一样)
  scene = new THREE.Scene()
  scene.background = new THREE.Color(0x111111)

  camera = new THREE.PerspectiveCamera(60, window.innerWidth / window.innerHeight, 0.1, 100)
  camera.position.set(0, 1.6, 10)

  renderer = new THREE.WebGLRenderer({ canvas: canvas.value, antialias: true })
  renderer.setPixelRatio(window.devicePixelRatio)
  renderer.setSize(window.innerWidth, window.innerHeight)

  // 灯光
  scene.add(new THREE.AmbientLight(0xffffff, 0.8))
  const light = new THREE.DirectionalLight(0xffffff, 1)
  light.position.set(5, 10, 8)
  scene.add(light)

  // 加载你同一个 GLB
  const loader = new GLTFLoader()
  loader.load('/download/person/person1.glb', (gltf) => {
    model = gltf.scene
    scene.add(model)
    model.scale.set(3, 3, 3)

    // 动画混合器
    mixer = new THREE.AnimationMixer(model)
    clips = gltf.animations

    console.log('✅ 你的动画全部加载:', clips.map(c => c.name))
  })

  const clock = new THREE.Clock()
  function animate() {
    requestAnimationFrame(animate)
    if (mixer) mixer.update(clock.getDelta())
    renderer.render(scene, camera)
  }
  animate()
})

// 走路(播放所有动画)
function playWalk() {
  if (!mixer) return
  clips.forEach(clip => {
    mixer.clipAction(clip).reset().play()
  })
}

// 停止
function stopWalk() {
  if (!mixer) return
  mixer.stopAllActions()
}

// 左转
function turnLeft() {
  if (!model) return
  model.rotation.y -= 0.2
}

// 右转
function turnRight() {
  if (!model) return
  model.rotation.y += 0.2
}

onUnmounted(() => {
  renderer?.dispose()
})
</script>