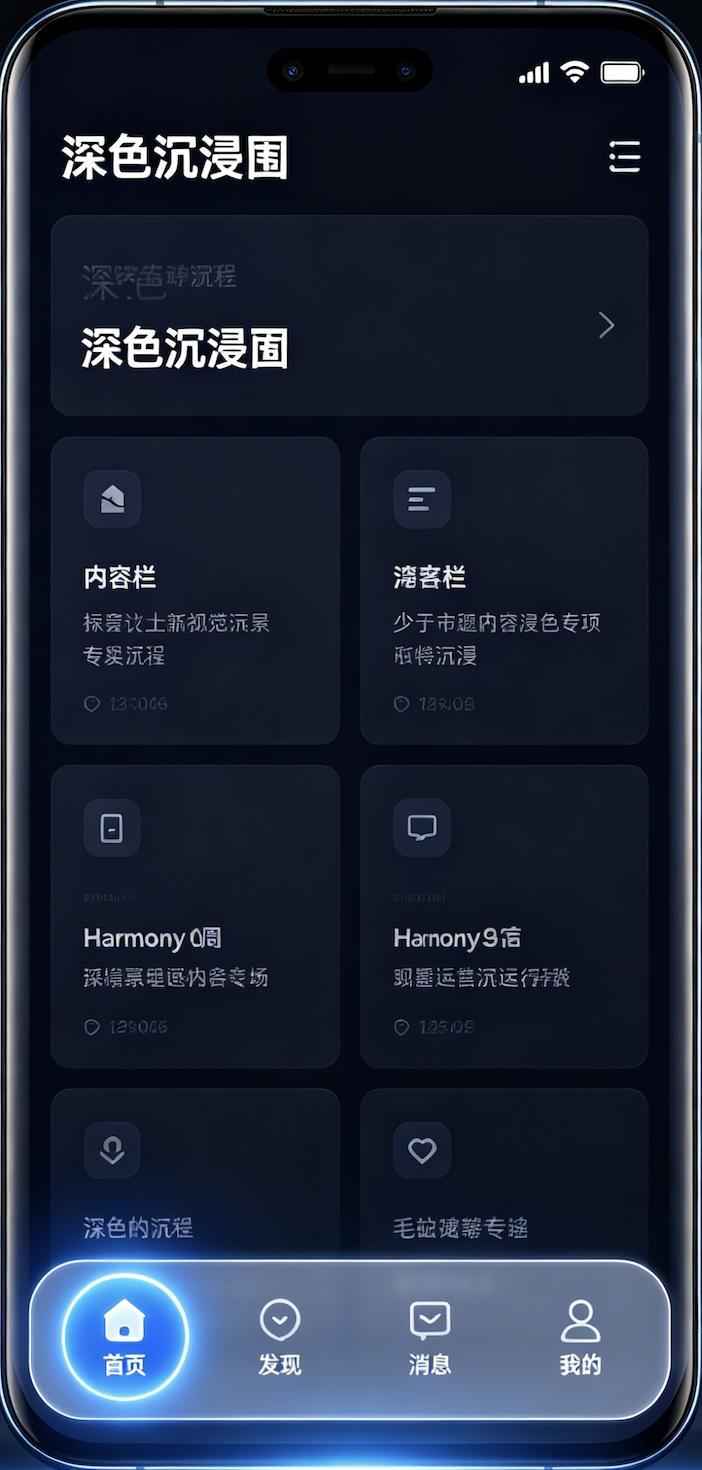
在 HarmonyOS 6(API 23)中,悬浮导航 + 沉浸光感是打造高级视觉体验的核心组合 ------ 悬浮导航脱离底部、自带毛玻璃通透感,沉浸光感让页面突破状态栏 / 导航栏边界、与系统光效融合,实现「内容全屏、导航悬浮、光影通透」的现代 UI 质感。
本文基于 API 23 最新特性,从核心原理、沉浸配置、悬浮导航封装、光感动效到完整可运行 Demo,一步步带你实现,代码直接复制即可运行。
一、核心概念:先搞懂「悬浮导航」与「沉浸光感」
1.1 悬浮导航(Floating Navigation)
区别于系统默认底部导航栏,悬浮导航是自定义的半透明 / 毛玻璃底部悬浮栏:
- 脱离页面底部、有明显抬升感,不挤压主内容
- 支持毛玻璃(backgroundBlurStyle)、渐变、阴影、光效
- 可固定底部、支持拖动、点击切换页面,适配全面屏手势
1.2 沉浸光感(Immersive Light Effect)
HarmonyOS 6 新增的系统级视觉能力,核心是:
- 窗口沉浸:页面布局延伸到状态栏 / 导航栏区域,不被系统栏遮挡,视觉无割裂
- 光感融合:导航 / 悬浮组件支持系统光效、半透明模糊、渐变光晕,与系统主题色联动
- 安全区适配:内容自动避让系统栏,避免文字 / 按钮被遮挡
1.3 适用场景
- 主流 App 首页、短视频、阅读、工具类应用
- 追求高级视觉、全屏沉浸、通透质感的 UI 设计
- API 23+、Stage 模型、ArkTS V2 开发环境
二、前置准备:环境与权限配置(API 23 必做)
2.1 开发环境
- DevEco Studio 5.0+
- SDK:HarmonyOS 6(API 23)
- 项目模型:Stage 模型 + ArkTS
2.2 模块配置
json
{
  "module": {
    "abilities": [
      {
        "name": "EntryAbility",
        "srcEntry": "./ets/entryability/EntryAbility.ts",
        "window": {
          "designWidth": 720,
          "autoDesignWidth": true
        }
      }
    ],
    "requestPermissions": []
  }
}
三、第一步:全局窗口沉浸配置
3.1 EntryAbility.ts 全局开启沉浸
typescript
运行
import { UIAbility, WindowStage } from '@kit.AbilityKit';
import { BusinessError } from '@kit.BasicServicesKit';

export default class EntryAbility extends UIAbility {
  onWindowStageCreate(windowStage: WindowStage): void {
    windowStage.getMainWindow().then((win) => {
      // 开启全屏布局,内容延伸至状态栏/导航栏
      win.setWindowLayoutFullScreen(true);
      // 透明系统栏 + 自适应文字
      win.setWindowSystemBarProperties({
        statusBarColor: '#00000000',
        navigationBarColor: '#00000000',
        statusBarContentColor: '#FFFFFF',
        navigationBarContentColor: '#FFFFFF'
      });
      windowStage.loadContent('pages/Index');
    }).catch((err: BusinessError) => {
      console.error('沉浸配置失败', err.code, err.message);
    });
  }
}
四、第二步:完整可运行 Demo(沉浸 + 悬浮导航)
typescript
运行
// Index.ets
import { SafeAreaType, SafeAreaEdge, BlurStyle } from '@kit.ArkUI';

@Entry
@Component
struct Index {
  build() {
    Stack({ alignContent: Alignment.Bottom }) {
      // 主内容区 - 全屏沉浸
      Scroll() {
        Column({ space: 20, alignItems: ItemAlign.Center }) {
          Text('HarmonyOS 6 API23')
            .fontSize(32)
            .fontWeight(FontWeight.Bold)
            .fontColor('#FFFFFF')
            .padding({ top: 60 })

          Text('悬浮导航 + 沉浸光感 Demo')
            .fontSize(18)
            .fontColor('#94A3B8')

          ForEach([1,2,3,4,5,6], (item) => {
            Column() {
              Text(`沉浸内容卡片 ${item}`)
                .fontSize(16)
                .fontColor('#FFFFFF')
            }
            .width('90%')
            .height(140)
            .backgroundColor('#1E293B')
            .borderRadius(20)
            .justifyContent(FlexAlign.Center)
          })
        }
        .width('100%')
        .padding({ bottom: 100 })
      }
      .width('100%')
      .height('100%')
      .backgroundColor('#0F172A')
      .expandSafeArea([SafeAreaType.SYSTEM], [SafeAreaEdge.TOP, SafeAreaEdge.BOTTOM])

      // 悬浮导航组件
      FloatingNav()
    }
    .width('100%')
    .height('100%')
  }
}

@Component
struct FloatingNav {
  @State selectedIndex: number = 0;
  private navItems = [
    { text: '首页' },
    { text: '发现' },
    { text: '消息' },
    { text: '我的' }
  ];

  build() {
    Row({ space: 0 }) {
      ForEach(this.navItems, (item, index) => {
        Column({ space: 4, alignItems: ItemAlign.Center }) {
          Text(item.text)
            .fontSize(12)
            .fontColor(this.selectedIndex === index ? '#3B82F6' : '#94A3B8')
        }
        .width('25%')
        .height('100%')
        .justifyContent(FlexAlign.Center)
        .onClick(() => {
          animateTo({ duration: 200, curve: Curve.EaseOut }, () => {
            this.selectedIndex = index;
          })
        })
        .overlay(this.selectedIndex === index ?
          RoundedRect()
            .width(32)
            .height(3)
            .borderRadius(1.5)
            .backgroundColor('#3B82F6')
            .blur(4)
            .position({ bottom: 8 })
          : null
        )
      })
    }
    .width('90%')
    .height(60)
    .backgroundColor('#CCFFFFFF')
    .backgroundBlurStyle(BlurStyle.COMPONENT_THICK)
    .borderRadius(30)
    .shadow({ radius: 20, color: '#333B82F6', offsetX: 0, offsetY: 8 })
    .margin({ bottom: 36 })
    .position({ bottom: 0, left: '5%' })
  }
}
五、核心能力说明
5.1 沉浸关键 API
setWindowLayoutFullScreen(true):全局全屏沉浸expandSafeArea:组件突破系统安全区- 8 位透明色
#00000000:系统栏完全透明
5.2 API23 光感核心
backgroundBlurStyle:系统级毛玻璃模糊,性能优于自定义模糊- 多层阴影 + 内发光 + 高斯模糊:打造鸿蒙原生高级光感
- 悬浮圆角容器:脱离原生导航栏,自由定制
六、进阶优化
-
点击动效 通过
animateTo实现切换平滑过渡,提升交互质感。 -
全面屏手势适配
ts
.margin({ bottom: 36 })预留底部手势区,防止手势冲突。
- 动态状态栏文字根据页面深浅,动态切换黑白状态栏文字,保证可读性。
七、常见问题避坑
- 内容被状态栏遮挡
顶部增加
padding({top:60})或使用安全区变量适配
- 毛玻璃不生效
必须 API23+、搭配半透明背景色 +
backgroundBlurStyle
- 悬浮导航被遮挡
使用
Stack层级布局 + 固定定位,内容区底部预留边距
八、总结
HarmonyOS 6(API23)悬浮导航 + 沉浸光感核心三点:
- 全局窗口开启全屏透明,打下沉浸基础
- 借助
backgroundBlurStyle实现系统级毛玻璃通透 - 自定义悬浮底部导航,脱离原生栏限制,配合光影阴影打造高级质感
整套代码直接复制即可在 API23 真机 / 模拟器运行,适合直接接入项目开发。