你是否厌倦了为在线语音识别 API 付费?或者担心数据隐私问题?本文将导引你如何使用 Hugging Face 的轻量级模型 openai/whisper-large-v3-turbo,在你的本机搭建一个完全免费的语音转文字 REST API 服务,并解决实际部署中可能遇到的各种"坑"。
为什么选择 Whisper large-v3-turbo?
large-v3-turbo 是 large-v3 的精简版,将解码层从 32 层减少到 4 层,参数大幅缩减至 0.8B。这意味着在精度略有下降的同时,推理速度出现巨大提升,非常适合 CPU 环境或本地实时转录,且支持多语言(含中文)。
第一步:环境准备与模型获取
模型地址:https://huggingface.co/openai/whisper-large-v3-turbo
在开始编码前,你需要一个 Python 3.10+ 环境,并为 Windows 用户指出了明确的下载指南。以下是两种下载完整模型的方式(包含大文件):
方式 A:使用 Git over SSH(如果你已有 GitHub 秘钥)
bash
# 安装 git-xet 以支持大文件协议
winget install git-xet

# 克隆整个模型仓库(包含 1.6GB 的权重文件)
git clone git@hf.co:openai/whisper-large-v3-turbo
方式 B:使用 Hugging Face CLI 工具(更通用)
bash
# 安装 CLI 工具
powershell -ExecutionPolicy ByPass -c "irm https://hf.co/cli/install.ps1 | iex"

# 完整下载模型到默认缓存
hf download openai/whisper-large-v3-turbo
第二步:极简 API 服务搭建 (FastAPI)
安装必要的 Python 库:
bash
pip install transformers torch torchaudio soundfile fastapi uvicorn我们编写的 api.py 脚本,显式避开了对 ffmpeg 的依赖,改用 soundfile 读取常见无损/PCM 音频。对于 MP3 等含压缩格式,它对格式兼容尚有局限性,但使服务器部署环境大幅简化。
创建 api.py,这是核心启动脚本:
python
from fastapi import FastAPI, UploadFile
import torch
from transformers import AutoModelForSpeechSeq2Seq, AutoProcessor
import uvicorn
import soundfile as sf
import io
import numpy as np
app = FastAPI()
device = "cuda" if torch.cuda.is_available() else "cpu"
torch_dtype = torch.float16 if torch.cuda.is_available() else torch.float32
model_path = r"E:\SoftWare\Develop\Models\whisper-large-v3-turbo"
model = AutoModelForSpeechSeq2Seq.from_pretrained(
model_path,
torch_dtype=torch_dtype,
low_cpu_mem_usage=True,
use_safetensors=True
).to(device)
processor = AutoProcessor.from_pretrained(model_path)
def read_audio(audio_bytes):
"""用 soundfile 从字节流读取音频,并重采样至 16kHz 单声道"""
audio_file = io.BytesIO(audio_bytes)
speech, sr = sf.read(audio_file, dtype='float32')
if speech.ndim > 1:
speech = speech.mean(axis=1) # 转单声道
# 重采样到 16000(简单线性插值,适合非精确场景)
if sr != 16000:
num_samples = int(len(speech) * 16000 / sr)
speech = np.interp(
np.linspace(0, len(speech) - 1, num_samples),
np.arange(len(speech)),
speech
)
return speech.astype(np.float32)
@app.post("/v1/audio/transcriptions")
async def transcribe(file: UploadFile):
audio_bytes = await file.read()
try:
speech = read_audio(audio_bytes)
except Exception as e:
return {"error": f"Audio decoding failed: {str(e)}"}
inputs = processor(speech, sampling_rate=16000, return_tensors="pt")
inputs = inputs.to(device, dtype=torch_dtype)
with torch.no_grad():
generated_ids = model.generate(**inputs)
text = processor.batch_decode(generated_ids, skip_special_tokens=True)[0]
return {"text": text.strip()}
if __name__ == "__main__":
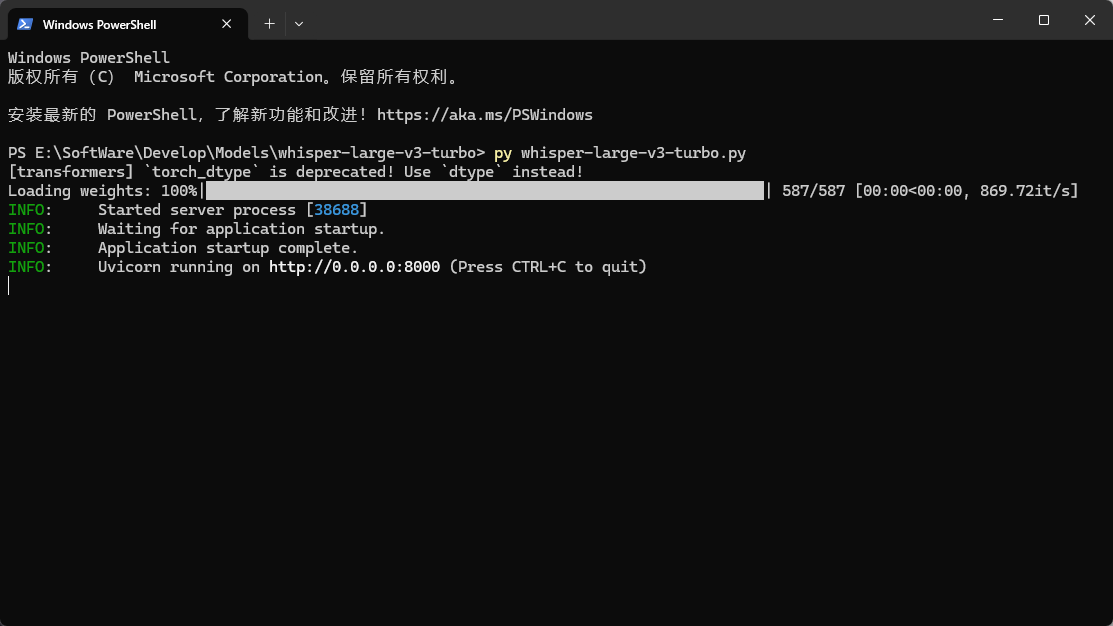
uvicorn.run(app, host="0.0.0.0", port=8000)在终端中运行 python api.py,若看到 Uvicorn running on http://0.0.0.0:8000 即代表服务成功上线。
第三步:请求与返回示例
启动服务后,你可以通过 curl 或任何 HTTP 客户端进行端到端测试:
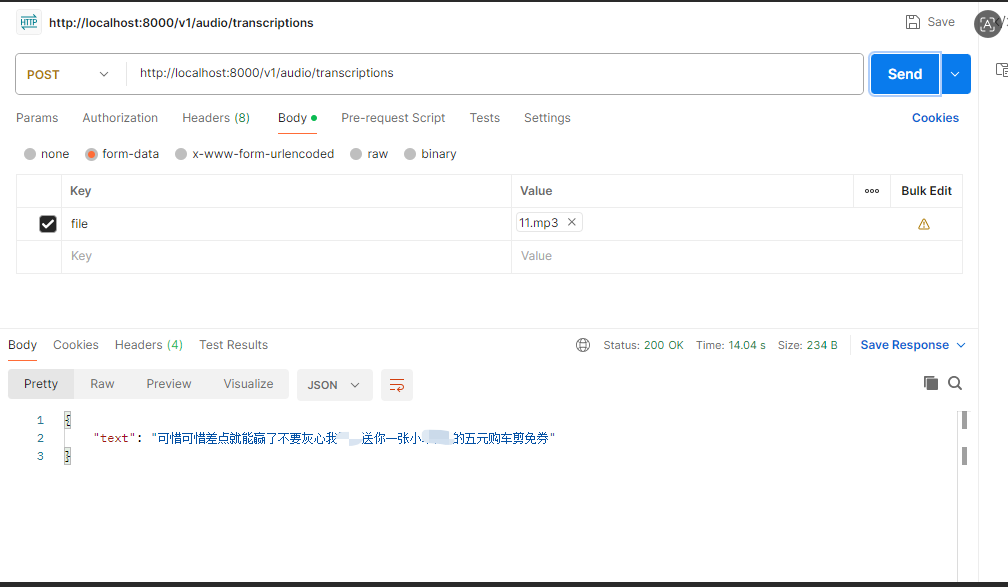
请求(上传音频文件):
bash
curl.exe -X POST http://localhost:8000/v1/audio/transcriptions -F "file=@E:\SoftWare\Develop\11.mp3"成功返回示例:
bash
{
  "text": "可惜可惜差点就能赢了不要灰心我"打码效果"送你一张小"打码效果"的五元购车剪免券"
}
如果发送不支持的格式(如 aac),且没有 ffmpeg 环境,API 会优雅地返回错误信息而非崩溃:
bash
{
  "error": "Audio decoding failed: Error opening <_io.BytesIO object at 0x...>: Format not recognised."
}