Agent 到底是什么
AI Agent 的经典定义是:一个能够通过传感器感知环境,并通过执行器对环境施加影响的实体。
在现代 AI 语境下,Agent 通常以大型语言模型(LLM)作为其思考核心,并借助代码架构来增强其规划、记忆等能力。其核心本质在于,用代码的确定性与可控性,来弥补大模型的不确定性及知识盲区。因此,我们可以在 Python 中设计 Agent 的完整运转流程,处理数据,并调用 Copilot 的接口来完成推理任务。
本文将介绍如何从零开始搭建一个基于 Copilot 的 AI Agent
文章目录
- [Agent 到底是什么](#Agent 到底是什么)
-
- 环境准备
-
- [1.Copilot Token 获取](#1.Copilot Token 获取)
- [2.安装Copilot SDK](#2.安装Copilot SDK)
- 3.调用Copilot接口
- 4.构建Agent
环境准备
1.Copilot Token 获取
Copilot Token 的获取方法:
1.登录GitHub
2.进入Setting界面,点击左侧的Developer Settings
3.personal access tokens 下拉框中选择 fine-grained token
4.点击Generate New Token
5.填写token name一栏(随便填)并选择copilot的权限
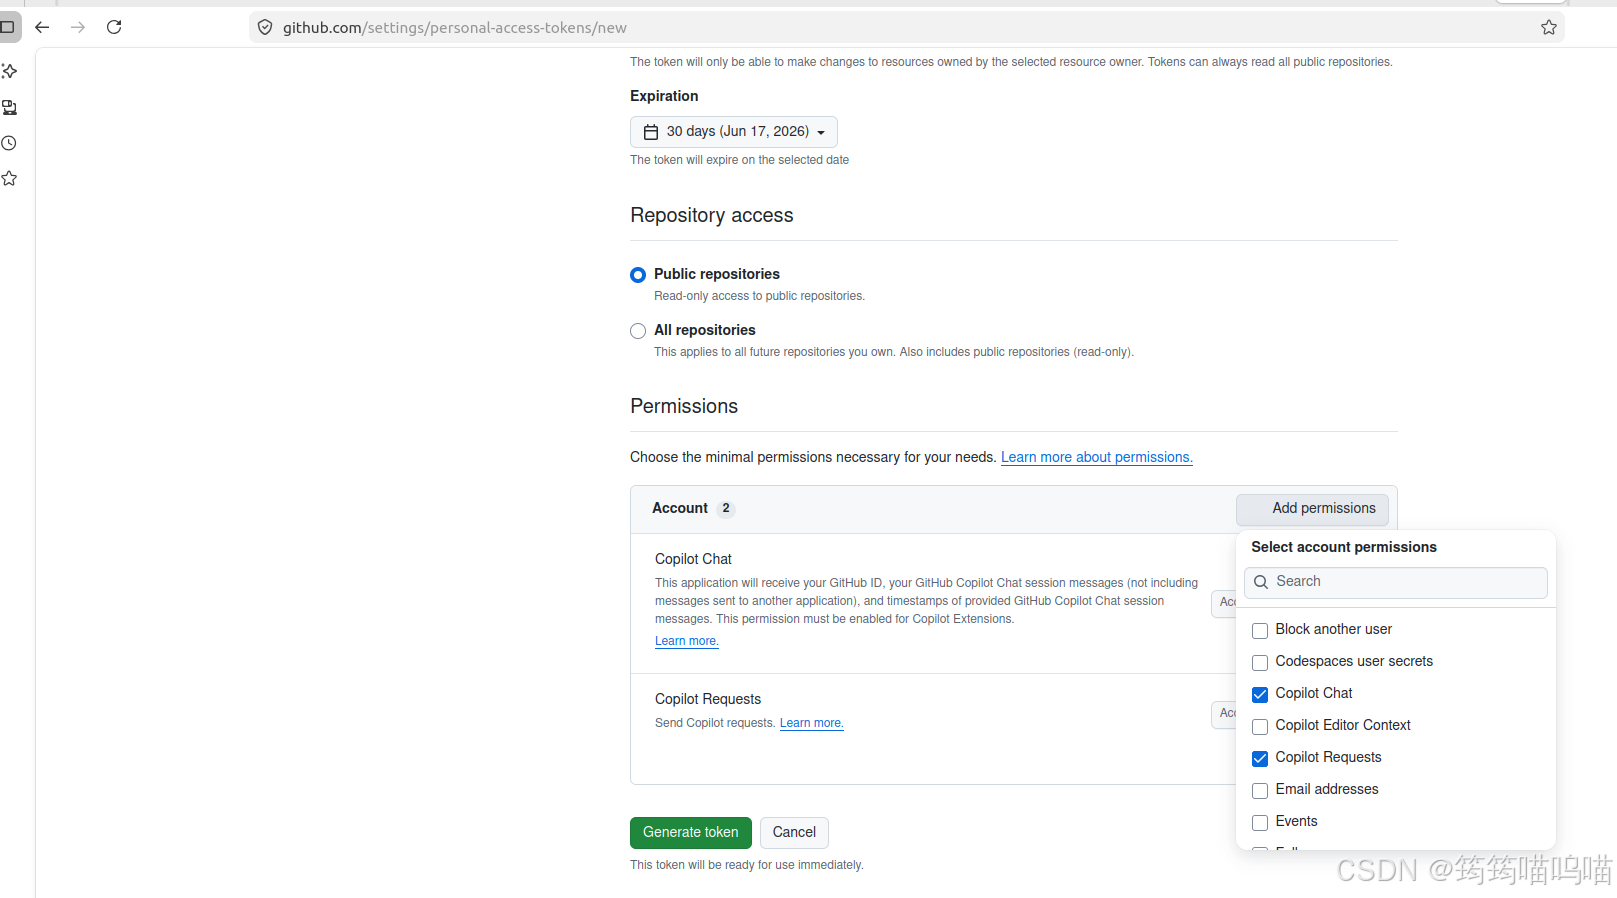
生成好的token在后续代码中会用到
2.安装Copilot SDK
安全起见,建议创建虚拟环境后在虚拟环境中安装sdk
bash
python -m venv venv && source venv/bin/activate
pip install github-copilot-sdk
3.调用Copilot接口
创建main.py如下
python
import asyncio
from copilot import CopilotClient, SubprocessConfig
from copilot.session import PermissionHandler

async def main():
    config = SubprocessConfig(github_token="your token")
    client = CopilotClient(config)
    await client.start()
    #创建session
    session = await client.create_session(on_permission_request=PermissionHandler.approve_all,model= "gpt-4.1")
    #查询请求
    response = await session.send_and_wait(prompt="用C++ 写一个Hello word程序")

    print(response.data.content)

    await client.stop()

asyncio.run(main())
其中your token 就是刚刚在Github上生成的token
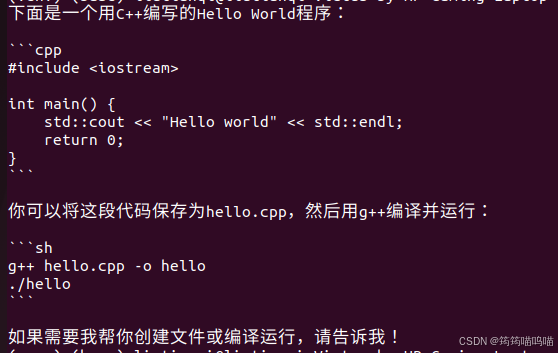
运行程序
bash
python main.py输出结果如下:
4.构建Agent
当前的代码仅仅是向AI模型发送一个查询请求,然后接收响应。接下来我们要为它添加上下文记忆功能和循环处理的逻辑
python
import asyncio
from copilot import CopilotClient, SubprocessConfig
from copilot.session import PermissionHandler

class SimpleAgent:
    def __init__(self):
        self.client = None
        self.session = None
        self.conversation_history = []

    async def initialize(self):
        config = SubprocessConfig(github_token="your token")
        self.client = CopilotClient(config)
        await self.client.start()

        self.session = await self.client.create_session(
            on_permission_request=PermissionHandler.approve_all,
            model="gpt-4.1"
        )

    async def process_task(self, task):
        # 创建包含历史记录的消息上下文
        # 只取最近的100条消息,防止超出上下文长度限制
        recent_history = self.conversation_history[-100:]

        # 构建完整的提示,包含历史记录
        context_messages = []
        for msg in recent_history:
            role = msg["role"]
            content = msg["content"]
            context_messages.append(f"{role.capitalize()}: {content}")

        # 添加当前任务
        context_messages.append(f"User: {task}")
        context_messages.append("Assistant:")  # 提示AI继续回应

        # 将上下文组合成一个字符串
        full_context = "\n".join(context_messages)

        # 发送带有上下文的请求
        response = await self.session.send_and_wait(prompt=full_context)
        response_content = response.data.content

        # 更新对话历史
        self.conversation_history.append({"role": "user", "content": task})
        self.conversation_history.append({"role": "assistant", "content": response_content})

        return response_content

    async def run_conversation(self):
        while True:
            user_input = input("请输入问题 (输入 'quit' 退出): ")
            if user_input.lower() == 'quit':
                break

            response = await self.process_task(user_input)
            print(f"AI: {response}")

    async def cleanup(self):
        if self.client:
            await self.client.stop()

# 使用示例
async def main():
    agent = SimpleAgent()
    await agent.initialize()
    await agent.run_conversation()
    await agent.cleanup()

asyncio.run(main())
运行代码输出如下:

在process_task 函数中,后续我们可以添加更多功能来处理用户输入或模型的输出来构建使用不同场景的agent。