ubuntu26.04音频转srt字幕
推荐使用方法三、conda虚拟环境下使用WhisperX
方法一、使用Buzz
1.安装Buzz
通过apt安装flatpak
bash
sudo apt install flatpak添加Flathub仓库
bash
flatpak remote-add --if-not-exists flathub https://flathub.org/repo/flathub.flatpakrepoflatpak方式安装buzz
bash
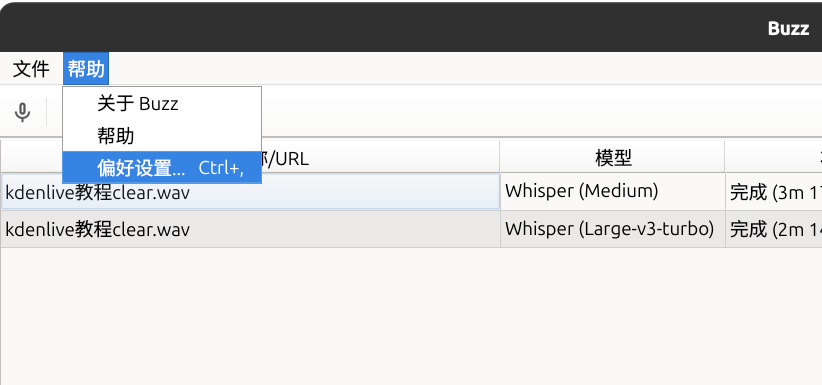
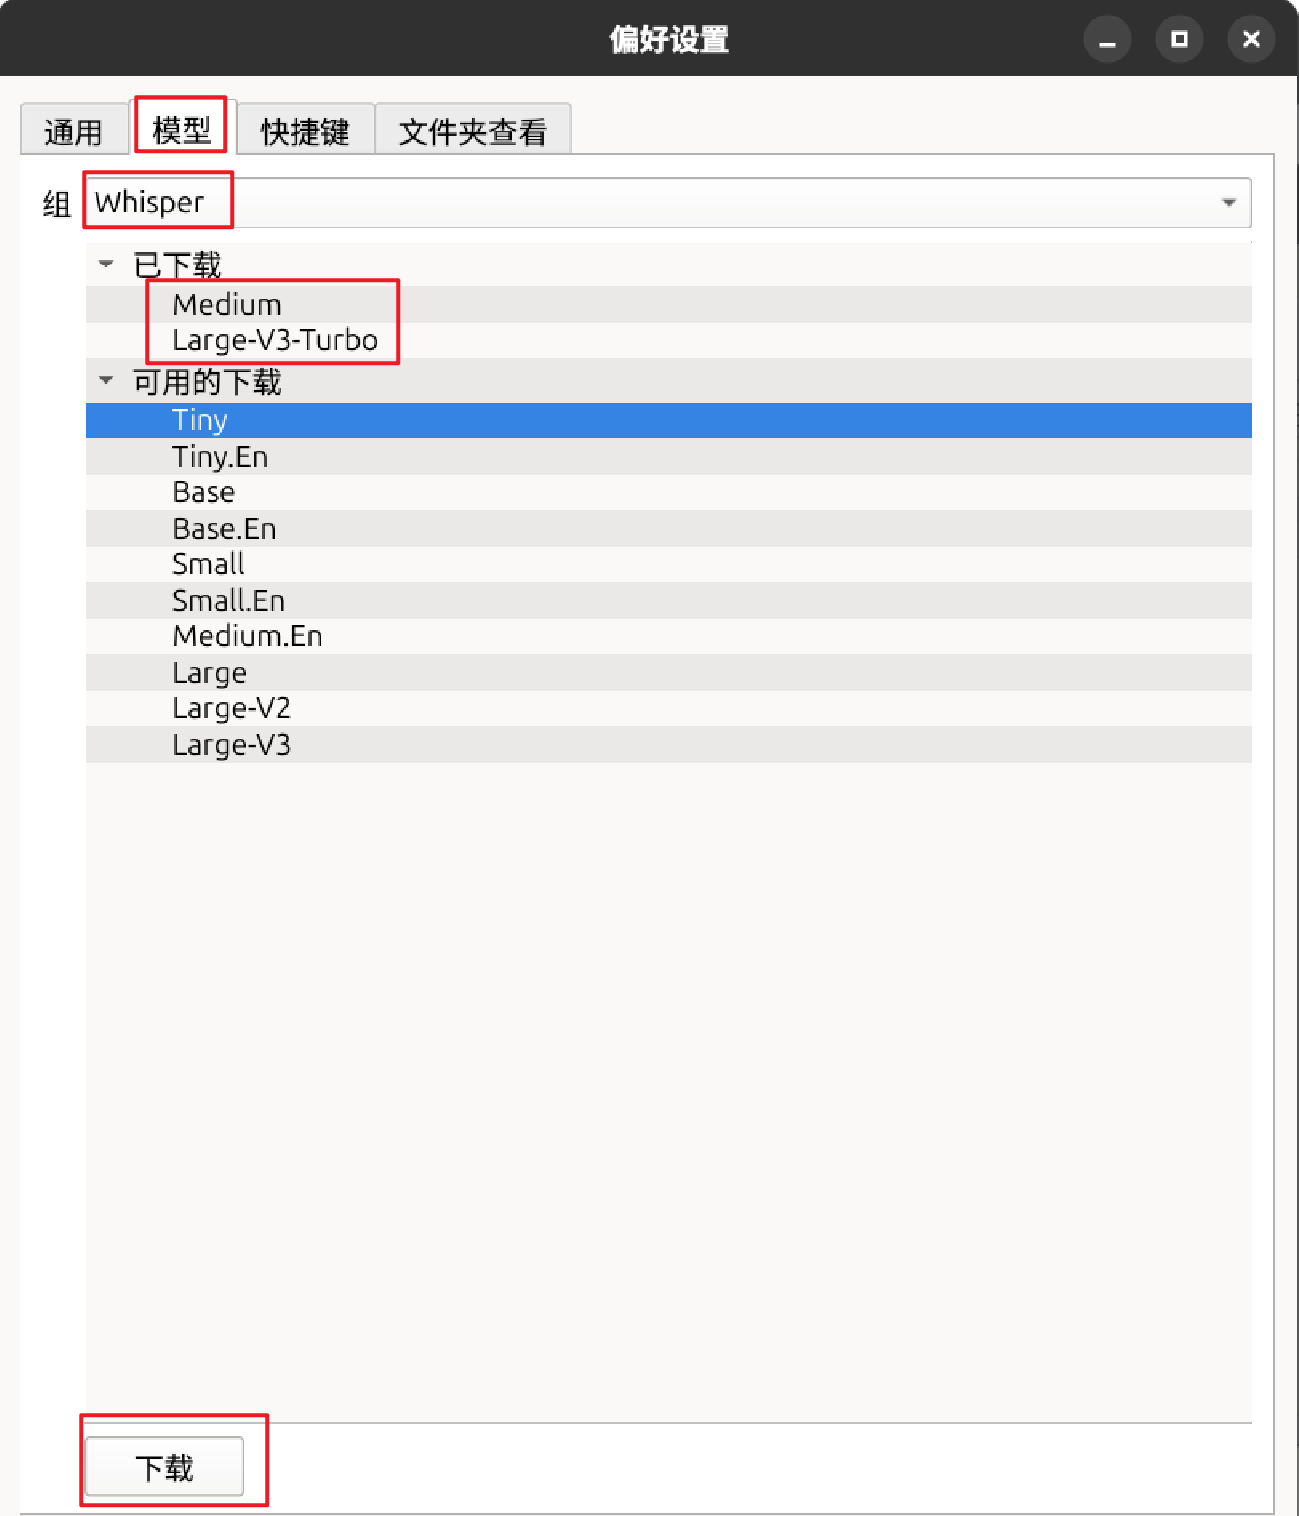
flatpak install flathub io.github.chidiwilliams.Buzz2.打开Buzz下载模型
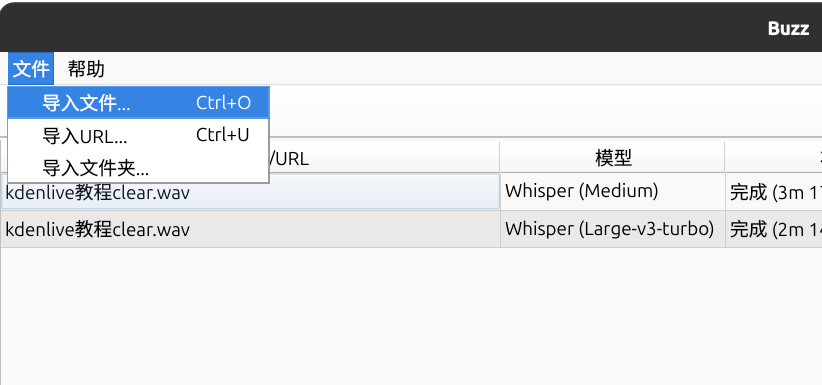
3.导入音频并执行转换
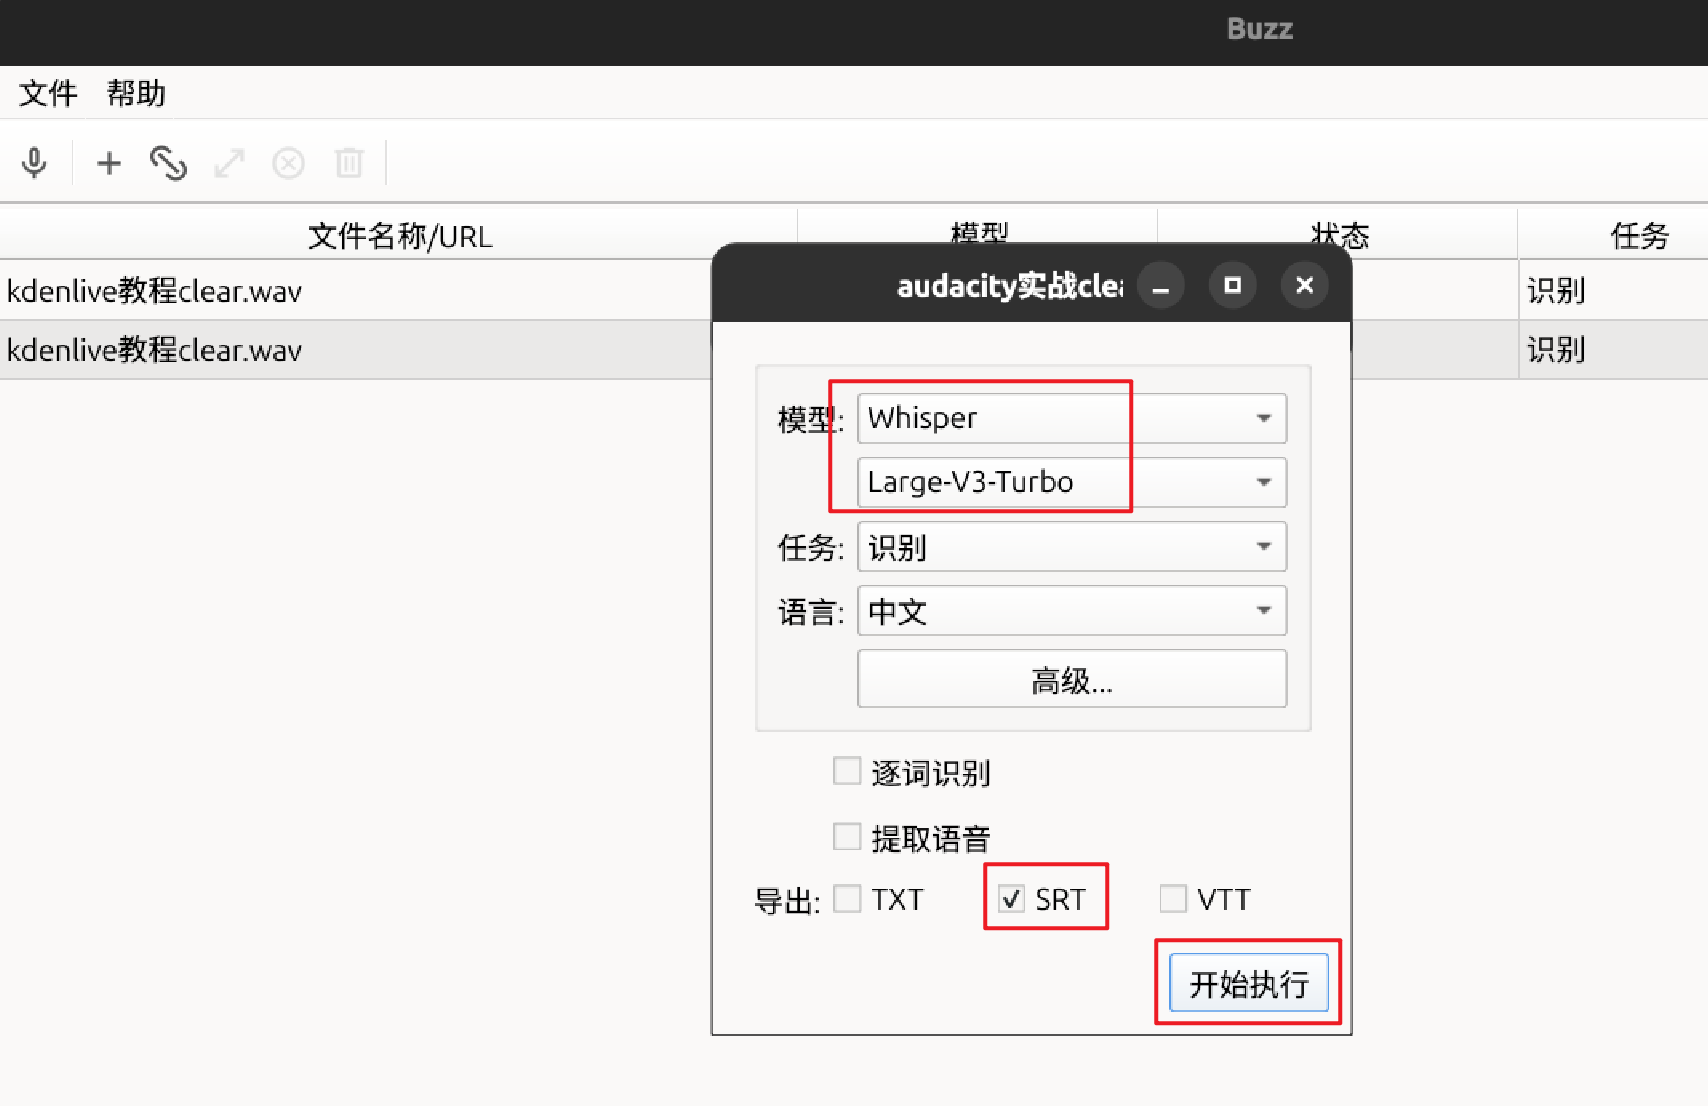
4.导出srt字幕
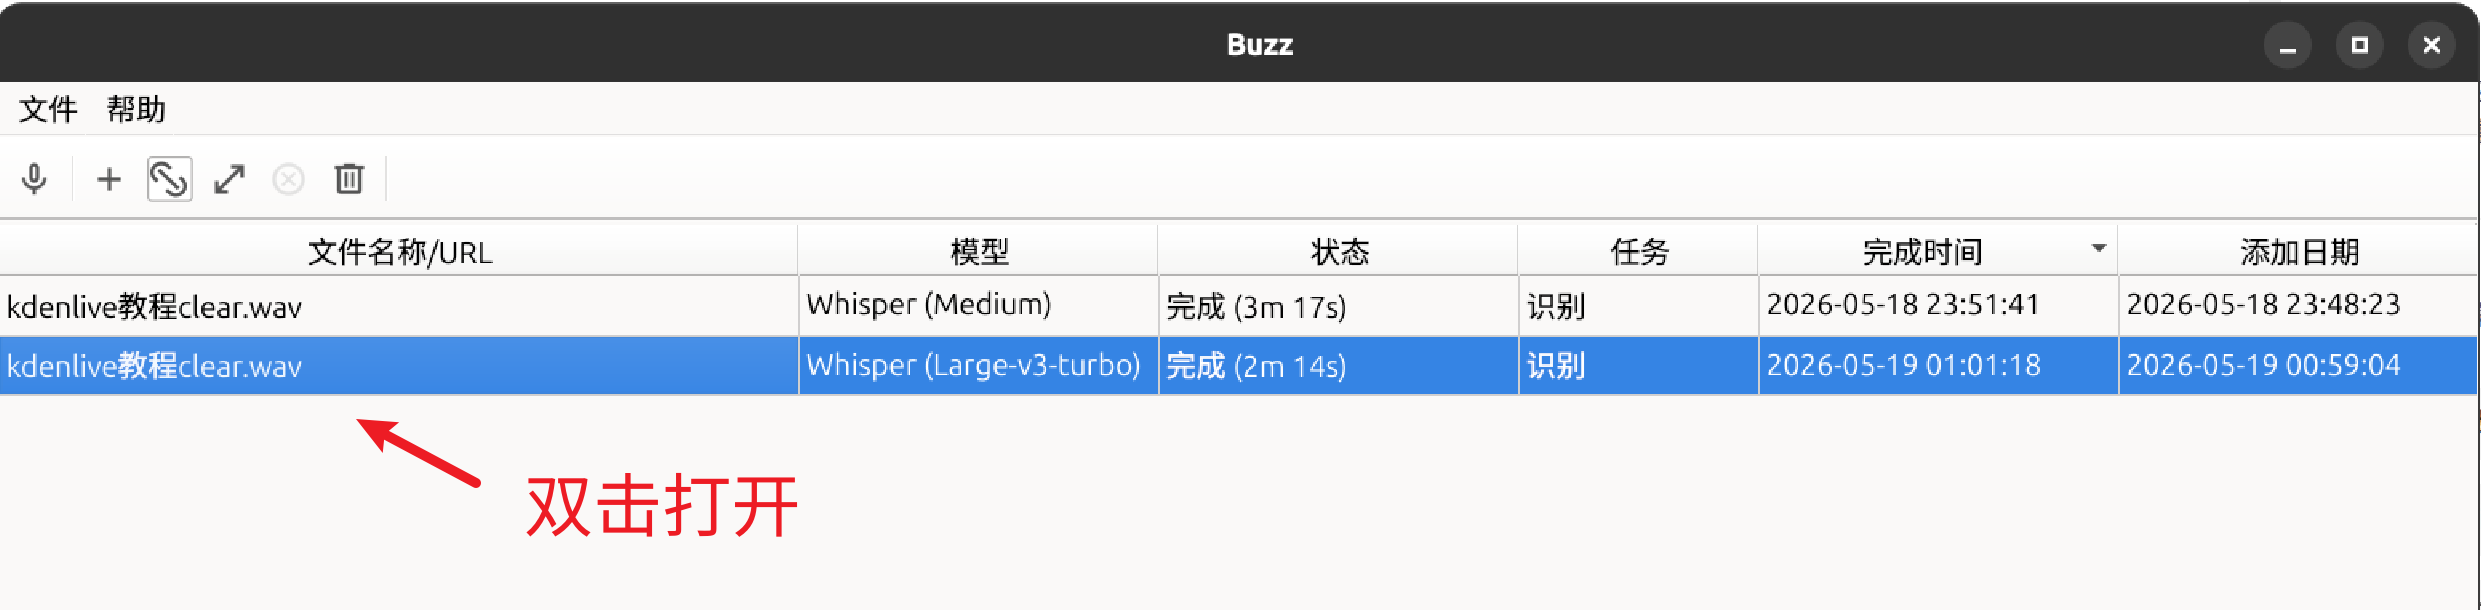
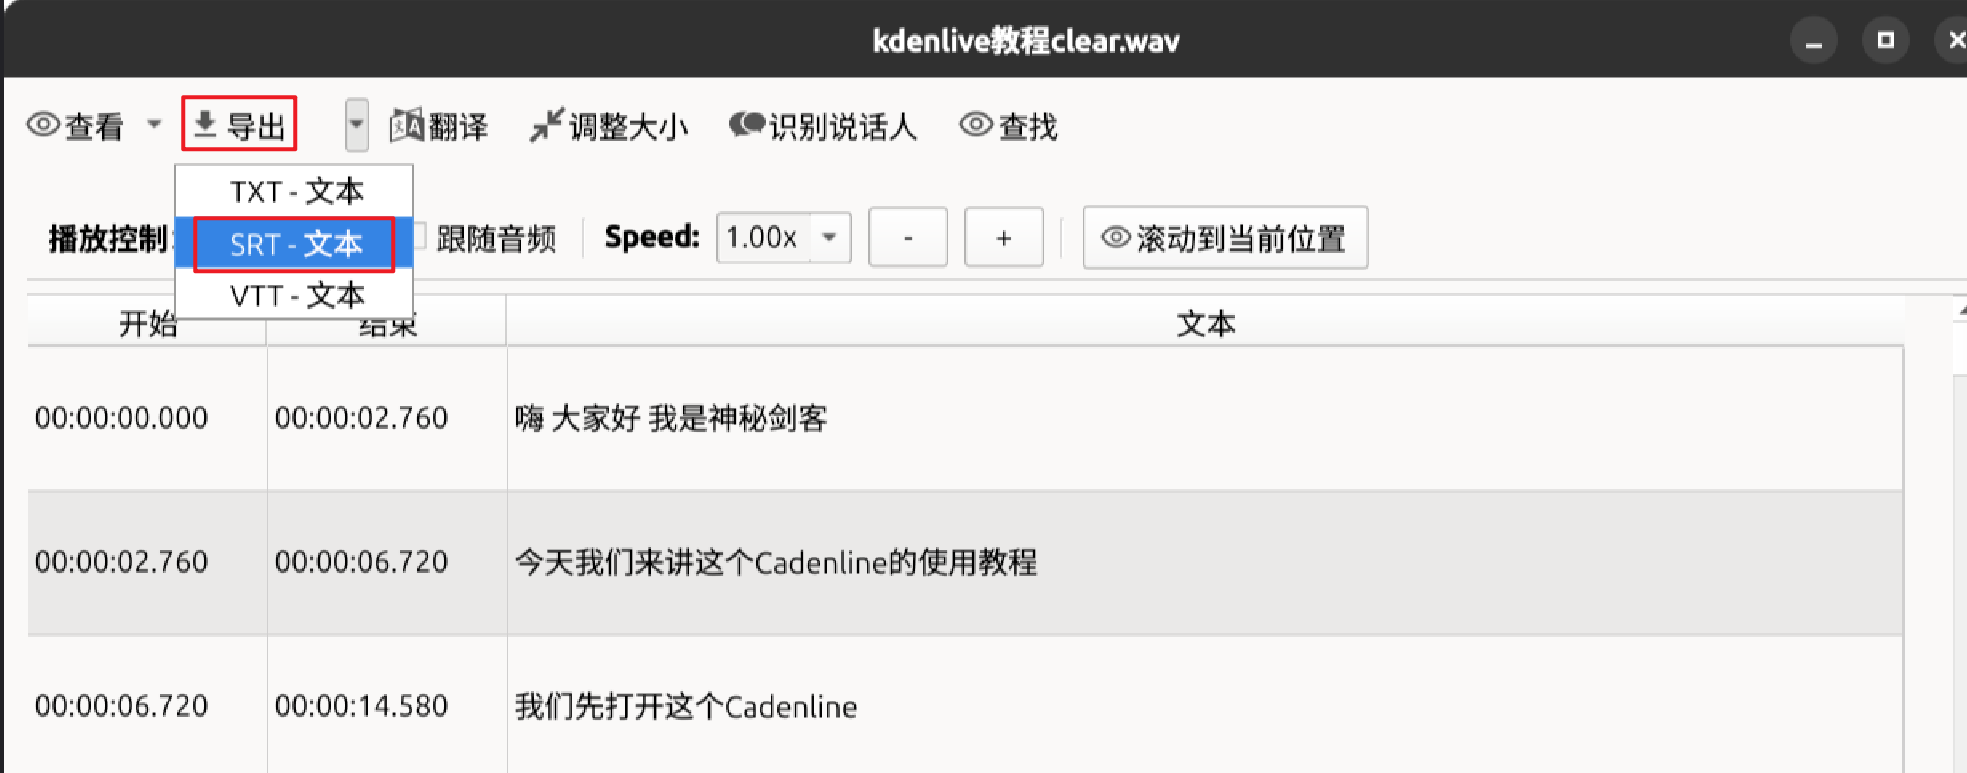
这个方式适合新手,不过导出的srt字幕断句有问题,太短了,手动调整麻烦。
方法二、venv虚拟环境下使用whisperX
1.安装python3.12及虚拟环境
添加ppa源
bash
sudo add-apt-repository ppa:deadsnakes/ppa更新软件包列表
bash
sudo apt update安装python3.12及对应虚拟环境
bash
sudo apt install python3.12 python3.12-venv 2.创建虚拟环境并安装WhisperX及相应工具包
使用python3.12创建虚拟环境并激活
bash
python3.12 -m venv whisper_env
source whisper_env/bin/activate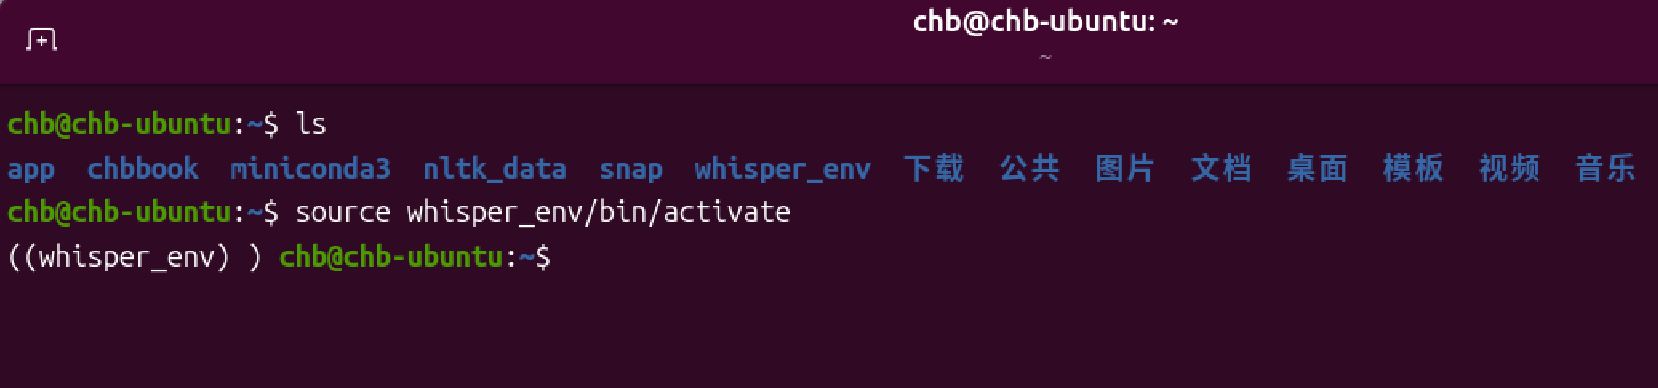
在虚拟环境中安装 WhisperX(需要网络环境)
bash
pip install git+https://github.com/m-bain/whisperX.git在虚拟环境中安装适配cuda的pytorch
bash
pip install torch torchvision torchaudio --index-url https://download.pytorch.org/whl/cu124在虚拟环境中验证pytorch能否识别到显卡
bash
python3 -c "import torch; print('CUDA 是否可用:', torch.cuda.is_available()); print('当前 GPU 设备:', torch.cuda.get_device_name(0) if torch.cuda.is_available() else '无')"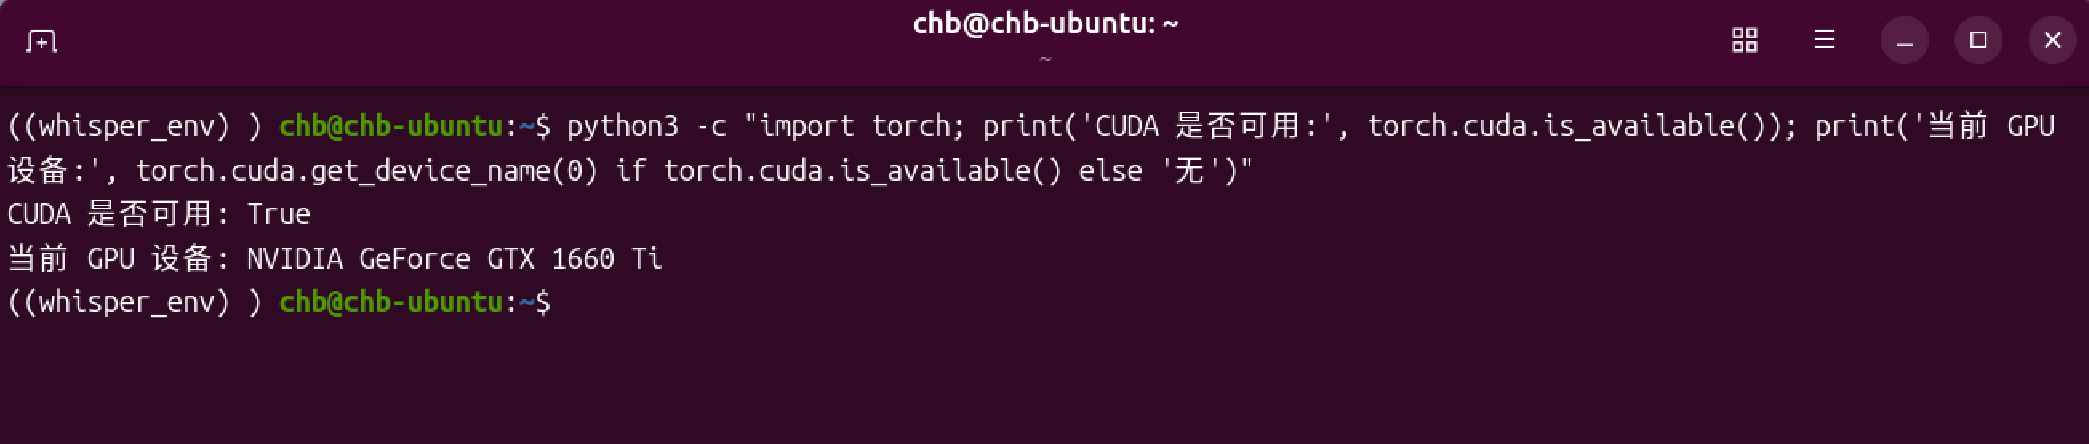
在虚拟环境下切换到音频存放路径执行
bash
whisperx audio.wav --model large-v3 --device cuda --compute_type int8 --batch_size 4 --output_dir . --output_format srt --language zh --no_align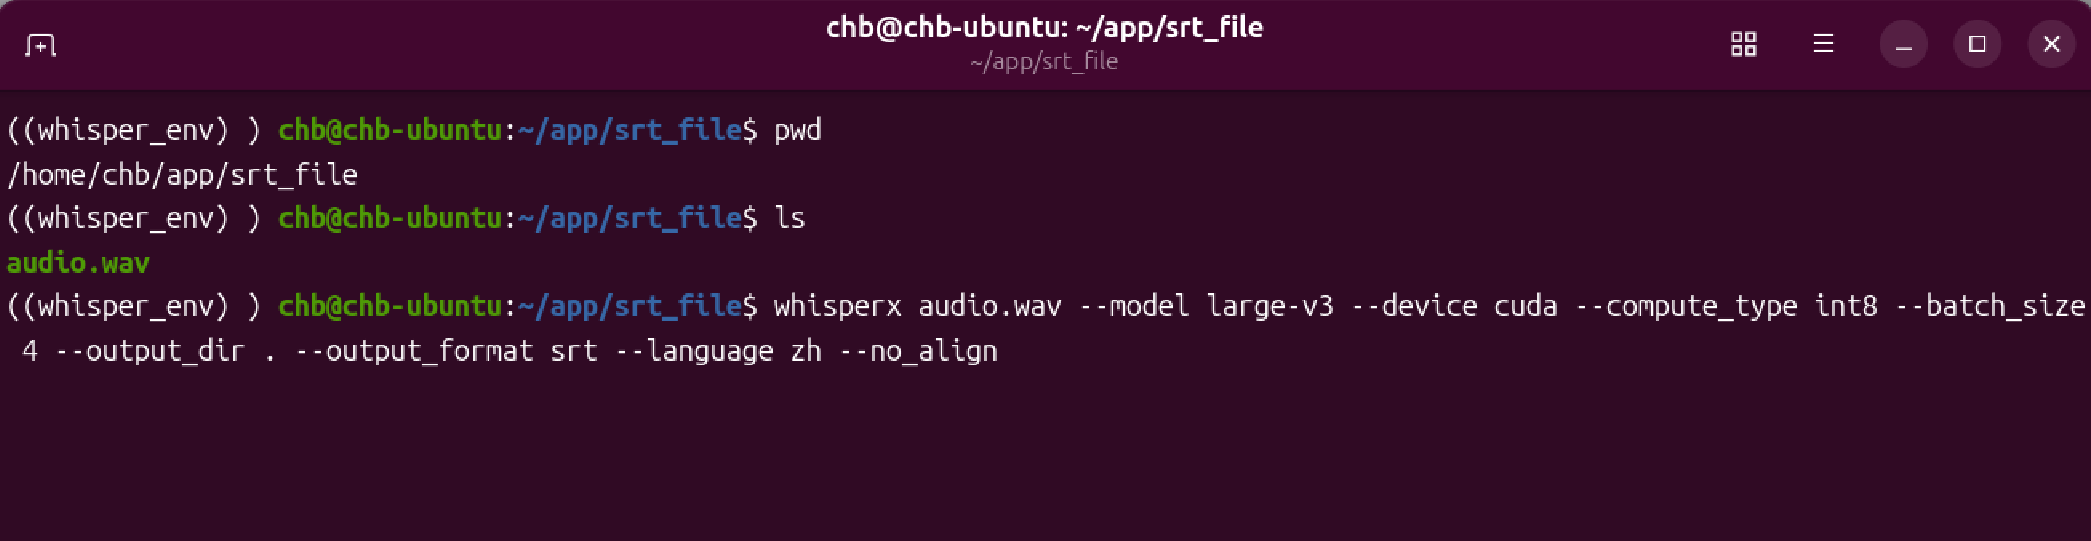
退出虚拟环境
bash
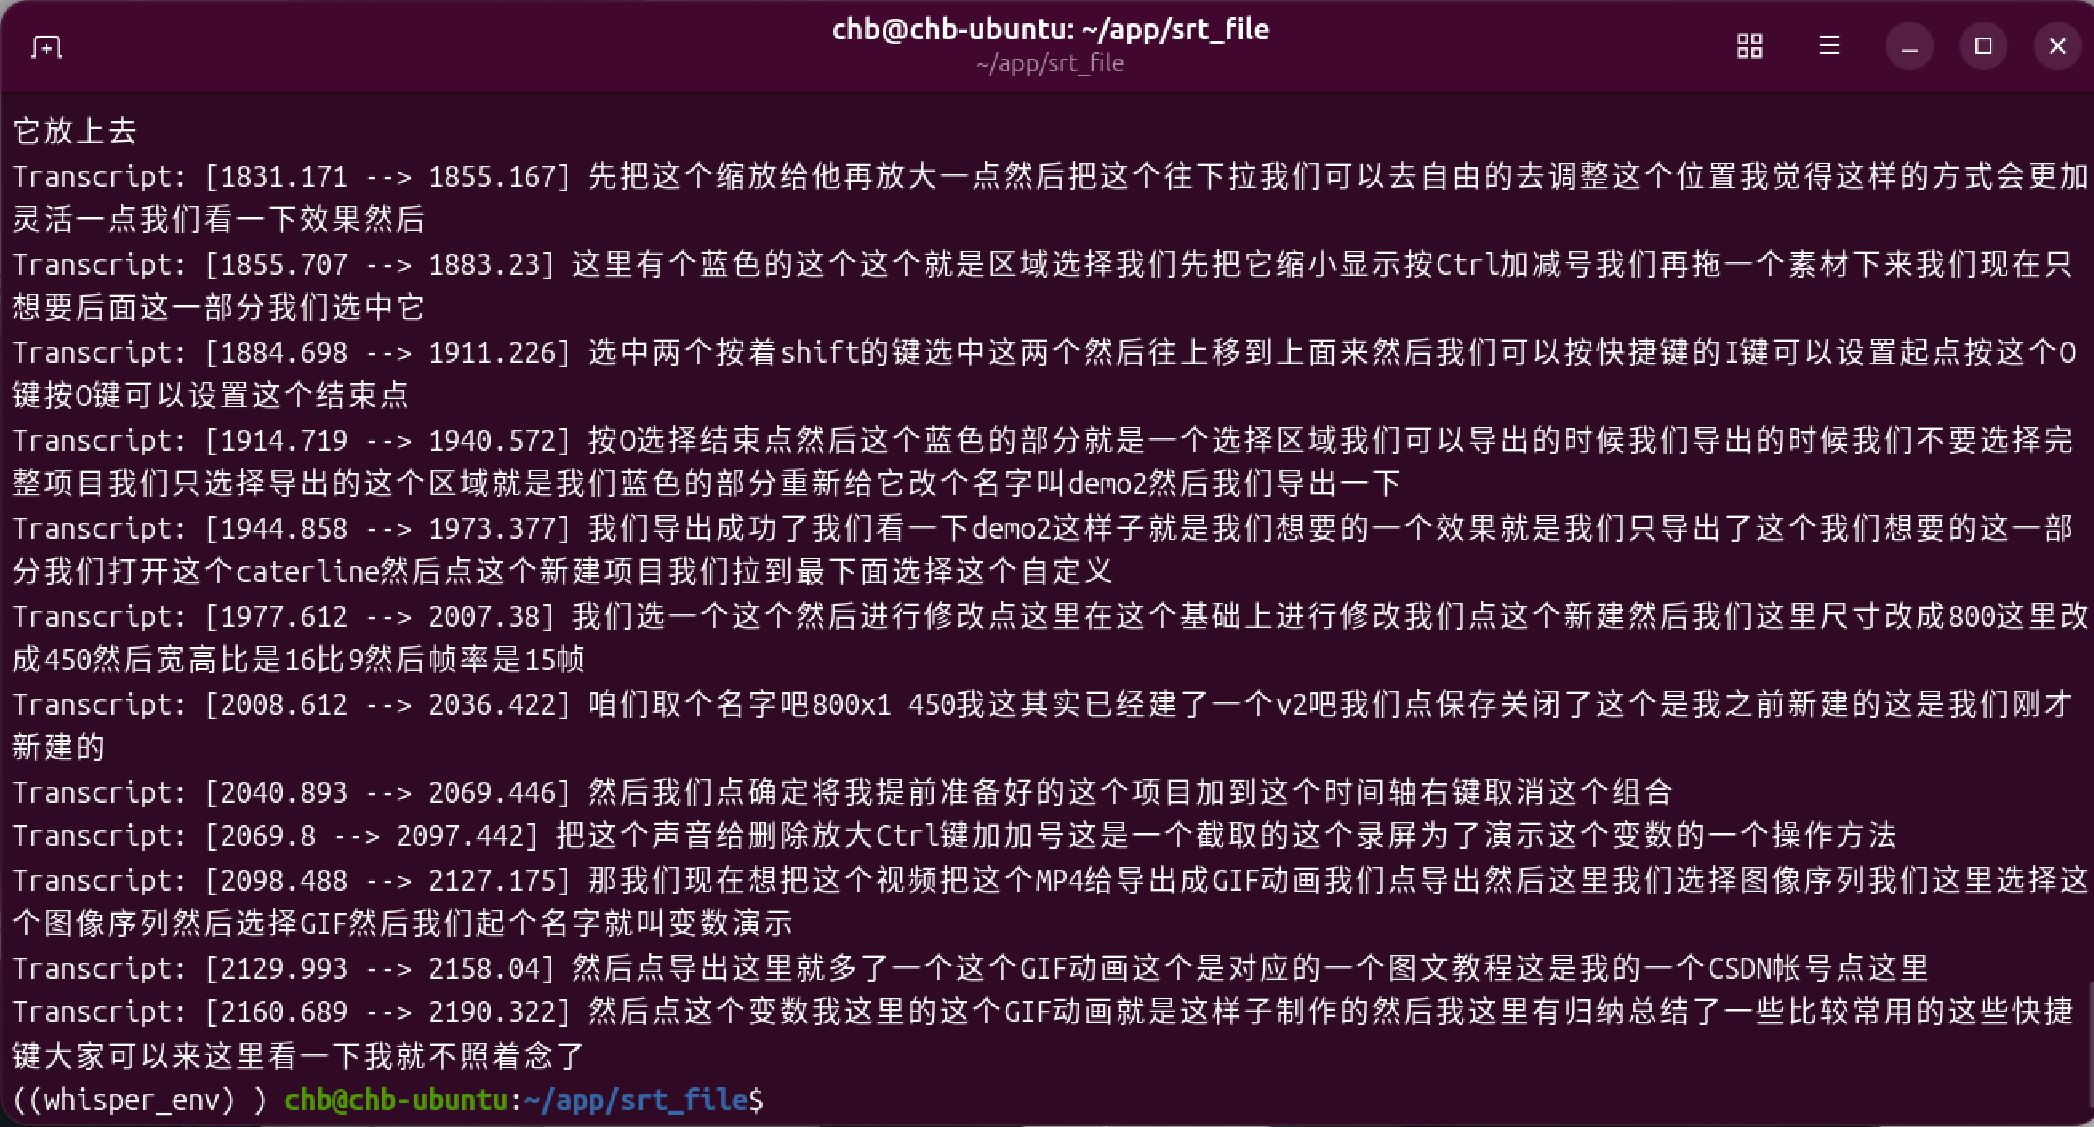
deactivate3.使用Aegisub打开字幕文件

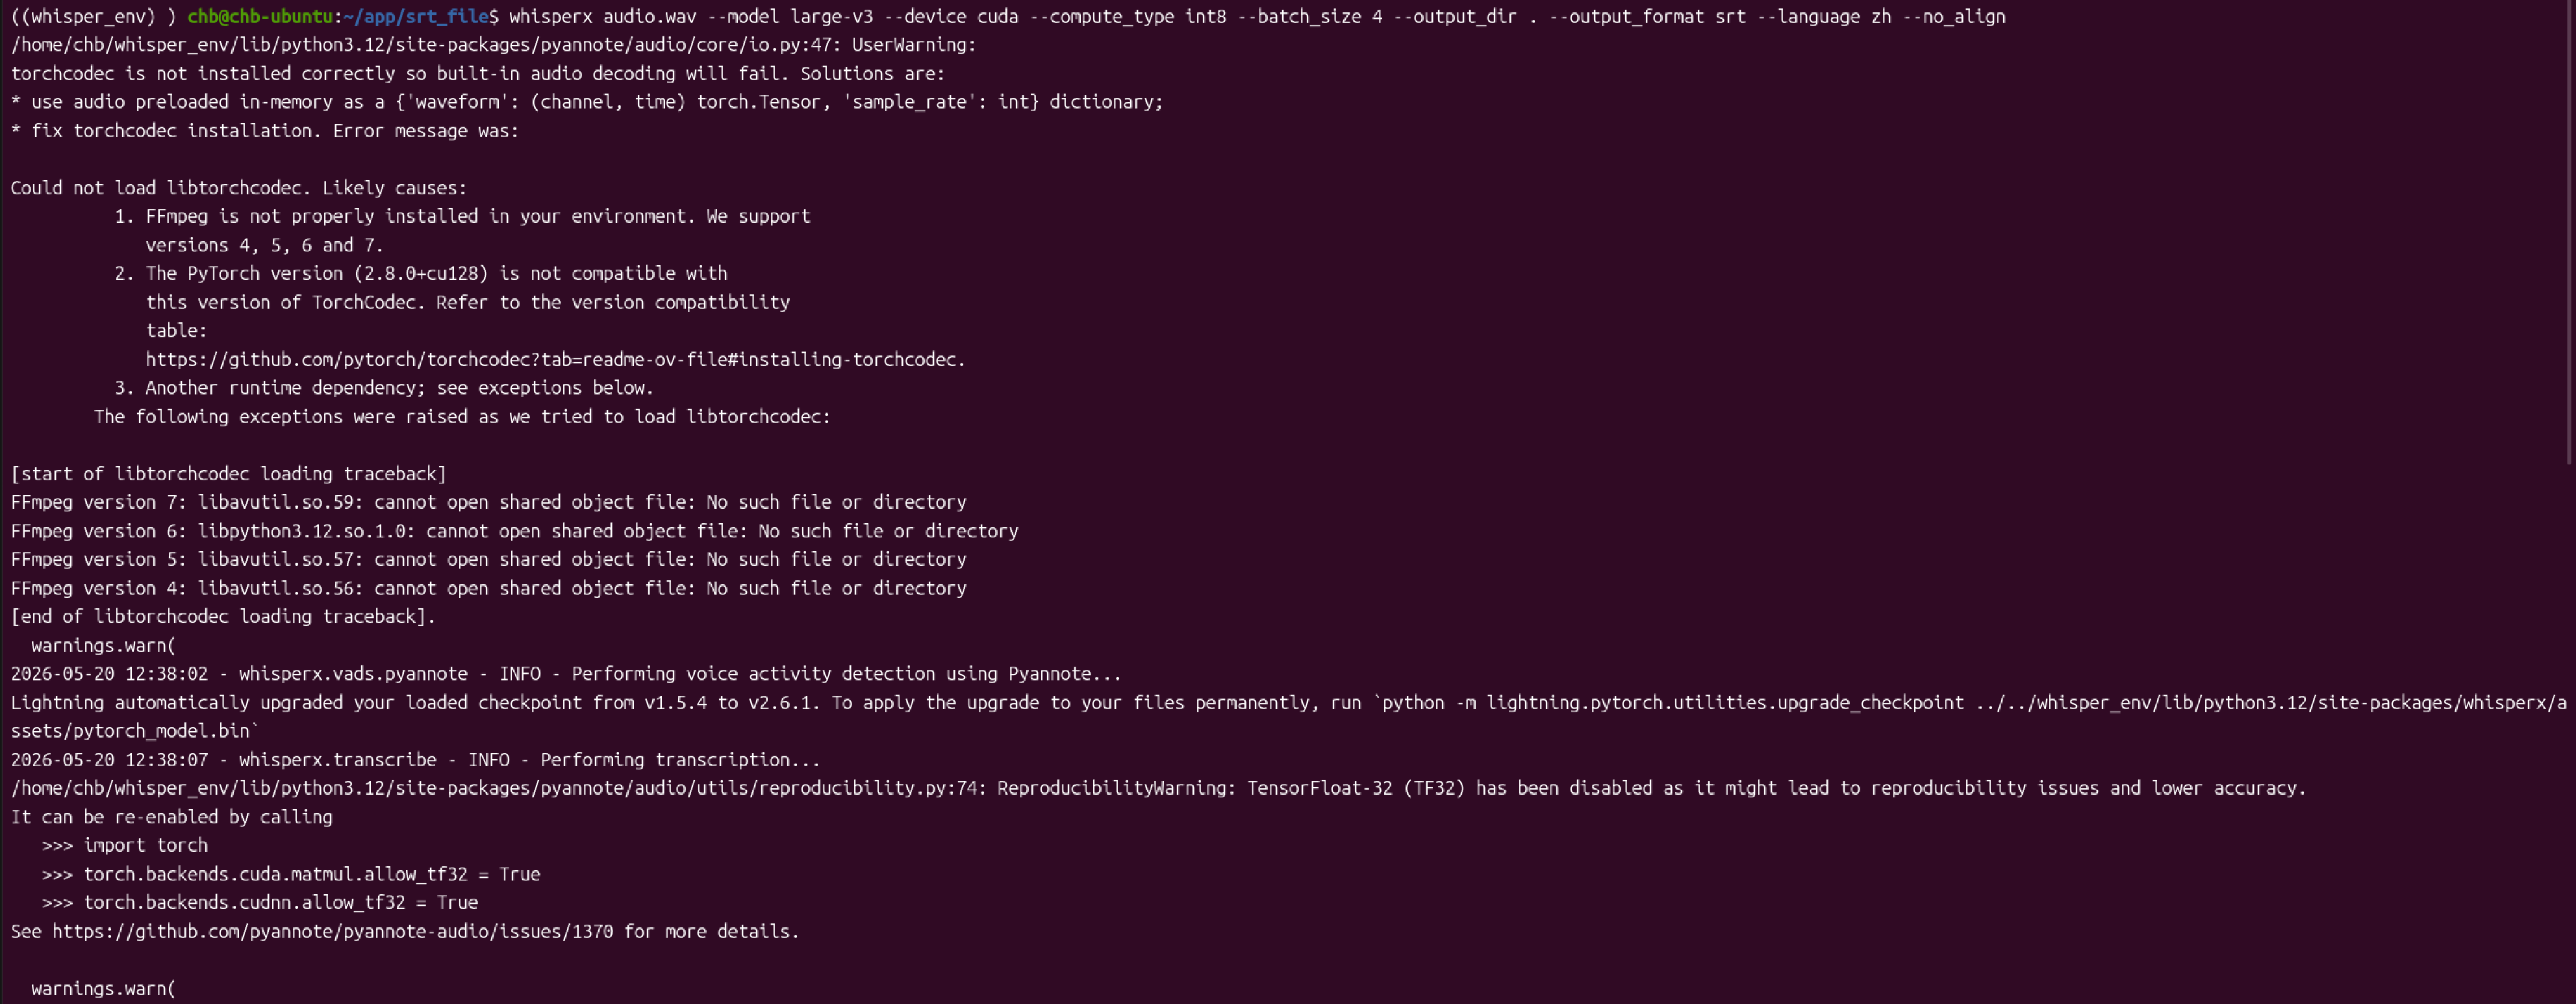
这样的字幕同样有问题,断句太长了。 原因是ubuntu26.04这个版本太新了,对应的ffmpeg版本太高,只要包含了VAD(语音活动检测),系统就会去强制调用FFmpeg 7 的系统共享库。最终的结果是,可以运行,但断句太长。
方法三、conda虚拟环境下使用WhisperX(推荐)
1.下载并安装conda
下载 Miniconda 官方最新的 Linux 安装脚本
bash
wget https://repo.anaconda.com/miniconda/Miniconda3-latest-Linux-x86_64.sh运行安装脚本
bash
bash Miniconda3-latest-Linux-x86_64.sh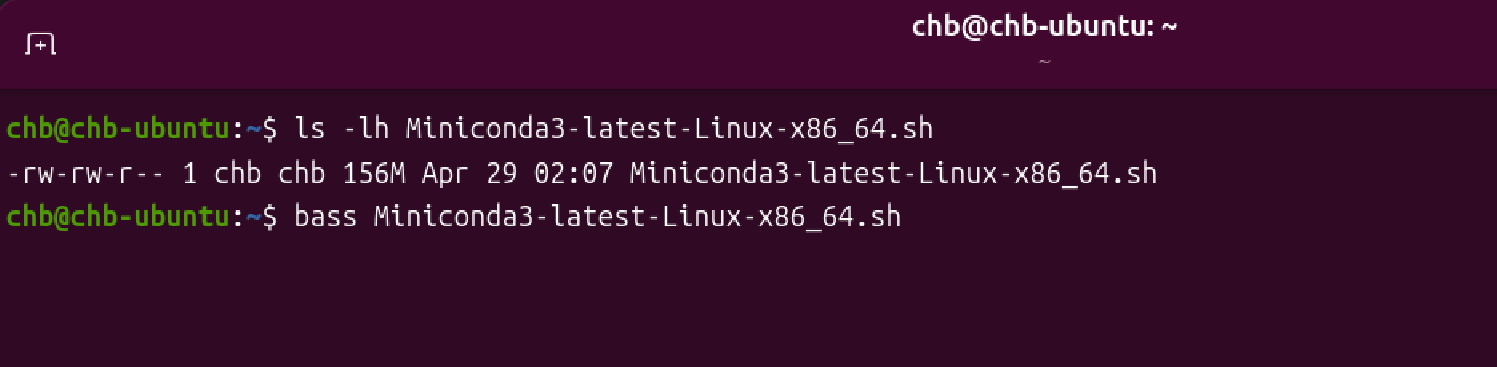
2.创建虚拟环境并激活
创建虚拟环境
bash
conda create -n whisper_conda python=3.12激活该虚拟环境
bash
conda activate whisper_conda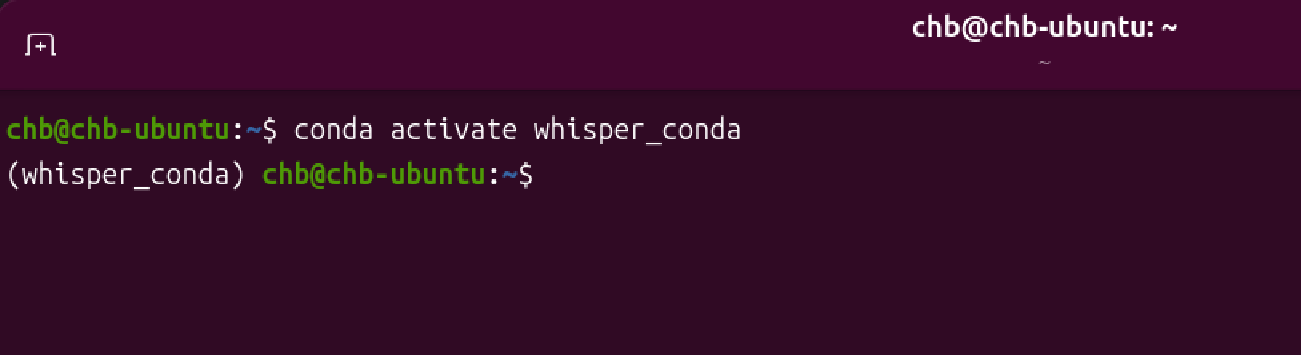
3.在虚拟环境中安装ffmpeg及whisperX
在虚拟环境中安装ffmpeg(低版本的)
bash
conda install -c conda-forge ffmpeg=6.1.1安装whisperX
bash
pip install git+https://github.com/m-bain/whisperX.git4.在虚拟环境中安装音频处理库及PyTorch
安装音频分割与说话人识别库
bash
pip install pyannote.audio --no-cache-dir安装真正带 CUDA 硬件加速的 PyTorch 核心
bash
pip install torch torchcodec --index-url https://download.pytorch.org/whl/cu121 --no-cache-dir验证Conda 环境能否识别显卡
bash
python3 -c "import torch; print('CUDA是否可用:', torch.cuda.is_available()); print('显卡型号:', torch.cuda.get_device_name(0) if torch.cuda.is_available() else '无')"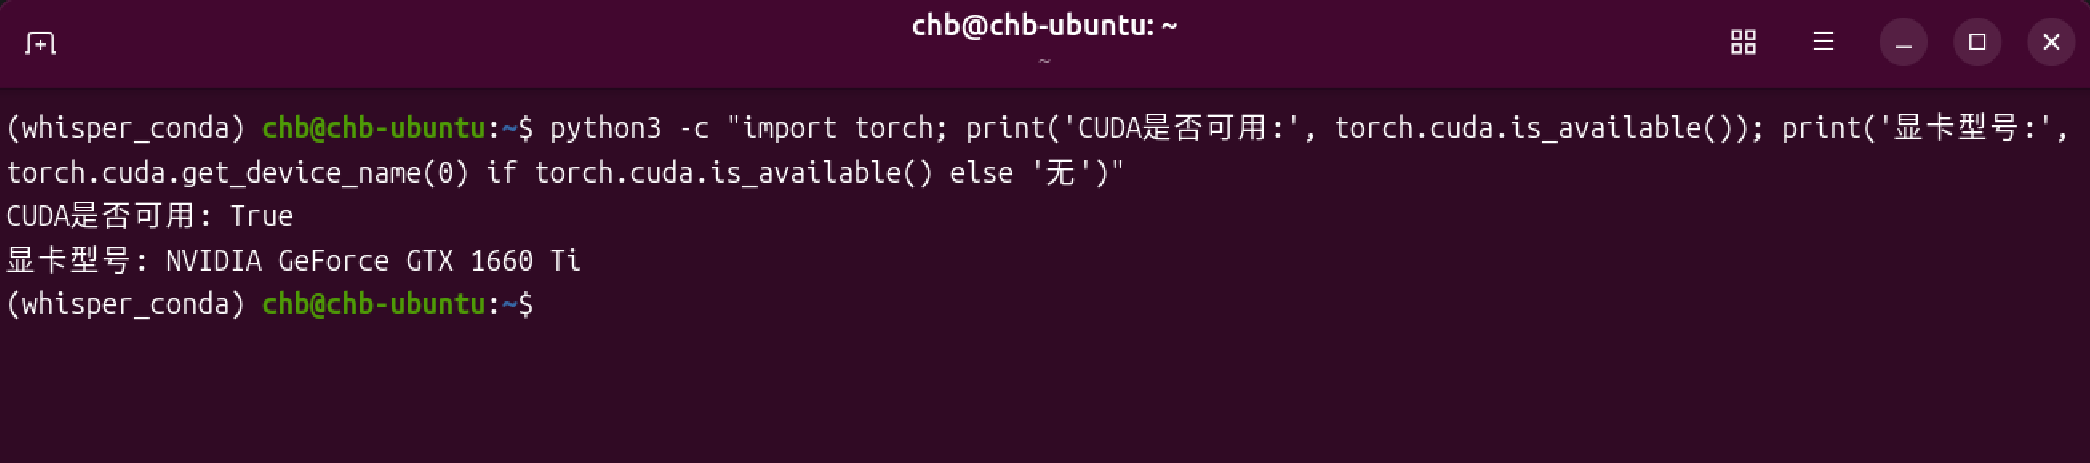
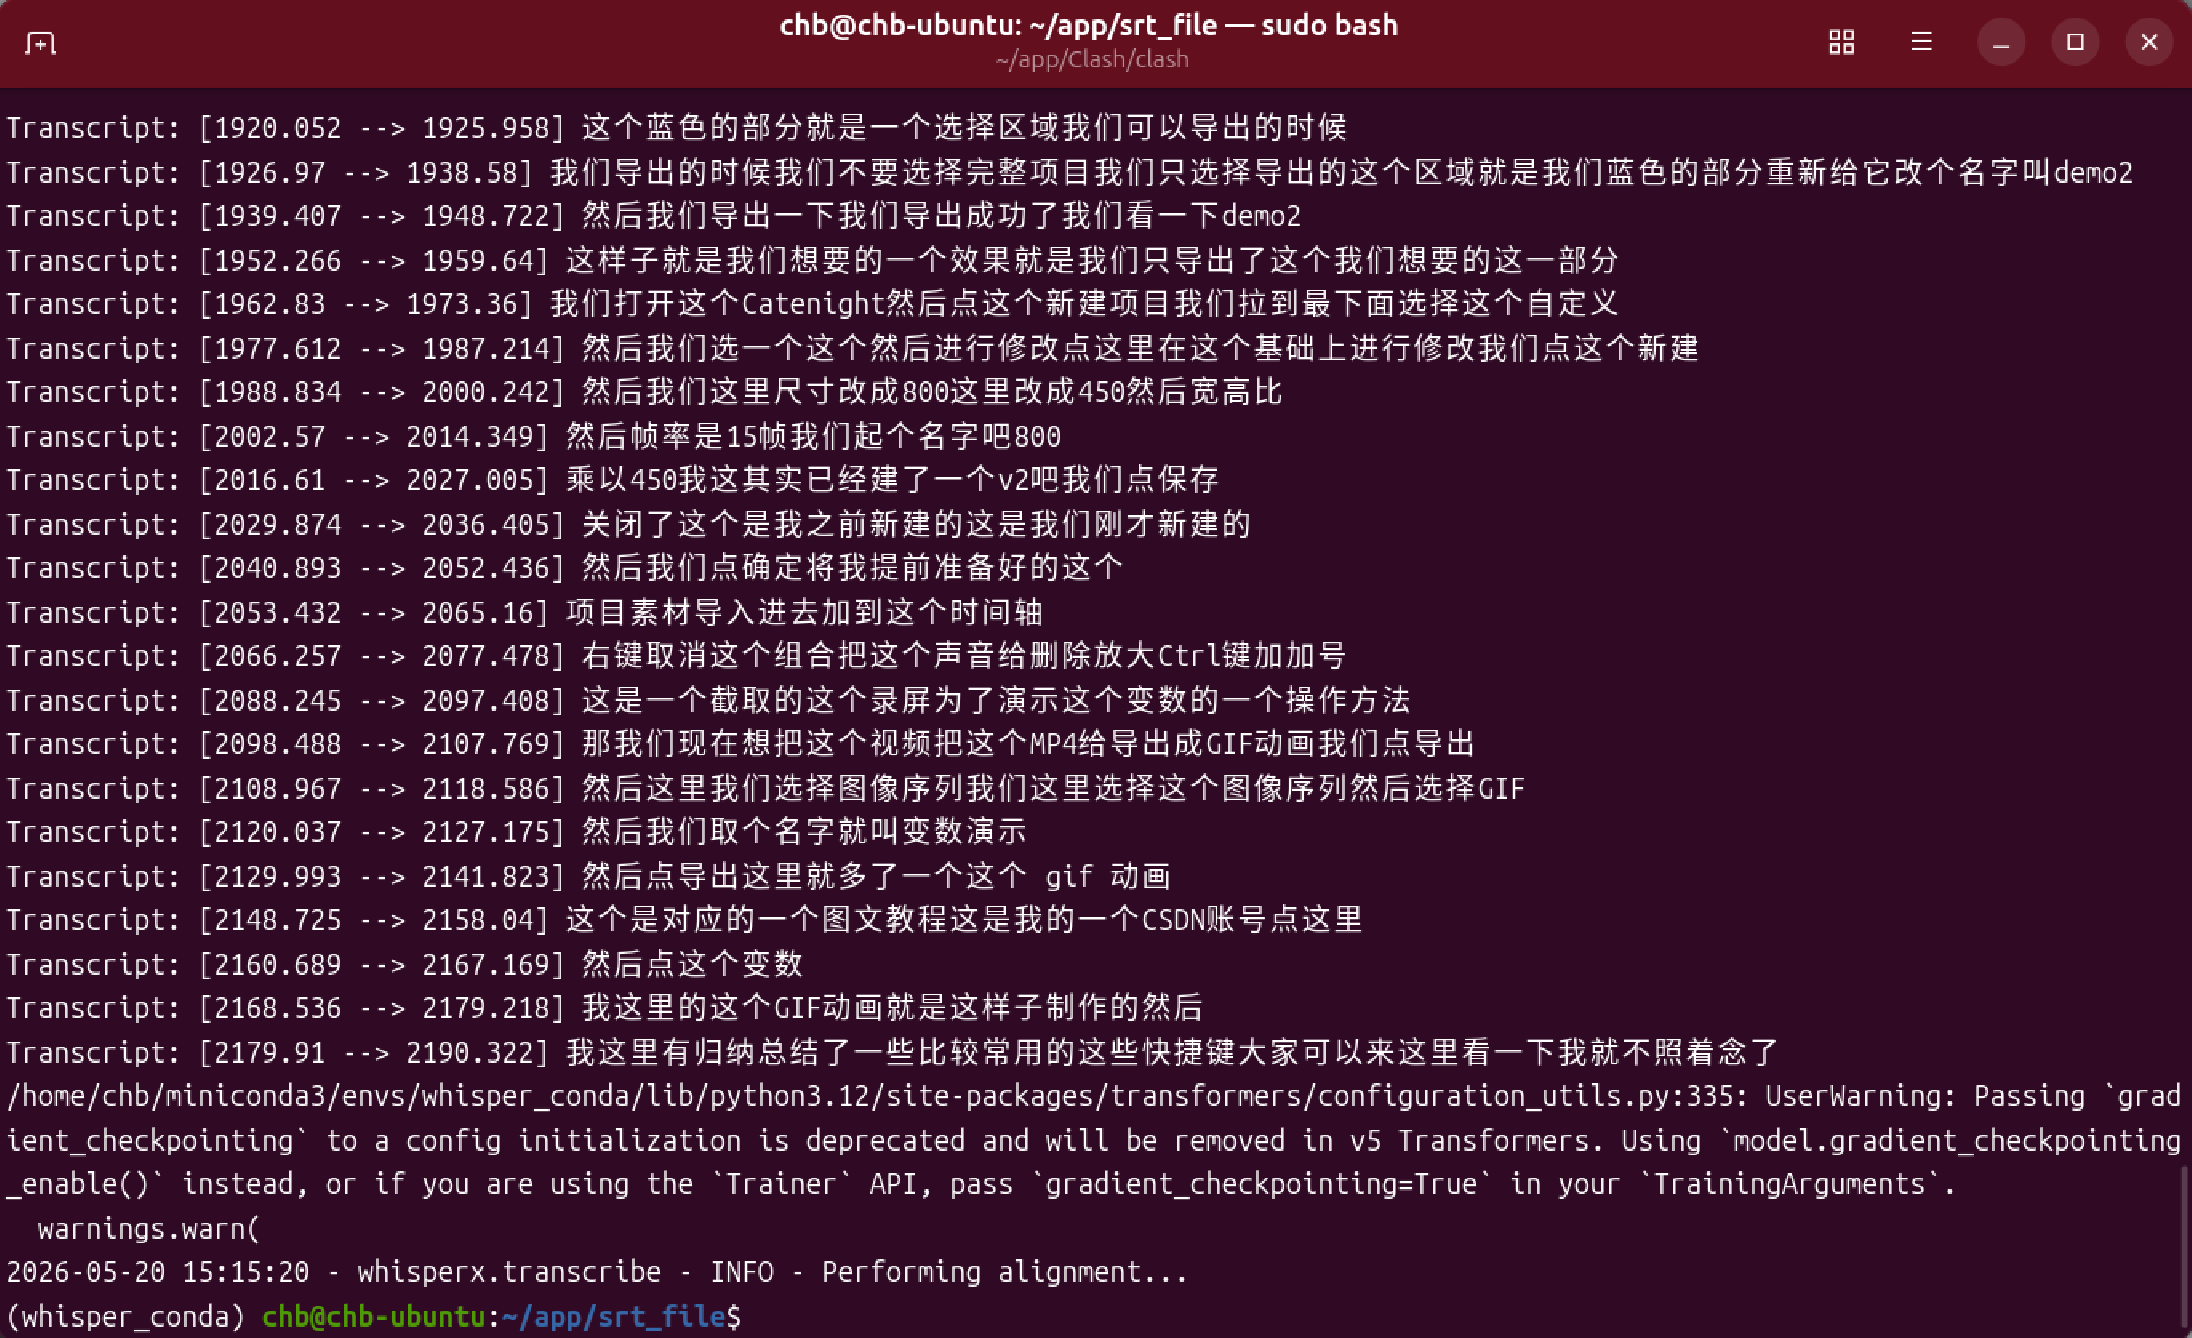
5.在虚拟环境中切换目录并执行命令
(需要网络环境)
bash
whisperx audio.wav --model large-v3 --device cuda --compute_type int8 --batch_size 4 --output_dir . --output_format srt --language zh --vad_offset 0.40 --chunk_size 12
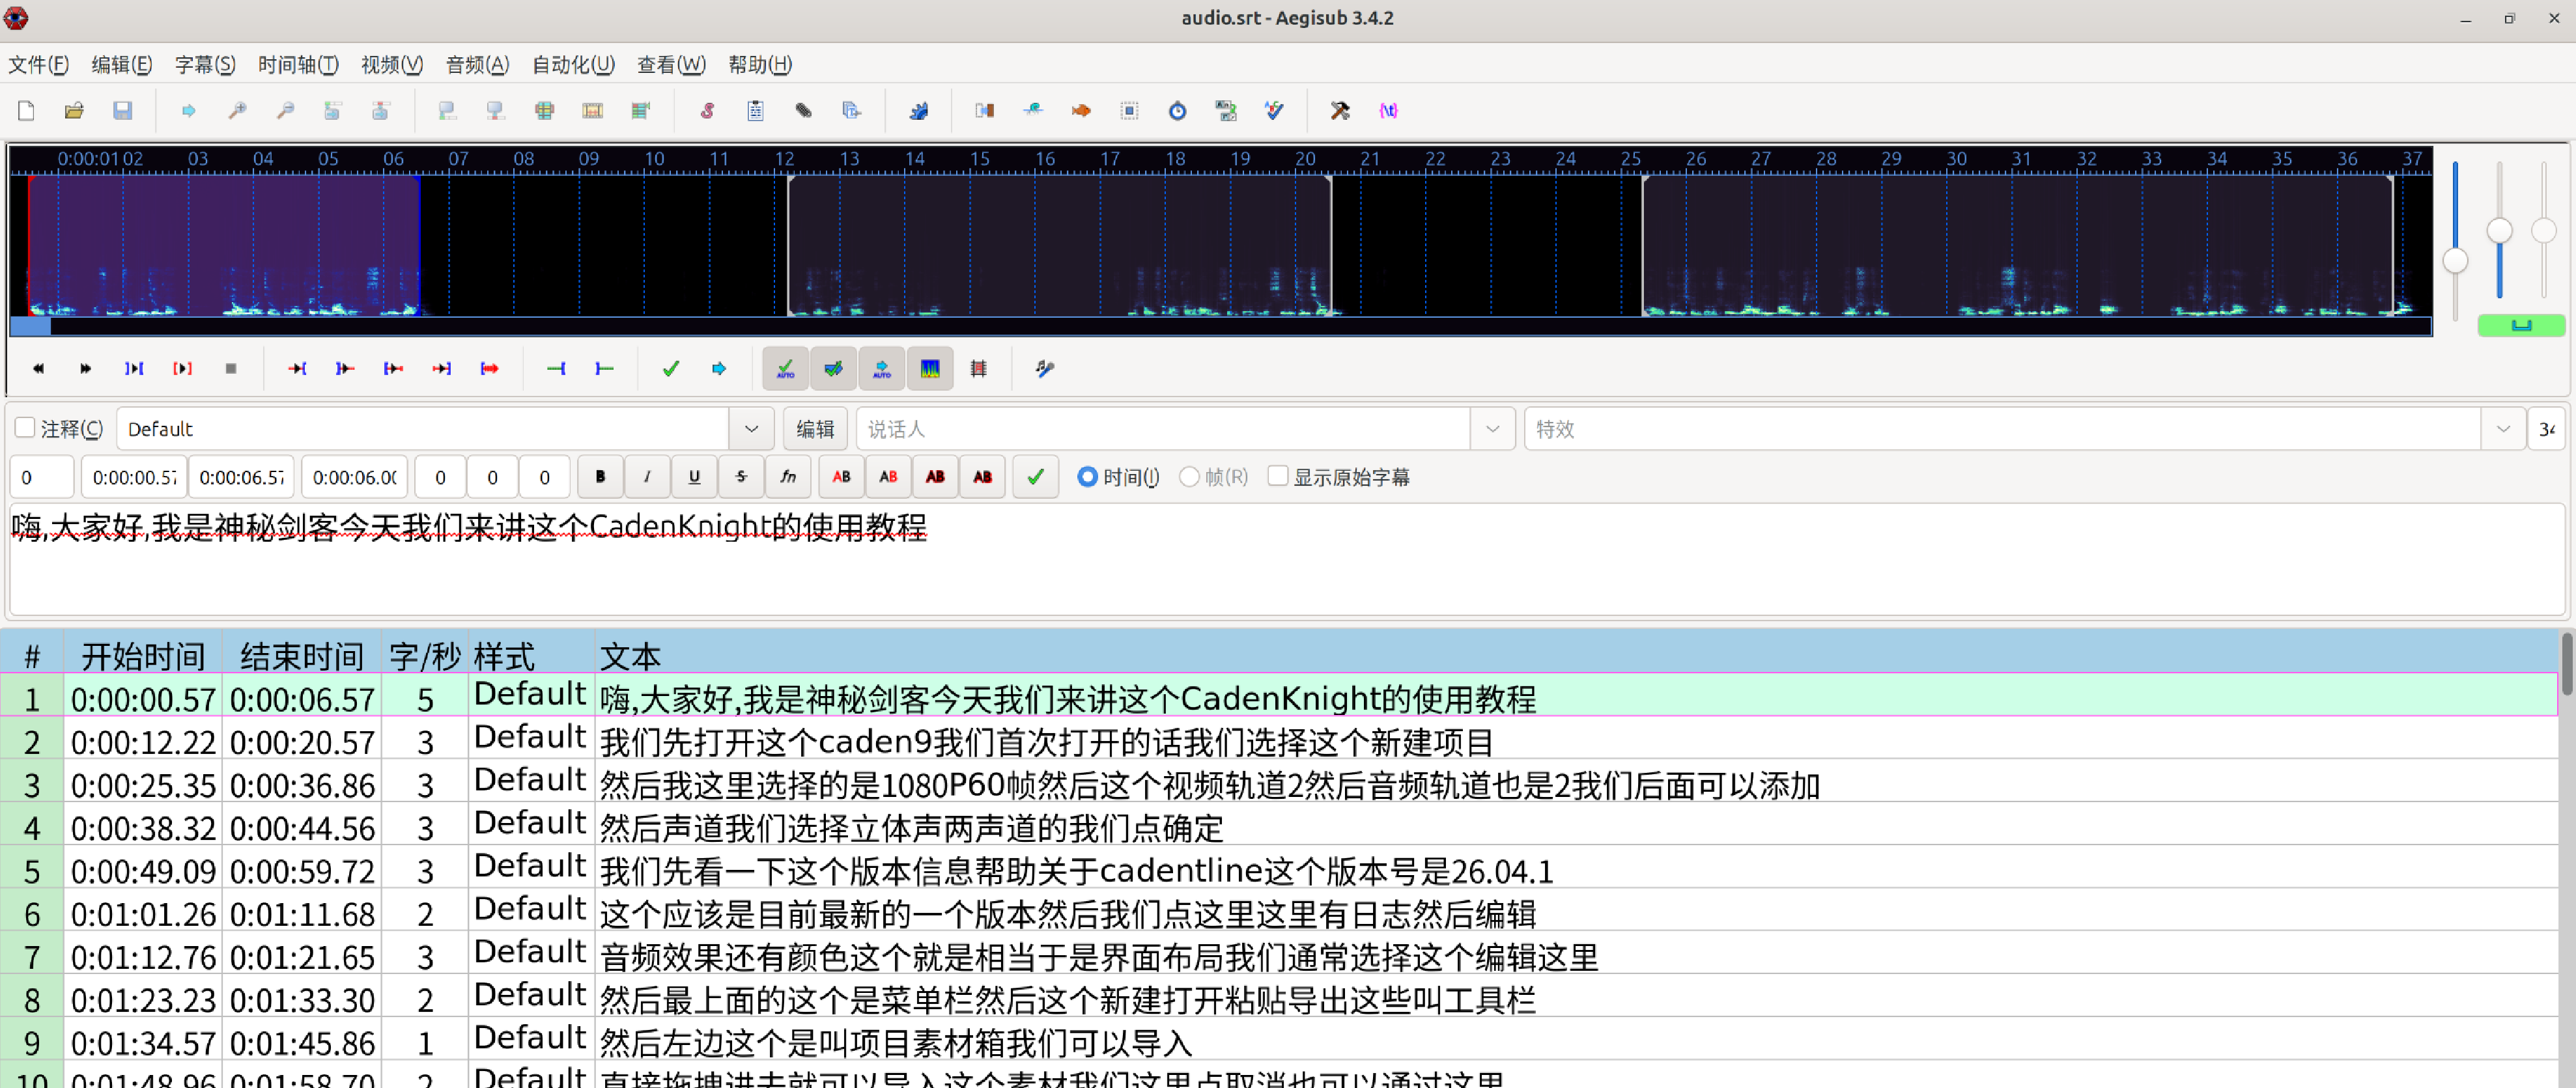
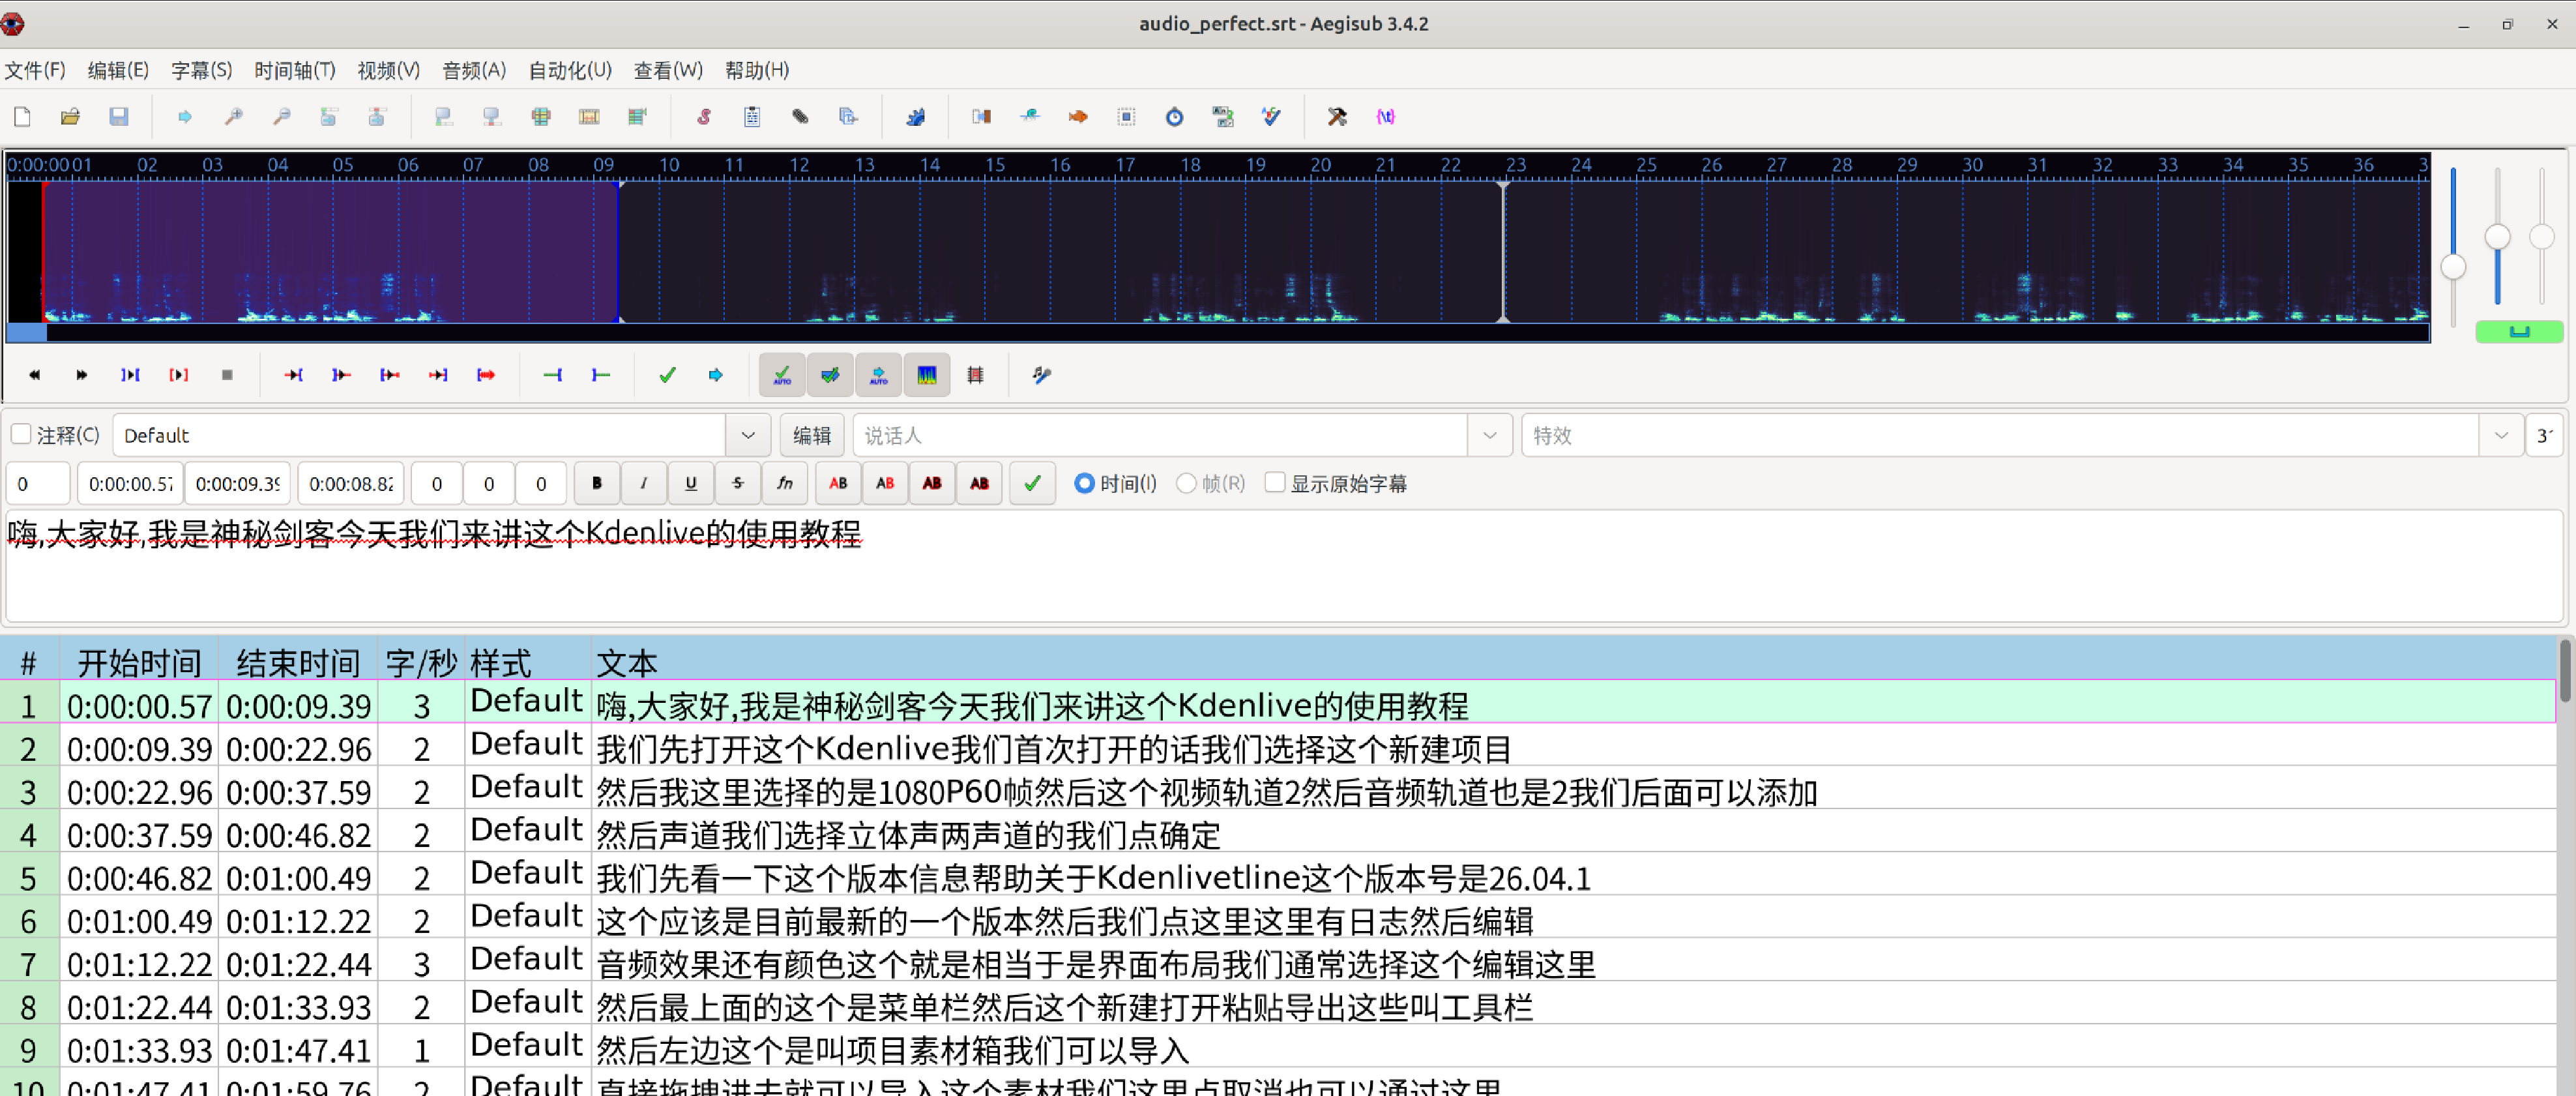
6.使用Aegisub打开字幕文件
断句非常完美,但还可以优化一下。
7.字幕优化脚本
bash
nano srt_fill.py
bash
import os
import re
from datetime import datetime, timedelta
def srt_time_to_timedelta(time_str):
"""将 SRT 时间字符串 (00:00:10,033) 转换为 timedelta"""
hrs, mins, secs = time_str.strip().split(':')
secs, msecs = secs.split(',')
return timedelta(hours=int(hrs), minutes=int(mins), seconds=int(secs), milliseconds=int(msecs))
def timedelta_to_srt_time(td):
"""将 timedelta 转换为 SRT 时间字符串格式"""
total_seconds = int(td.total_seconds())
hrs = total_seconds // 3600
mins = (total_seconds % 3600) // 60
secs = total_seconds % 60
msecs = int(td.microseconds / 1000)
return f"{hrs:02d}:{mins:02d}:{secs:02d},{msecs:03d}"
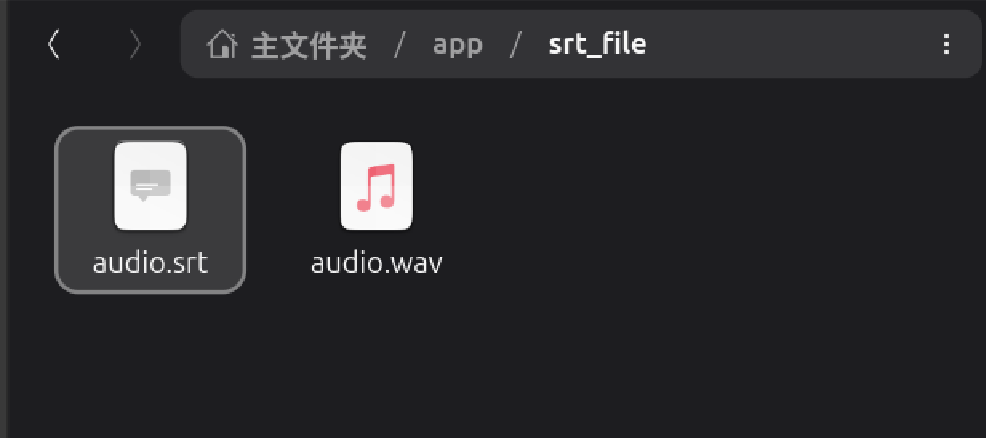
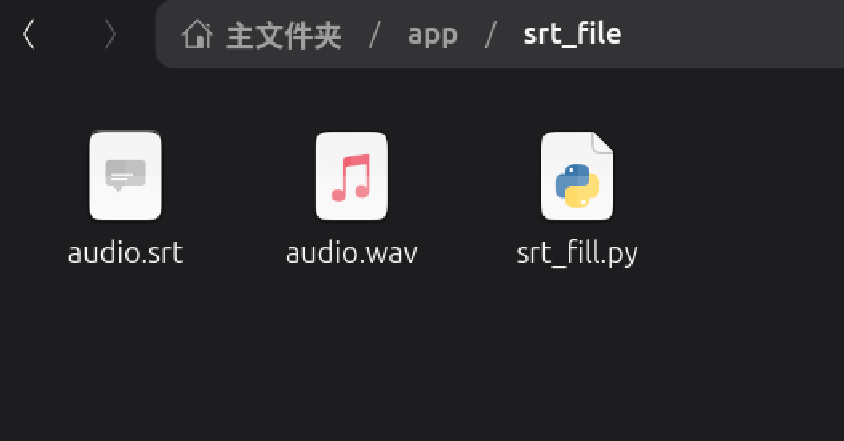
input_srt = "audio.srt"
output_srt = "audio_perfect.srt"
if not os.path.exists(input_srt):
print(f"❌ 找不到原始的 {input_srt},请确保在此目录下!")
exit(1)
with open(input_srt, 'r', encoding='utf-8') as f:
content = f.read().strip()
# 使用标准的 SRT 双换行切分段落
blocks = re.split(r'\n\s*\n', content)
subtitle_list = []
for block in blocks:
lines = block.strip().split('\n')
if len(lines) >= 3:
idx = lines[0]
time_match = re.match(r'(\d+:\d+:\d+,\d+)\s*-->\s*(\d+:\d+:\d+,\d+)', lines[1])
if time_match:
start_td = srt_time_to_timedelta(time_match.group(1))
end_td = srt_time_to_timedelta(time_match.group(2))
text = "\n".join(lines[2:])
subtitle_list.append({"idx": idx, "start": start_td, "end": end_td, "text": text})
print(f"📂 成功读取 {len(subtitle_list)} 条原始字幕段落。开始进行空隙无缝平分...")
# 🚀 核心算法:遍历并平分前后句之间的空隙真空期
for i in range(len(subtitle_list) - 1):
current_sub = subtitle_list[i]
next_sub = subtitle_list[i+1]
# 计算当前句结束到下一句开始之间的物理空隙
gap = next_sub["start"] - current_sub["end"]
# 只要存在空隙(哪怕只有十几毫秒),就启动平分机制
if gap.total_seconds() > 0:
half_gap = gap / 2
# 当前句向后延展半个空隙
current_sub["end"] = current_sub["end"] + half_gap
# 下一句向前提前半个空隙
next_sub["start"] = next_sub["start"] - half_gap
# 🚀 特殊技术名词全自动规范化(顺手清理 whisper 识别的小瑕疵)
def clean_tech_text(txt):
txt = txt.replace("caden9", "Kdenlive").replace("caden", "Kdenlive").replace("kdenlive", "Kdenlive")
txt = txt.replace("CadenKnight", "Kdenlive") # 顺手干掉你第一句里的模型幻觉
txt = txt.replace("1080p6", "1080p 60帧").replace("1080p60", "1080p 60帧")
return txt
# ✍️ 重新写回完美的无缝 SRT 文件
with open(output_srt, 'w', encoding='utf-8') as f:
for sub in subtitle_list:
f.write(f"{sub['idx']}\n")
f.write(f"{timedelta_to_srt_time(sub['start'])} --> {timedelta_to_srt_time(sub['end'])}\n")
f.write(f"{clean_tech_text(sub['text'])}\n\n")
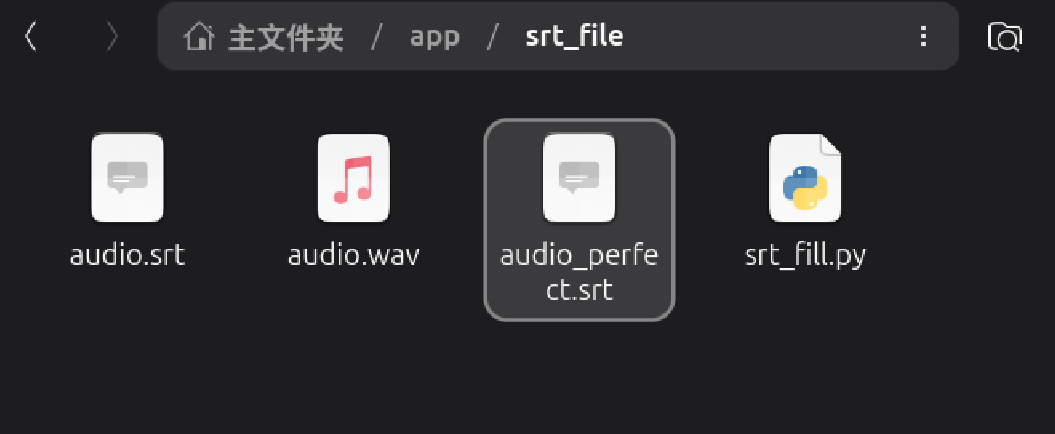
print(f"🏆 铺满优化完成!新字幕已生成:{output_srt}")
print("💡 效果:所有静音空白期已被前后句完美闭环平分,无缝接轨。")8.执行脚本并验证效果
执行脚本
bash
python3 srt_fill.py 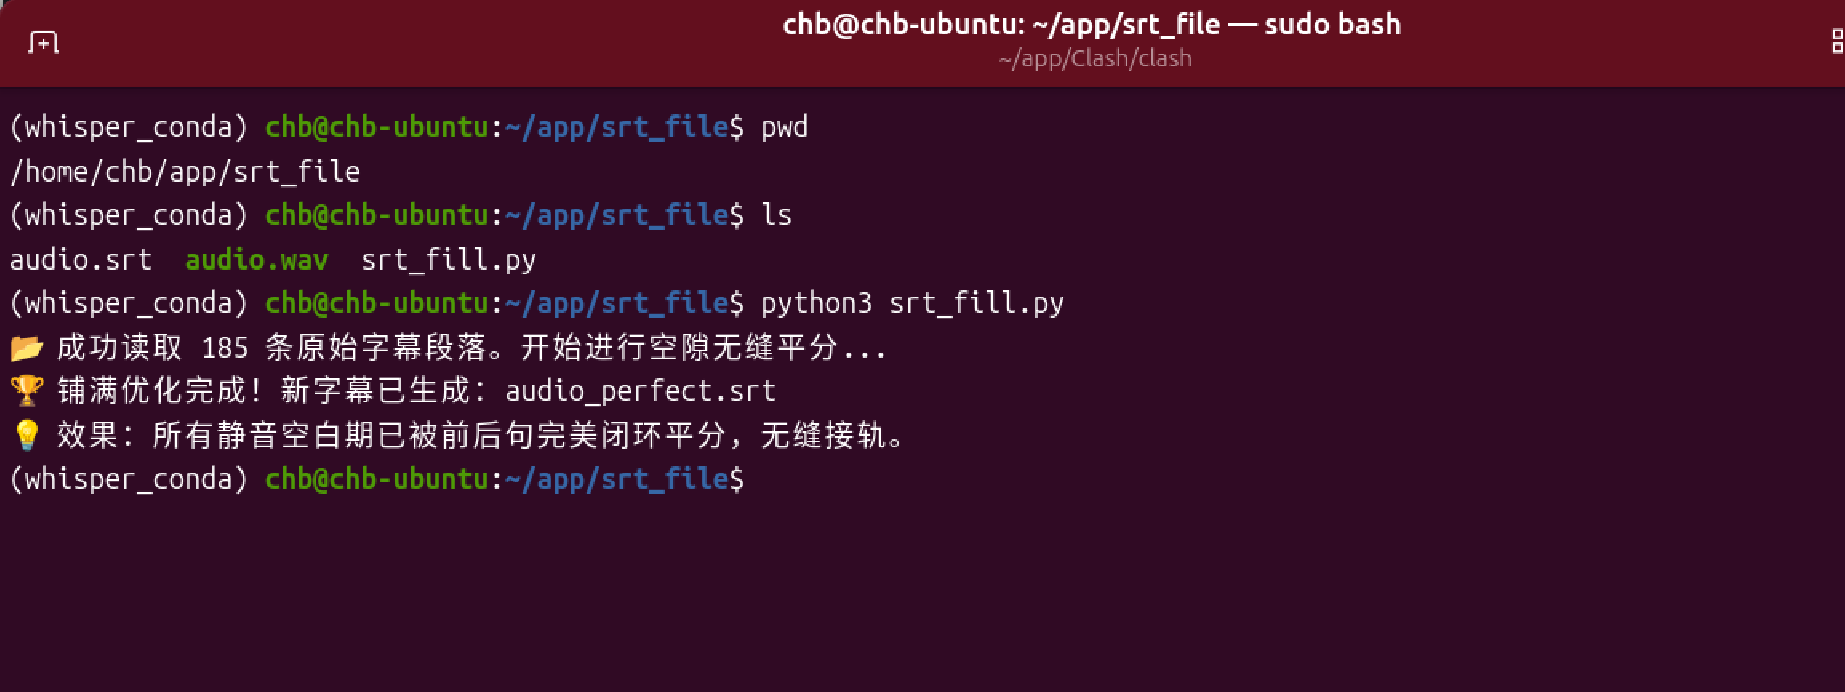
使用Aegisub打开
空隙填满了,并且前后平分了中间的空隙。
9.conda查看版本及激活与退出
查看版本
bash
conda --version激活该虚拟环境
bash
conda activate whisper_conda退出虚拟环境
bash
conda deactivate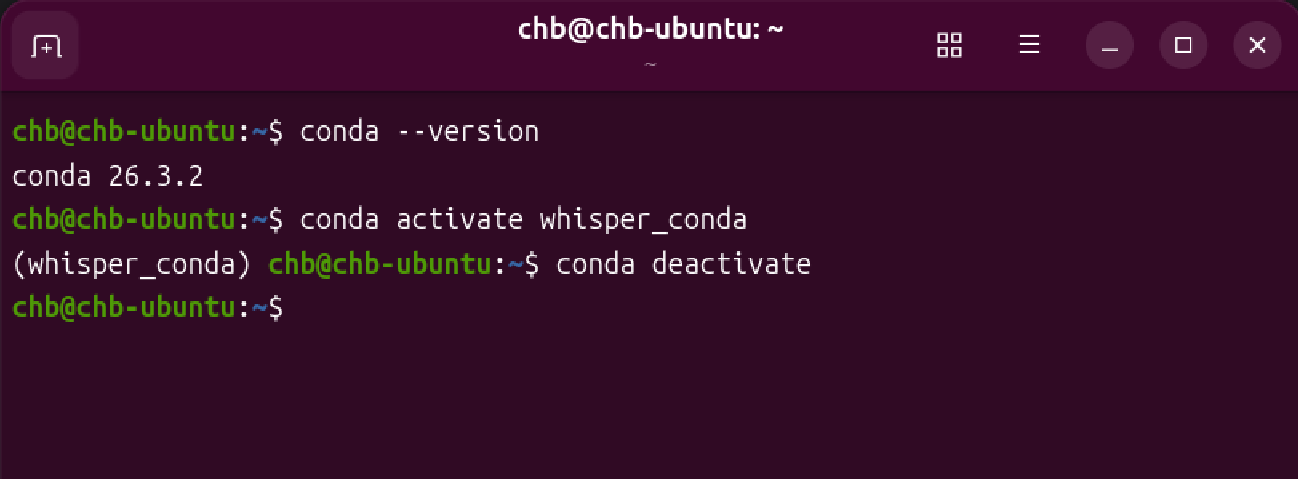
10.使用脚本运行whisperX
每次音频转字幕都要敲一遍命令始终不方便
bash
nano run_whisper.sh
bash
#!/bin/bash

# 1. 强行开启 Hugging Face 离线模式,再也不去联网对暗号
export HF_HUB_OFFLINE=1

# 2. 隐藏讨厌的警告红字
export PYTHONWARNINGS="ignore"

# 3. 固定处理当前目录下的 audio.wav
whisperx audio.wav \
    --model large-v3 \
    --device cuda \
    --compute_type int8 \
    --batch_size 4 \
    --output_dir . \
    --output_format srt \
    --language zh \
    --vad_offset 0.40 \
    --chunk_size 12

echo "🎉 audio.wav 的字幕已生成完成!"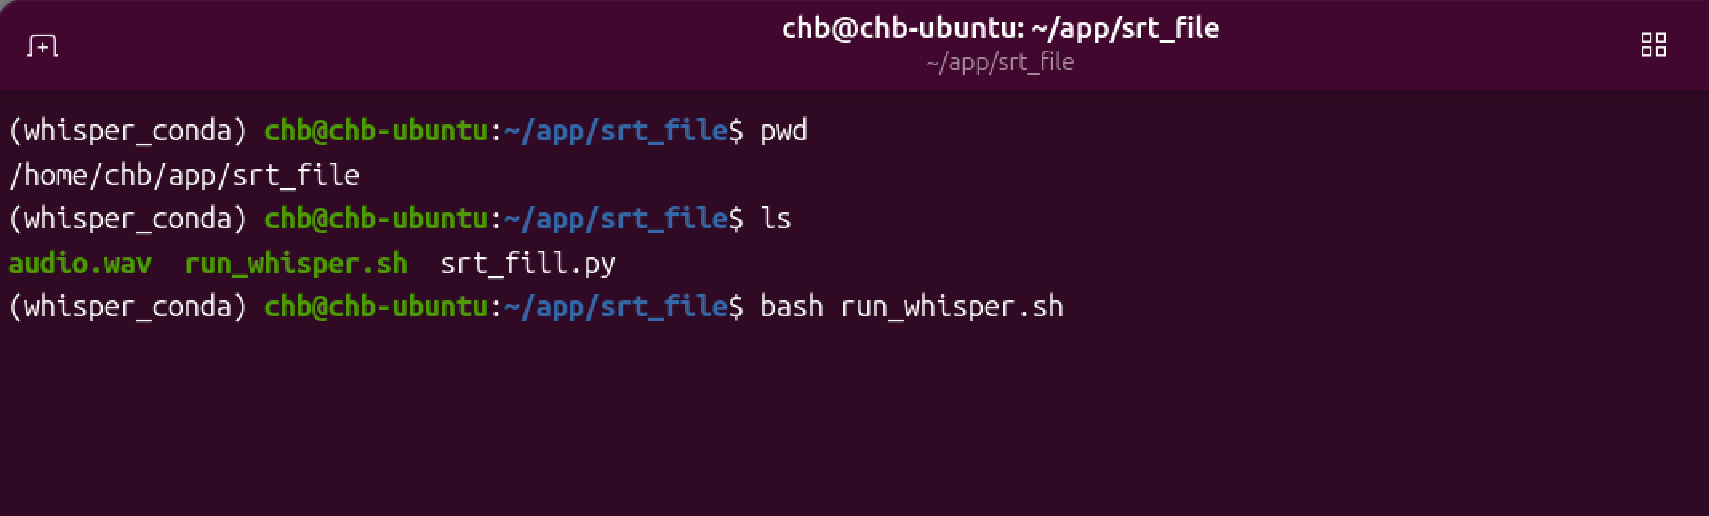
- end