1. 环境需求与节点规划
1.1 节点规划(示例)
|--------|-----------------|-----------|--------|
| 节点 | IP 地址 | 主机名 | 角色 |
| Node1 | 192.168.106.178 | pxc-node1 | 主节点 |
| Node2 | 192.168.106.179 | pxc-node2 | 从节点 |
| Node3 | 192.168.106.180 | pxc-node3 | 从节点 |
1.2 系统环境配置(所有节点执行)
1.2.1 配置主机名和 Hosts 解析
bash
# 按节点分别设置主机名
hostnamectl set-hostname pxc-node1  # 192.168.106.178
hostnamectl set-hostname pxc-node2  # 192.168.106.179
hostnamectl set-hostname pxc-node3  # 192.168.106.180

# 统一添加 hosts 解析
cat >> /etc/hosts << EOF
192.168.106.178 pxc-node1
192.168.106.179 pxc-node2
192.168.106.180 pxc-node3
EOF
1.2.2 关闭 SELinux 和防火墙
bash
# 临时关闭 SELinux
setenforce 0

# 永久关闭 SELinux
sed -i 's/^SELINUX=enforcing/SELINUX=disabled/' /etc/selinux/config

# 关闭防火墙(Rocky 9 默认使用 firewalld)
systemctl stop firewalld
systemctl disable firewalld

# 如果使用 nftables(可选检查)
systemctl disable --now nftables 2>/dev/null || true
1.2.3 配置系统内核参数
bash
cat >> /etc/sysctl.conf << EOF
# PXC 优化参数
net.ipv4.tcp_syncookies = 1
net.core.somaxconn = 65535
net.ipv4.tcp_max_syn_backlog = 65535
net.ipv4.tcp_fin_timeout = 10
net.ipv4.tcp_tw_reuse = 1
net.core.netdev_max_backlog = 2000
net.ipv4.ip_local_port_range = 1024 65535

# 内存与脏页优化
vm.swappiness = 0
vm.dirty_ratio = 80
vm.dirty_background_ratio = 5
EOF

sysctl -p

# 禁用透明大页(THP)
cat > /etc/systemd/system/disable-thp.service << EOF
[Unit]
Description=Disable Transparent Huge Pages

[Service]
Type=oneshot
ExecStart=/bin/sh -c "echo never > /sys/kernel/mm/transparent_hugepage/enabled"
ExecStart=/bin/sh -c "echo never > /sys/kernel/mm/transparent_hugepage/defrag"

[Install]
WantedBy=multi-user.target
EOF

systemctl daemon-reload
systemctl enable --now disable-thp
1.2.4 配置资源限制
bash
# 全局限制
cat >> /etc/security/limits.conf << EOF
* soft nofile 65535
* hard nofile 65535
* soft nproc 65535
* hard nproc 65535
* soft core unlimited
* hard core unlimited
EOF

# PXC 专用用户限制
cat > /etc/security/limits.d/99-pxc.conf << EOF
mysql soft nofile 65535
mysql hard nofile 65535
mysql soft nproc 65535
mysql hard nproc 65535
EOF

# 立即生效(需重新登录)
ulimit -n 65535
1.2.5 安装依赖软件包
bash
# 启用 CRB 仓库(部分依赖在 EPEL 中)
dnf config-manager --set-enabled crb
dnf install -y epel-release

# 卸载冲突包
dnf remove -y mariadb* postfix 2>/dev/null || true

# 安装依赖(适配 Rocky 9 包名)
dnf install -y gcc gcc-c++ ncurses-devel cmake \
    libaio libaio-devel bind-utils wget curl \
    perl openssh-clients sysstat make libev \
    lrzsz perl-DBD-MySQL perl-IO-Socket-SSL \
    git scons check boost-devel asio-devel \
    readline-devel numactl-libs socat \
    openssl-devel zlib-devel pam-devel

# 安装 Red Hat 兼容层(部分工具需要)
dnf install -y redhat-lsb-core
2. 安装 Percona XtraDB Cluster
下载地址:Downloads - Percona
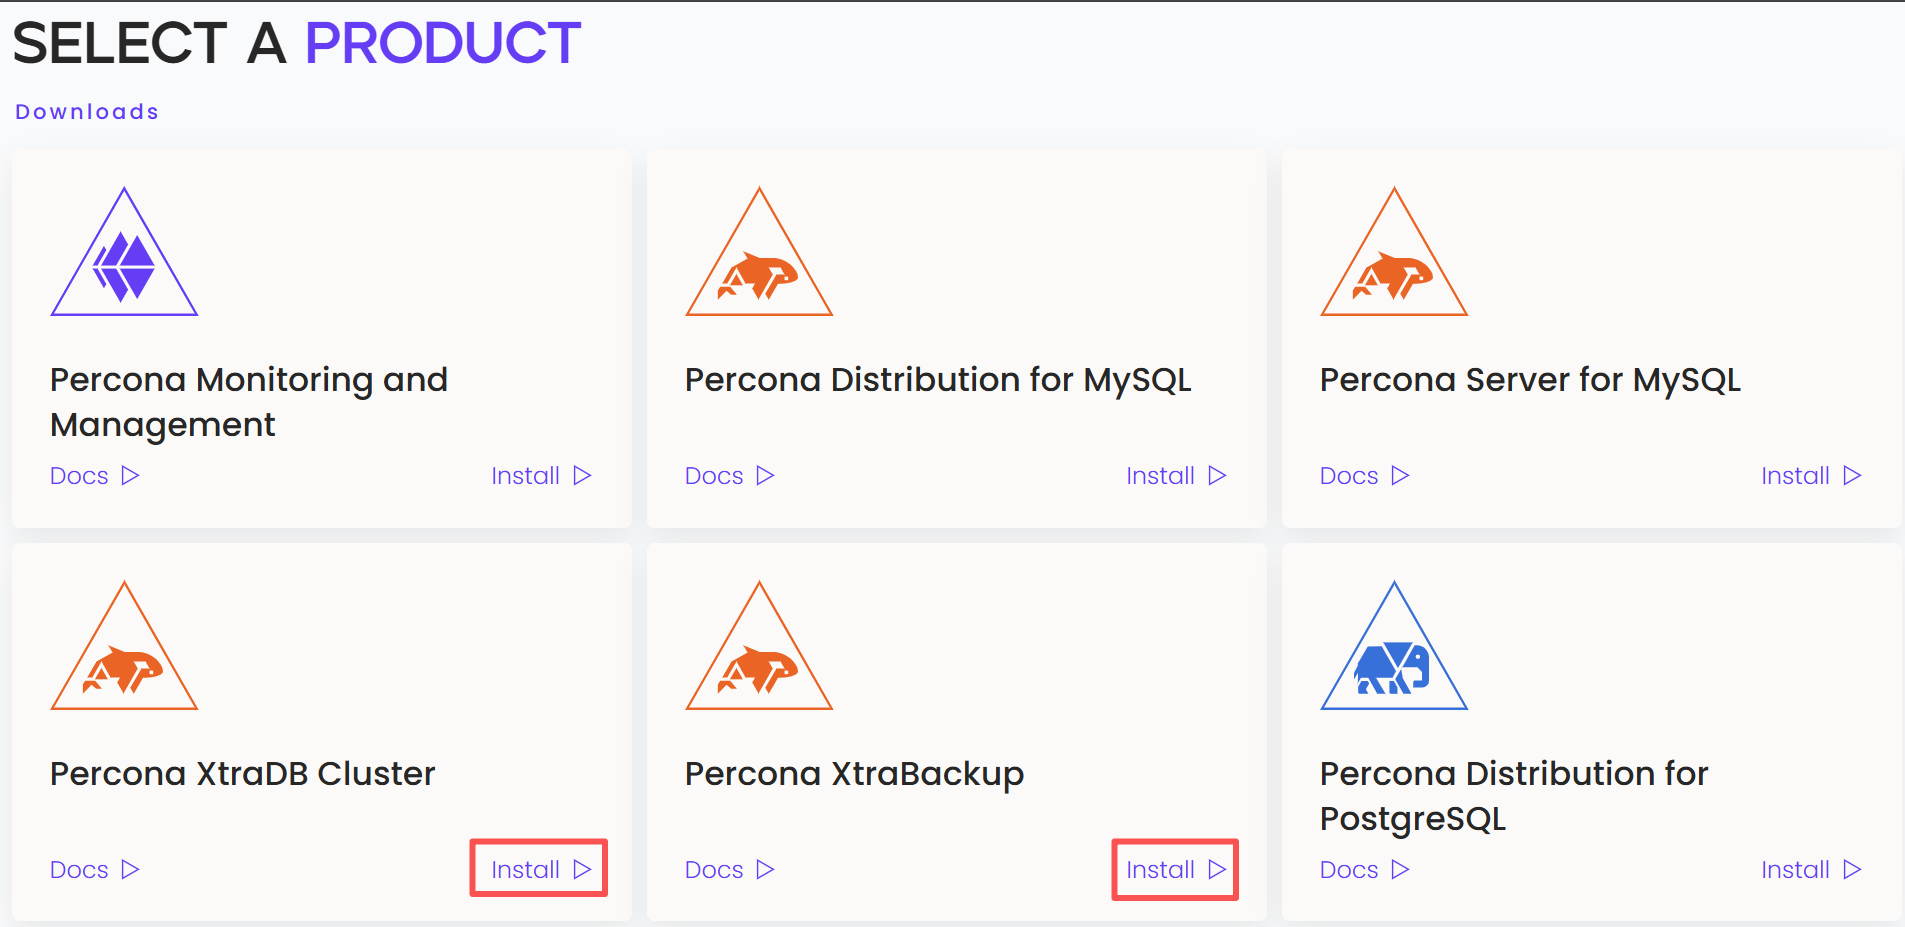
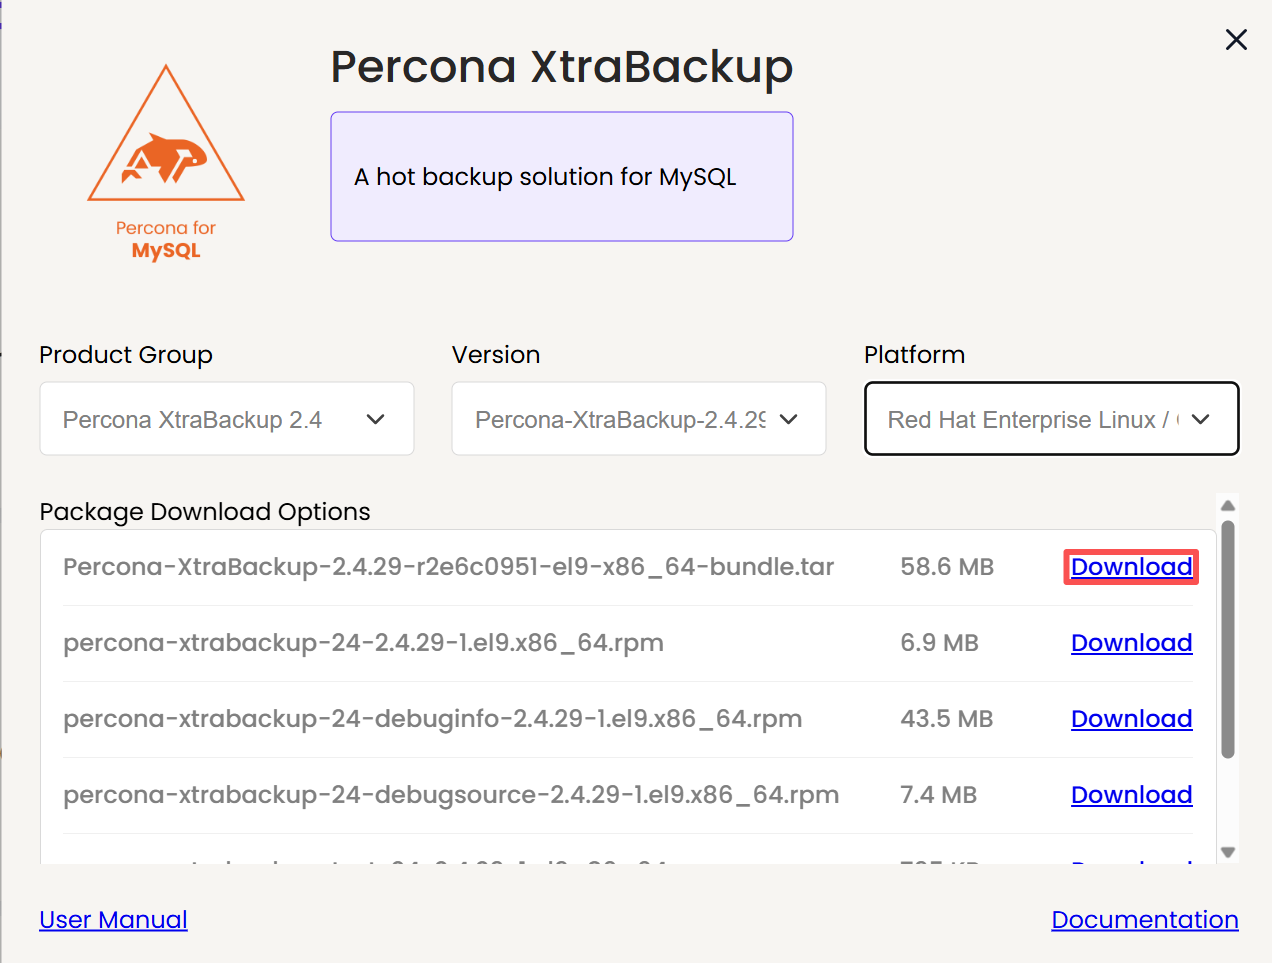
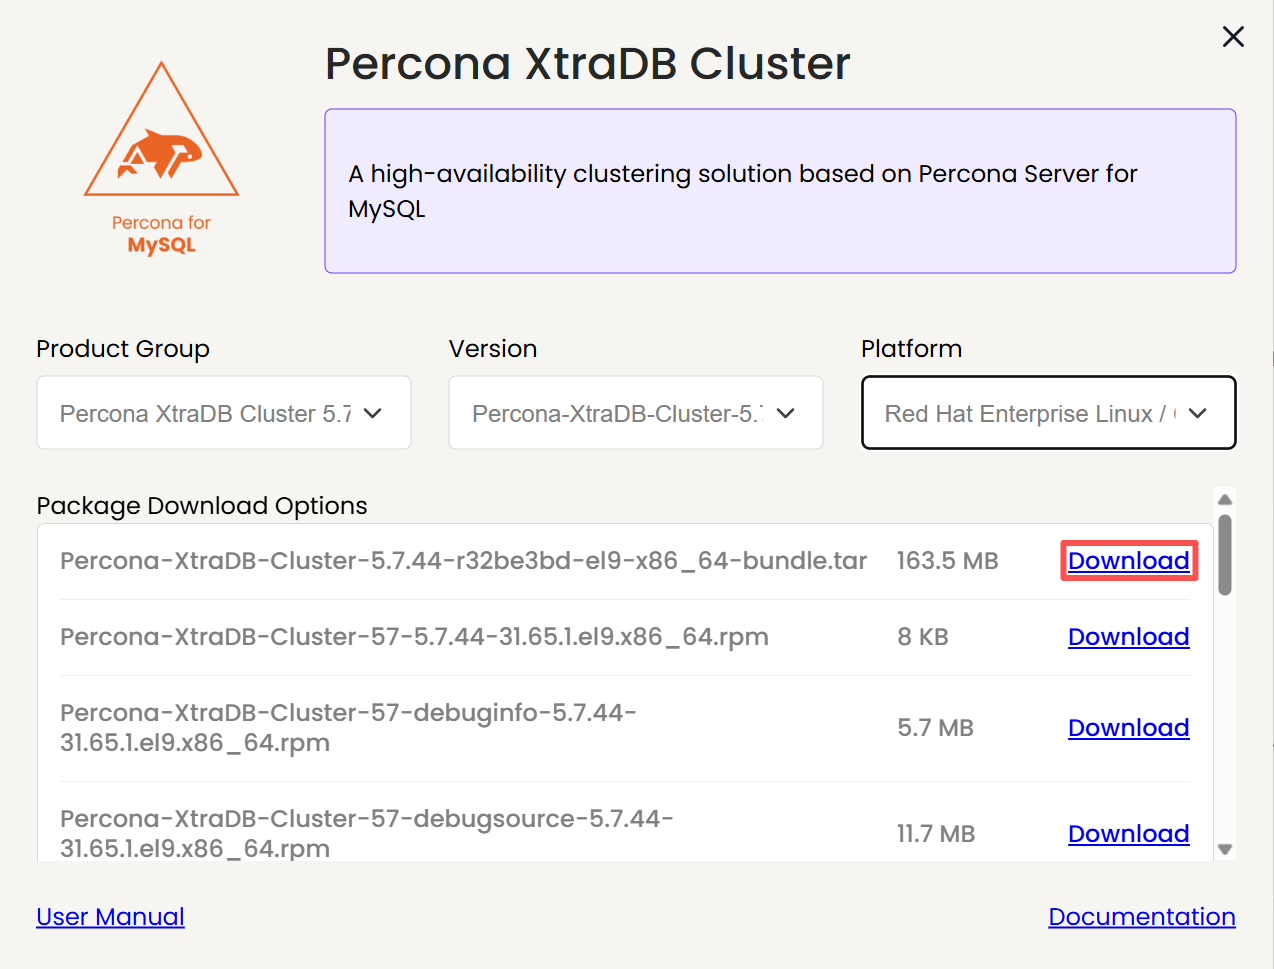
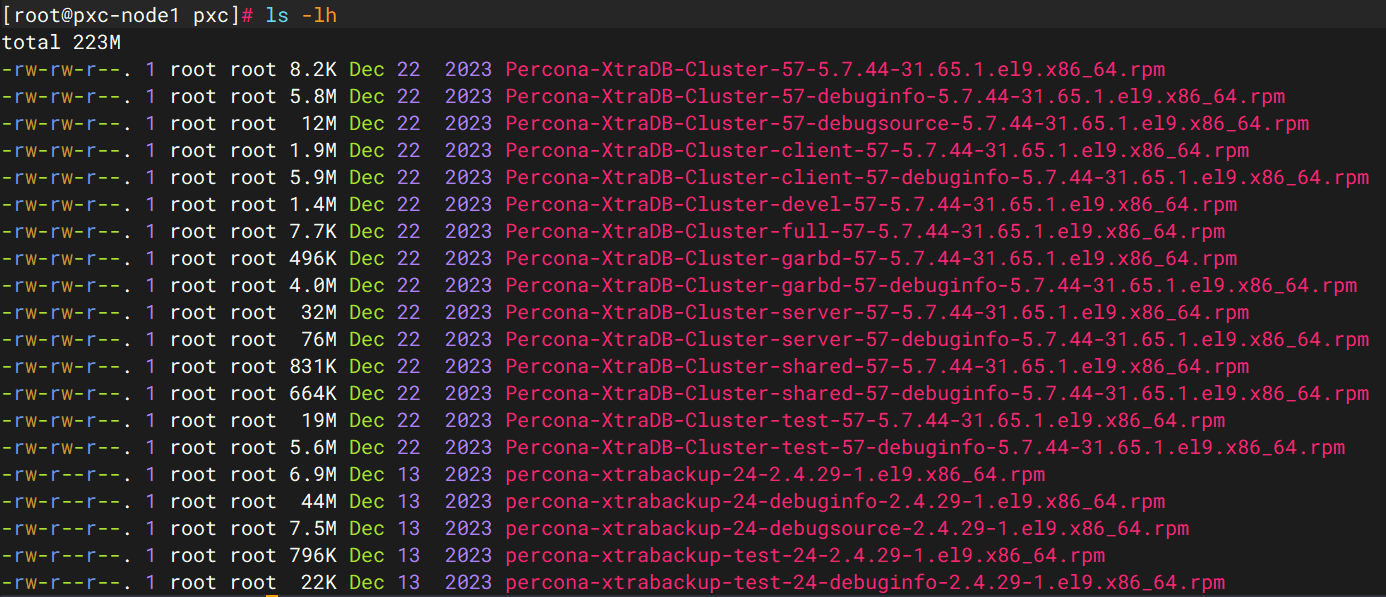
这里我将下载好的软件包上传到三个节点的/opt/pxc下,并解压:
2.1 安装依赖
bash
dnf install -y epel-release
dnf config-manager --set-enabled crb

dnf install -y openssl-devel zlib-devel pam-devel \
               socat numactl-libs libev perl-DBD-MySQL \
               perl-IO-Socket-SSL rsync
2.2 安装 PXC & XtraBackup
bash
cd /opt/pxc

dnf localinstall -y \
  Percona-XtraDB-Cluster-57-5.7.44-31.65.1.el9.x86_64.rpm \
  Percona-XtraDB-Cluster-server-57-5.7.44-31.65.1.el9.x86_64.rpm \
  Percona-XtraDB-Cluster-client-57-5.7.44-31.65.1.el9.x86_64.rpm \
  Percona-XtraDB-Cluster-shared-57-5.7.44-31.65.1.el9.x86_64.rpm \
  percona-xtrabackup-24-2.4.29-1.el9.x86_64.rpm
3. 配置 PXC 节点
3.1 节点1 配置文件 (/etc/my.cnf)
bash
[mysqld]
server-id=1
wsrep_node_name=pxc-node1
wsrep_node_address=192.168.106.178
wsrep_cluster_address=gcomm://
# ===== 基础 =====
datadir=/var/lib/mysql
socket=/var/lib/mysql/mysql.sock
log-error=/var/log/mysqld.log
pid-file=/var/run/mysqld/mysqld.pid

# ===== 网络 =====
bind-address=0.0.0.0
port=3306

# ===== InnoDB =====
default_storage_engine=InnoDB
innodb_autoinc_lock_mode=2
innodb_flush_log_at_trx_commit=0
innodb_buffer_pool_size=2G
innodb_log_file_size=1G
innodb_file_per_table=1
innodb_flush_method=O_DIRECT

# ===== Binlog =====
binlog_format=ROW

# ===== PXC / Galera =====
wsrep_provider=/usr/lib64/galera3/libgalera_smm.so
wsrep_cluster_name=pxc-cluster
wsrep_sst_method=xtrabackup-v2
wsrep_sst_auth=sstuser:s3cretPass
wsrep_slave_threads=4
pxc_strict_mode=ENFORCING

[sst]
streamfmt=xbstream

[client]
socket=/var/lib/mysql/mysql.sock
节点2和节点3的区别:
bash
server-id=2
wsrep_node_name=pxc-node2
wsrep_node_address=192.168.106.179
wsrep_cluster_address=gcomm://192.168.106.178,192.168.106.179,192.168.106.180

server-id=3
wsrep_node_name=pxc-node3
wsrep_node_address=192.168.106.180
wsrep_cluster_address=gcomm://192.168.106.178,192.168.106.179,192.168.106.180
3.2 创建数据目录
bash
mkdir -p /var/lib/mysql
chown mysql:mysql /var/lib/mysql
chmod 750 /var/lib/mysql

mkdir -p /var/run/mysqld
chown mysql:mysql /var/run/mysqld
4.第 1 节点引导启动(仅 node1)
bash
systemctl start mysql@bootstrap.service
systemctl status mysql@bootstrap.service
tail -f /var/log/mysqld.log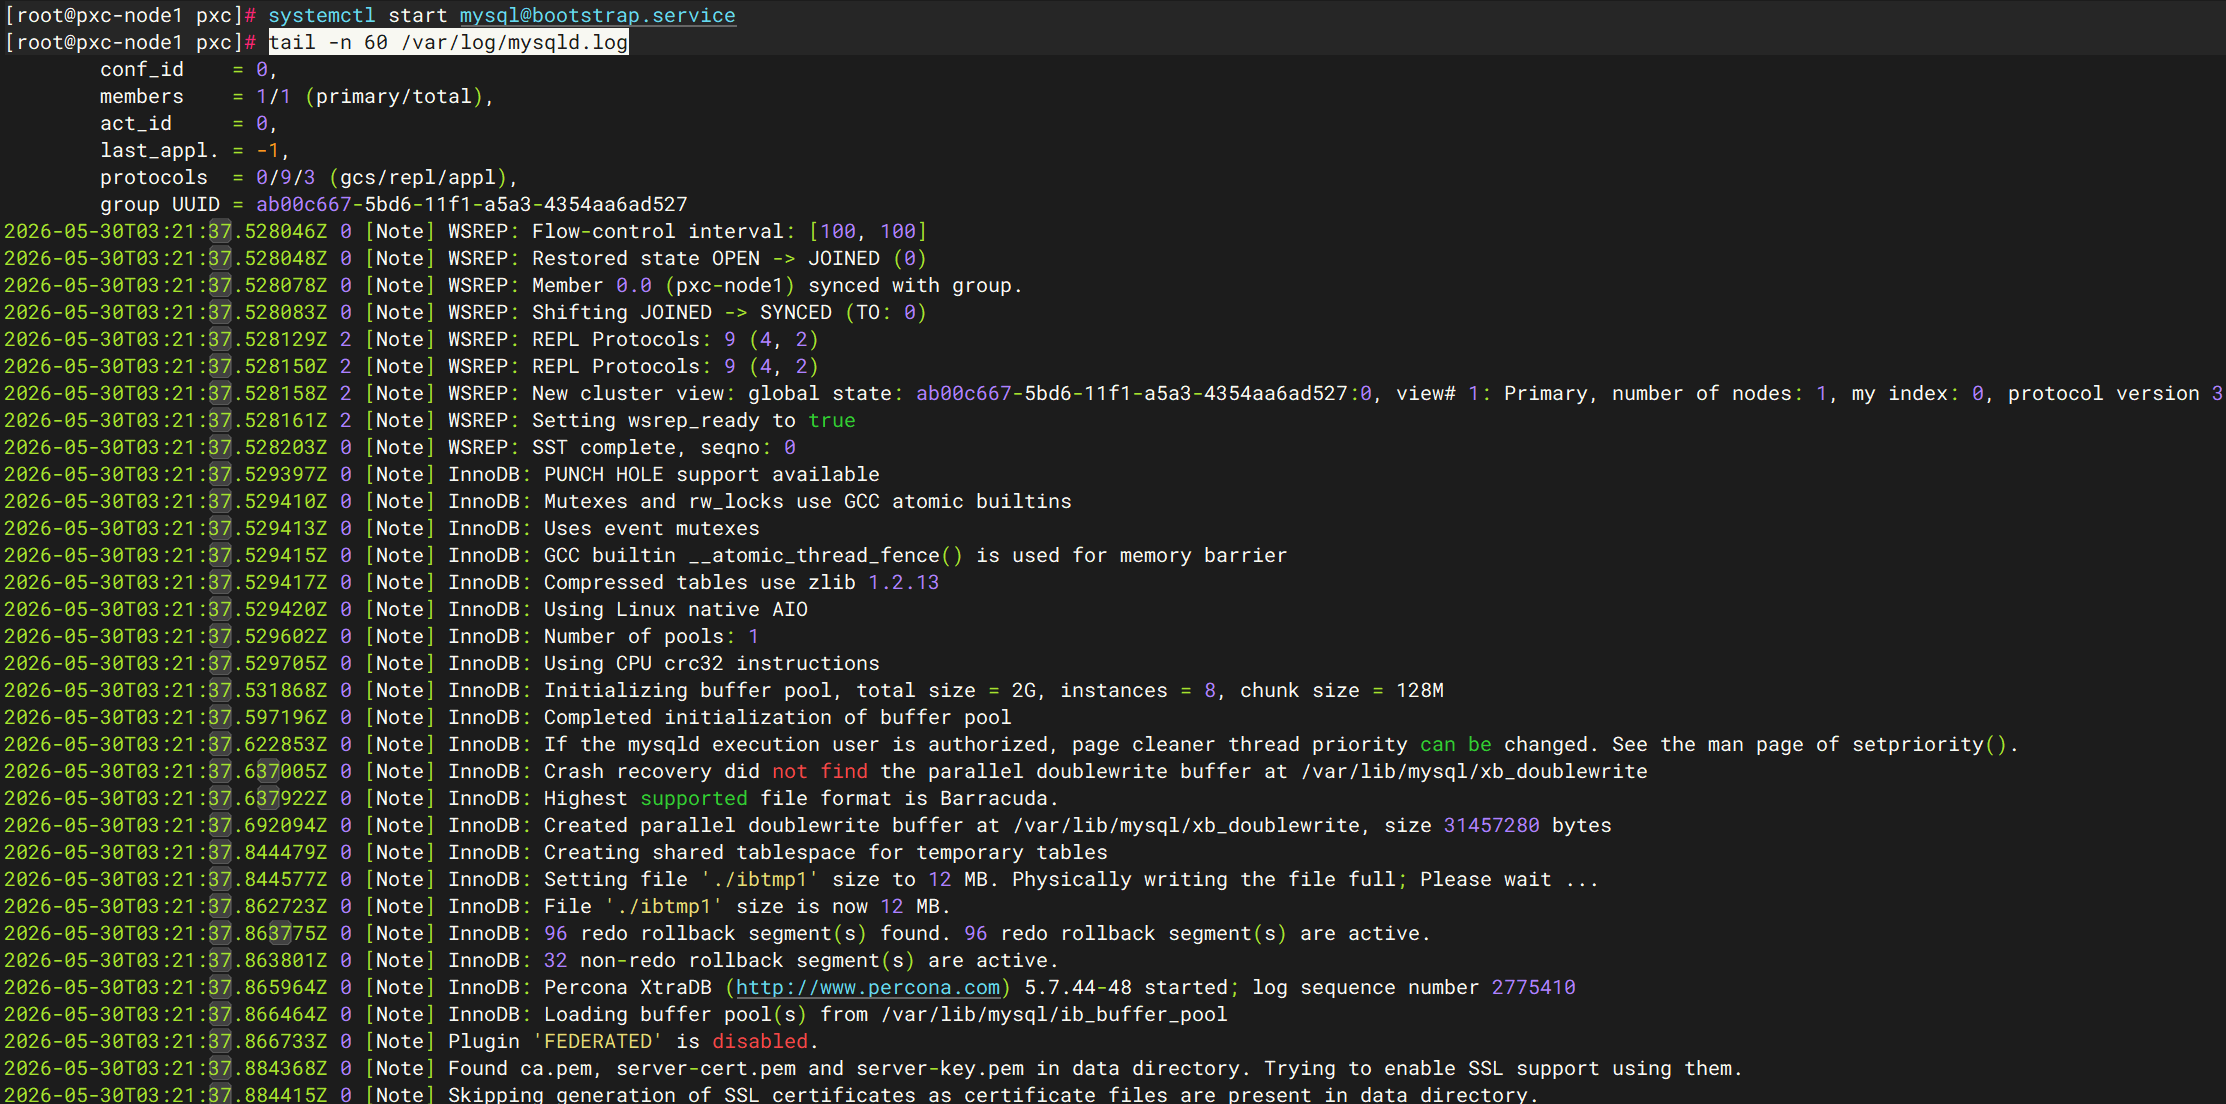
使用mysql -uroot -p,若找不到临时密码按照以下步骤操作:
bash
#停掉 bootstrap 节点
systemctl stop mysql@bootstrap.service

#以跳过权限表方式启动 MySQL
mysqld --defaults-file=/etc/my.cnf \
       --skip-grant-tables \
       --skip-networking \
       --user=mysql &

#确认已启动
ps -ef | grep mysqld | grep -v grep

#无密码登录
mysql -uroot


-- 重新加载权限表(5.7 必须)
FLUSH PRIVILEGES;

-- 重置 root@localhost 密码
ALTER USER 'root'@'localhost'
IDENTIFIED BY 'YourStrongRootPassword';

-- 创建 SST 用户(与 my.cnf 保持一致)
CREATE USER 'sstuser'@'localhost'
IDENTIFIED BY 's3cretPass';

GRANT RELOAD, LOCK TABLES, PROCESS, REPLICATION CLIENT
ON *.* TO 'sstuser'@'localhost';

-- 可选:远程 root
CREATE USER 'root'@'%'
IDENTIFIED BY 'YourStrongRootPassword';

GRANT ALL PRIVILEGES ON *.* TO 'root'@'%'
WITH GRANT OPTION;

FLUSH PRIVILEGES;
EXIT;


# 停掉跳过权限表的 mysqld
mysqladmin -uroot -p'YourStrongRootPassword' shutdown

# 用 systemd 正常启动 bootstrap
systemctl start mysql@bootstrap.service


mysql -uroot -p'YourStrongRootPassword' -e "SELECT @@hostname;"5.Node2 加入(Node3 同理)
1) SST 用户必须存在且认证方式可用(5.7 一般没问题)
bash
mysql -uroot -p'YourStrongRootPassword' -e "
SELECT user,host,plugin FROM mysql.user WHERE user IN ('root','sstuser');
SHOW STATUS LIKE 'wsrep_cluster_size';
"
2) 安装SST 运行期依赖
bash
dnf install -y socat rsync opensslNode2:正常启动(⚠️ 不要用 bootstrap)
bash
systemctl start mysql3)在Node1上验证:
bash
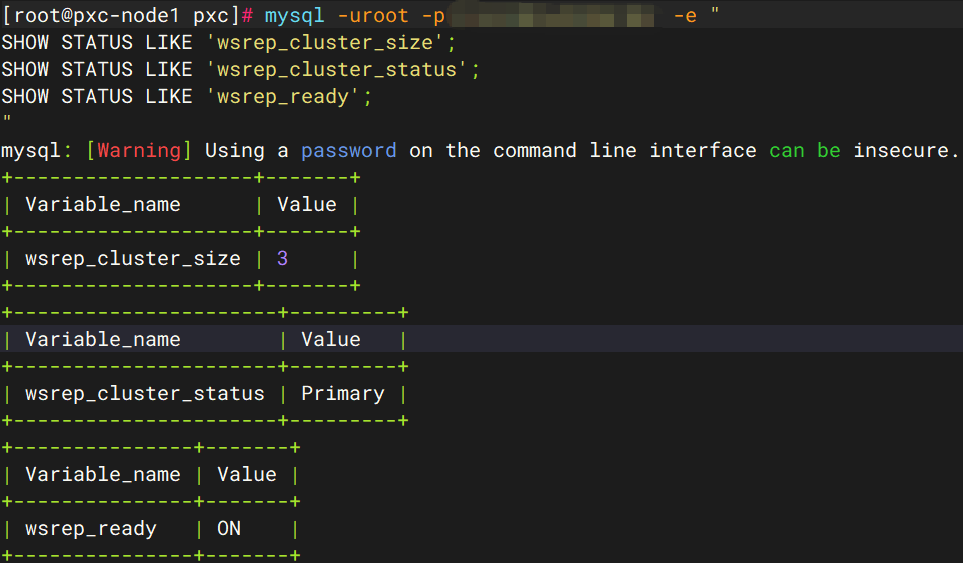
mysql -uroot -p'YourStrongRootPassword' -e "
SHOW STATUS LIKE 'wsrep_cluster_size';
SHOW STATUS LIKE 'wsrep_cluster_status';
SHOW STATUS LIKE 'wsrep_ready';
"
# wsrep_cluster_size = 2 就对了
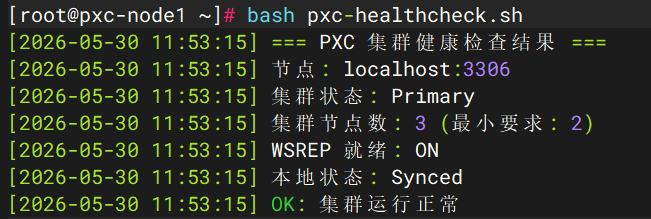
Node3加入后wsrep_cluster_size = 3:
附:pxc-healthcheck.sh
bash
#!/bin/bash
# PXC 集群健康检查脚本


# ============ 配置区 ============
MYSQL_USER="${MYSQL_USER:-root}"
MYSQL_PASS="${MYSQL_PASS:-YourStrongRootPassword}"
MYSQL_HOST="${MYSQL_HOST:-localhost}"
MYSQL_PORT="${MYSQL_PORT:-3306}"
MIN_CLUSTER_SIZE="${MIN_CLUSTER_SIZE:-2}"
# =================================

# ============ 函数定义 ============
log_message() {
    echo "[$(date '+%Y-%m-%d %H:%M:%S')] $1"
}

check_mysql_connection() {
    if ! mysql -u"${MYSQL_USER}" -p"${MYSQL_PASS}" \
         -h"${MYSQL_HOST}" -P"${MYSQL_PORT}" \
         -e "SELECT 1;" >/dev/null 2>&1; then
        log_message "ERROR: 无法连接到 MySQL 服务器"
        return 1
    fi
    return 0
}

get_wsrep_status() {
    mysql -u"${MYSQL_USER}" -p"${MYSQL_PASS}" \
          -h"${MYSQL_HOST}" -P"${MYSQL_PORT}" \
          -e "SHOW STATUS LIKE 'wsrep_%';" 2>/dev/null
}

check_cluster_health() {
    local cluster_status cluster_size wsrep_ready
    local exit_code=0

    # 获取集群状态
    local status_output
    status_output=$(get_wsrep_status)

    # 提取关键指标
    cluster_status=$(echo "${status_output}" | awk '/wsrep_cluster_status/{print $2}')
    cluster_size=$(echo "${status_output}" | awk '/wsrep_cluster_size/{print $2}')
    wsrep_ready=$(echo "${status_output}" | awk '/wsrep_ready/{print $2}')

    # 输出详细信息
    log_message "=== PXC 集群健康检查结果 ==="
    log_message "节点: ${MYSQL_HOST}:${MYSQL_PORT}"
    log_message "集群状态: ${cluster_status:-N/A}"
    log_message "集群节点数: ${cluster_size:-0} (最小要求: ${MIN_CLUSTER_SIZE})"
    log_message "WSREP 就绪: ${wsrep_ready:-N/A}"

    # 检查各项指标
    if [[ "${cluster_status}" != "Primary" ]]; then
        log_message "CRITICAL: 集群状态异常 (非 Primary)"
        exit_code=2
    fi

    if [[ -z "${cluster_size}" ]] || (( cluster_size < MIN_CLUSTER_SIZE )); then
        log_message "CRITICAL: 集群节点数不足 (当前: ${cluster_size}, 要求: >=${MIN_CLUSTER_SIZE})"
        exit_code=2
    fi

    if [[ "${wsrep_ready}" != "ON" ]]; then
        log_message "CRITICAL: WSREP 未就绪"
        exit_code=2
    fi

    # 额外检查(可选)
    local local_state
    local_state=$(echo "${status_output}" | awk '/wsrep_local_state_comment/{print $2}')
    log_message "本地状态: ${local_state:-N/A}"

    if [[ "${local_state}" != "Synced" ]]; then
        log_message "WARNING: 本地节点未同步 (状态: ${local_state})"
        (( exit_code < 1 )) && exit_code=1
    fi

    return ${exit_code}
}
# =================================

# ============ 主流程 ============
main() {
    # 检查 MySQL 连接
    if ! check_mysql_connection; then
        exit 2
    fi

    # 执行健康检查
    if check_cluster_health; then
        log_message "OK: 集群运行正常"
        exit 0
    else
        local ret=$?
        log_message "CRITICAL: 检测到集群问题"
        exit ${ret}
    fi
}
# =================================

# 执行主函数
main
bash
# 设置环境变量(推荐)
export MYSQL_PASS="YourStrongRootPassword"
./pxc-healthcheck.sh