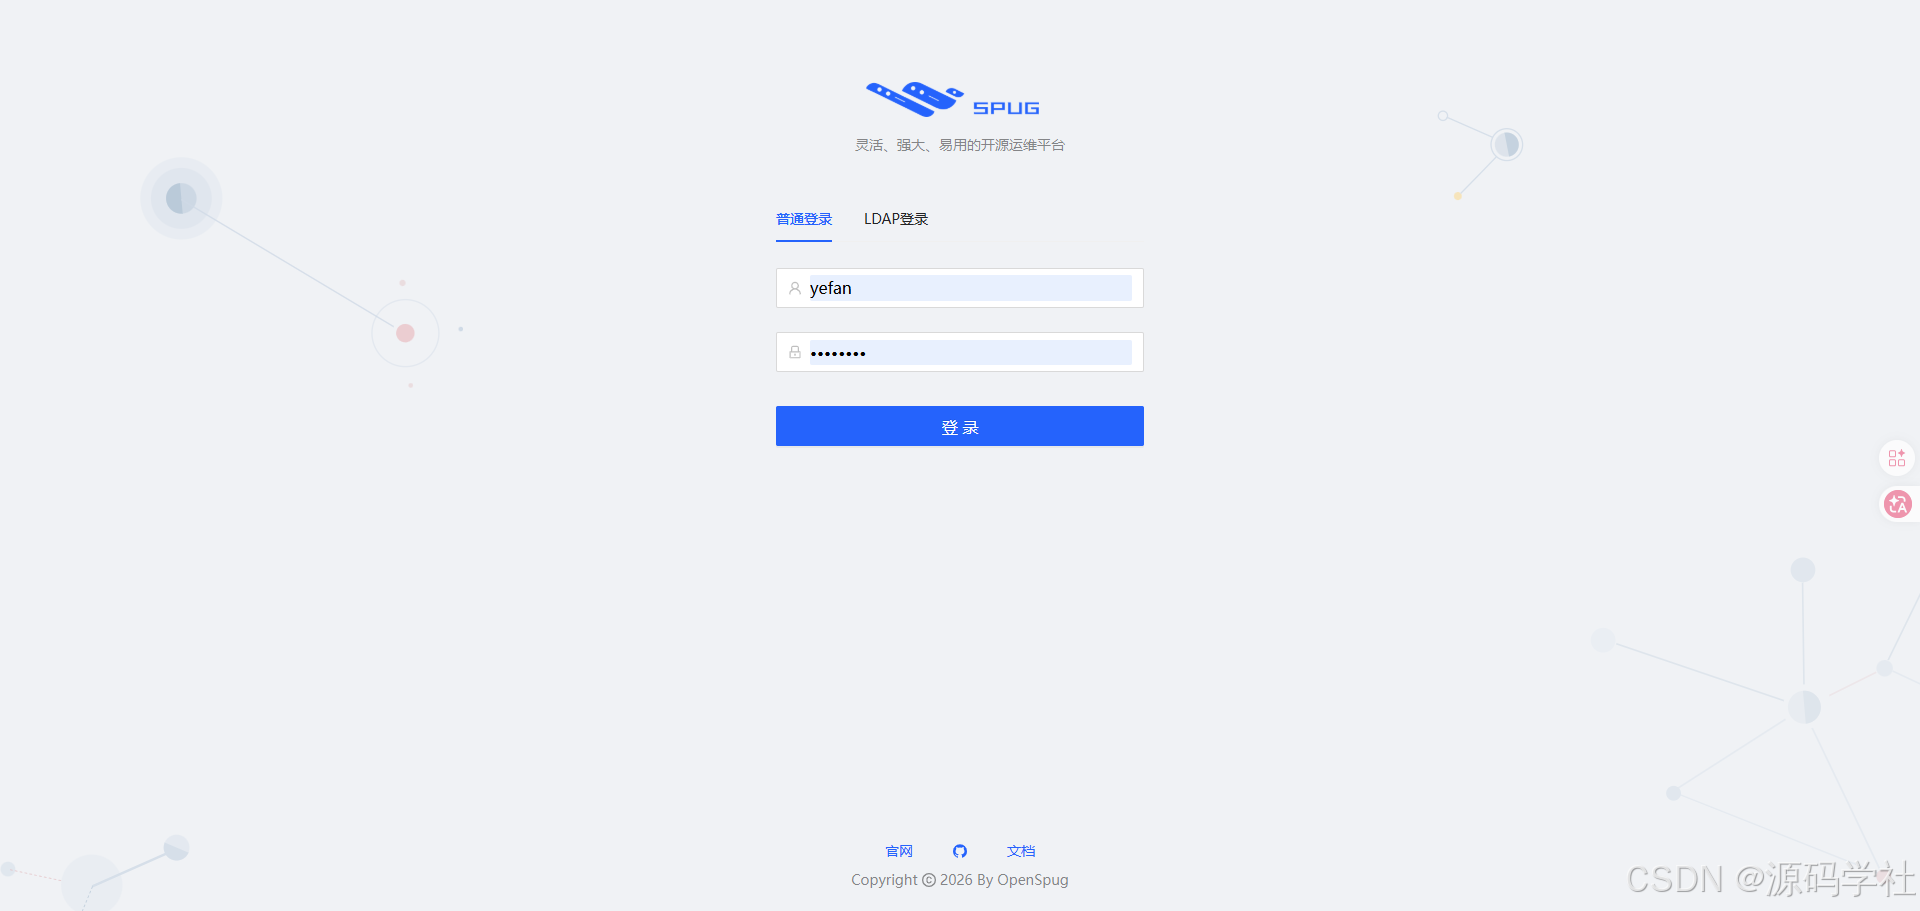
本文记录如何将 Spug 3.0 运维工具的 Docker 镜像从官方已 EOL 的 CentOS 7 迁移到 Ubuntu 22.04,采用多阶段构建 + deadsnakes Python 3.9(兼容 Django 2.2)+ uv 加速依赖安装,复用宿主机已有 MySQL 8/Redis 容器。包含完整构建步骤、前端打包、数据库初始化及 8 个实战踩坑记录(buildkit size validation、setuptools 81 移除 pkg_resources、supervisor nodaemon、深信服 aTrust LSP 拦截等)。镜像 572MB,6 进程稳定运行,宿主机 8080 端口访问。附新机器一键部署流程。
架构概览
| 组件 | 版本 | 说明 |
|---|---|---|
| 基础镜像 | ubuntu:22.04 | 替代官方 CentOS 7(已 EOL) |
| Python | 3.9(deadsnakes PPA) | Django 2.2 不兼容 Python 3.10+ |
| Django | 2.2.28 | 后端框架 |
| 前端 | React 16 + react-scripts 3.4 | 本地构建产物 COPY 进镜像 |
| nginx | 容器内 80 端口 | 反代 API + 静态资源 |
| supervisor | 6 进程管理 | nginx/api/ws/worker/monitor/scheduler |
| MySQL | 8.x(宿主机已有容器) | 通过 host.docker.internal 访问 |
| Redis | 宿主机已有容器 | 通过 host.docker.internal 访问 |
宿主机端口映射:8080 → 容器 80(避开 aTrust/Clash 对 80 端口的拦截)
一、环境准备
1.1 必装软件
| 软件 | 用途 | 安装方式 |
|---|---|---|
| Docker Desktop | 容器运行时 | 官方下载 |
| Node.js 18 + yarn | 前端构建 | 用 nvm 管理:nvm install 18 && npm i -g yarn |
| Python 3.x(宿主机) | 仅用于验证端口,非必须 | 任意版本均可 |
1.2 MySQL 8 容器(复用宿主机已有实例)
确保宿主机已有 MySQL 8 容器,且端口映射到 0.0.0.0:3306:
bash
# 检查 MySQL 容器是否运行
docker ps | findstr mysql

# 确认端口映射(应看到 0.0.0.0:3306)
docker port <mysql容器名> 3306
1.3 Redis 容器(复用宿主机已有实例)
确保宿主机已有 Redis 容器,且端口映射到 0.0.0.0:6379:
bash
docker ps | findstr redis
docker port <redis容器名> 6379
为什么用 host.docker.internal?
Spug 容器需要访问宿主机上的 MySQL/Redis 容器。
host.docker.internal是 Docker Desktop 提供的特殊域名,指向宿主机网关。容器通过它访问宿主机已映射的端口。
二、数据库初始化
在宿主机 MySQL 8 中创建 spug 数据库和用户:
bash
# 在项目根目录执行
docker exec -i <mysql容器名> mysql -uroot -p<root密码> < docs/docker/mysql_init.sql
mysql_init.sql 内容(已包含在仓库中):
sql
CREATE DATABASE IF NOT EXISTS spug
    DEFAULT CHARACTER SET utf8mb4
    DEFAULT COLLATE utf8mb4_unicode_ci;

CREATE USER IF NOT EXISTS 'spug'@'%' IDENTIFIED WITH mysql_native_password BY 'spug.cc';
GRANT ALL PRIVILEGES ON spug.* TO 'spug'@'%';
FLUSH PRIVILEGES;
认证插件说明 :MySQL 8 默认用
caching_sha2_password,老版本 mysqlclient 不兼容,故显式用mysql_native_password。若你的 MySQL 8.0.34+ 禁用了该插件,改为CREATE USER IF NOT EXISTS 'spug'@'%' IDENTIFIED BY 'spug.cc';并确保 mysqlclient>=2.1。
三、前端构建
Spug 前端是 React 16 + react-scripts 3.4,需在本地构建产物后 COPY 进镜像。
powershell
# 切换到 Node 18(react-scripts 3.4 需要 OpenSSL legacy provider,Node 18 兼容)
nvm install 18
nvm use 18

# 安装依赖
cd spug_web
yarn install

# 设置环境变量(Windows 必需,否则报 GENERATE_SOURCEMAP 不识别)
$env:GENERATE_SOURCEMAP="false"
$env:NODE_OPTIONS="--openssl-legacy-provider"

# 构建
npx react-app-rewired build
构建成功后 spug_web/build/ 目录会有静态文件,Docker 构建时会 COPY 进镜像。
踩坑记录:
yarn build在 Windows 上可能因GENERATE_SOURCEMAP=false的 Unix 语法失败,改用npx react-app-rewired build+ PowerShell 环境变量。NODE_OPTIONS=--openssl-legacy-provider是 React 16 + Node 17+ 的必需项,否则 OpenSSL 3.0 报错。
四、Docker 镜像构建
4.1 关键决策
| 决策点 | 选择 | 原因 |
|---|---|---|
| 基础镜像 | ubuntu:22.04 | 官方 CentOS 7 已 EOL |
| Python 安装 | deadsnakes PPA python3.9 | Django 2.2 不兼容 Ubuntu 22.04 默认的 Python 3.10 |
| 依赖管理 | uv(builder 阶段) | 与本地 uv 版本对齐,加速依赖解析 |
| 构建方式 | 多阶段构建 | builder 阶段装依赖到 venv,final 阶段只复制 venv |
| apt 镜像源 | mirrors.aliyun.com | Ubuntu 官方源国内访问不稳定(502) |
| 构建引擎 | DOCKER_BUILDKIT=0 | 绕过 buildkit size validation bug |
4.2 构建命令
powershell
# 在项目根目录执行(spug-3.0/)
# 必须用 DOCKER_BUILDKIT=0 绕过 buildkit size validation bug
$env:DOCKER_BUILDKIT=0
docker compose -f docs/docker/docker-compose.yml build
或直接用 docker build:
powershell
$env:DOCKER_BUILDKIT=0
docker build -t spug-ubuntu:3.0 -f docs/docker/Dockerfile .构建时间:首次约 5-10 分钟(取决于网络),镜像大小约 572MB。
五、容器启动
powershell
# 启动(会自动应用 8080:80 端口映射)
docker compose -f docs/docker/docker-compose.yml up -d

# 查看状态
docker ps --filter "name=spug"

# 检查 6 个进程是否全部 RUNNING
docker exec spug supervisorctl status
期望输出:
nginx                            RUNNING   pid 16, uptime 0:00:26
spug-api                         RUNNING   pid 17, uptime 0:00:26
spug-monitor                     RUNNING   pid 18, uptime 0:00:26
spug-scheduler                   RUNNING   pid 21, uptime 0:00:26
spug-worker                      RUNNING   pid 22, uptime 0:00:26
spug-ws                          RUNNING   pid 25, uptime 0:00:26
六、创建管理员账户
首次启动后,数据库表已自动建好(entrypoint.sh 执行 manage.py updatedb),但需要手动创建管理员:
bash
docker exec -it spug init_spug admin spug.cc这会调用
manage.py user add -u admin -p spug.cc -n 管理员 -s创建超管账户。
七、访问验证
7.1 浏览器访问
打开浏览器访问:http://localhost:8080
用 admin / spug.cc 登录。
7.2 命令行验证(可选)
如果浏览器不可用,可用 Python 验证(Windows curl/PowerShell 可能被 aTrust 拦截):
python
import http.client
c = http.client.HTTPConnection('127.0.0.1', 8080, timeout=5)
c.request('GET', '/')
r = c.getresponse()
print(r.status, r.getheader('Server'))
c.close()期望输出:200 nginx
八、常见问题排查
8.1 宿主机无法访问容器端口
症状 :浏览器/curl/PowerShell 访问 localhost:8080 失败,但容器内 nginx 正常。
排查步骤:
-
确认容器内服务正常:
bashdocker exec spug curl -s -o /dev/null -w "%{http_code}" http://localhost:80/ # 应返回 200 -
确认端口映射:
bashdocker port spug 80 # 应返回 0.0.0.0:8080 -
用 Python socket 测试 TCP 连通性(绕过 LSP):
pythonimport socket s = socket.socket() s.settimeout(5) s.connect(('127.0.0.1', 8080)) print('TCP OK') s.close() -
如果 Python socket 通但 curl/PowerShell 不通:检查是否安装了深信服 aTrust 零信任客户端或 Clash 代理。
- aTrust 会注入
Sangfor SSL Name Space ProviderLSP,按进程拦截 curl.exe/powershell.exe 的 socket 创建 - 验证:
netsh winsock show catalog | findstr Sangfor - 解决:用浏览器访问,或临时退出 aTrust
- aTrust 会注入
8.2 Docker 构建报 size validation 错误
症状 :failed size validation: 313243 != 313151
原因:Docker 镜像加速器返回内容大小不一致,buildkit 严格校验。
解决:用旧引擎构建:
powershell
$env:DOCKER_BUILDKIT=0
docker compose -f docs/docker/docker-compose.yml build
8.3 deadsnakes PPA gpg 导入失败
症状 :gpg: keyserver receive failed: No dirmngr
原因:buildkit sandbox 环境下 dirmngr 无法启动。
解决 :Dockerfile 已用 curl 下载 ASCII key + gpg --dearmor 转换绕过,无需手动处理。
8.4 ModuleNotFoundError: No module named 'pkg_resources'
症状 :supervisor 启动时报 No module named 'pkg_resources'
原因 :setuptools 81.0.0 正式移除了 pkg_resources,而 apscheduler 3.x 依赖它。uv 默认不装或装了最新版 setuptools。
解决 :Dockerfile 已 pin "setuptools<81",无需手动处理。
8.5 容器启动后立即退出
症状 :docker ps -a 显示 spug 容器 Exited (0)
原因:supervisor 默认 daemon 模式,主进程退出导致容器停止。
解决 :entrypoint.sh 已用 supervisord -n(nodaemon 模式),无需手动处理。
8.6 Ubuntu apt 源 502 Bad Gateway
症状 :apt-get update 报 502 Bad Gateway
原因:Ubuntu 官方源国内访问不稳定。
解决 :Dockerfile 已换阿里云镜像源 http://mirrors.aliyun.com,无需手动处理。
8.7 MySQL 连接失败
症状:entrypoint.sh 卡在"等待 MySQL"
排查:
-
确认 MySQL 容器在运行:
docker ps | findstr mysql -
确认 MySQL 端口映射到
0.0.0.0:3306(不是127.0.0.1:3306) -
确认 docker-compose.yml 的
extra_hosts有host.docker.internal:host-gateway -
从 spug 容器内测试:
bashdocker exec spug python -c "import socket; s=socket.socket(); s.settimeout(5); s.connect(('host.docker.internal',3306)); print('OK'); s.close()"
8.8 前端构建失败
症状 :'GENERATE_SOURCEMAP' is not recognized 或 OpenSSL 报错
解决:
powershell
$env:GENERATE_SOURCEMAP="false"
$env:NODE_OPTIONS="--openssl-legacy-provider"
npx react-app-rewired build
九、文件清单
部署所需的全部文件(均在仓库 docs/docker/ 下):
| 文件 | 用途 |
|---|---|
Dockerfile |
多阶段构建脚本(builder + final) |
docker-compose.yml |
容器编排(端口/环境变量/volumes) |
entrypoint.sh |
容器入口(生成 overrides.py + 初始化 + 启动 supervisor) |
nginx.conf |
nginx 配置(反代 /api/ → 9001, /api/ws/ → 9002) |
supervisor-spug.conf |
6 进程管理配置 |
init_spug |
创建管理员账户脚本 |
ssh_config |
SSH 客户端配置(禁用 StrictHostKeyChecking) |
mysql_init.sql |
数据库初始化 SQL |
INSTALL.md |
本文档 |
构建上下文还需要:
spug_api/(后端代码 + requirements.txt)spug_web/build/(前端构建产物)
十、日常运维
查看日志
bash
# supervisor 整体状态
docker exec spug supervisorctl status

# 各进程日志(在容器内 /data/spug/spug_api/logs/)
docker exec spug tail -f /data/spug/spug_api/logs/api.log
docker exec spug tail -f /data/spug/spug_api/logs/ws.log
docker exec spug tail -f /data/spug/spug_api/logs/worker.log

# nginx 日志
docker exec spug tail -f /var/log/nginx/access.log
docker exec spug tail -f /var/log/nginx/error.log
重启容器
powershell
docker compose -f docs/docker/docker-compose.yml restart重新构建镜像(代码更新后)
powershell
$env:DOCKER_BUILDKIT=0
docker compose -f docs/docker/docker-compose.yml build --no-cache
docker compose -f docs/docker/docker-compose.yml up -d
重置管理员密码
bash
docker exec -it spug init_spug admin <新密码>十一、卸载与清理
powershell
# 停止并删除容器
docker compose -f docs/docker/docker-compose.yml down

# 删除镜像
docker rmi spug-ubuntu:3.0

# 删除数据卷(会丢失所有数据,谨慎操作)
docker volume rm docker_spug-repos docker_spug-storage docker_spug-logs

# 删除数据库
docker exec -i <mysql容器名> mysql -uroot -p<root密码> -e "DROP DATABASE IF EXISTS spug; DROP USER IF EXISTS 'spug'@'%';"
十二、在新机器上部署的完整流程
1. 安装 Docker Desktop
2. 启动 MySQL 8 容器(映射 3306)+ Redis 容器(映射 6379)
3. 执行 mysql_init.sql 建库建用户
4. 安装 nvm + Node 18 + yarn
5. cd spug_web && yarn install && npx react-app-rewired build
6. $env:DOCKER_BUILDKIT=0; docker compose -f docs/docker/docker-compose.yml build
7. docker compose -f docs/docker/docker-compose.yml up -d
8. docker exec -it spug init_spug admin spug.cc
9. 浏览器访问 http://localhost:8080