如何修改 ESXi HTTP(s) 默认反向代理端口 80 和 443
How to Change Default HTTP/HTTPS Reverse Ports (80/443) on ESXi
请访问原文链接:https://sysin.org/blog/esxi-custom-ports/ 查看最新版。原创作品,转载请保留出处。
作者主页:sysin.org
片头 - 宣传标语:
VMware ESXi - 云计算操作系统
承载虚拟机、容器和 AI 工作负载的核心基石
修改后的效果图:
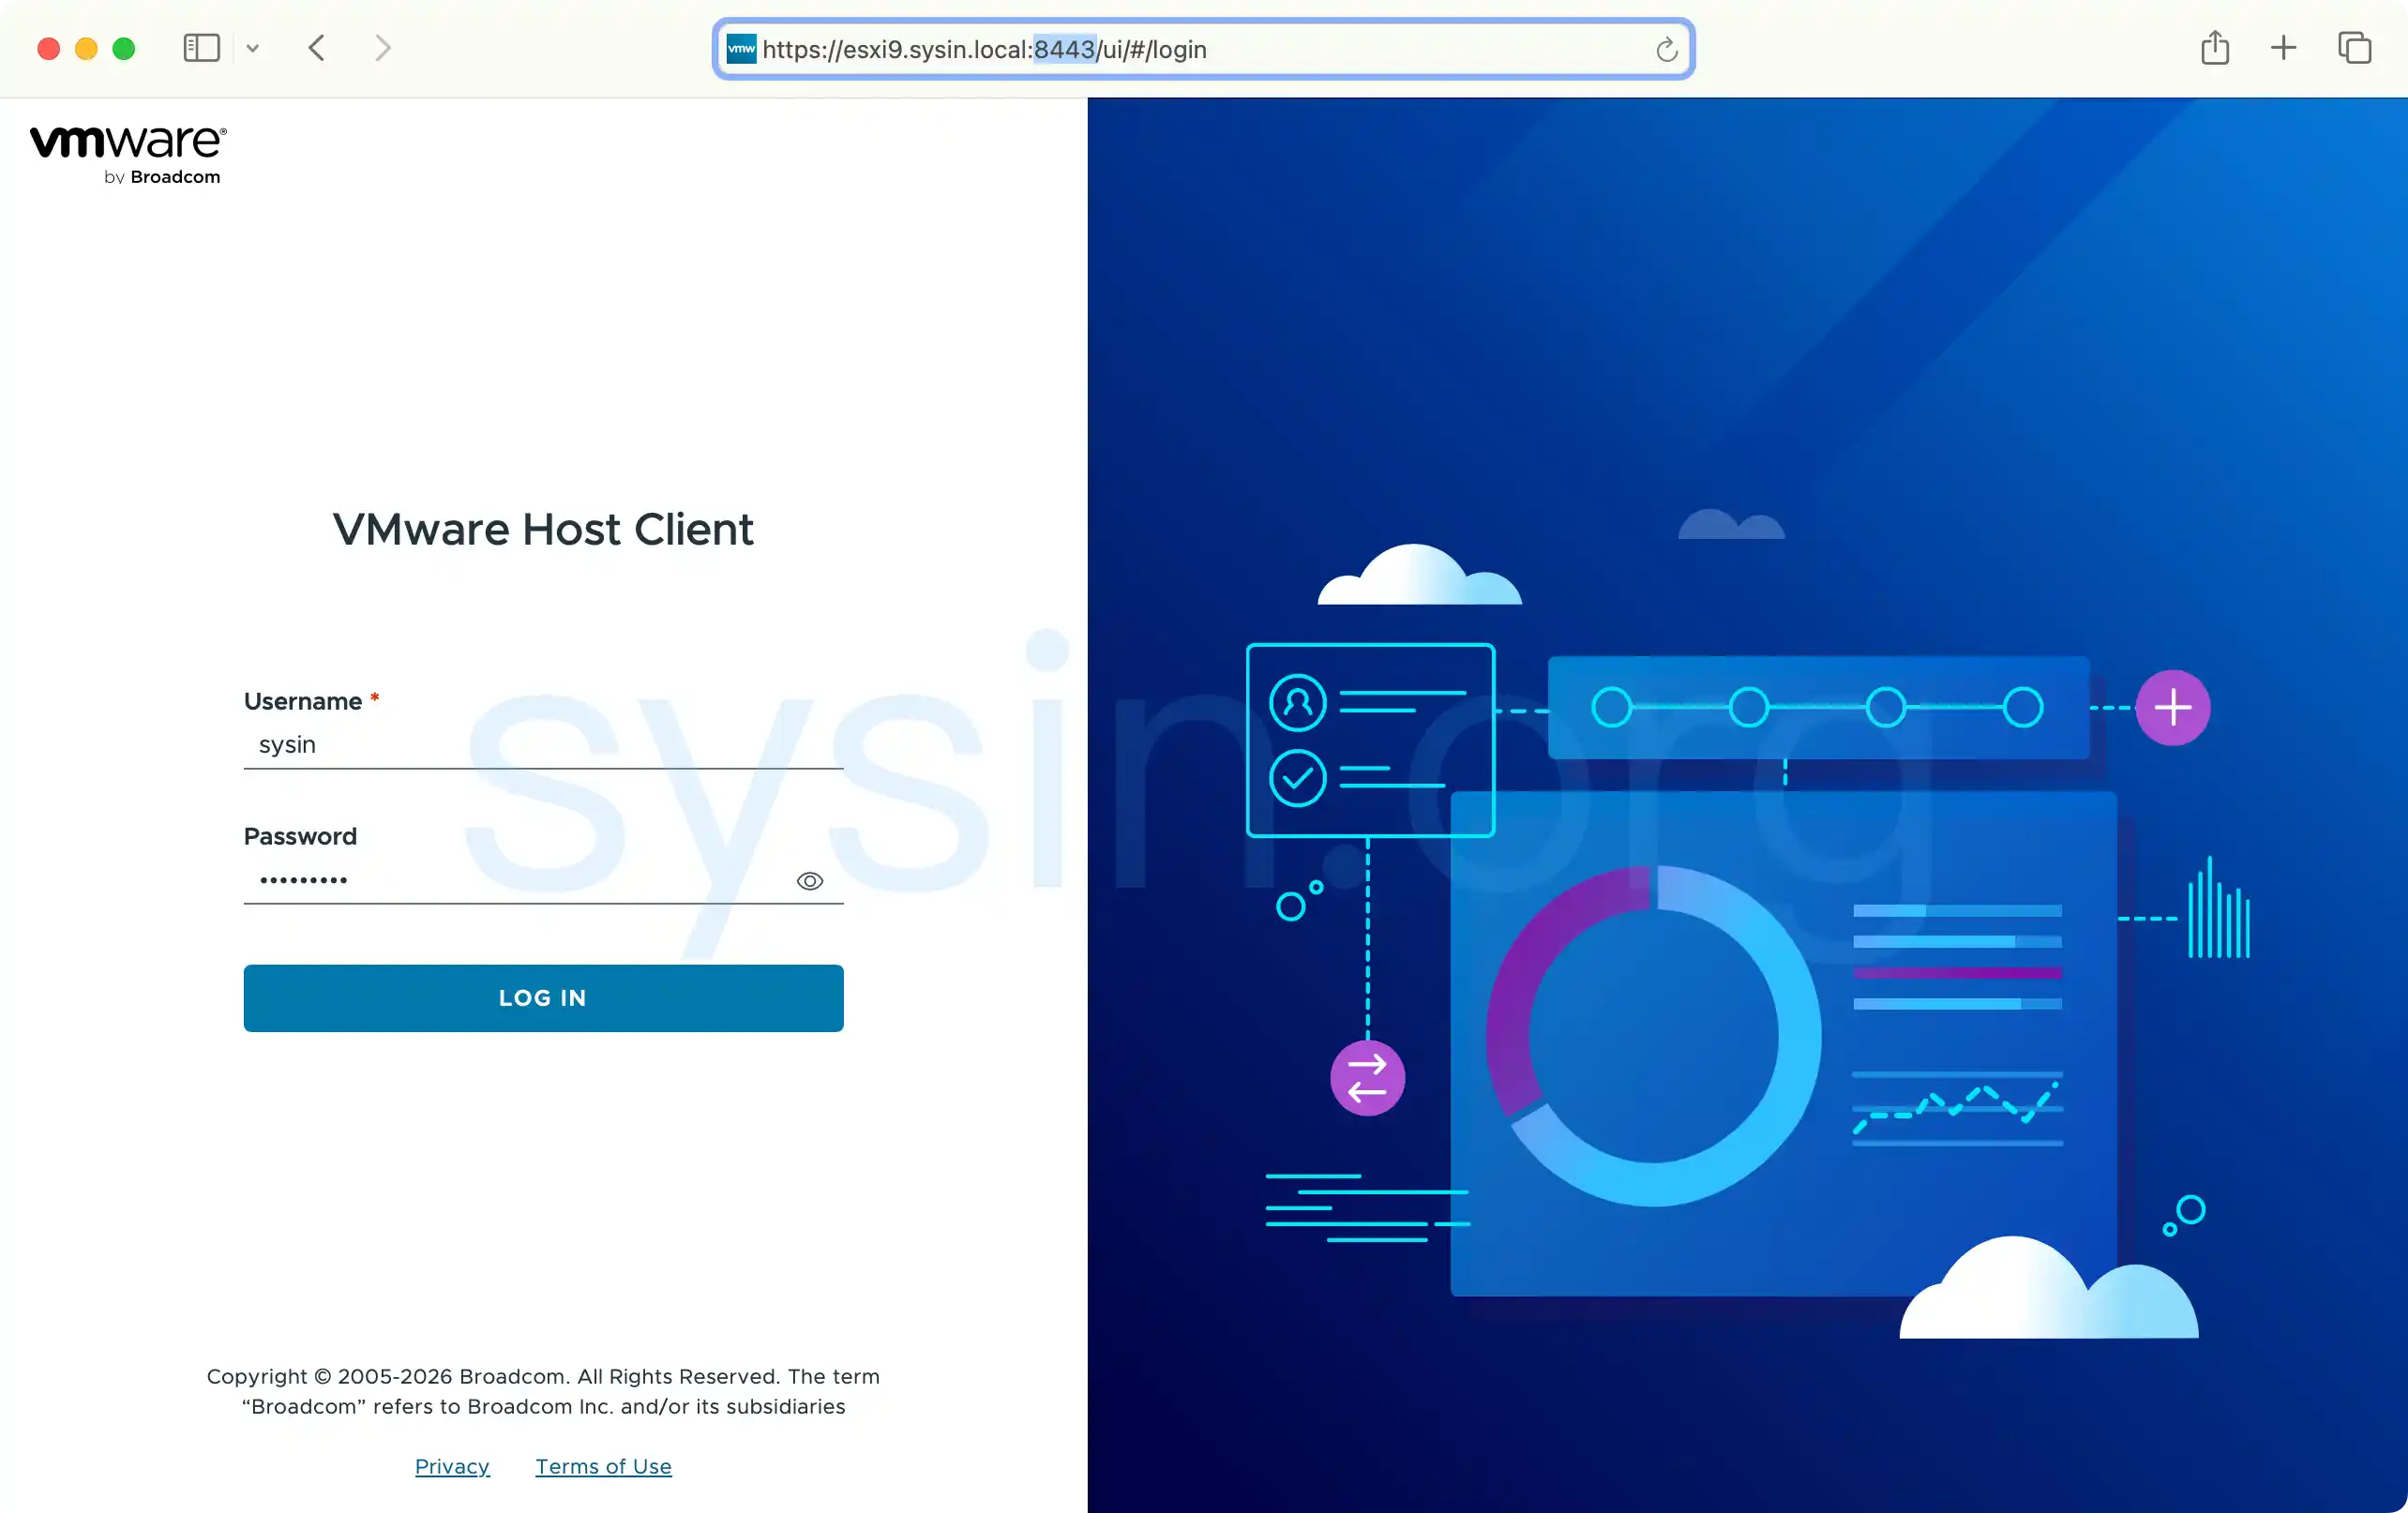
本文介绍了如何将 ESXi Host Client(或称 VMware Host Client)默认的 HTTP(S) 反向代理端口(80 和 443)修改为 8080 和 8443(此为示例,可按需修改为指定端口)。适用于目前所有主流的 ESXi 版本。
需要注意的是:此类修改端口的操作不受 VMware 官方支持,请勿在生产环境中使用。
CSDN 作者提示:之前称为 ESXi Host Client,ESXi 9.1 开始改名 VMware Host Client,参看:VMware Host Client 9.1 - 界面焕新, 体验升级。
ESXi 6.x | 7.0
登录 ESXi Shell
编辑配置文件:vi /etc/vmware/rhttpproxy/config.xml,找到下面两行
shell
      <!-- HTTP port to be used by the reverse proxy -->
      <httpPort>80</httpPort>

      <!-- HTTPS port to be used by the reverse proxy -->
      <httpsPort>443</httpsPort>
将 80 和 443 修改为指定的值并保存,例如:
shell
      <!-- HTTP port to be used by the reverse proxy -->
      <httpPort>8080</httpPort>

      <!-- HTTPS port to be used by the reverse proxy -->
<httpsPort>8443</httpsPort>重启服务生效:/etc/init.d/rhttpproxy restart
还是无法访问?
shell
cat > /etc/vmware/firewall/custom-rhttpproxy <<EOF
<ConfigRoot>
  <service>
    <id>rhttpproxy-sysin</id>
    <rule id='0000'>
      <direction>inbound</direction>
      <protocol>tcp</protocol>
      <porttype>dst</porttype>
      <port>8443</port>
    </rule>
    <rule id='0001'>
      <direction>inbound</direction>
      <protocol>tcp</protocol>
      <porttype>dst</porttype>
      <port>8080</port>
    </rule>
    <enabled>true</enabled>
    <required>false</required>
  </service>
</ConfigRoot>
EOF

localcli network firewall refresh
如何恢复默认值?当然也是编辑上述配置文件。
ESXi 8.0
ESXi 8.0 的 Security Domain Enforcement policy 有所变更,参看:Domain enforcement change warnings observed on ESXi Host (87510)。修改方法也有所不同。
登录 ESXi Shell
1、禁用 rhttpproxyDom 强制策略
shell
esxcli system secpolicy domain set -n rhttpproxyDom -l disabled2、编辑配置文件
编辑配置文件:/etc/vmware/rhttpproxy/config.xml,找到下面两行
shell
      <!-- HTTP port to be used by the reverse proxy -->
      <httpPort>80</httpPort>

      <!-- HTTPS port to be used by the reverse proxy -->
      <httpsPort>443</httpsPort>
将 80 和 443 修改为指定的值并保存,例如:
shell
      <!-- HTTP port to be used by the reverse proxy -->
      <httpPort>8080</httpPort>

      <!-- HTTPS port to be used by the reverse proxy -->
      <httpsPort>8443</httpsPort>
3、重启反向代理服务
shell
/etc/init.d/rhttpproxy restart可选:检查服务运行状态
shell
/etc/init.d/rhttpproxy status4、开启自定义端口防火墙规则
shell
cat > /etc/vmware/firewall/custom-rhttpproxy <<EOF
<ConfigRoot>
  <service>
    <id>rhttpproxy-sysin</id>
    <rule id='0000'>
      <direction>inbound</direction>
      <protocol>tcp</protocol>
      <porttype>dst</porttype>
      <port>8443</port>
    </rule>
    <rule id='0001'>
      <direction>inbound</direction>
      <protocol>tcp</protocol>
      <porttype>dst</porttype>
      <port>8080</port>
    </rule>
    <enabled>true</enabled>
    <required>false</required>
  </service>
</ConfigRoot>
EOF

localcli network firewall refresh
5、恢复反向代理服务的默认安全强制策略。
shell
esxcli system secpolicy domain set -n rhttpproxyDom -l enforcing
# 报错:IO error: [Errno 111] Connection refused
# 应使用 localcli,区别在于绕过 hostd
localcli system secpolicy domain set -n rhttpproxyDom -l enforcing
ESXi 8.0U1 | U2 | U3
ESXi 8.0U1 开始,修改方法完全不同了。
登录 ESXi Shell
1、在当前目录下创建一个 json 配置文件用于指定 HTTP(S) 端口值。
json
cat >> proxy.json << __PROXY__
{
    "proxy": {
        "http_port": 8080,
        "https_port": 8443
    }
}
__PROXY__
或者
shell
cat > proxy.json <<EOF
{
    "proxy": {
        "http_port": 8080,
        "https_port": 8443
    }
}
EOF
2、执行如下命令配置 rhttpproxy 属性
shell
configstorecli config current set -c esx -g services -k rhttpproxy -infile proxy.json可选:检查配置结果
shell
configstorecli config current get -c esx -g services -k rhttpproxy3、重启反向代理服务
shell
/etc/init.d/rhttpproxy restart可选:检查服务运行状态
shell
/etc/init.d/rhttpproxy status4、开启防火墙规则
shell
cat > /etc/vmware/firewall/custom-rhttpproxy <<EOF
<ConfigRoot>
  <service>
    <id>rhttpproxy-sysin</id>
    <rule id='0000'>
      <direction>inbound</direction>
      <protocol>tcp</protocol>
      <porttype>dst</porttype>
      <port>8443</port>
    </rule>
    <rule id='0001'>
      <direction>inbound</direction>
      <protocol>tcp</protocol>
      <porttype>dst</porttype>
      <port>8080</port>
    </rule>
    <enabled>true</enabled>
    <required>false</required>
  </service>
</ConfigRoot>
EOF

localcli network firewall refresh
ESXi 9.0 | 9.1
登录 ESXi Shell
1、在当前目录下创建一个 json 配置文件用于指定 HTTP(S) 端口值。
json
cat >> proxy.json << __PROXY__
{
    "proxy": {
        "http_port": 8080,
        "https_port": 8443
    }
}
__PROXY__
或者
shell
cat > proxy.json <<EOF
{
    "proxy": {
        "http_port": 8080,
        "https_port": 8443
    }
}
EOF
2、执行如下命令配置 rhttpproxy 属性
shell
configstorecli config current set -c esx -g services -k rhttpproxy -infile proxy.json可选:检查配置结果
shell
configstorecli config current get -c esx -g services -k rhttpproxy3、重启反向代理服务
shell
/etc/init.d/rhttpproxy restart可选:检查服务运行状态
shell
/etc/init.d/rhttpproxy status4、开启防火墙规则
shell
cat > /etc/vmware/firewall/custom-rhttpproxy <<EOF
<ConfigRoot>
  <service>
    <id>rhttpproxy-sysin</id>
    <rule id='0000'>
      <direction>inbound</direction>
      <protocol>tcp</protocol>
      <porttype>dst</porttype>
      <port>8443</port>
    </rule>
    <rule id='0001'>
      <direction>inbound</direction>
      <protocol>tcp</protocol>
      <porttype>dst</porttype>
      <port>8080</port>
    </rule>
    <enabled>true</enabled>
    <required>false</required>
  </service>
</ConfigRoot>
EOF

localcli network firewall refresh