对于很多的开发者来说,创建一个没有错误的 workflow 是很困难的。事实上,你需要学习各种语法,并进行不断地测试。我当初创建了我第一个 workflow 也是借助了 AI 的力量才完成的。过程还是挺麻烦的。我需要不断地拷贝,粘贴并测试。自 Elastic Stack 9.5 一来,workflow 的窗口已经集成了 AI Agent。我们可以轻松地借助 AI 的力量来完成我们的设计。
在今天的练习中,我们来使用 AI 来重复之前我们设计过的一个 workflow。我们完整的设计在文章 "Elasticsearch:创建 geocoding workflow,并在 agent 中使用它进行位置搜索" 中可以看到。
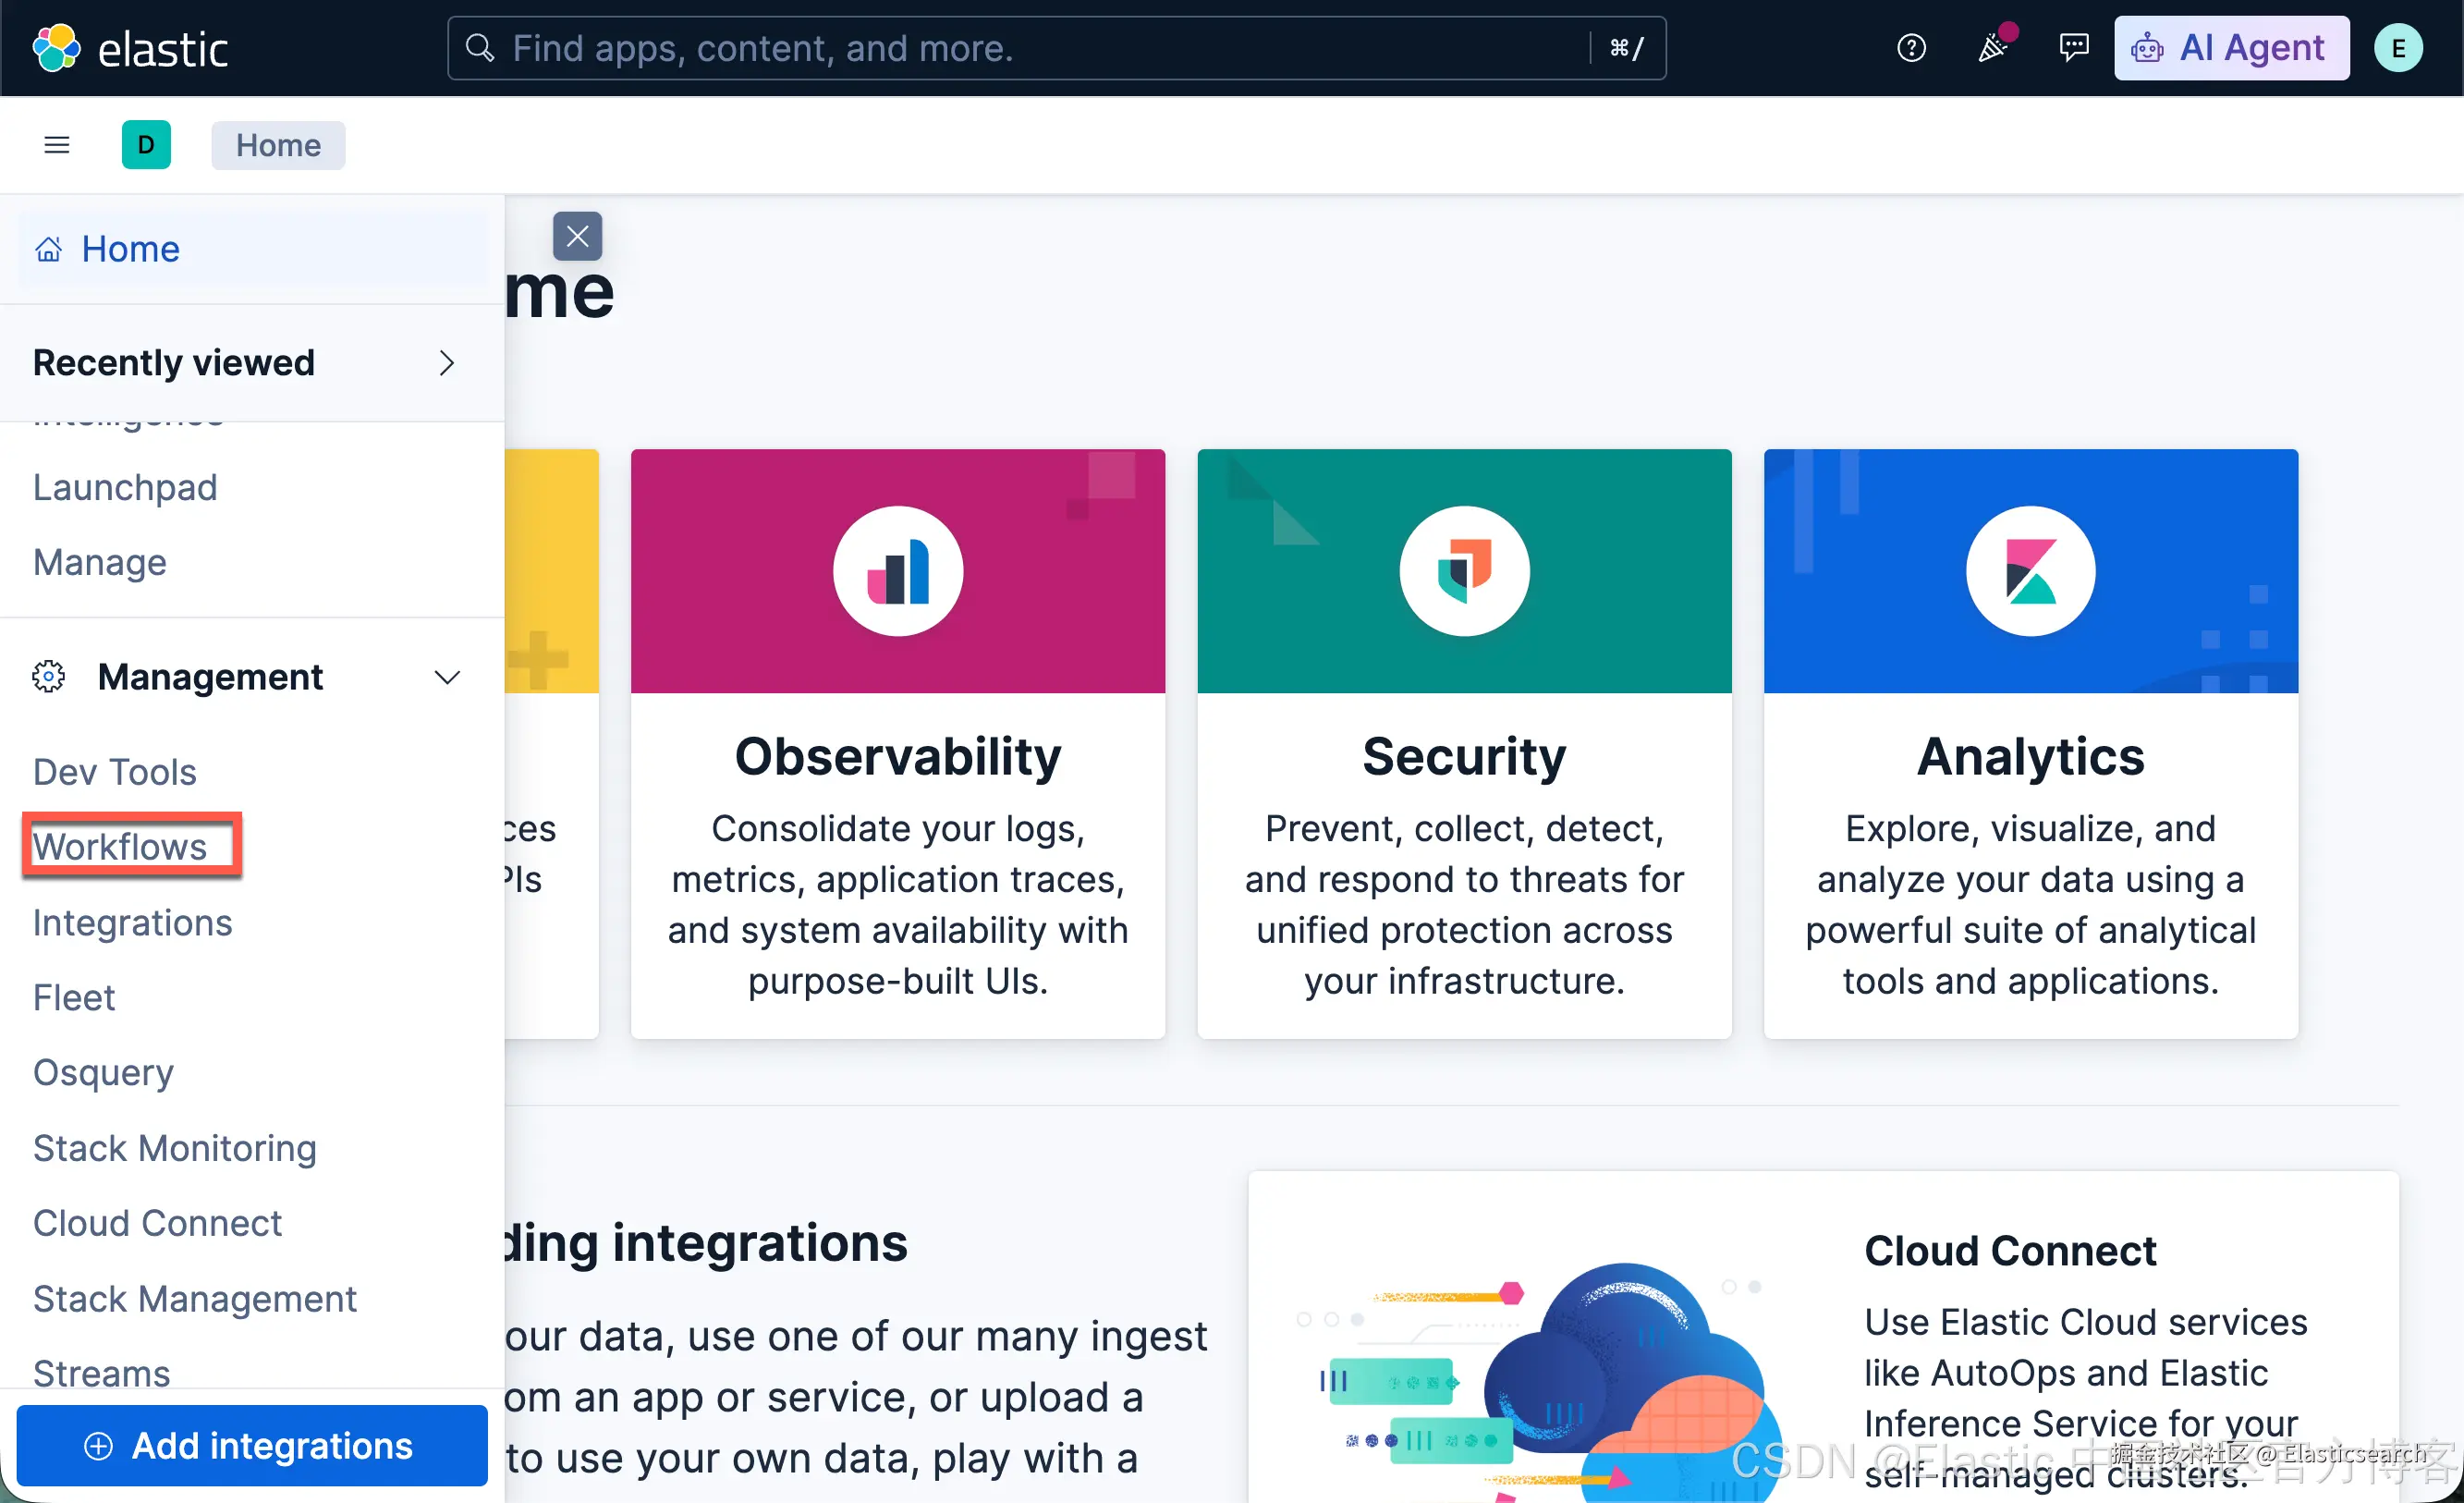
我们首先打开 workflow 的界面:
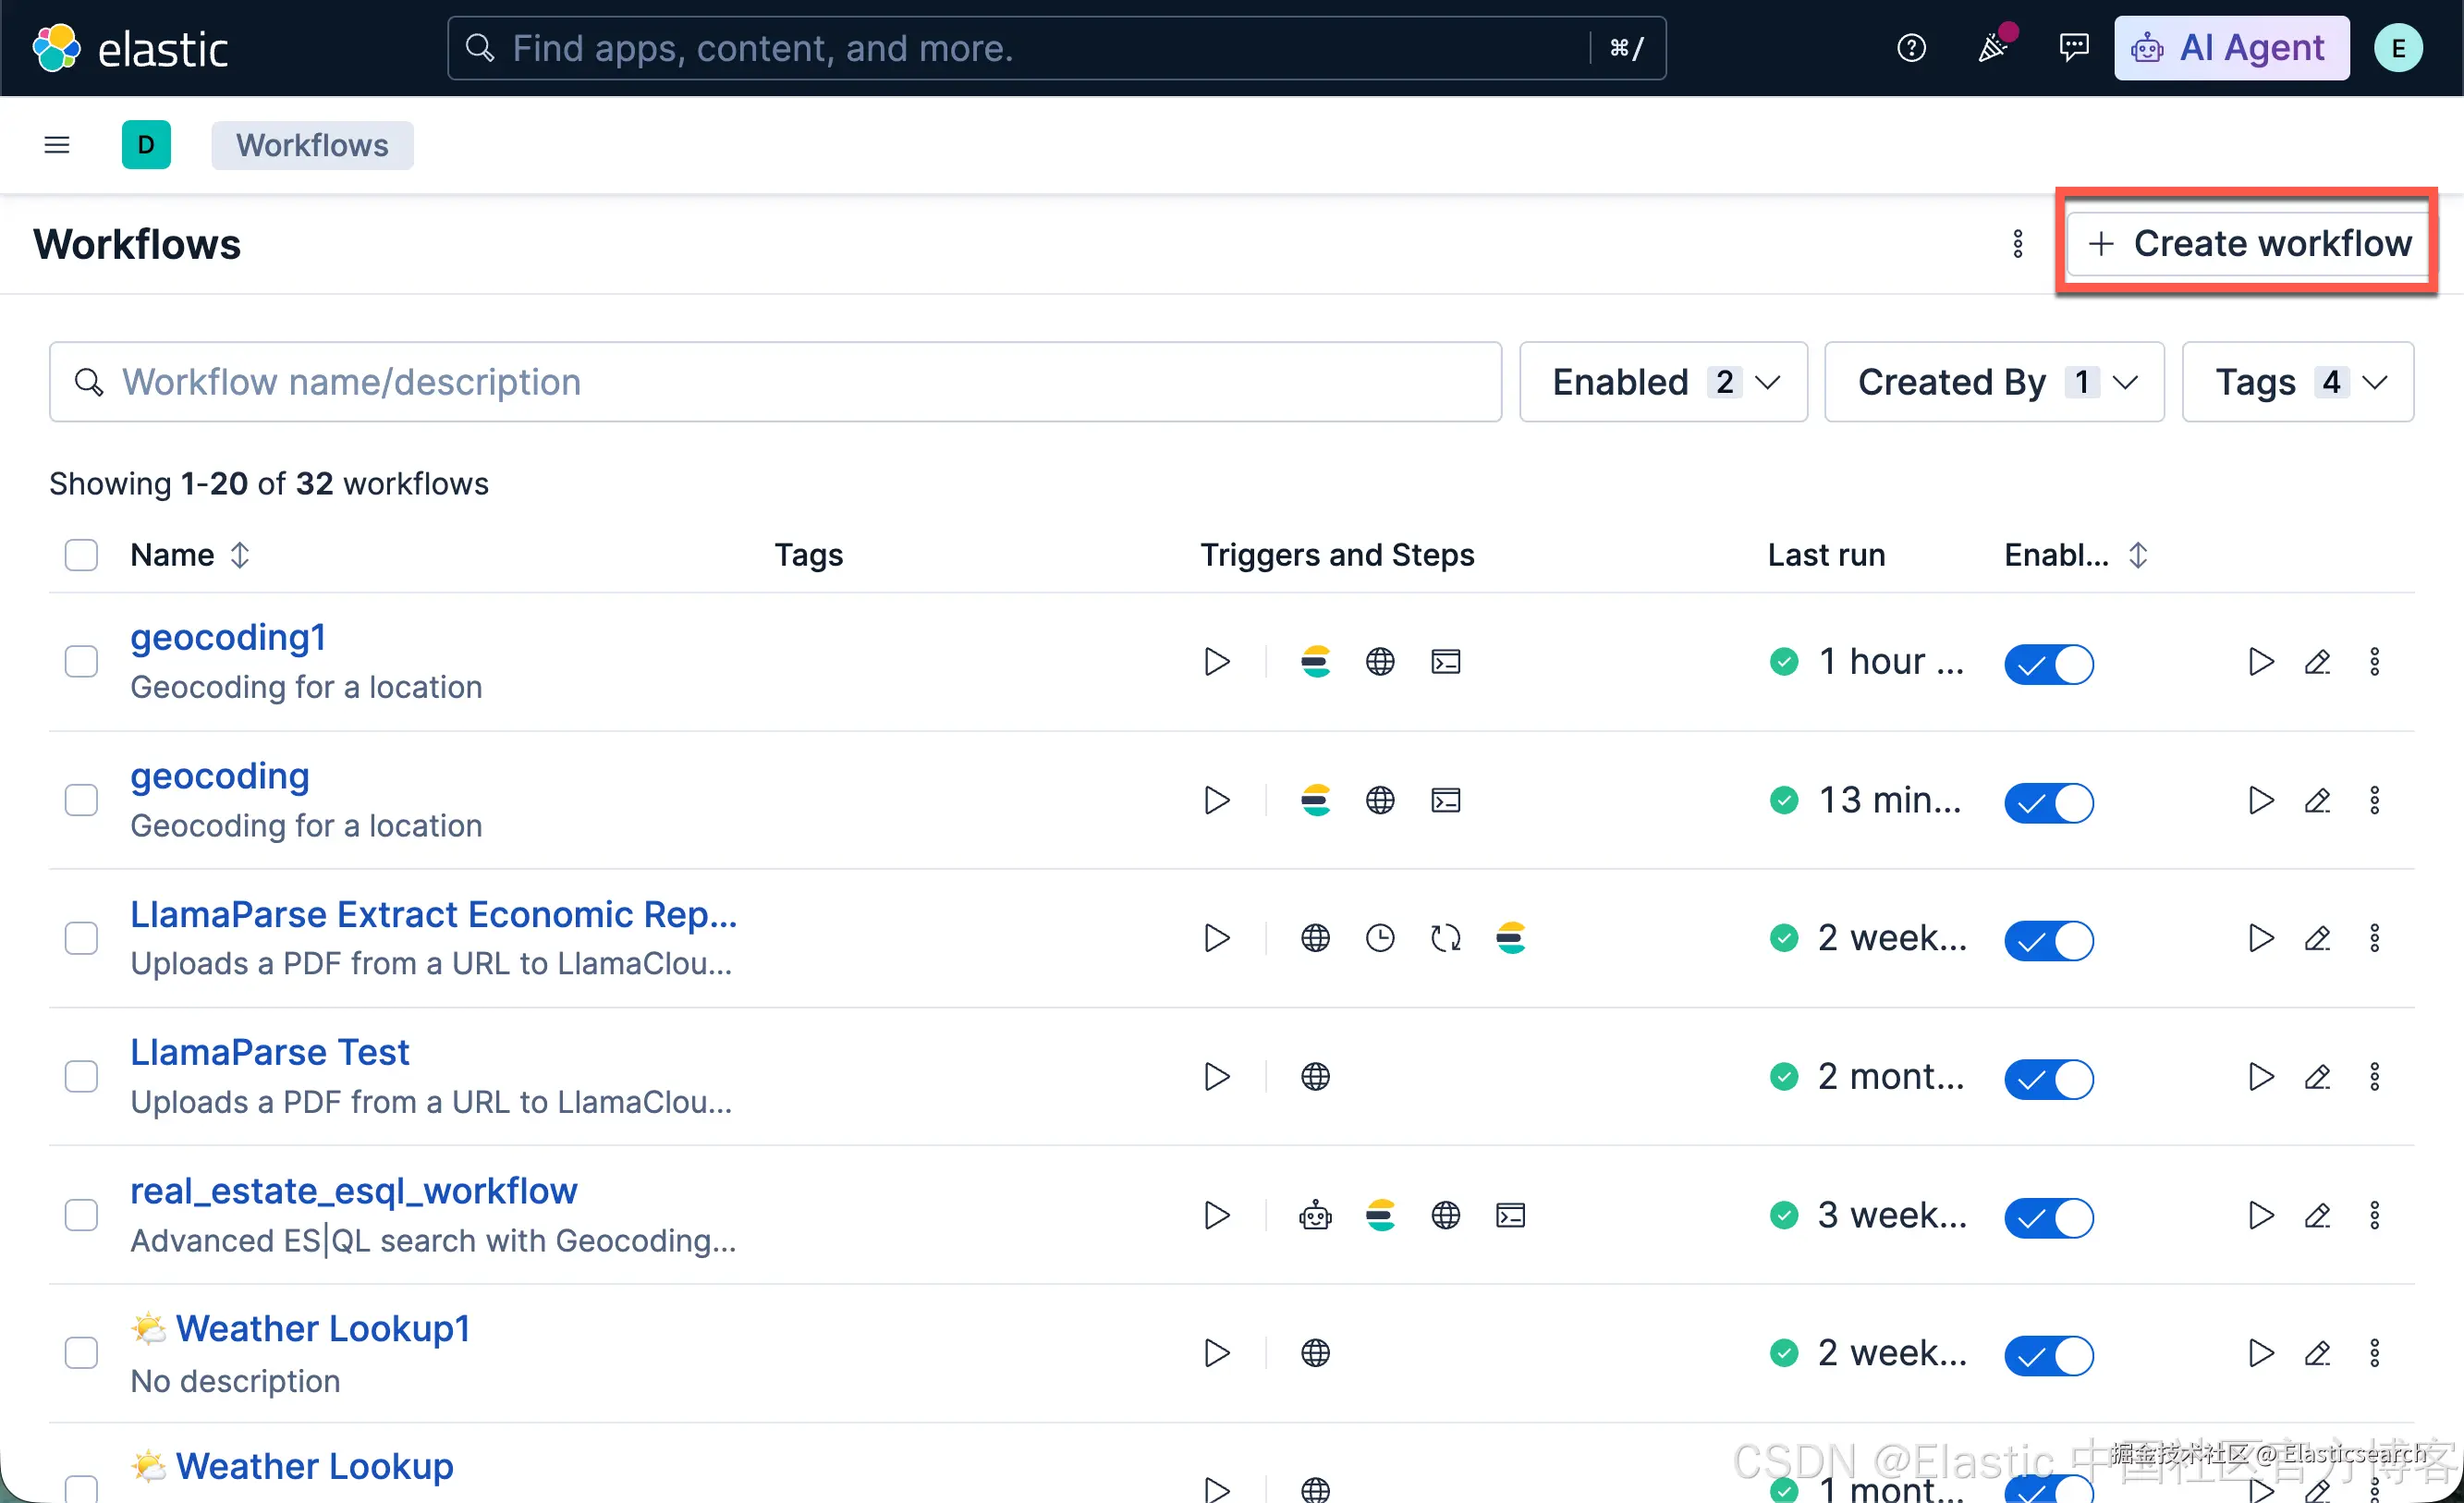
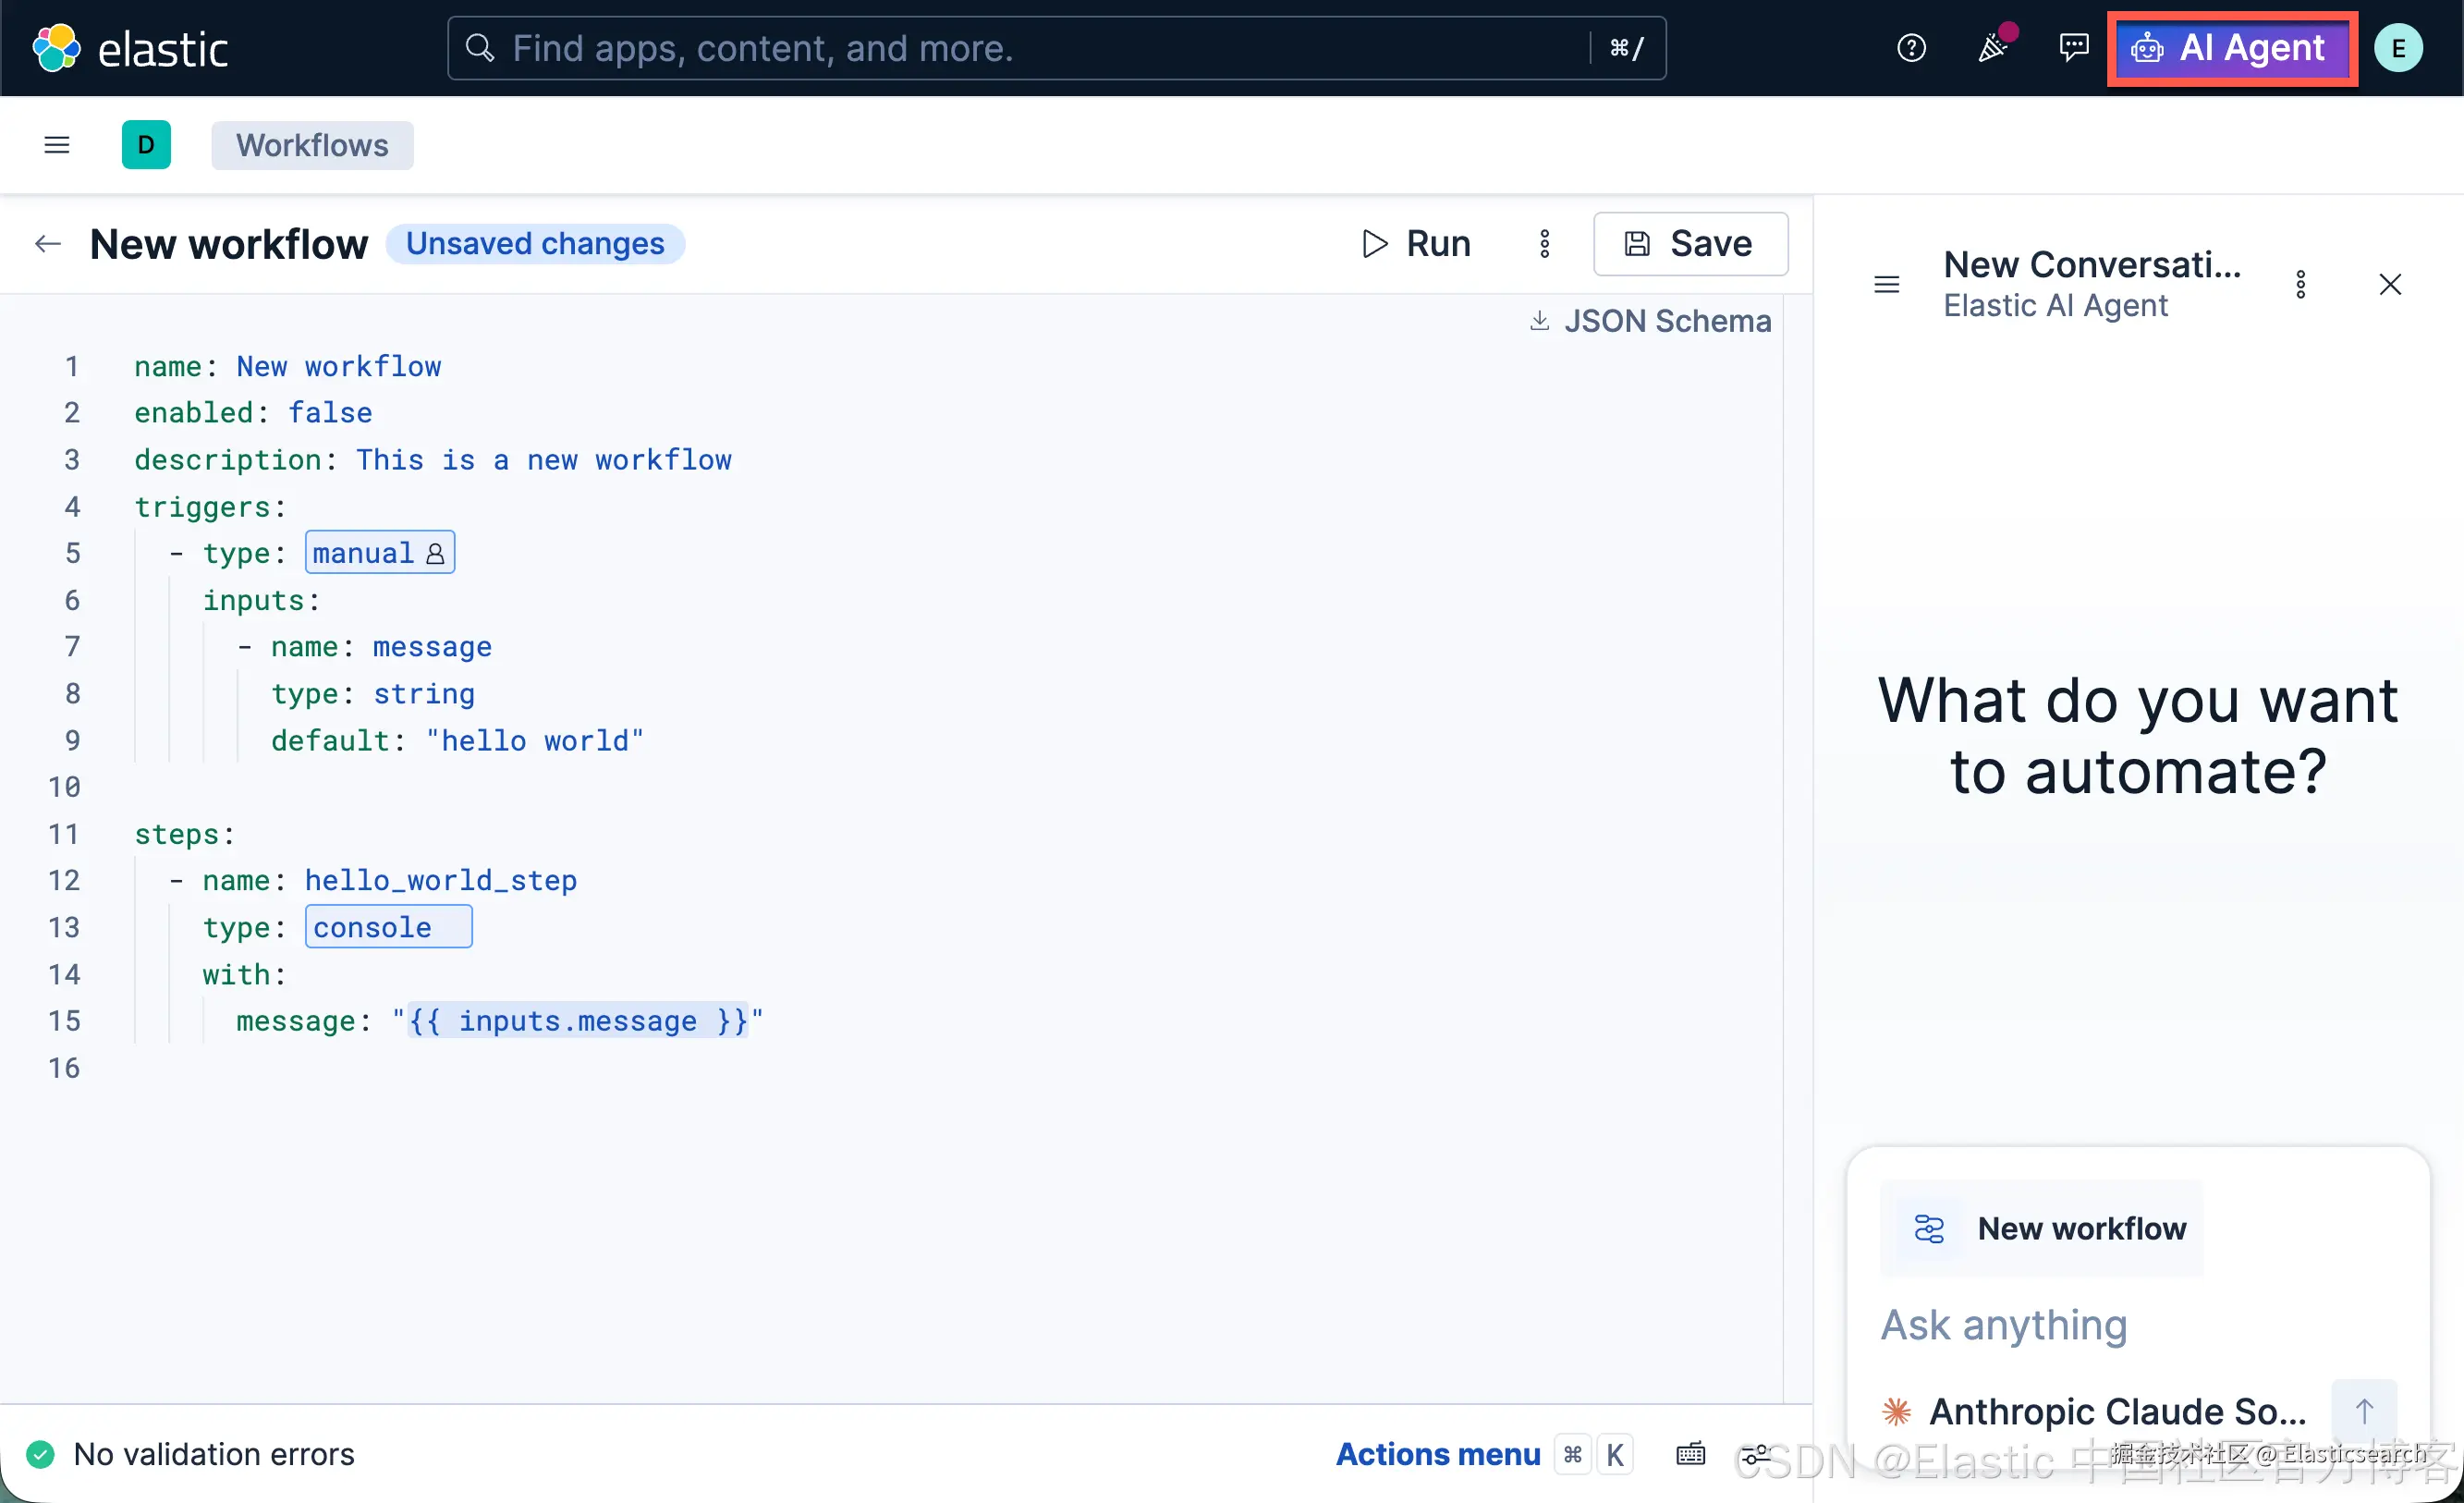
点击上面的 AI Agent,并使用它来创建一个我们需要的 workflow
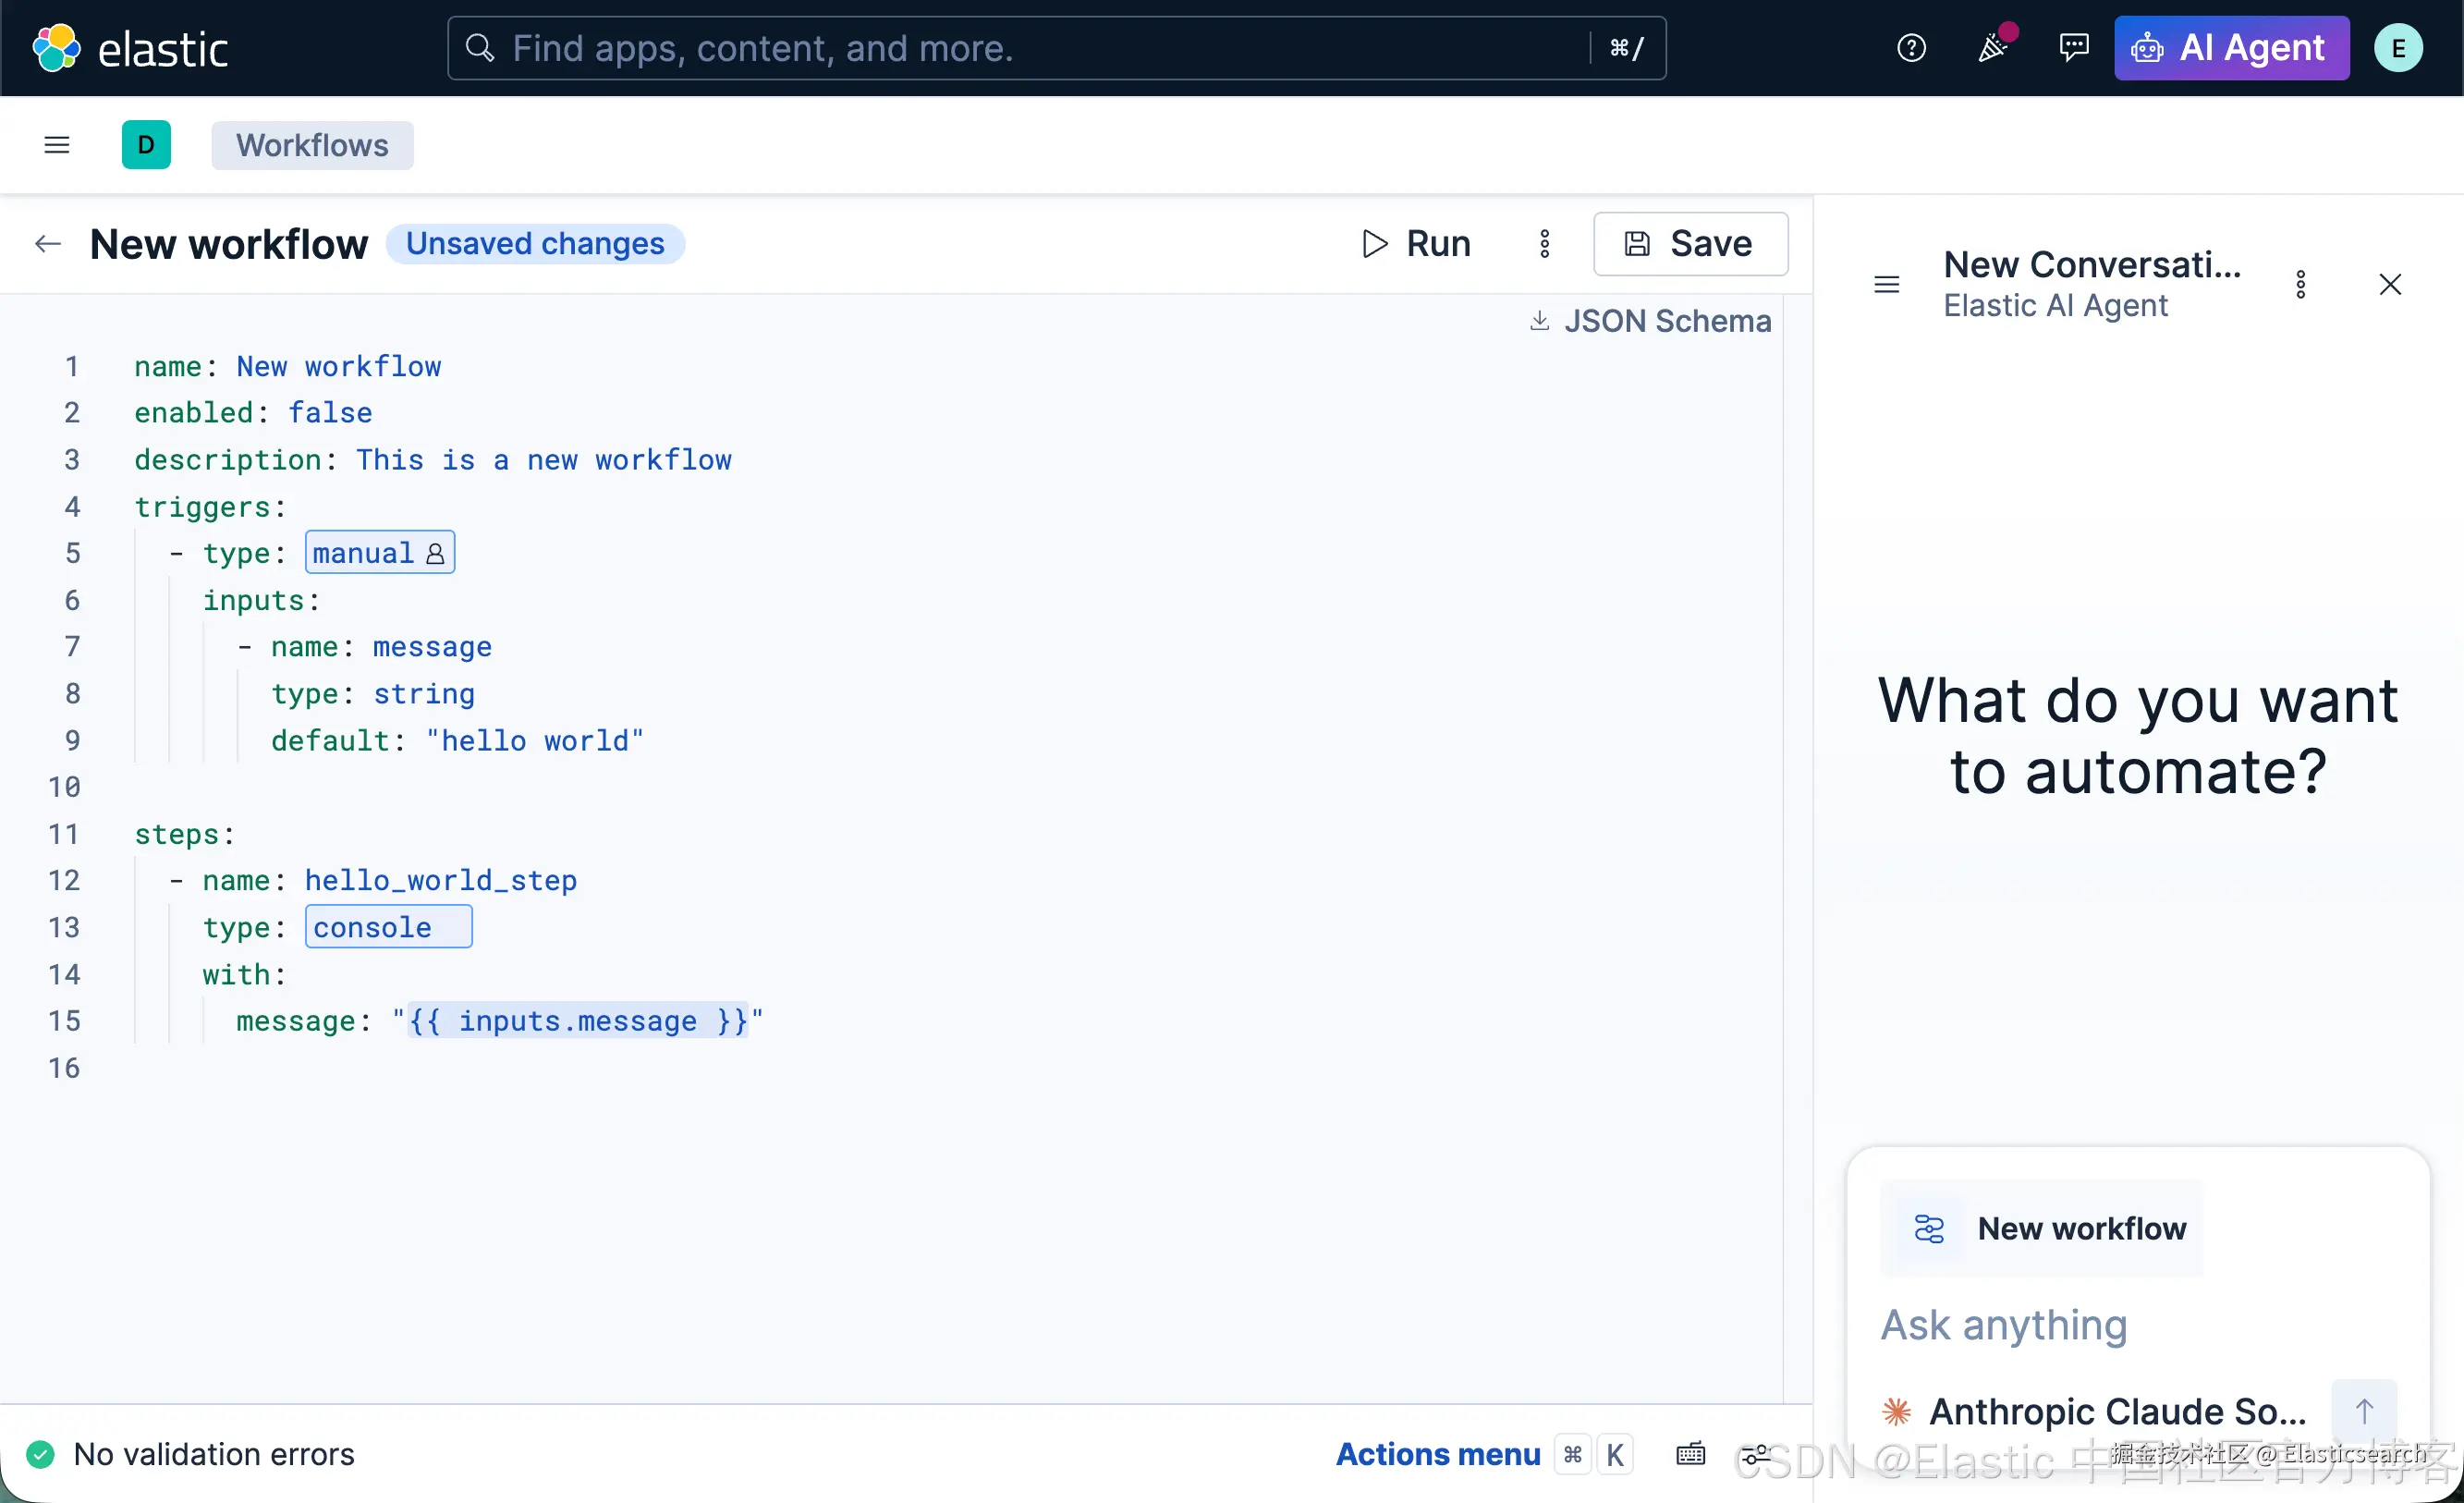
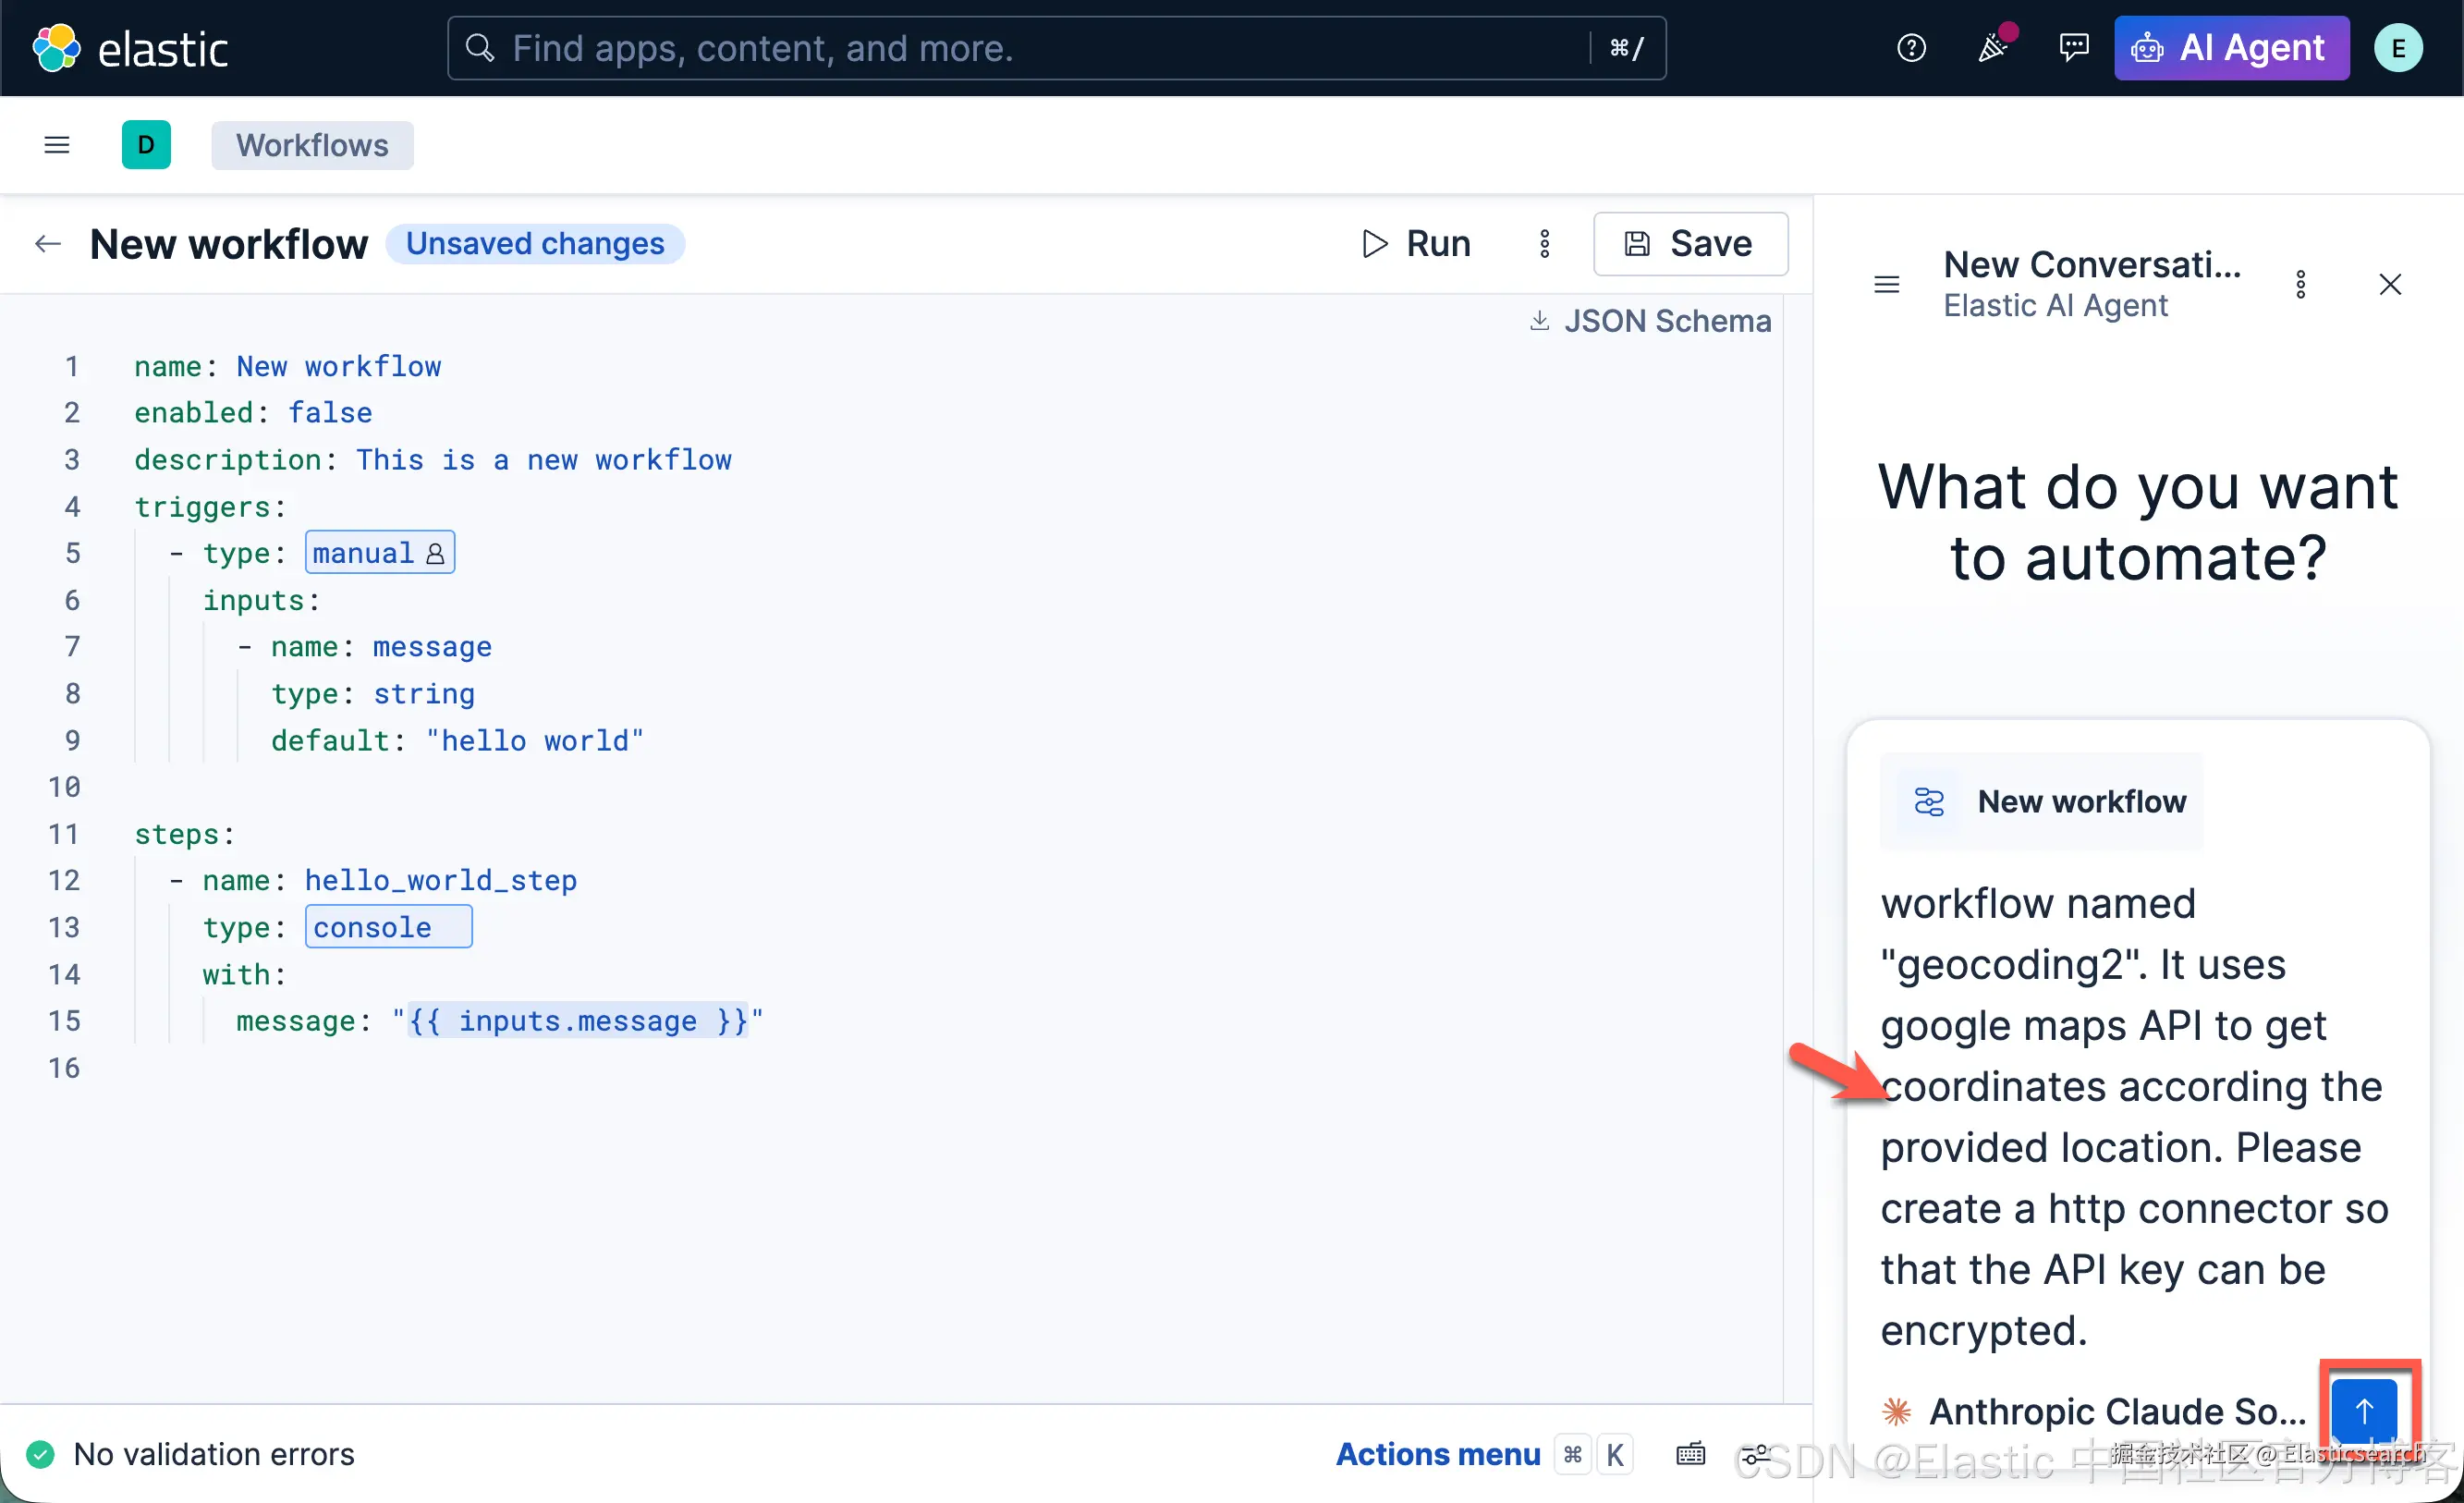
这个是不是有点像在 VS Code 里使用 Claude Code 来进行编程啊?很熟悉的画面。我们接下来打入我们的提示词:
css
`I want to create a workflow named "geocoding2". It uses google maps API to get coordinates according the provided location. Please create a http connector so that the API key can be encrypted.`AI写代码我们刚开始使用一个简单的问题来让 AI Agent 来帮我们创建:
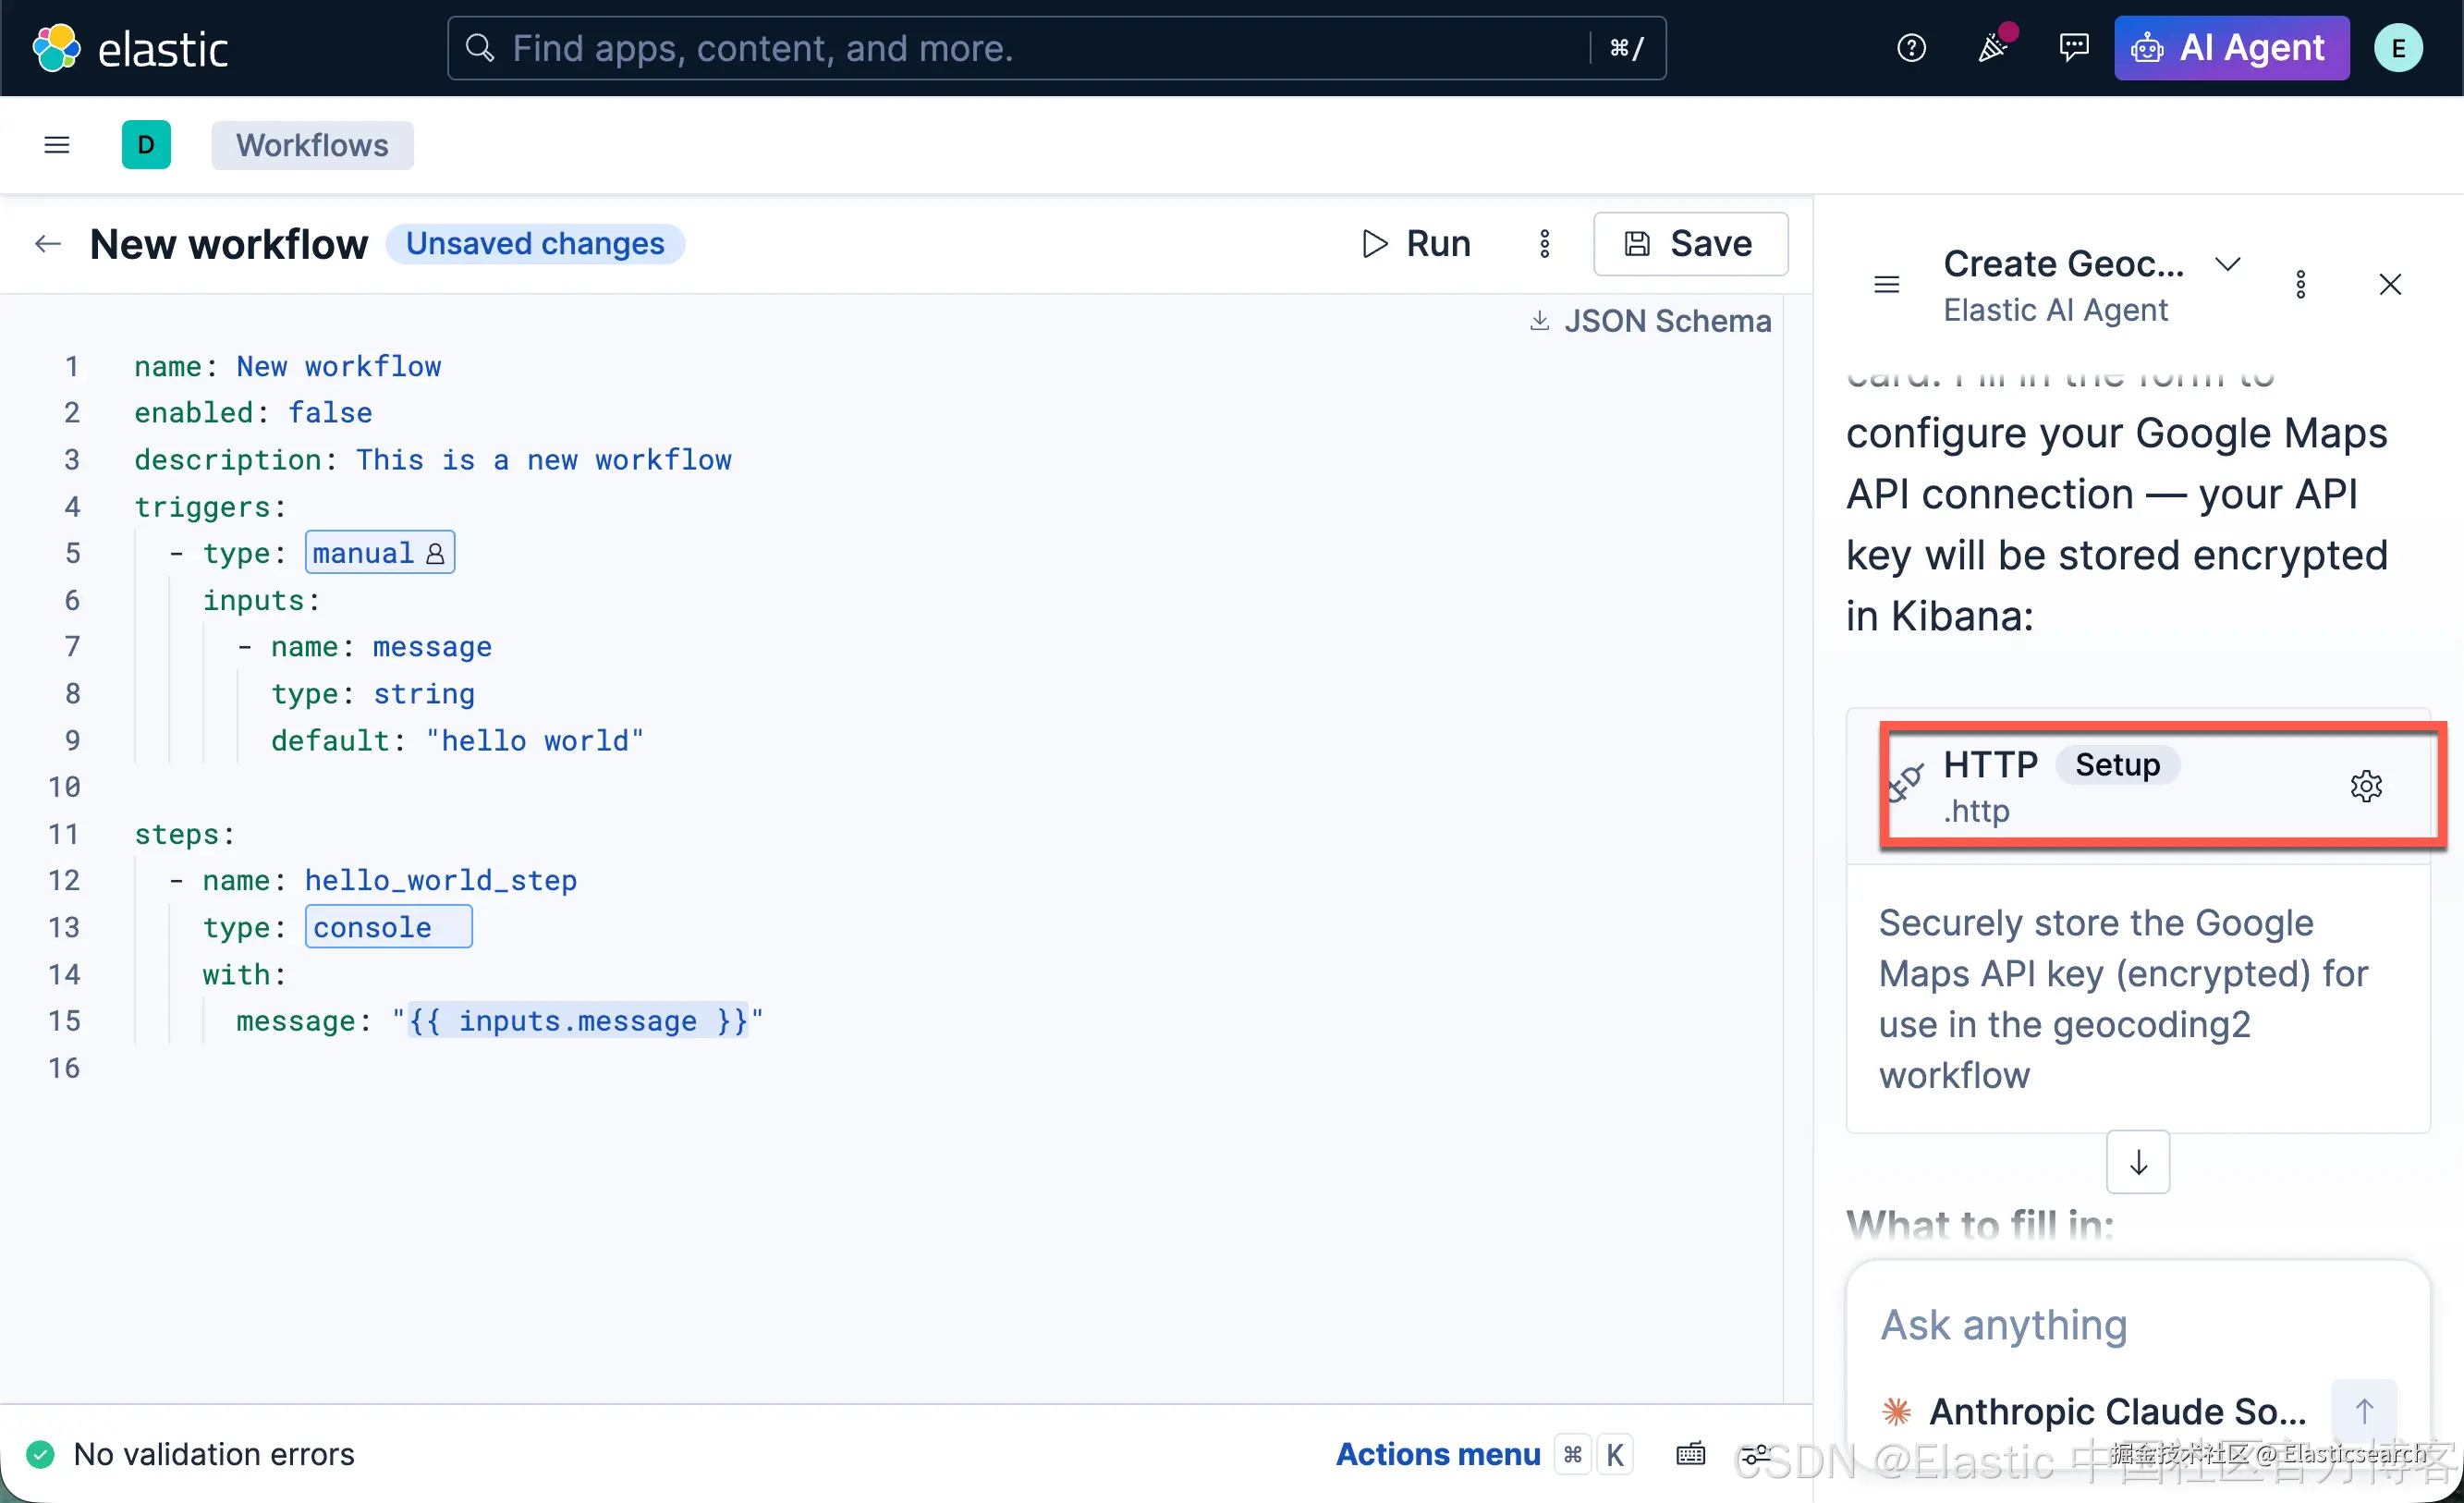
我们点击上面的 HTTP setup 按钮:
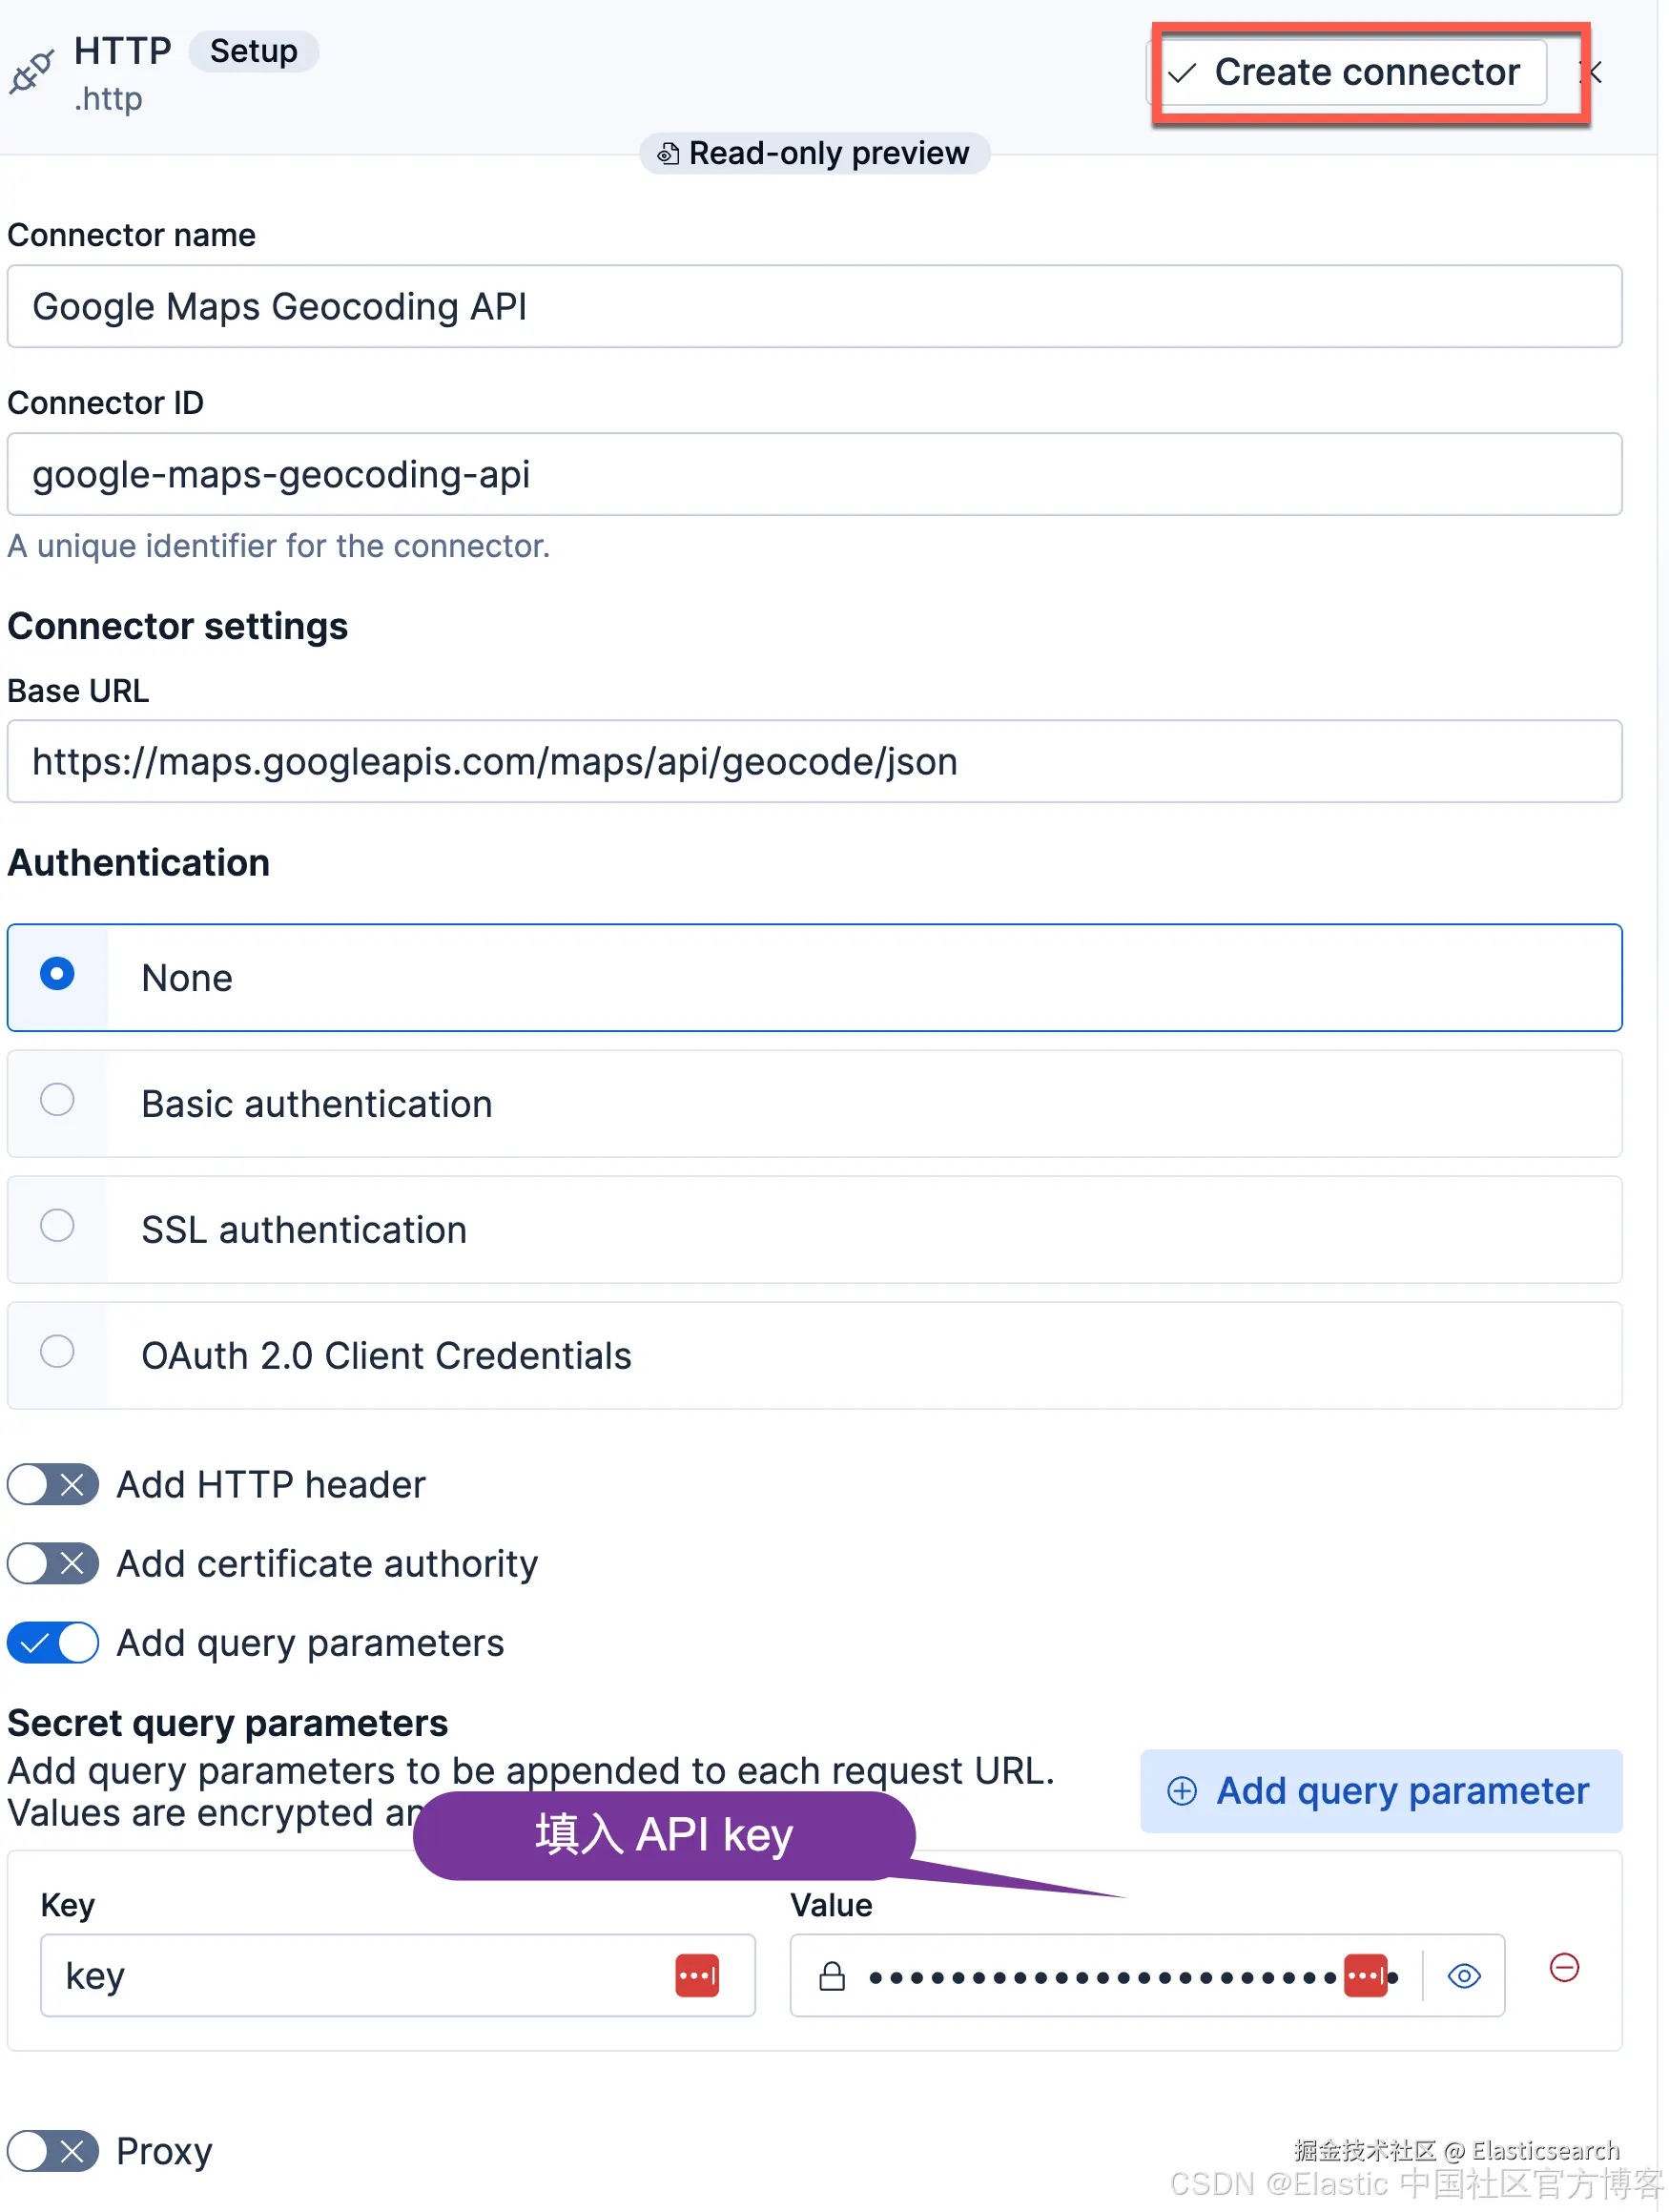
我们进入到上面配置 HTTP 连接器的页面,输入 Base URL 及 API key。然后点击 Create connector 按钮:
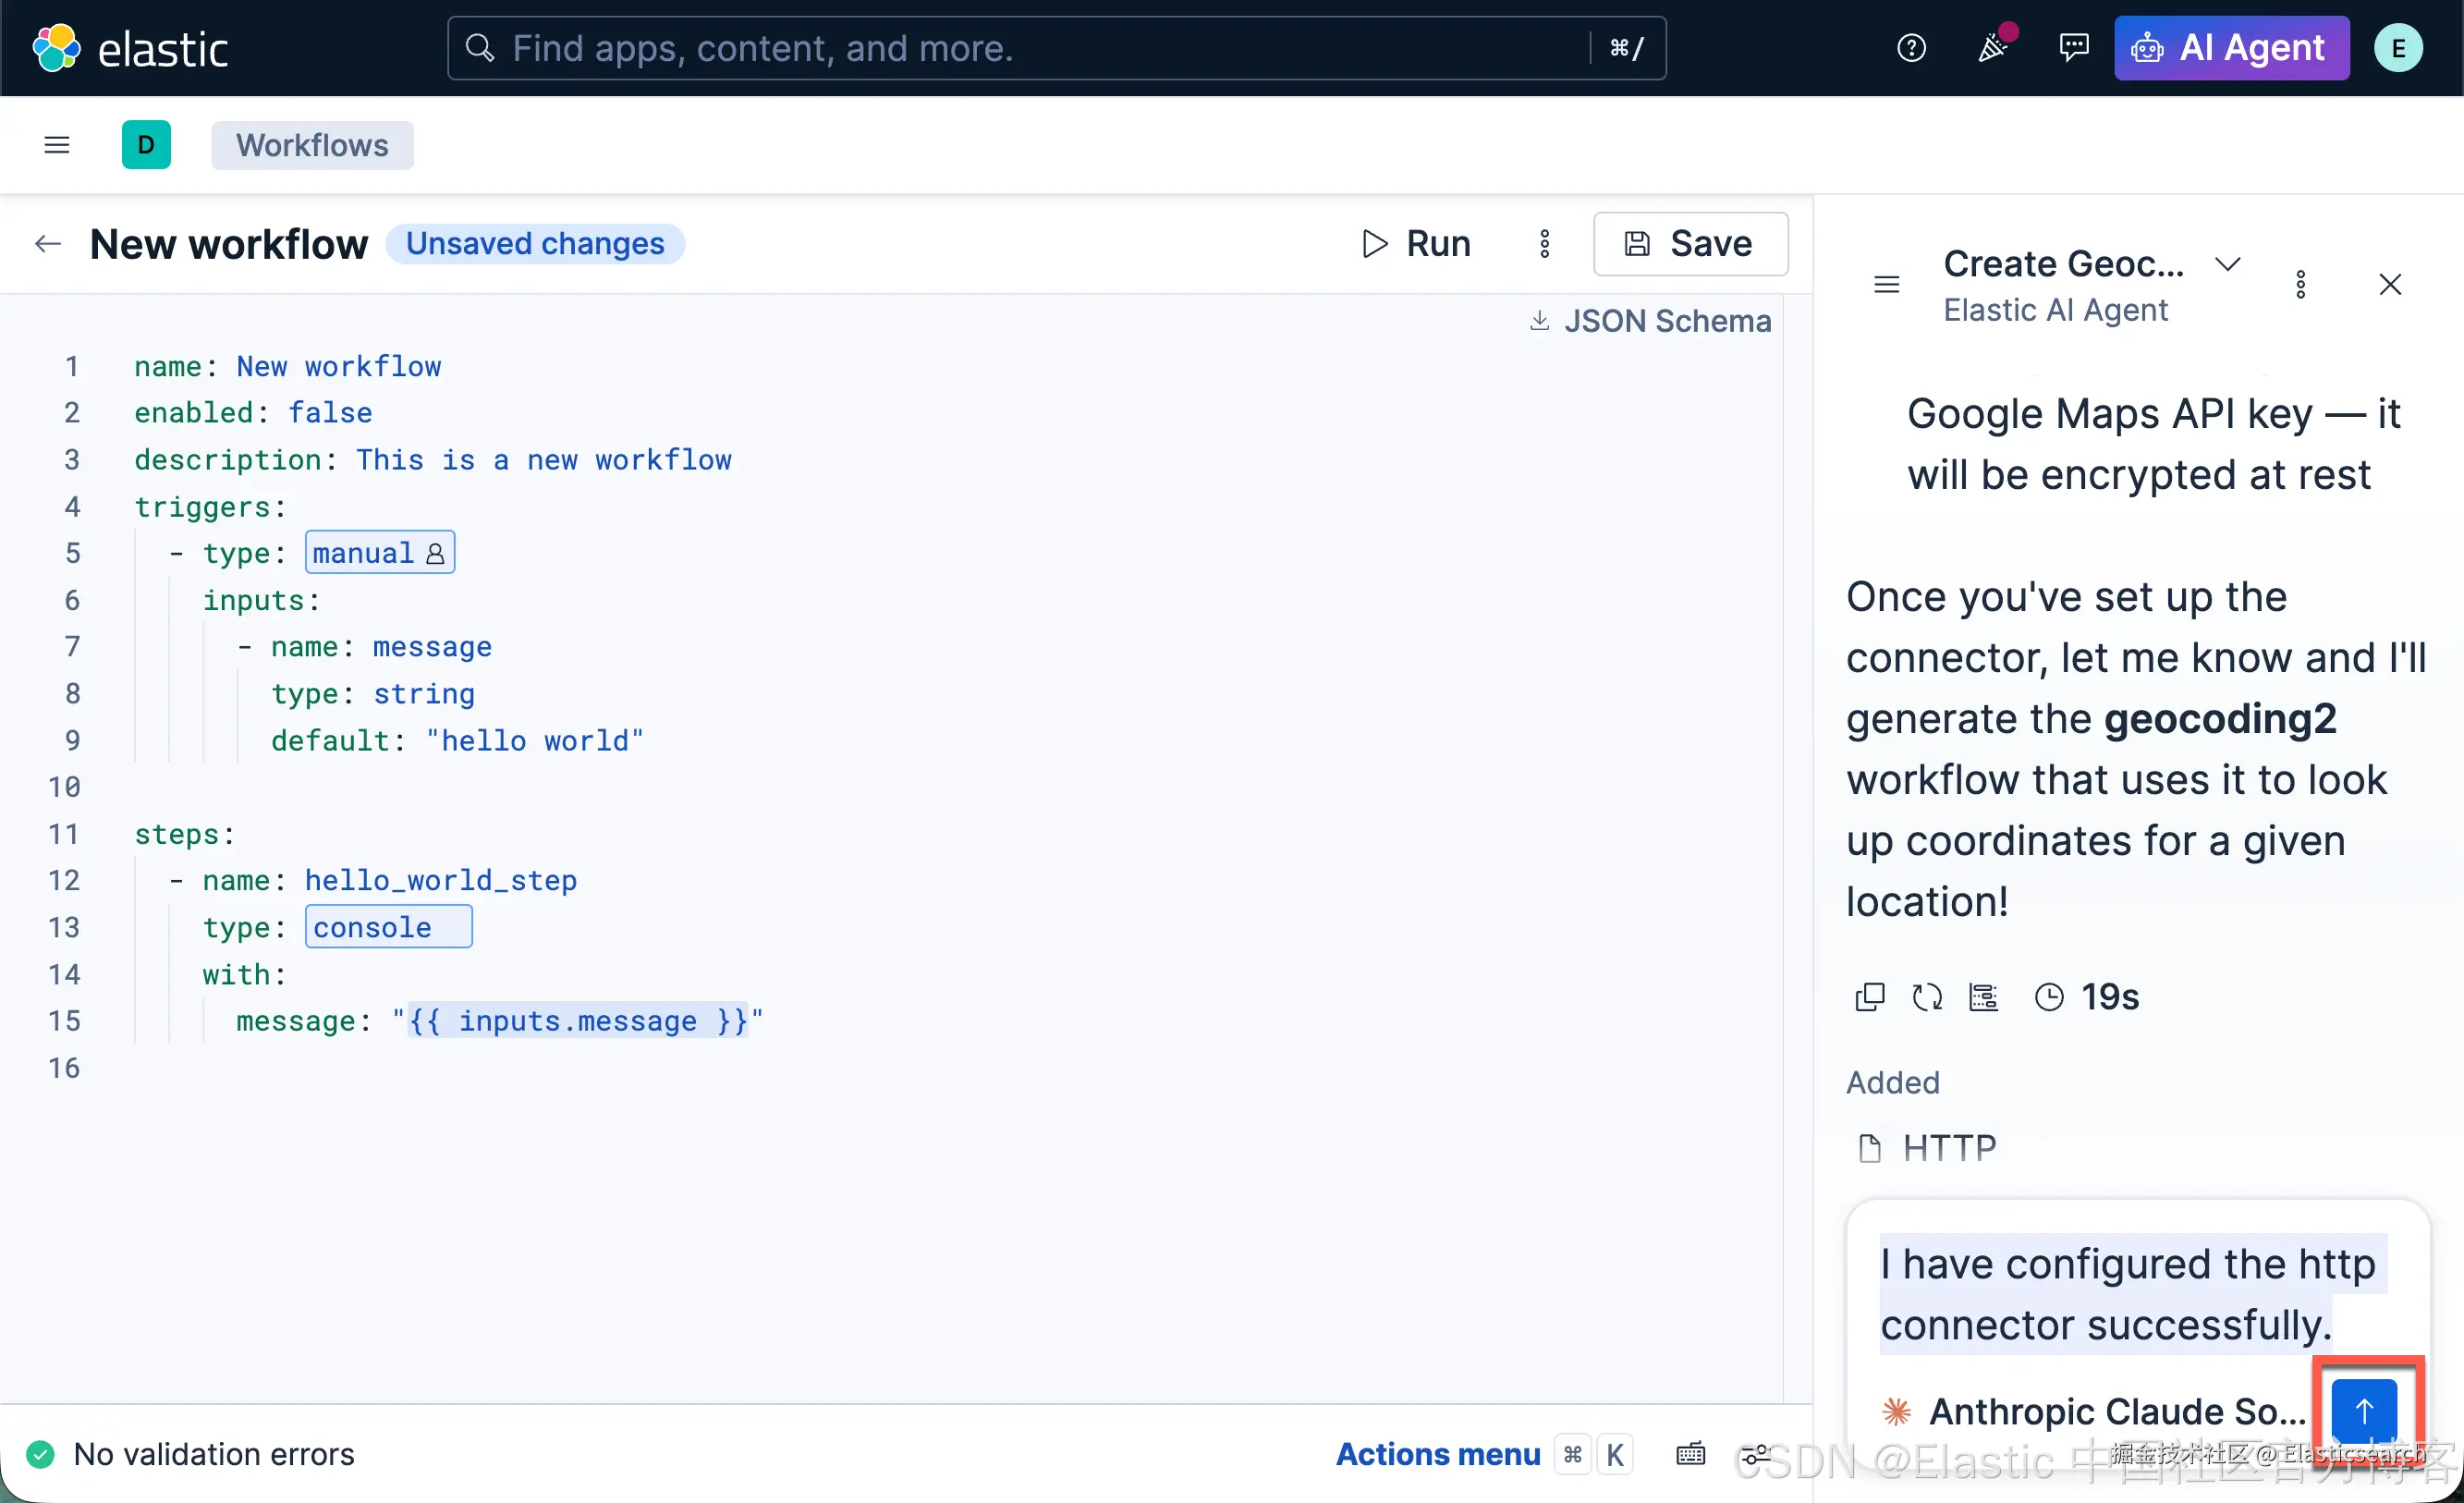
接下来,我们按照要求打入我们已经已经完成了 http connector 的创建:
css
`I have configured the http connector successfully.`AI写代码
我们接下来打入一个测试地点:Beijing

最后,我们让 AI Agent 帮我们创建这个 geocoding2 的 workflow:
go
`Please create the workflow for me`AI写代码
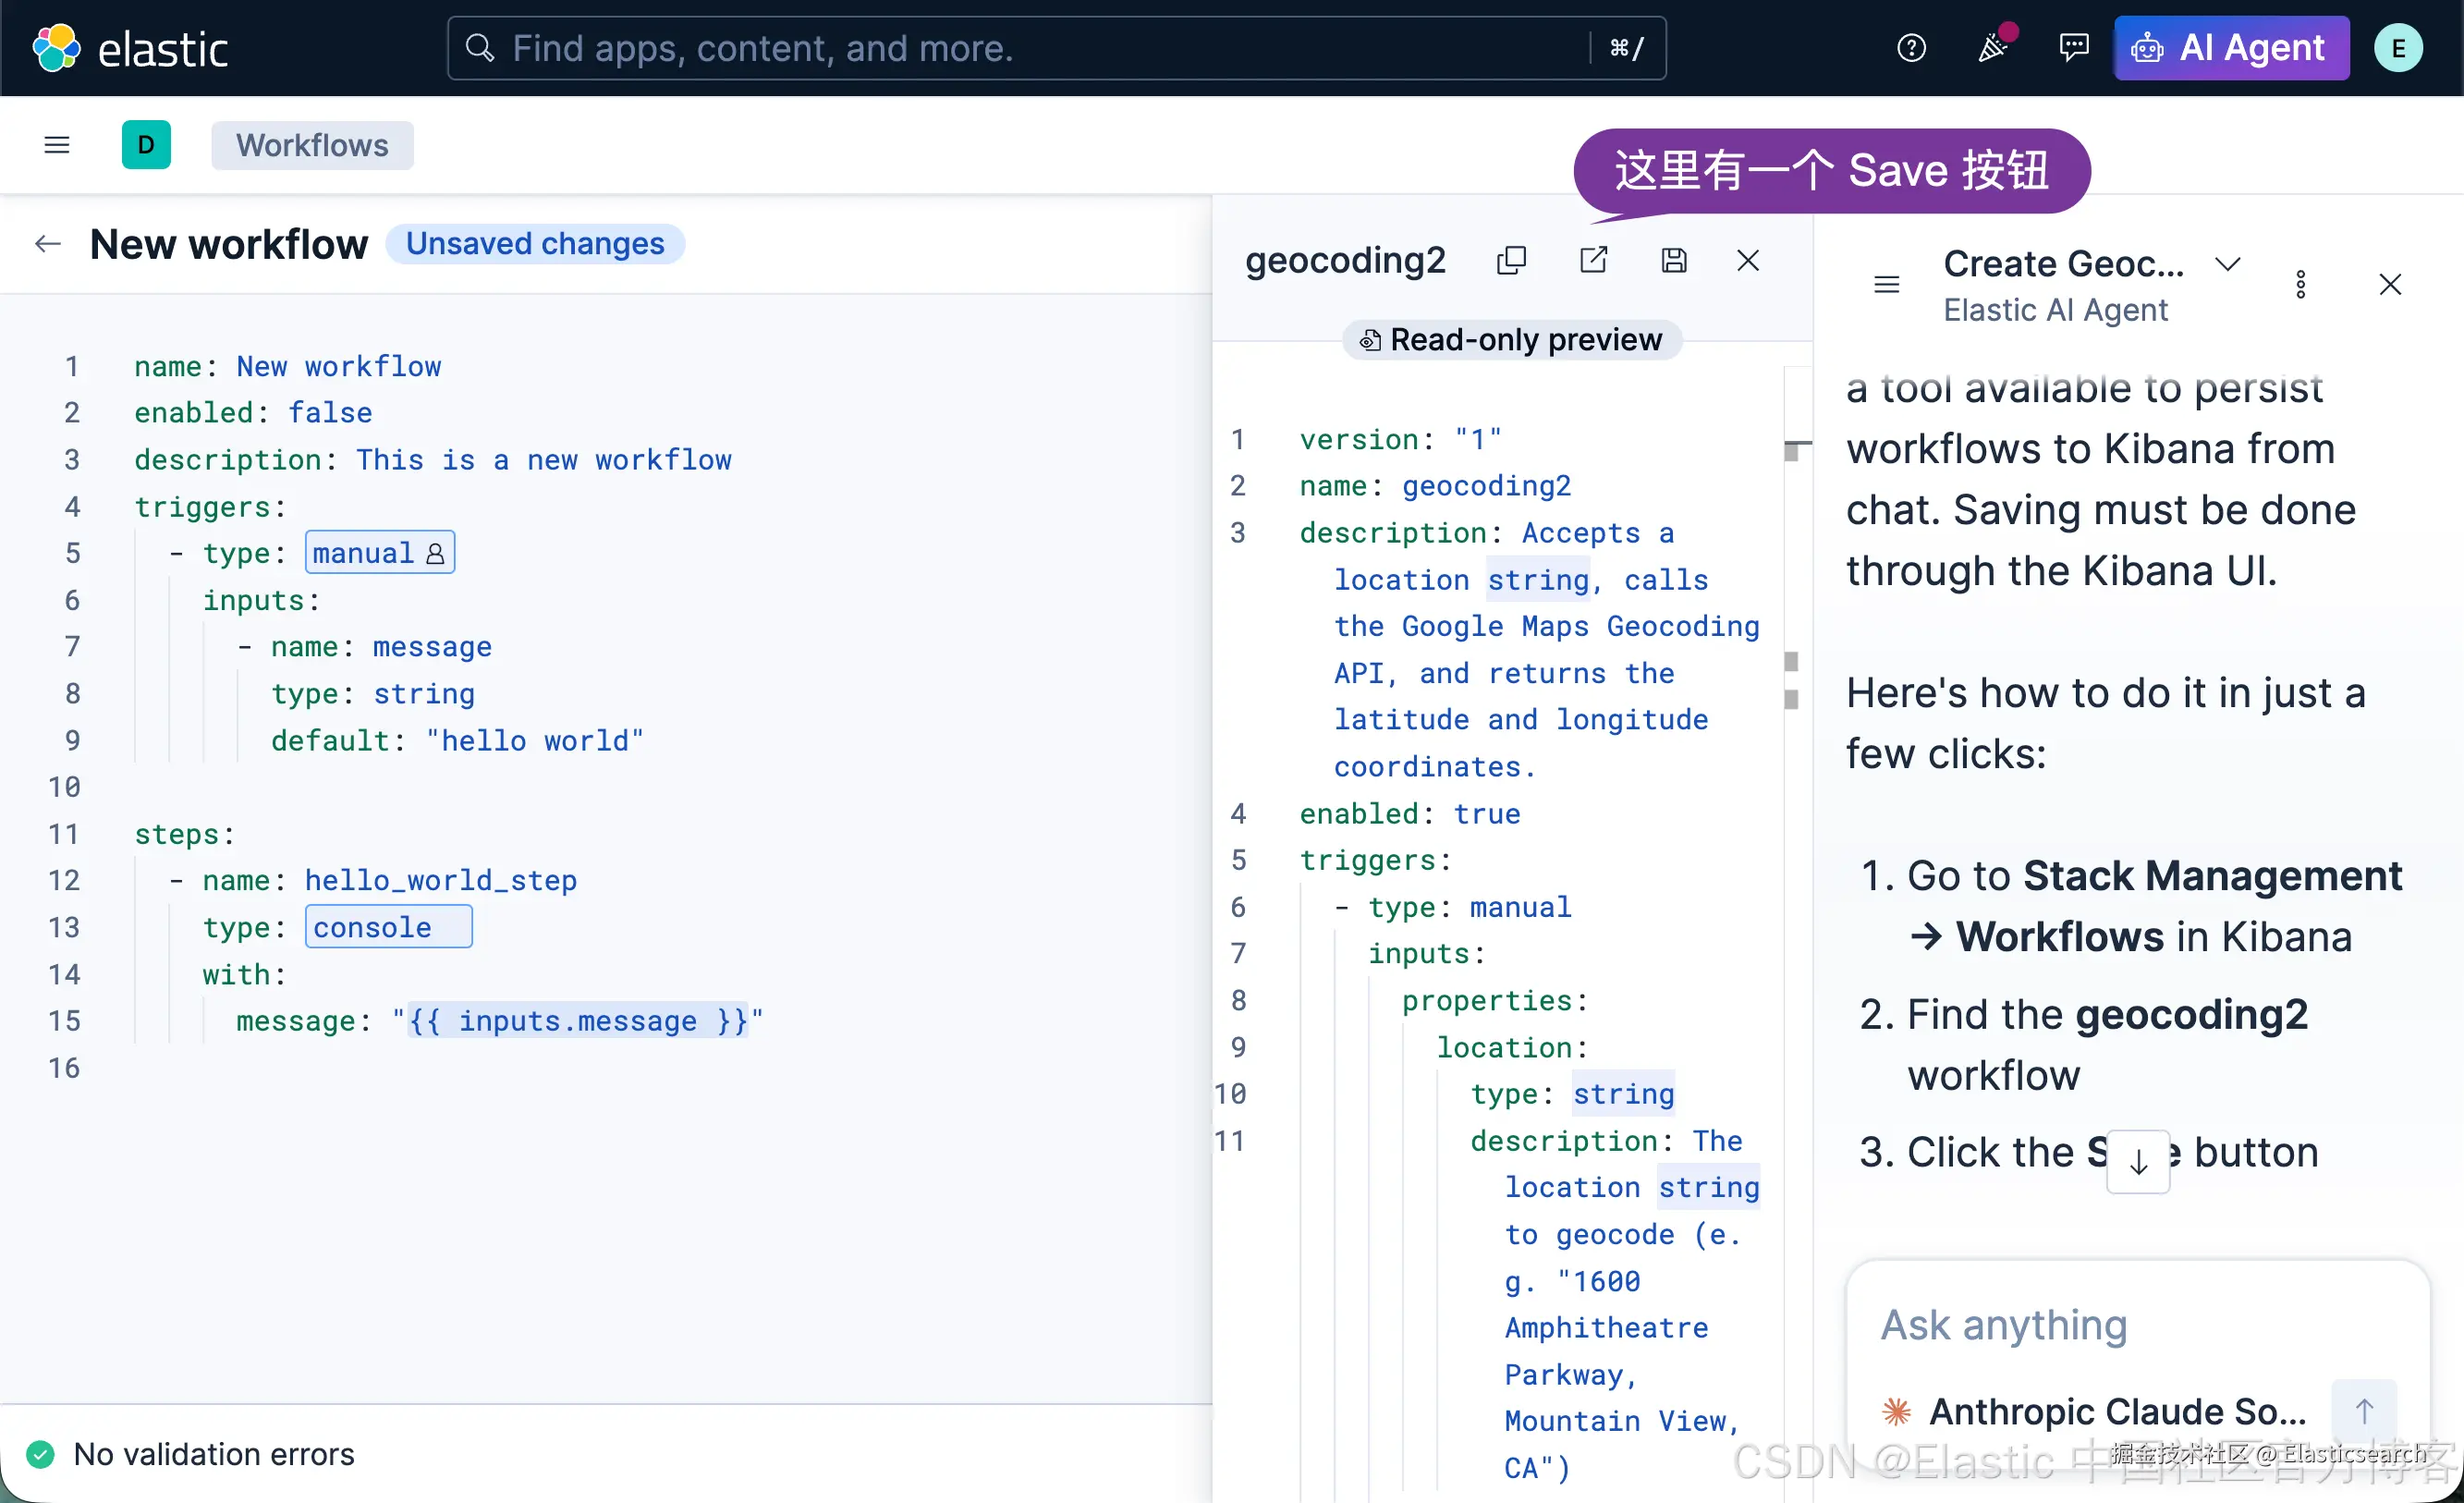
我们到 workflow 的窗口进行查看:
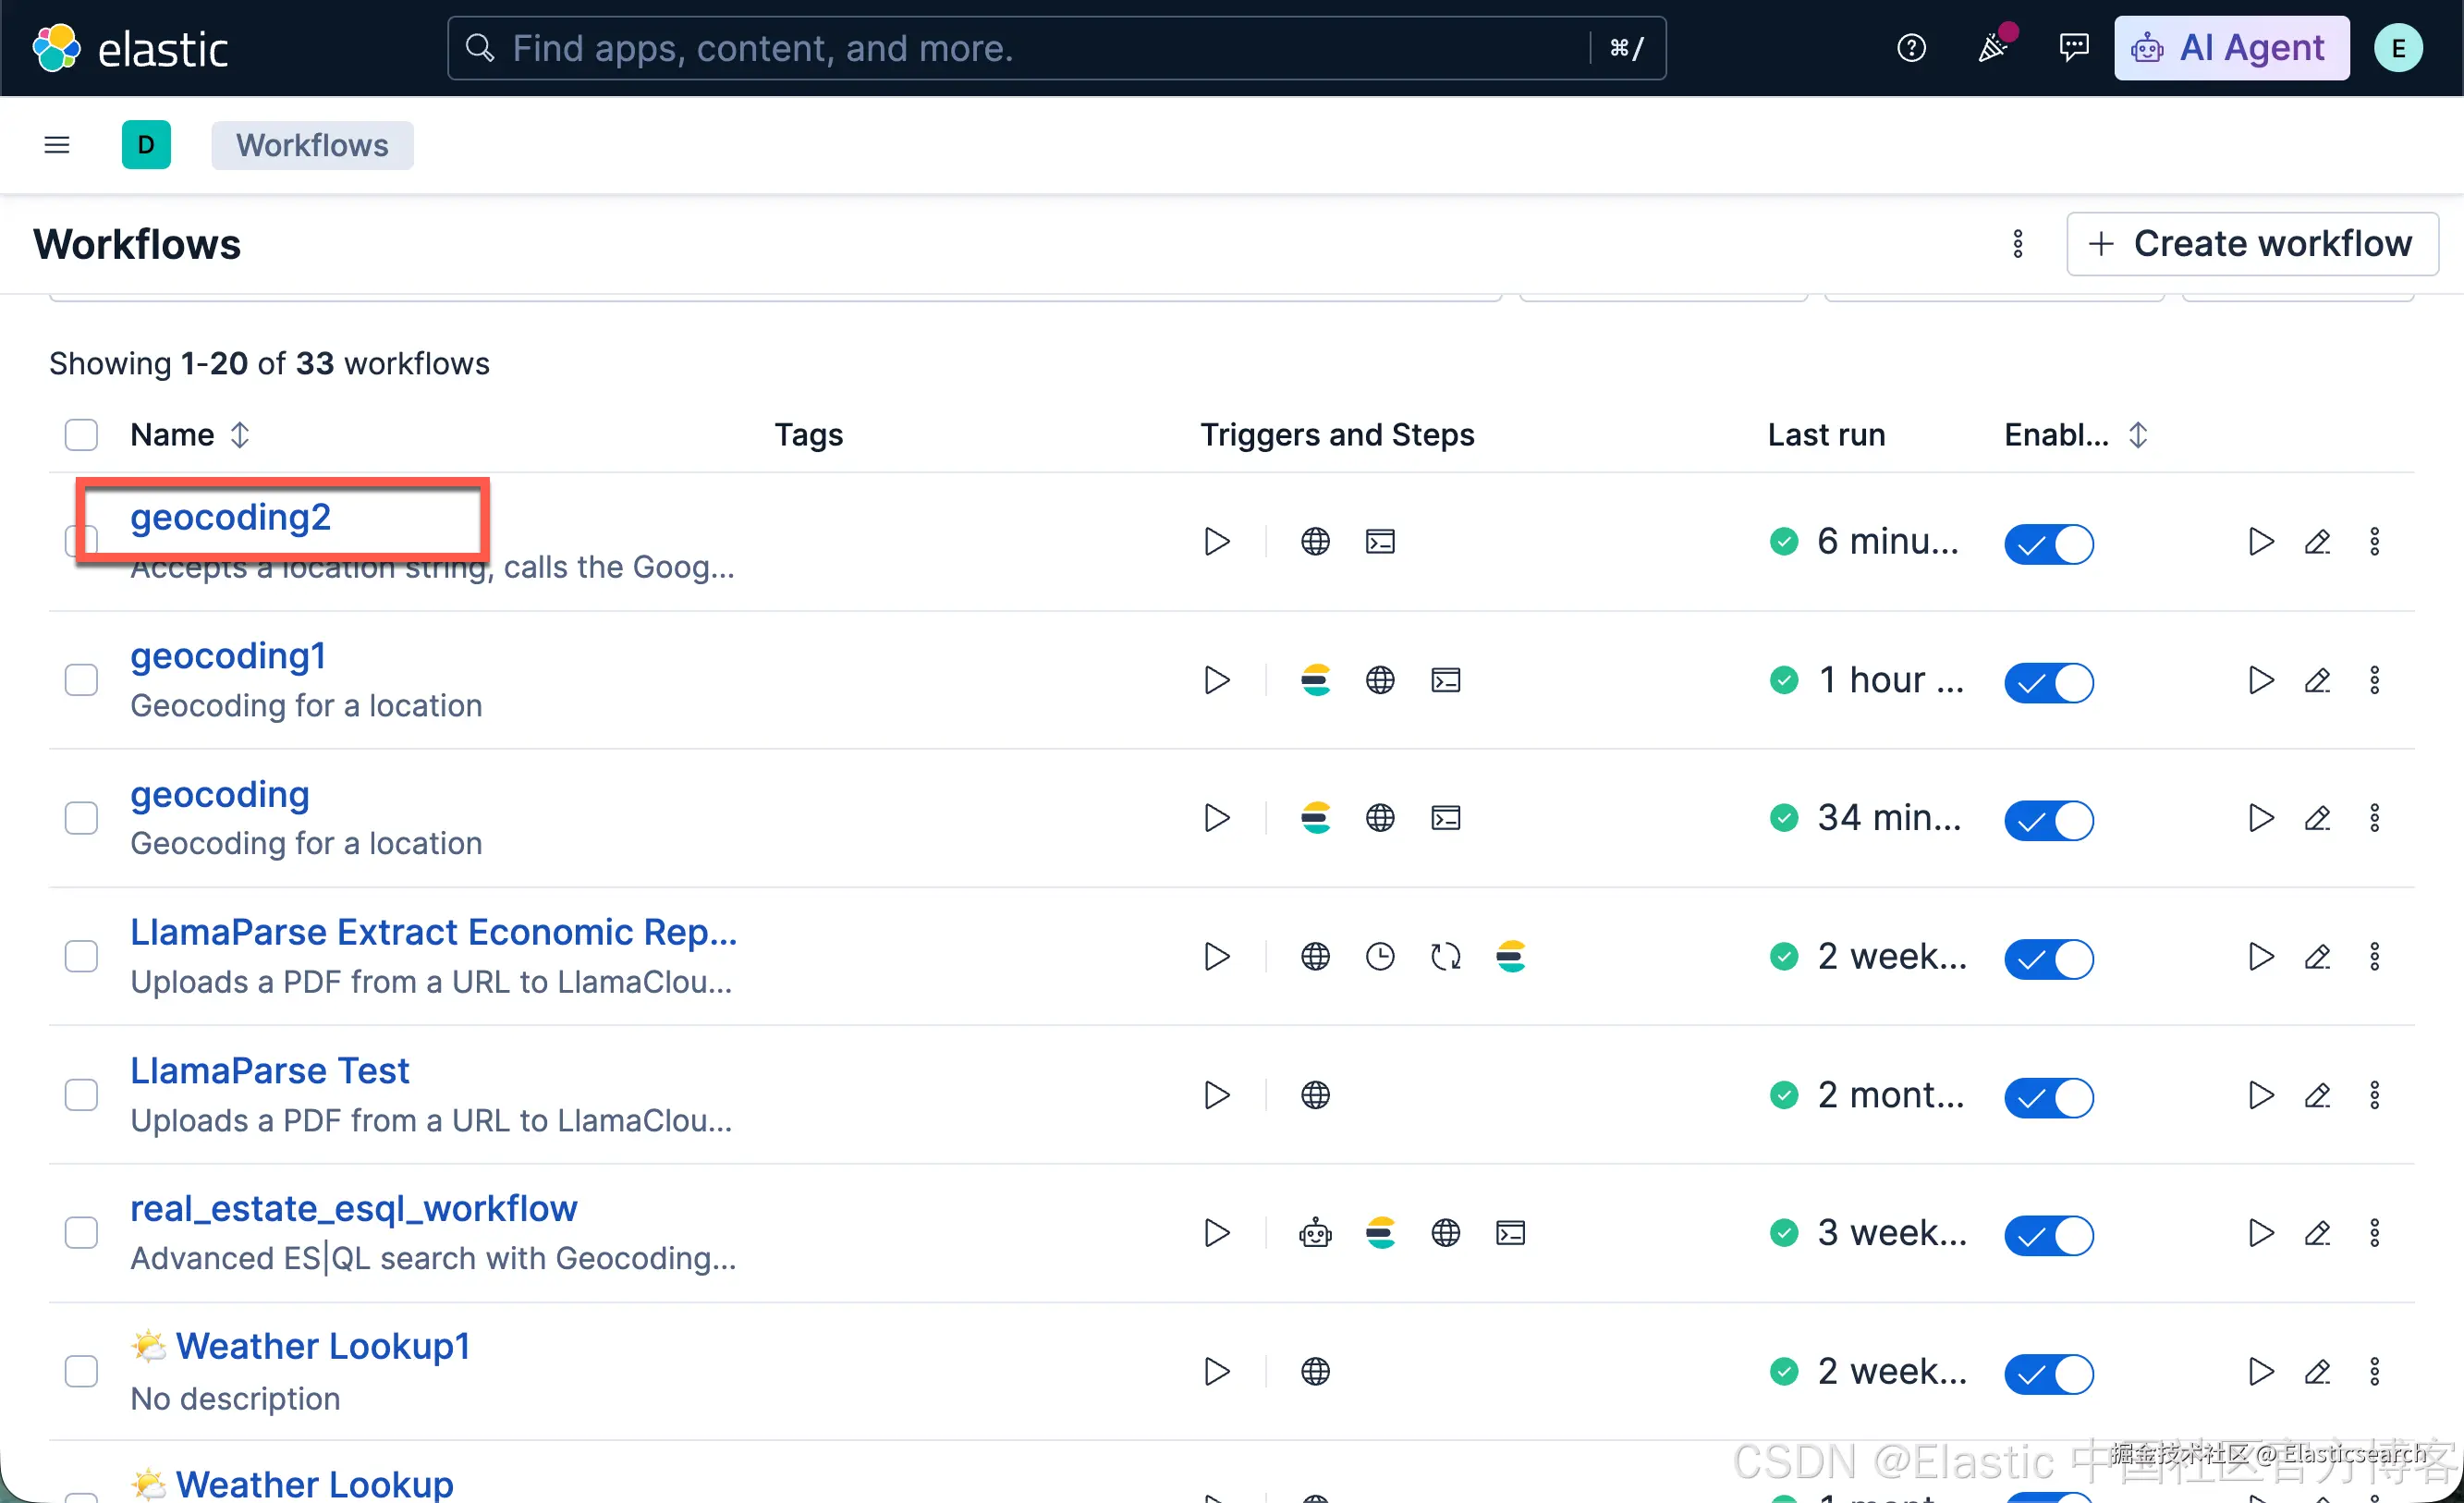
yaml
`
1. version: "1"
2. name: geocoding2
3. description: Accepts a location string, calls the Google Maps Geocoding API, and returns the latitude and longitude coordinates.
4. enabled: true
5. triggers:
6. - type: manual
7. inputs:
8. properties:
9. location:
10. type: string
11. description: The location string to geocode (e.g. "1600 Amphitheatre Parkway, Mountain View, CA")
12. required:
13. - location
14. steps:
15. - name: call_geocoding_api
16. type: http
17. with:
18. url: https://maps.googleapis.com/maps/api/geocode/json
19. method: GET
20. query:
21. address: "{{ inputs.location }}"
22. connector-id: google-maps-geocoding-api
23. - name: log_coordinates
24. type: console
25. with:
26. message: |
27. Location: {{ inputs.location }}
28. Latitude: {{ steps.call_geocoding_api.output.data.results[0].geometry.location.lat }}
29. Longitude: {{ steps.call_geocoding_api.output.data.results[0].geometry.location.lng }}
`AI写代码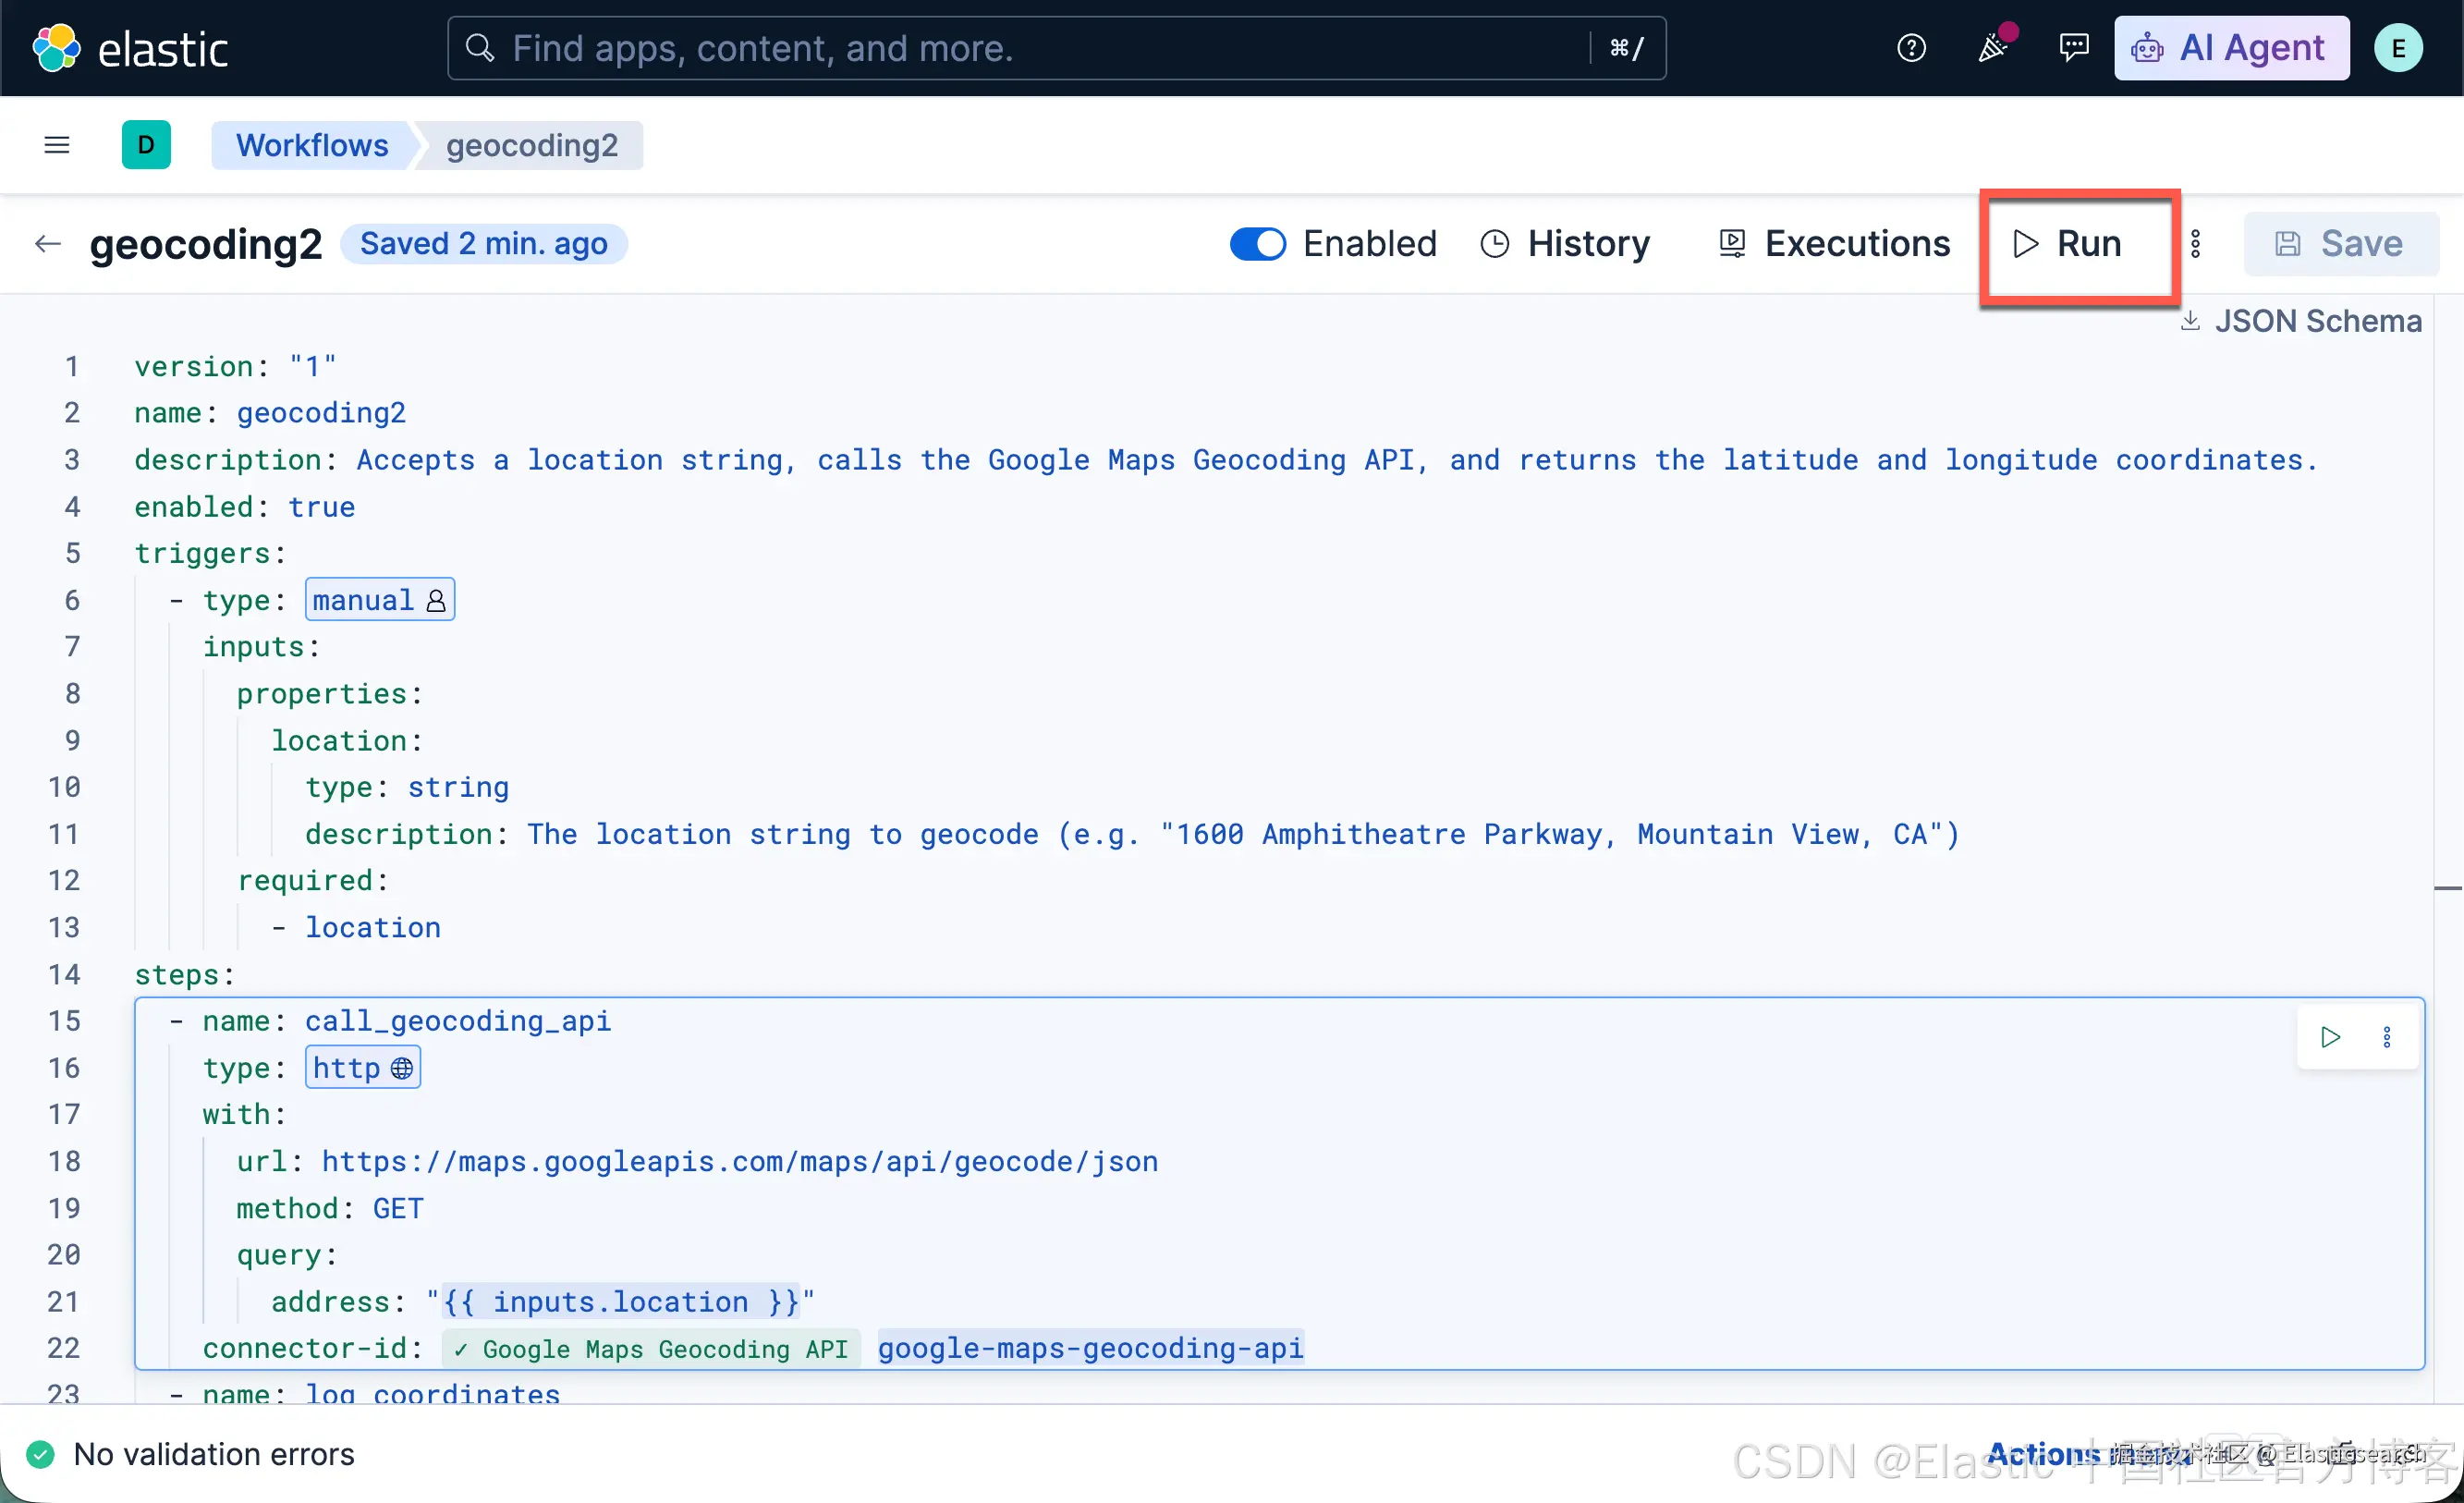
点击 Run:
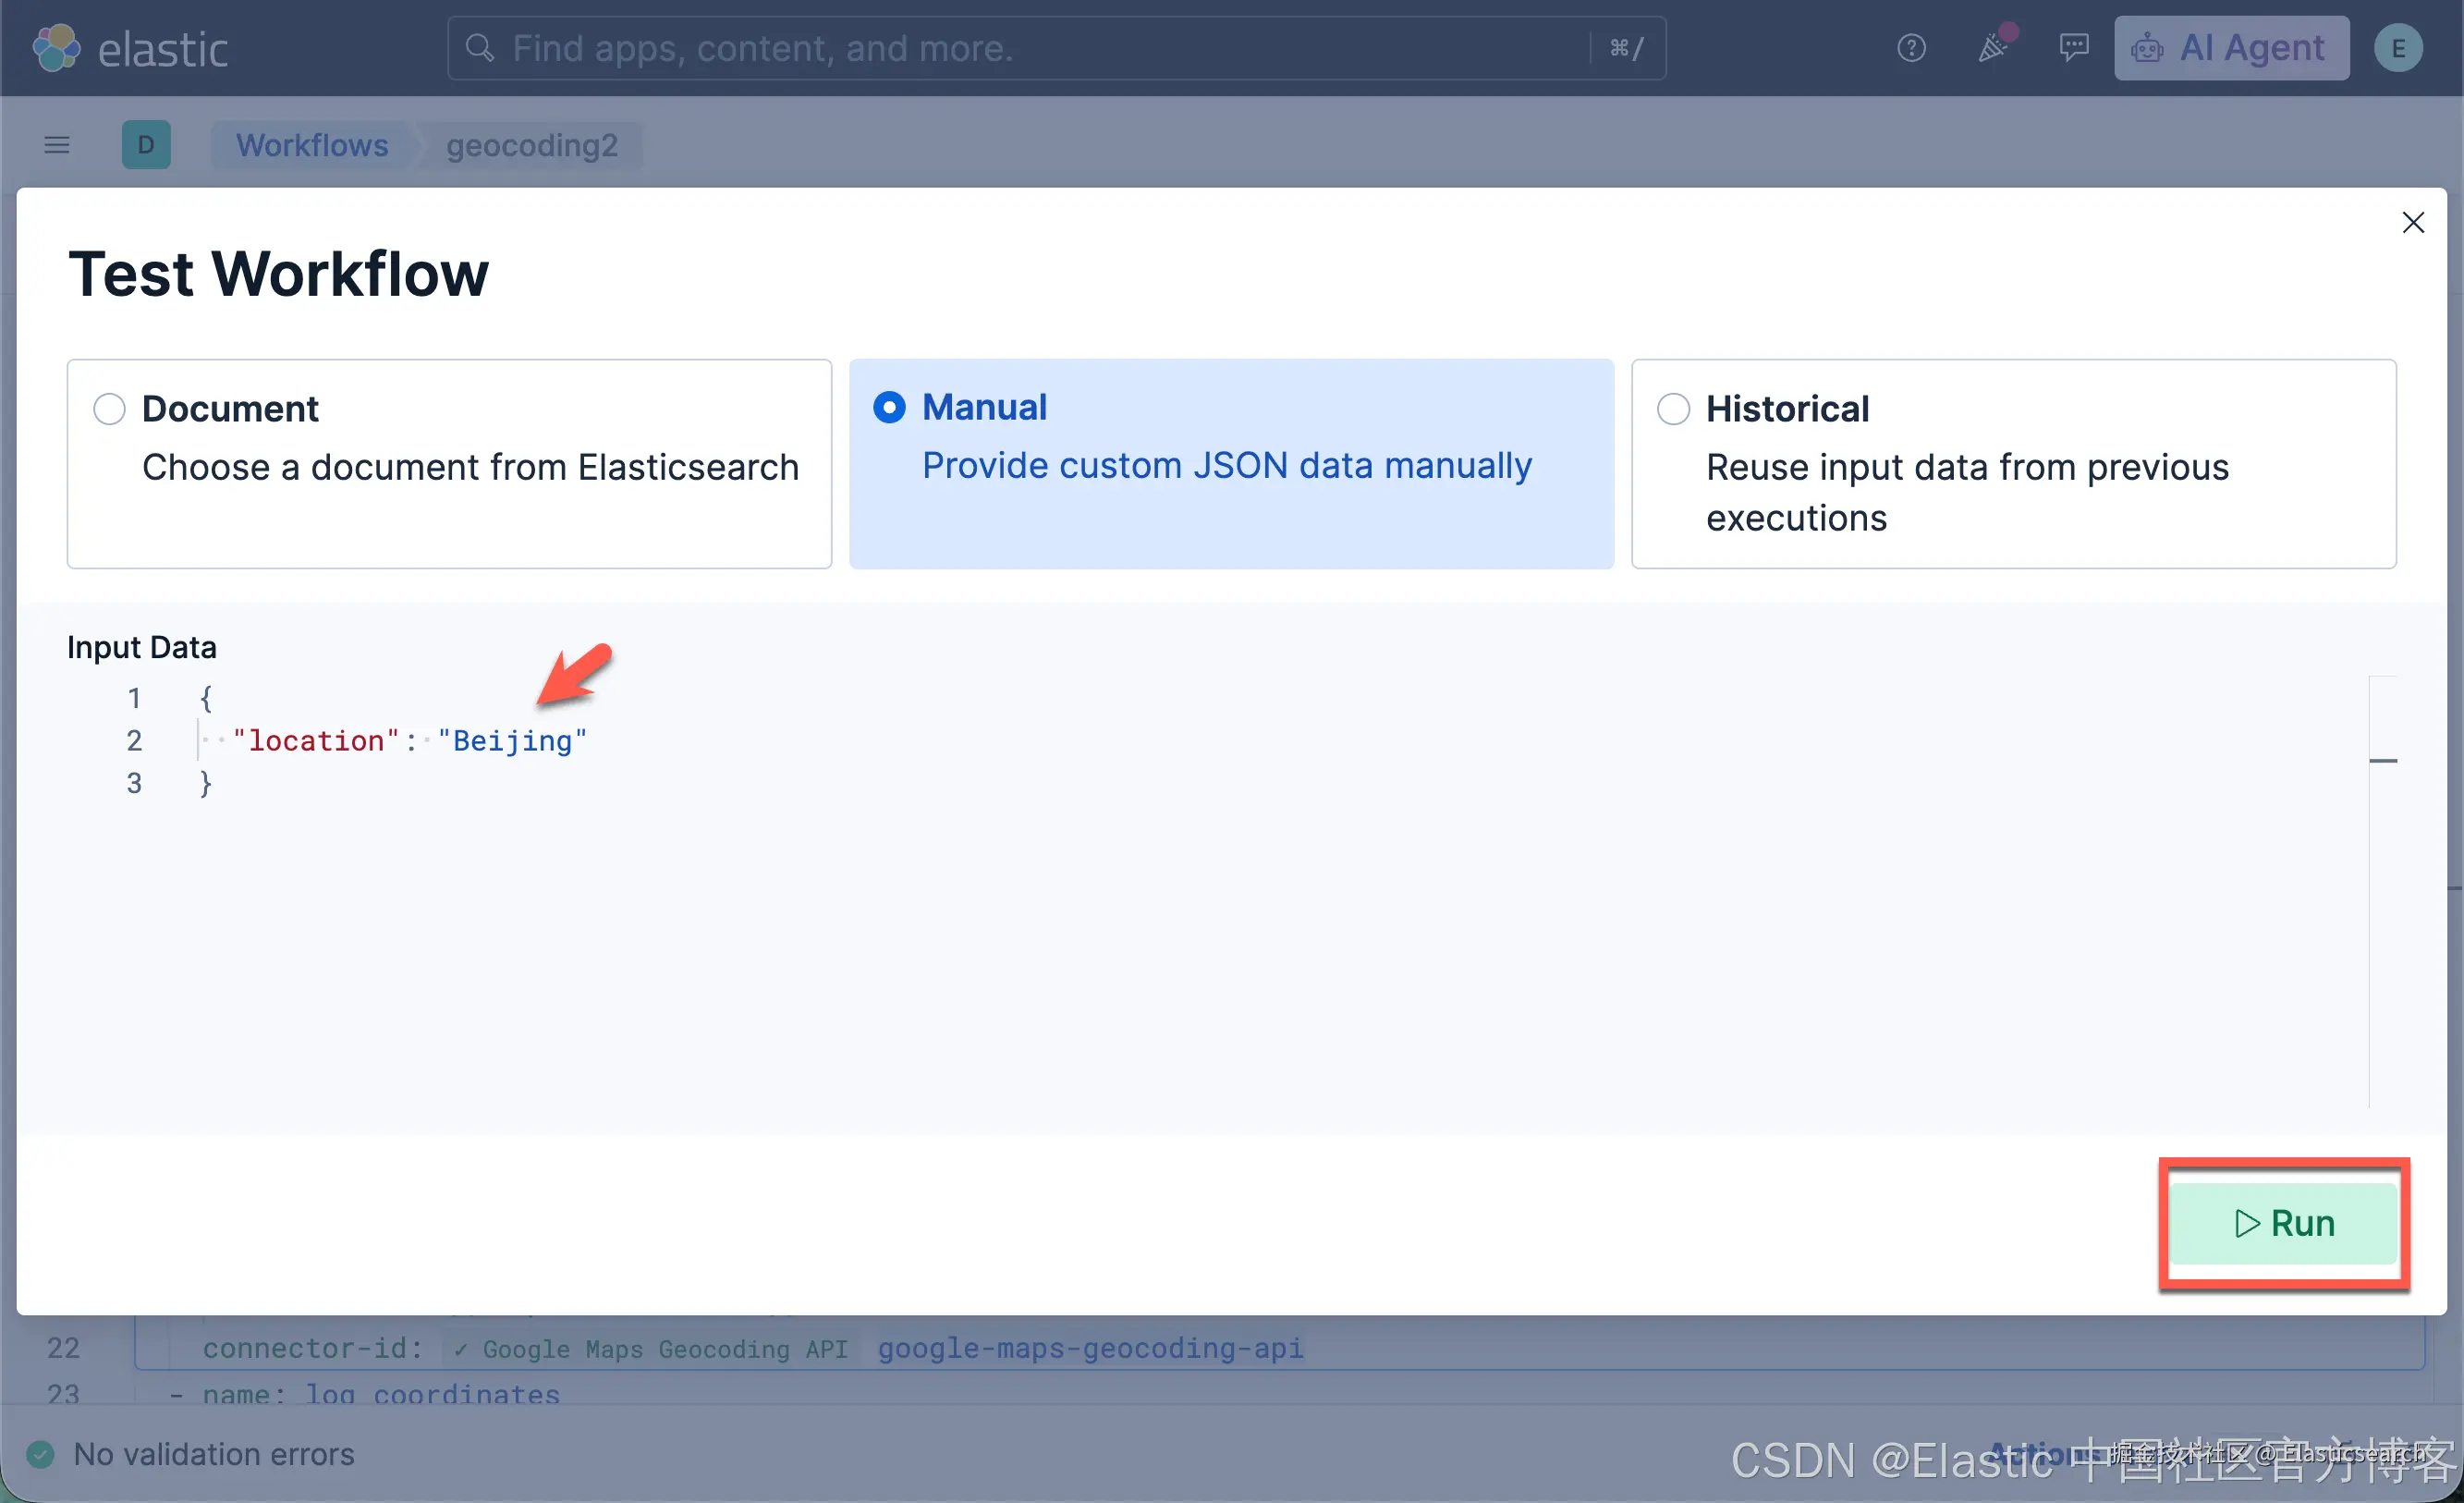
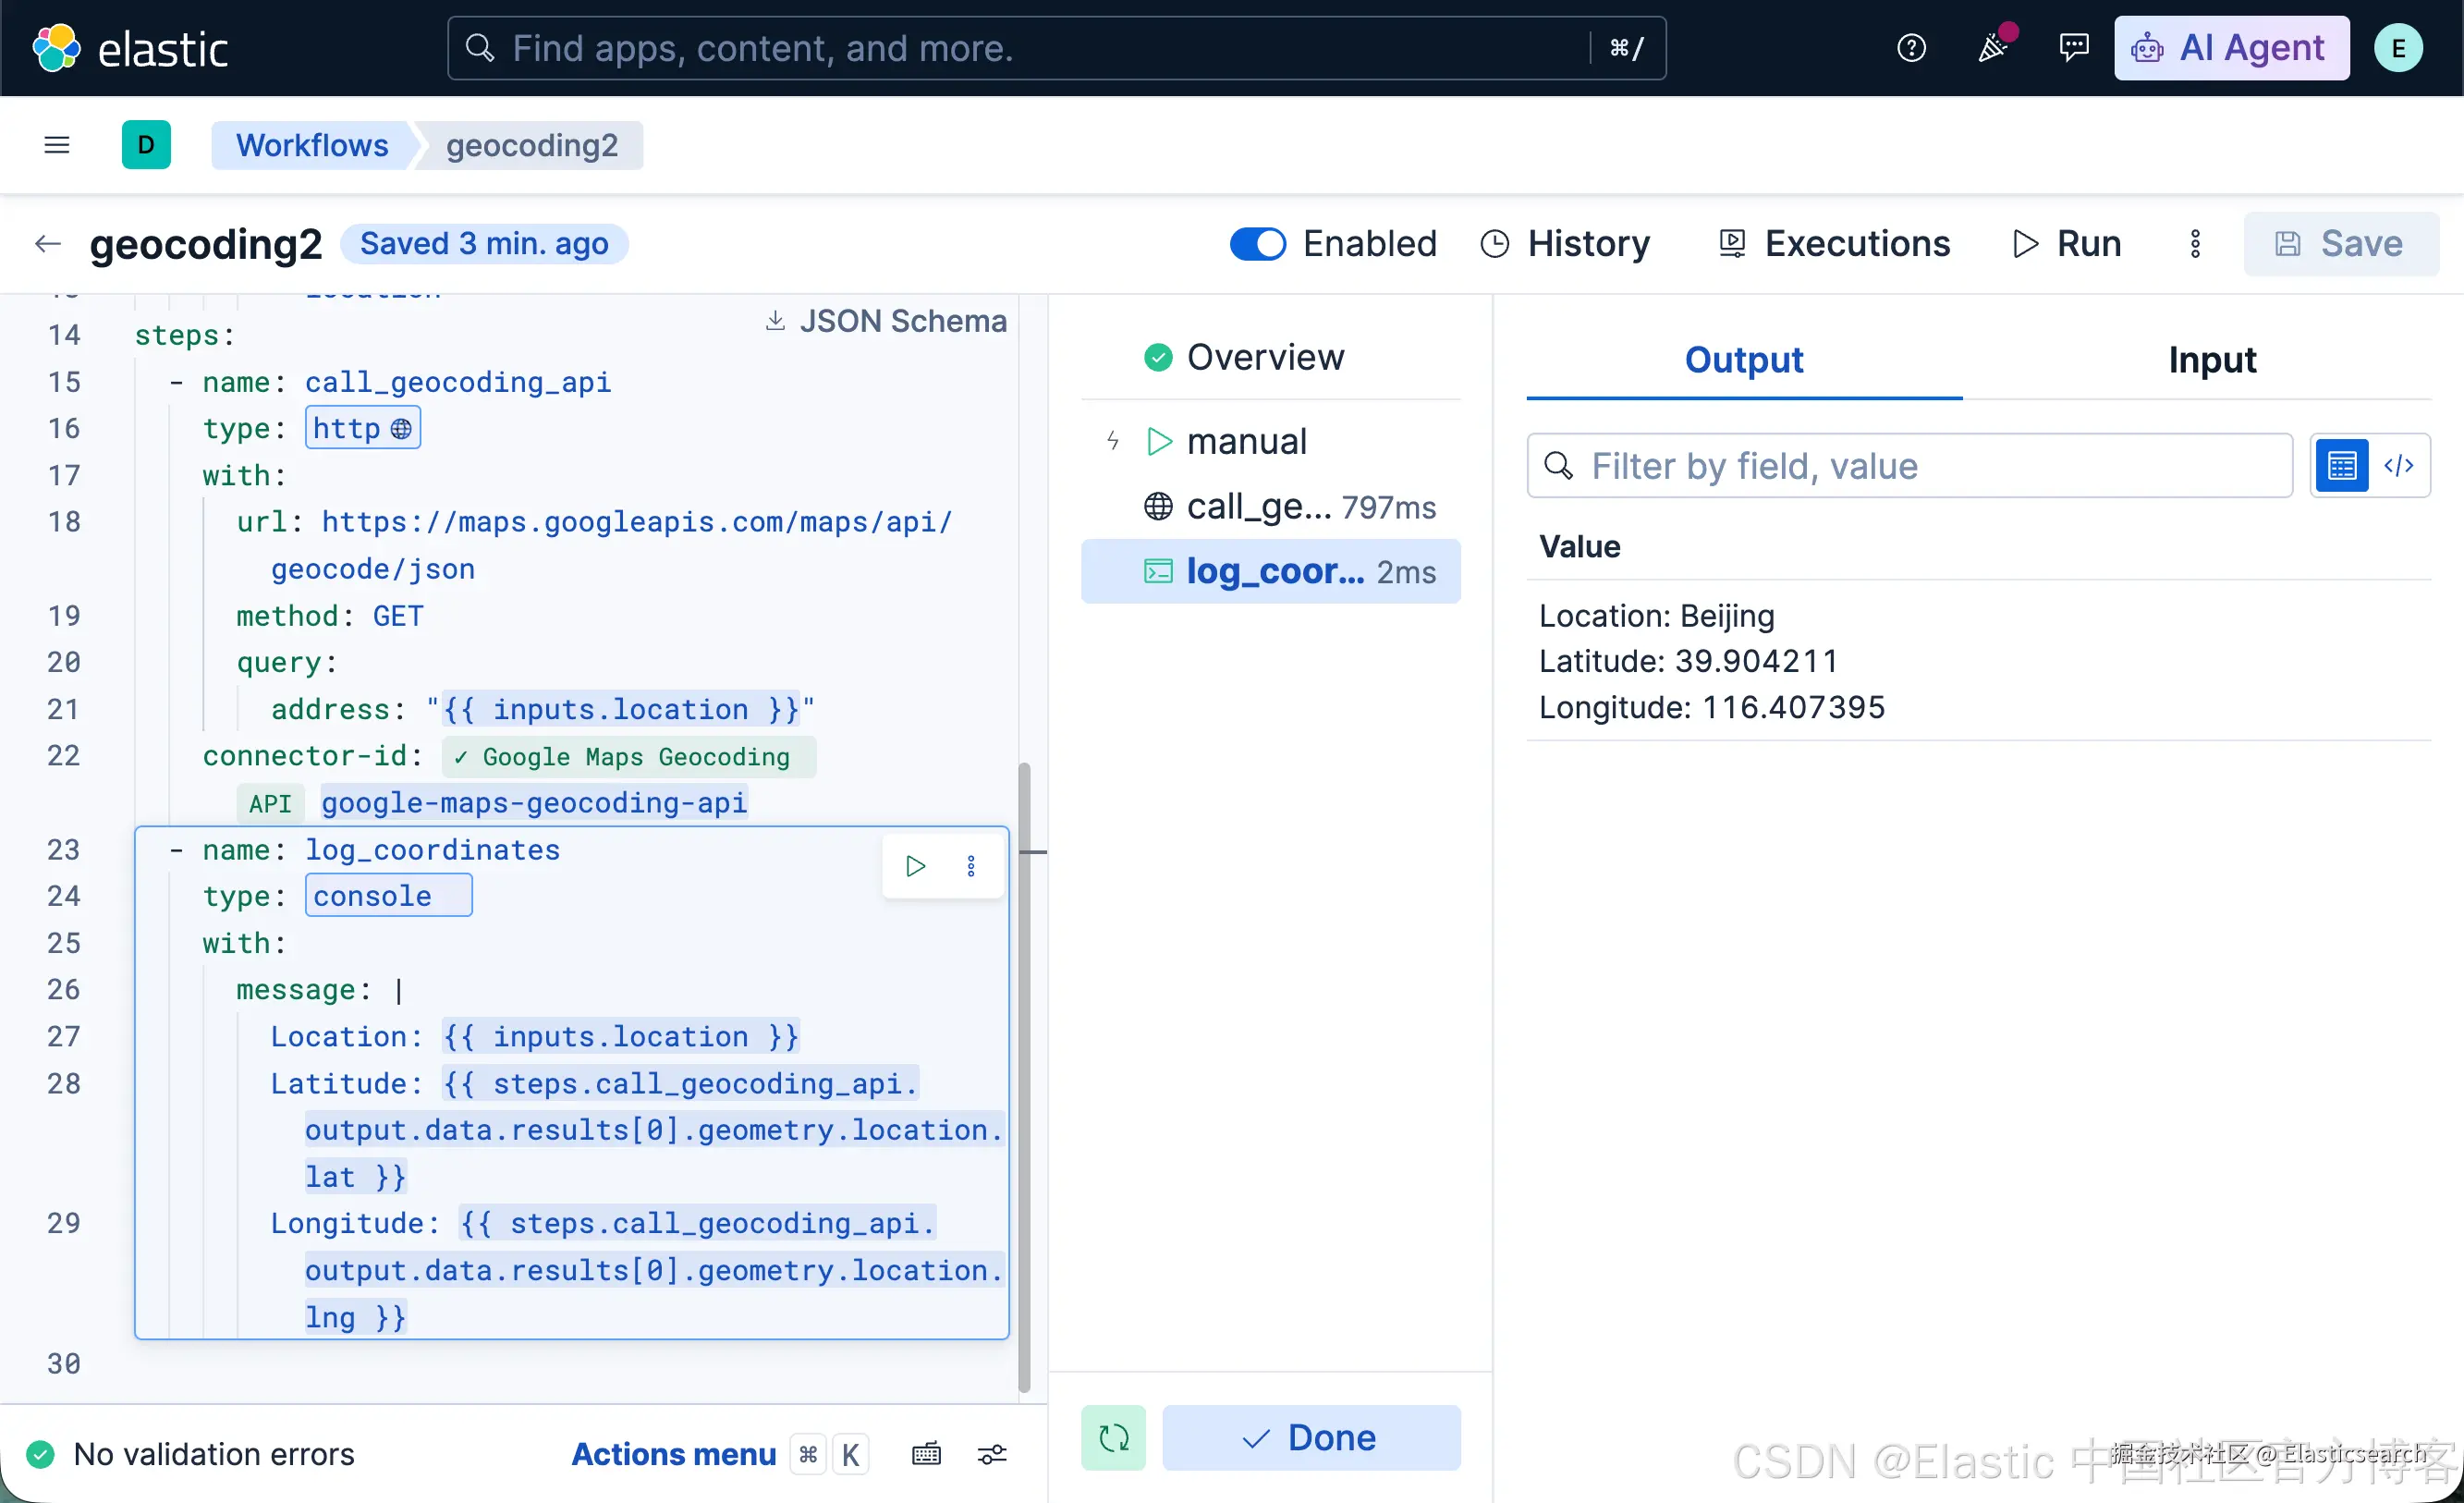
很显然,它实现了我们想要的功能。