董路和孙继海的青训路线之争
一方说伊赛代练 VS 要锻炼基础
(说一点老登的话,争什么争?不如去卖撒尿牛丸啊,笨(其实不如资源之争))
以前读大学的时候,一些老师要求不要上网,11点要关灯
而你现在读大学,应该也有一些老师要求不能用 AI
(他们会想各种方法啊审查AI,却发明不出一种方法,是如何通过AI和人的结合,更好的帮助人成长)
AI现在发展到什么程度呢;我用一个路边的,免费AI平台做的(感谢国家稳定和支持科技事业的发展,才有了免费这些平台)
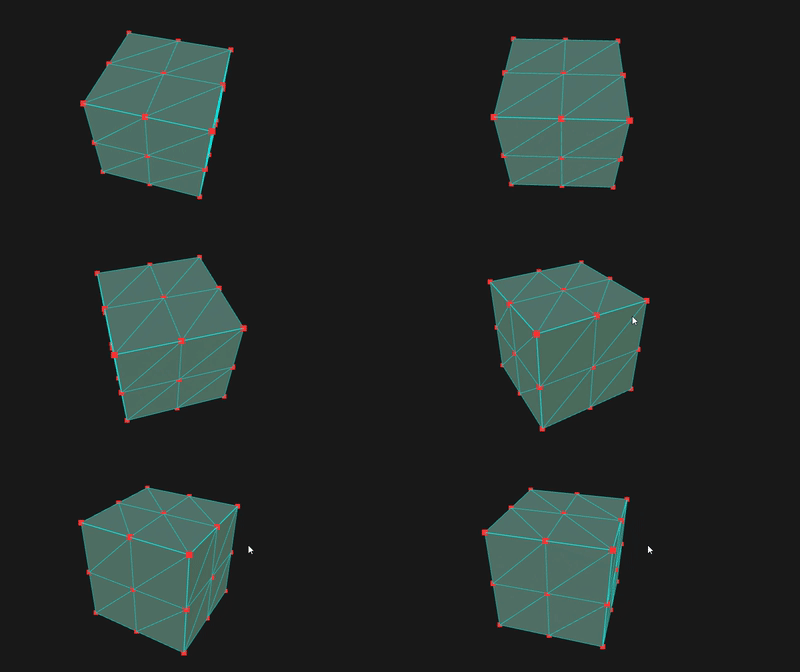
一个项目最简单,最直白的3D模型
其实就是一个Hello World项目
但关键就是
-
直接能用
-
扩展容易
-
代码易懂
-
你说这是AI就是AI吧(你要吃个猪肉,难道先从种白菜喂猪开始?)
坦白说,我真不懂如何养猪(个人也是反对吃乳猪的)
调用方法:
我是写了一个Python服务(也是AI写的),运行之后,就可以在浏览器,直接打开这个页面了
python
python server.py- html + js是写在一起的
- 已经修复,直接可用
一开始 ai 用了一些 cdn,不行的,改过了
javascript
<div id="canvas-container"></div>

<!-- 分开引入,OrbitControls 暴露为全局独立变量 -->
<script src="https://cdn.jsdelivr.net/npm/three@0.160.0/build/three.min.js"></script>
<script src="https://cdn.jsdelivr.net/npm/three@0.160.0/examples/js/controls/OrbitControls.js"></script>

<script>
而且会有一些初始化,类的问题,也改好引用了,
javascript
// 轨道控制器
const controls = new THREE.OrbitControls(camera, renderer.domElement);
controls.enableDamping = true;

// 光照
const ambientLight = new THREE.AmbientLight(0xffffff, 0.6);
scene.add(ambientLight);
const dirLight = new THREE.DirectionalLight(0xffffff, 0.8);
dirLight.position.set(10, 20, 15);
scene.add(dirLight);
javascript
<script type="importmap">
{
  "imports": {
    "three": "https://unpkg.com/three@0.160.0/build/three.module.js",
    "three/addons/": "https://unpkg.com/three@0.160.0/examples/jsm/"
  }
}
</script>

<script>
import * as THREE from 'three';
import { OrbitControls } from 'three/addons/controls/OrbitControls.js'

// 轨道控制器
const controls = new OrbitControls(camera, renderer.domElement);
controls.enableDamping = true;
完整代码
javascript
<!DOCTYPE html>
<html lang="zh-CN">
<head>
    <meta charset="UTF-8">
    <title>Three.js 模型叠加三角/顶点/边线图层</title>
    <style>
        * { margin: 0; padding: 0; }
        body { overflow: hidden; }
        #canvas-container { width: 100vw; height: 100vh; }
    </style>
</head>
<body>
<div id="canvas-container"></div>

<!-- 引入Three.js CDN -->
<script type="importmap">
{
  "imports": {
    "three": "https://unpkg.com/three@0.160.0/build/three.module.js",
    "three/addons/": "https://unpkg.com/three@0.160.0/examples/jsm/"
  }
}
</script>
<script type="module">
import * as THREE from 'three';
import { OrbitControls } from 'three/addons/controls/OrbitControls.js'
// ===================== 1. 基础场景初始化 =====================
const container = document.getElementById('canvas-container');
const scene = new THREE.Scene();
scene.background = new THREE.Color(0x1a1a1a);

// 相机
const camera = new THREE.PerspectiveCamera(75, window.innerWidth / window.innerHeight, 0.1, 1000);
camera.position.set(5, 5, 8);

// 渲染器
const renderer = new THREE.WebGLRenderer({ antialias: true });
renderer.setSize(window.innerWidth, window.innerHeight);
renderer.setPixelRatio(window.devicePixelRatio);
container.appendChild(renderer.domElement);

// 轨道控制器
const controls = new OrbitControls(camera, renderer.domElement);
controls.enableDamping = true;

// 光照
const ambientLight = new THREE.AmbientLight(0xffffff, 0.6);
scene.add(ambientLight);
const dirLight = new THREE.DirectionalLight(0xffffff, 0.8);
dirLight.position.set(10, 20, 15);
scene.add(dirLight);

// 模型总父容器(原始模型+拓扑图层都放这里,统一变换)
const modelParent = new THREE.Group();
scene.add(modelParent);

// ===================== 2. 核心函数:根据几何体生成三角/顶点/线三层可视化 =====================
/**
 * @param {THREE.BufferGeometry} geometry 原始模型几何体
 * @param {Object} config 样式配置
 * @returns {THREE.Group} 包含点、线、三角面的图层组
 */
function createTriangleOverlayLayer(geometry, config = {}) {
    const overlayGroup = new THREE.Group();

    // 默认配置
    const cfg = {
        showPoints: true,       // 显示顶点
        showEdges: true,        // 显示三角形边线
        showTriangles: false,  // 显示半透明三角填充面片
        pointColor: 0xff3333,
        pointSize: 0.15,
        lineColor: 0x00ffff,
        lineWidth: 2,
        triColor: 0xffff00,
        triOpacity: 0.2
    };
    Object.assign(cfg, config);

    // 克隆几何体,避免修改原模型
    const geo = geometry.clone();
    const positions = geo.attributes.position;
    const indexArray = geo.index ? geo.index.array : null;

    // 2.1 顶点点云图层
    if (cfg.showPoints) {
        const pointGeo = new THREE.BufferGeometry();
        pointGeo.setAttribute('position', positions.clone());
        const pointMat = new THREE.PointsMaterial({
            color: cfg.pointColor,
            size: cfg.pointSize,
            sizeAttenuation: true
        });
        const points = new THREE.Points(pointGeo, pointMat);
        overlayGroup.add(points);
    }

    // 2.2 三角形边线图层(按三角索引绘制三边)
    if (cfg.showEdges) {
        let lineGeo;
        if (indexArray) {
            // 有索引缓冲,遍历每一个三角面(每3个索引为一个三角形)
            const linePoints = [];
            for (let i = 0; i < indexArray.length; i += 3) {
                const i0 = indexArray[i];
                const i1 = indexArray[i + 1];
                const i2 = indexArray[i + 2];

                // 三个顶点坐标
                const p0 = new THREE.Vector3().fromBufferAttribute(positions, i0);
                const p1 = new THREE.Vector3().fromBufferAttribute(positions, i1);
                const p2 = new THREE.Vector3().fromBufferAttribute(positions, i2);

                // 三角形三条边:0-1,1-2,2-0
                linePoints.push(p0, p1, p1, p2, p2, p0);
            }
            lineGeo = new THREE.BufferGeometry().setFromPoints(linePoints);
        } else {
            // 无索引几何体,直接用全部顶点画线框
            lineGeo = new THREE.WireframeGeometry(geo);
        }

        const lineMat = new THREE.LineBasicMaterial({
            color: cfg.lineColor
            // WebGL 原生不支持LineBasicMaterial线宽,如需粗线用Line2扩展库
        });
        const wireframe = new THREE.LineSegments(lineGeo, lineMat);
        overlayGroup.add(wireframe);
    }

    // 2.3 半透明三角形填充面片图层
    if (cfg.showTriangles) {
        const triMat = new THREE.MeshBasicMaterial({
            color: cfg.triColor,
            transparent: true,
            opacity: cfg.triOpacity,
            side: THREE.DoubleSide
        });
        const triMesh = new THREE.Mesh(geo, triMat);
        overlayGroup.add(triMesh);
    }

    return overlayGroup;
}

// ===================== 3. 测试:创建立方体模型 + 叠加三角可视化层 =====================
function buildDemoModel() {
    // 1. 原始实体模型
    const boxGeo = new THREE.BoxGeometry(2, 2, 2, 2, 2, 2); // 分段多一点,看到更多三角面
    const boxMat = new THREE.MeshStandardMaterial({
        color: 0x4488dd,
        metalness: 0.2,
        roughness: 0.6
    });
    const originMesh = new THREE.Mesh(boxGeo, boxMat);
    modelParent.add(originMesh);

    // 2. 生成三角顶点边线覆盖层
    const overlayLayer = createTriangleOverlayLayer(boxGeo, {
        showPoints: true,
        showEdges: true,
        showTriangles: true,
        pointSize: 0.12
    });
    modelParent.add(overlayLayer);

    // 测试旋转,两层同步跟随
    function animateRotate() {
        requestAnimationFrame(animateRotate);
        modelParent.rotation.y += 0.005;
    }
    animateRotate();
}

// 调用构建测试模型
buildDemoModel();

// ===================== 4. 窗口自适应 & 渲染循环 =====================
window.addEventListener('resize', () => {
    camera.aspect = window.innerWidth / window.innerHeight;
    camera.updateProjectionMatrix();
    renderer.setSize(window.innerWidth, window.innerHeight);
});

function renderLoop() {
    requestAnimationFrame(renderLoop);
    controls.update();
    renderer.render(scene, camera);
}
renderLoop();
</script>
</body>
</html>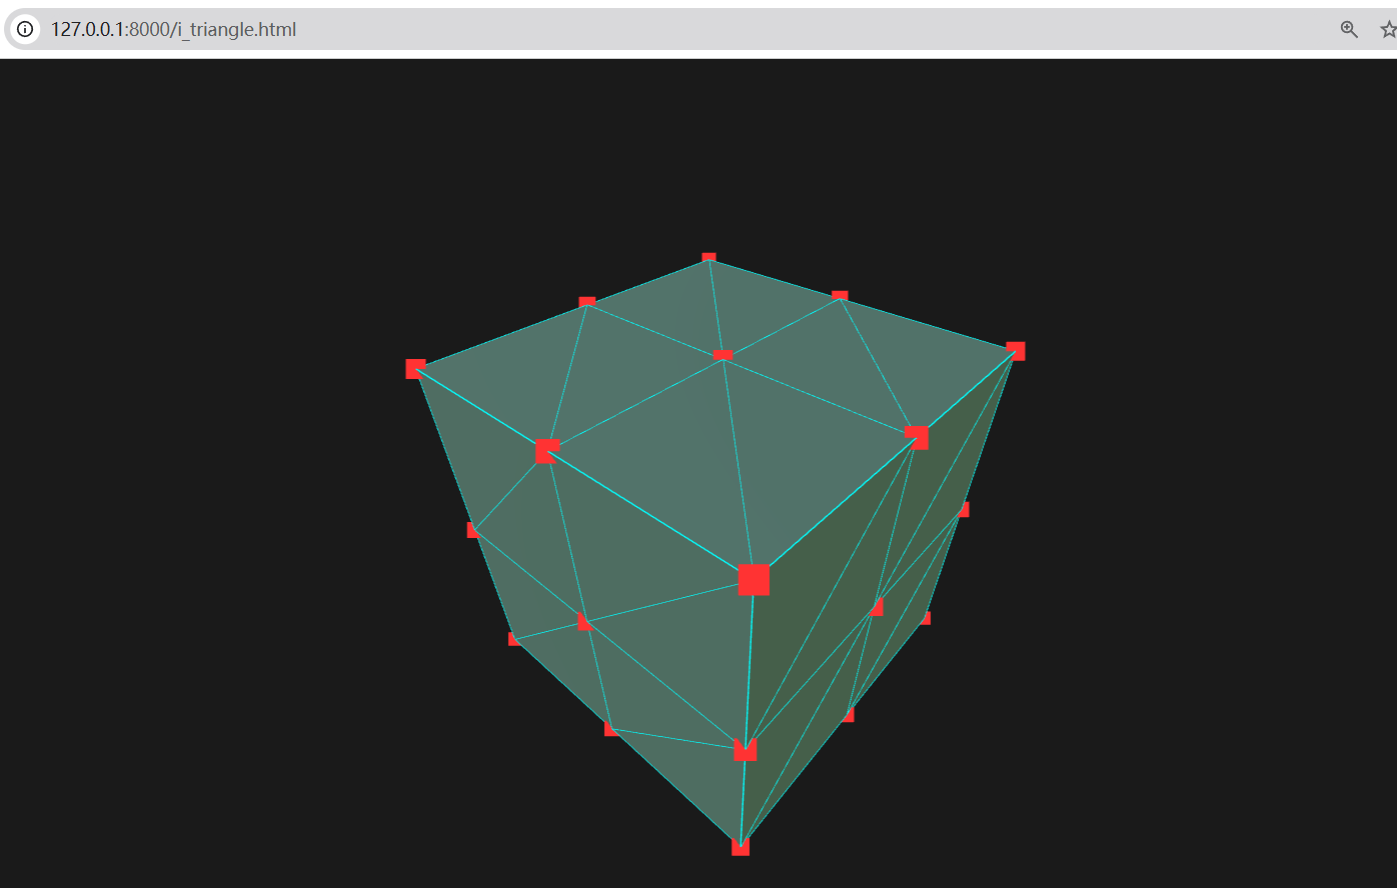
另一个项目(之后可能改成不是Python) Unity多人联机
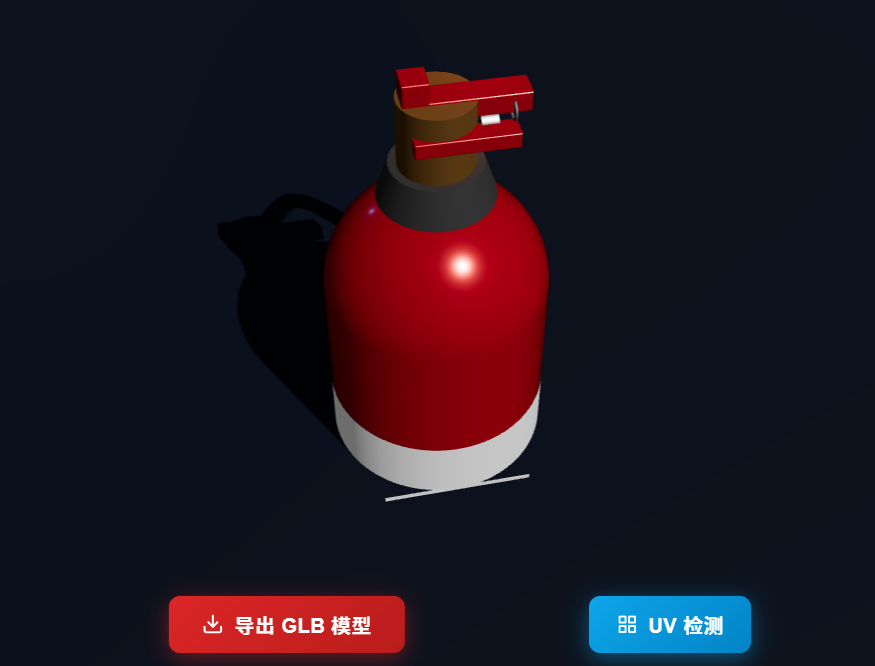
最
好吧,我存粹记录一下,后面再补充原理和结构图
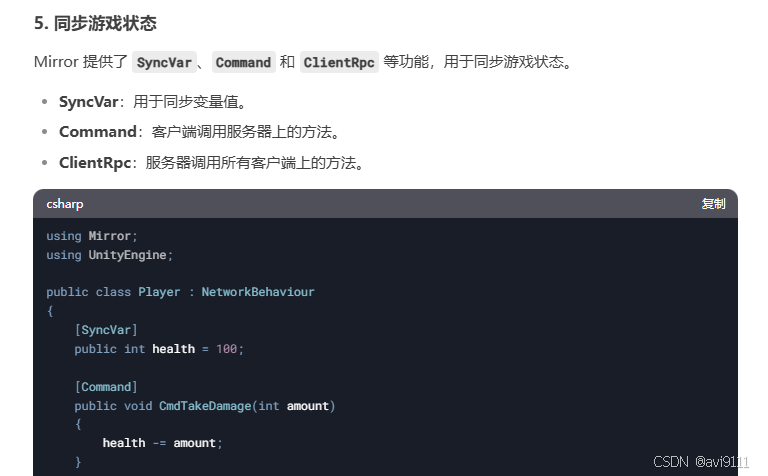
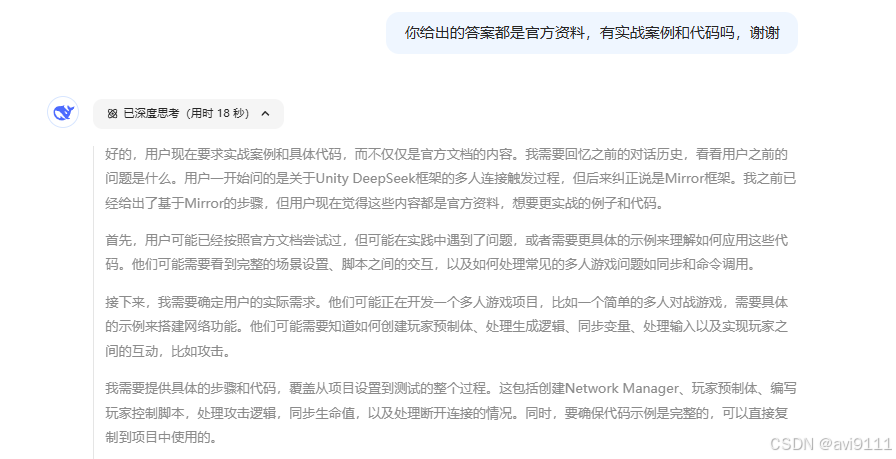
DeepSeek--Unity 多人联机
(依然是很优秀的理解能力,一开始问错了:"Unity DeepSeek框架")
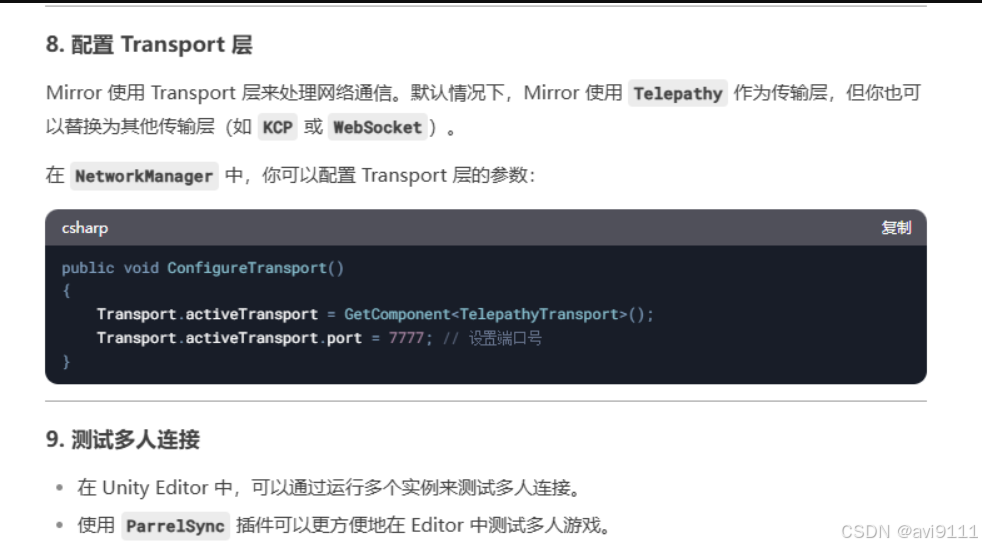
虽然答案,还是官方的答案Host-Client, 母子的服务器结构
(事实上,这个文章我也说了,很多优秀的基于Mirror的框架被开发,被应用(不包含在官方的例子中),如果只是按官方的例子"缺少了发展和迭代"真的不够"优秀和智能")
所以,以下回答只有"参考"的价值,没有实战价值?
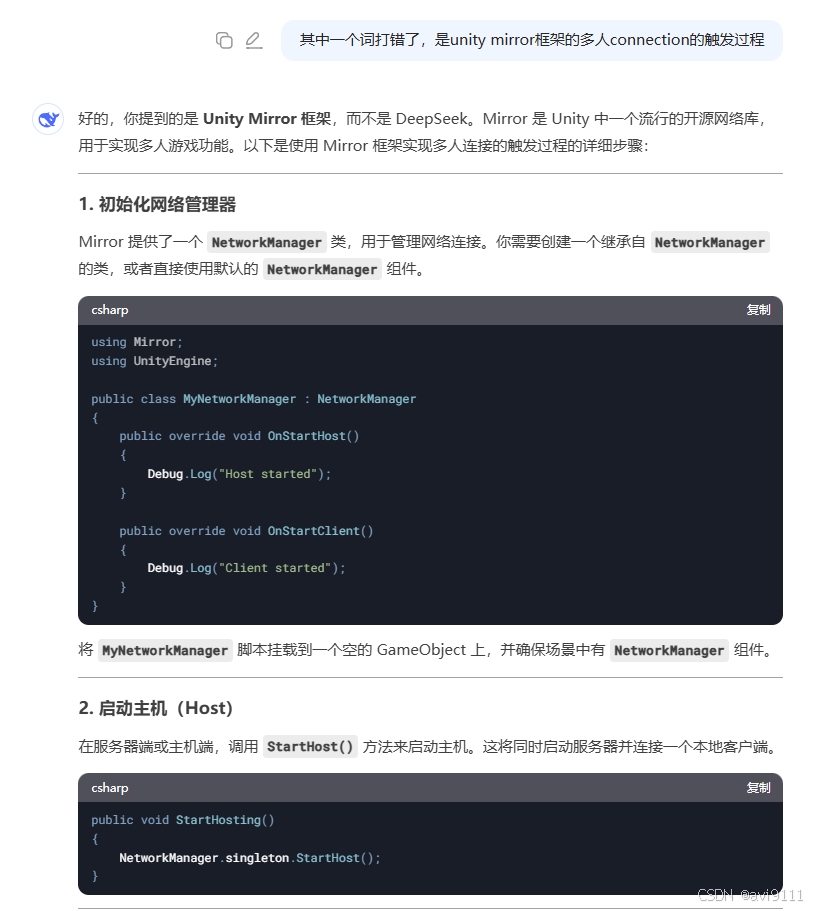
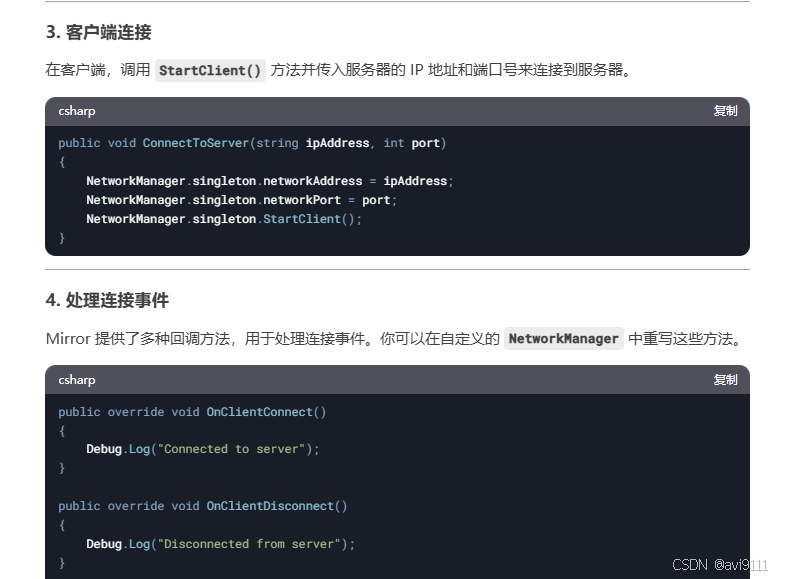
也提到了SyncVar, RPC等概念
也提到了通讯网络层
社恐分子给出的答案
充分信任
(杭州,两文峰的团队的深度学习算法有点太牛逼,)
百度??你真的确定你6月份开放的源码能赶上???你现在重新训练应该来不及的。。。。
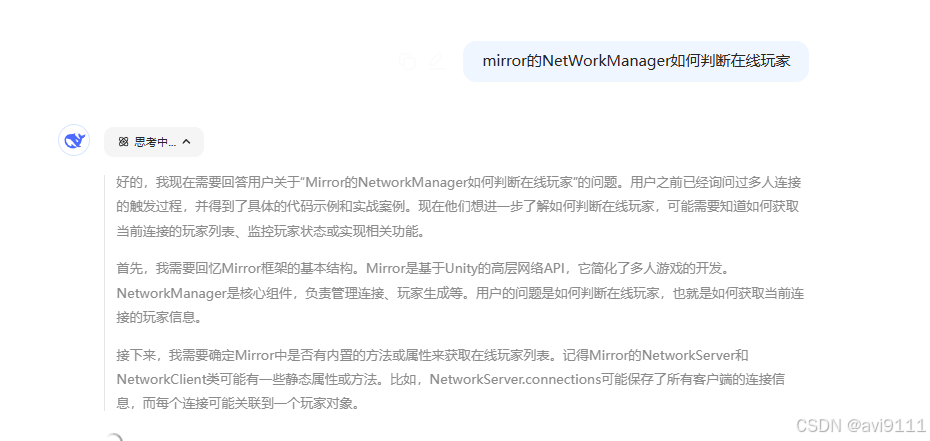
最终DeepSeek他给出了,几个可能性,虽然或者我只是选中了其中一个最符合的,但几乎都能用。。。。。。都能用。。。。。。
- connections//存起来,这个服务器肯定有存
- SyncList//客户端同步用
- 遍历场景中的玩家对象//Unity的FindObjectOfType方法而已
- 通过
NetworkIdentity的isConnected属性 - //DeepSeek没说,但有个属性:NetworkClient.spawned
参考代码
自动聚焦到模型包围盒(最实用,不管模型多大都自动贴合适距离)
封装一个通用函数,传入模型父级 modelParent 即可自动对准并拉近
javascript
function focusObject(obj, offset = 2) {
    const box = new THREE.Box3().setFromObject(obj);
    const center = new THREE.Vector3();
    box.getCenter(center);
    const size = new THREE.Vector3();
    box.getSize(size);
    const radius = size.length() / 2;

    // 相机放在中心斜后方
    camera.position.copy(center).add(new THREE.Vector3(radius + offset, radius + offset, radius + offset));
    controls.target.copy(center); // 控制器看向模型中心
    controls.update();
}

// 在模型创建完成后调用
focusObject(modelParent, 1.5);