前言
作为一名运维工程师,相信大家都经历过这样的场景:新项目启动,需要在数台甚至数十台服务器上手动安装 Nginx、MySQL、PHP,然后逐个配置、调优、测试。这个过程不仅耗时,还极易出错------漏装一个 PHP 扩展、写错一个配置文件参数、权限设置不当,都可能让服务直接"趴窝"。
在微服务和多云架构时代,这种"手工作坊"式的部署方式显然已经跟不上节奏。今天,我就来和大家聊聊如何用 Ansible Role 来标准化、自动化地部署 LNMP 架构,并基于LNMP部署wordpress。
一、为什么选择 Ansible + Role?
1.1 手动部署的痛点
手动部署 LNMP 主要面临几个问题:
- 环境不一致:开发、测试、生产环境配置各有差异,出了问题难以复现
- 配置漂移:随着时间推移,各服务器的配置逐渐偏离初始状态
- 效率低下:重复劳动,一台台服务器手工操作
- 回滚困难:出了问题很难快速回退到稳定状态
1.2 Ansible 的三大优势
Ansible 之所以成为自动化运维的首选工具,主要得益于它的三大核心特性:
- 无 Agent:只需在控制节点安装 Ansible,通过 SSH 管理所有主机,无需在目标机器安装额外客户端
- 声明式 YAML:用人类可读的 YAML 描述目标状态,而非编写冗长的过程式脚本
- 幂等性:同一个 Playbook 可以安全地重复执行,如果目标状态已达成,Ansible 会自动跳过
1.3 为什么要用 Role?
如果说 Playbook 是 Ansible 的"脚本",那 Role 就是 Ansible 的"函数"。我可以预先构建出 nginx、mysql、php 等一系列的角色,当需要部署 LNMP 时,直接调用这些角色即可;当需要部署 LAMP 时,把 nginx 角色换成 apache 角色就行。角色就像代码里的函数,一次编写,到处复用。
二、实验环境准备
在开始之前,先准备好实验环境:
| 角色 | 主机名 | 系统 | IP 地址 |
|---|---|---|---|
| 控制节点 | ansible-controller | CentOS 7 | 192.168.32.135 |
| 目标节点 | ansible-node1 | CentOS 7 | 192.168.32.132 |
控制节点需要安装 Ansible,目标节点只需确保 SSH 可用且配置好免密登录。
三、拆分设计:将 LNMP 拆分为多个 Role
在实际生产中,我们通常不会把 Nginx、MySQL、PHP 全部塞进一个 Role 里,而是将它们拆分成独立的 Role,这样更便于维护和复用。
我建议的目录结构如下:
roles/
├── nginx/          # Nginx 角色
├── mysql/          # MySQL/MariaDB 角色
├── php/            # PHP-FPM 角色
└── wordpress/      # 应用部署角色
3.1 Nginx Role
Nginx Role 的核心任务是安装 Nginx、下发配置模板、启动服务。
tasks/main.yml 示例:
yaml
---
# tasks file for roles/nginx
- name: install nginx
  yum:
    name: nginx
- name: start nginx
  service:
    name: nginx
    state: started
    enabled: yes
- name: configure nginx
  template:
    src: nginx.conf.j2
    dest: /etc/nginx/nginx.conf
  notify: reload nginx
handlers/main.yml 示例:
yaml
---
# handlers file for roles/nginx
- name: reload nginx
  service:
    name: nginx
    state: reloaded
通过 notify 机制,当配置文件发生变化时,自动触发 Nginx 重启。
4.2 MySQL/MariaDB Role
MySQL Role 负责安装数据库、安全初始化、创建应用所需的数据库和用户。
tasks/main.yml 关键任务:
yaml
---
# tasks file for roles/mysql
- name: install PyMySQL
  yum:
    name: python2-PyMySQL
    state: present
- name: install MariaDB
  yum:
    name: mariadb-server
    state: present

- name: start mariadb
  systemd:
    name: mariadb
    state: started
    enabled: yes

- name:  set password for mariadb
  mysql_user:
    name: root
    password: "{{ mariadb_password }}"
    host_all: true
      #login_user: root
      #login_password: "{{mariadb_password}}"
    login_unix_socket: /var/lib/mysql/mysql.sock
    host: "{{ item }}"
    state: present
  loop:
    - "localhost"
    - "127.0.0.1"
    - "::1"
    - "{{ansible_default_ipv4.address}}"
  ignore_errors: yes

- name: delete anonymous user
  mysql_user:
    name: ""
    host_all: yes
    login_user: root
    login_password: "{{mariadb_password}}"
    state: absent

- name: create wordpress database
  mysql_db:
    name: "{{ wordpress_db_name }}"
    login_user: root
    login_password: "{{mariadb_password}}"
    state: present

- name: set privileges
  mysql_user:
    name: "{{ wordpress_user_name }}"
    password: "{{ wordpress_user_password }}"
    host: localhost
    login_user: root
    login_password: "{{mariadb_password}}"
    priv: "{{ wordpress_db_name }}.*:ALL"
    state: present
关于密码安全 :生产环境中的敏感信息(如数据库密码)建议使用 ansible-vault 加密存储。
4.3 PHP-FPM Role
PHP Role 负责安装 PHP 及相关扩展、配置 php-fpm。
tasks/main.yml 示例:
yaml
---
# tasks file for roles/php
- name: install php source
  shell: yum install -y http://rpms.remirepo.net/enterprise/remi-release-7.rpm && yum-config-manager --enable remi-php74
  ignore_errors: yes
- name: install php and extension
  yum:
    name:
      - php
      - php-fpm
      - php-mysqlnd
      - php-gd
      - php-mbstring
      - php-xml
      - php-opcache
    state: latest
- name: update configuration of php-fpm
  template:
    src: www.conf.j2
    dest: /etc/php-fpm.d/www.conf
  notify: restart php-fpm
- name: start php-fpm
  systemd:
    name: php-fpm
    state: started
    enabled: yes
4.4 wordpress Role
wordpress role 负责wordpress下载、解压与部署。
yaml
---
# tasks file for roles/wordpress
# roles/wordpress/tasks/main.yml

# 1. 创建安装目录(如果不存在)
- name: 创建 WordPress 安装目录
  file:
    path: "{{ wordpress_install_dir }}"
    state: directory
    owner: "nginx"
    group: "nginx"
    mode: '0755'

# 2. 下载 WordPress 安装包
- name: 下载 WordPress
  get_url:
    url: "{{ wordpress_download_url }}"
    dest: "/tmp/wordpress-{{ wordpress_version }}.tar.gz"
    mode: '0644'
  # 可以添加校验和,提高安全性
  # checksum: "sha256:https://wordpress.org/wordpress-{{ wordpress_version }}.tar.gz.sha256"

# 3. 解压 WordPress 到安装目录
- name: 解压 WordPress
  unarchive:
    src: "/tmp/wordpress-{{ wordpress_version }}.tar.gz"
    dest: "{{ wordpress_install_dir }}"
    remote_src: yes          # 关键!声明源文件在目标机器上
    owner: "nginx"
    group: "nginx"
    creates: "{{ wordpress_install_dir }}/wp-config-sample.php"  # 幂等性保障

# 4. (可选) 清理下载的压缩包
- name: 删除临时压缩包
  file:
    path: "/tmp/wordpress-{{ wordpress_version }}.tar.gz"
    state: absent

- name: copy wordpress
  copy:
    src: /usr/share/nginx/html/wordpress
    dest: /data/
    owner: nginx
    group: nginx
    remote_src: true
五、整合:编写 Playbook 调用 Roles
有了各个独立的 Role 之后,编写一个 Playbook 来调用它们就非常简单了。
创建 deploy_lnmp.yml:
yaml
---
- hosts: lnmp
  roles:
    - nginx
    - mysql
    - php
- wordpress执行部署:
bash
$ ansible-playbook deploy_lnmp.yml一条命令,全自动完成 基于LNMP在一台centos7服务器上 搭建wordpress。完整的部署代码可使用如下命令克隆进行部署:
git clone https://gitee.com/zhanglj1991/ansible_role_lnmp.git。
部署时只需要修改资源清单inventory中的ip地址与密码即可部署。
bash
[root@ansible-controller ansible_role_lnmp]# ansible-playbook deploy_lnmp.yaml

PLAY [lnmp] *****************************************************************************************************************************

TASK [Gathering Facts] ******************************************************************************************************************
ok: [192.168.32.136]

TASK [nginx : install nginx] ************************************************************************************************************
changed: [192.168.32.136]

TASK [nginx : start nginx] **************************************************************************************************************
changed: [192.168.32.136]

TASK [nginx : configure nginx] **********************************************************************************************************
changed: [192.168.32.136]

TASK [mysql : install PyMySQL] **********************************************************************************************************
changed: [192.168.32.136]

TASK [mysql : install MariaDB] **********************************************************************************************************
changed: [192.168.32.136]

TASK [mysql : start mariadb] ************************************************************************************************************
changed: [192.168.32.136]

TASK [mysql : set password for mariadb] *************************************************************************************************
changed: [192.168.32.136] => (item=localhost)
failed: [192.168.32.136] (item=127.0.0.1) => {"ansible_loop_var": "item", "changed": false, "item": "127.0.0.1", "msg": "unable to connect to database, check login_user and login_password are correct or /root/.my.cnf has the credentials. Exception message: (1045, u\"Access denied for user 'root'@'localhost' (using password: NO)\")"}
failed: [192.168.32.136] (item=::1) => {"ansible_loop_var": "item", "changed": false, "item": "::1", "msg": "unable to connect to database, check login_user and login_password are correct or /root/.my.cnf has the credentials. Exception message: (1045, u\"Access denied for user 'root'@'localhost' (using password: NO)\")"}
failed: [192.168.32.136] (item=192.168.32.136) => {"ansible_loop_var": "item", "changed": false, "item": "192.168.32.136", "msg": "unable to connect to database, check login_user and login_password are correct or /root/.my.cnf has the credentials. Exception message: (1045, u\"Access denied for user 'root'@'localhost' (using password: NO)\")"}
...ignoring

TASK [mysql : delete anonymous user] ****************************************************************************************************
changed: [192.168.32.136]

TASK [mysql : create wordpress database] ************************************************************************************************
changed: [192.168.32.136]

TASK [mysql : set privileges] ***********************************************************************************************************
changed: [192.168.32.136]

TASK [php : install php source] *********************************************************************************************************
changed: [192.168.32.136]

TASK [php : install php and extension] **************************************************************************************************
changed: [192.168.32.136]

TASK [php : update configuration of php-fpm] ********************************************************************************************
changed: [192.168.32.136]

TASK [php : start php-fpm] **************************************************************************************************************
changed: [192.168.32.136]

TASK [wordpress : 创建 WordPress 安装目录] **********************************************************************************************
changed: [192.168.32.136]

TASK [wordpress : 下载 WordPress] *******************************************************************************************************
changed: [192.168.32.136]

TASK [wordpress : 解压 WordPress] *******************************************************************************************************
changed: [192.168.32.136]

TASK [wordpress : 删除临时压缩包] *******************************************************************************************************
changed: [192.168.32.136]

TASK [wordpress : copy wordpress] *******************************************************************************************************
changed: [192.168.32.136]

RUNNING HANDLER [nginx : reload nginx] **************************************************************************************************
changed: [192.168.32.136]

RUNNING HANDLER [php : restart php-fpm] *************************************************************************************************
changed: [192.168.32.136]

PLAY RECAP ******************************************************************************************************************************
192.168.32.136 : ok=22 changed=21 unreachable=0 failed=0 skipped=0 rescued=0 ignored=1 正常部署完成后,浏览器访问:http://192.168.32.168/即可访问新部署的wordpress.
如果报错如下:
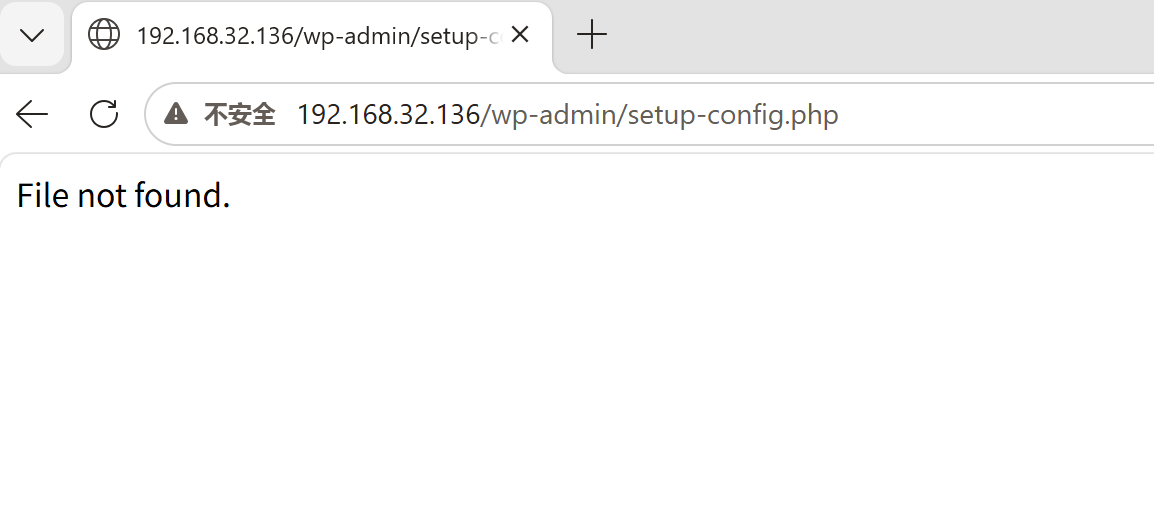
可先将firewalld和selinux关闭测试是否可以访问。
bash
[root@localhost html]# systemctl status firewalld
● firewalld.service - firewalld - dynamic firewall daemon
   Loaded: loaded (/usr/lib/systemd/system/firewalld.service; enabled; vendor preset: enabled)
   Active: active (running) since Sat 2026-08-22 15:08:03 CST; 11s ago
     Docs: man:firewalld(1)
 Main PID: 5242 (firewalld)
   CGroup: /system.slice/firewalld.service
           └─5242 /usr/bin/python2 -Es /usr/sbin/firewalld --nofork --nopid

Aug 22 15:08:03 localhost.localdomain systemd[1]: Starting firewalld - dynamic firewall daemon...
Aug 22 15:08:03 localhost.localdomain systemd[1]: Started firewalld - dynamic firewall daemon.
Aug 22 15:08:03 localhost.localdomain firewalld[5242]: WARNING: AllowZoneDrifting is enabled. This is considered an insecure con...t now.
Hint: Some lines were ellipsized, use -l to show in full.
[root@localhost html]# systemctl stop firewalld
[root@localhost html]# getenforce
Enforcing
[root@localhost html]# setenforce 0
[root@localhost html]# getenforce
Permissive
[root@localhost html]# 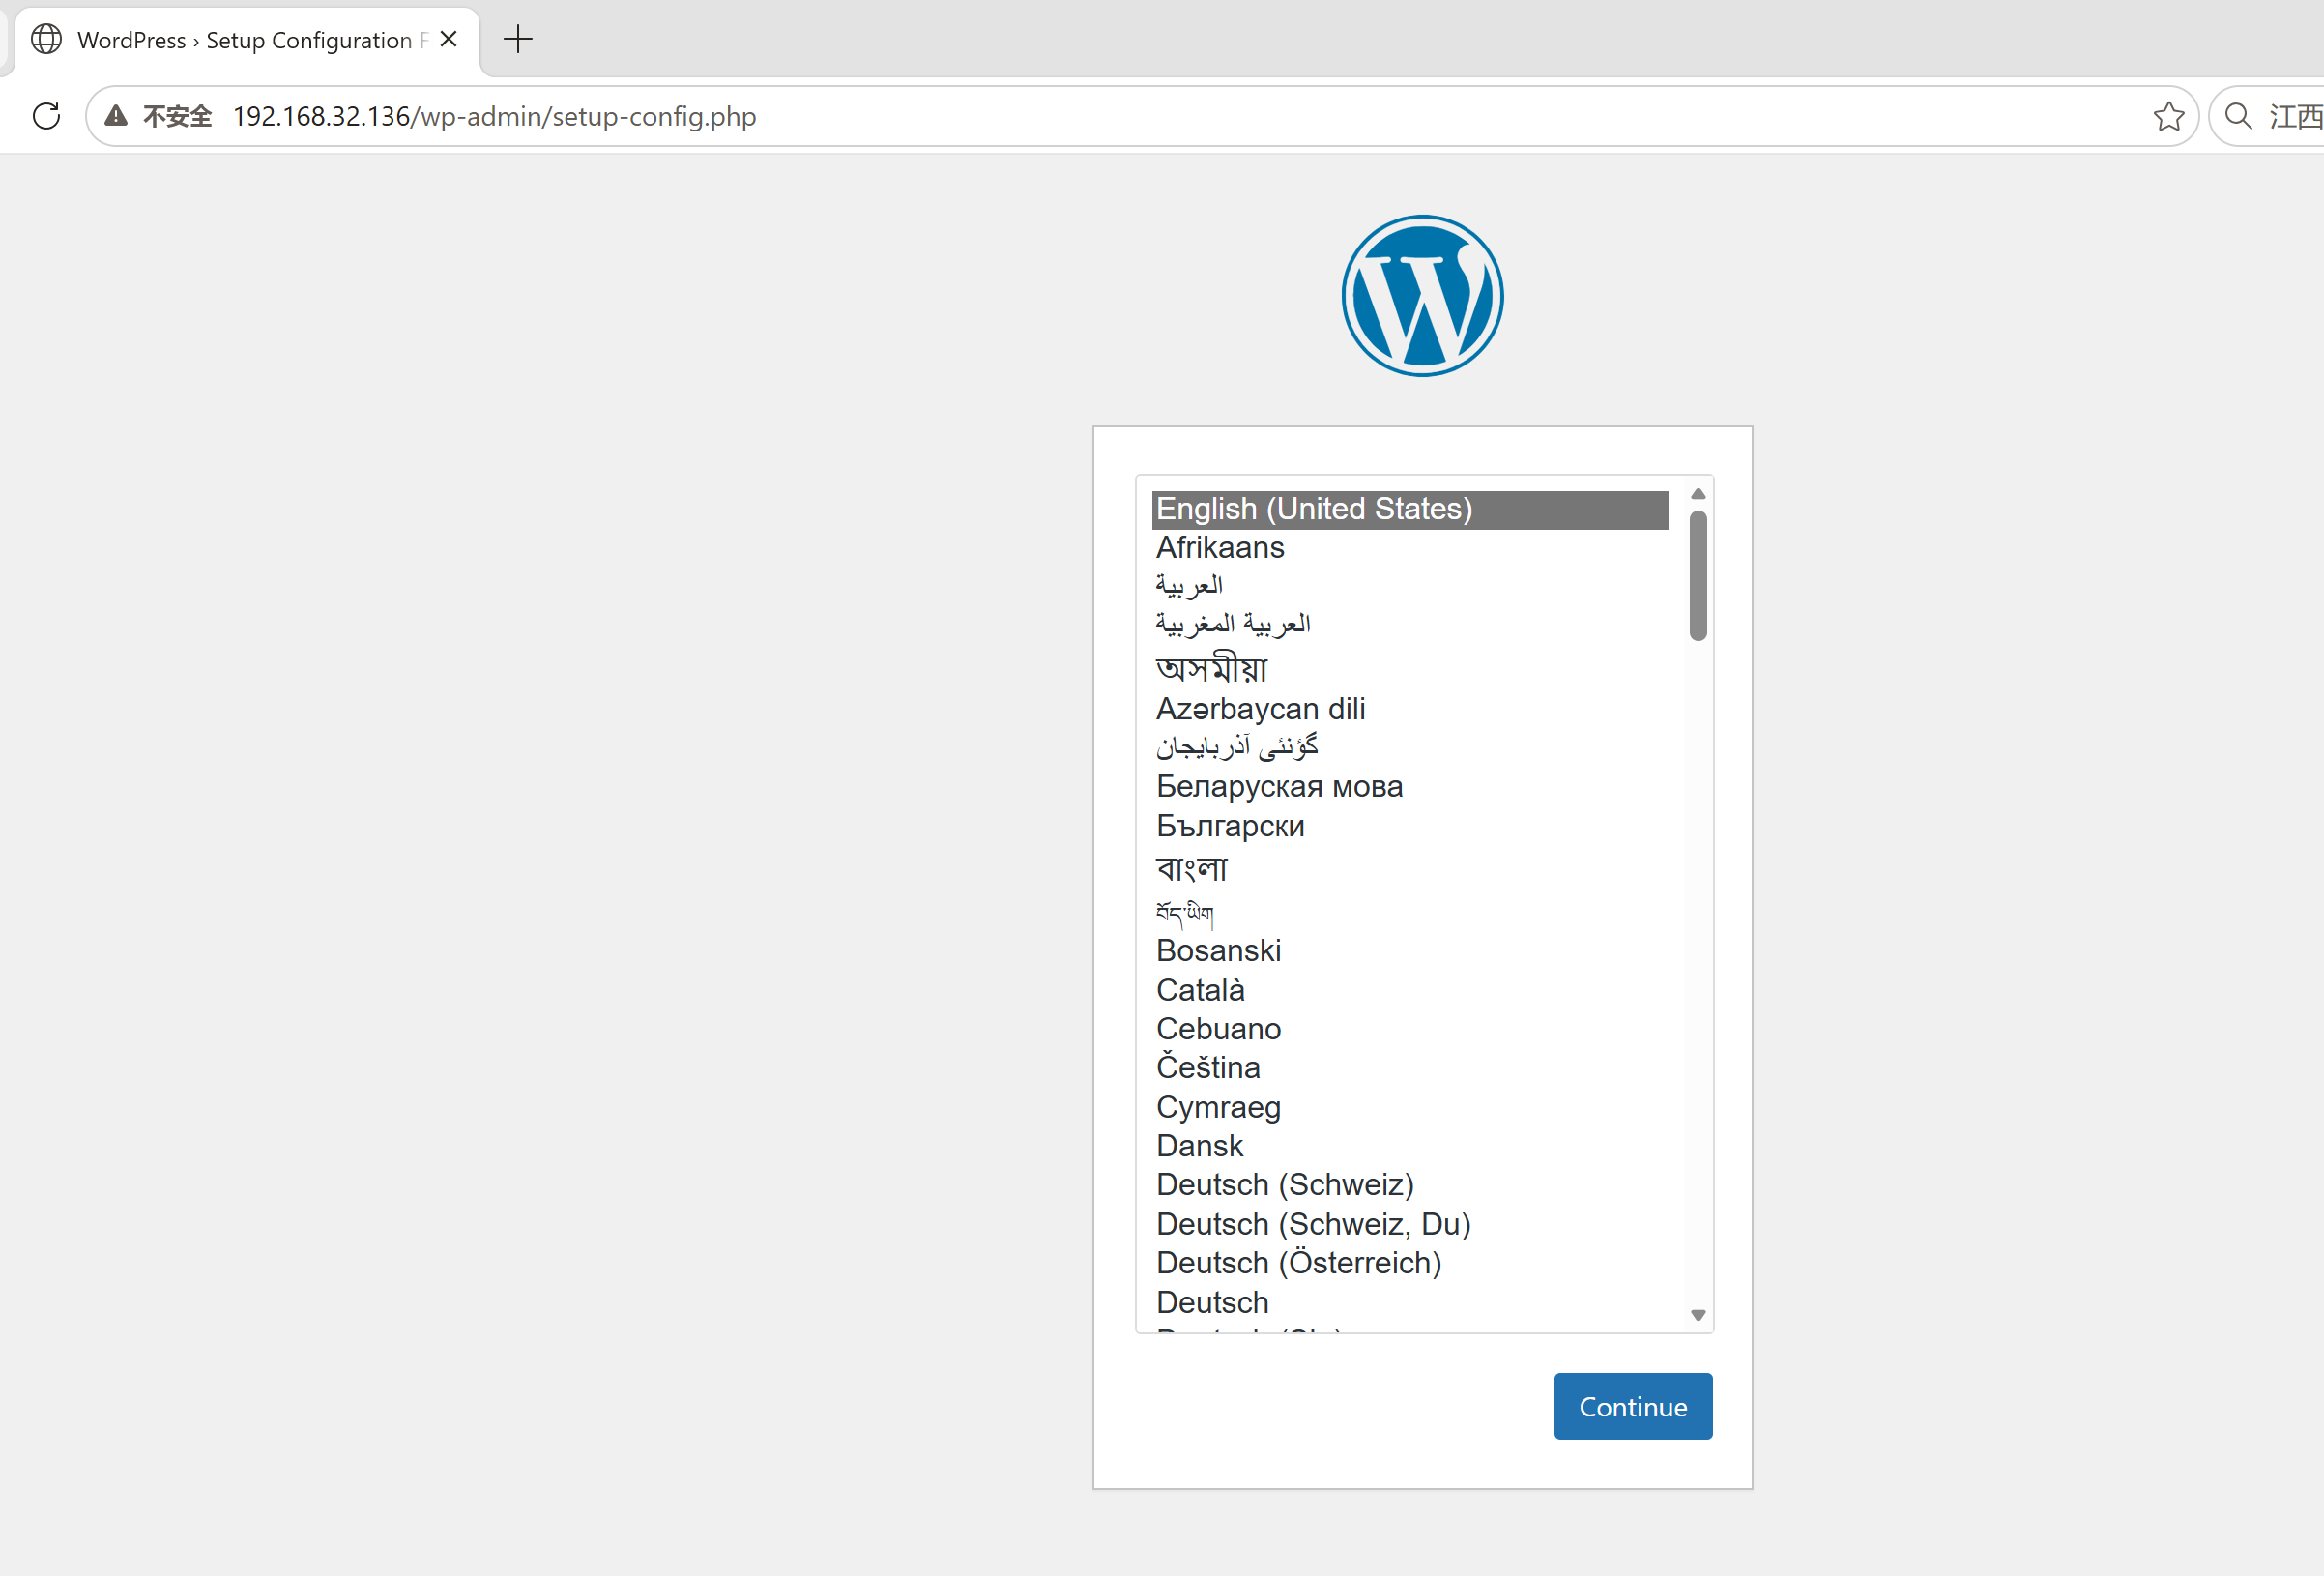
然后只需按下图设置一下数据库、用户名密码等即可登录wordpress.
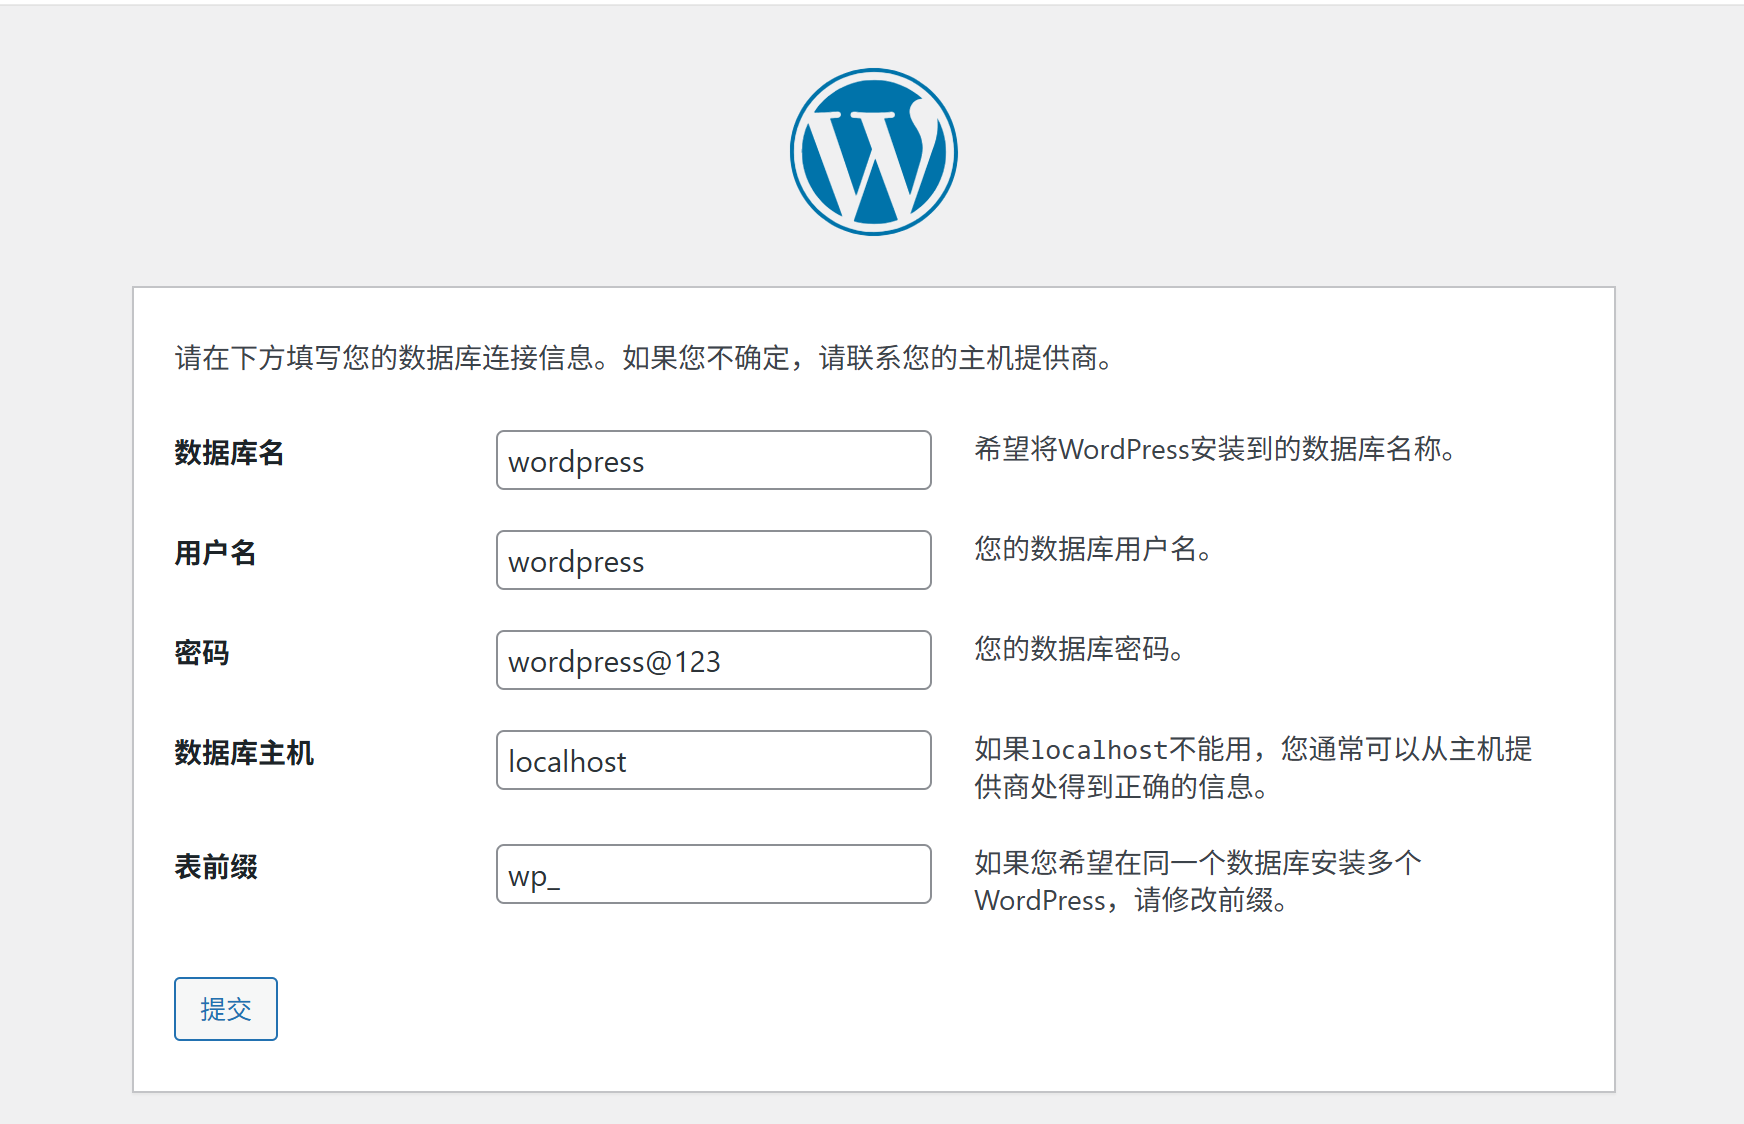
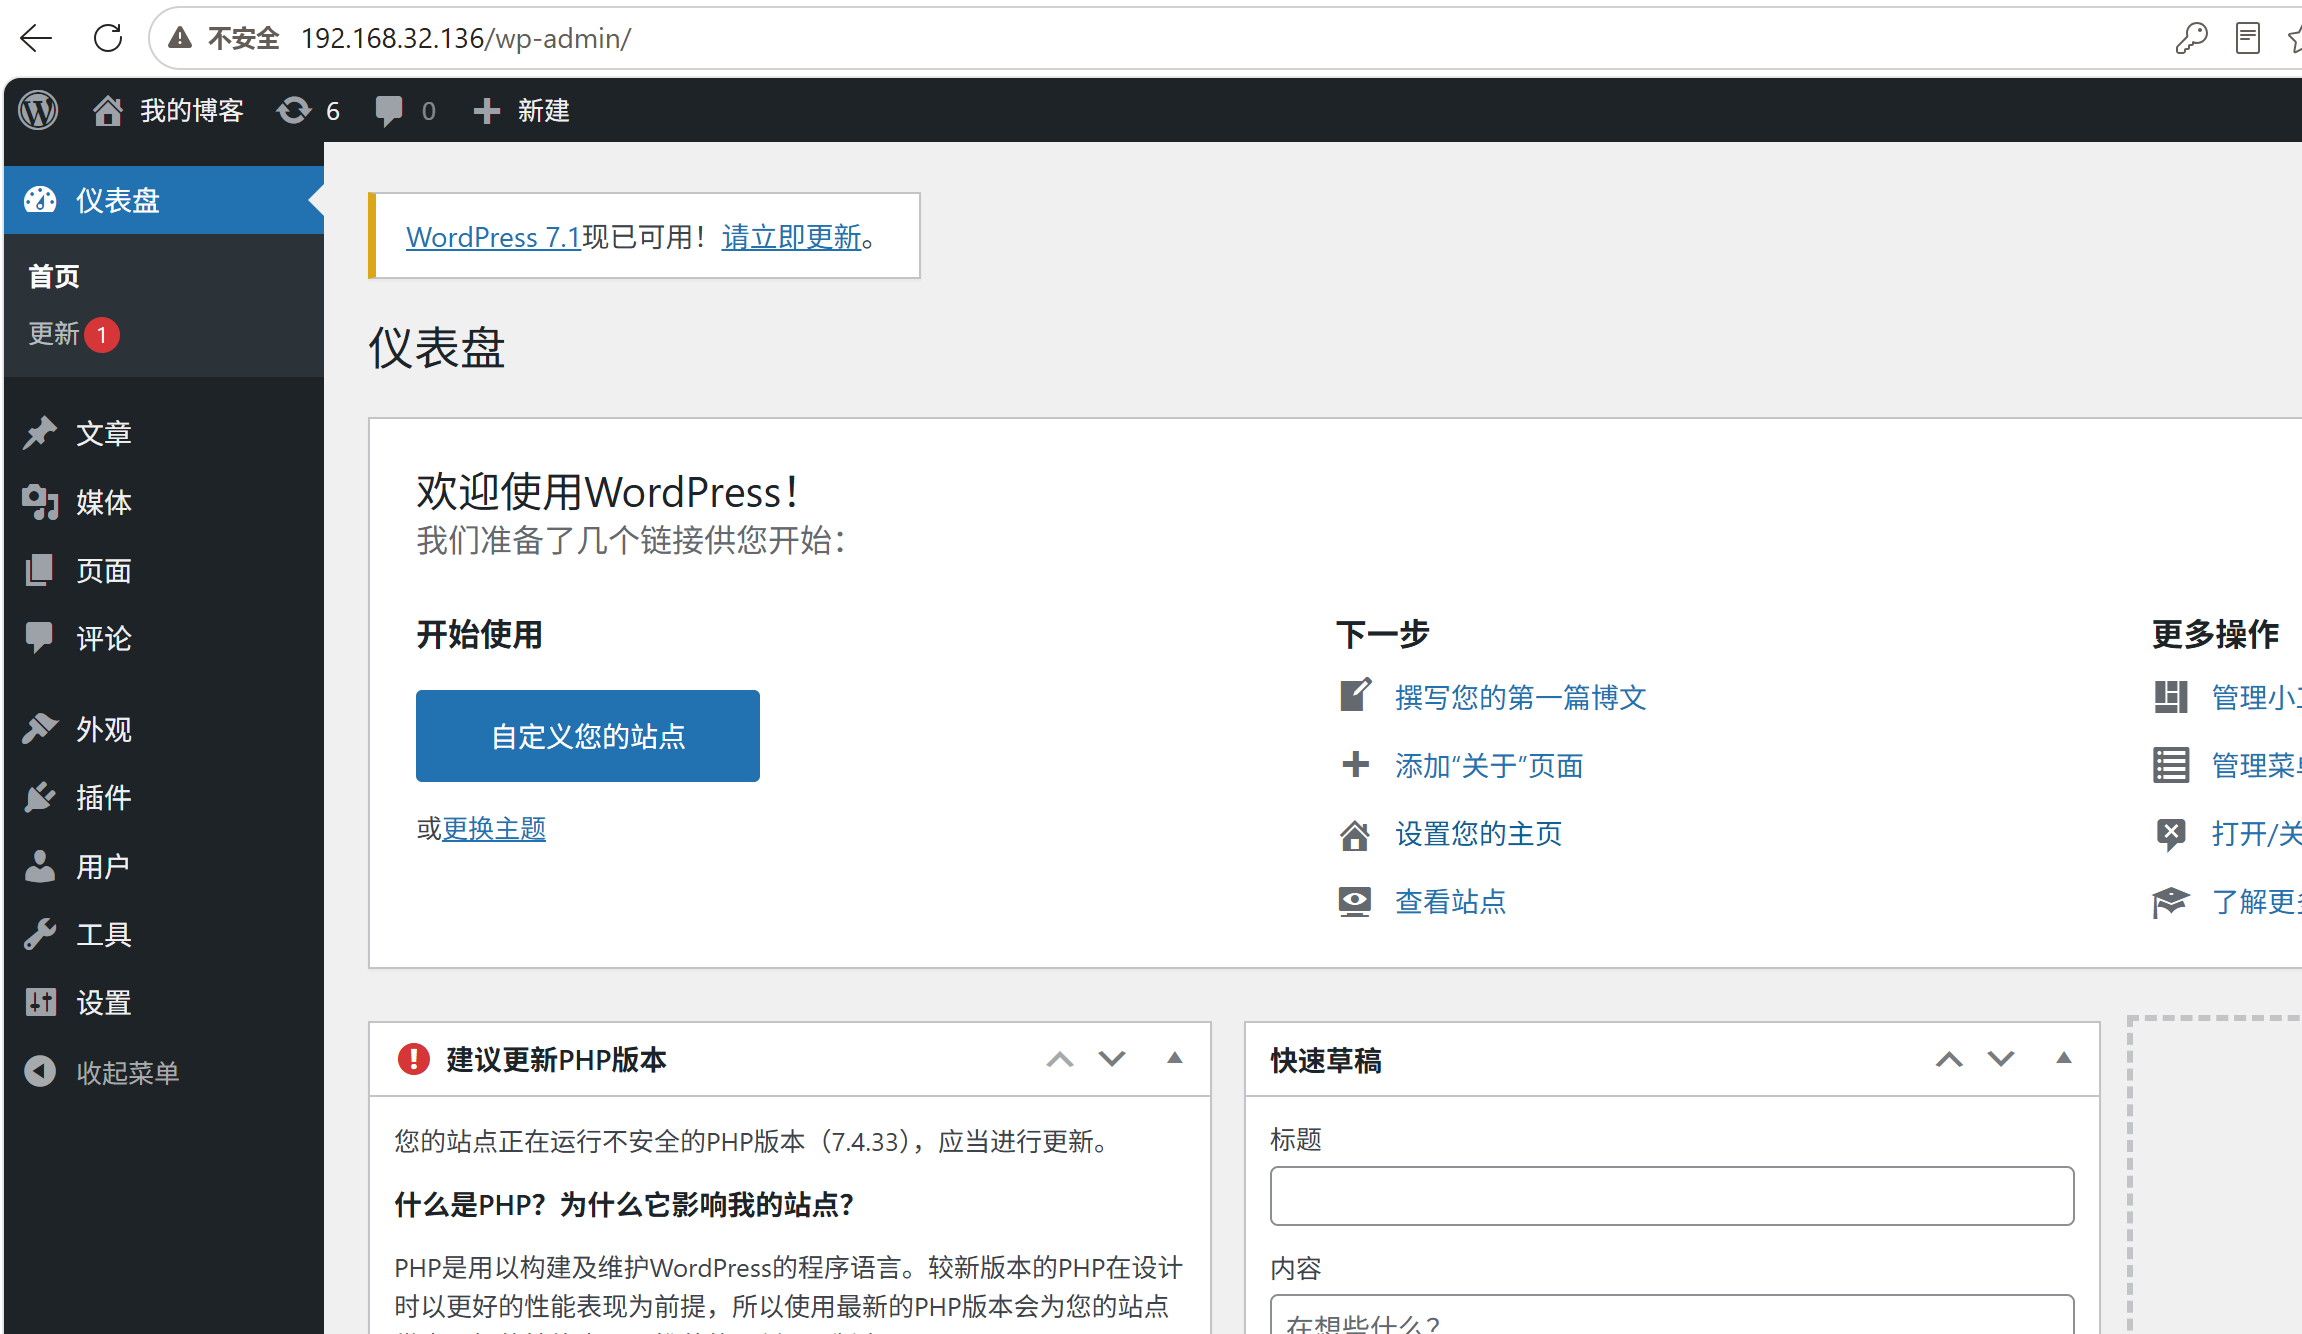
至此,完成了基于LNMP使用ansible role实现一键部署wordpress。
六、变量管理的最佳实践
在 Role 中,变量管理是一个需要特别注意的环节。
- defaults/main.yml:存放默认值,优先级最低,适合给角色设置"出厂设置"
- vars/main.yml:存放角色内部使用的变量,优先级高于 defaults
- group_vars/:按主机组存放变量,适合管理环境差异
- host_vars/:按单台主机存放变量,优先级最高
建议将 Nginx 的虚拟主机配置变量、PHP 的扩展配置变量等分类存放,这样后期维护会更清晰。
七、生产环境部署的几点建议
7.1 关于执行顺序
LNMP 的部署顺序是有讲究的。一般来说,应该按照 Web 服务器 → 数据库→ PHP → 应用 的顺序执行。
7.2 关于幂等性
充分利用 Ansible 的幂等性特性。同一个 Playbook 可以反复执行,不会产生意外结果。比如,Nginx 已经安装的情况下再次执行 Playbook,Ansible 会检测到并跳过安装步骤。
7.3 关于配置模板
使用 Jinja2 模板可以让配置文件更加灵活。比如 Nginx 的虚拟主机配置可以根据不同的域名、根目录动态生成:
jinja2
server {
    listen 80;
    server_name {{ domain_name }};
    root {{ document_root }};
    index index.php index.html;

    location ~ \.php$ {
        fastcgi_pass 127.0.0.1:9000;
        fastcgi_index index.php;
        fastcgi_param SCRIPT_FILENAME $document_root$fastcgi_script_name;
        include fastcgi_params;
    }
}
7.4 关于安全加固
生产环境部署时,别忘了加入安全加固步骤:
- 数据库安全初始化(删除匿名用户、删除 test 数据库)
- 配置防火墙规则
- 使用 ansible-vault 加密敏感信息
- 遵循最小权限原则配置目录权限
八、总结
通过 Ansible Role 部署 LNMP,本质上是将"部署"这件事从手动操作 变成了代码编排。这样做的好处是显而易见的:
- 标准化:每次部署的结果都是一致的,消除了人为差异
- 可复用:写好的 Role 可以在不同项目、不同环境中反复使用
- 可追溯:所有配置变更都记录在代码仓库中,出了问题可以快速定位
- 高效率:一条命令完成全部部署,相比手动操作可节省大量的时间成本
当然,本文只是一个入门级的综合实践。在实际生产环境中,你可能还需要考虑负载均衡、高可用、监控告警、CI/CD 集成等更复杂的需求。但无论如何,从 Role 开始,迈出自动化运维的第一步,总是一个不错的选择。
希望这篇文章能对你有所帮助。如果有任何问题,欢迎在评论区交流讨论!