《SpringBoot 3:入门与应用实战》第 9 章 使用 WebMvc 开发应用 阅读笔记 22
9.12 文件上传与下载
本章的最后一节来补上 User 保存的最后一个元素:头像,很明显头像应当是图片形式,也就是具体的一个文件,而保存图片势必会涉及文件的上传;头像保存完成后还要展示图片,所以又涉及文件的下载。本节内容会分别讲解文件的上传和下载。
9.12.1 基于表单的文件上传
首先讲解的是传统的 HTML 中利用表单进行文件上传的方式,开始之前先做一些简单的准备。
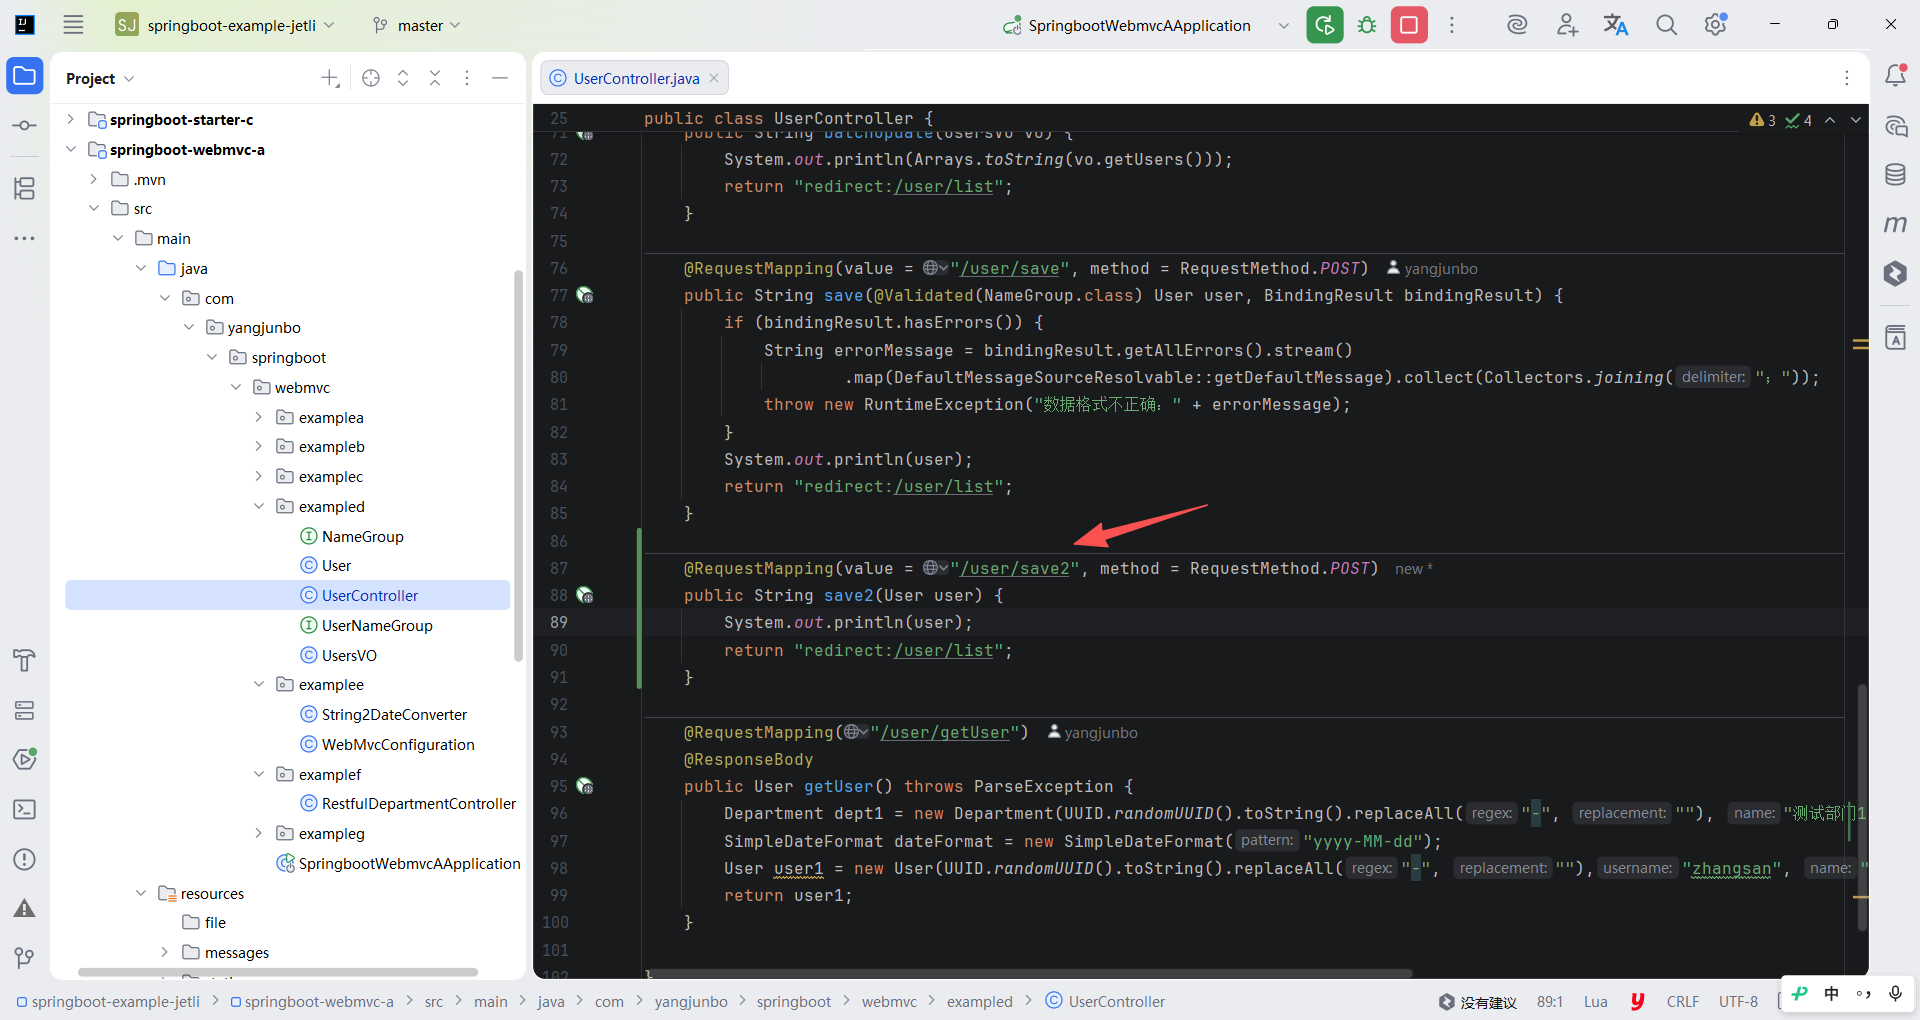
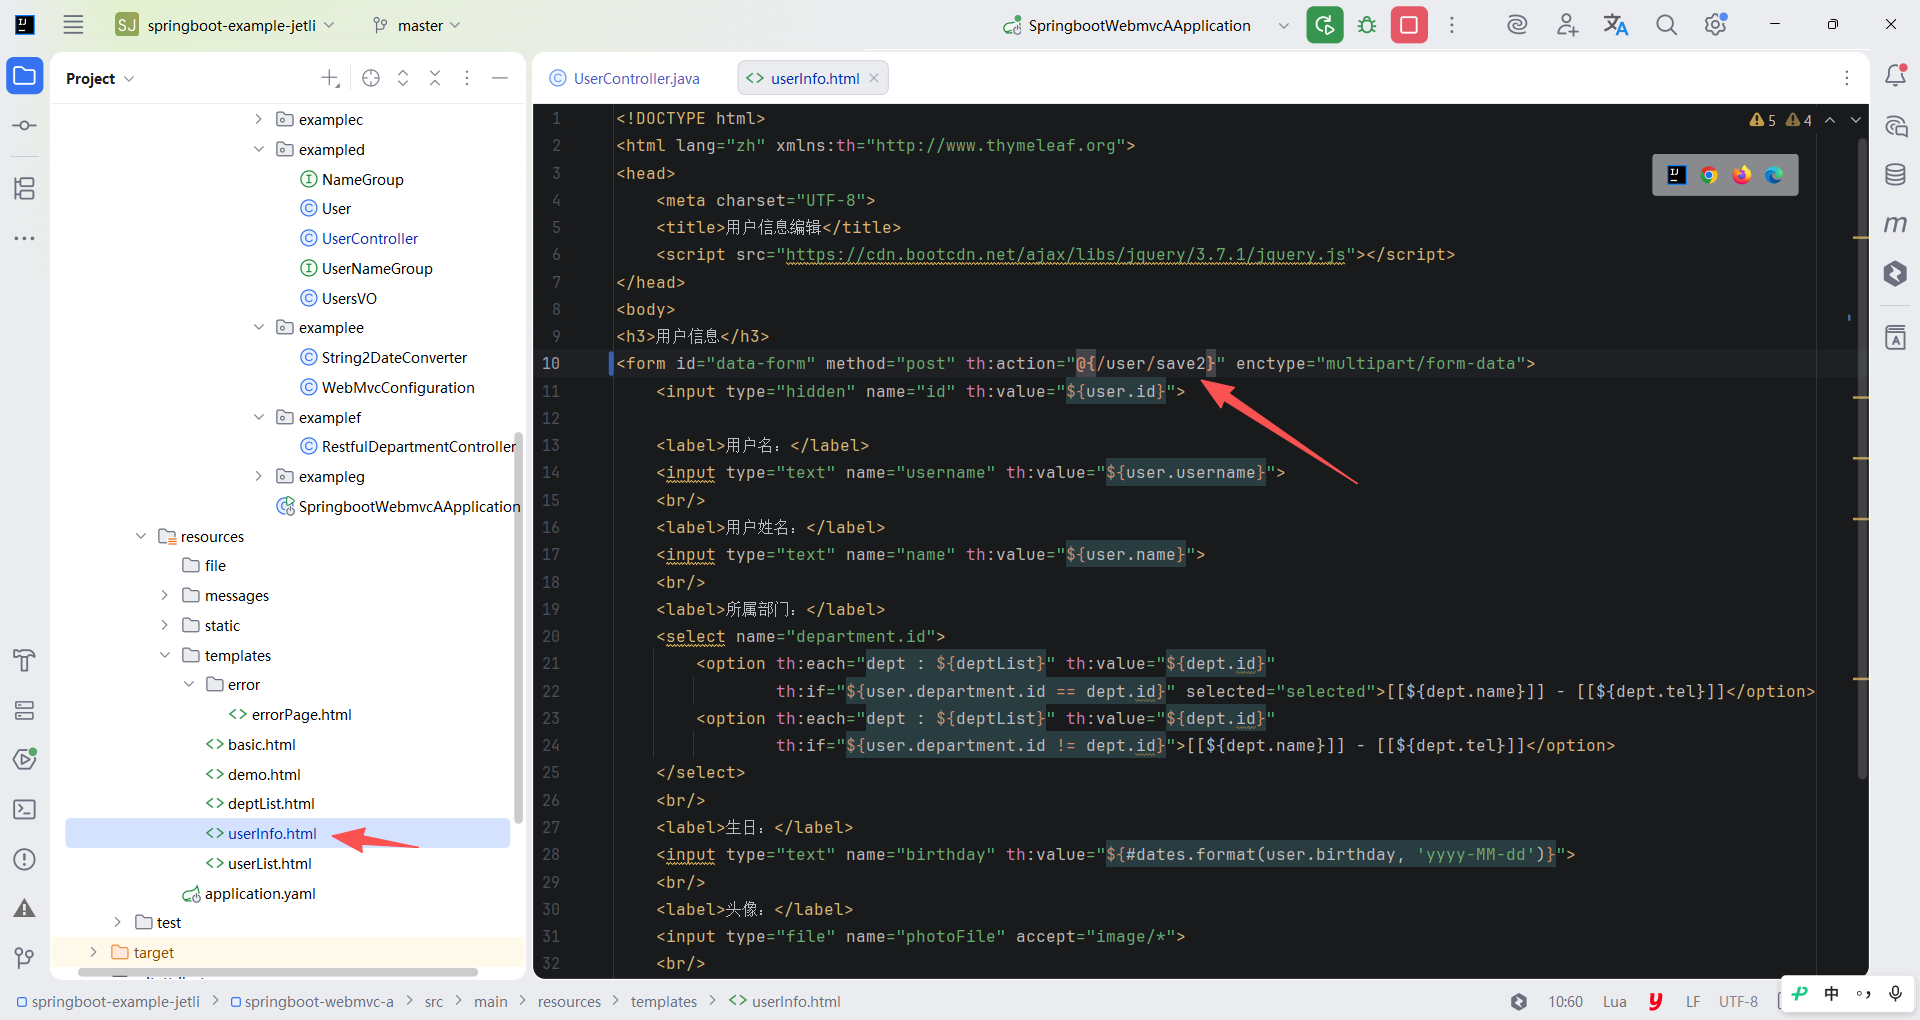
下面就要针对头像完成文件上传功能,首先头像文件应当是图片格式,所以需要给表单项设置可选的文件格式,另外由于涉及文件提交,表单的enctype 也要做修改。
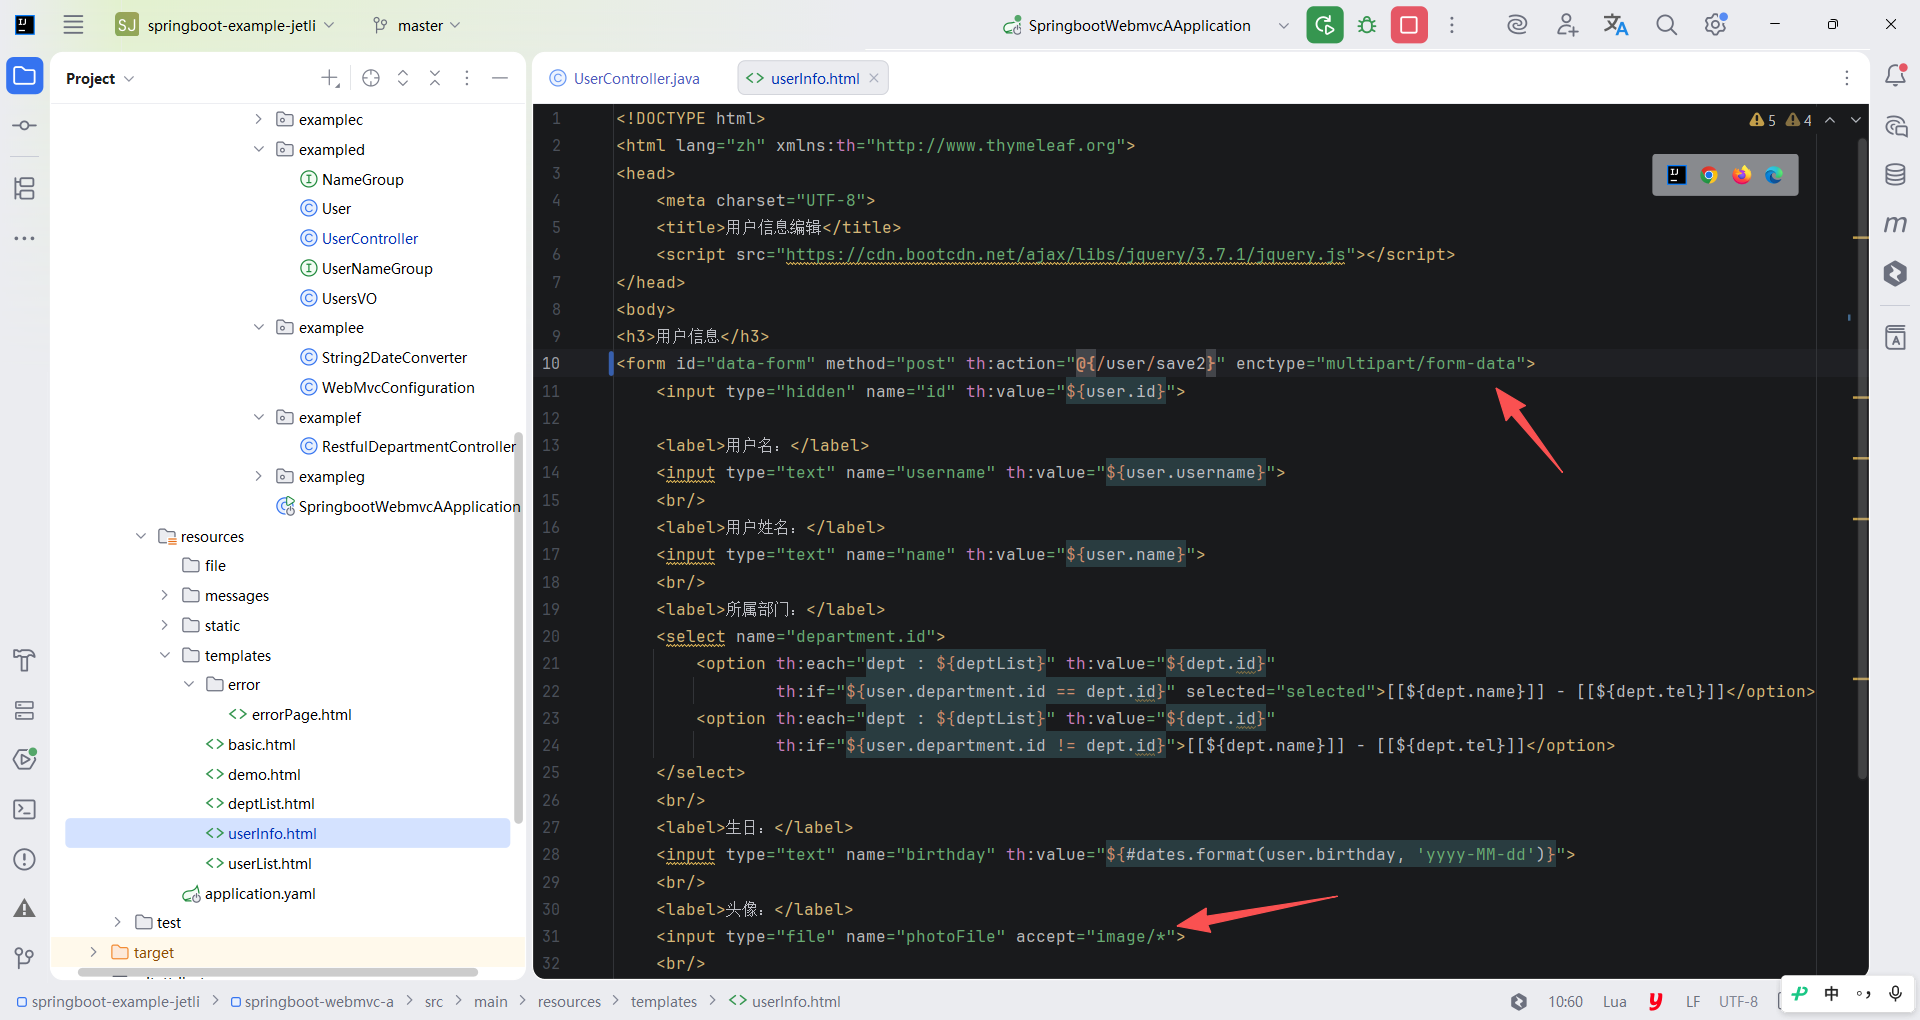
然后来到后端的 save 方法,表单传递的文件需要在后端有相应的参数接收,WebMvc 提供了一个特殊的接口:MultipartFile,只需要在 save 方法的参数中添加一个 MultipartFile 类型的参数,参数名与表单中文件上传的 name 对应即可。文件上传完毕后暂时只将其打印到控制台,不进行后续的处理。
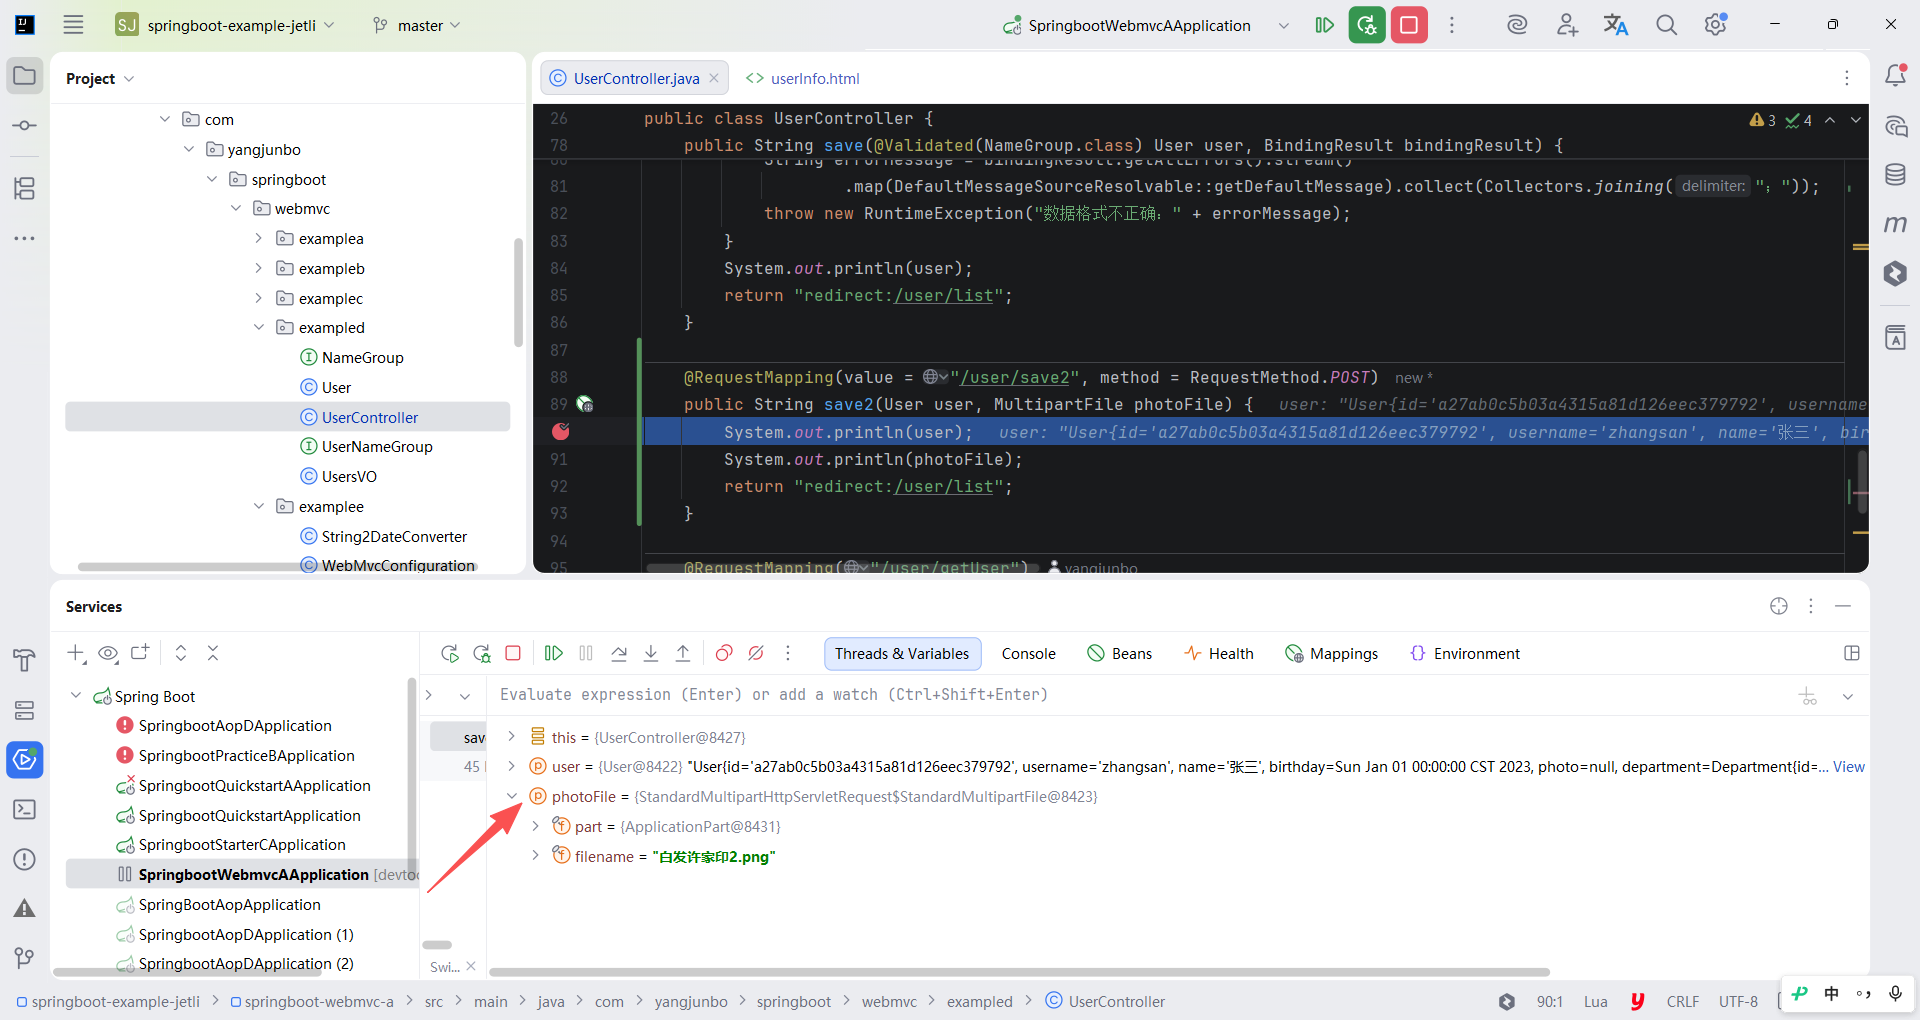
代码编写完毕,接下来通过 Debug 的方式重启应用,将断点打在 save 方法的方法体中,在浏览器中操作文件上传后提交表单,程序可以正确停留在断点处,而借助 IDE 可以看到此时的 photoFile 已经获取了当前上传的图片文件。
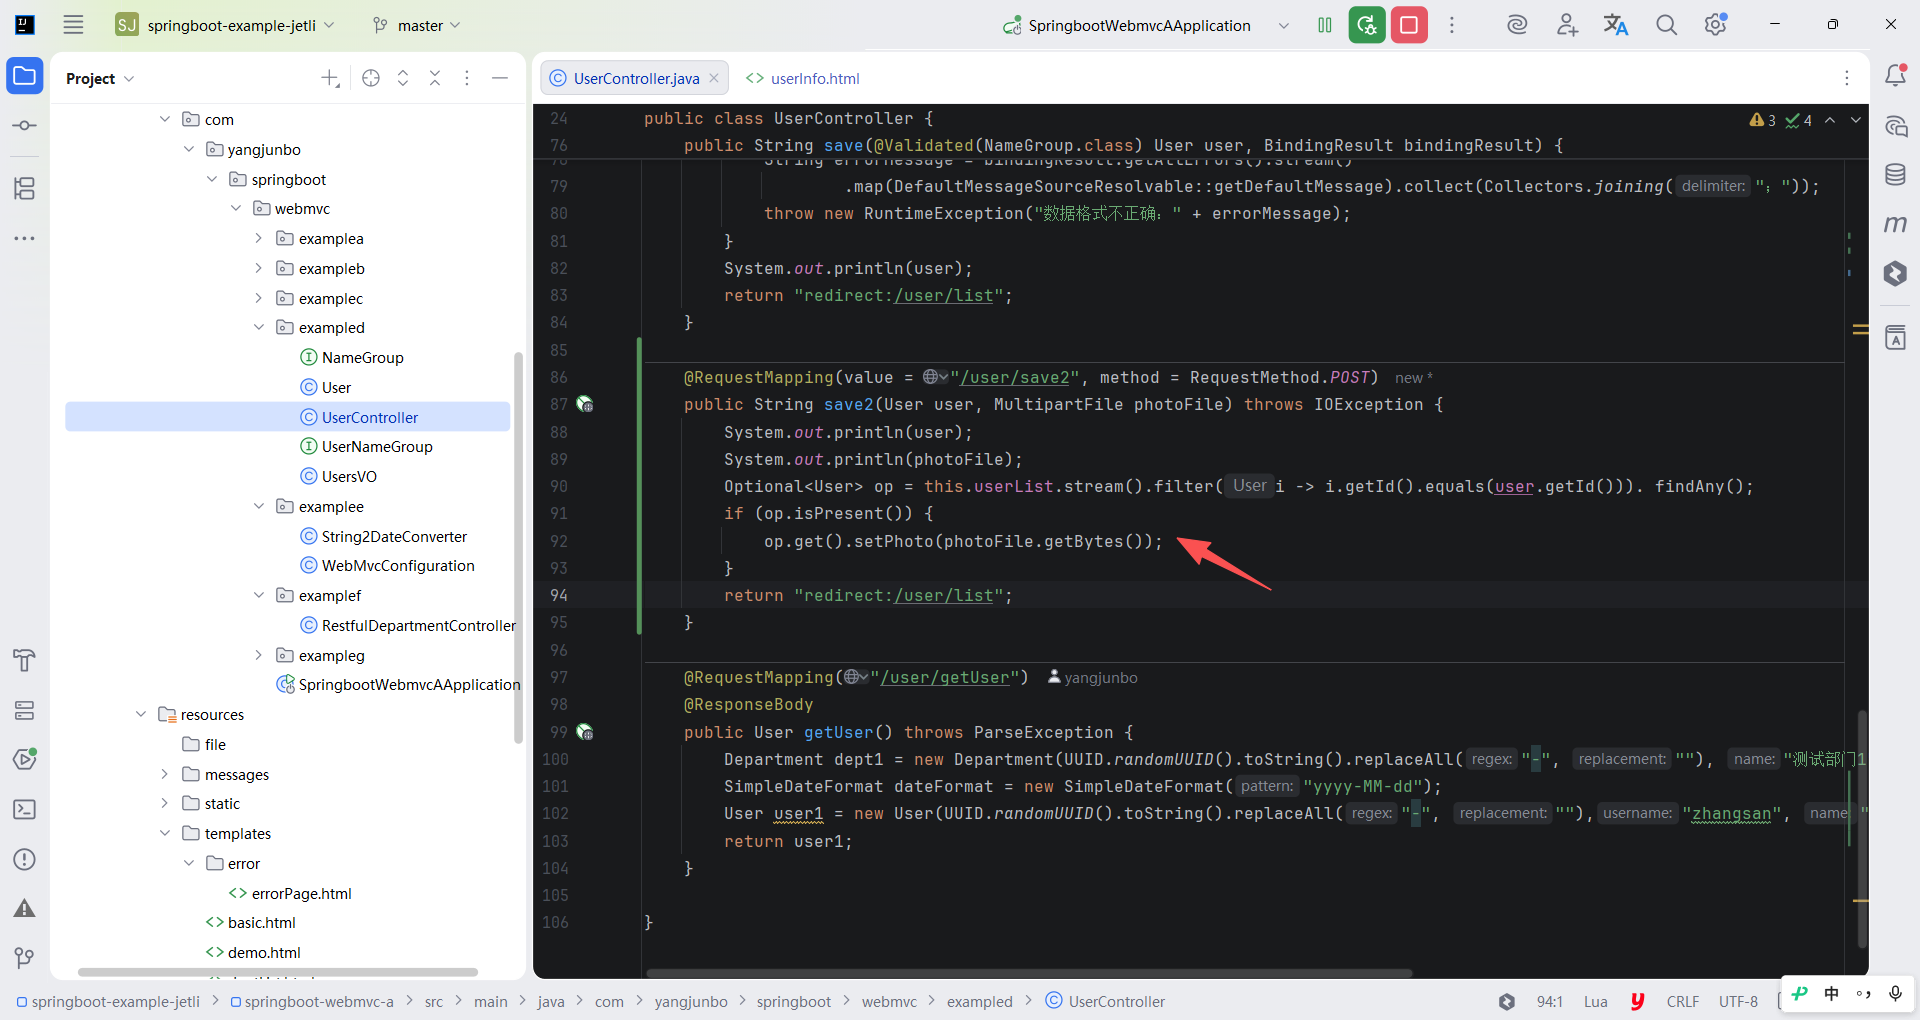
文件成功接收后,最后将图片保存即可。由于 User 对象中已经设置了一个 photo,其类型为 byte,刚好可以保存文件,因此本节内容就将图片保存到这个字节数组中。MultipartFile 中包含一个 getInputStream 方法可以返回输入流,还包含一个 getBytes 方法可以直接返回字节数组,此处直接使用 getBytes 方法将图片文件转换为字节数组,并设置到 User 中,完成图片的上传动作。注意这里面的逻辑,设置图片数据时不是设置到方法参数的 User 中,而是设置到 userList 的对象中。
java
package com.yangjunbo.springboot.webmvc.exampled;

import com.yangjunbo.springboot.webmvc.examplec.Department;
import jakarta.annotation.PostConstruct;
import org.springframework.context.support.DefaultMessageSourceResolvable;
import org.springframework.stereotype.Controller;
import org.springframework.ui.Model;
import org.springframework.util.StringUtils;
import org.springframework.validation.BindingResult;
import org.springframework.validation.annotation.Validated;
import org.springframework.web.bind.annotation.RequestMapping;
import org.springframework.web.bind.annotation.RequestMethod;
import org.springframework.web.bind.annotation.ResponseBody;
import org.springframework.web.multipart.MultipartFile;

import java.io.IOException;
import java.text.ParseException;
import java.text.SimpleDateFormat;
import java.util.*;
import java.util.stream.Collectors;
import java.util.stream.Stream;

@Controller
public class UserController {

    private List<Department> departmentList = new ArrayList<>();
    private List<User> userList = new ArrayList<>();

    @PostConstruct
    public void init() throws Exception {
        Department dept1 = new Department(UUID.randomUUID().toString().replaceAll("-", ""), "测试部门1", "123321");
        departmentList.add(dept1);
        Department dept2 = new Department(UUID.randomUUID().toString().replaceAll("-", ""), "测试部门2", "1234567");
        departmentList.add(dept2);

        SimpleDateFormat dateFormat = new SimpleDateFormat("yyyy-MM-dd");
        User user1 = new User(UUID.randomUUID().toString().replaceAll("-", ""),"zhangsan", "张三", dateFormat.parse("2023-01-01"), null, dept1);
        userList.add(user1);
        User user2 = new User(UUID.randomUUID().toString().replaceAll("-", ""),"lisi", "李四", dateFormat.parse("2023-02-02"), null, dept1);
        userList.add(user2);
        User user3 = new User(UUID.randomUUID().toString().replaceAll("-", ""),"wangwu", "王五", dateFormat.parse("2023-03-03"), null, dept2);
        userList.add(user3);
    }

    @RequestMapping("/user/list")
    public String list(String username, Model model) {
        Stream<User> stream = this.userList.stream();
        if (StringUtils.hasText(username)) {
            stream = stream.filter(i -> i.getUsername().contains(username));
        }
        model.addAttribute("userList", stream.collect(Collectors.toList()));
        return "userList";
    }

    @RequestMapping("/user/edit")
    public String edit(String id, Model model) {
        model.addAttribute("user", this.userList.stream().filter(i -> i.getId().equals(id)). findAny().orElse(null));
        model.addAttribute("deptList", this.departmentList);
        return "userInfo";
    }

    @RequestMapping("/user/batchDelete")
    @ResponseBody
    public String batchDelete(String[] ids) {
        System.out.println(Arrays.toString(ids));
        return "success";
    }

    @RequestMapping("/user/batchUpdate")
    public String batchUpdate(UsersVO vo) {
        System.out.println(Arrays.toString(vo.getUsers()));
        return "redirect:/user/list";
    }

    @RequestMapping(value = "/user/save", method = RequestMethod.POST)
    public String save(@Validated(NameGroup.class) User user, BindingResult bindingResult) {
        if (bindingResult.hasErrors()) {
            String errorMessage = bindingResult.getAllErrors().stream()
                    .map(DefaultMessageSourceResolvable::getDefaultMessage).collect(Collectors.joining(";"));
            throw new RuntimeException("数据格式不正确:" + errorMessage);
        }
        System.out.println(user);
        return "redirect:/user/list";
    }

    @RequestMapping(value = "/user/save2", method = RequestMethod.POST)
    public String save2(User user, MultipartFile photoFile) throws IOException {
        System.out.println(user);
        System.out.println(photoFile);
        Optional<User> op = this.userList.stream().filter(i -> i.getId().equals(user.getId())). findAny();
        if (op.isPresent()) {
            op.get().setPhoto(photoFile.getBytes());
        }
        return "redirect:/user/list";
    }

    @RequestMapping("/user/getUser")
    @ResponseBody
    public User getUser() throws ParseException {
        Department dept1 = new Department(UUID.randomUUID().toString().replaceAll("-", ""), "测试部门1", "123321");
        SimpleDateFormat dateFormat = new SimpleDateFormat("yyyy-MM-dd");
        User user1 = new User(UUID.randomUUID().toString().replaceAll("-", ""),"zhangsan", "张三", dateFormat.parse("2023-01-01"), null, dept1);
        return user1;
    }

}
9.12.2 基于 Ajax 的文件上传
对于前后端不分离的应用开发,使用表单提交的方式上传文件不失为一种方便的方式,然而在前后端分离的开发场景中无法正常使用表单提交文件,而是需要借助 Ajax 或者 UI 库的上传组件实现文件上传。以前后端分离的前端 UI 框架 Element UI 为例,它的 Upload 组件可以提供方便的文件上传功能,从该组件的 API 文档中找到上传的细节。
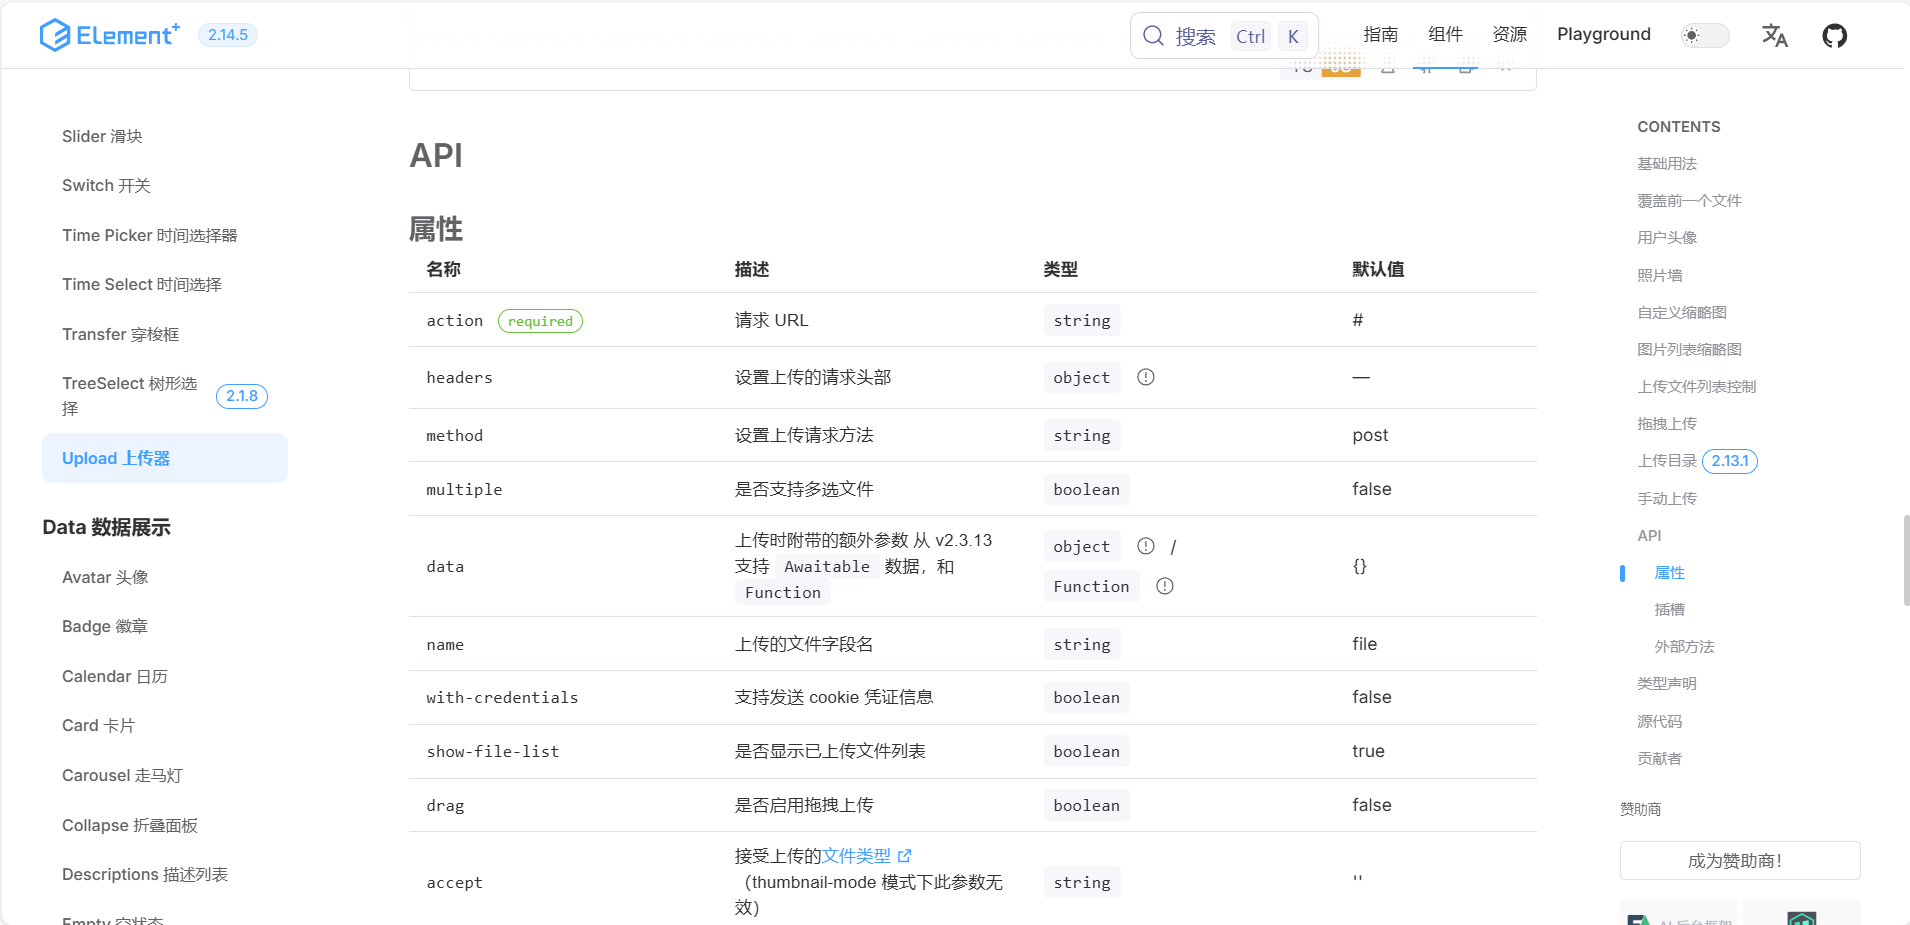
可以看到 UI 组件的上传组件可以指定文件上传时的接口地址、上传文件的参数名称、携带的额外数据等,而面对这种上传组件,编写上传接口的方式却基本没有区别。
java
    @PostMapping("/uploadPhoto")
    @ResponseBody
    public String uploadPhoto(MultipartFile file, String userId) {
        System.out.println(file.getName());
        // 后续的文件保存动作
        return "success";
    }
9.12.3 文件下载
文件成功保存到 User 中,接下来需要将图片展示到页面上,并且支持这些图片文件的下载。目前图片以 byte 的方式存储在内存中,若想以图片的形式展示到浏览器上,一个必要的动作是提供下载和展示图片的接口,这样在数据表格中就可以调用该接口获取图片。
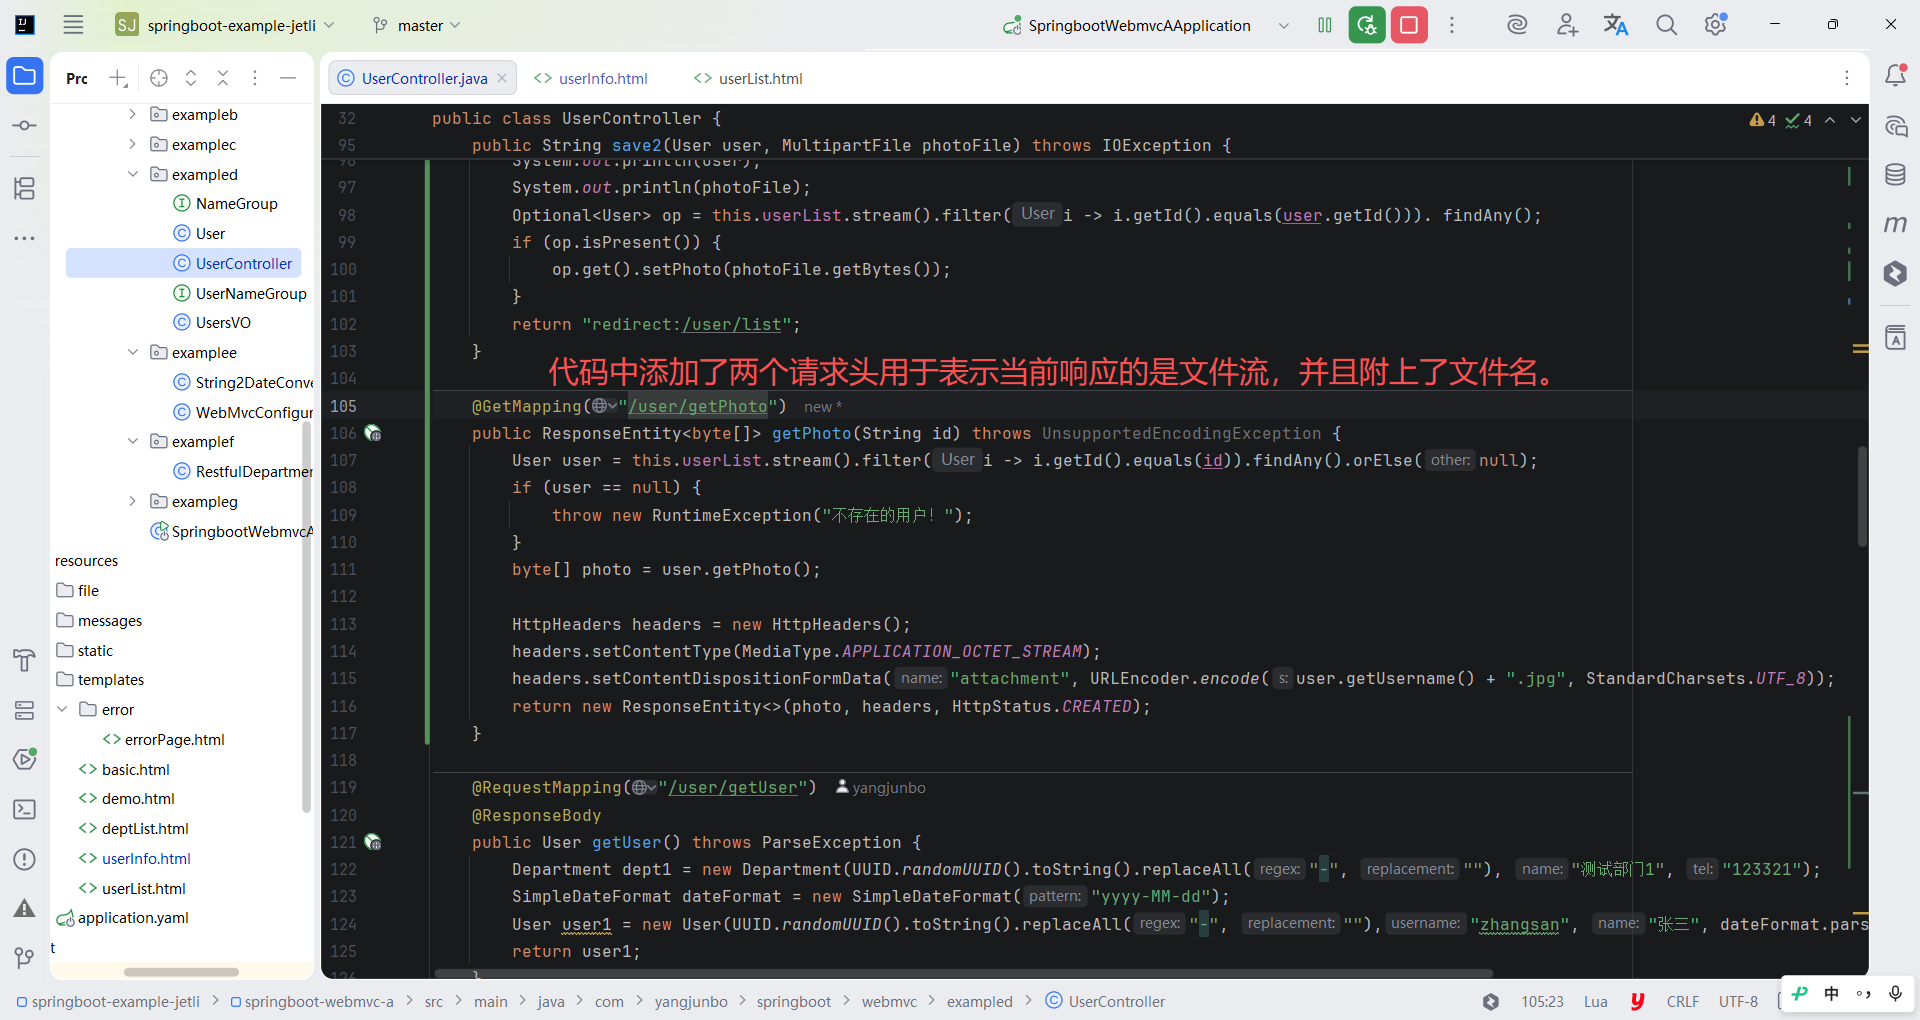
下面实现图片的下载接口。在原生的 Servlet API 中可以操纵 HttpServletResponse 对象完成二进制数据的输出,而在 WebMvc 中可以用一种更加优雅的方式实现,WebMvc 提供了一个响应体的模型 ResponseEntity,通过给它传入不同的泛型,即可响应不同类型的数据。对下载文件而言,最终响应的就是二进制数据,所以这个下载图片的接口就应当返回 byte 数据。下载文件的接口不需要标注 @ResponseBody 注解,返回ResponseEntity 时需要传入二进制数据本身、响应头和响应状态码,代码中添加了两个请求头用于表示当前响应的是文件流,并且附上了文件名。
java
package com.yangjunbo.springboot.webmvc.exampled;

import com.yangjunbo.springboot.webmvc.examplec.Department;
import jakarta.annotation.PostConstruct;
import org.springframework.context.support.DefaultMessageSourceResolvable;
import org.springframework.http.HttpHeaders;
import org.springframework.http.HttpStatus;
import org.springframework.http.MediaType;
import org.springframework.http.ResponseEntity;
import org.springframework.stereotype.Controller;
import org.springframework.ui.Model;
import org.springframework.util.StringUtils;
import org.springframework.validation.BindingResult;
import org.springframework.validation.annotation.Validated;
import org.springframework.web.bind.annotation.GetMapping;
import org.springframework.web.bind.annotation.RequestMapping;
import org.springframework.web.bind.annotation.RequestMethod;
import org.springframework.web.bind.annotation.ResponseBody;
import org.springframework.web.multipart.MultipartFile;

import java.io.IOException;
import java.io.UnsupportedEncodingException;
import java.net.URLEncoder;
import java.nio.charset.StandardCharsets;
import java.text.ParseException;
import java.text.SimpleDateFormat;
import java.util.*;
import java.util.stream.Collectors;
import java.util.stream.Stream;

@Controller
public class UserController {

    private List<Department> departmentList = new ArrayList<>();
    private List<User> userList = new ArrayList<>();

    @PostConstruct
    public void init() throws Exception {
        Department dept1 = new Department(UUID.randomUUID().toString().replaceAll("-", ""), "测试部门1", "123321");
        departmentList.add(dept1);
        Department dept2 = new Department(UUID.randomUUID().toString().replaceAll("-", ""), "测试部门2", "1234567");
        departmentList.add(dept2);

        SimpleDateFormat dateFormat = new SimpleDateFormat("yyyy-MM-dd");
        User user1 = new User(UUID.randomUUID().toString().replaceAll("-", ""),"zhangsan", "张三", dateFormat.parse("2023-01-01"), null, dept1);
        userList.add(user1);
        User user2 = new User(UUID.randomUUID().toString().replaceAll("-", ""),"lisi", "李四", dateFormat.parse("2023-02-02"), null, dept1);
        userList.add(user2);
        User user3 = new User(UUID.randomUUID().toString().replaceAll("-", ""),"wangwu", "王五", dateFormat.parse("2023-03-03"), null, dept2);
        userList.add(user3);
    }

    @RequestMapping("/user/list")
    public String list(String username, Model model) {
        Stream<User> stream = this.userList.stream();
        if (StringUtils.hasText(username)) {
            stream = stream.filter(i -> i.getUsername().contains(username));
        }
        model.addAttribute("userList", stream.collect(Collectors.toList()));
        return "userList";
    }

    @RequestMapping("/user/edit")
    public String edit(String id, Model model) {
        model.addAttribute("user", this.userList.stream().filter(i -> i.getId().equals(id)). findAny().orElse(null));
        model.addAttribute("deptList", this.departmentList);
        return "userInfo";
    }

    @RequestMapping("/user/batchDelete")
    @ResponseBody
    public String batchDelete(String[] ids) {
        System.out.println(Arrays.toString(ids));
        return "success";
    }

    @RequestMapping("/user/batchUpdate")
    public String batchUpdate(UsersVO vo) {
        System.out.println(Arrays.toString(vo.getUsers()));
        return "redirect:/user/list";
    }

    @RequestMapping(value = "/user/save", method = RequestMethod.POST)
    public String save(@Validated(NameGroup.class) User user, BindingResult bindingResult) {
        if (bindingResult.hasErrors()) {
            String errorMessage = bindingResult.getAllErrors().stream()
                    .map(DefaultMessageSourceResolvable::getDefaultMessage).collect(Collectors.joining(";"));
            throw new RuntimeException("数据格式不正确:" + errorMessage);
        }
        System.out.println(user);
        return "redirect:/user/list";
    }

    @RequestMapping(value = "/user/save2", method = RequestMethod.POST)
    public String save2(User user, MultipartFile photoFile) throws IOException {
        System.out.println(user);
        System.out.println(photoFile);
        Optional<User> op = this.userList.stream().filter(i -> i.getId().equals(user.getId())). findAny();
        if (op.isPresent()) {
            op.get().setPhoto(photoFile.getBytes());
        }
        return "redirect:/user/list";
    }

    @GetMapping("/user/getPhoto")
    public ResponseEntity<byte[]> getPhoto(String id) throws UnsupportedEncodingException {
        User user = this.userList.stream().filter(i -> i.getId().equals(id)).findAny().orElse(null);
        if (user == null) {
            throw new RuntimeException("不存在的用户!");
        }
        byte[] photo = user.getPhoto();

        HttpHeaders headers = new HttpHeaders();
        headers.setContentType(MediaType.APPLICATION_OCTET_STREAM);
        headers.setContentDispositionFormData("attachment", URLEncoder.encode(user.getUsername() + ".jpg", StandardCharsets.UTF_8));
        return new ResponseEntity<>(photo, headers, HttpStatus.CREATED);
    }

    @RequestMapping("/user/getUser")
    @ResponseBody
    public User getUser() throws ParseException {
        Department dept1 = new Department(UUID.randomUUID().toString().replaceAll("-", ""), "测试部门1", "123321");
        SimpleDateFormat dateFormat = new SimpleDateFormat("yyyy-MM-dd");
        User user1 = new User(UUID.randomUUID().toString().replaceAll("-", ""),"zhangsan", "张三", dateFormat.parse("2023-01-01"), null, dept1);
        return user1;
    }

}
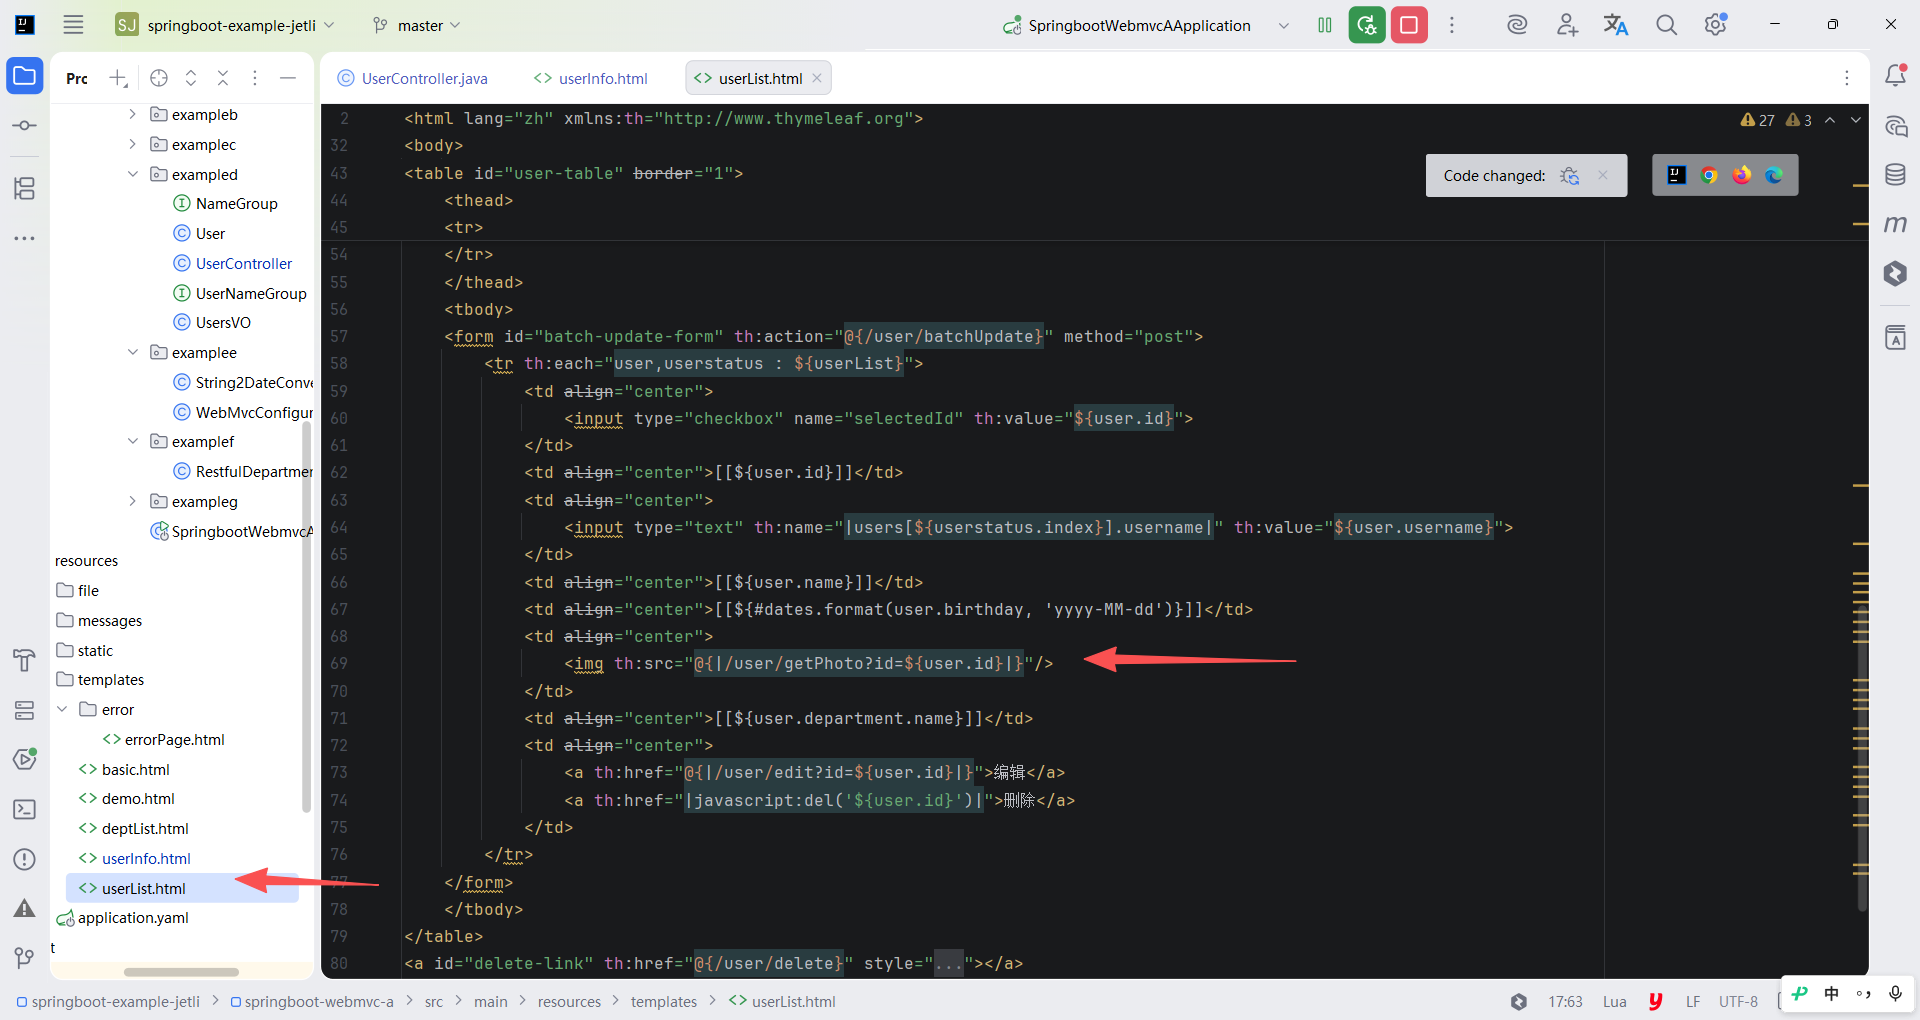
编写完毕后再回到 userList.html 中,在头像列的 td 标签中放入 标签,并引用上面接口的地址即可。
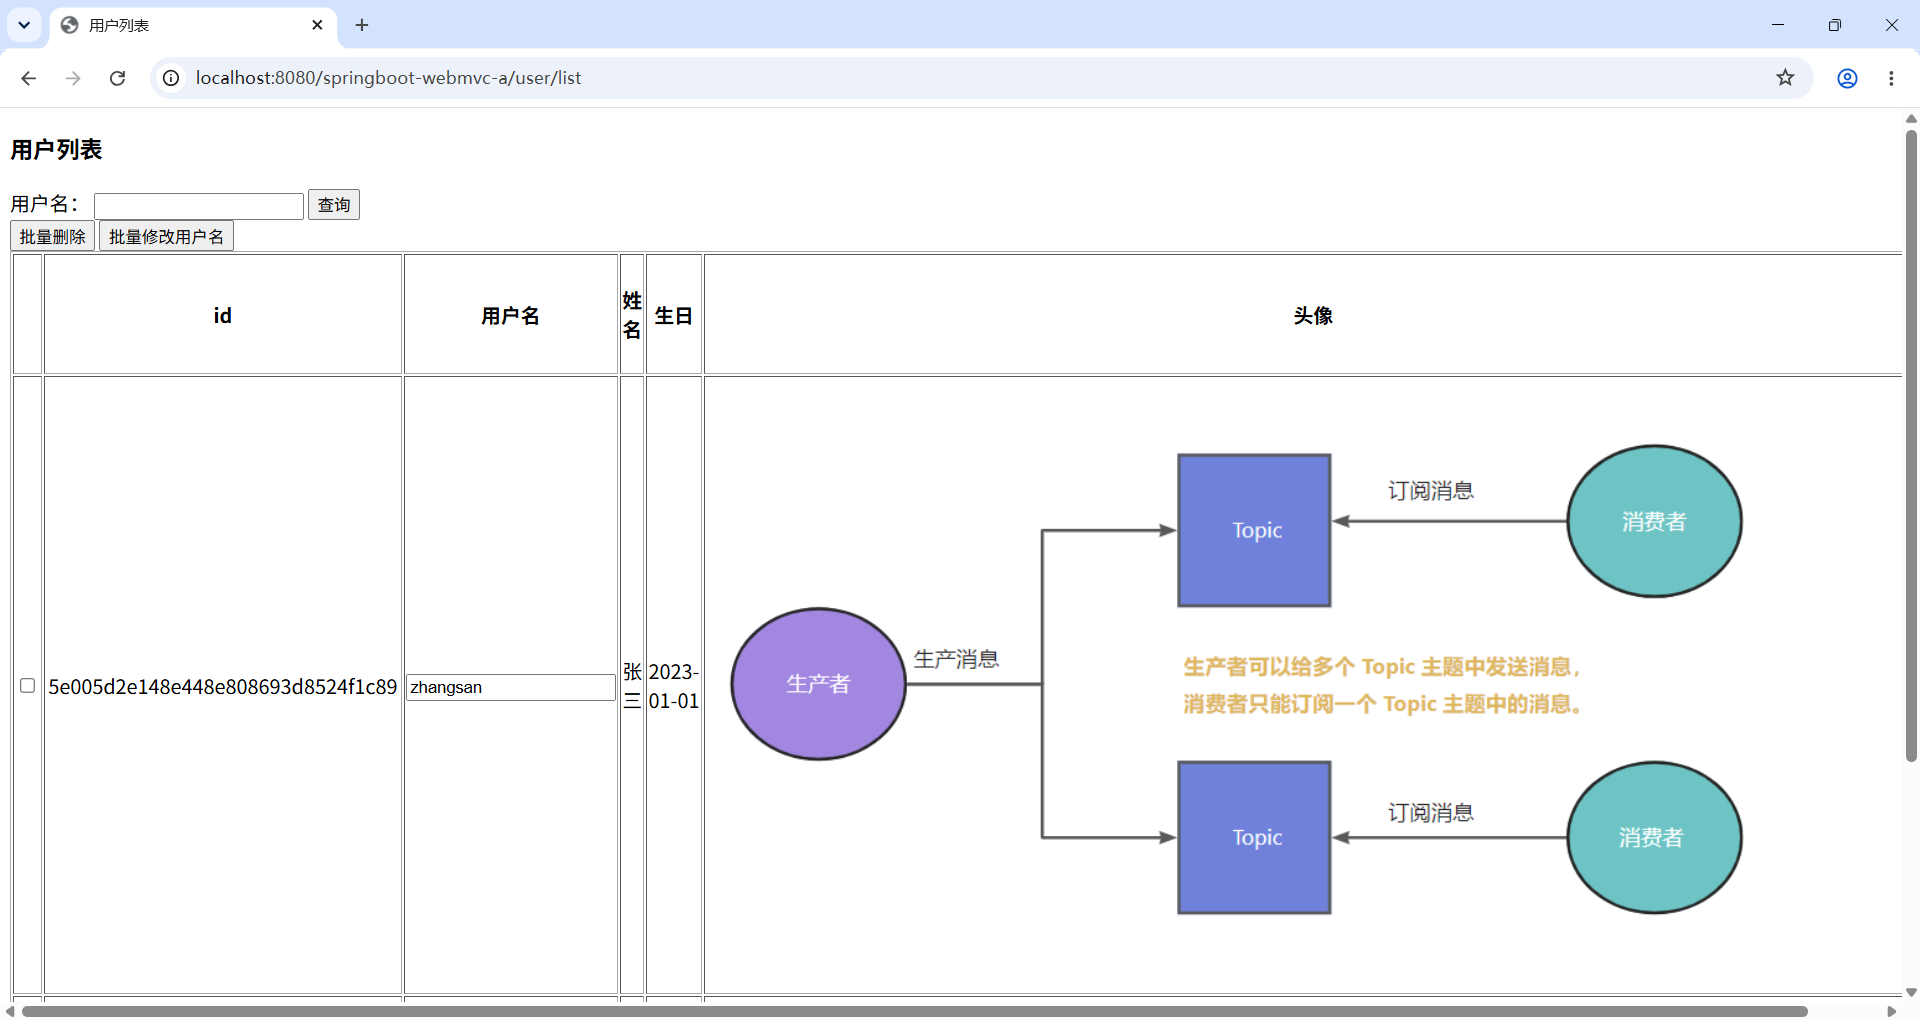
最后重启应用,先操作一次用户信息的编辑,将图片上传后单击保存,此时页面被重定向到 userList.html 列表页中,可以看到上传的图片被正确展示,这也代表文件下载成功。
9.13 小结
本章从 Java Web 整合 Spring Framework 开始入手,逐步过渡到整合 WebMvc 和使用 Spring Boot,当下主流的 Web 开发中,Spring Boot 已占据大片江山,所以本章讲解的内容主要是以 Spring Boot 工程为基础的 WebMvc 功能和特性。
WebMvc 是 Spring Framework 中以 Servlet API 为基础封装的 Web 层框架,使用它可以完成各种参数收集、数据传递,借助 WebMvc 中提供的注解可以实现接口的编写、异常处理等。此外借助其他组件可以完成对 JSON、XML 格式数据的支持,以及实现数据校验等特性。
第 10 章会继续就 WebMvc 中的特性进行讲解,其中涉及一些进阶机制和 API 的使用,相较于本章的内容而言,第 10 章的难度会相对高一些。