《SpringBoot 3:入门与应用实战》第 13 章 整合 MyBatis 整合 MyBatis 阅读笔记 38
13.2 整合 MyBatis
下面使用 Spring Boot 整合 MyBatis 搭建一个工程。基于 Spring Boot 的工程整合不同开发场景要比基于 Spring Framework 的原生开发工程简单不少,大体思路都是导入场景启动器 + 编写配置和基本代码。
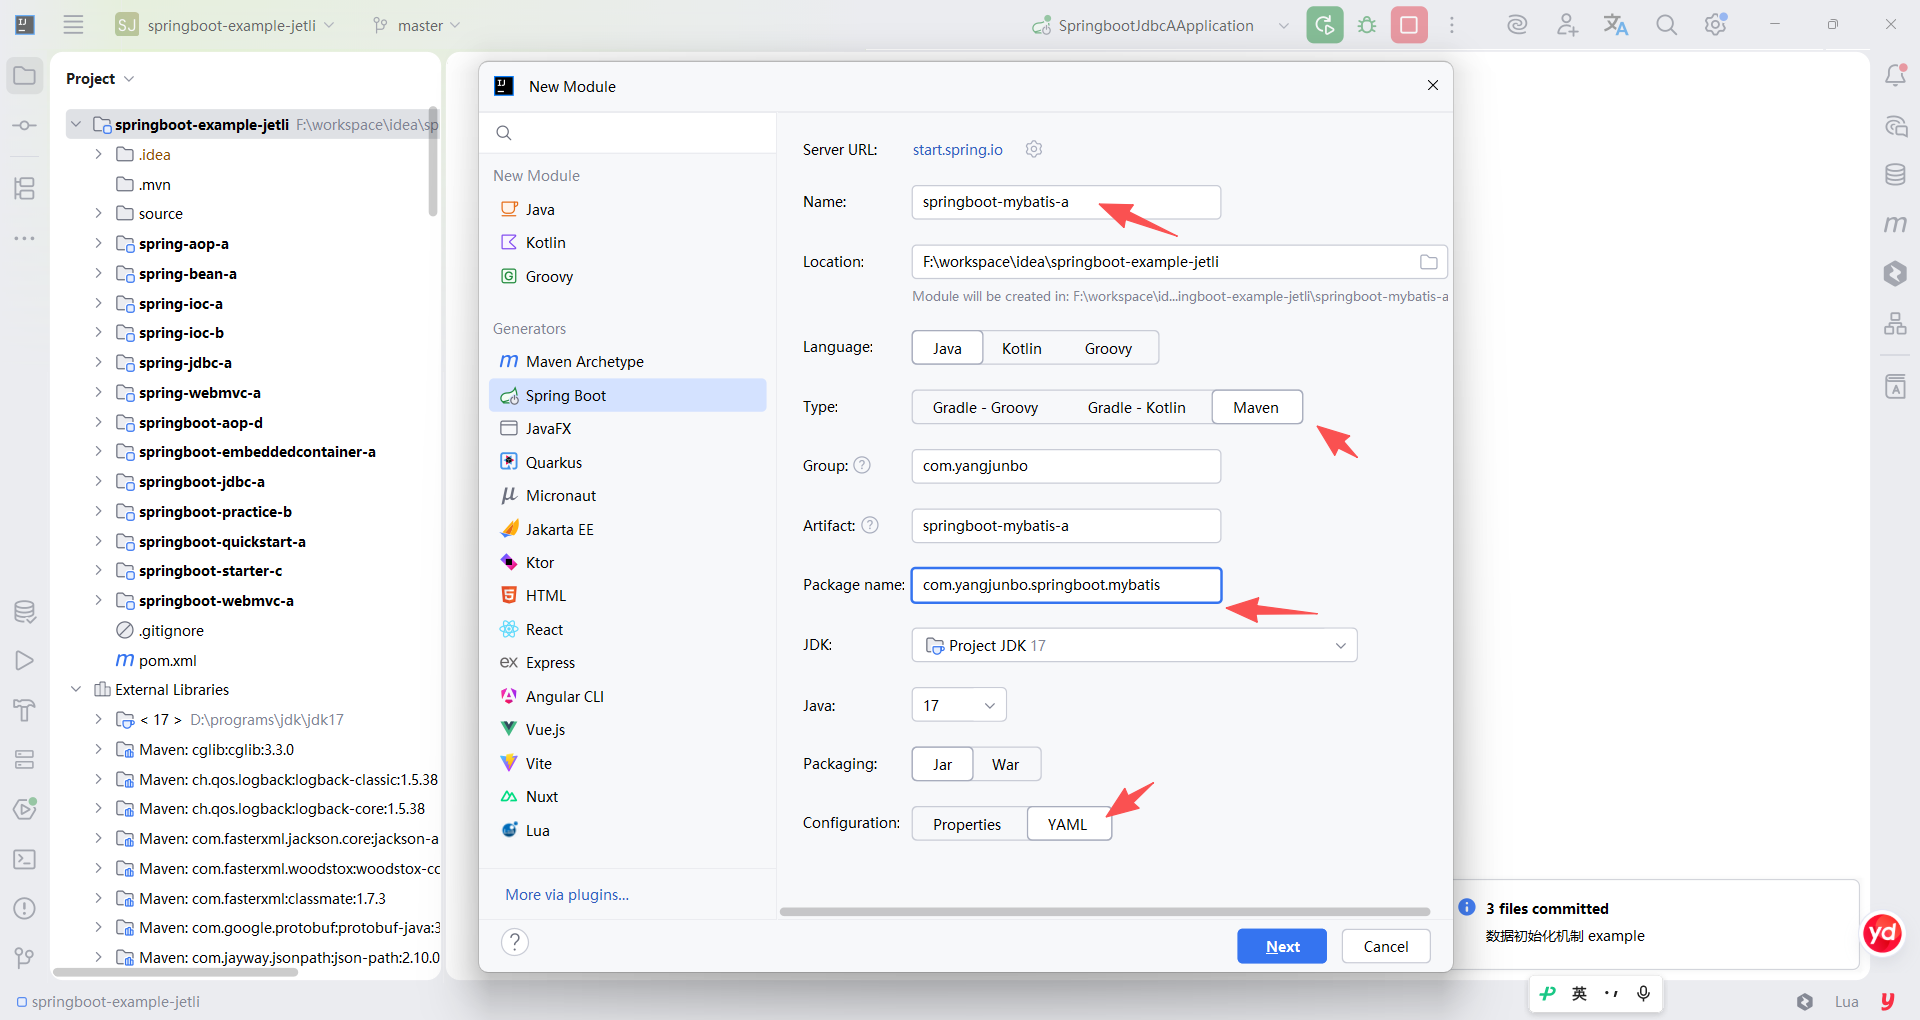
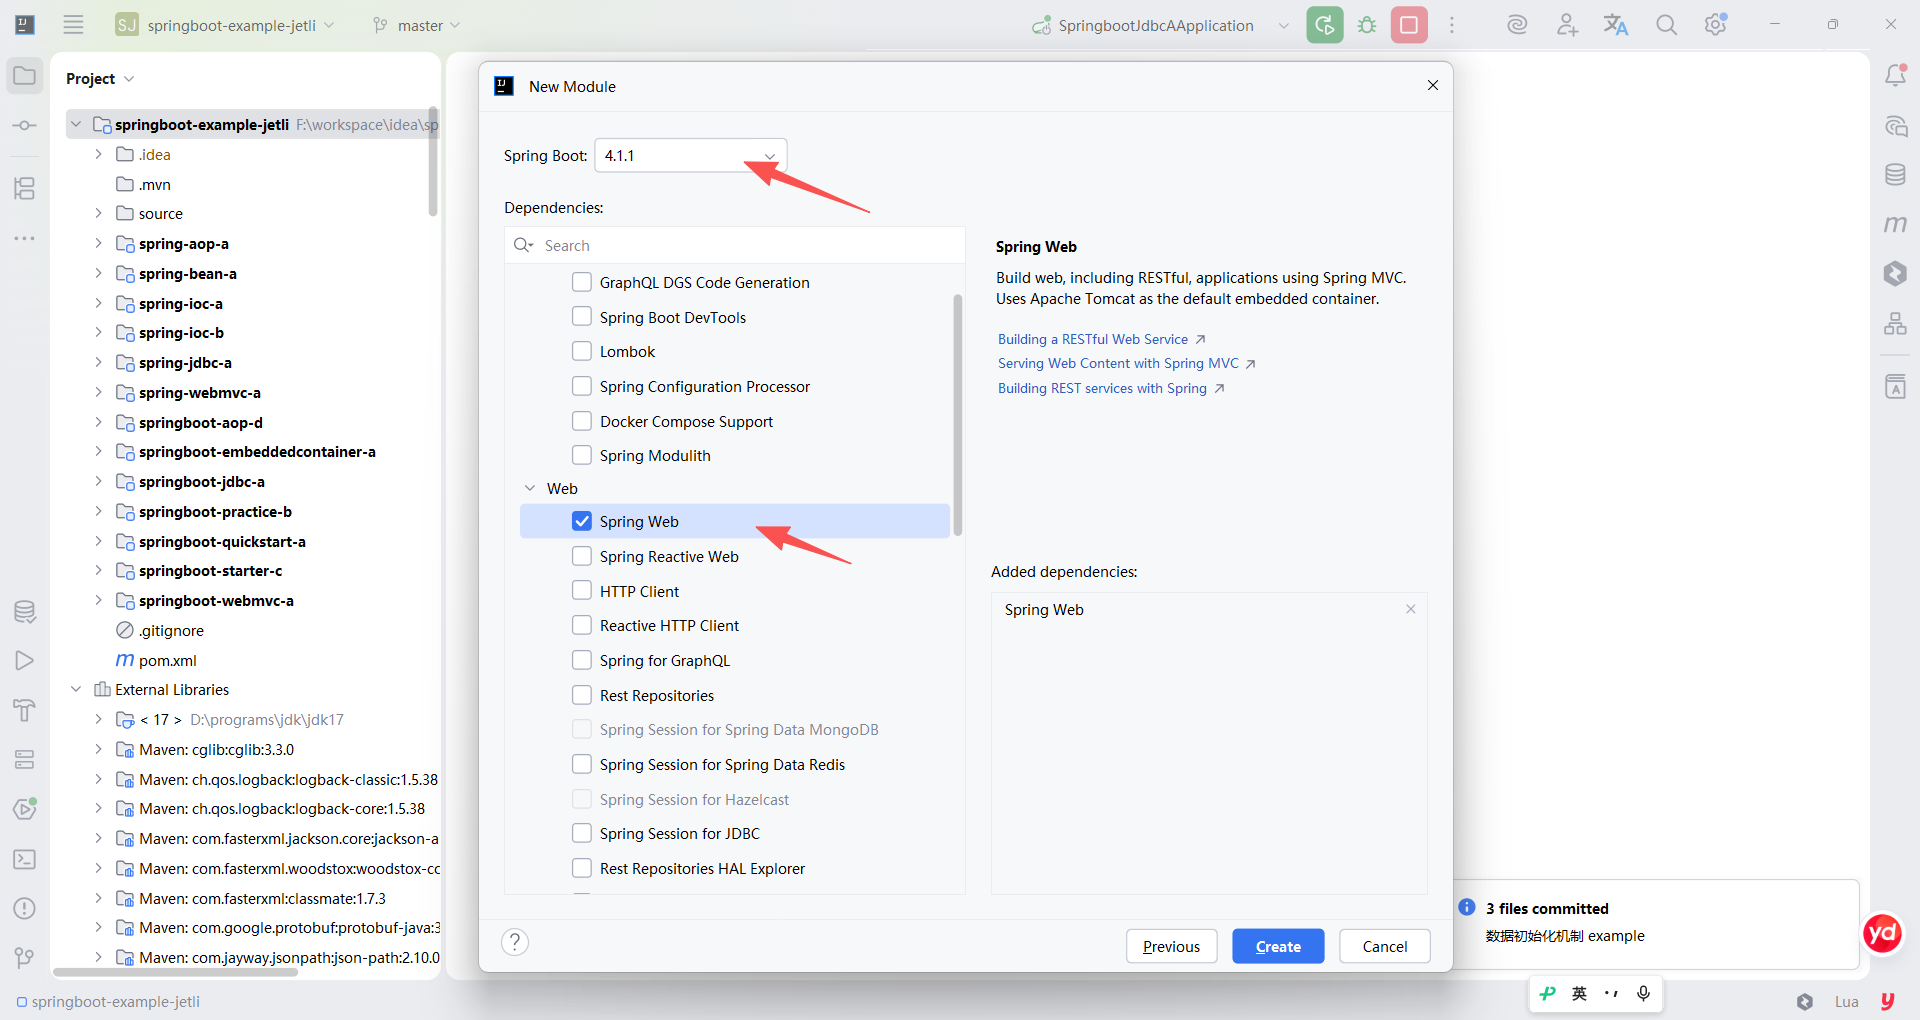
13.2.1 导入依赖
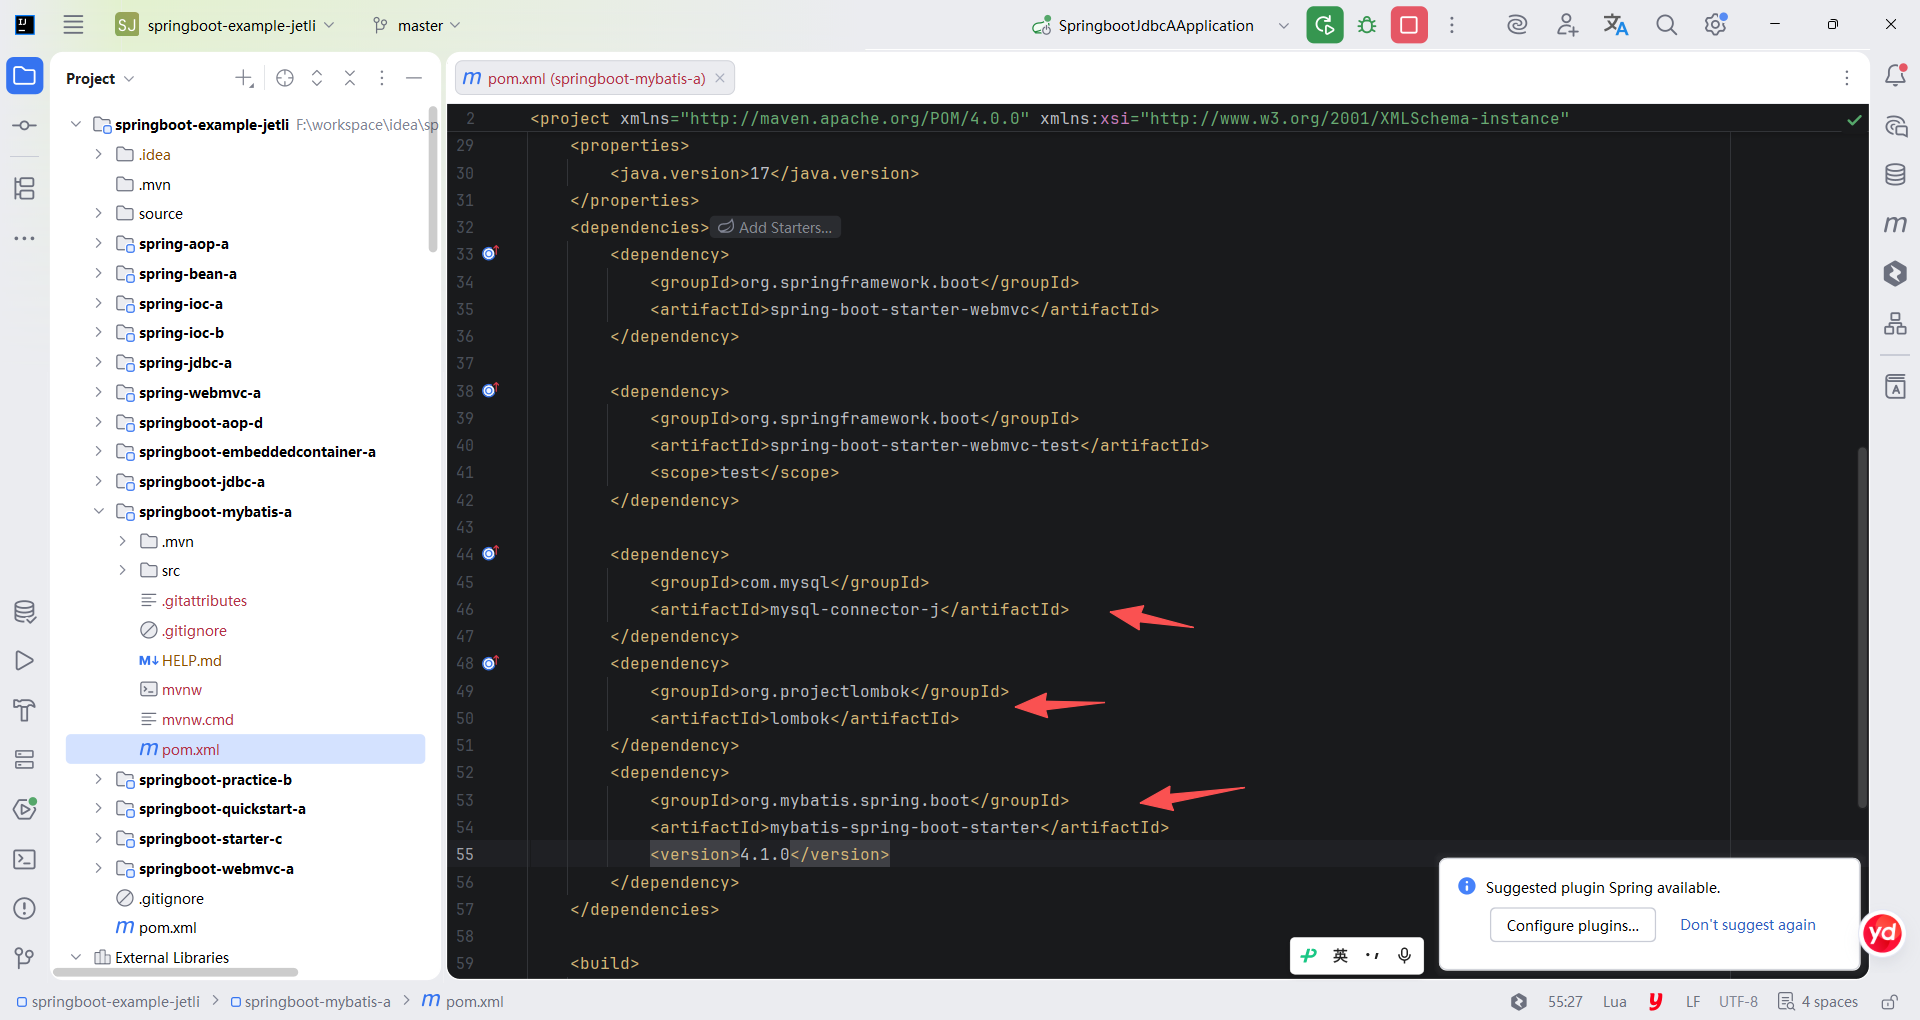
MyBatis 的使用群体大部分是中国开发者,国外的开发者使用 MyBatis 的热度没有国内高,Spring Boot 在制作场景启动器时只选用了其认为流行和热门的技术予以整合。很可惜 MyBatis 并没有受到 Spring Boot 官方的青睐,Spring Boot 提供的官方场景启动器并没有收录 MyBatis,所以 MyBatis 官方提供了整合 Spring Boot 的场景启动器。Spring Boot 官方提供的场景启动器都以 spring-boot-starter-* 的格式命名,而第三方技术整合Spring Boot的场景启动器通常以 *-spring-boot-starter(或类似的格式)命名。所以导入的依赖是 mybatis-spring-boot-starter。此外还需要导入 WebMvc 场景启动器用于测试代码,导入 MySQL 的驱动连接 MySQL 数据库,还有导入 Lombok 插件提高开发效率。
xml
<?xml version="1.0" encoding="UTF-8"?>
<project xmlns="http://maven.apache.org/POM/4.0.0" xmlns:xsi="http://www.w3.org/2001/XMLSchema-instance"
         xsi:schemaLocation="http://maven.apache.org/POM/4.0.0 https://maven.apache.org/xsd/maven-4.0.0.xsd">
    <modelVersion>4.0.0</modelVersion>
    <parent>
        <groupId>org.springframework.boot</groupId>
        <artifactId>spring-boot-starter-parent</artifactId>
        <version>4.1.1</version>
        <relativePath/> <!-- lookup parent from repository -->
    </parent>
    <groupId>com.yangjunbo</groupId>
    <artifactId>springboot-mybatis-a</artifactId>
    <version>0.0.1-SNAPSHOT</version>
    <name>springboot-mybatis-a</name>
    <description>springboot-mybatis-a</description>
    <url/>
    <licenses>
        <license/>
    </licenses>
    <developers>
        <developer/>
    </developers>
    <scm>
        <connection/>
        <developerConnection/>
        <tag/>
        <url/>
    </scm>
    <properties>
        <java.version>17</java.version>
    </properties>
    <dependencies>
        <dependency>
            <groupId>org.springframework.boot</groupId>
            <artifactId>spring-boot-starter-webmvc</artifactId>
        </dependency>

        <dependency>
            <groupId>org.springframework.boot</groupId>
            <artifactId>spring-boot-starter-webmvc-test</artifactId>
            <scope>test</scope>
        </dependency>

        <dependency>
            <groupId>com.mysql</groupId>
            <artifactId>mysql-connector-j</artifactId>
        </dependency>
        <dependency>
            <groupId>org.projectlombok</groupId>
            <artifactId>lombok</artifactId>
        </dependency>
        <dependency>
            <groupId>org.mybatis.spring.boot</groupId>
            <artifactId>mybatis-spring-boot-starter</artifactId>
            <version>4.1.0</version>
        </dependency>
    </dependencies>

    <build>
        <plugins>
            <plugin>
                <groupId>org.springframework.boot</groupId>
                <artifactId>spring-boot-maven-plugin</artifactId>
            </plugin>
        </plugins>
    </build>

</project>
13.2.2 准备基础代码
依然使用第 12 章的 spring-dao 作为运行和测试的数据库,配置相同的数据源信息即可,这部分可以直接复制第 12 章的 application.yaml 内容,不再赘述。除此之外,还需要准备一些其他的代码,一一列举。
1.实体模型类
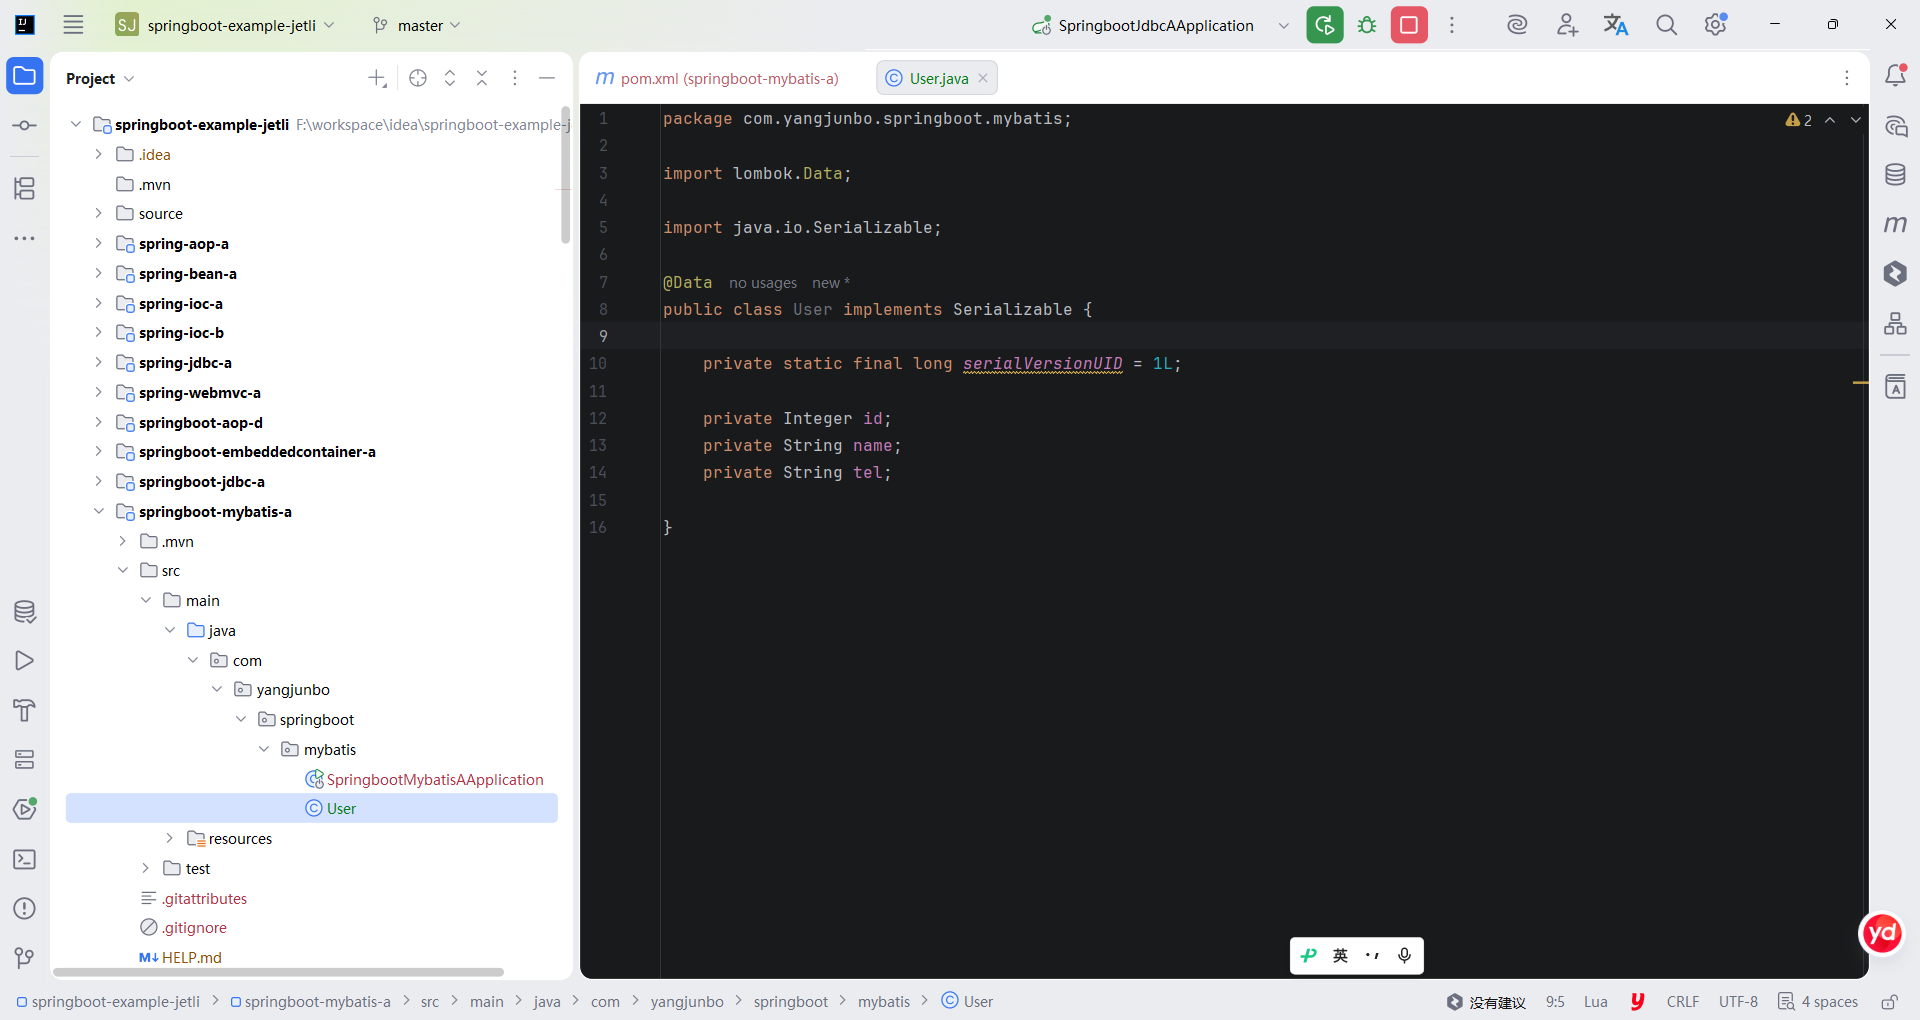
对于原生的 MyBatis 而言,只需要编写最基础的模型类,与数据库中的表一一对应。本章中只会用到 tbl_user 表,所以只需要编写一个 User类。使用原生 MyBatis 时不需要在模型类上标注任何其他的信息,此处实现 Serializable 接口是为了后续测试二级缓存中使用。
java
package com.yangjunbo.springboot.mybatis;

import lombok.Data;

import java.io.Serializable;

@Data
public class User implements Serializable {

    private static final long serialVersionUID = 1L;

    private Integer id;
    private String name;
    private String tel;

}
2.Mapper 接口
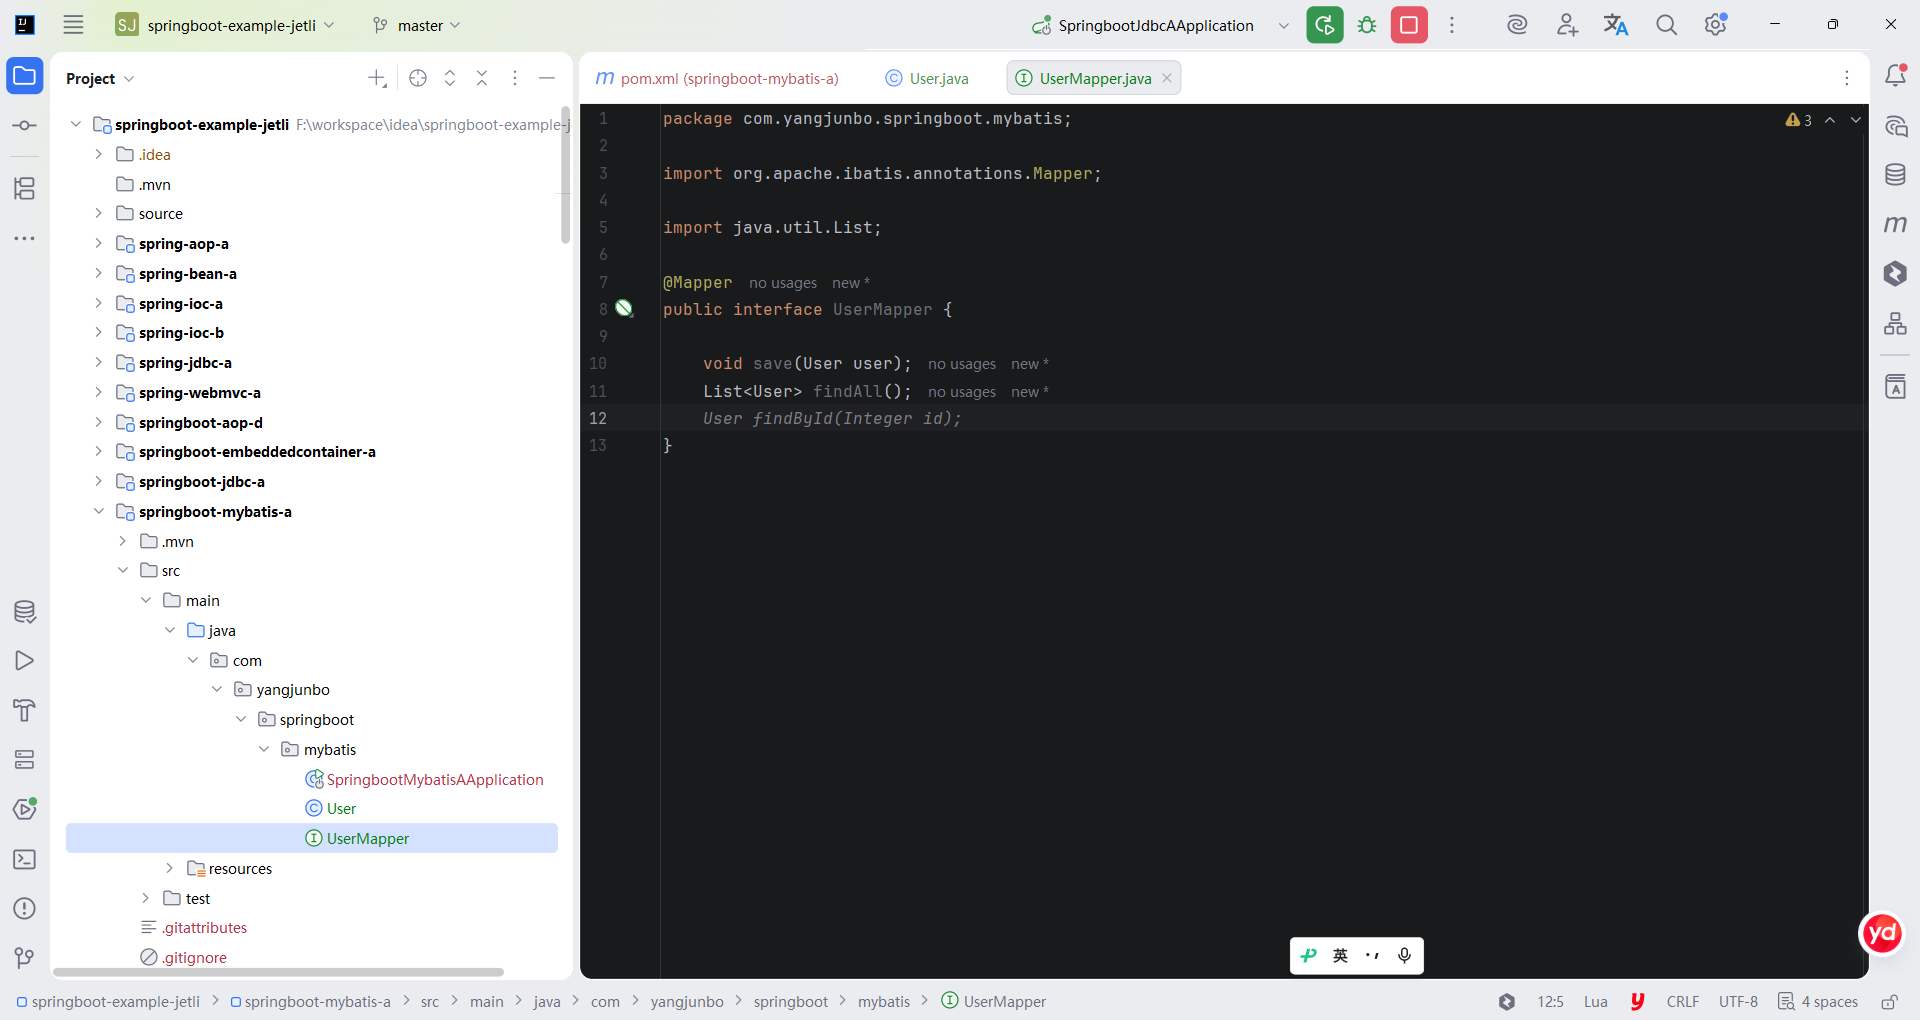
MyBatis 推荐使用 Mapper 接口动态代理的方式进行 Dao 层开发,所以只需要编写一个 User 模块的 UserMapper 接口。为了快速演示 MyBatis的使用和整合效果,这里先快速编写一个查询方法和保存方法。
java
package com.yangjunbo.springboot.mybatis;

import org.apache.ibatis.annotations.Mapper;

import java.util.List;

@Mapper
public interface UserMapper {

    void save(User user);
    List<User> findAll();

}
3.mapper.xml
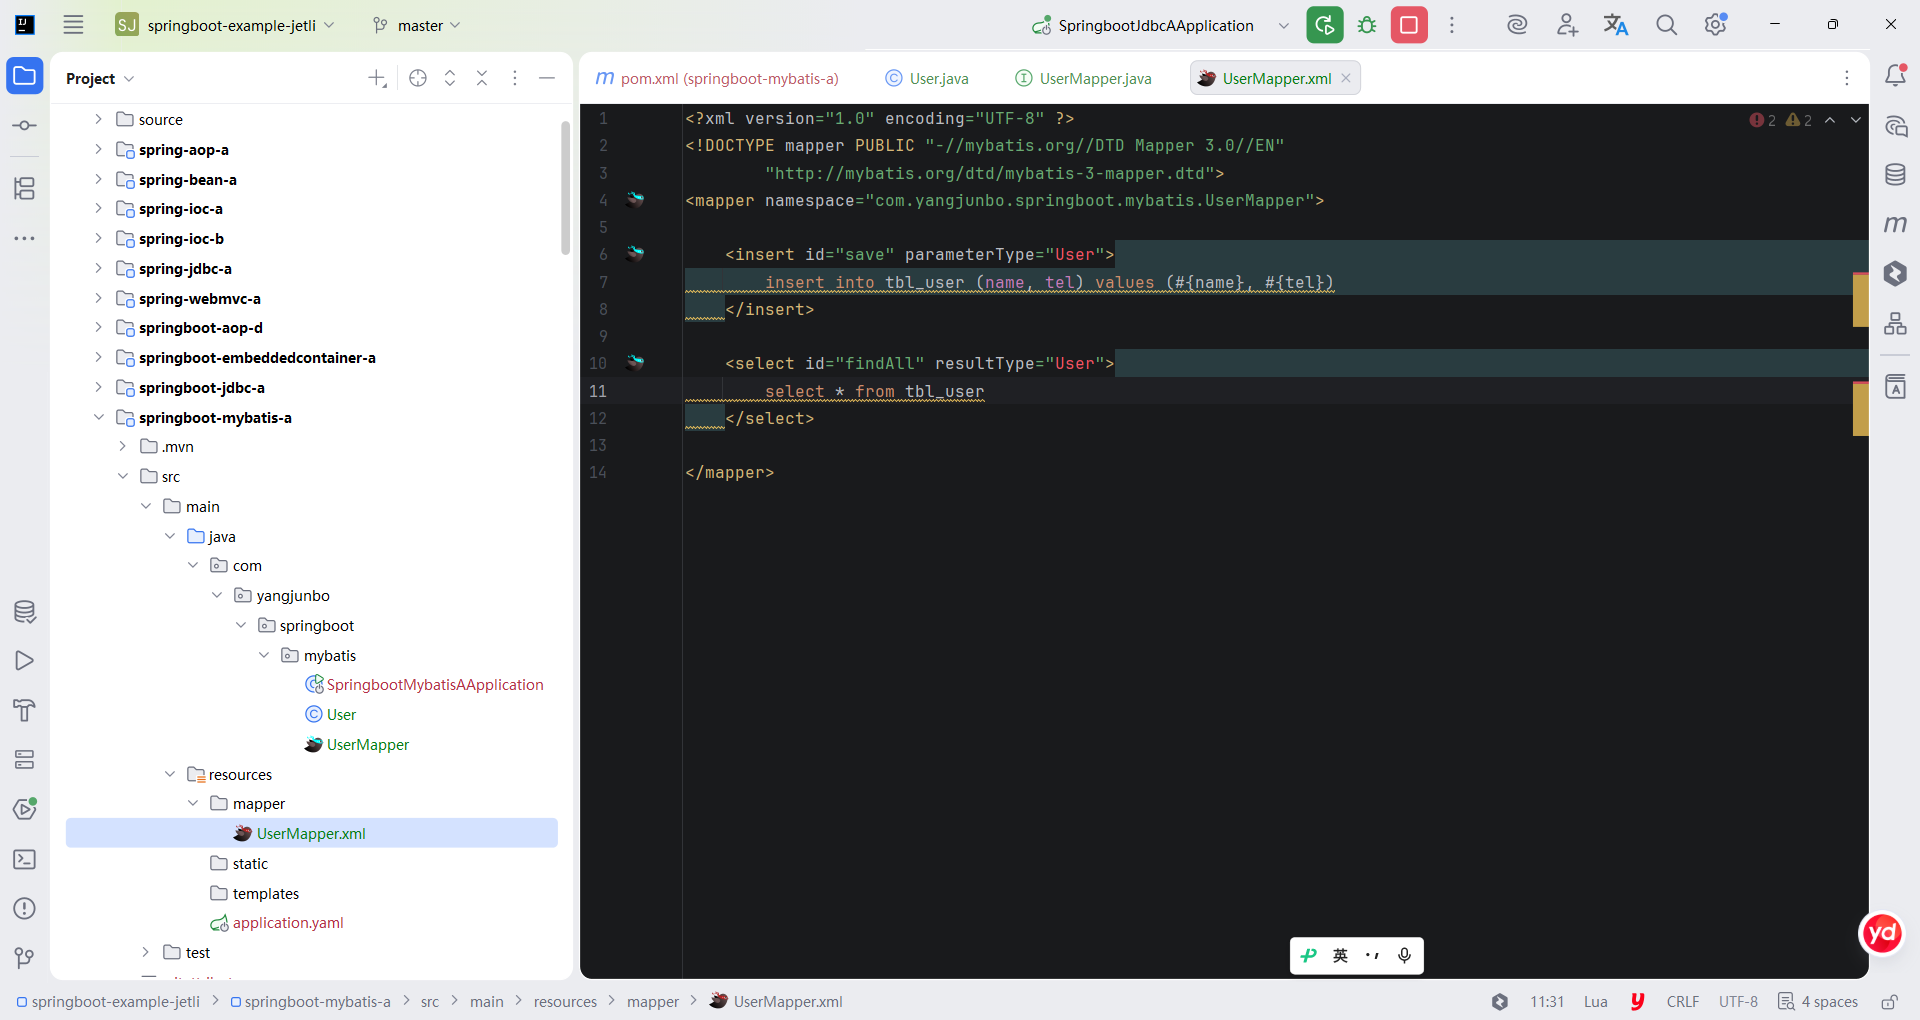
与 Mapper 接口对应的实现需要 mapper.xml 的支撑,相应地再编写一个 UserMapper.xml,完成与 UserMapper 接口的对应。注意,使用Mapper 接口动态代理的开发方式时,mapper.xml 中的 namespace 需要与 Mapper 接口的全限定名一致。
xml
<?xml version="1.0" encoding="UTF-8" ?>
<!DOCTYPE mapper PUBLIC "-//mybatis.org//DTD Mapper 3.0//EN"
        "http://mybatis.org/dtd/mybatis-3-mapper.dtd">
<mapper namespace="com.yangjunbo.springboot.mybatis.UserMapper">

    <insert id="save" parameterType="User">
        insert into tbl_user (name, tel) values (#{name}, #{tel})
    </insert>

    <select id="findAll" resultType="User">
        select * from tbl_user
    </select>

</mapper>
4.Service 层
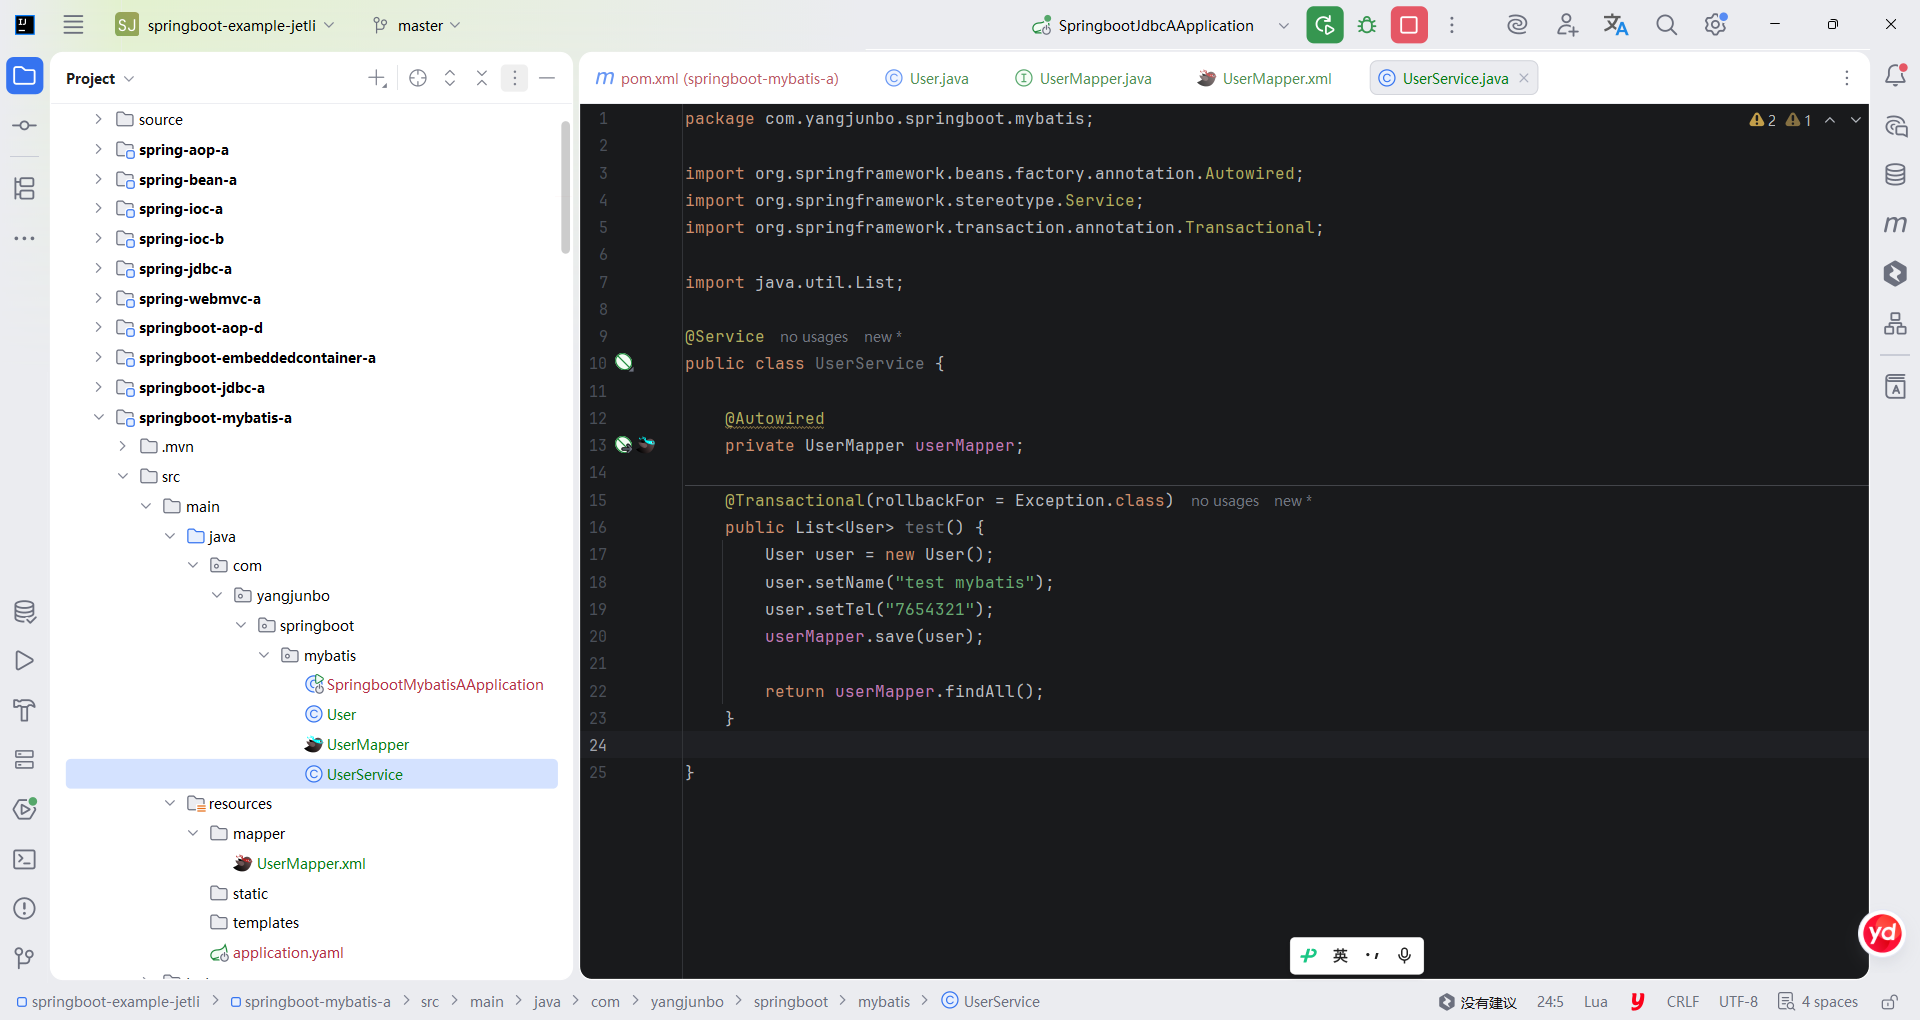
Dao 层代码准备完毕后,下面是 Service 层的代码。Service 层需要注入 Mapper 接口,完成业务逻辑的编写和执行。编写一个 UserService 类并注入 UserMapper,为了快速回顾和演示 MyBatis 的整合效果,此处只设计了 Mapper 接口的两个方法调用,验证执行无误即可。
java
package com.yangjunbo.springboot.mybatis;

import org.springframework.beans.factory.annotation.Autowired;
import org.springframework.stereotype.Service;
import org.springframework.transaction.annotation.Transactional;

import java.util.List;

@Service
public class UserService {

    @Autowired
    private UserMapper userMapper;

    @Transactional(rollbackFor = Exception.class)
    public List<User> test() {
        User user = new User();
        user.setName("test mybatis");
        user.setTel("7654321");
        userMapper.save(user);

        return userMapper.findAll();
    }

}
部分读者的 IDEA 在 UserService 中注入 UserMapper 接口时会提示 IOC 容器没有该 Bean 的错误,这种情况大多是 IDEA 的版本较低所致,实际运行时不会出现问题,读者可以忽略该提示。如果一定要解决该提示问题,可以在 UserMapper 接口上标注 @Component 或 @Repository,IDEA 即可识别到该 Bean。就笔者的经验来看,笔者并不推荐读者使用 @Repository 处理该问题,因为使用 @Repository 标注的接口会被Spring Framework 中的一个特殊的组件封装一次动态代理,导致运行时出现一些预期之外的异常。所以笔者更推荐读者升级 IDEA 的版本,笔者使用的高版本可以正确识别 Mapper 接口。
5.全局配置
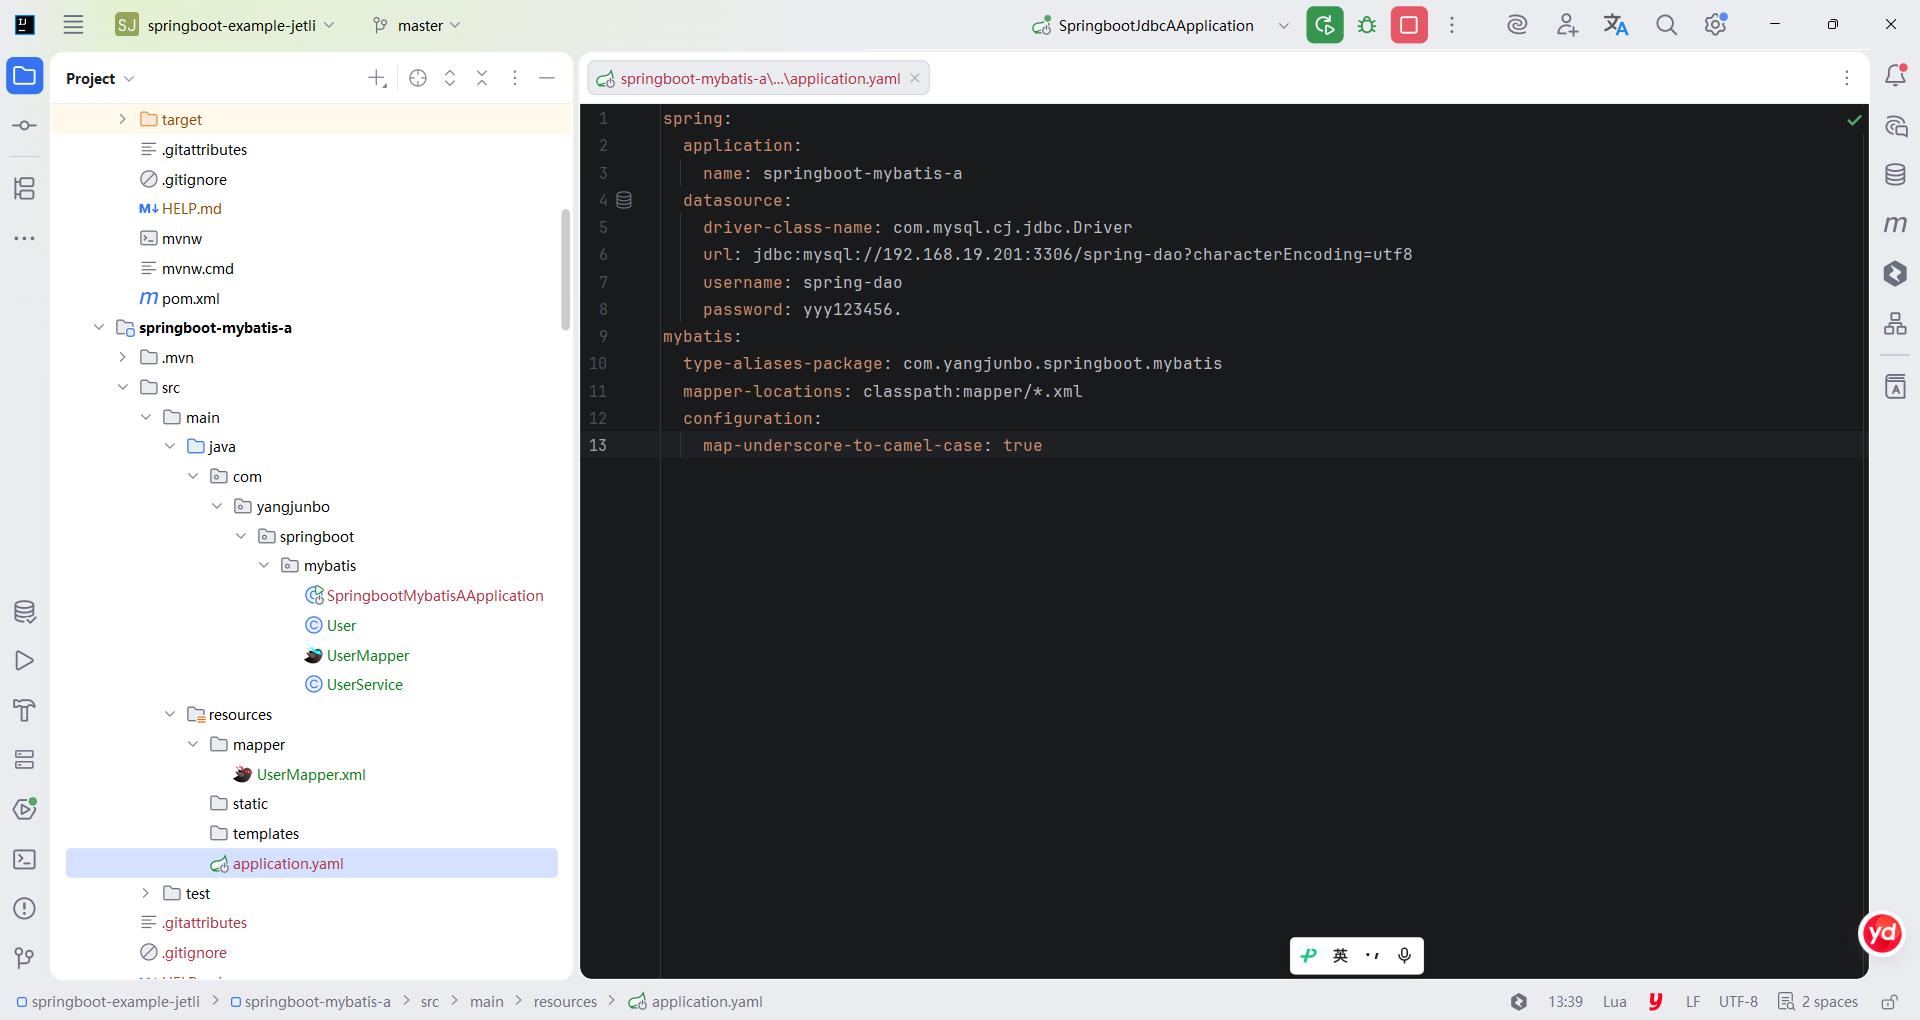
最后简单编写一些全局配置即可完成整合。在传统的 SSM 框架组合体中,需要编写一个 MyBatis 的配置文件 SqlMapConfig.xml,在其中配置与 MyBatis 相关的属性,而使用 Spring Boot 整合 MyBatis 后这些配置项中有一部分可以在 application.yaml 中直接配置,代码中简单配置了 3个属性,包括别名设置、mapper.xml 文件的存放位置以及下画线转驼峰式的开启。
yaml
spring:
  application:
    name: springboot-mybatis-a
  datasource:
    driver-class-name: com.mysql.cj.jdbc.Driver
    url: jdbc:mysql://192.168.19.201:3306/spring-dao?characterEncoding=utf8
    username: spring-dao
    password: yyy123456.
mybatis:
  type-aliases-package: com.yangjunbo.springboot.mybatis
  mapper-locations: classpath:mapper/*.xml
  configuration:
    map-underscore-to-camel-case: true
13.2.3 测试效果
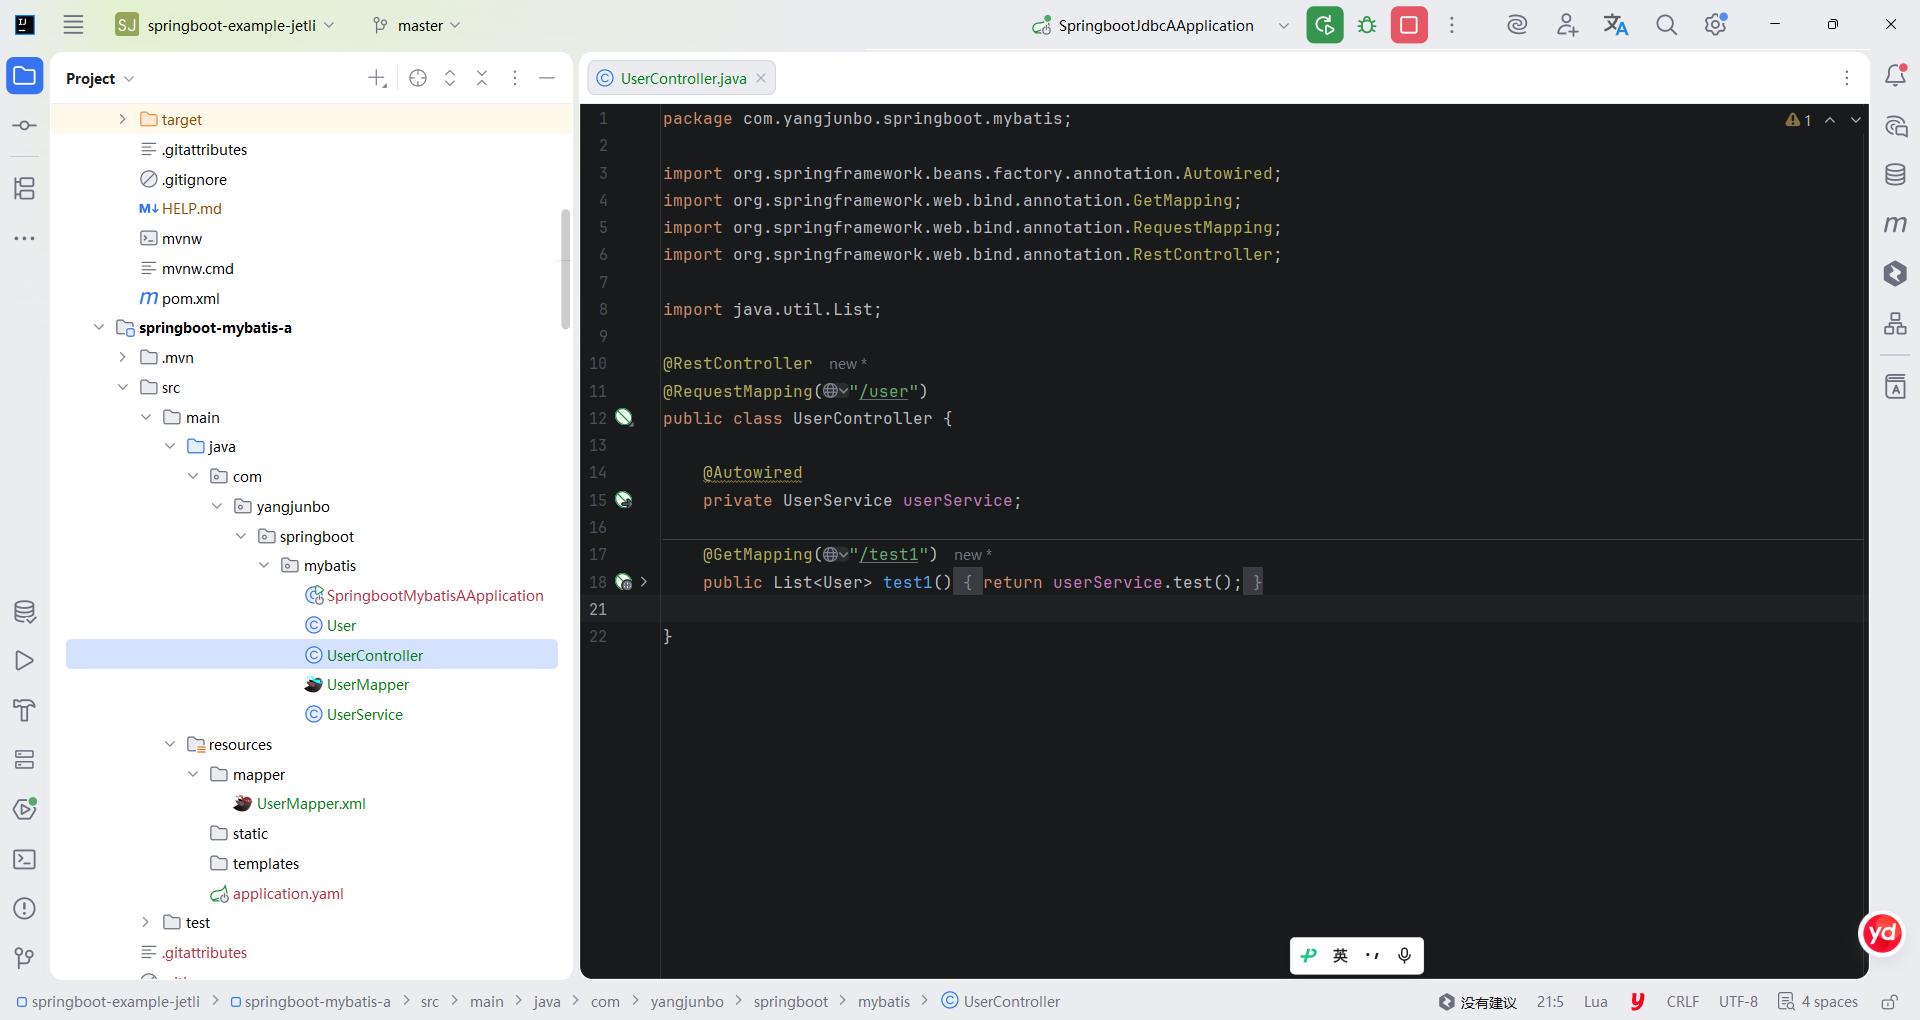
为了测试整合是否成功,可以编写一个 UserController,注入 UserService 后调用其方法,如果工程启动成功且调用方法时没有产生异常,则证明 Spring Boot 整合 MyBatis 成功。代码提供了简单编写的 UserController。
java
package com.yangjunbo.springboot.mybatis;

import org.springframework.beans.factory.annotation.Autowired;
import org.springframework.web.bind.annotation.GetMapping;
import org.springframework.web.bind.annotation.RequestMapping;
import org.springframework.web.bind.annotation.RestController;

import java.util.List;

@RestController
@RequestMapping("/user")
public class UserController {

    @Autowired
    private UserService userService;

    @GetMapping("/test1")
    public List<User> test1() {
        return userService.test();
    }

}
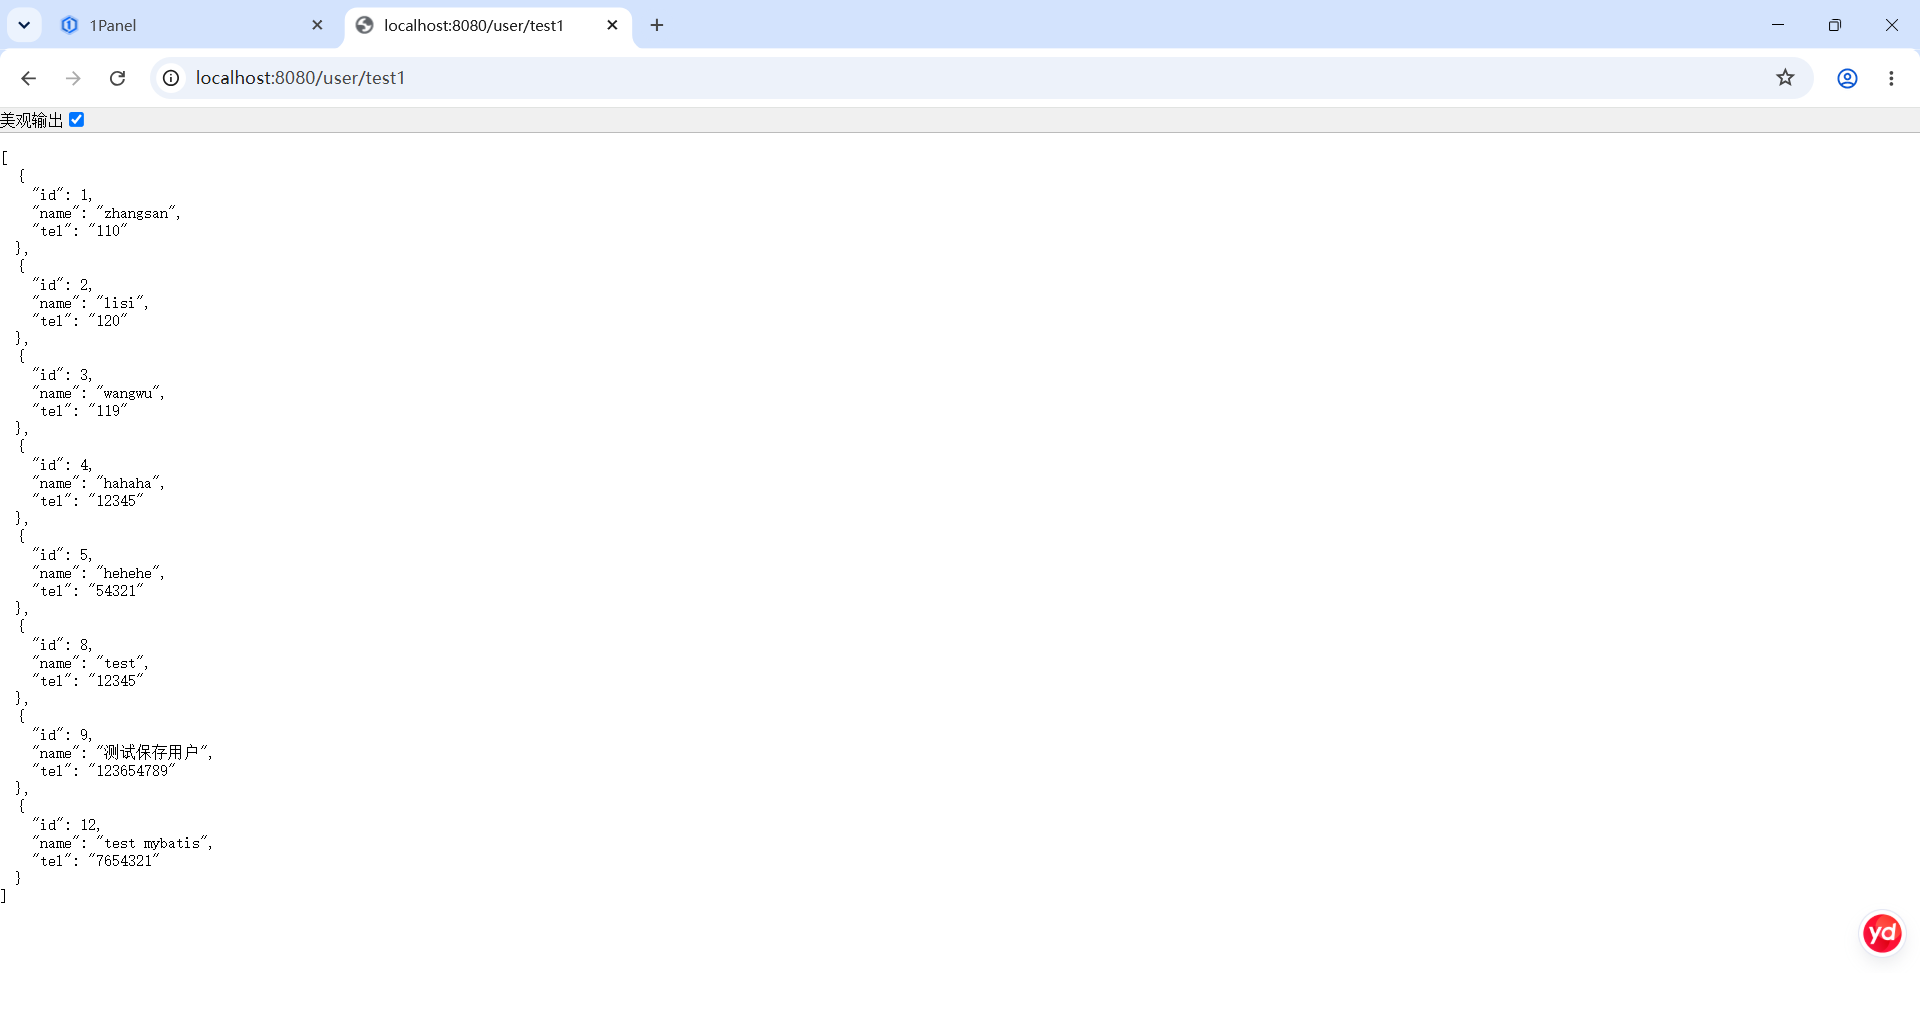
运行主启动类,随后在浏览器访问 http://localhost:8080/user/test1,可以看到浏览器中响应了数据库中 tbl_user 表的所有数据,证明整合成功。