说明
- 系统:Ubuntu 24.04 LTS
- Docker版本:v26.1.3
- Docker Compose版本:v2.26.1
下载和配置
Ubuntu需要安装Docker和Docker Compose
下载apisix-docker仓库
shell
git clone https://github.com/apache/apisix-docker.git修改docker-compose
配置etcd会用到IP。查看本机ip,获取到IP地址为"192.168.8.249"
powershell
ip addr show
powershell
root@vinci:~/apisix-docker/example# ip addr show
1: lo: <LOOPBACK,UP,LOWER_UP> mtu 65536 qdisc noqueue state UNKNOWN group default qlen 1000
    link/loopback 00:00:00:00:00:00 brd 00:00:00:00:00:00
    inet 127.0.0.1/8 scope host lo
       valid_lft forever preferred_lft forever
    inet6 ::1/128 scope host
       valid_lft forever preferred_lft forever
2: ens18: <BROADCAST,MULTICAST,UP,LOWER_UP> mtu 1500 qdisc fq_codel state UP group default qlen 1000
    link/ether bc:24:11:64:57:05 brd ff:ff:ff:ff:ff:ff
    altname enp0s18
    inet 192.168.8.249/24 metric 100 brd 192.168.8.255 scope global dynamic ens18
       valid_lft 42804sec preferred_lft 42804sec
    inet6 fe80::be24:11ff:fe64:5705/64 scope link
       valid_lft forever preferred_lft forever
3: br-ba3ee5d501df: <NO-CARRIER,BROADCAST,MULTICAST,UP> mtu 1500 qdisc noqueue state DOWN group default
    link/ether 02:42:0e:b1:ea:76 brd ff:ff:ff:ff:ff:ff
    inet 172.18.0.1/16 brd 172.18.255.255 scope global br-ba3ee5d501df
       valid_lft forever preferred_lft forever
4: docker0: <NO-CARRIER,BROADCAST,MULTICAST,UP> mtu 1500 qdisc noqueue state DOWN group default
    link/ether 02:42:d8:18:f9:c7 brd ff:ff:ff:ff:ff:ff
    inet 172.17.0.1/16 brd 172.17.255.255 scope global docker0
       valid_lft forever preferred_lft forever
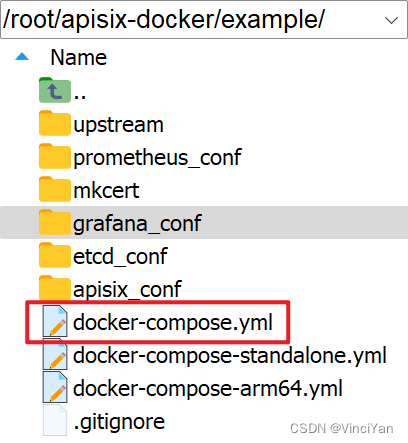
修改docker-compose.yml,主要修改如下
yaml
...
  etcd:
    ...
    environment:
      ...
      ETCD_ADVERTISE_CLIENT_URLS: "http://192.168.8.249:2379"
yaml
#
# Licensed to the Apache Software Foundation (ASF) under one or more
# contributor license agreements.  See the NOTICE file distributed with
# this work for additional information regarding copyright ownership.
# The ASF licenses this file to You under the Apache License, Version 2.0
# (the "License"); you may not use this file except in compliance with
# the License.  You may obtain a copy of the License at
#
#     http://www.apache.org/licenses/LICENSE-2.0
#
# Unless required by applicable law or agreed to in writing, software
# distributed under the License is distributed on an "AS IS" BASIS,
# WITHOUT WARRANTIES OR CONDITIONS OF ANY KIND, either express or implied.
# See the License for the specific language governing permissions and
# limitations under the License.
#

version: "3"

services:
  apisix:
    image: apache/apisix:${APISIX_IMAGE_TAG:-3.9.0-debian}
    restart: always
    volumes:
      - ./apisix_conf/config.yaml:/usr/local/apisix/conf/config.yaml:ro
    depends_on:
      - etcd
    ##network_mode: host
    ports:
      - "9180:9180/tcp"
      - "9080:9080/tcp"
      - "9091:9091/tcp"
      - "9443:9443/tcp"
      - "9092:9092/tcp"
    networks:
      apisix:

  etcd:
    image: bitnami/etcd:3.5.11
    restart: always
    volumes:
      - etcd_data:/bitnami/etcd
    environment:
      ETCD_ENABLE_V2: "true"
      ALLOW_NONE_AUTHENTICATION: "yes"
      ETCD_ADVERTISE_CLIENT_URLS: "http://192.168.8.249:2379"
      ETCD_LISTEN_CLIENT_URLS: "http://0.0.0.0:2379"
    ports:
      - "2379:2379/tcp"
    networks:
      apisix:

  web1:
    image: nginx:1.19.0-alpine
    restart: always
    volumes:
      - ./upstream/web1.conf:/etc/nginx/nginx.conf
    ports:
      - "9081:80/tcp"
    environment:
      - NGINX_PORT=80
    networks:
      apisix:

  web2:
    image: nginx:1.19.0-alpine
    restart: always
    volumes:
      - ./upstream/web2.conf:/etc/nginx/nginx.conf
    ports:
      - "9082:80/tcp"
    environment:
      - NGINX_PORT=80
    networks:
      apisix:

  prometheus:
    image: prom/prometheus:v2.25.0
    restart: always
    volumes:
      - ./prometheus_conf/prometheus.yml:/etc/prometheus/prometheus.yml
    ports:
      - "9090:9090"
    networks:
      apisix:

  grafana:
    image: grafana/grafana:7.3.7
    restart: always
    ports:
      - "3000:3000"
    volumes:
      - "./grafana_conf/provisioning:/etc/grafana/provisioning"
      - "./grafana_conf/dashboards:/var/lib/grafana/dashboards"
      - "./grafana_conf/config/grafana.ini:/etc/grafana/grafana.ini"
    networks:
      apisix:

networks:
  apisix:
    driver: bridge

volumes:
  etcd_data:
    driver: local
更新Admin API key
建议修改Admin API的key,保护APISIX的安全
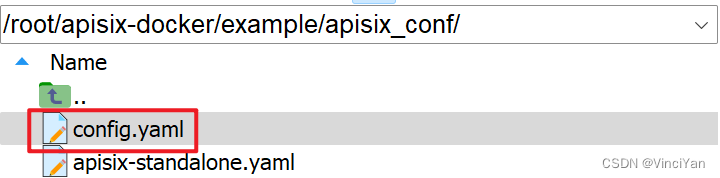
修改config.yaml,主要修改key值和host的IP
yaml
...
    admin_key:
      - name: "admin"
        key: edc1c9f034335f136f87ad84b625c8f1
        role: admin                 # admin: manage all configuration data
        ...
  etcd:
    host:                           # it's possible to define multiple etcd hosts addresses of the same etcd cluster.
      - "http://192.168.8.249:2379"          # multiple etcd address
    ...
yaml
#
# Licensed to the Apache Software Foundation (ASF) under one or more
# contributor license agreements.  See the NOTICE file distributed with
# this work for additional information regarding copyright ownership.
# The ASF licenses this file to You under the Apache License, Version 2.0
# (the "License"); you may not use this file except in compliance with
# the License.  You may obtain a copy of the License at
#
#     http://www.apache.org/licenses/LICENSE-2.0
#
# Unless required by applicable law or agreed to in writing, software
# distributed under the License is distributed on an "AS IS" BASIS,
# WITHOUT WARRANTIES OR CONDITIONS OF ANY KIND, either express or implied.
# See the License for the specific language governing permissions and
# limitations under the License.
#

apisix:
  node_listen: 9080              # APISIX listening port
  enable_ipv6: false

  enable_control: true
  control:
    ip: "0.0.0.0"
    port: 9092

deployment:
  admin:
    allow_admin:               # https://nginx.org/en/docs/http/ngx_http_access_module.html#allow
      - 0.0.0.0/0              # We need to restrict ip access rules for security. 0.0.0.0/0 is for test.

    admin_key:
      - name: "admin"
        key: edc1c9f034335f136f87ad84b625c8f1
        role: admin                 # admin: manage all configuration data

      - name: "viewer"
        key: 4054f7cf07e344346cd3f287985e76a2
        role: viewer

  etcd:
    host:                           # it's possible to define multiple etcd hosts addresses of the same etcd cluster.
      - "http://192.168.8.249:2379"          # multiple etcd address
    prefix: "/apisix"               # apisix configurations prefix
    timeout: 30                     # 30 seconds

plugin_attr:
  prometheus:
    export_addr:
      ip: "0.0.0.0"
      port: 9091
启动服务
使用docker-compose启用APISIX
powershell
docker-compose -p docker-apisix up -d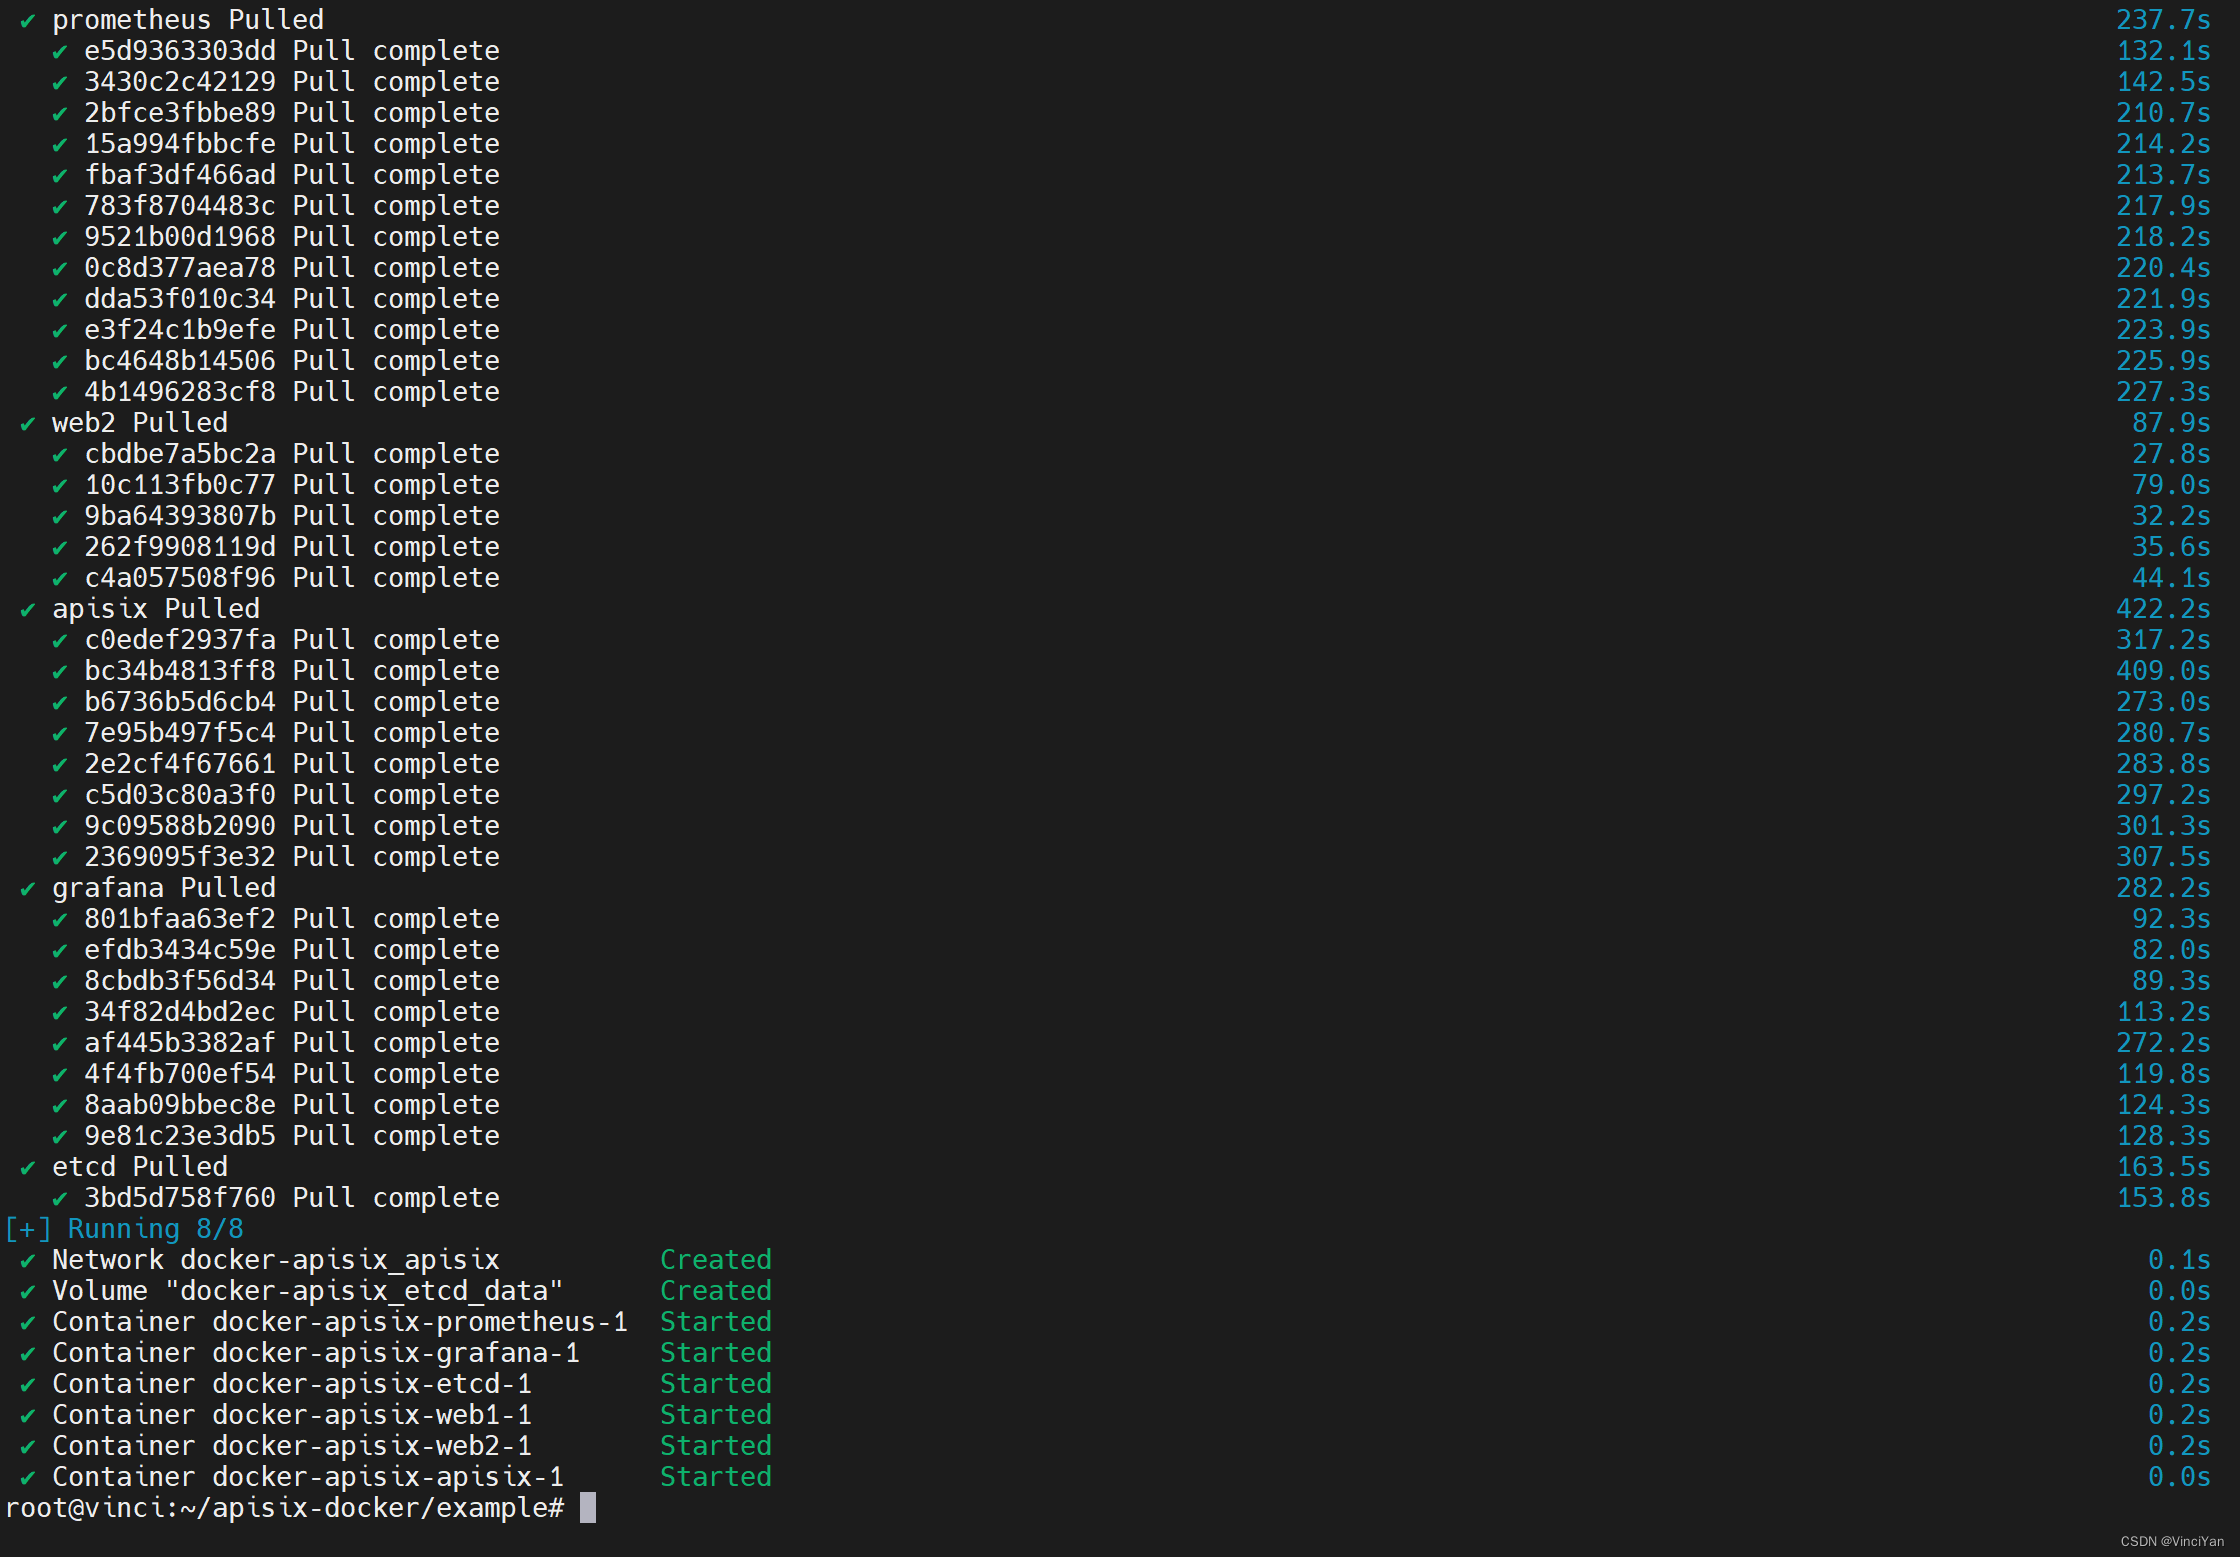
查看状态
powershell
docker stats
验证etcd,浏览器打开http://192.168.8.249:2379/version,显示如下
json
{
    "etcdserver": "3.5.11",
    "etcdcluster": "3.5.0"
}
安装Apache APISIX Dashboard
powershell
sudo mkdir -p /usr/apisix-dashboard/conf
sudo vim /usr/apisix-dashboard/conf/conf.yaml
conf.yaml文件如下。endpoints里的IP地址改为192.168.8.249,username为登录用户名,password为登录密码
yaml
conf:
  listen:
    host: 0.0.0.0   # the address on which the `Manager API` should listen.
                    # The default value is 0.0.0.0, if want to specify, please enable it.
                    # This value accepts IPv4, IPv6, and hostname.
    port: 9000      # The port on which the `Manager API` should listen.

  allow_list:       # If we don't set any IP list, then any IP access is allowed by default.
  etcd:
    endpoints:      # supports defining multiple etcd host addresses for an etcd cluster
      - 192.168.8.249:2379 # etcd install ip
authentication:
  secret:
    zQ5w5jkLDh3jZpywJ3sskrw6Yv633ruq
  expire_time: 3600     # jwt token expire time, in second
  users:                # yamllint enable rule:comments-indentation
    - username: admin       # dashboard login infomation
      password: 123456
    - username: user
      password: 123456
shell
docker pull apache/apisix-dashboard:3.0.1-alpine

docker run -d --name dashboard \
           -p 9000:9000        \
           -v /usr/apisix-dashboard/conf/conf.yaml:/usr/local/apisix-dashboard/conf/conf.yaml \
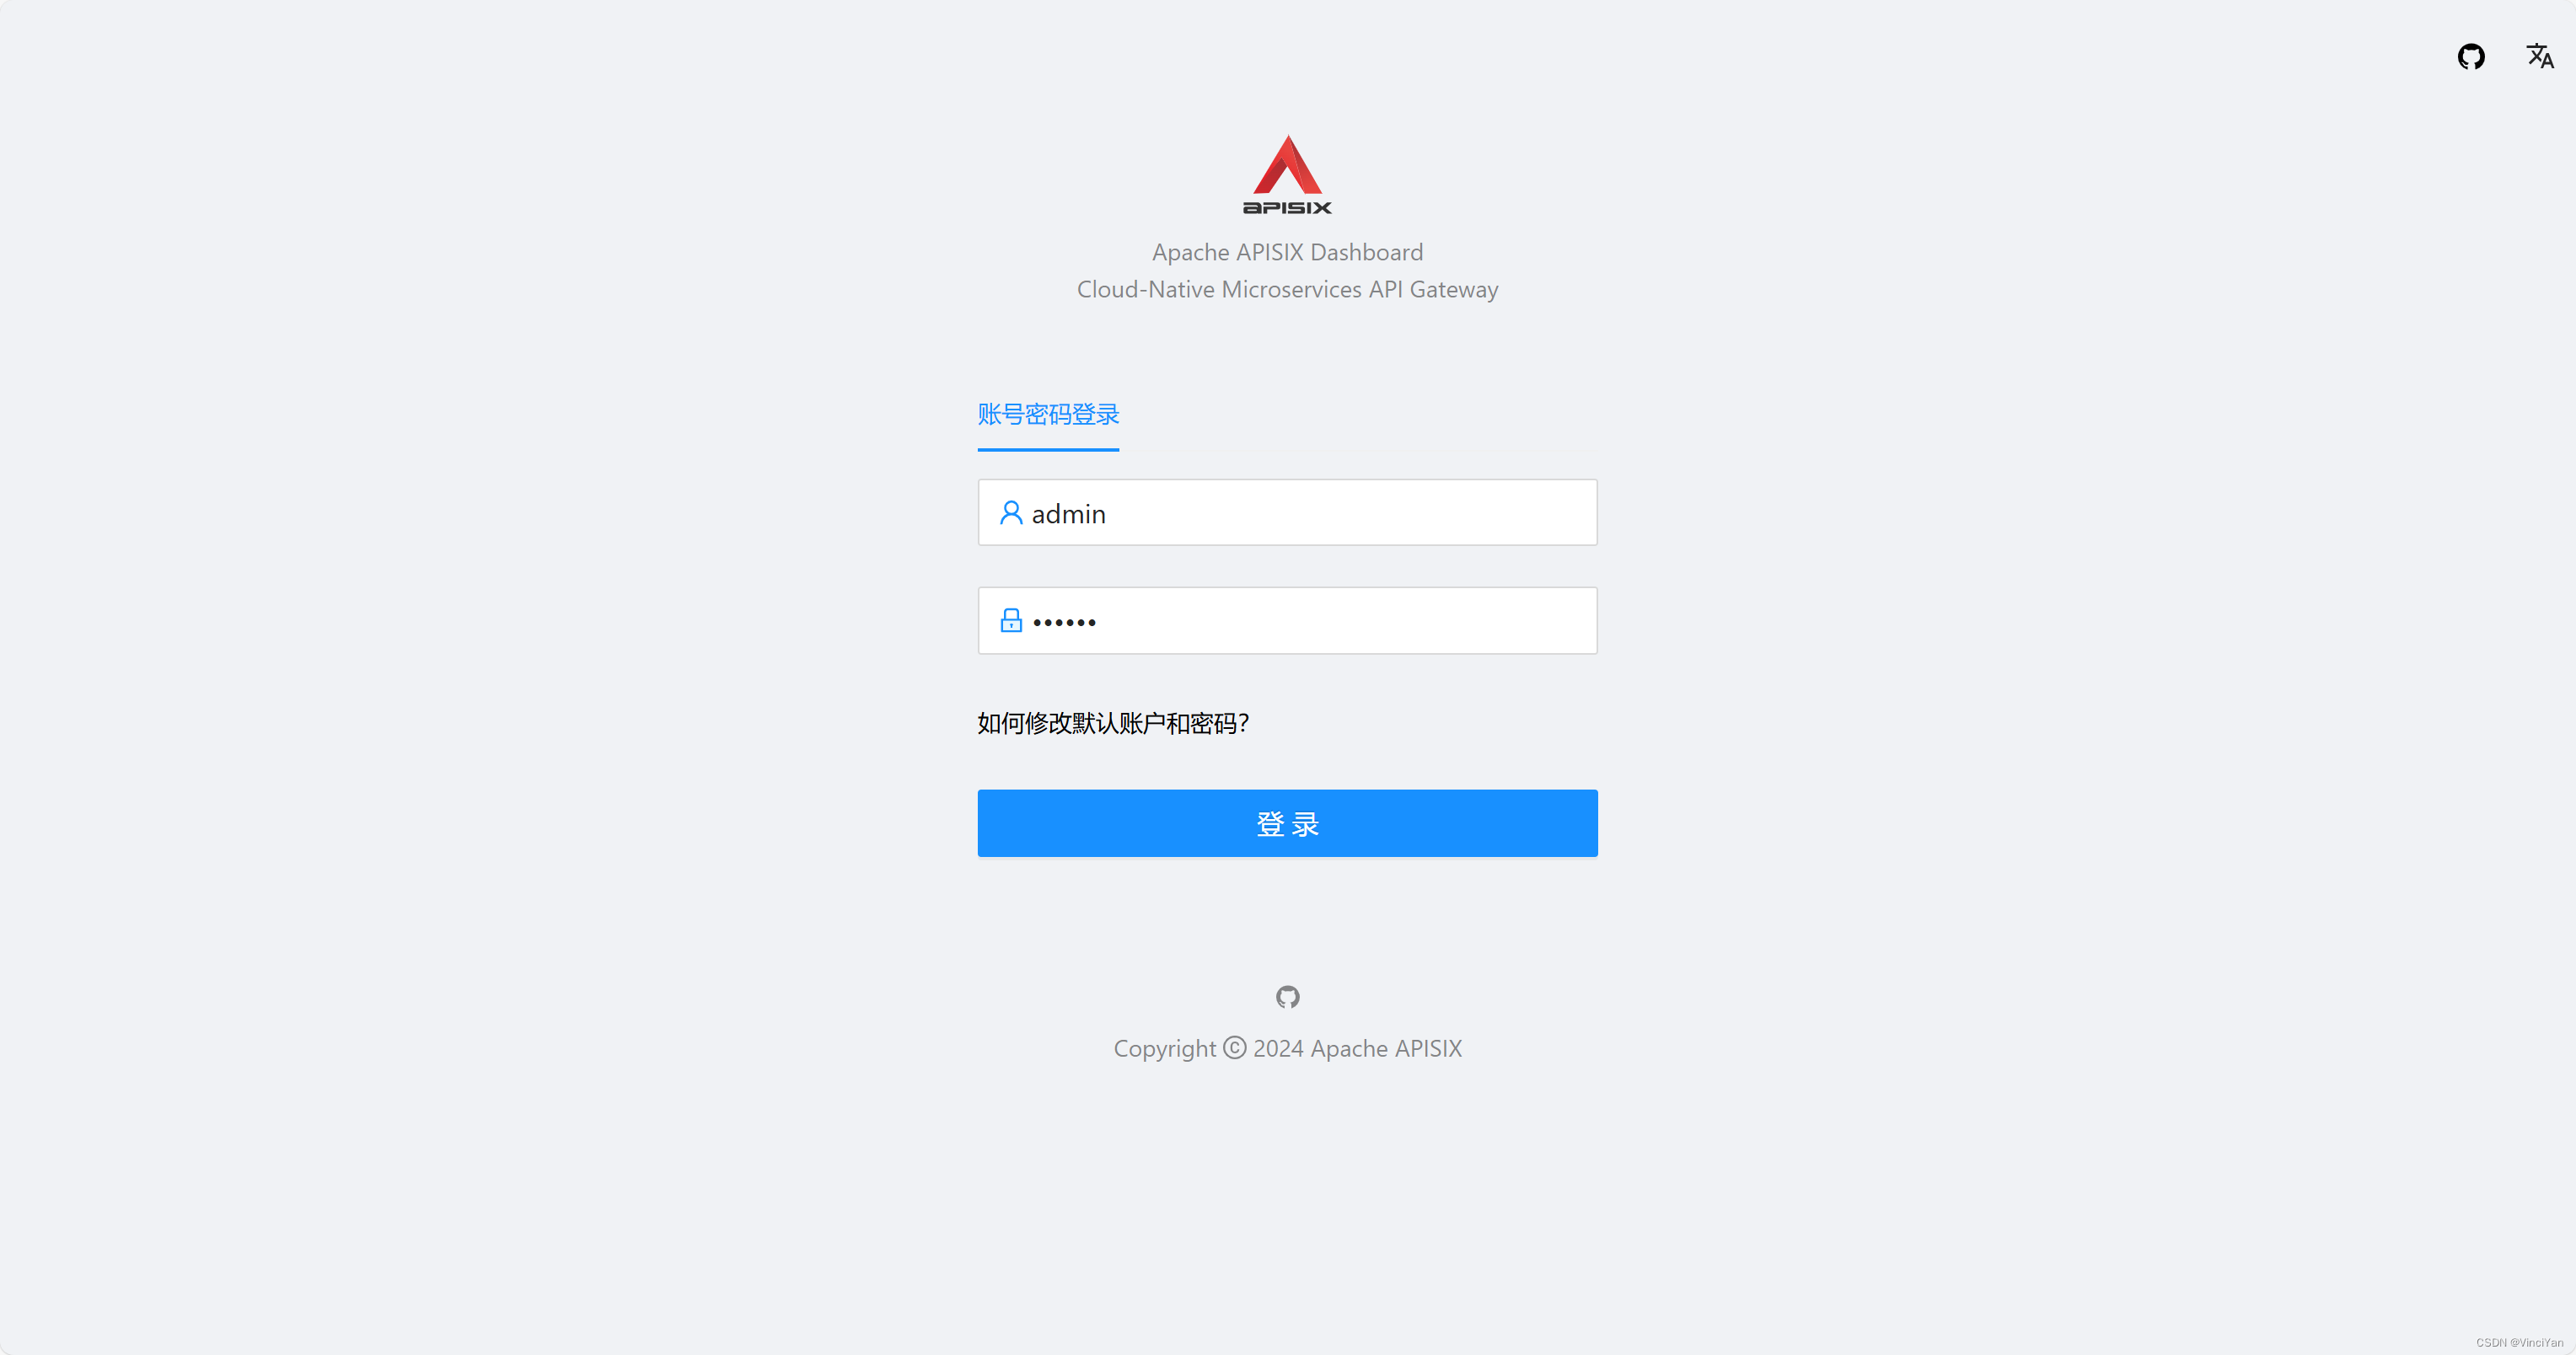
apache/apisix-dashboard:3.0.1-alpine浏览器打开"http://192.168.8.249:9000/",输入用户名和密码登录
参考