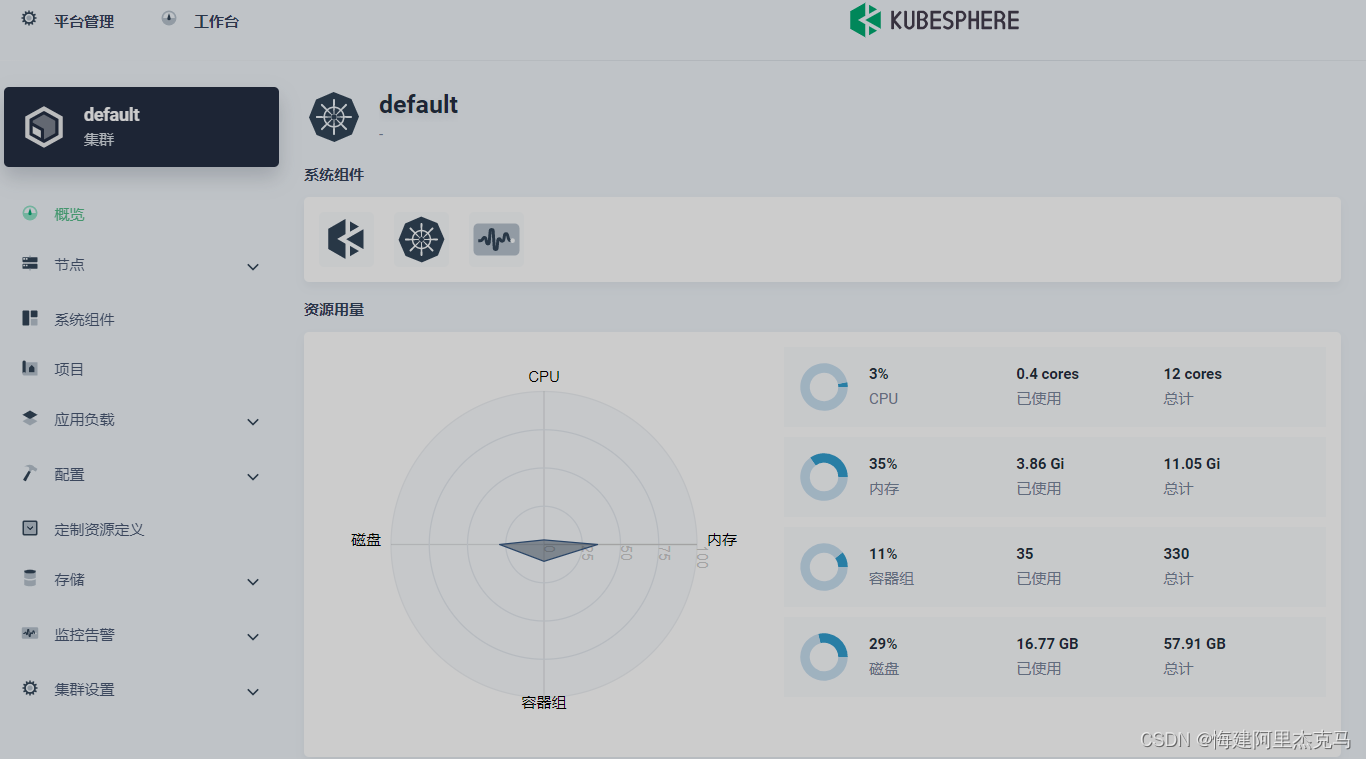
kubesphere官方部署文档
https://github.com/kubesphere/kubesphere/blob/master/README_zh.md
kubuctl命令文档
https://kubernetes.io/zh-cn/docs/reference/kubectl/
k8s资源类型
https://kubernetes.io/zh-cn/docs/reference/kubectl/#资源类型
kubectl常用指令
https://kubernetes.io/zh-cn/docs/reference/kubectl/#示例-常用操作
kubectl所有命令文档
https://kubernetes.io/docs/reference/generated/kubectl/kubectl-commands
- 配置虚拟机
hostname ip
k8s-master 192.168.152.70
k8s-node1 192.168.152.71
k8s-node2 192.168.152.72
c
#每个节点都需要执行
vi /etc/resolv.conf
nameserver 8.8.8.8
nameserver 114.114.114.114

vi /etc/hosts
192.168.152.70 k8s-master01
192.168.152.71 k8s-node1
192.168.152.72 k8s-node2
20.205.243.166 github.com  #kubekey要从github下载,使用国内的域名映射

hostnamectl set-hostname k8s-master #设置主机名
hostnamectl set-hostname k8s-node1
hostnamectl set-hostname k8s-node2

service network restart  #网络服务重启

systemctl stop firewalld && systemctl disable firewalld  #关闭防火墙

#关闭selinux 它是一个linux内核模块,也是linux的一个安全子系统。 selinux的主要作用就是最大限度地减小系统中服务进程可访问的资源
setenforce 0  #临时关闭
vi /etc/selinux/config   SELINUX=disabled #永久关闭

# 禁用虚拟内存
swapoff -a #临时
sed -ri 's/.*swap.*/#&/' /etc/fstab #永久

#设置时间同步
yum install ntpdate -y && timedatectl set-timezone Asia/Shanghai && ntpdate cn.pool.ntp.org- master节点安装kubekey
c
#前置条件
yum install -y conntrack  socat  ebtables ipset

# 从国下载镜像 KubeKey
export KKZONE=cn

# 在线下载 自动解压kk
curl -sfL https://get-kk.kubesphere.io | VERSION=v3.0.7 sh -

# 如果上面命令下载不了,可以使用这个
wget https://kubernetes.pek3b.qingstor.com/kubekey/releases/download/v3.0.7/kubekey-v3.0.7-linux-amd64.tar.gz

# 解压
tar -xvf kubekey-v3.0.7-linux-amd64.tar.gz

# 删除
rm -rf kubekey-v3.0.7-linux-amd64.tar.gz

./kk -h  #查看指令
./kk version --show-supported-k8s #查看当前版本的kubekey支持那个版本的k8s

#KubeKey 将默认安装 Kubernetes v1.23.10 kubesphere的版本为V3.3.2
./kk create config --with-kubesphere v3.3.2

 #执行上面命令生成的配置文件修改下列内容
apiVersion: kubekey.kubesphere.io/v1alpha2
kind: Cluster
metadata:
  name: sample
spec:
  hosts:
  - {name: k8s-master, address: 192.168.152.70, internalAddress: 192.168.152.70, user: root, password: "123456"}
  - {name: k8s-node1, address: 192.168.152.71, internalAddress: 192.168.152.71, user: root, password: "123456"}
  - {name: k8s-node2, address: 192.168.152.72, internalAddress: 192.168.152.72, user: root, password: "123456"}
  roleGroups:
    etcd:
    - k8s-master
    control-plane:
    - k8s-master
    worker:
    - k8s-master
    - k8s-node1
    - k8s-node2
  controlPlaneEndpoint:
    ## Internal loadbalancer for apiservers
# internalLoadbalancer: haproxy- 自动生成自动安装k8s和kubesphere
c
export KKZONE=cn

# 创建集群
./kk create cluster -f config-sample.yaml


#出现下面内容则创建完成
Console: http://192.168.152.70:30880
Account: admin
Password: P@88w0rd
NOTES:
  1. After you log into the console, please check the
     monitoring status of service components in
     "Cluster Management". If any service is not
     ready, please wait patiently until all components
     are up and running.
  2. Please change the default password after login.