目录
[5.1 备份](#5.1 备份)
[5.2 恢复](#5.2 恢复)
1、挂载数据卷到容器里
bash
docker run -itd --name test02 -v /data nginx 
bash
docker exec -it test02 bash

ls /
bash
docker inspect test02 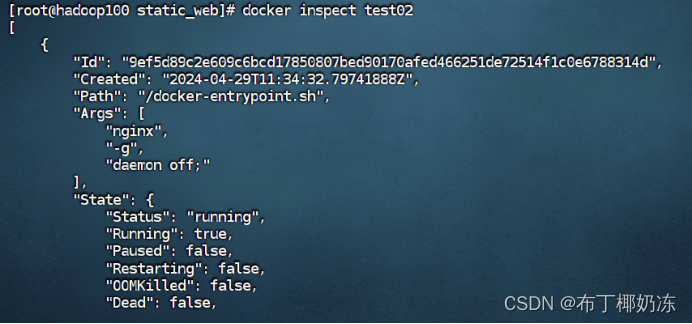
2、查询挂载文件
bash
docker inspect -f '{{.Config.Volumes}}' 9ef5d89c2e60
bash
docker rm -vf test02 
3、容器与主机之间映射共享卷
bash
mkdir /root/html

cd /root/html

echo "I am your host volume HTML." > /root/html/index.html
bash
docker run -itd --name web -p 80:80 -v /root/html:/usr/share/nginx/html nginx
bash
# 运行不成功使用下面这条
docker run -itd --name web --privileged -p 80:80 -v /root/html:/usr/share/nginx/html nginx
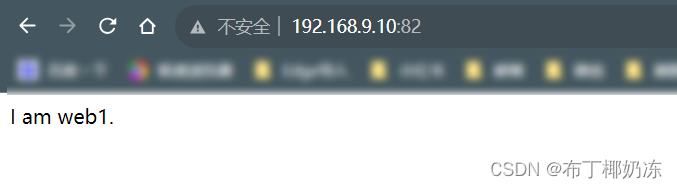
访问http://192.168.9.10:82(ip地址为虚拟机ip)

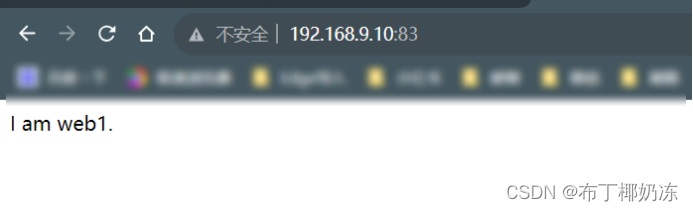
4、三个容器之间使用共享卷
bash
docker run -itd --name web1 -p 81:80 -v /usr/share/nginx/html nginx

docker run -itd --volumes-from web1 --name web2 -p 82:80 nginx

docker run -itd --volumes-from web1 --name web3 -p 83:80 nginx

docker exec -it web1 /bin/bash

echo "I am web1." > /usr/share/nginx/html/index.html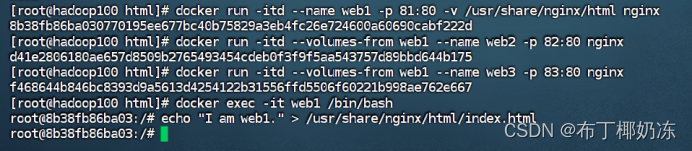
运行截图:(可以看到成功共享)

5、卷数据的备份与恢复
5.1 备份
bash
docker run --volumes-from web --privileged -v $(pwd):/backup nginx tar cvf /backup/backup.tar /usr/share/nginx/html
bash
# 运行不成功用下面这条
docker run --volumes-from web -v $(pwd):/backup nginx tar cvf /backup/backup.tar /usr/share/nginx/html
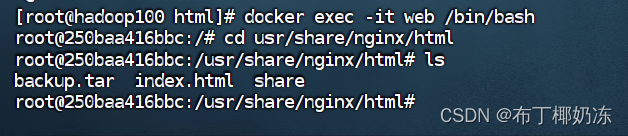
查看:

5.2 恢复
bash
docker run --volumes-from web -v $(pwd):/backup nginx tar xvf /backup/backup.tar -C /usr/share/nginx/html --strip-components=1
bash
# 运行不成功用下面这条
docker run --volumes-from web --privileged -v $(pwd):/backup nginx tar xvf /backup/backup.tar -C /usr/share/nginx/html --strip-components=1
bash
docker exec -it web /bin/bash