前言
上一篇文章中,我们成功的设置好了游戏窗口的背景颜色,并且在窗口底部中间位置将飞船加载出来了。
今天,我们将通过代码让飞船移动。
移动飞船
-
想要移动飞船,先要明白飞船位置变化的本质是什么。
通过上一篇文章,我们已经知道了飞船实际上是通过在窗口指定x,y坐标轴位置渲染出的一张外接矩形的图片。外接矩形的图片,就是飞船的"本质",移动飞船的本质,就是移动这张图片。
-
怎么移动飞船?
在理解了移动飞船的本质就是移动图片后,我们要做的就是使用代码,实现图片移动的功能。而图片的渲染是通过图片外接矩形的坐标调用
blit函数实现的,所以我们想要移动图片,就要修改飞船图片外接矩形的坐标实现,具体到我们的代码就是通过修改属性self.rect.centerx和self.rect.bottom的值,调用blit函数重新加载图片,从而实现图片的移动,展现出飞船移动的效果。飞船x,y值变化反馈到飞船移动的方向如下(不要搞混了,窗口左上顶点的坐标是(0,0)):
- 向右移动x坐标值增加
- 向左移动x坐标值减少
- 向上移动y坐标值减少
- 向下移动y坐标值增加
代码编写
在之前基础模块的编写中,我们已经定义了一个move函数,并且用pass进行占位,那么我们就要对这个函数进行业务代码实现编写。
-
首先我们需要定义四个标识字段,这几个字段用于标识飞船当前应该往哪移动。这四个字段属于飞船对象自身的属性。
python# 移动标志 self.moving_right = False self.moving_left = False self.moving_top = False self.moving_bottom = False -
我们在
move函数中通过当前移动标志的值判断应该往哪里移动,并且进行坐标值的修改。pythondef move(self): """移动飞船""" if self.moving_right: self.rect.centerx += 1 if self.moving_left: self.rect.centerx -= 1 if self.moving_top: self.rect.bottom -= 1 if self.moving_bottom: self.rect.bottom += 1 -
函数修改好以后,我们需要处理监听事件中按键相关的时候。我们按下对应的方向键按钮以后,需要将对应方向移动标识设置与True,弹起按键时设置移动标识为False。
pythondef check_event(ship): for event in pygame.event.get(): if event.type == pygame.QUIT: pygame.quit() sys.exit() elif event.type == pygame.KEYDOWN: if event.key == pygame.K_RIGHT: ship.moving_right = True elif event.key == pygame.K_LEFT: ship.moving_left = True elif event.key == pygame.K_UP: ship.moving_top = True elif event.key == pygame.K_DOWN: ship.moving_bottom = True elif event.key == pygame.K_q: pygame.quit() elif event.type == pygame.KEYUP: if event.key == pygame.K_RIGHT: ship.moving_right = False elif event.key == pygame.K_LEFT: ship.moving_left = False elif event.key == pygame.K_UP: ship.moving_top = False elif event.key == pygame.K_DOWN: ship.moving_bottom = False -
在监听事件之后,屏幕更新之前,调用飞船的
move函数。pythondef run_game(): """启动游戏""" # 初始化pygame pygame.init() # 定义一个系统设置对象 setting = Setting() # 新建窗口 screen = pygame.display.set_mode((setting.screen_width, setting.screen_height)) # 窗口命名 pygame.display.set_caption(setting.caption) # 定义一个飞船对象 ship = Ship(setting, screen) while True: # 处理监听事件 gf.check_event(ship) # 移动飞船 ship.move() # 刷新屏幕 gf.update_screen(setting, screen, ship) if __name__ == '__main__': run_game()
这个时候只要你启动服务,按下方向键,你就可以自由的的控制你的飞船了。

边界问题
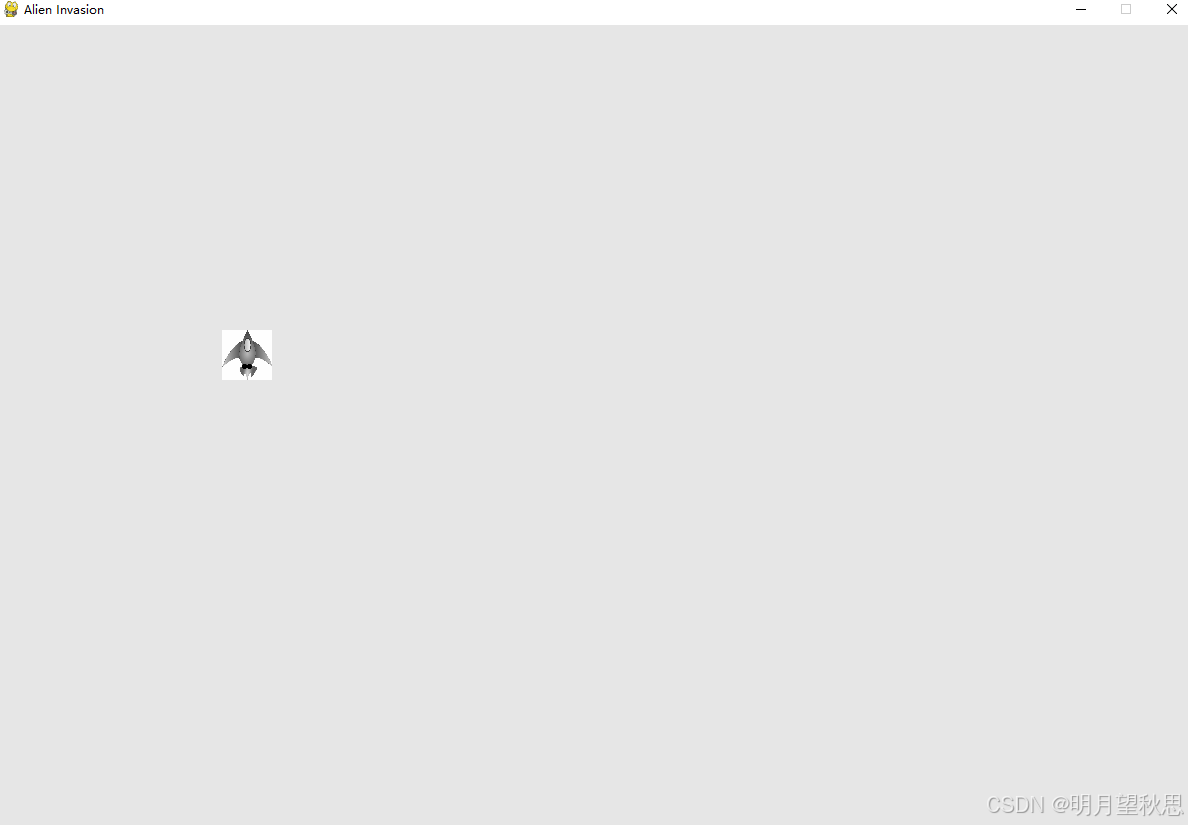
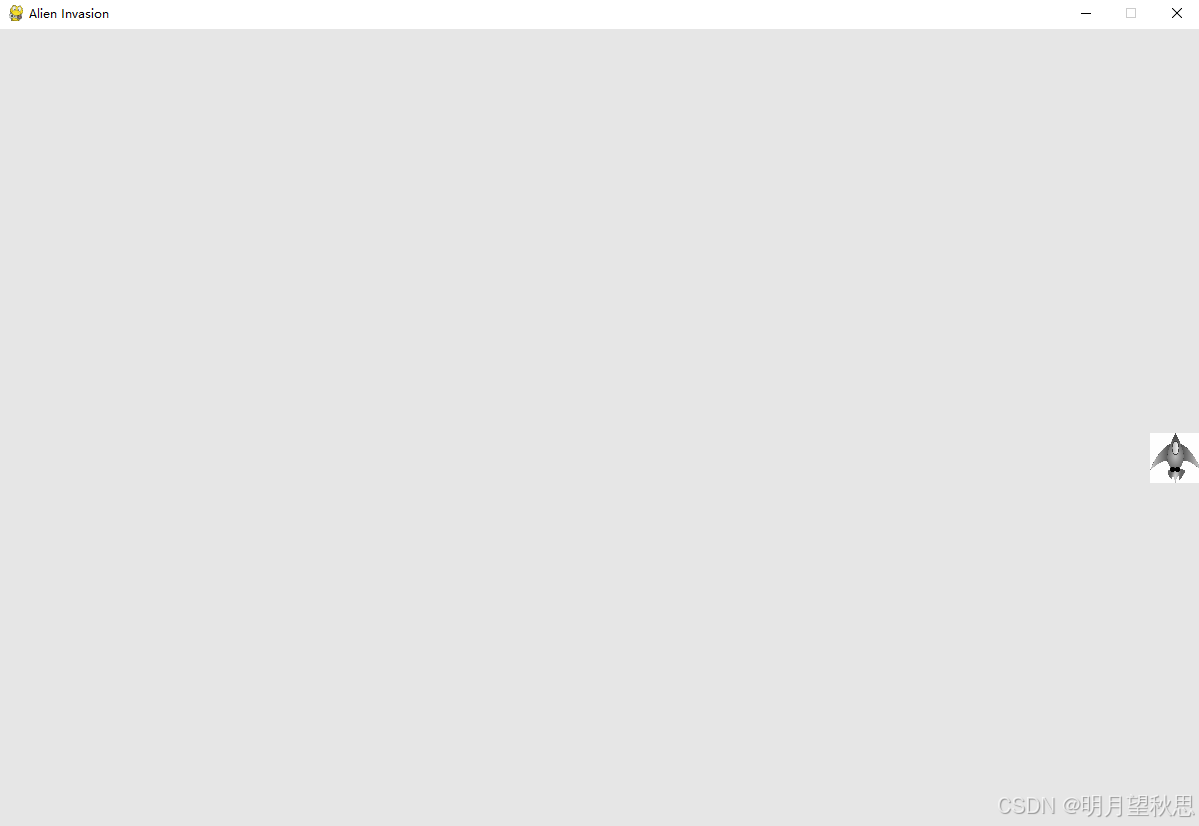
当你整开始的移动你的飞船的时候,你会突然发现:

实际上,是你的飞船越过了窗口的边界,导致你的飞船消失不见了。因为pygame所有图形和游戏逻辑都将基于这个窗口大小进行计算和渲染。
这个问题怎么解决呢?很简单,在飞船移动的函数中定义,超过边界不允许移动。
优化代码如下:
python
def move(self):
    """移动飞船"""
    if self.moving_right and self.rect.right < self.screen_rect.right:
        self.rect.centerx += 1
    if self.moving_left and self.rect.left > self.screen_rect.left:
        self.rect.centerx -= 1
    if self.moving_top and self.rect.top > self.screen_rect.top:
        self.rect.bottom -= 1
    if self.moving_bottom and self.rect.bottom < self.screen_rect.bottom:
        self.rect.bottom += 1
代码中的修改就是对修改坐标的条件增加了一个对应方向的限制。
代码解释如下:
- 向右移动时,飞船的右 边界要在游戏窗口的右 边界左边才运行飞船向右移动
- 向左移动时,飞船的左 边界要在游戏窗口的左 边界右边才运行飞船向左移动
- 向上移动时,飞船的上 边界要在游戏窗口的上 边界下边才运行飞船向左移动
- 向下移动时,飞船的下 边界要在游戏窗口的下 边界上边才运行飞船向左移动
重新启动,你就会发现你的飞船在窗口边界不会再移动了。

结尾
那么到目前为止,我们的飞船已经可以在游戏窗口内自由的移动了。
接下来就准备就让我们的飞船发射子弹。