在Excel里利用坐标绘图时,可以比较容易想到采用数据透视表,但是数据透视表生成的图不可更改,因此本案例采用VBA进行坐标变换而不改变原始值来转换图像,即实现图像的左右翻转和上下翻转,如下图所示,选择map的坐标象限后点击"start"即可实现图像的翻转方向。


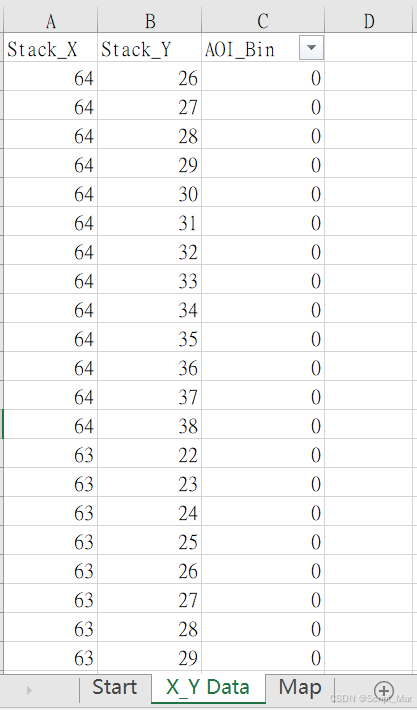
利用坐标画图即将横纵坐标对应excel的行和列,将数值写入单元格中,从而形成带行列的map,具体做法已经在VBA应用实战案例(5)里面阐述过,本案例的重点是利用特定公式转换坐标的方法来转换数值在excel中的位置,从而实现图像变换的目的。
具体实现代码如下,值得注意的是,案例中定义的象限和数学中的象限并不一样,只是便于表达而已,可以根据需要修改成其他描述。
vbnet
Private Sub ComboBox1_Change()
    Quadrant = ComboBox1.Text
End Sub
vbnet
Private Sub Workbook_Open()
Sheet1.ComboBox1.Clear
Sheet1.ComboBox1.AddItem "1st"
Sheet1.ComboBox1.AddItem "2nd"
Sheet1.ComboBox1.AddItem "4th"

Sheet1.ComboBox1.Text = "1st"
Quadrant = "1st"
End Sub
vbnet
Public Quadrant As String
Sub Macro1()

    Sheets("Map").Select
    Sheet3.Cells.Select
    With Selection
        .ClearContents
    End With

    With Sheet1
        X_Max = .Cells(3, 3)
        Y_Max = .Cells(3, 5)
    End With

    Dim Map_bin(99, 99)
    GrossDie = 9999

    For i = 1 To GrossDie
        With Sheet2
            t1 = .Cells(i + 1, 1)
            t2 = .Cells(i + 1, 2)
            t3 = .Cells(i + 1, 3)
        End With
        Map_bin(t1, t2) = t3
    Next

    For X = 1 To X_Max
        For Y = 1 To Y_Max
        With Sheet3
        Select Case (Quadrant)
            Case "4th"
                .Cells(1, X + 1) = X - 1
                .Cells(Y + 1, 1) = Y - 1
                .Cells(Y + 1, X + 1) = Map_bin(X - 1, Y - 1)

            Case "2nd"
                .Cells(Y_Max + 1, X) = X_Max - X
                .Cells(Y, X_Max + 1) = Y_Max - Y
                .Cells(Y_Max - Y + 1, X_Max - X + 1) = Map_bin(X - 1, Y - 1)

            Case "1st"
                .Cells(Y_Max + 1, X + 1) = X - 1
                .Cells(Y, 1) = Y_Max - Y
                .Cells(Y_Max - Y + 1, X + 1) = Map_bin(X - 1, Y - 1)
            End Select

        End With
        Next
    Next
'
End Sub
代码实现效果如下图。
4th象限坐标

2nd象限坐标:

1st象限坐标:
