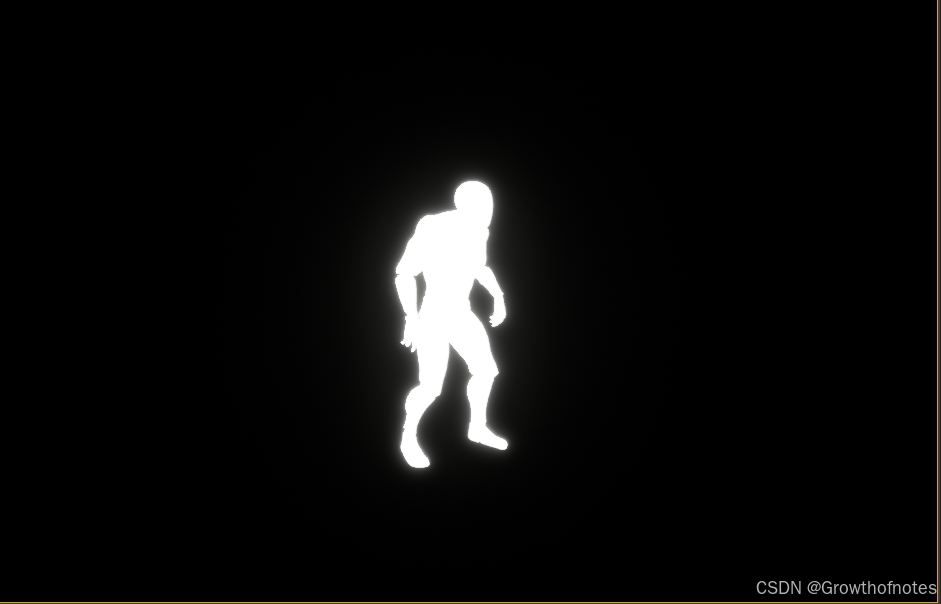
效果:
步骤:
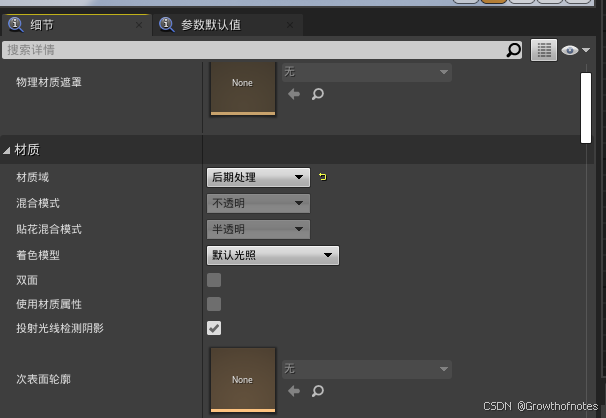
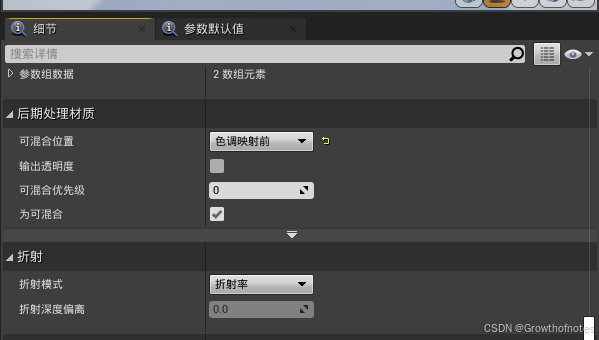
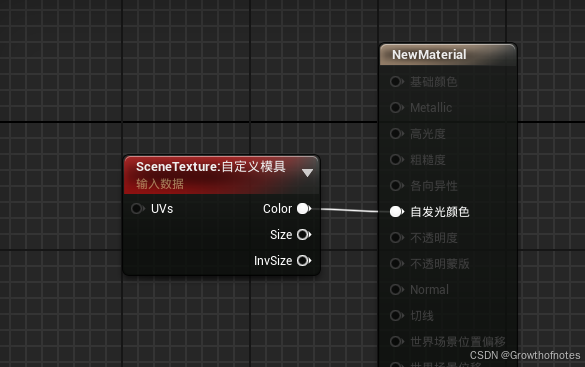
1、创建后期处理材质,并设置参数。
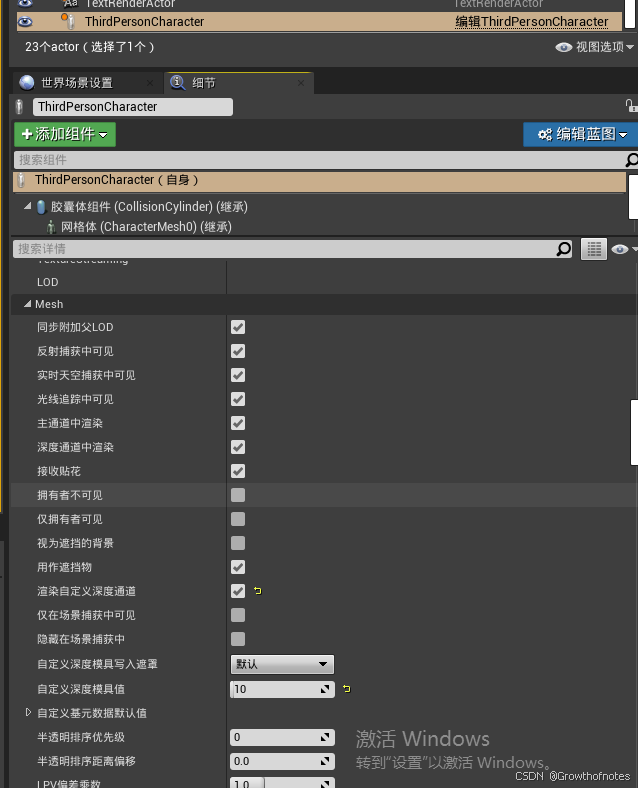
2、回到主界面,找到需要发光的物体的细节面板。
渲染自定义深度通道,默认自定义深度模具值为10(需要修改此值,此值影响物体的亮度)。
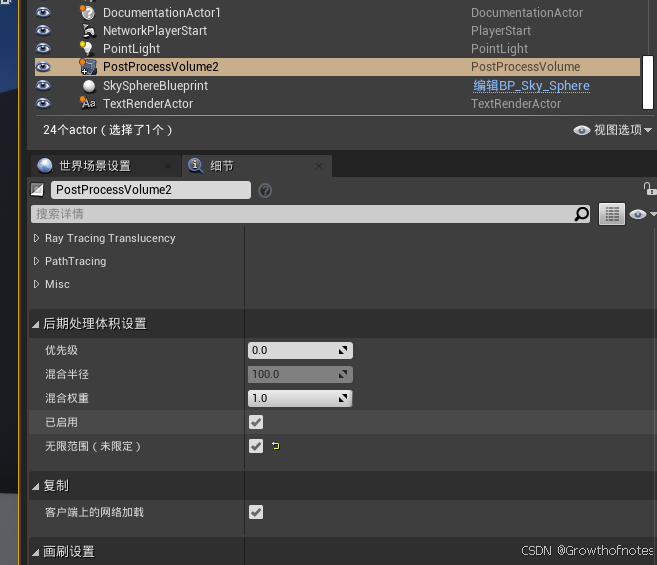
3、添加后处理体积,开启无限范围。
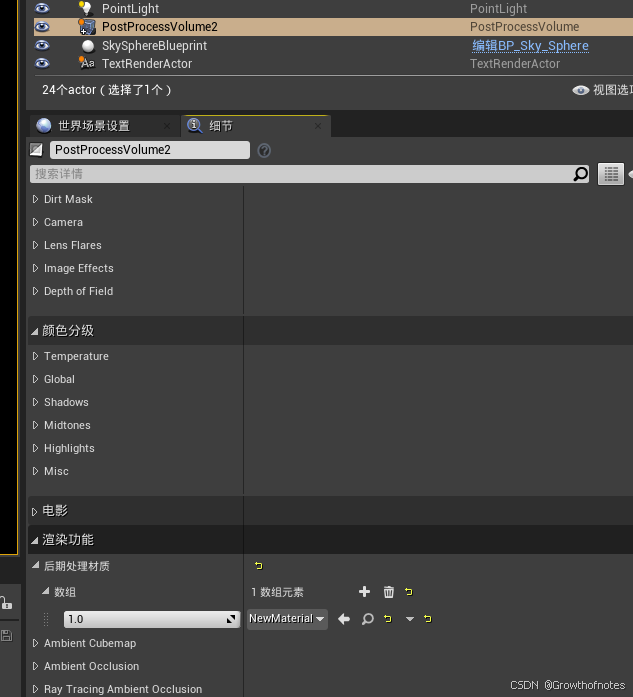
引用上面做好的后处理材质(资产引用)。
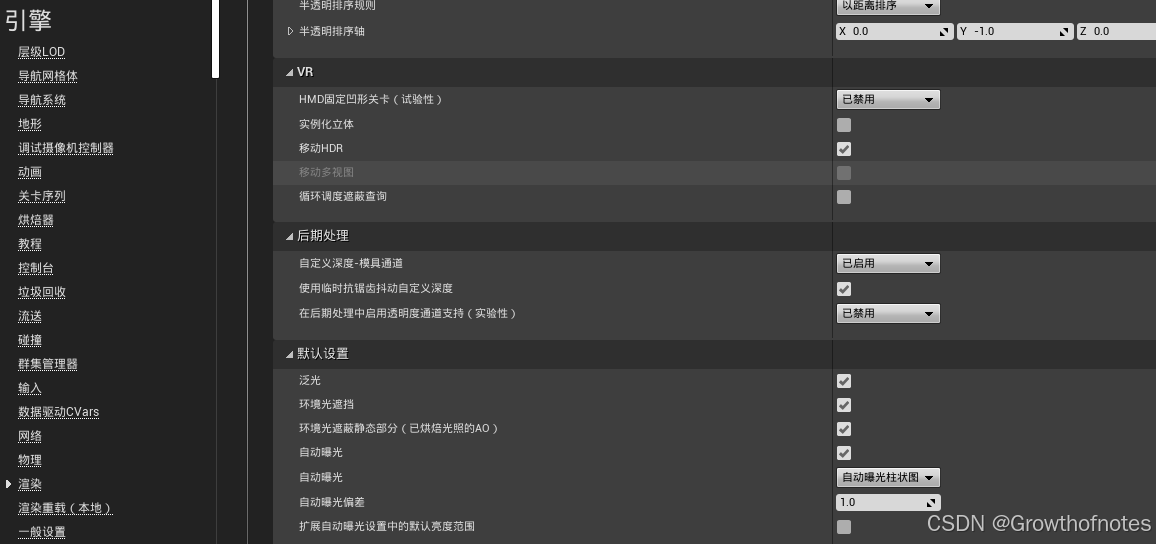
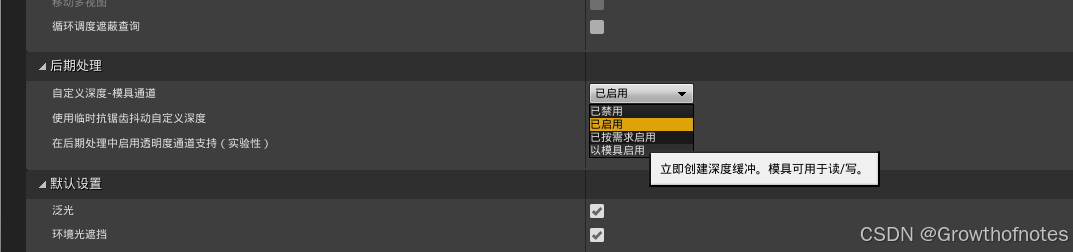
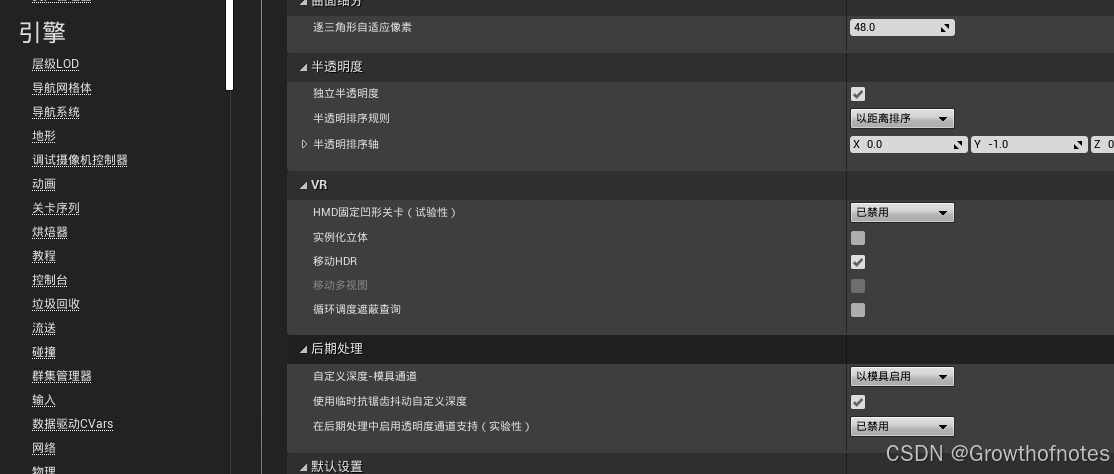
4、项目设置-渲染下的后期处理下的参数需要修改,自定义深度-模具通道需要由已启用修改为以模具启用。
观察效果:
知识点:
自定义深度
这项单独的功能通过将某些对象渲染到另一个深度缓冲区(称为自定义深度缓冲区)中来启用对这些对象的遮罩。 这增加了额外的绘制调用,但不使用更多材质。 渲染的成本相当低,因为我们只输出深度。 该功能可以在网格体上激活 (例如静态网格体属性/渲染自定义深度):
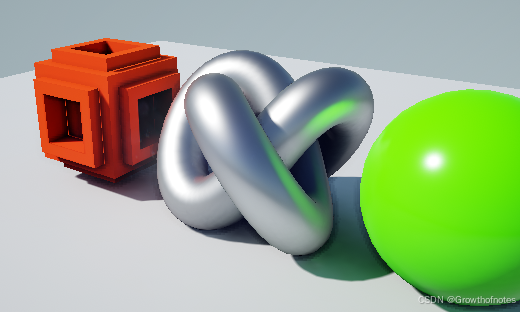
在这个场景中,我们在两个对象上激活了该功能,但是如果没有后期处理通道对内容进行可视化处理,该功能仍然是不可见的:
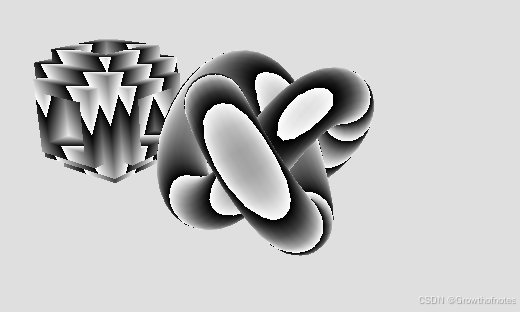
这里我们可以看到自定义深度的可视化效果,如下:
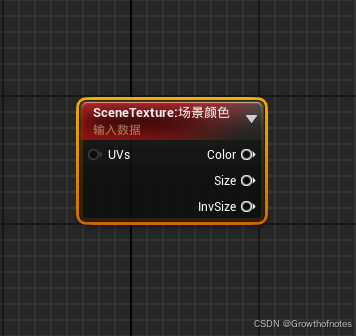
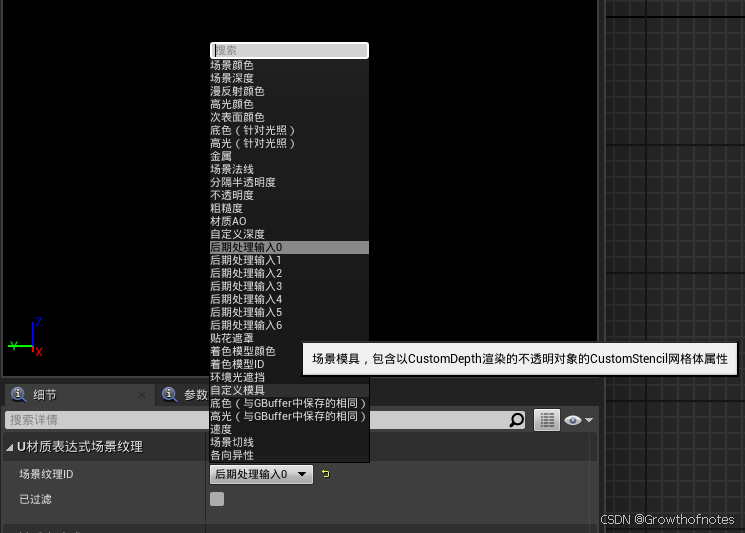
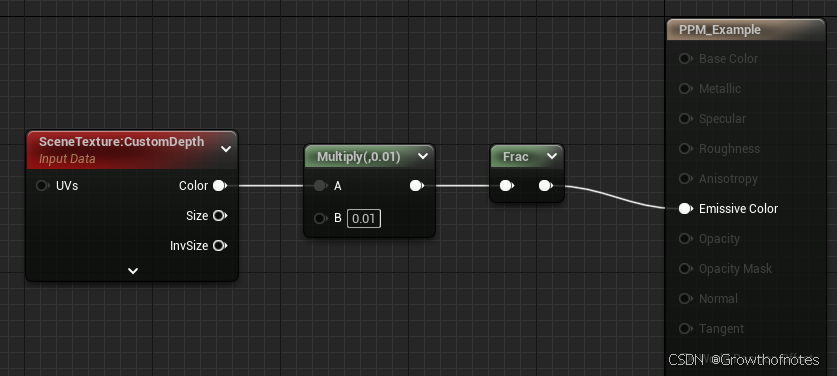
这是我们用来对其进行可视化的材质:
自定义深度模具
自定义深度模具(Custom Depth Stencil)是自定义深度(Custom Depth)的扩展,你可以在其中使用渲染对象的模具或挖剪,然后做一些视觉效果上比较有趣的东西(如下例所示), 使你能够可视化遮挡对象,绘制对象轮廓,或仅从特定视角可见。 通过访问场景中Actor的模具, 你可以做很多事情。 使用以下设置可启用并指定模具值。

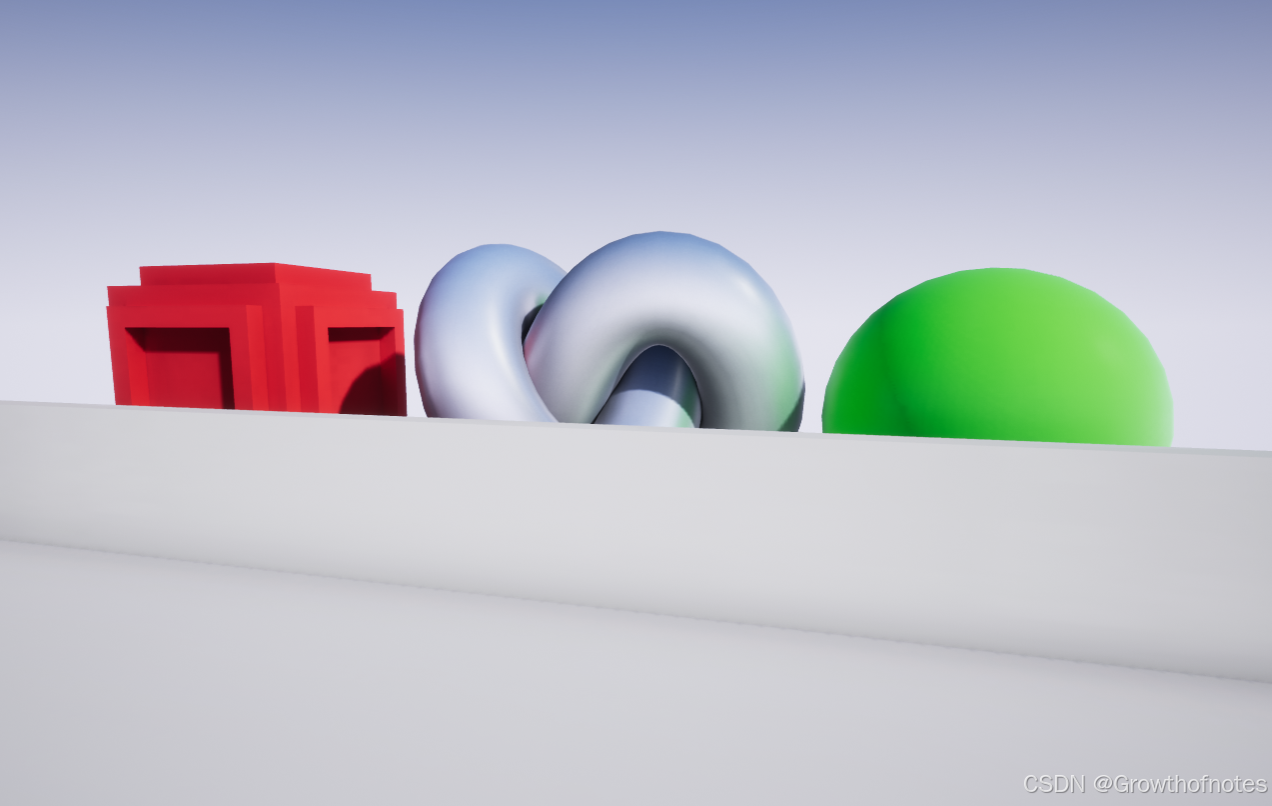
在这个场景中,在三个对象上启用了自定义深度(Custom Depth),并且为每个对象设置了 自定义深度模具值(Custom Depth Stencil Value),但是如果没有任何后期处理通道来可视化内容,该功能仍然是不可见的。
一旦设置好后期处理材质,就可以可视化自定义深度模具的外观,根据使用的 自定义深度模具值(Custom Depth Stencil Value),使用随机指定的颜色渲染被遮挡的对象。
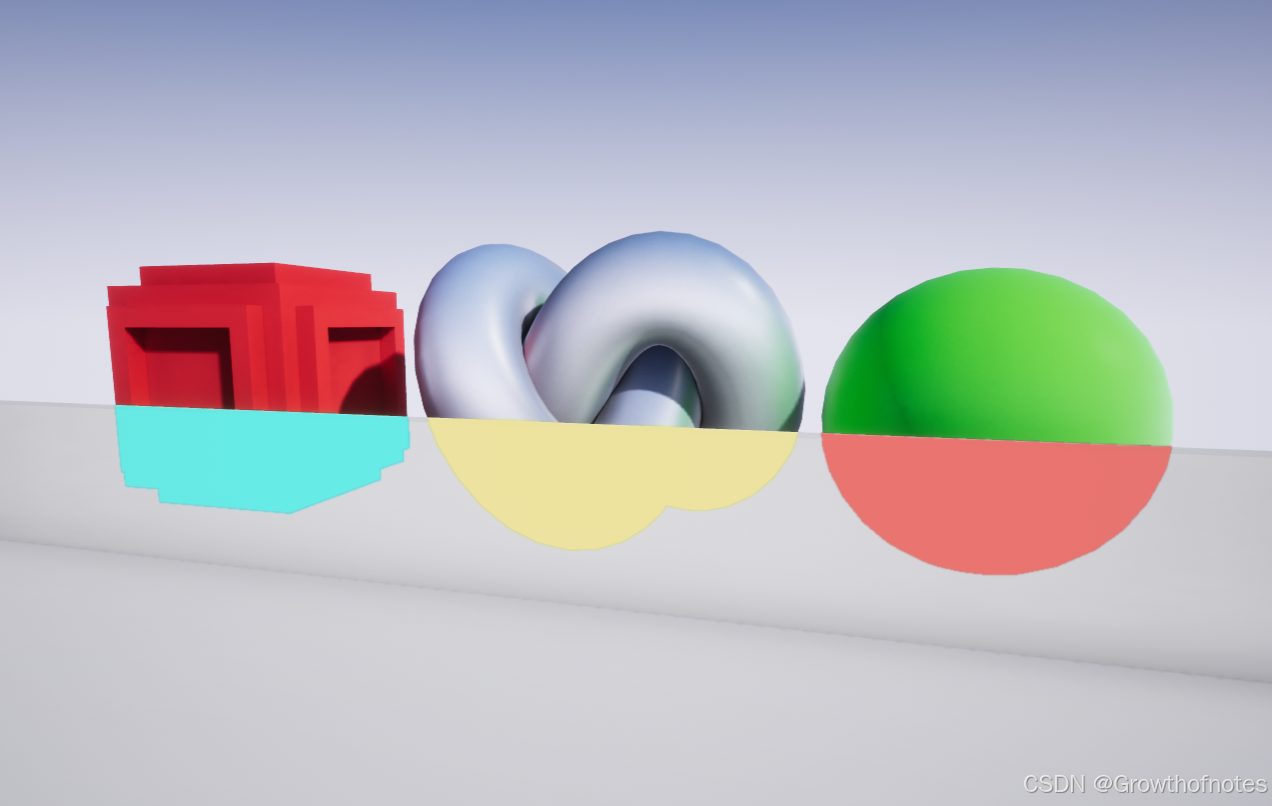
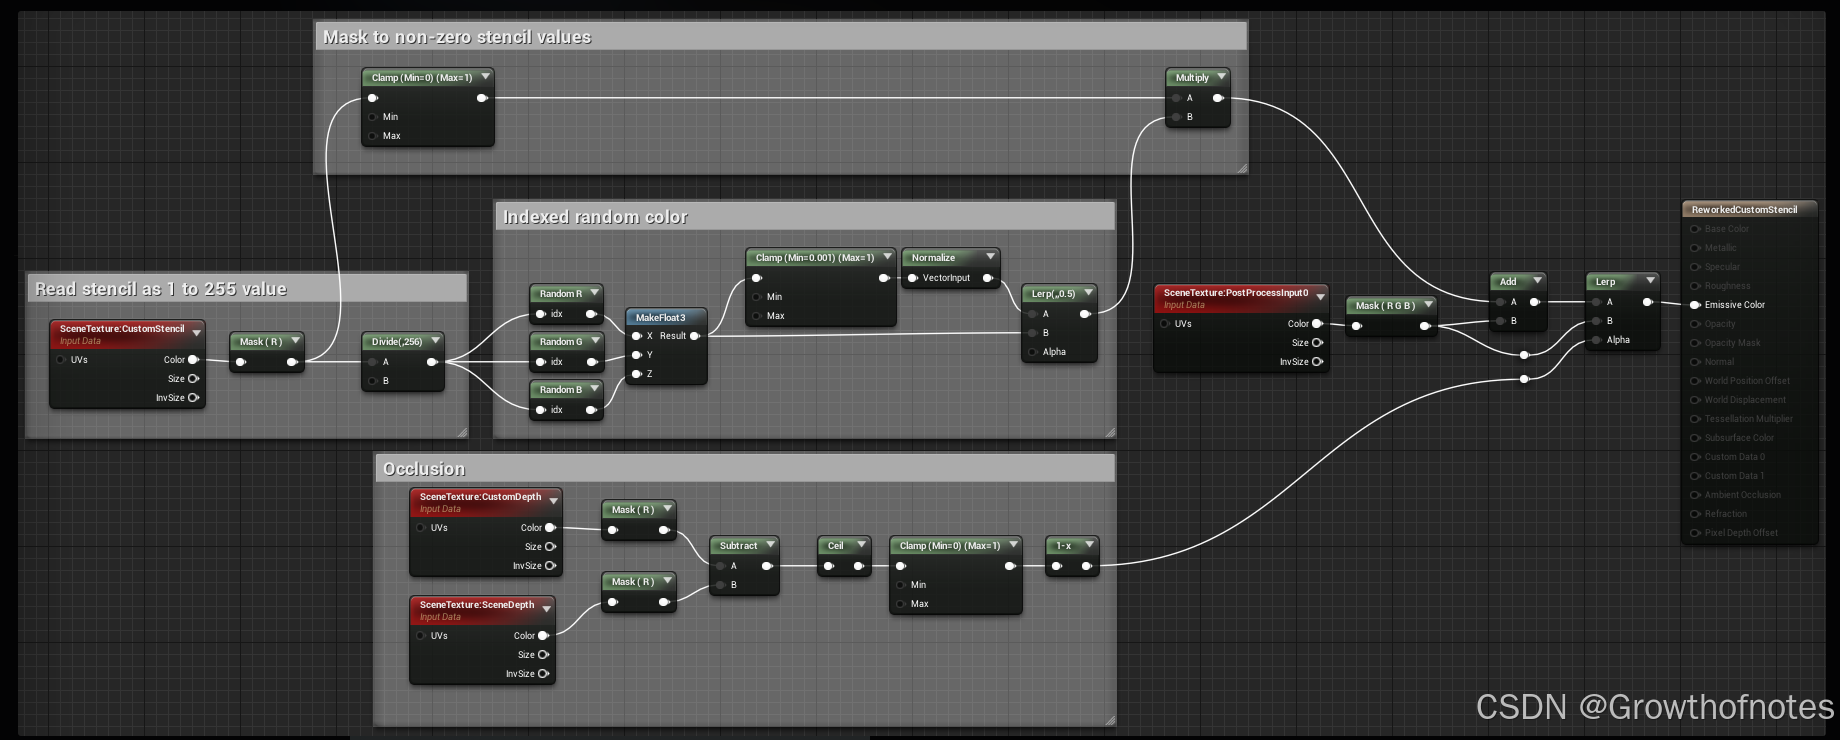
这是我们用来对其进行可视化的材质设置:
这绝不是使用自定义深度模具(Custom Depth Stencil)的唯一方法,在这个特殊的材质设置中,对该模具进行了划分,使其使用1到255之间的值,对介于这些值之间的任何值使用一个遮罩, 并为这些值创建一个随机颜色,以便当自定义深度模具值(Custom Depth Stencil Value)更改时,颜色也随之更改, 最后,所创建的遮罩仅在对象被遮挡时才对模具进行着色。