官网文档地址:Elasticsearch Guide 8.13
官网下载地址:Download Elasticsearch
1. 下载安装
1、下载对应系统的版本
这里下载的 Elasticsearch 版本为 8.13.2,Elasticsearch 依赖 Java,因此要先在服务器上安装 JDK,不过高版本的 Elasticsearch 已经内置了 JDK

2、上传到服务器上,解压
bash
tar -xzf elasticsearch-8.13.2-linux-x86_64.tar.gz3、创建新用户
Elasticsearch 不能在 root 用户下启动,因此需要创建一个新用户或者使用其他非 root 用户来启动,将 Elasticsearch 执行目录的所属更改为该用户
bash
groupadd es && useradd es -g es
chown -R es:es elasticsearch-8.13.2
4、修改内存大小
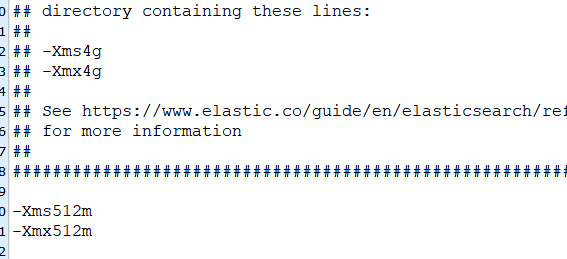
默认分配的内存大小为 4G,服务器内存不足可以手动调整分配内存大小,修改 /config/jvm.options 文件
5、修改 /config/elasticsearch.yml 配置文件
cluster.name:集群名称,集群下所有节点保持一致node.name:节点名称path.data:数据目录,一般可默认,在执行目录下path.logs:日志目录,一般可默认,在执行目录下network.host:服务器地址,有几个特殊的预设值,具体可见 Networking | Elasticsearch Guide 8.13,默认为 192.168.0.1http.port:端口,默认 9200discovery.seed_hosts:服务发现种子主机,用于配置集群中其他节点cluster.initial_master_nodes:初始主节点
6、修改最大内存限制,修改 /etc/sysctl.conf 文件,这里的值为 Elasticsearch 要求的最小值
bash
vm.max_map_count = 262144加载配置
bash
sysctl -p7、使用非 root 用户启动 Elasticsearch,-d 表示后台启动
bash
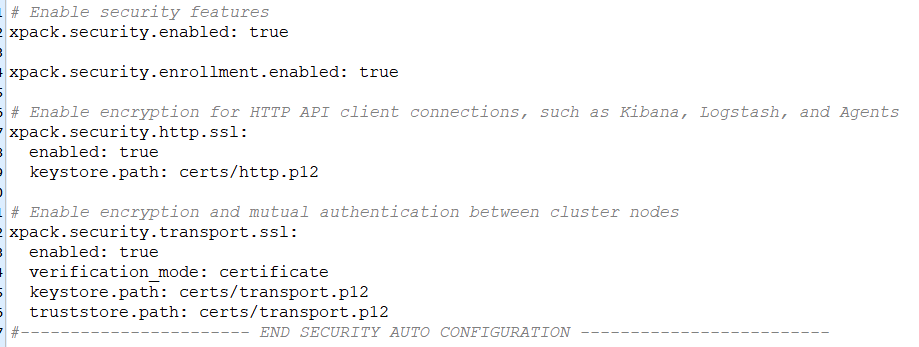
./bin/elasticsearch -d一般默认会开启安全配置,会自动生成证书文件并在配置文件里自动添加相关配置
8、测试,访问 https://ip:9200,输入用户名密码,在启动时会输出到控制台或者去日志文件查看
bash
Password for the elastic user (reset with `bin/elasticsearch-reset-password -u elastic`):
  r3m5YCt8V=OyGourmPYv
或者直接执行 bin/elasticsearch-reset-password -u elastic 生成一个新密码,获取到如下信息即表示成功

上面默认开启了 ssl,也就是 https 访问,在使用 Java 连接时默认会去验证证书相关,可以将 xpack.security.http.ssl.enable 设置为 false,使用 http 访问
2. 使用
需要带上用户名密码
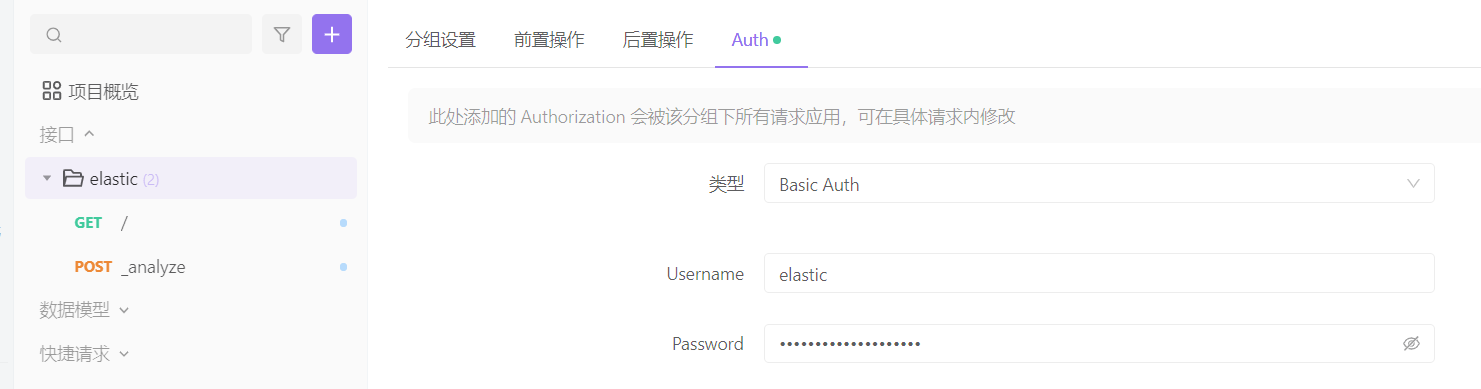
1、直接查看服务状态
bash
GET https://ip:9200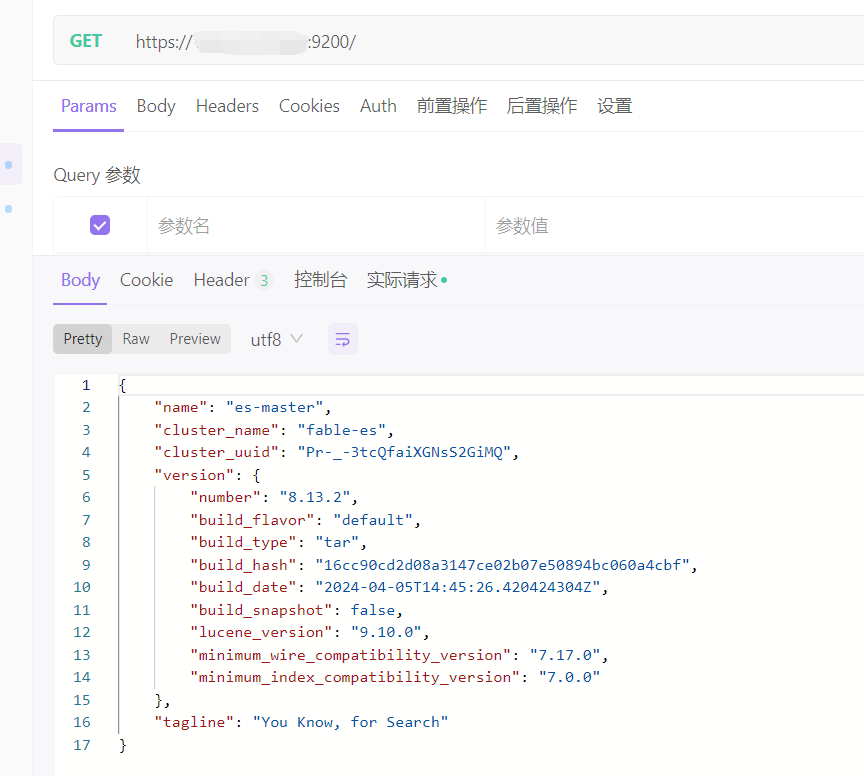
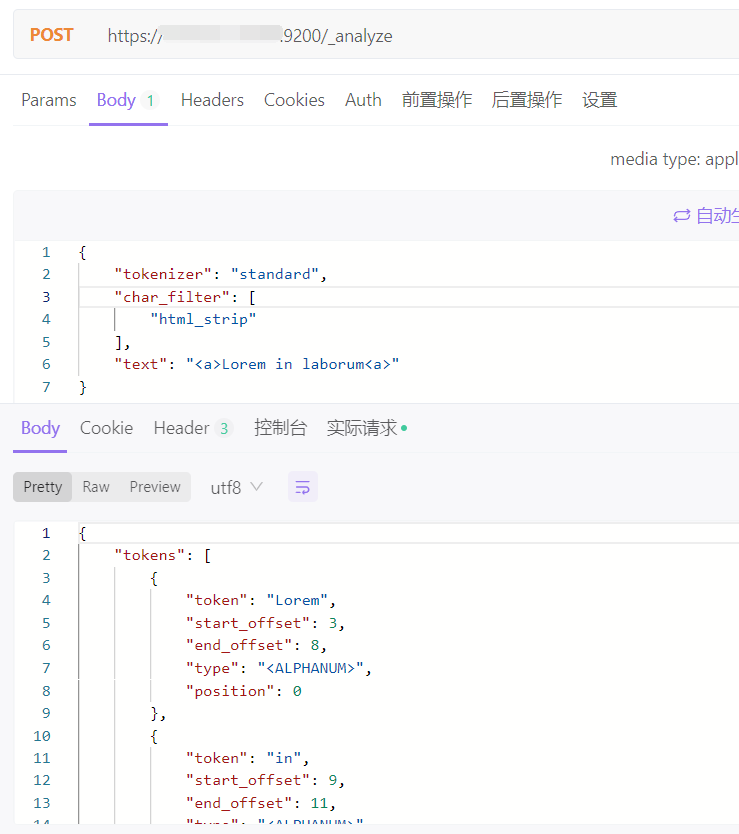
2、测试分词
bash
POST https://ip:9200/_analyze
- tokenizer:选择使用的分词器
- char_filter:过滤
- text:需要分词的文本
内置分词器
| 分词器 | 描述 | 分词对象 | 结果 |
|---|---|---|---|
| standard | 标准分析器是默认的分析器,如果没有指定,则使用该分析器。它提供了基于文法的标记化(基于 Unicode 文本分割算法,如 Unicode 标准附件 # 29 所规定) ,并且对大多数语言都有效。 | The 2 QUICK Brown-Foxes jumped over the lazy dog's bone. | the, 2, quick, brown, foxes, jumped, over, the, lazy, dog's, bone |
| simple | 简单分析器将文本分解为任何非字母字符的标记,如数字、空格、连字符和撇号、放弃非字母字符,并将大写字母更改为小写字母。 | The 2 QUICK Brown-Foxes jumped over the lazy dog's bone. | the, quick, brown, foxes, jumped, over, the, lazy, dog, s, bone |
| whitespace | 空格分析器在遇到空白字符时将文本分解为术语 | The 2 QUICK Brown-Foxes jumped over the lazy dog's bone. | The, 2, QUICK, Brown-Foxes, jumped, over, the, lazy, dog's, bone. |
| stop | 停止分析器与简单分析器相同,但增加了删除停止字的支持。默认使用的是_english_ 停止词。 |
The 2 QUICK Brown-Foxes jumped over the lazy dog's bone. | quick, brown, foxes, jumped, over, lazy, dog, s, bone |
| keyword | 不分词,把整个字段当做一个整体返回 | The 2 QUICK Brown-Foxes jumped over the lazy dog's bone. | The 2 QUICK Brown-Foxes jumped over the lazy dog's bone. |
| pattern | 模式分析器使用正则表达式将文本拆分为术语。正则表达式应该匹配令牌分隔符,而不是令牌本身。正则表达式默认为w+ (或所有非单词字符)。 |
The 2 QUICK Brown-Foxes jumped over the lazy dog's bone. | the, 2, quick, brown, foxes, jumped, over, the, lazy, dog, s, bone |
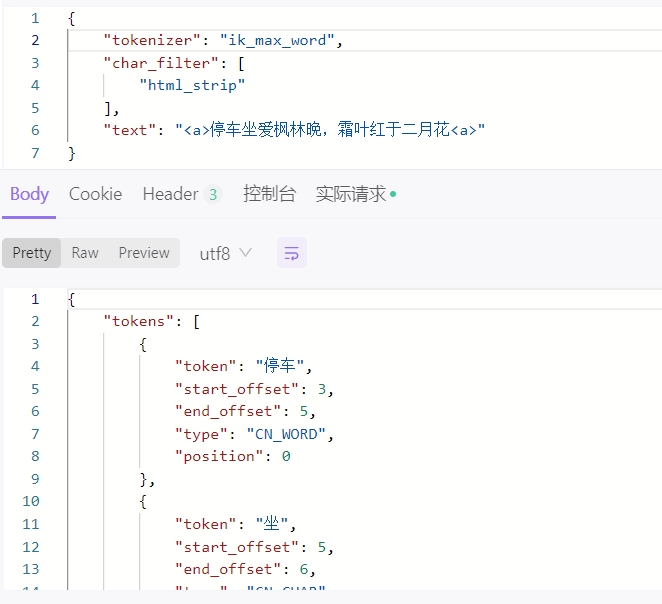
扩展,中文分词器
| 分词器 | 描述 | 分词对象 | 结果 |
|---|---|---|---|
| ik_smart | ik 分词器中的简单分词器,支持自定义字典,远程字典 | 学如逆水行舟,不进则退 | 学如逆水行舟,不进则退 |
| ik_max_word | ik_分词器的全量分词器,支持自定义字典,远程字典 | 学如逆水行舟,不进则退 | 学如逆水行舟,学如逆水,逆水行舟,逆水,行舟,不进则退,不进,则,退 |
下载地址:Releases · infinilabs/analysis-ik (github.com)
上传到服务器上 /plugins/ik 目录下,解压
bash
unzip elasticsearch-analysis-ik-8.12.2.zip注意要配置 ik 分词器的 Elasticsearch 版本,修改 /plugins/ik/plugin-descriptor.properties 文件,然后重启服务
1.2.1 索引
相当于数据库表
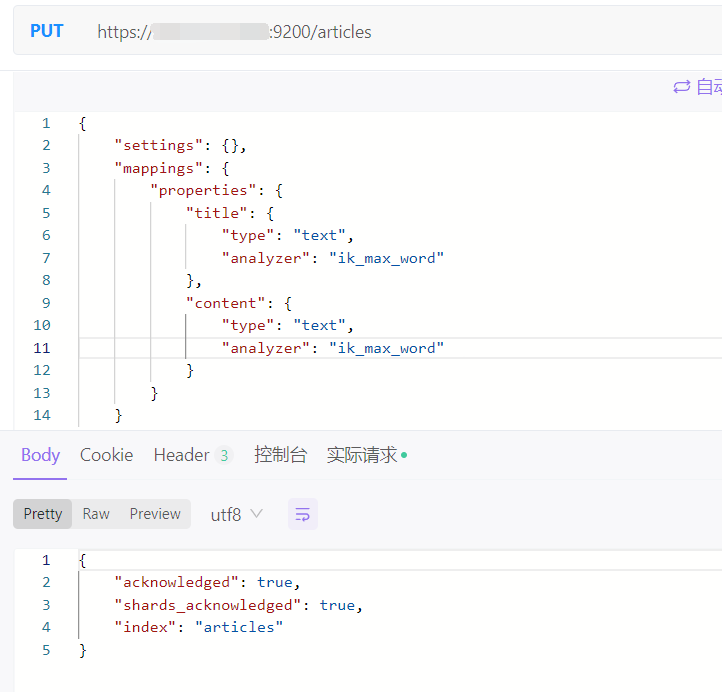
1、创建索引,indexs 为对应的索引名称
bash
POST https://ip:9200/indexs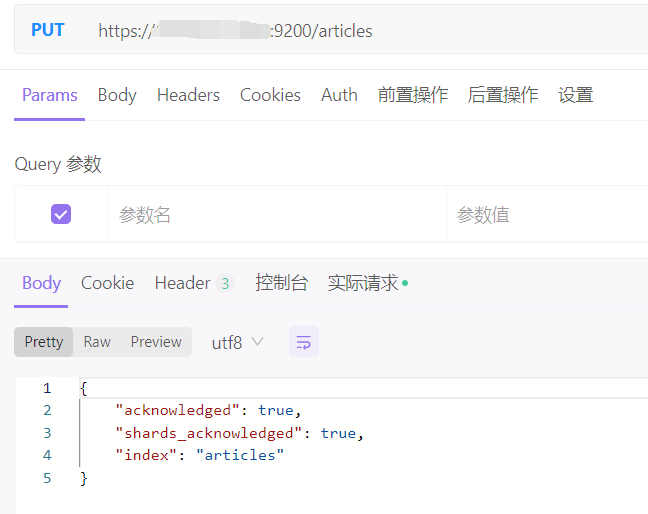
重复创建的话会报错
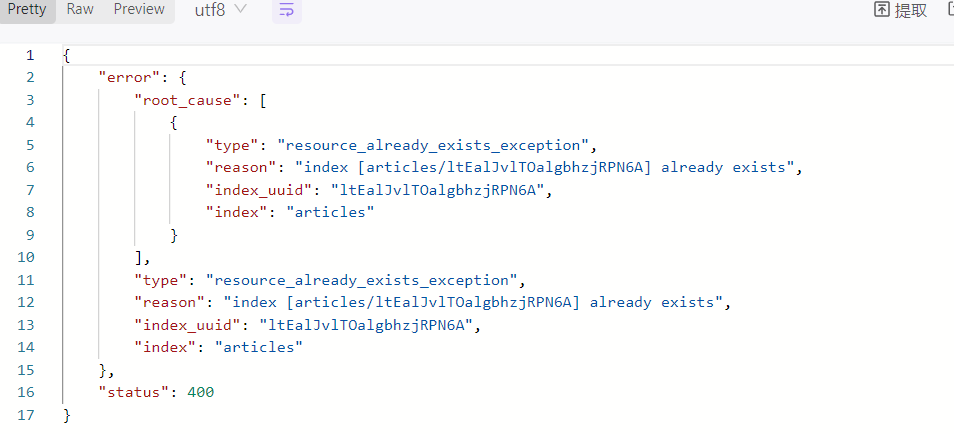
创建索引时可以指定 mapping,给字段设置类型和分词器等
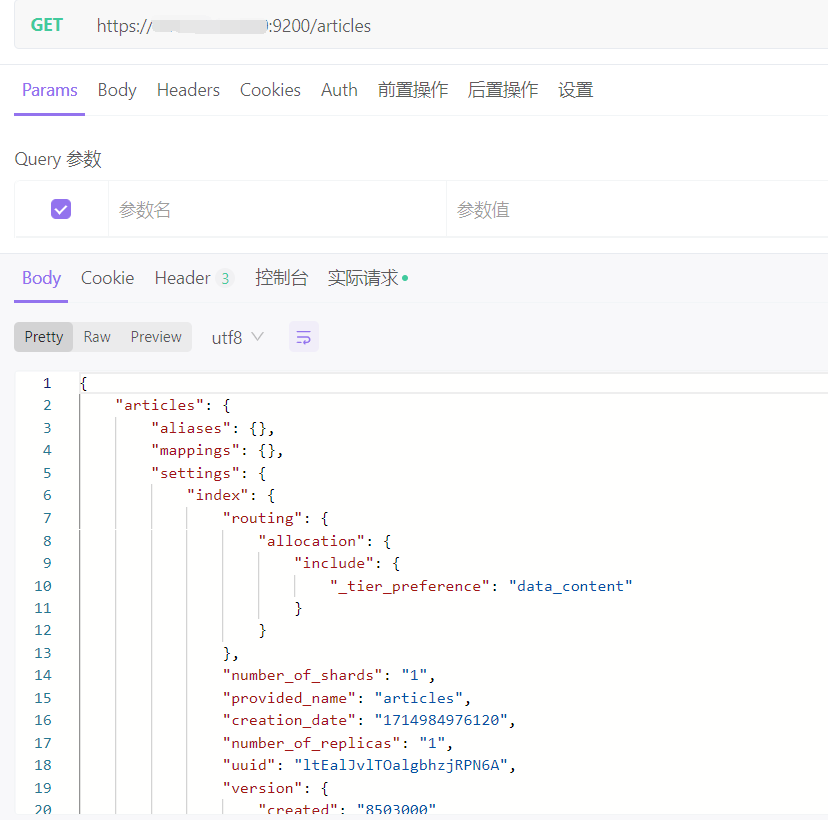
2、查询索引,indexs 为对应的索引名称
bash
GET https://ip:9200/indexs这里没有 mapping,在文档写入 Elasticsearch 时,会根据文档字段自动识别类型,这种机制称之为动态映射
3、删除索引,indexs 为对应的索引名称
bash
DELETE https://ip:9200/indexs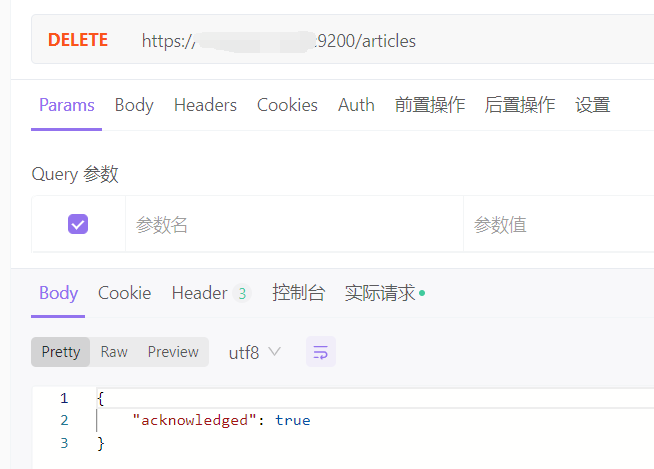
1.2.2 文档
1、添加文档,indexs 为对应的索引名称
bash
POST https://ip:9200/indexs/_doc         # 使用系统生成id
POST https://ip:9200/indexs/_create/1    # 使用指定id
POST https://ip:9200/indexs/_doc/1       # 使用指定id,不存在创建,存在更新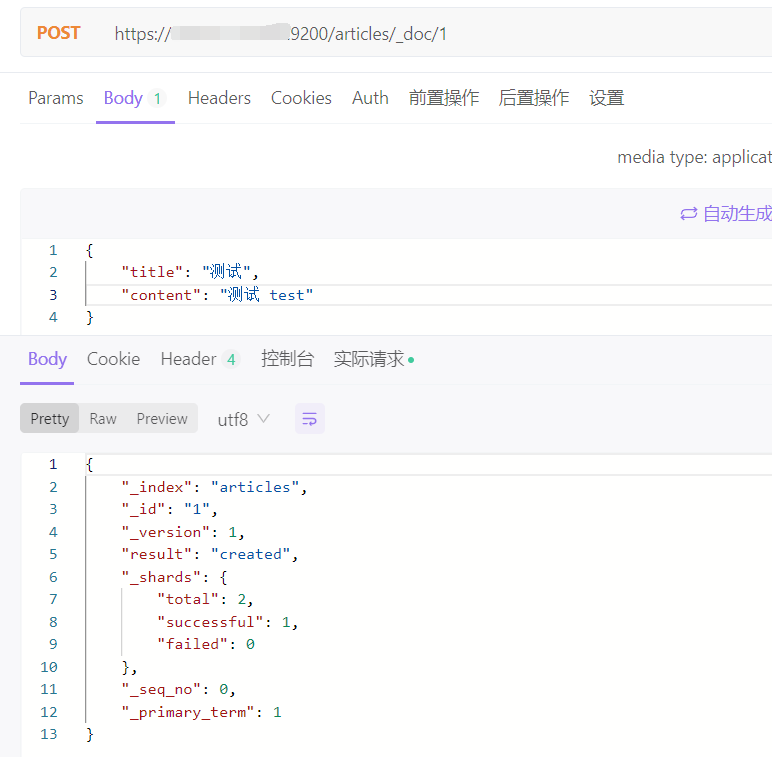
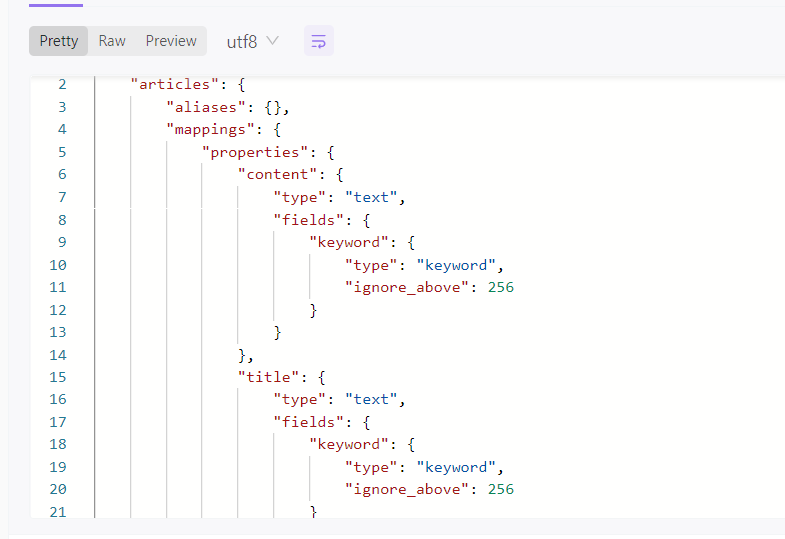
再查看索引可以发现已经有了 mapping
2、查询文档,indexs 为对应的索引名称
bash
GET https://ip:9200/indexs/_doc/1 # 查询单个文档
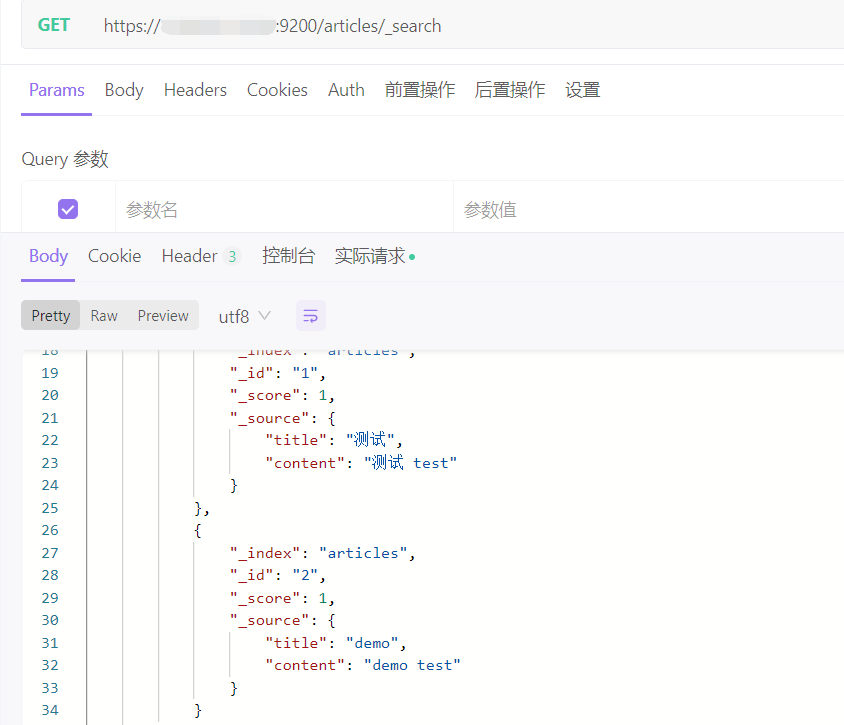
GET http://ip:9200/indexs/_search # 查询全部文档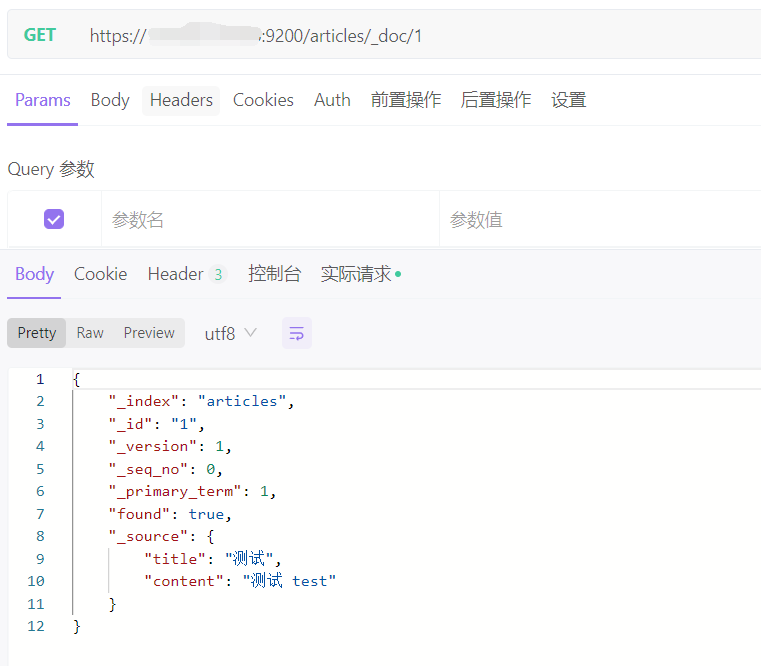
条件查询
bash
GET http://ip:9200/indexs/_search?q=content:test # q=查询属性名:查询属性值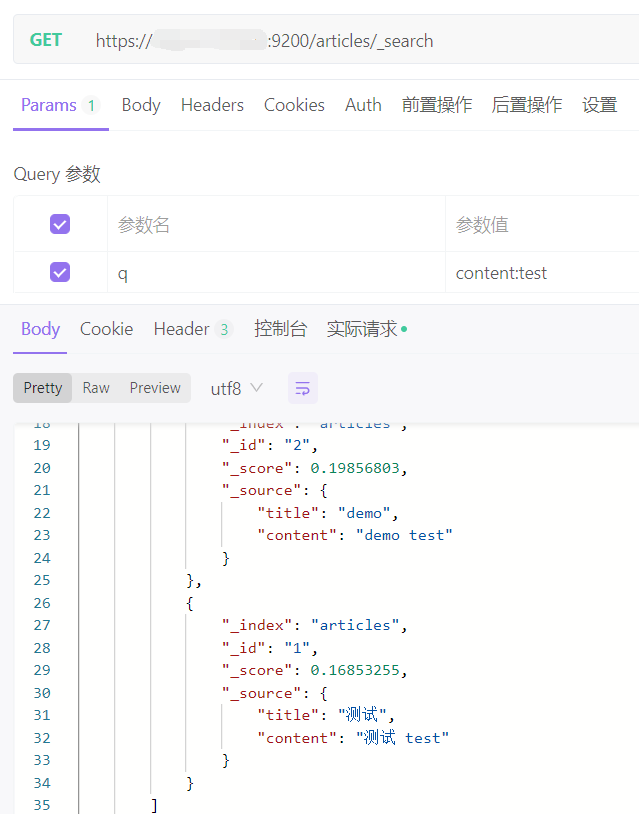
3、删除文档,indexs 为对应的索引名称
bash
DELETE http://ip:9200/indexs/_doc/1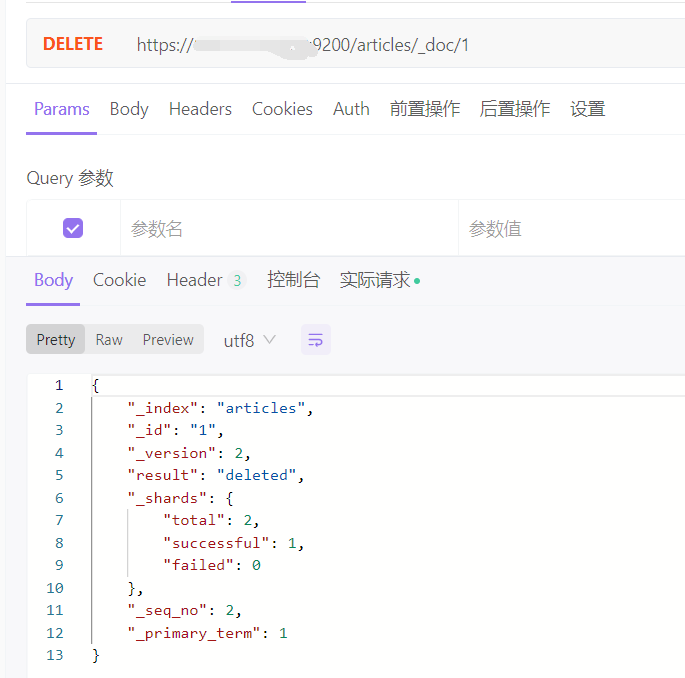
4、修改文档,indexs 为对应的索引名称
全量更新,相当于删除了原来的文档然后重新添加
bash
PUT http://ip:9200/indexs/_doc/1
部分更新,不对原始文档进行更新,而是对原始文档对象中的 doc 属性中的指定属性更新
bash
POST http://ip:9200/indexs/_update/1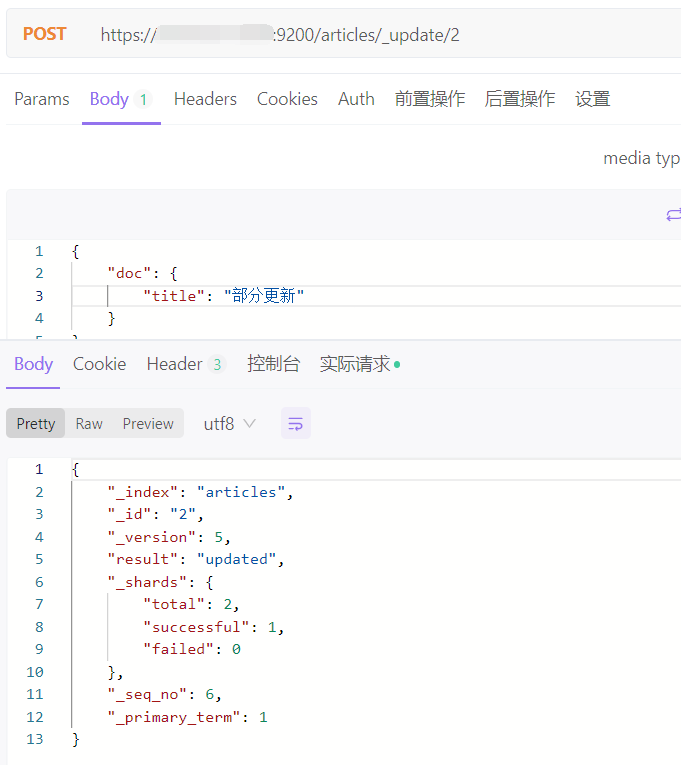
3. 整合 Java
有以下几种通过 Java 操作 Elasticsearch 的方式
- ElasticsearchRepository:类似 MyBatis-Plus 的操作
- ElasticsearchTemplate/ElasticSearchRestTemplate:类似 Redistemplate 的操作
- RestHighLevelClient:Elasticsearch 官方提供的 Java 客户端,使用 DSL 的格式来操作,新版本已被弃用
- Elasticsearch Java API Client:替代 RestHighLevelClient
3.1 ElasticsearchRepository
3.1.1 引入依赖
xml
<dependencies>
        <dependency>
            <groupId>org.springframework.boot</groupId>
            <artifactId>spring-boot-starter-data-elasticsearch</artifactId>
        </dependency>

        <dependency>
            <groupId>org.springframework.boot</groupId>
            <artifactId>spring-boot-starter-web</artifactId>
        </dependency>

        <dependency>
            <groupId>org.projectlombok</groupId>
            <artifactId>lombok</artifactId>
        </dependency>
</dependencies>
3.1.2 配置文件
配置 Elasticsearch 的服务器地址以及用户名密码
yaml
spring:
  elasticsearch:
    uris: http://127.0.0.1:9200
    username: elastic
    password: elastic
3.1.3 文档实体类
java
import lombok.Data;
import org.springframework.data.annotation.Id;
import org.springframework.data.elasticsearch.annotations.Document;

@Data
@Document(indexName = "articles")
public class Article {

    @Id
    private String id;

    private String title;

    private String content;
}
@Document(indexName = "articles"):指定文档的索引名称@Id:指定该字段作为文档 ID
3.1.4 数据访问层
继承 ElasticsearchRepository,它提供了一套标准的方法命名规范,符合规范的方法名在输入的时候就会有提示,比如 findByXxx(T xxx),会自动为符合命名规范的方法生成对应的 DSL 语句
java
import fable.entity.Article;
import org.springframework.data.elasticsearch.repository.ElasticsearchRepository;

public interface ArticleRepository extends ElasticsearchRepository<Article, String> {

    Article findByContent(String content);
}
3.1.5 Service
java
import fable.repository.ArticleRepository;
import fable.entity.Article;
import org.springframework.beans.factory.annotation.Autowired;
import org.springframework.stereotype.Service;

@Service
public class ArticleService {

    private final ArticleRepository articleRepository;

    @Autowired
    public ArticleService(ArticleRepository articleRepository) {
        this.articleRepository = articleRepository;
    }

    public Article findByContent() {
        return articleRepository.findByContent("test");
    }

    public void save() {
        Article article = new Article();
        article.setId("test");
        article.setTitle("test");
        article.setContent("test save");
        articleRepository.save(article);
    }
}
3.1.6 Controller
java
import fable.entity.Article;
import fable.service.ArticleService;
import org.springframework.beans.factory.annotation.Autowired;
import org.springframework.web.bind.annotation.GetMapping;
import org.springframework.web.bind.annotation.RestController;

@RestController
public class ArticleController {

    private final ArticleService articleService;

    @Autowired
    public ArticleController(ArticleService articleService) {
        this.articleService = articleService;
    }

    @GetMapping("/findByContent")
    public Article findByContent() {
        return articleService.findByContent();
    }

    @GetMapping("/save")
    public void save() {
        articleService.save();
    }
}
3.1.7 启动类
添加 @EnableElasticsearchRepositories 注解,配置包扫描
java
import org.springframework.boot.SpringApplication;
import org.springframework.boot.autoconfigure.SpringBootApplication;
import org.springframework.data.elasticsearch.repository.config.EnableElasticsearchRepositories;
@SpringBootApplication
@EnableElasticsearchRepositories(basePackages = "fable.repository")
public class FableApplication {
public static void main(String[] args) {
SpringApplication.run(FableApplication.class, args);
}
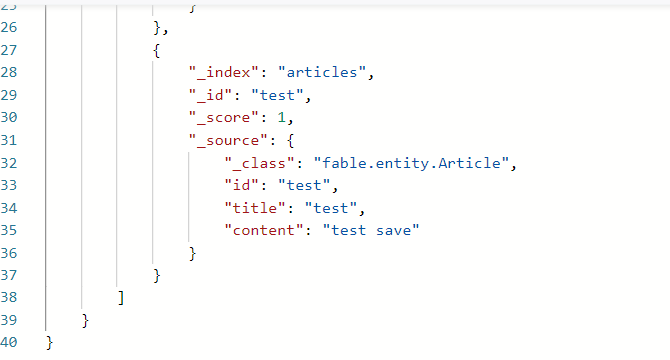
}3.1.8 测试
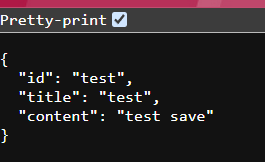
访问 /save 接口,可以看到文档信息已经添加了进来
访问 /findByContent 接口,可以看到对应的文档信息
3.2 ElasticsearchTemplate/ElasticSearchRestTemplate
将 ElasticsearchTemplate/ElasticSearchRestTemplate 注入进来然后使用对应的方法即可,可自行了解
java
@Service
public class ArticleService {

    private final ArticleRepository articleRepository;
    private final ElasticsearchTemplate elasticsearchTemplate;

    @Autowired
    public ArticleService(ArticleRepository articleRepository, ElasticsearchTemplate elasticsearchTemplate) {
        this.articleRepository = articleRepository;
        this.elasticsearchTemplate = elasticsearchTemplate;
    }
}
3.3 RestHighLevelClient
3.3.1 引入依赖
xml
<dependencies>
        <dependency>
            <groupId>org.springframework.boot</groupId>
            <artifactId>spring-boot-starter-web</artifactId>
        </dependency>

        <dependency>
            <groupId>org.elasticsearch.client</groupId>
            <artifactId>elasticsearch-rest-high-level-client</artifactId>
        </dependency>
</dependencies>
3.3.2 Controller
java
import org.apache.http.HttpHost;
import org.apache.http.auth.AuthScope;
import org.apache.http.auth.UsernamePasswordCredentials;
import org.apache.http.impl.client.BasicCredentialsProvider;
import org.elasticsearch.action.get.GetRequest;
import org.elasticsearch.action.get.GetResponse;
import org.elasticsearch.client.RequestOptions;
import org.elasticsearch.client.RestClient;
import org.elasticsearch.client.RestClientBuilder;
import org.elasticsearch.client.RestHighLevelClient;
import org.springframework.web.bind.annotation.GetMapping;
import org.springframework.web.bind.annotation.RestController;

import java.io.IOException;

@RestController
public class ArticleController {

    @GetMapping("/get")
    public GetResponse get() throws IOException {
        BasicCredentialsProvider provider = new BasicCredentialsProvider();
        provider.setCredentials(AuthScope.ANY, new UsernamePasswordCredentials("elastic", "elastic"));

        RestClientBuilder builder = RestClient.builder(new HttpHost("127.0.0.1", 9200, "http"))
                .setHttpClientConfigCallback(httpAsyncClientBuilder -> httpAsyncClientBuilder.setDefaultCredentialsProvider(provider));
        RestHighLevelClient client = new RestHighLevelClient(builder);

        GetRequest getRequest = new GetRequest("articles", "test");
        return client.get(getRequest, RequestOptions.DEFAULT);
    }
}
3.3.3 测试
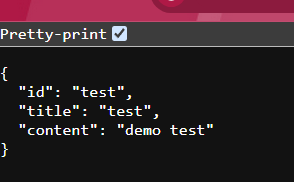
访问 /get 接口,可以看到对应的文档信息
3.4 Elasticsearch Java API Client
3.4.1 引入依赖
java
<dependencies>
        <dependency>
            <groupId>org.springframework.boot</groupId>
            <artifactId>spring-boot-starter-web</artifactId>
        </dependency>

        <dependency>
            <groupId>co.elastic.clients</groupId>
            <artifactId>elasticsearch-java</artifactId>
        </dependency>

        <dependency>
            <groupId>org.projectlombok</groupId>
            <artifactId>lombok</artifactId>
        </dependency>
</dependencies>
3.4.2 文档实体类
java
import lombok.Data;

@Data
public class Article {

    private String id;

    private String title;

    private String content;
}
3.4.3 Controller
需要注意这里的文档实体类必须包含索引的所有字段,否则会报错无法解析
java
import co.elastic.clients.elasticsearch.ElasticsearchClient;
import co.elastic.clients.elasticsearch.core.GetResponse;
import co.elastic.clients.json.jackson.JacksonJsonpMapper;
import co.elastic.clients.transport.ElasticsearchTransport;
import co.elastic.clients.transport.rest_client.RestClientTransport;
import fable.entity.Article;
import org.apache.http.HttpHost;
import org.apache.http.auth.AuthScope;
import org.apache.http.auth.UsernamePasswordCredentials;
import org.apache.http.impl.client.BasicCredentialsProvider;
import org.elasticsearch.client.RestClient;
import org.springframework.web.bind.annotation.GetMapping;
import org.springframework.web.bind.annotation.RestController;
import java.io.IOException;
@RestController
public class ArticleController {
@GetMapping("/get")
public Article get() throws IOException {
BasicCredentialsProvider provider = new BasicCredentialsProvider();
provider.setCredentials(AuthScope.ANY, new UsernamePasswordCredentials("elastic", "UnF8lyv82vJarD=iAbcZ"));
RestClient restClient = RestClient.builder(new HttpHost("124.222.118.90", 9200, "http"))
.setHttpClientConfigCallback(httpAsyncClientBuilder -> httpAsyncClientBuilder.setDefaultCredentialsProvider(provider))
.build();
ElasticsearchTransport transport = new RestClientTransport(
restClient, new JacksonJsonpMapper()
);
ElasticsearchClient elasticsearchClient = new ElasticsearchClient(transport);
GetResponse<Article> response = elasticsearchClient.get(builder -> builder.index("articles").id("test"), Article.class);
System.out.println(response);
return response.source();
}
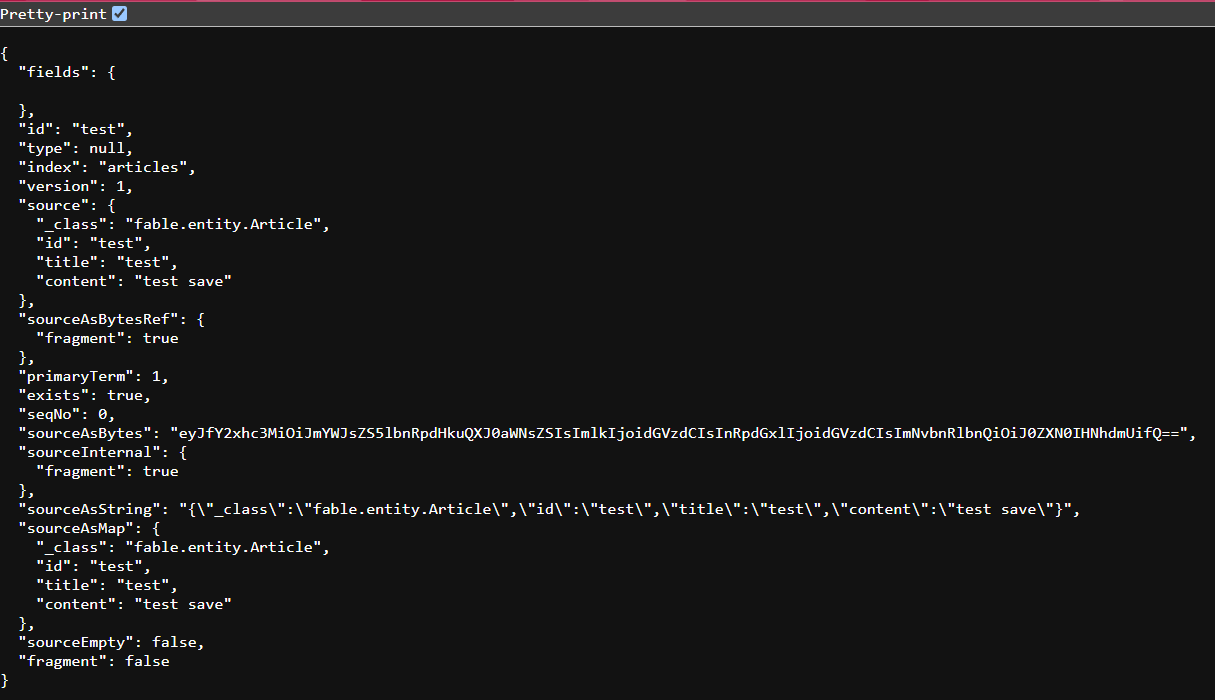
}3.4.4 测试
访问 /get 接口,可以看到文档信息如下