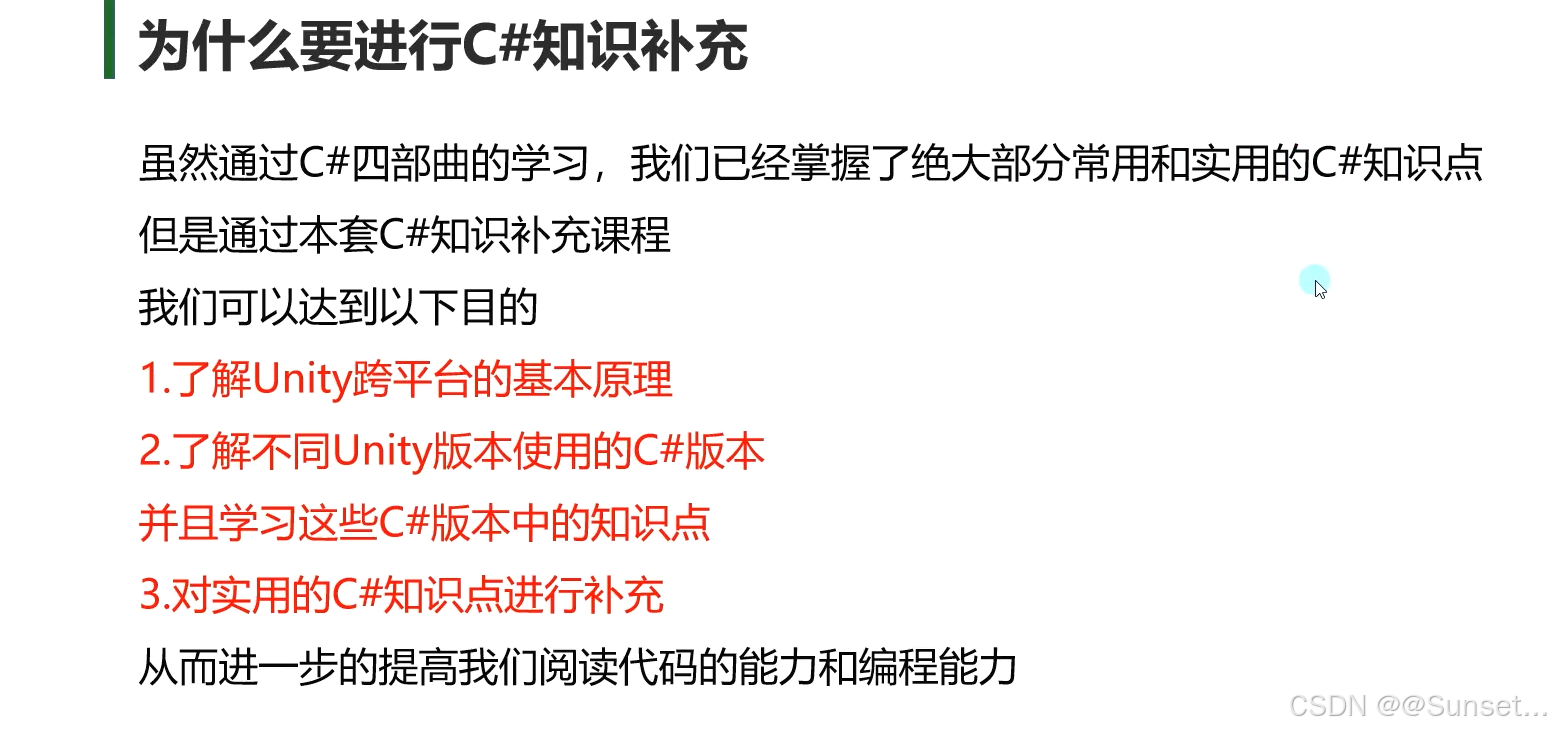
概述
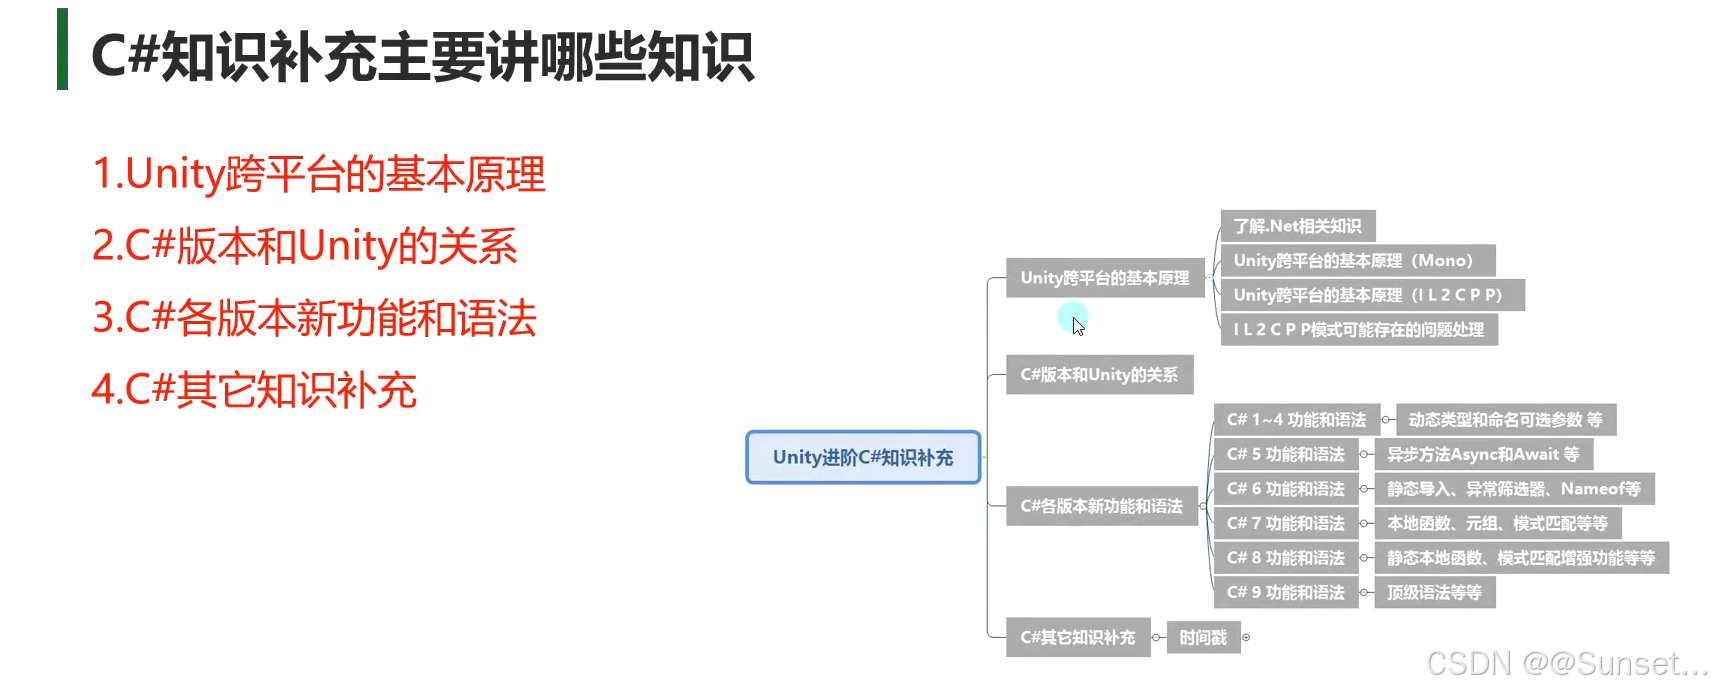
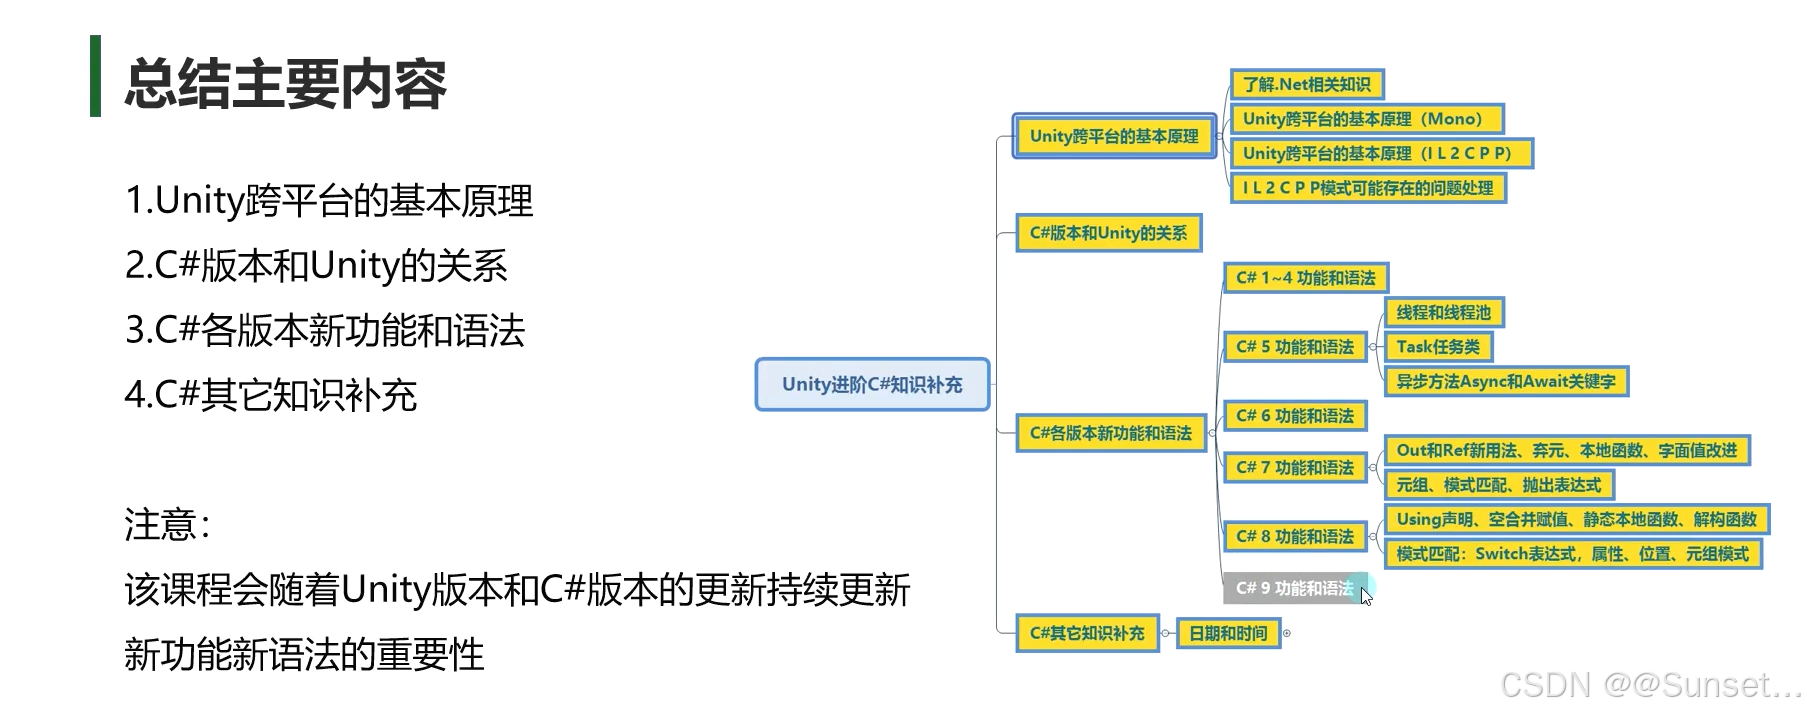
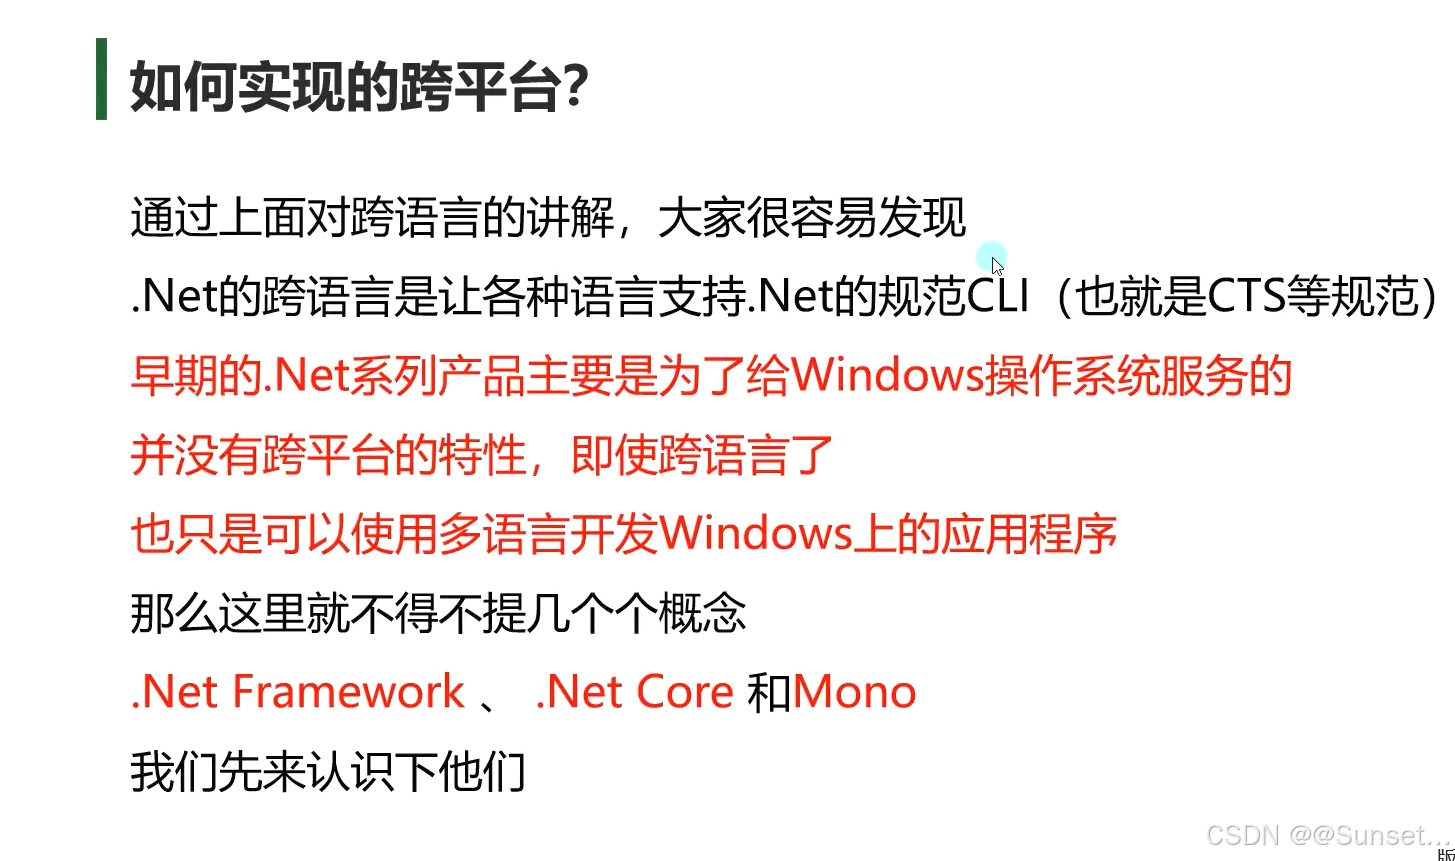
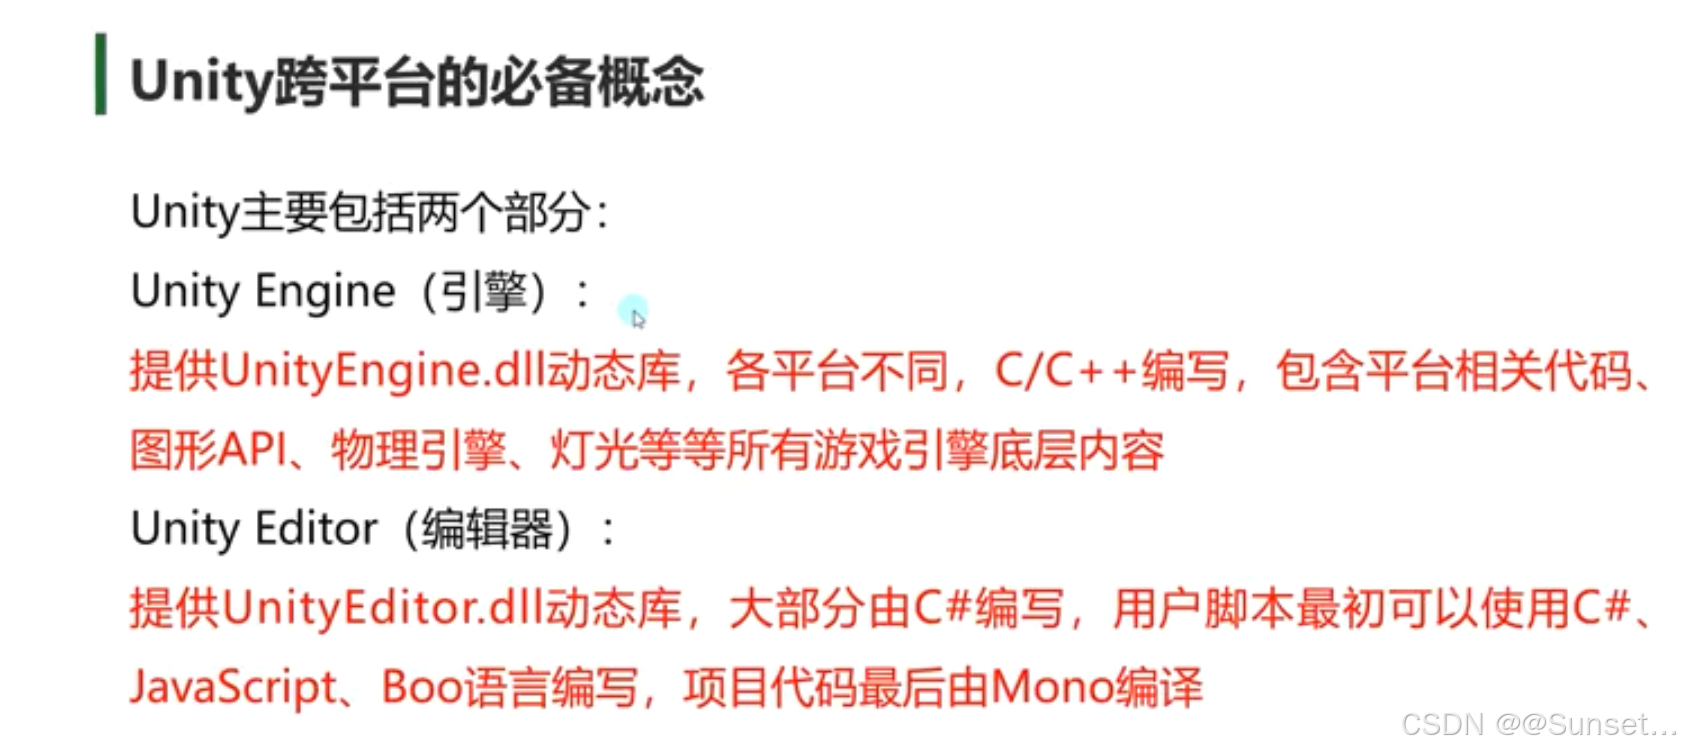
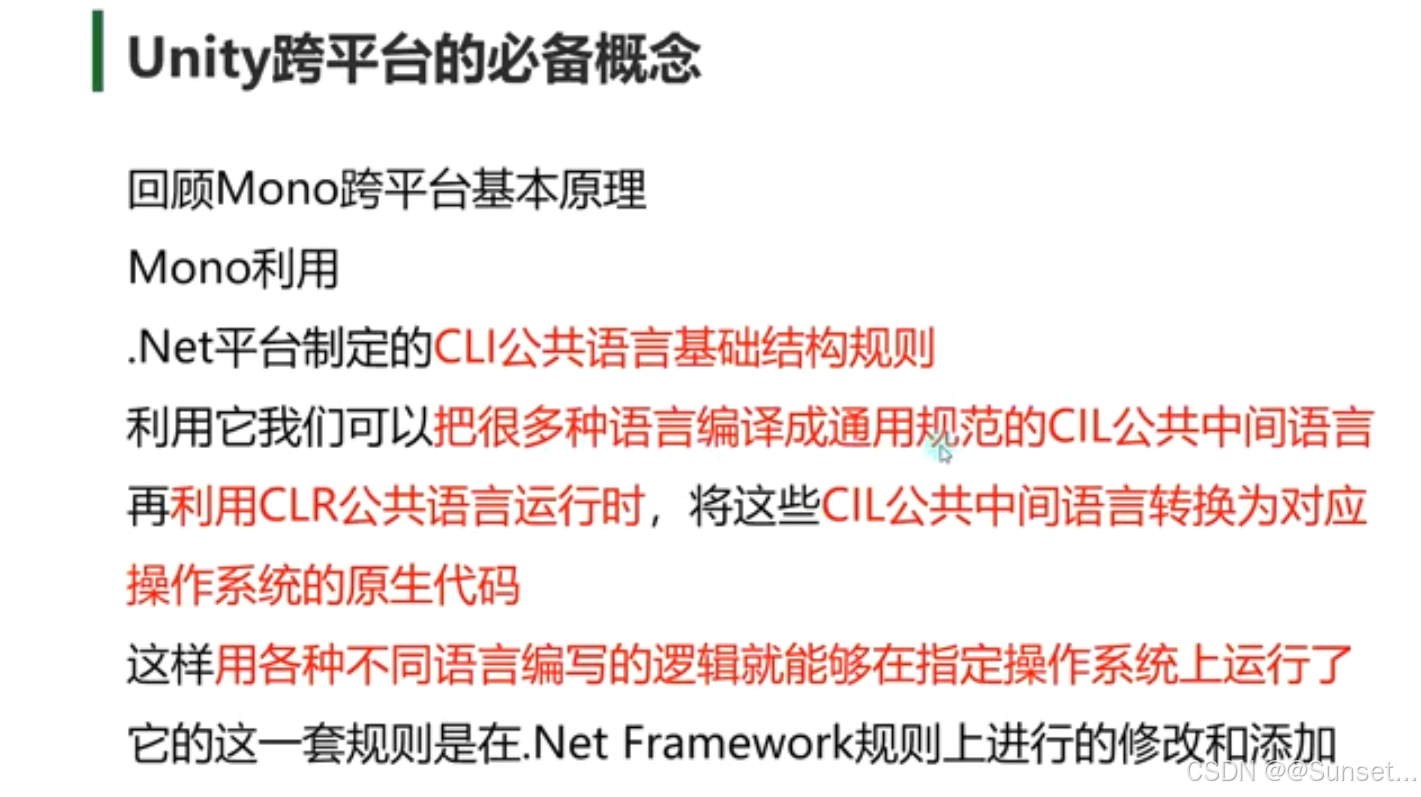
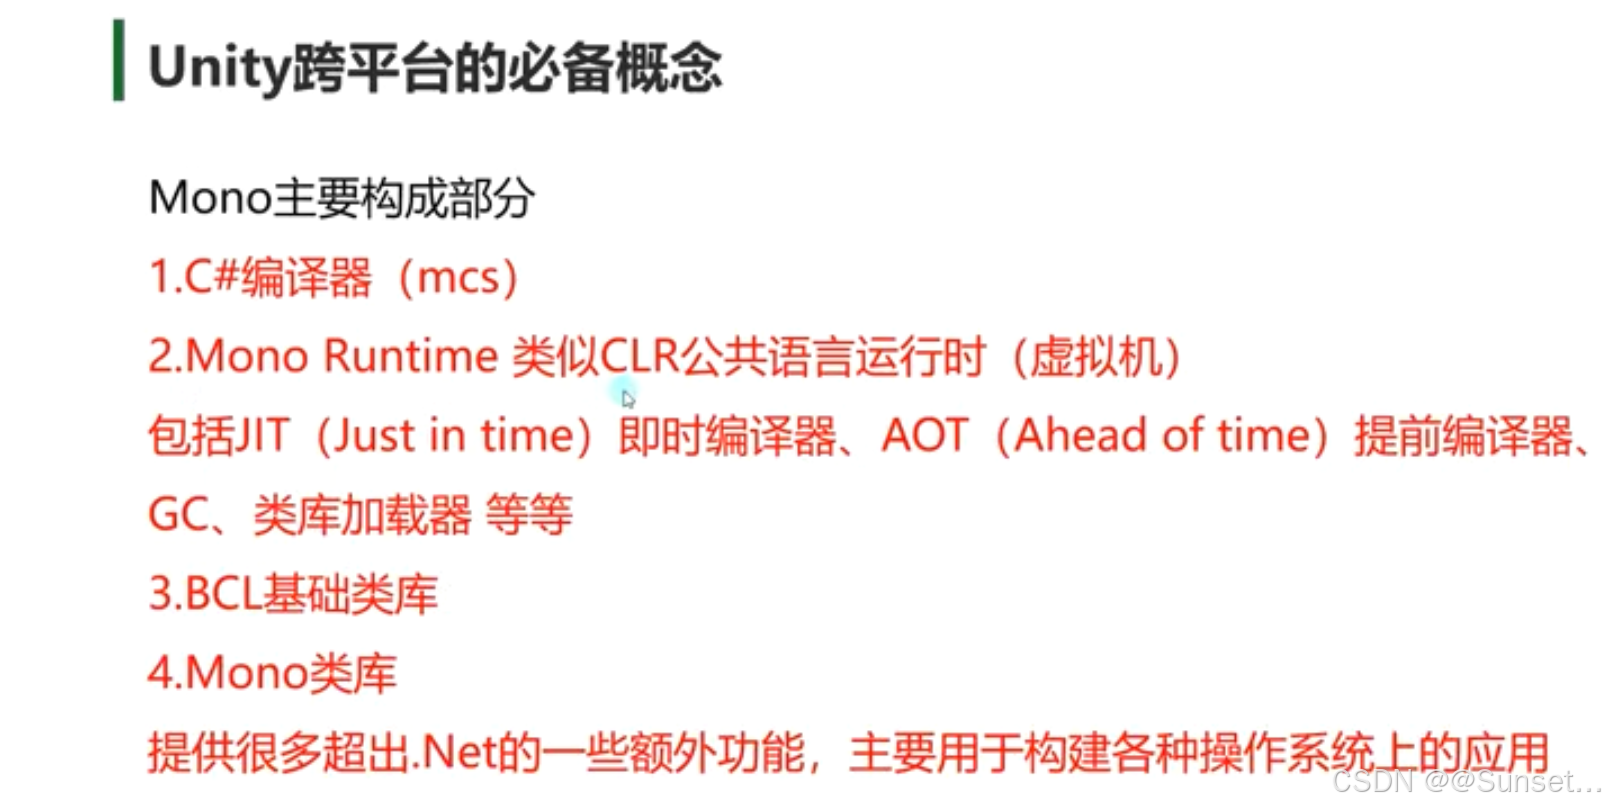
Unity跨平台的基本原理
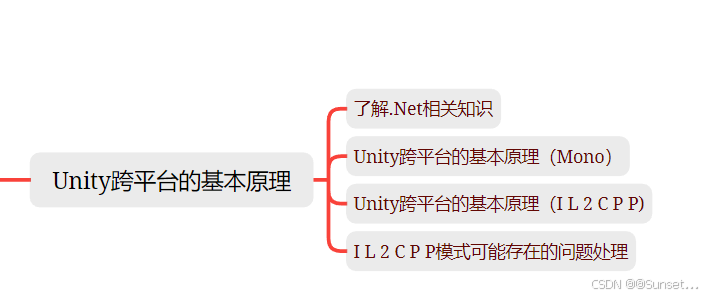
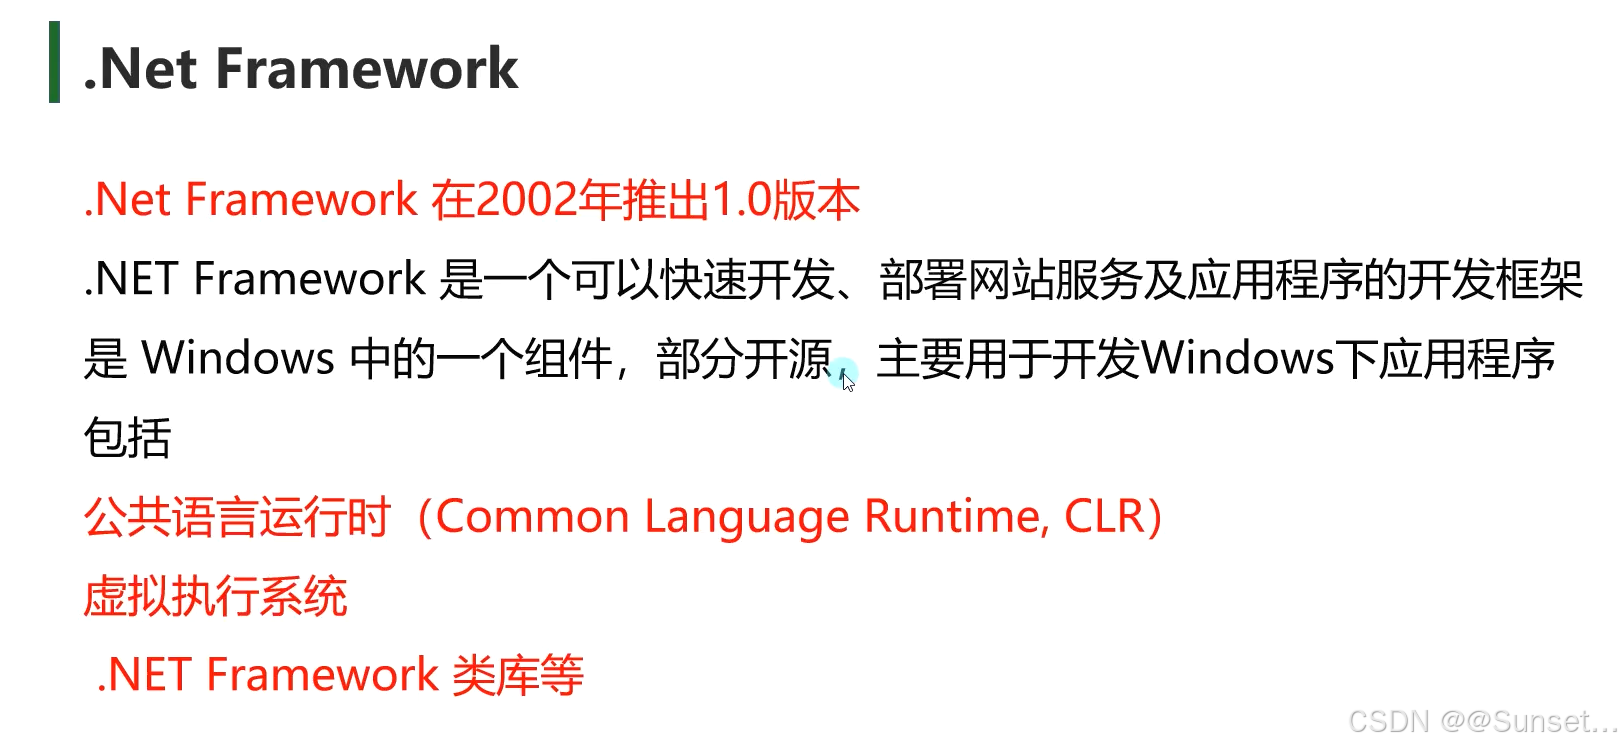
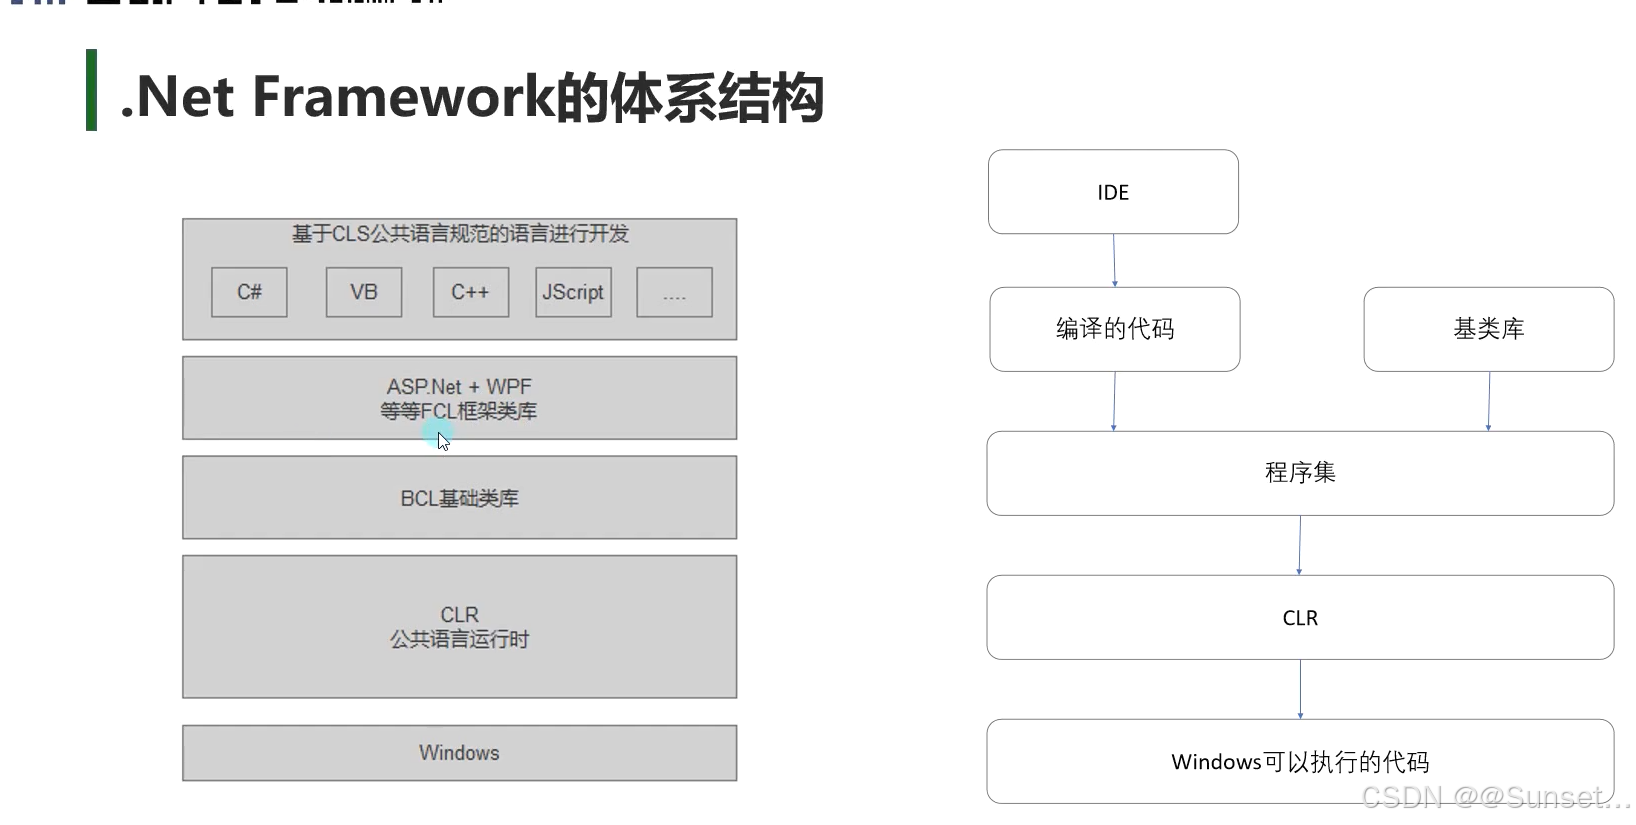
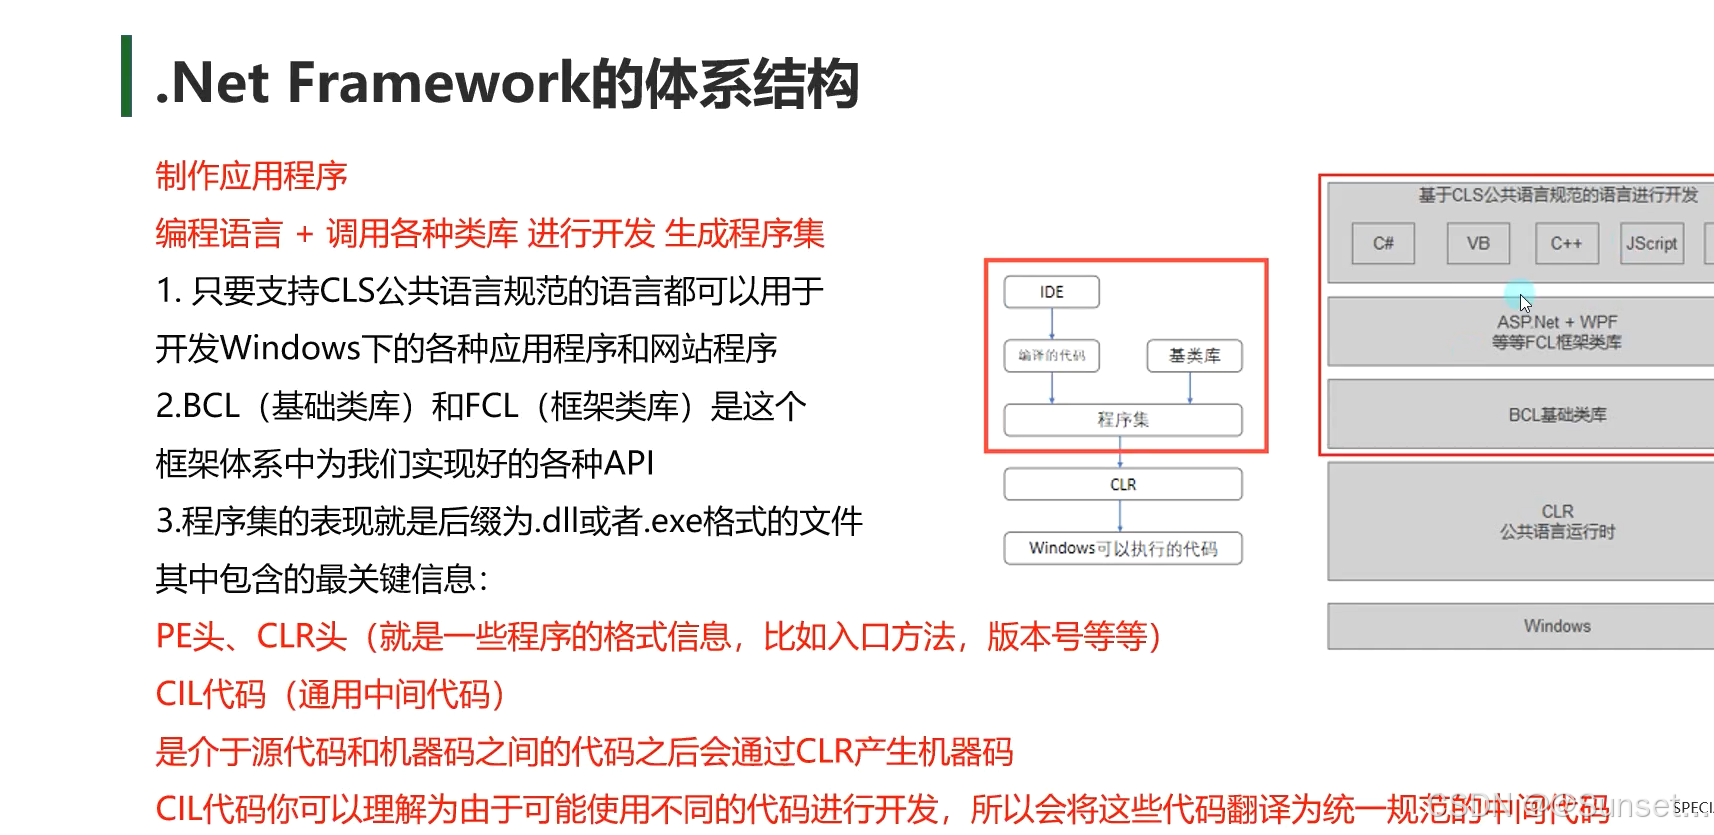
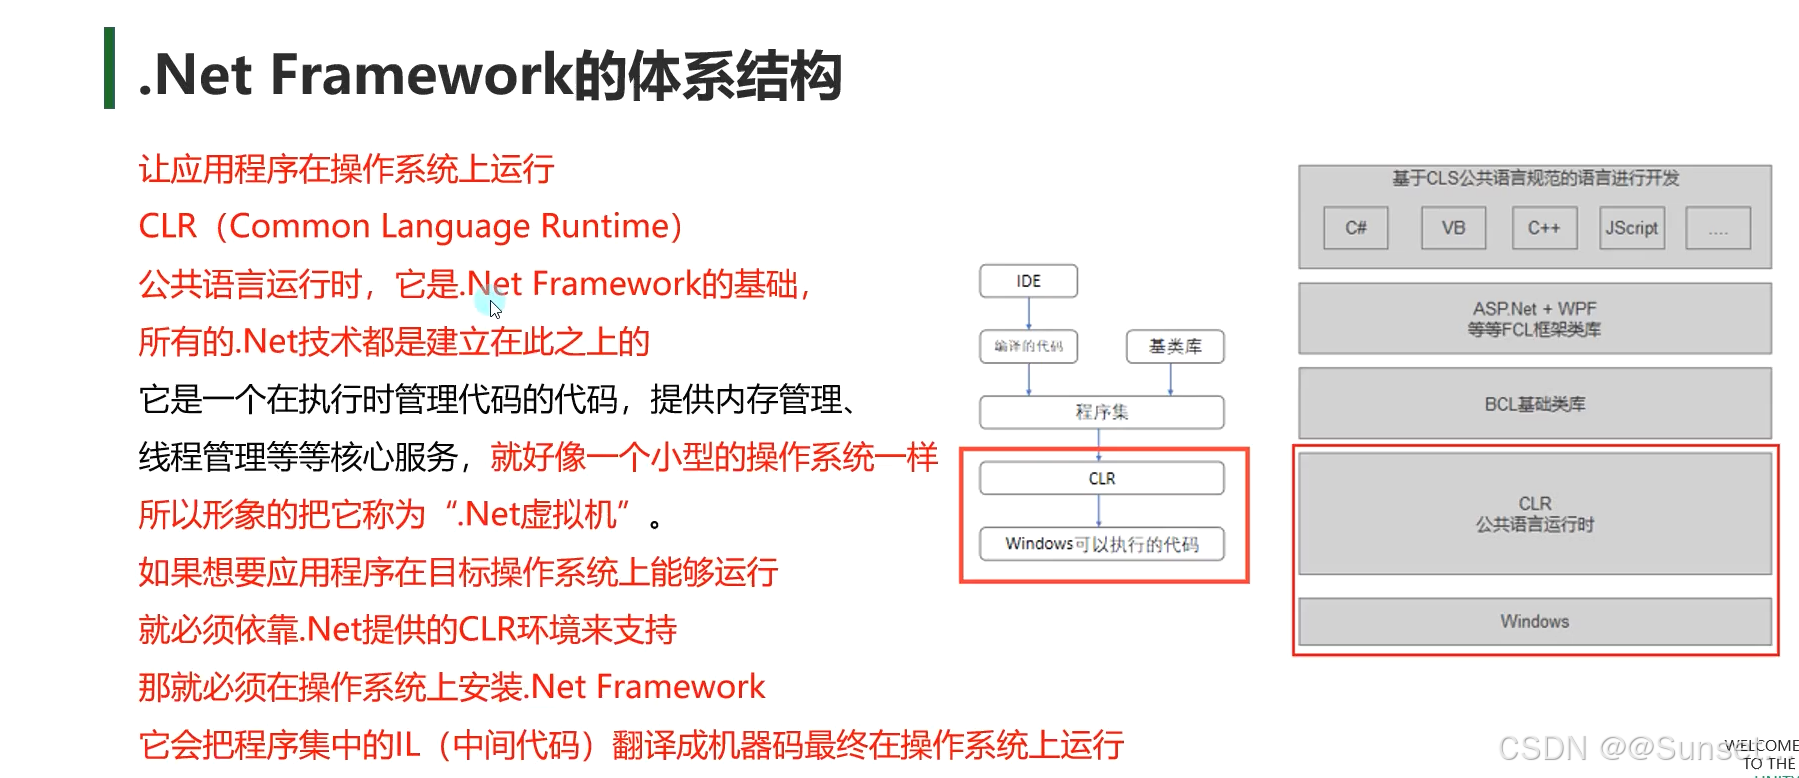
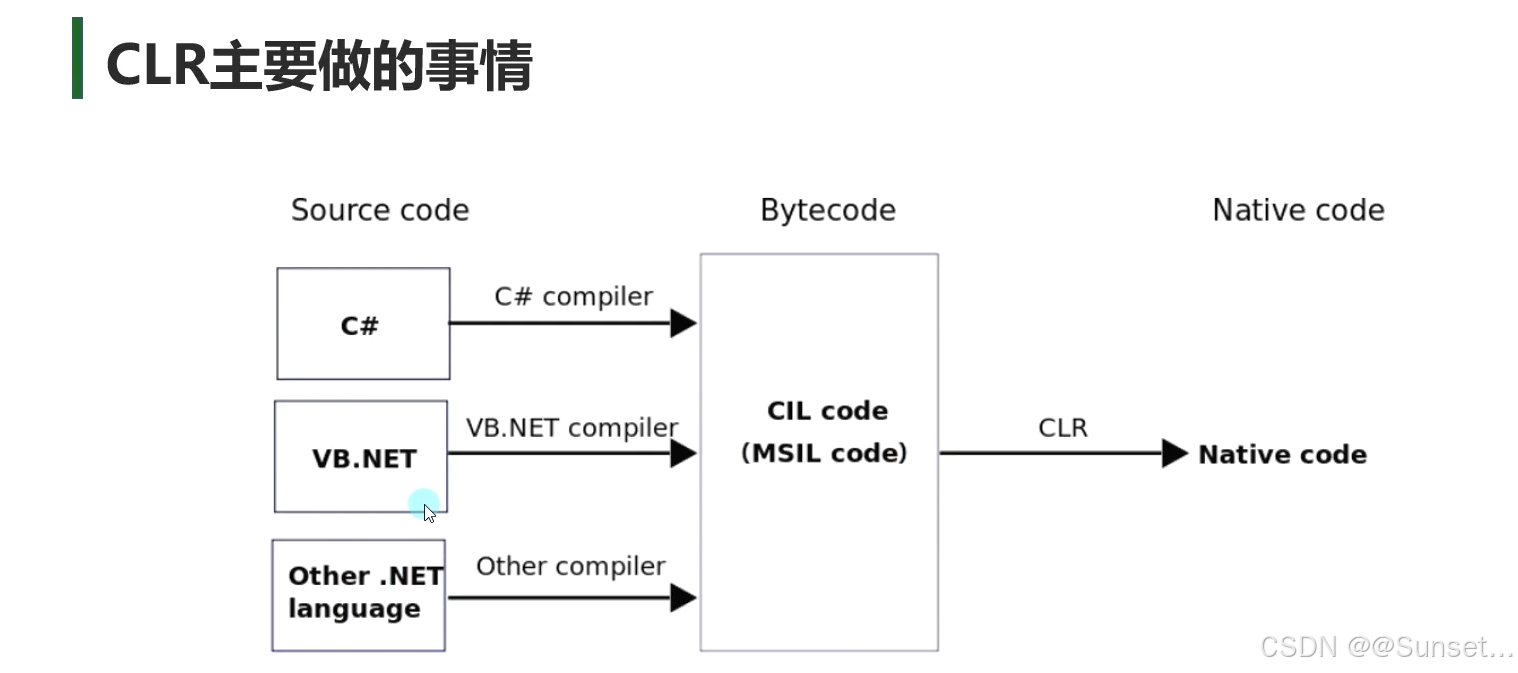
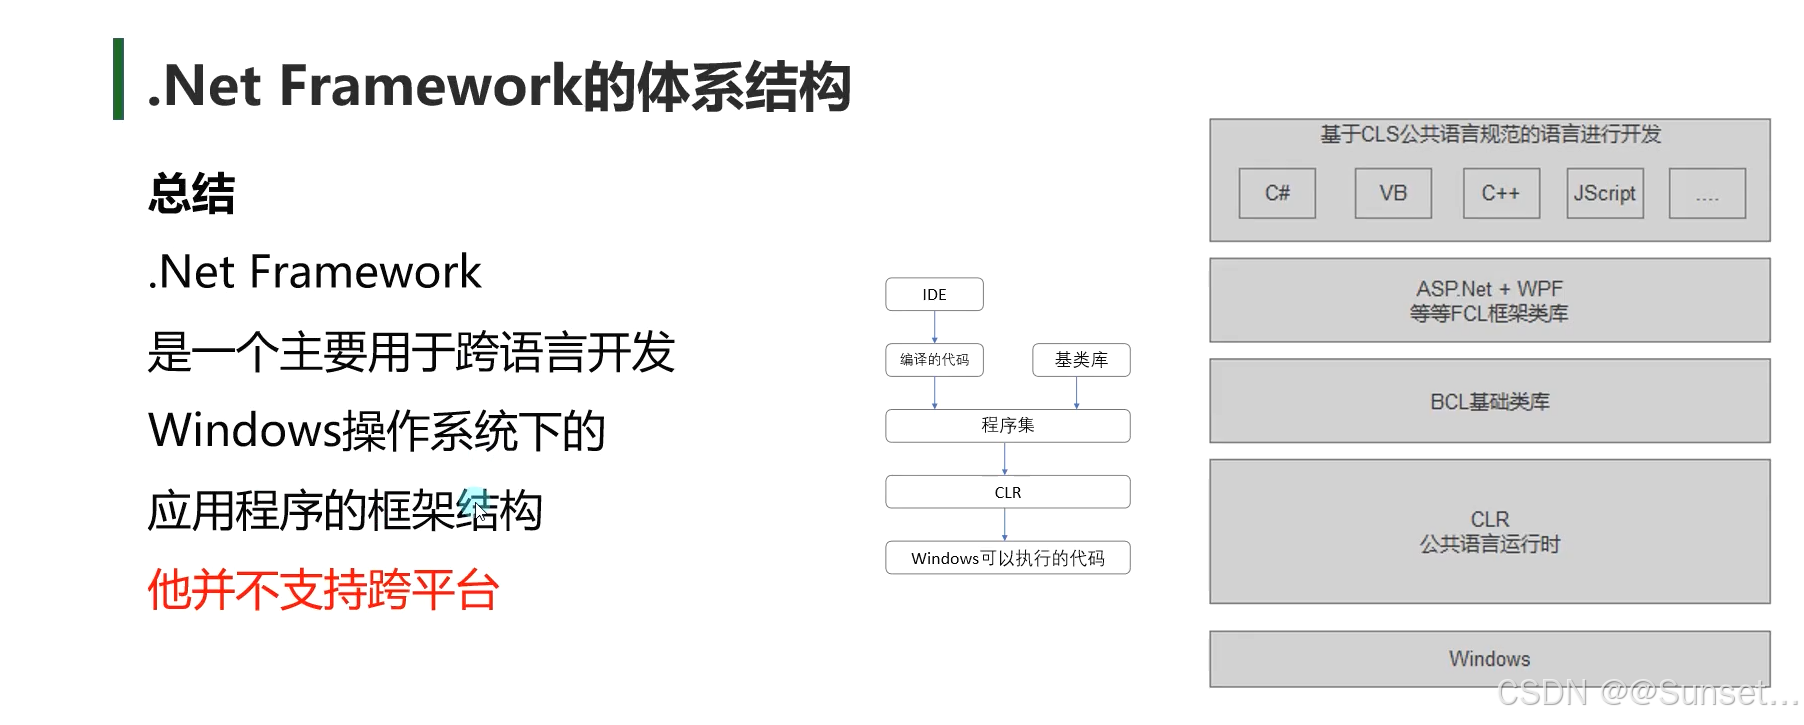
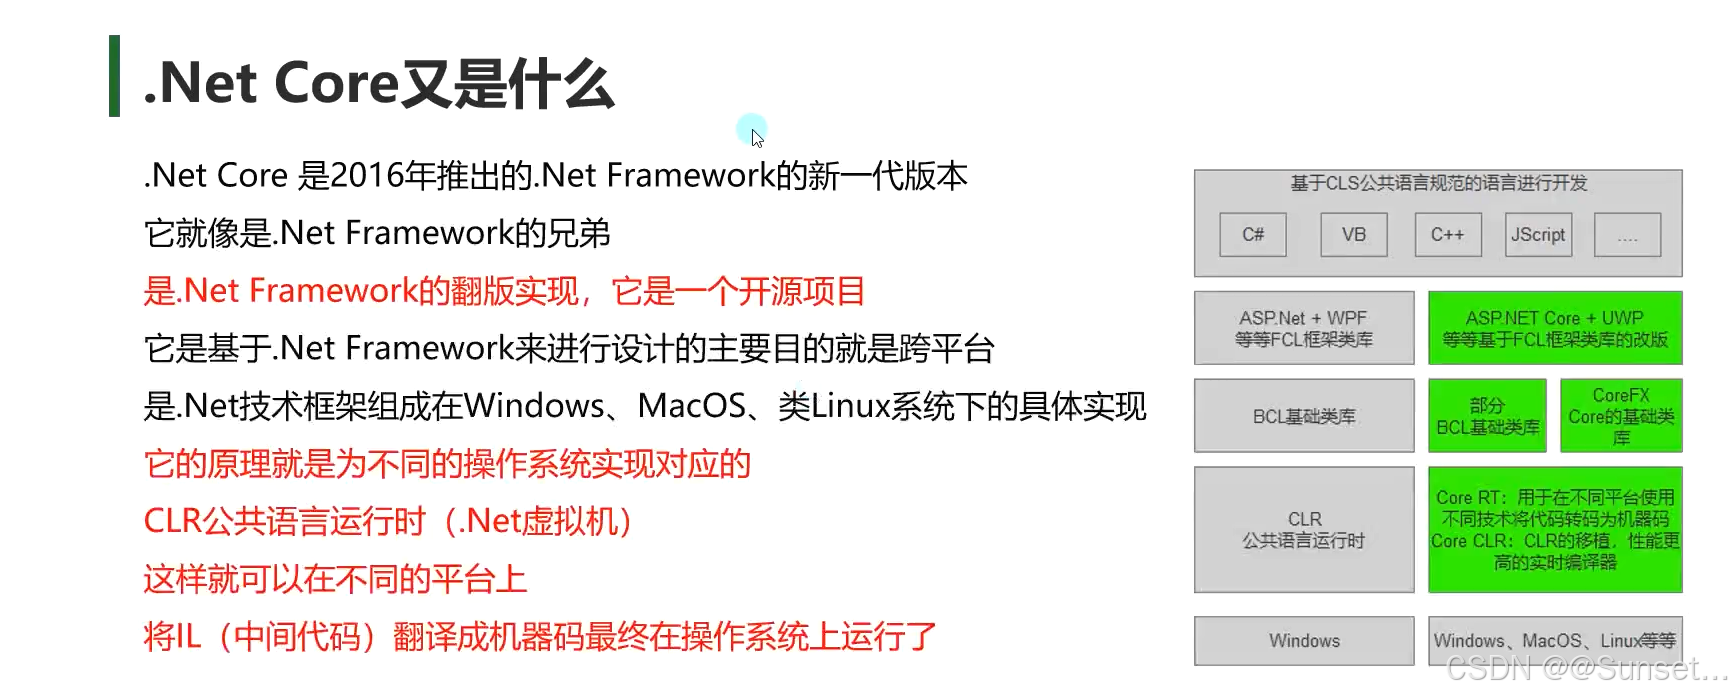
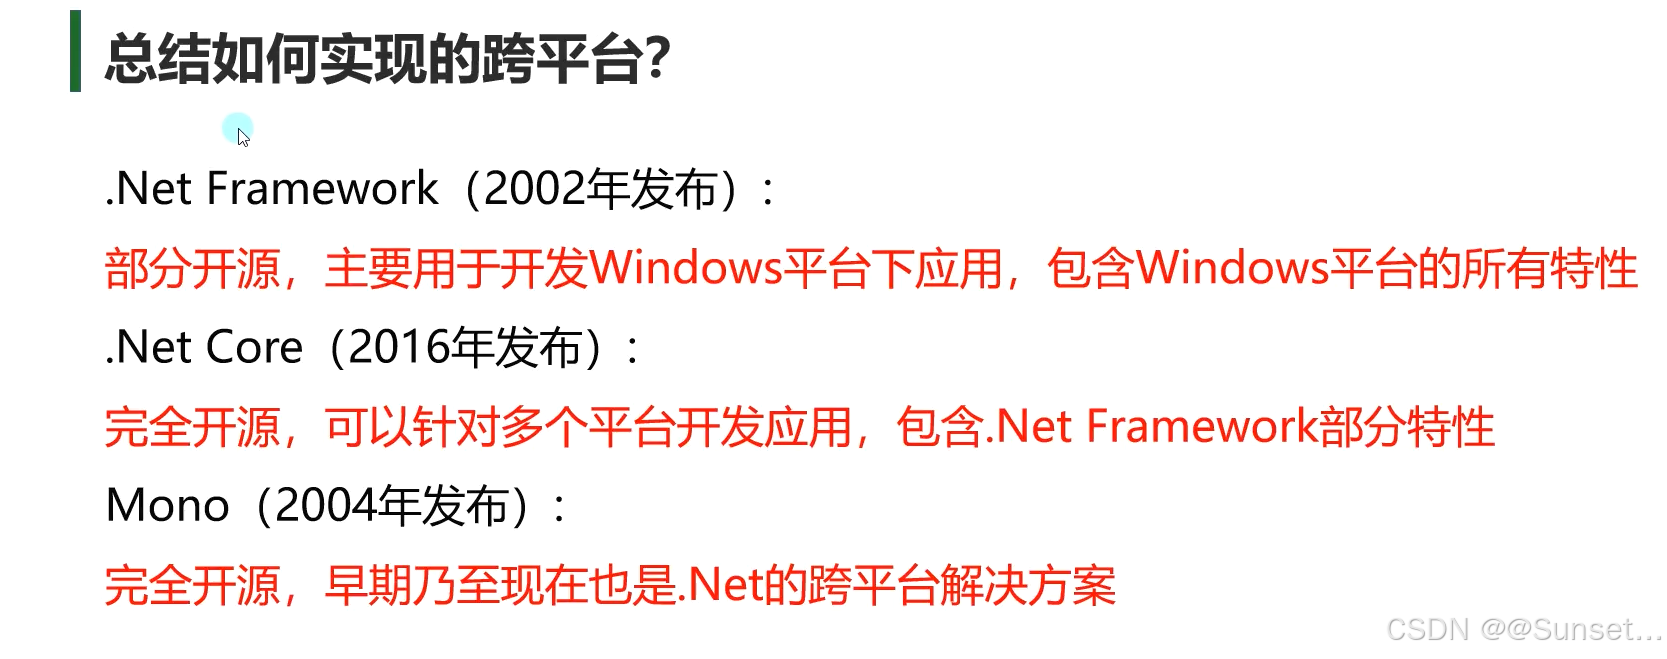
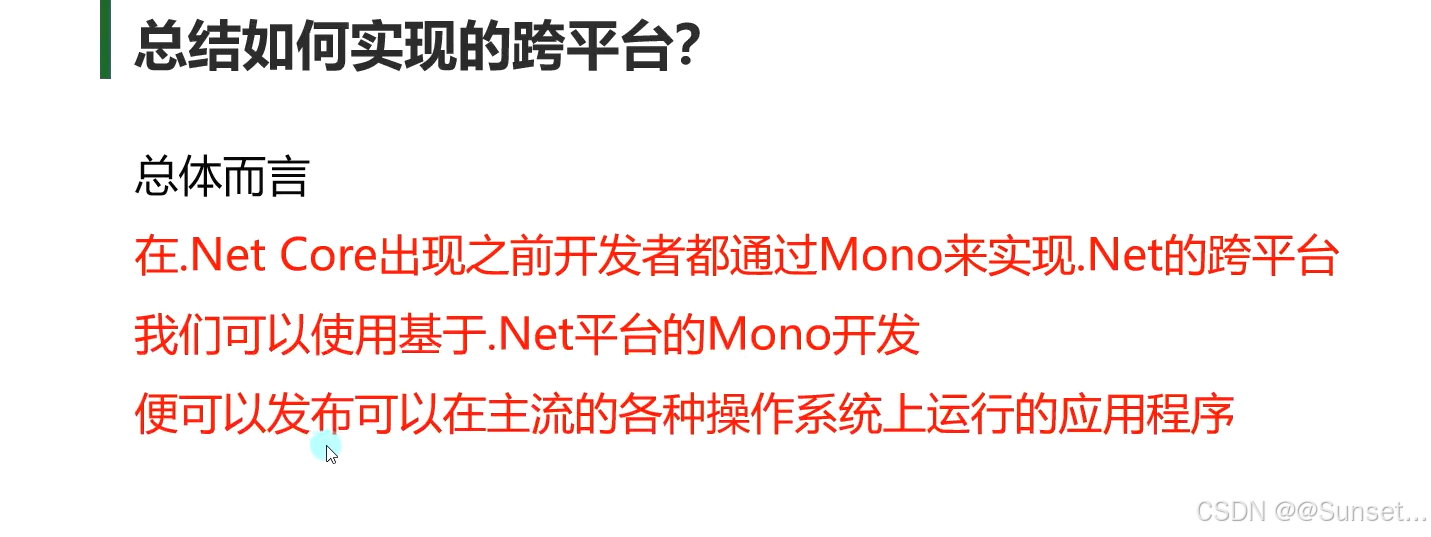
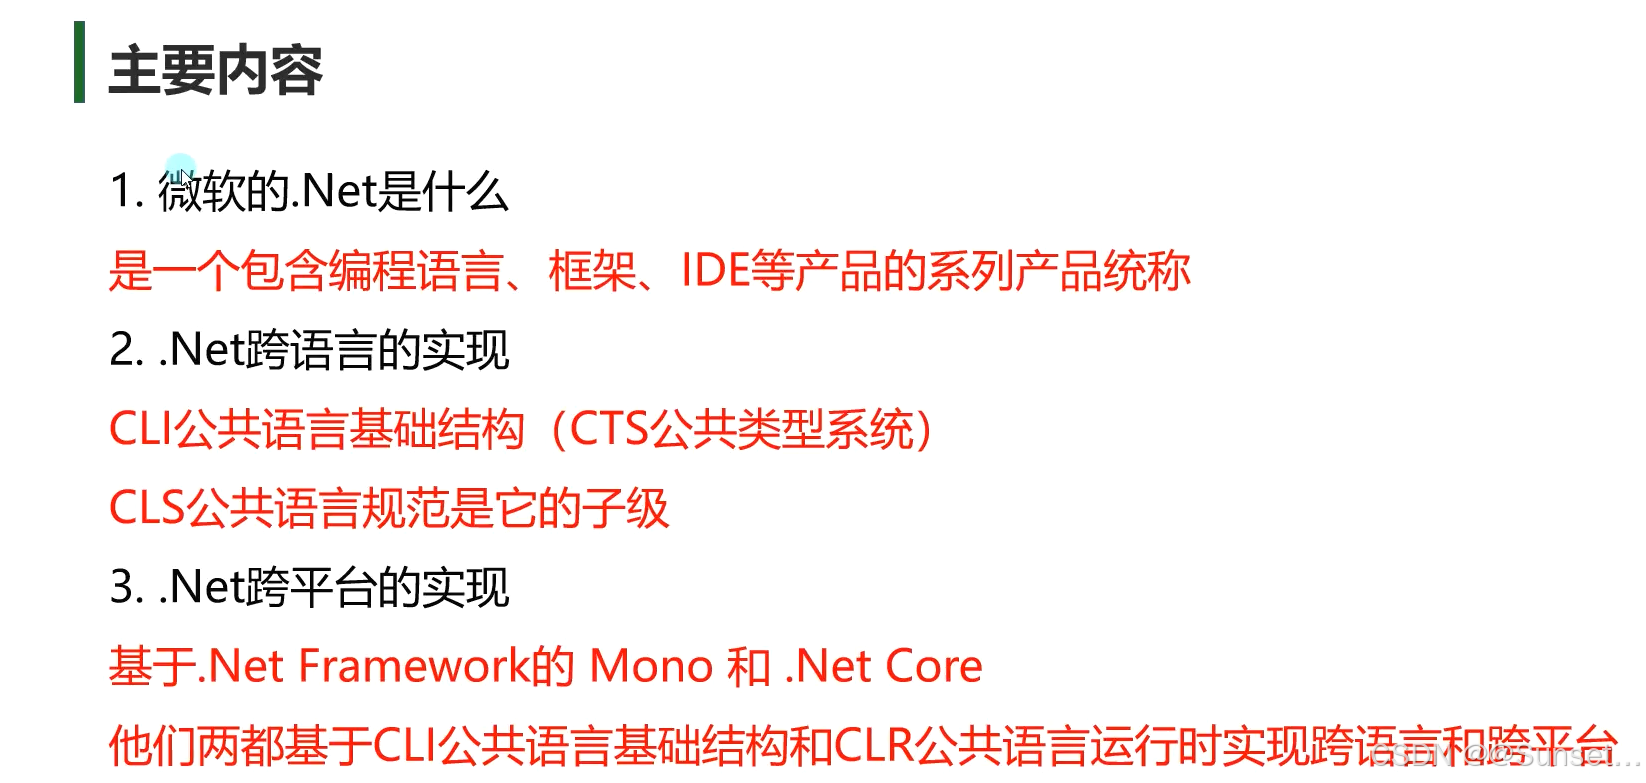
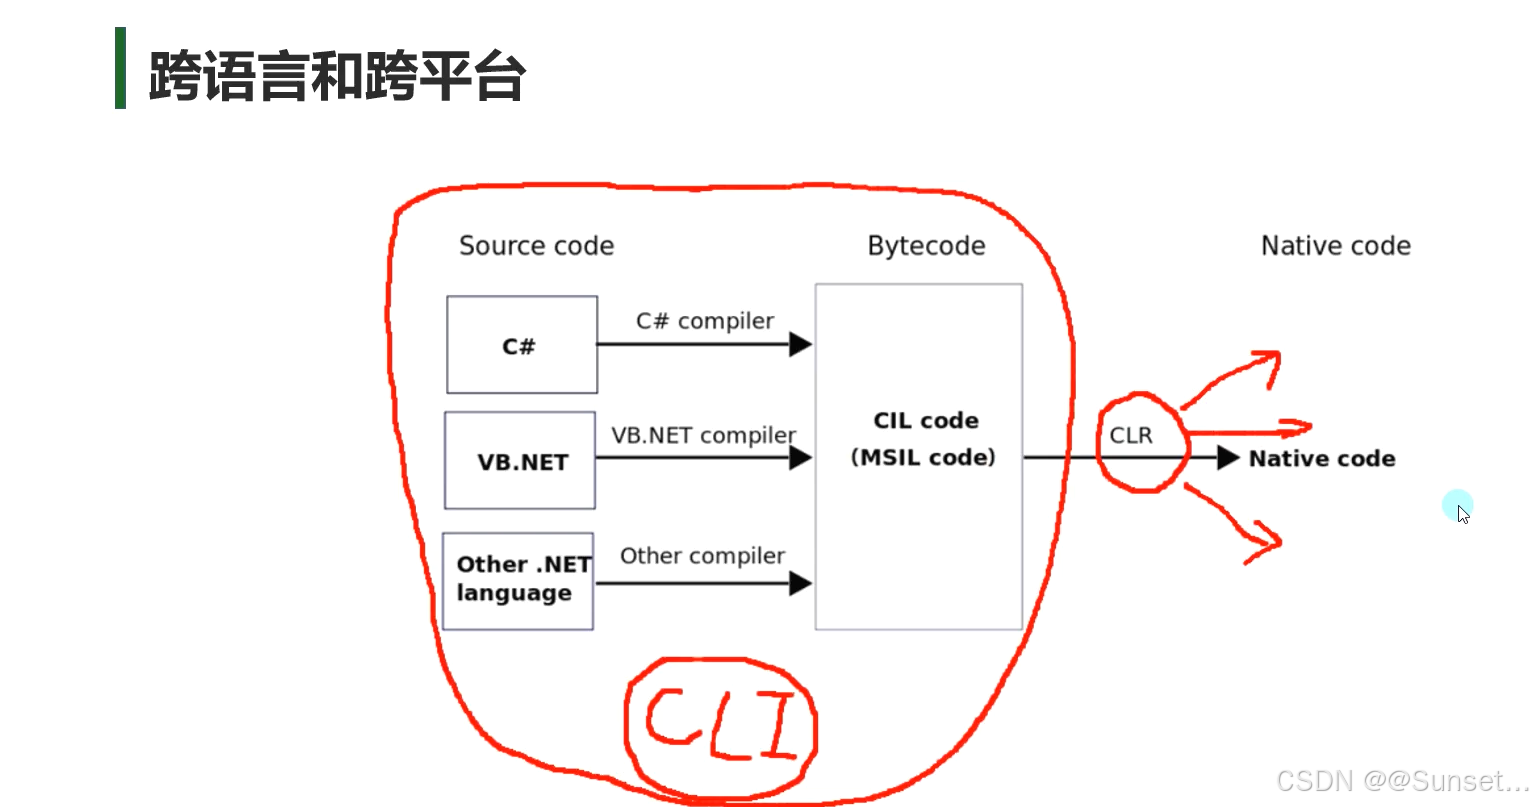
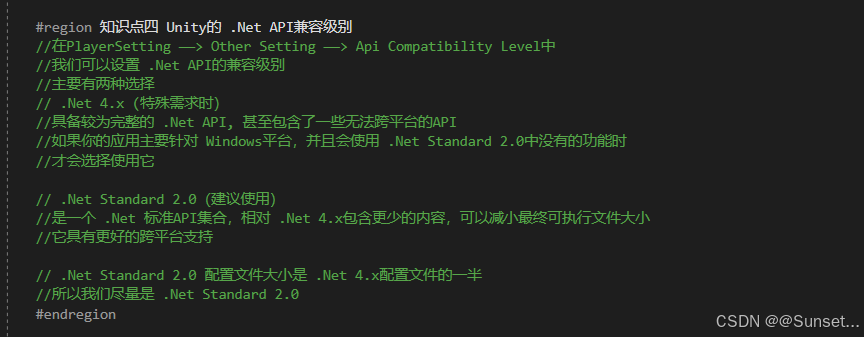
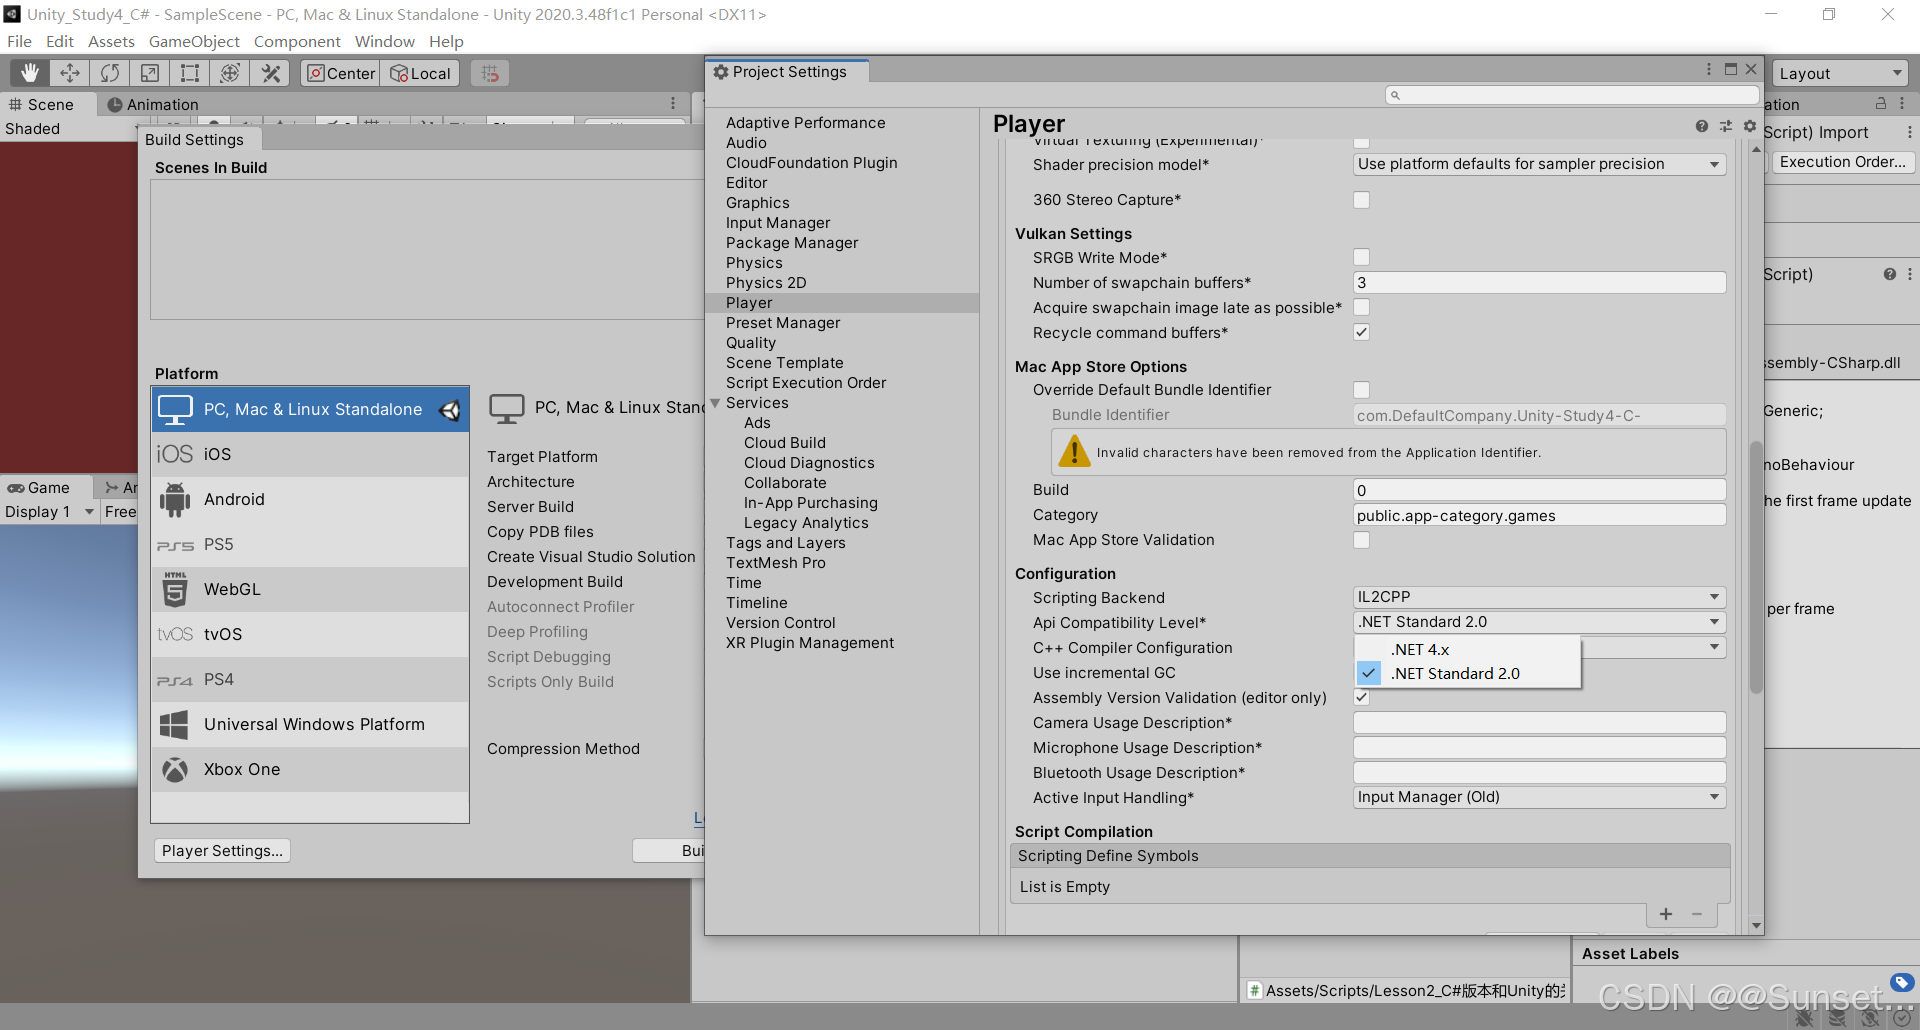
了解.Net相关知识


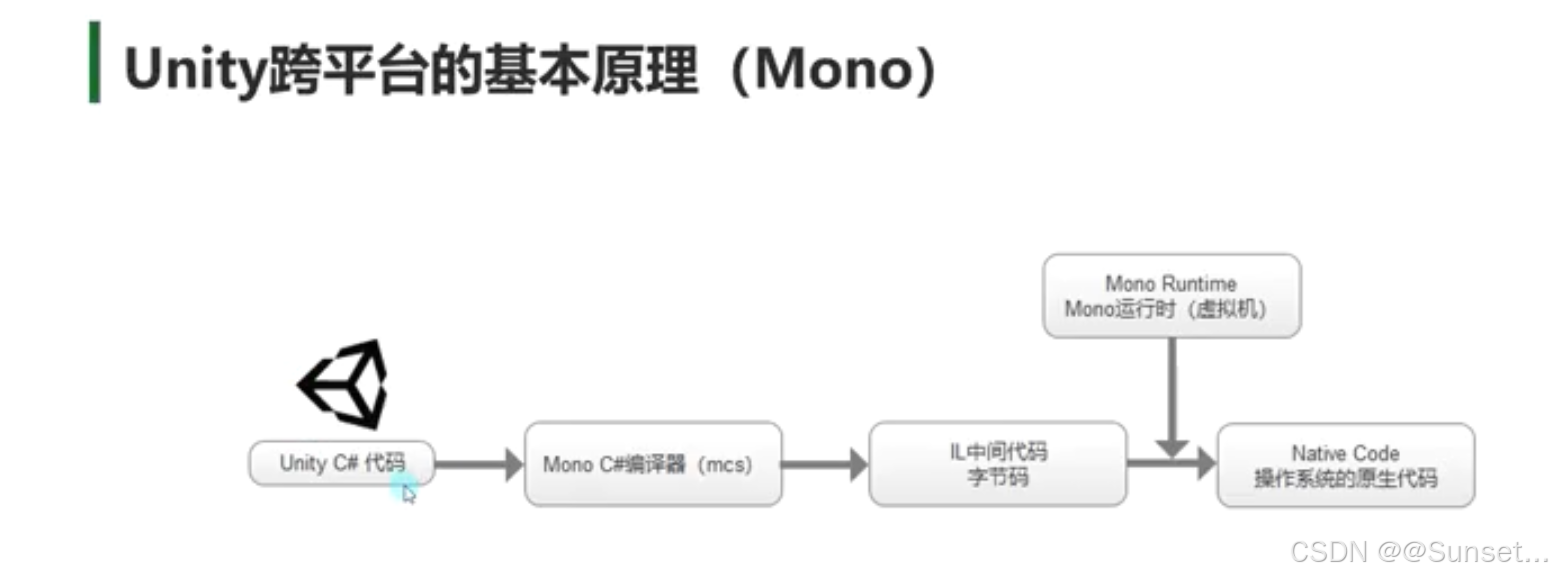
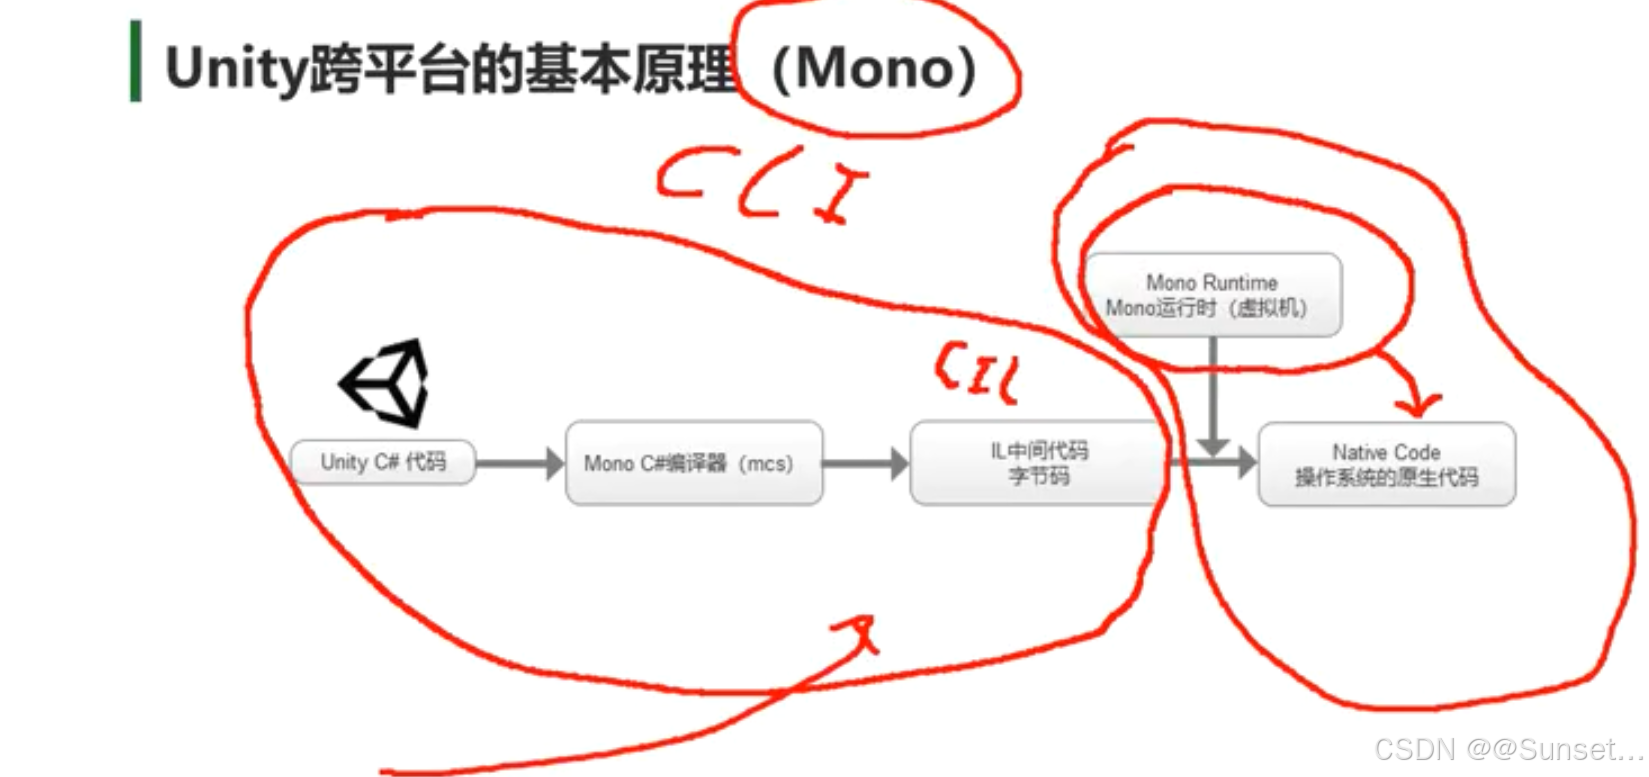
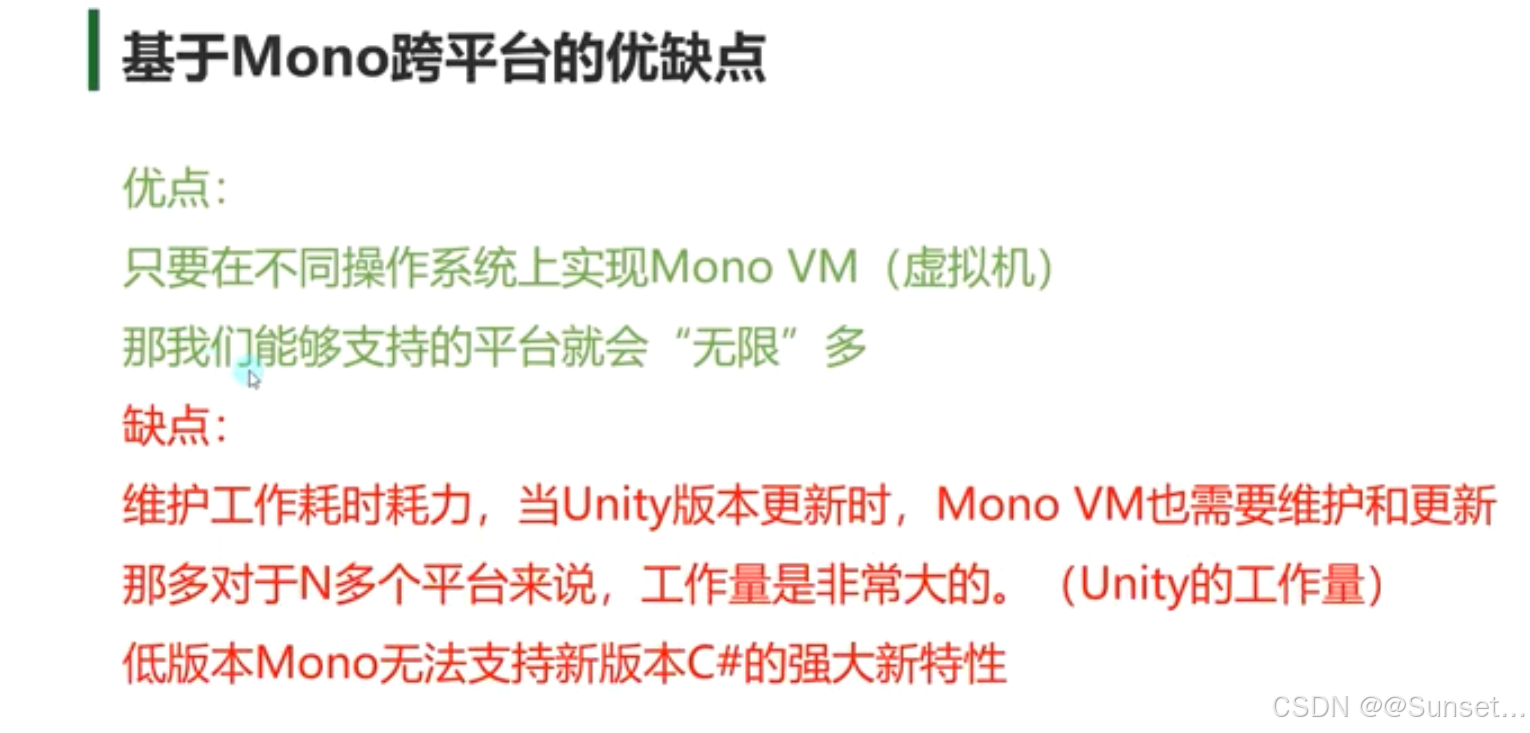
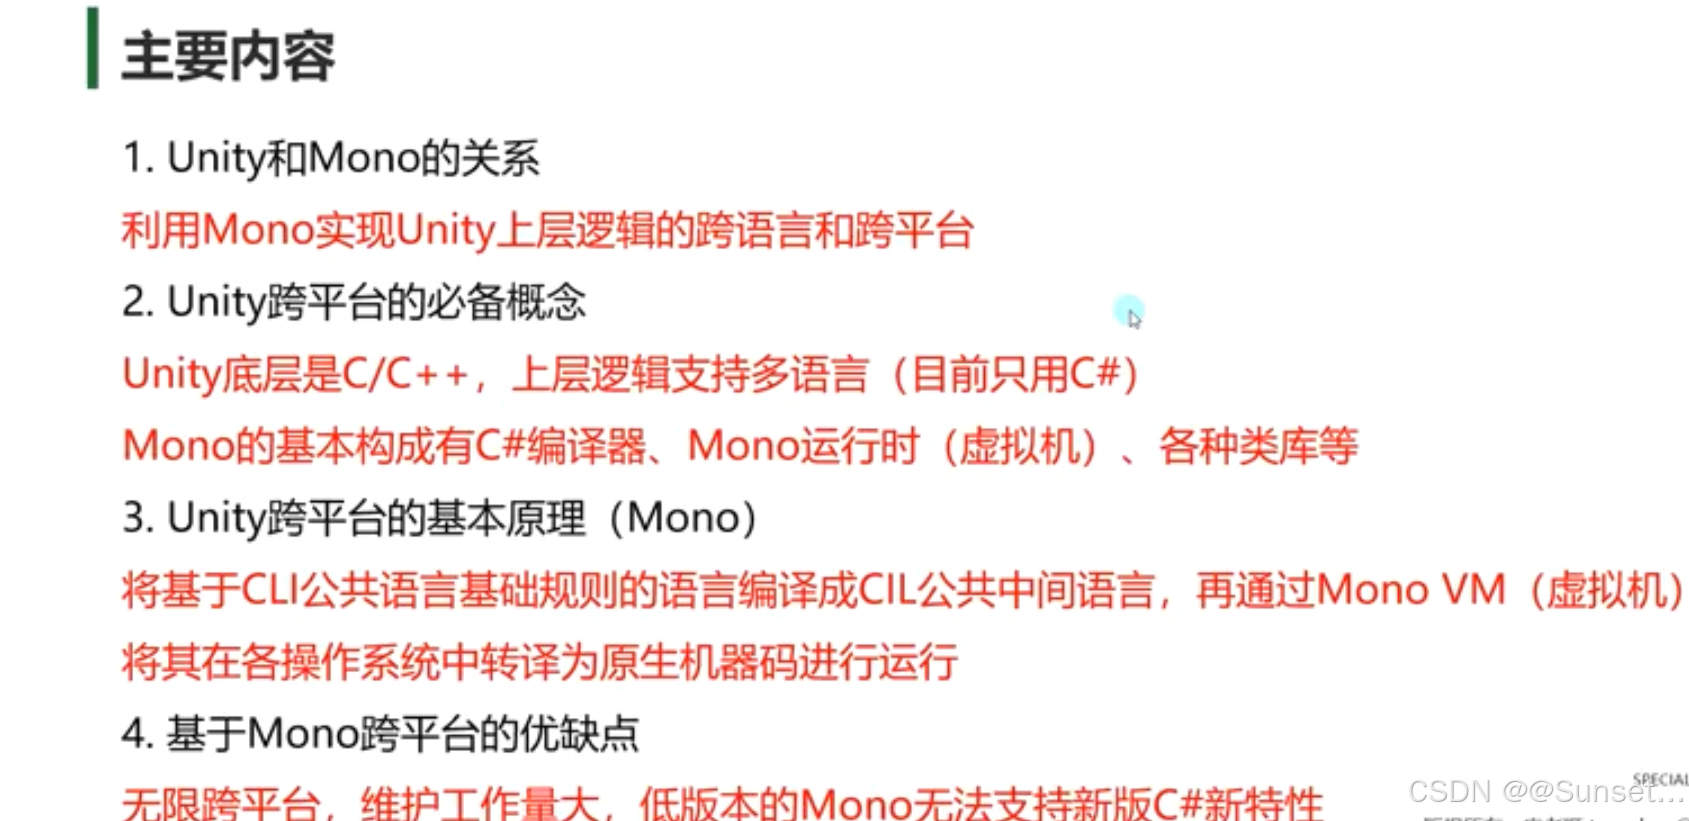
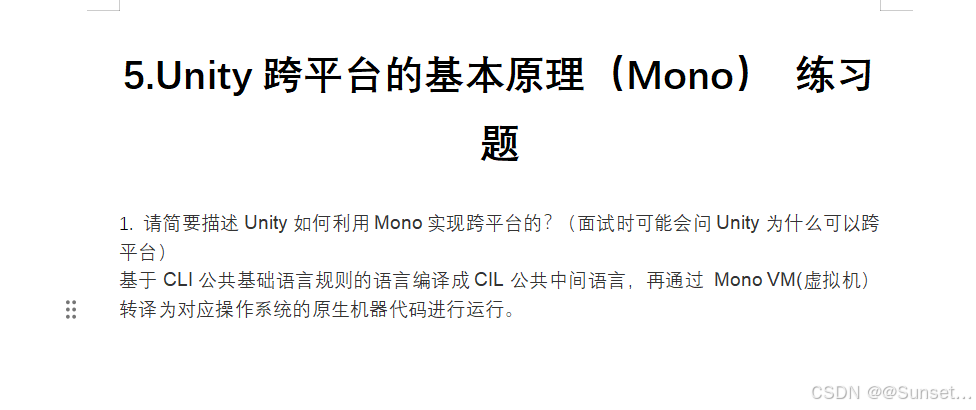
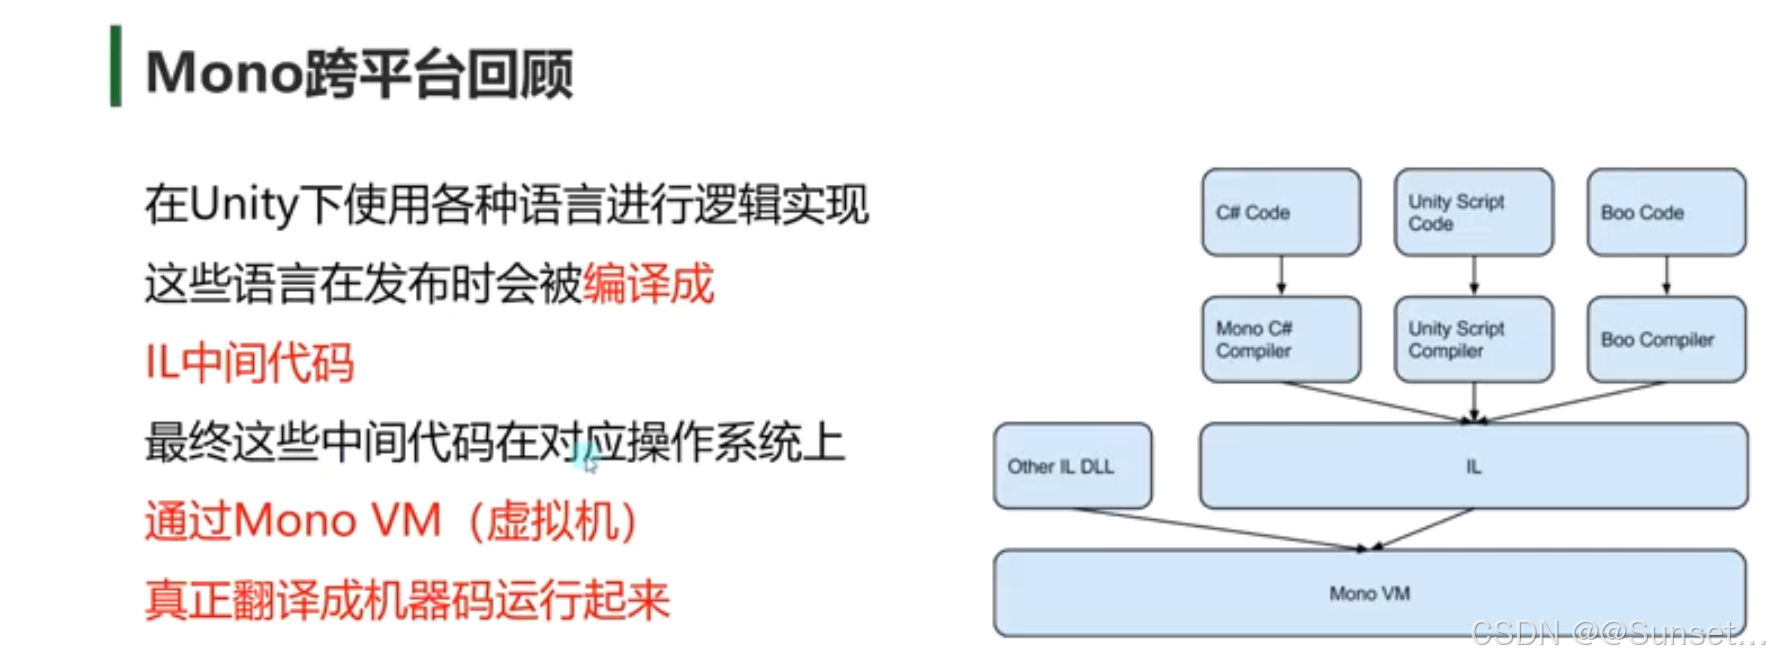
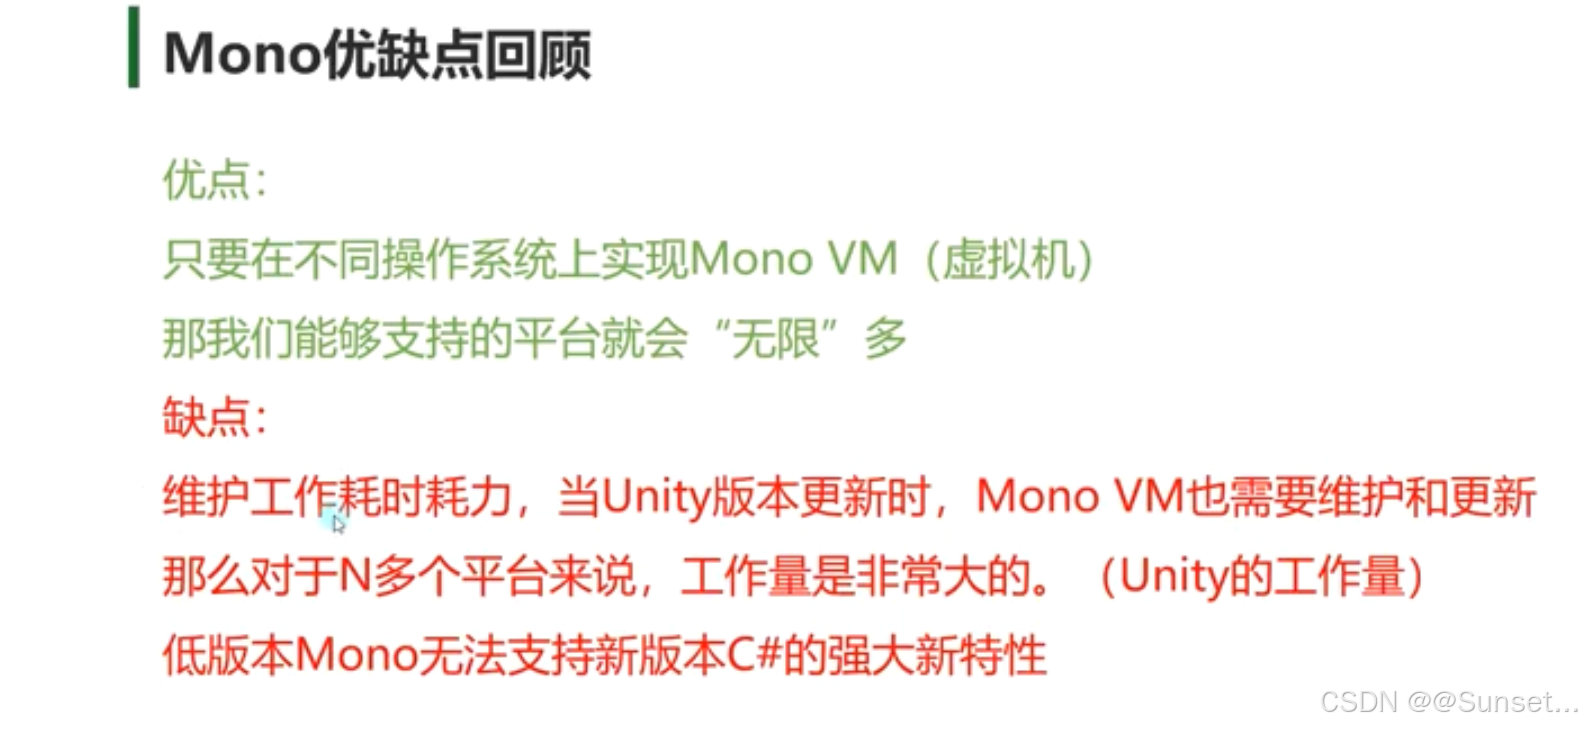
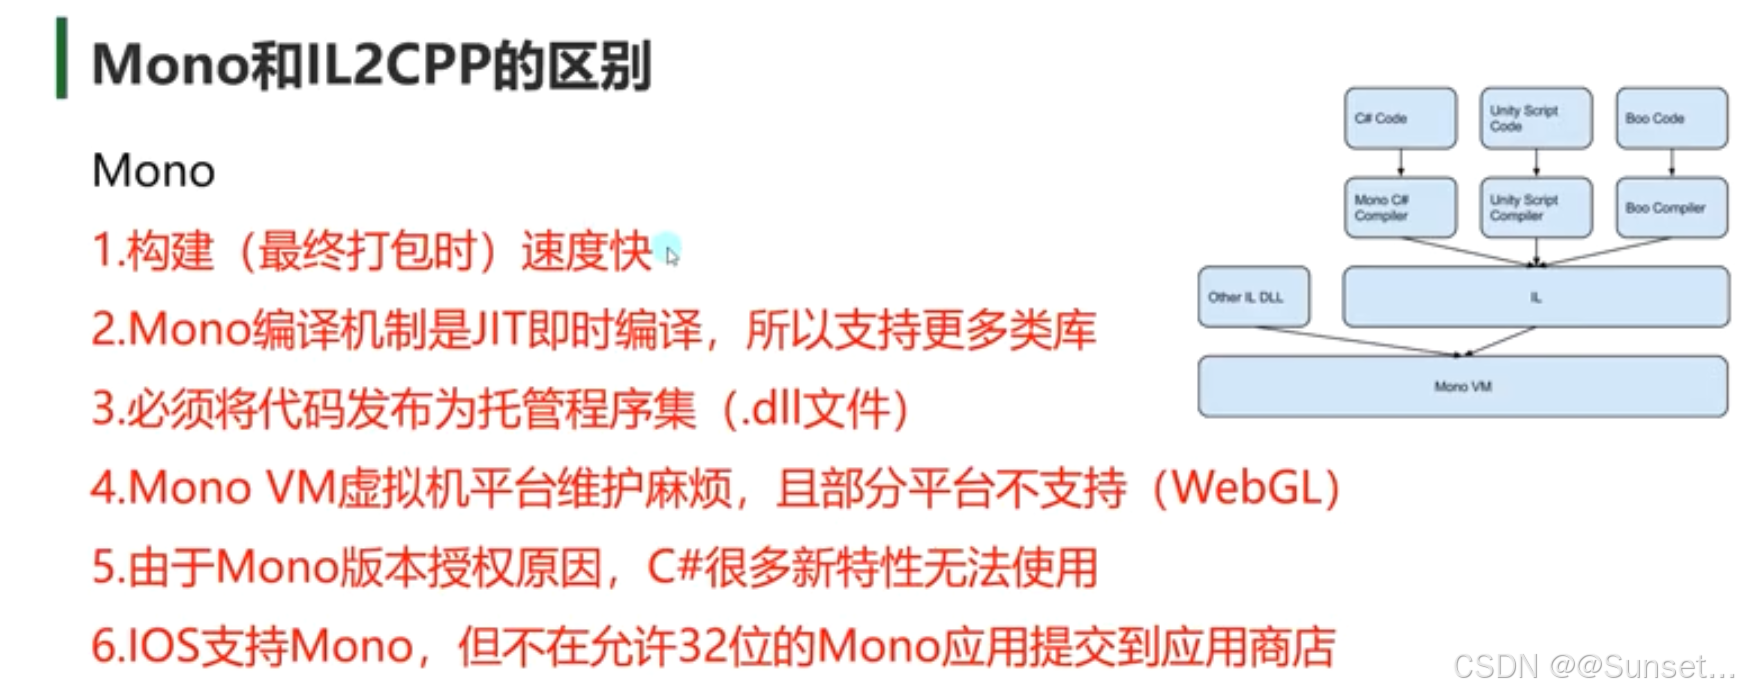
Unity跨平台的基本原理(Mono)

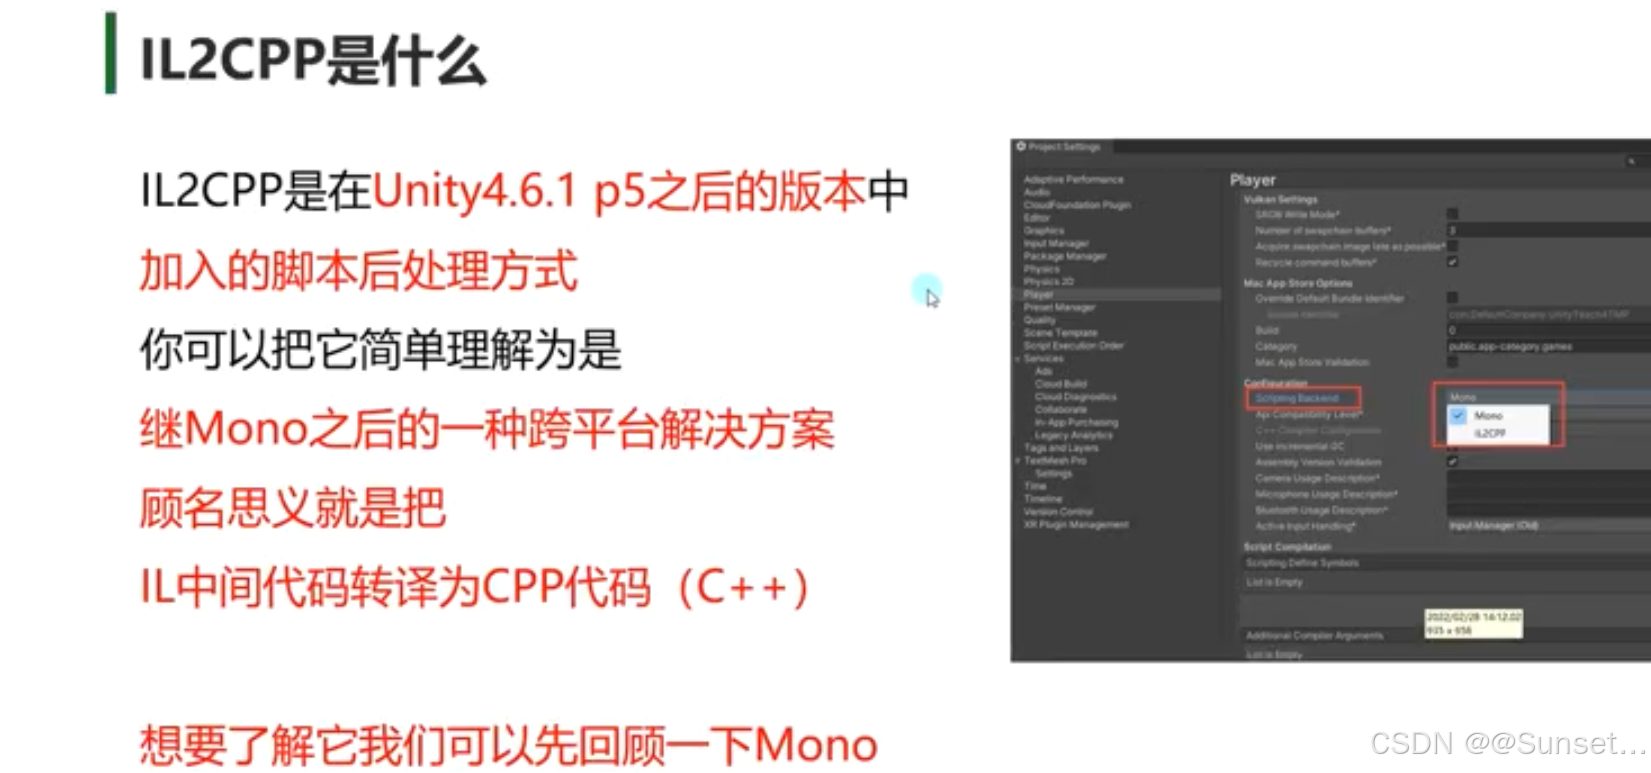
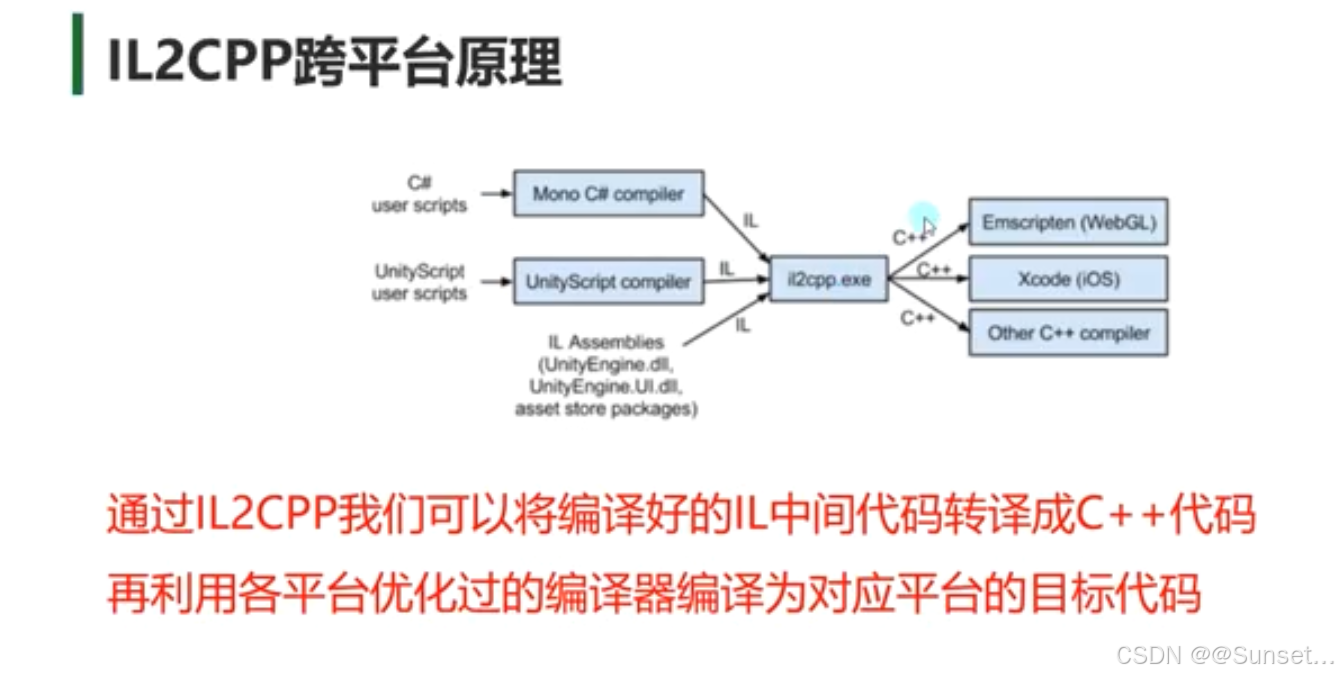
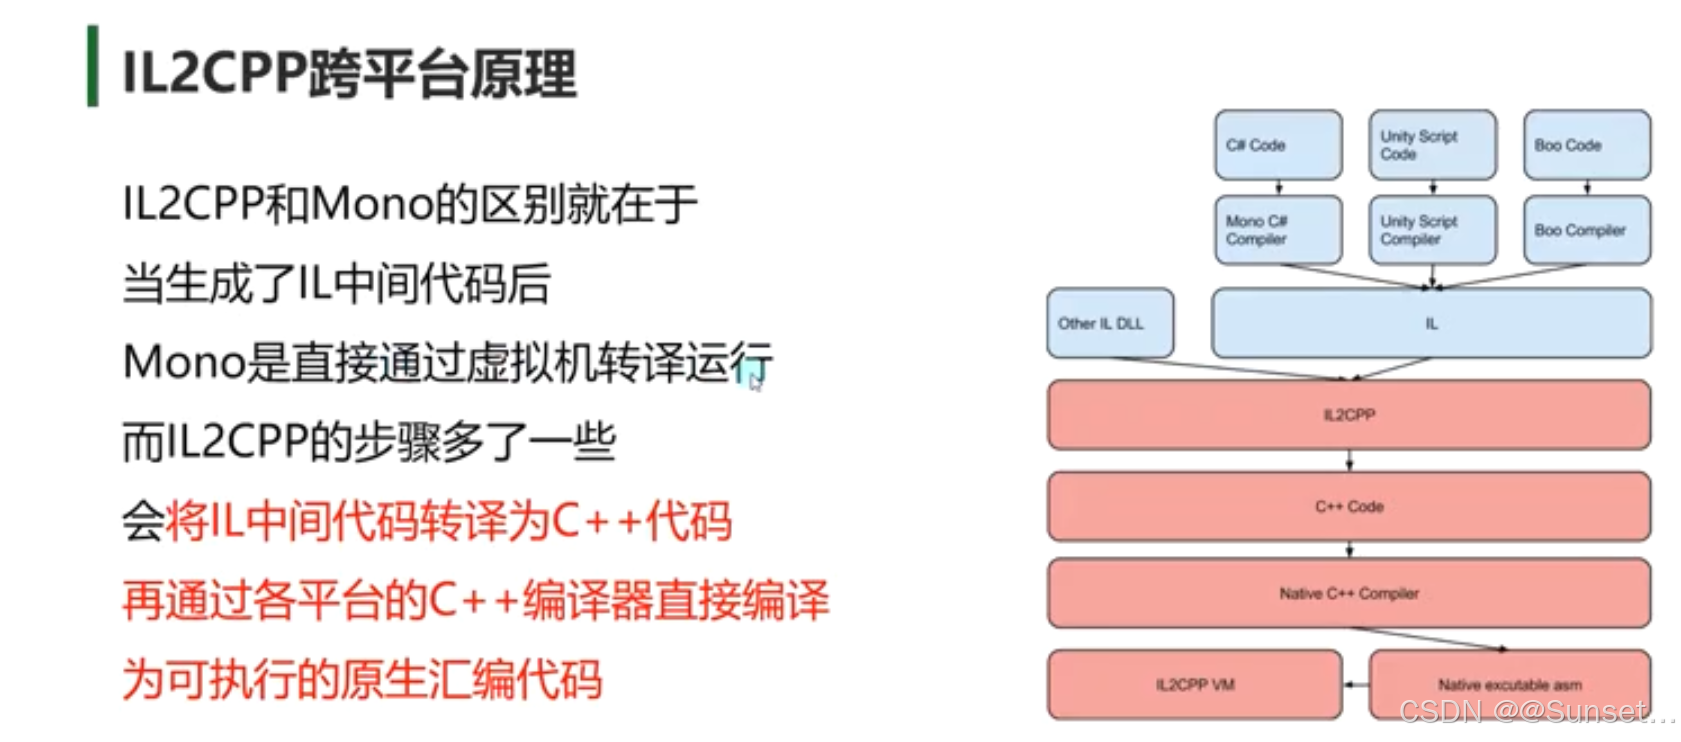
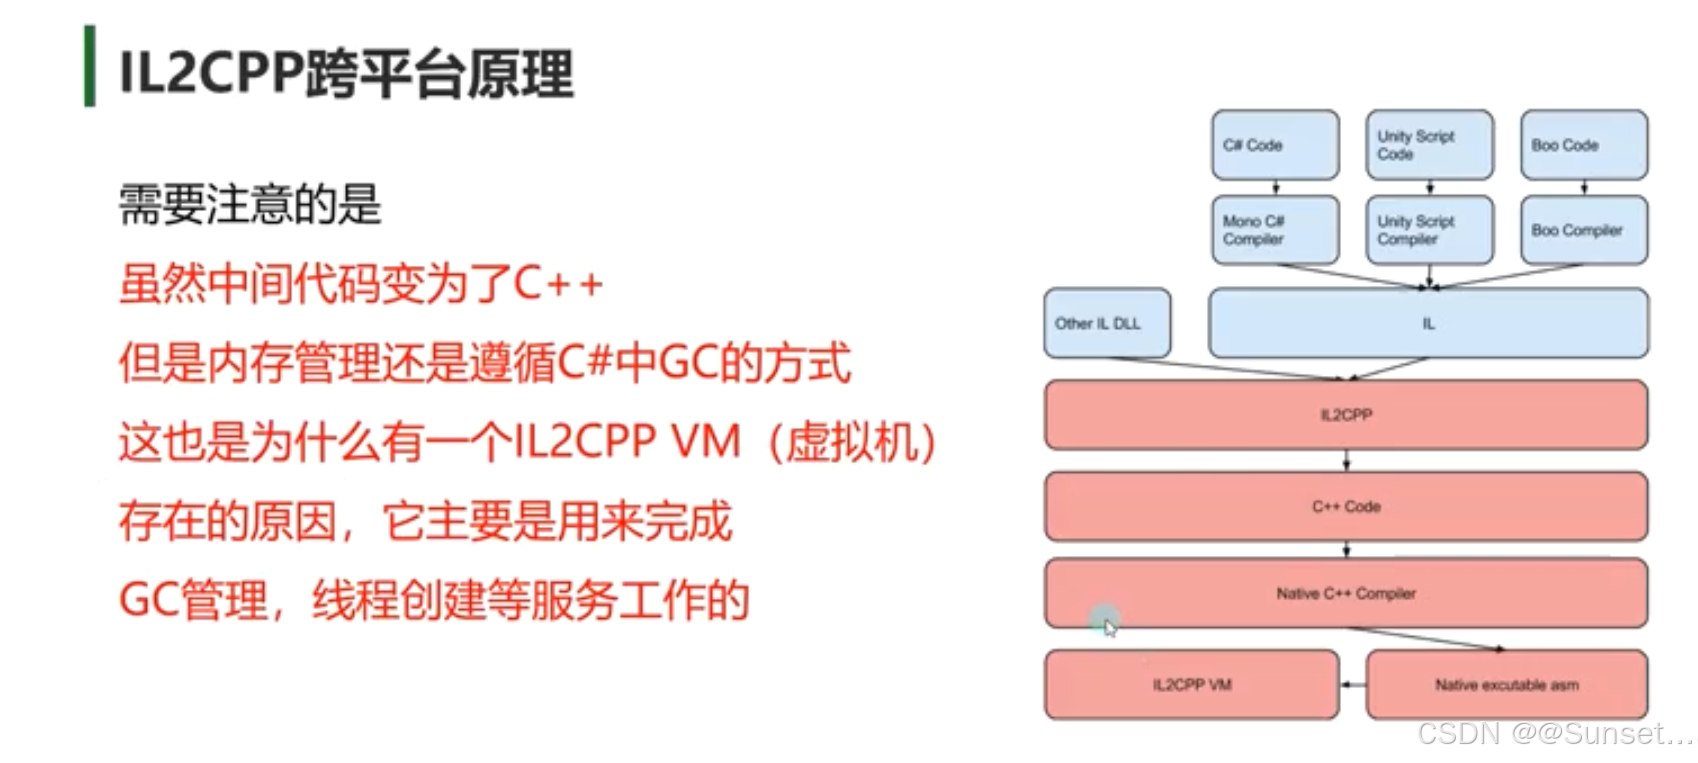
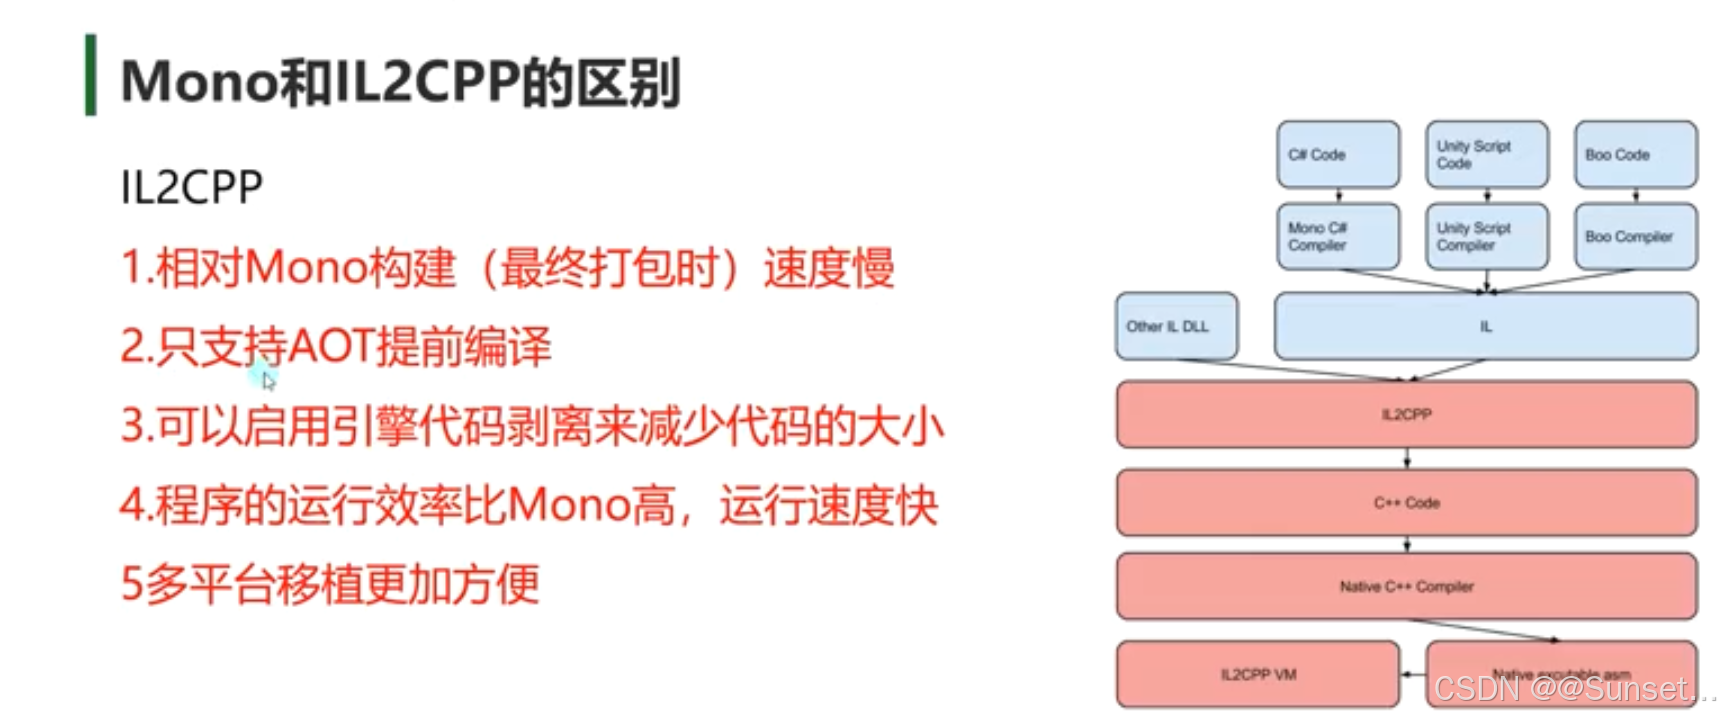
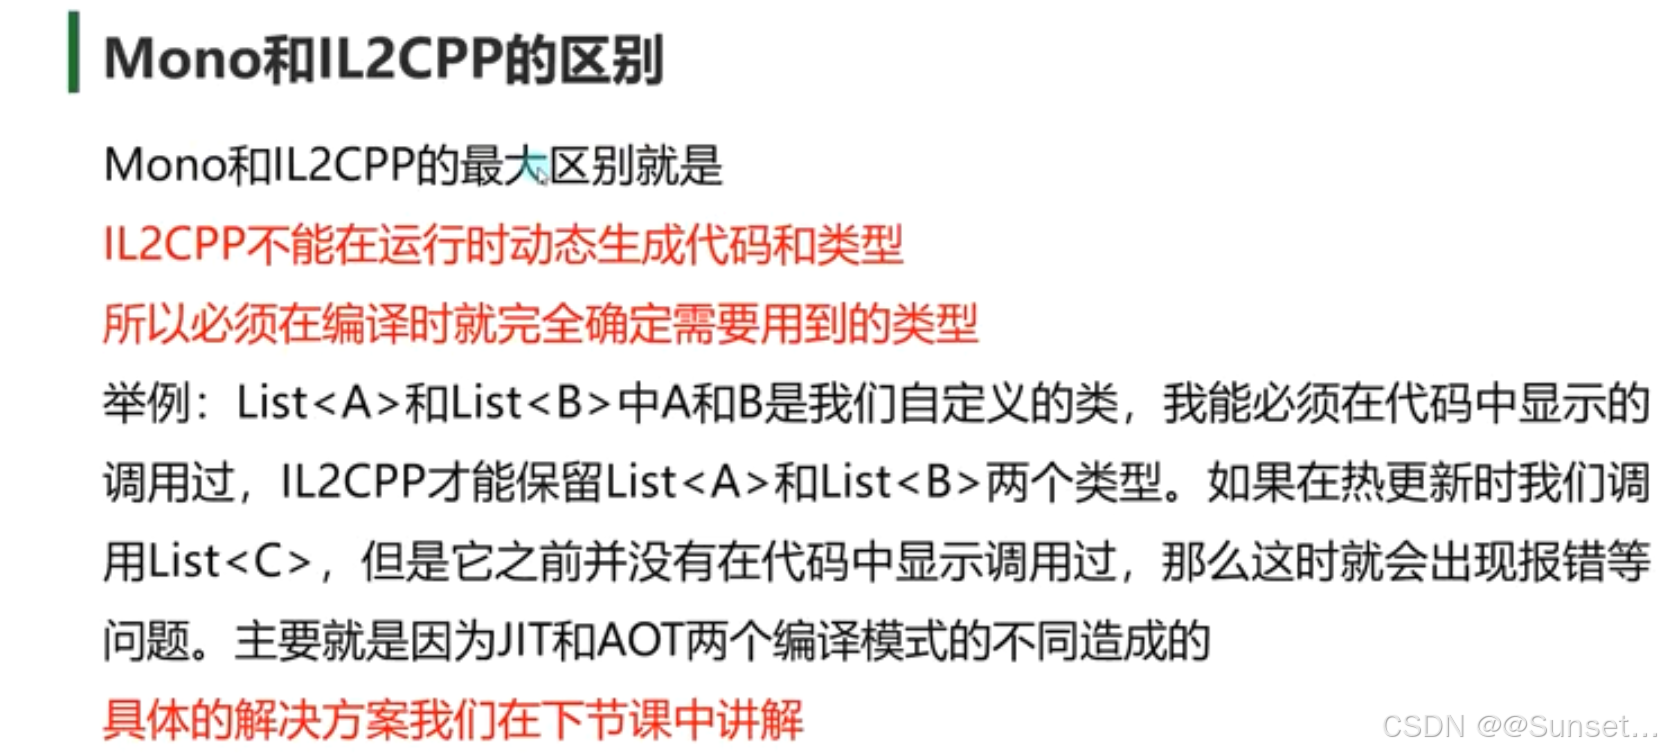
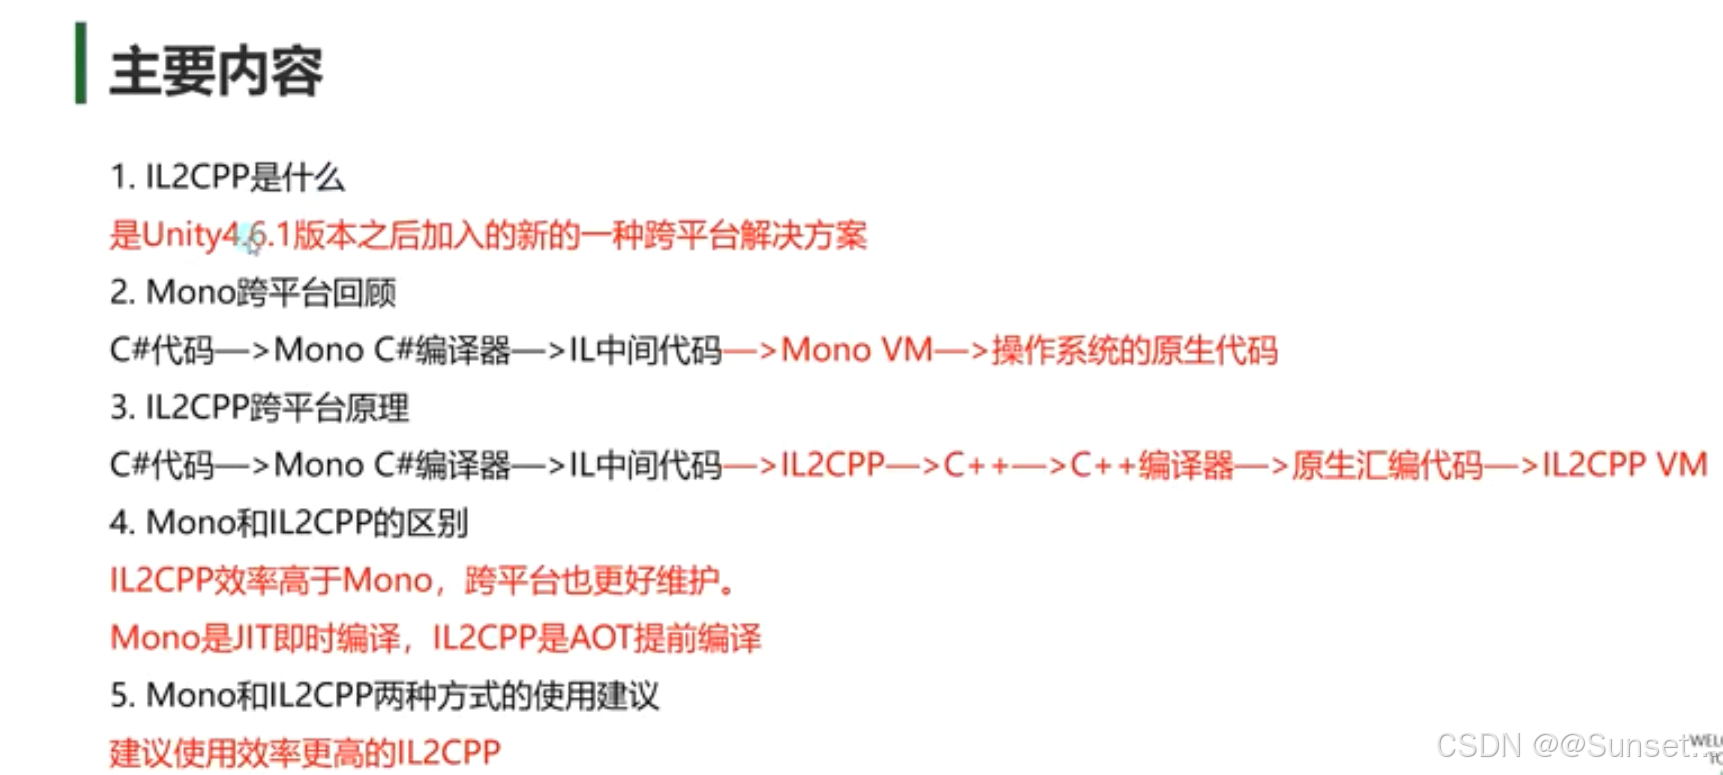
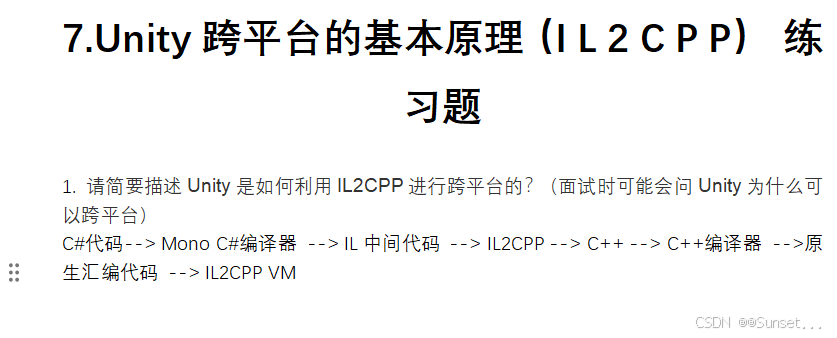
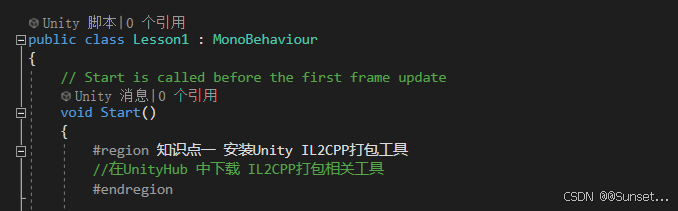
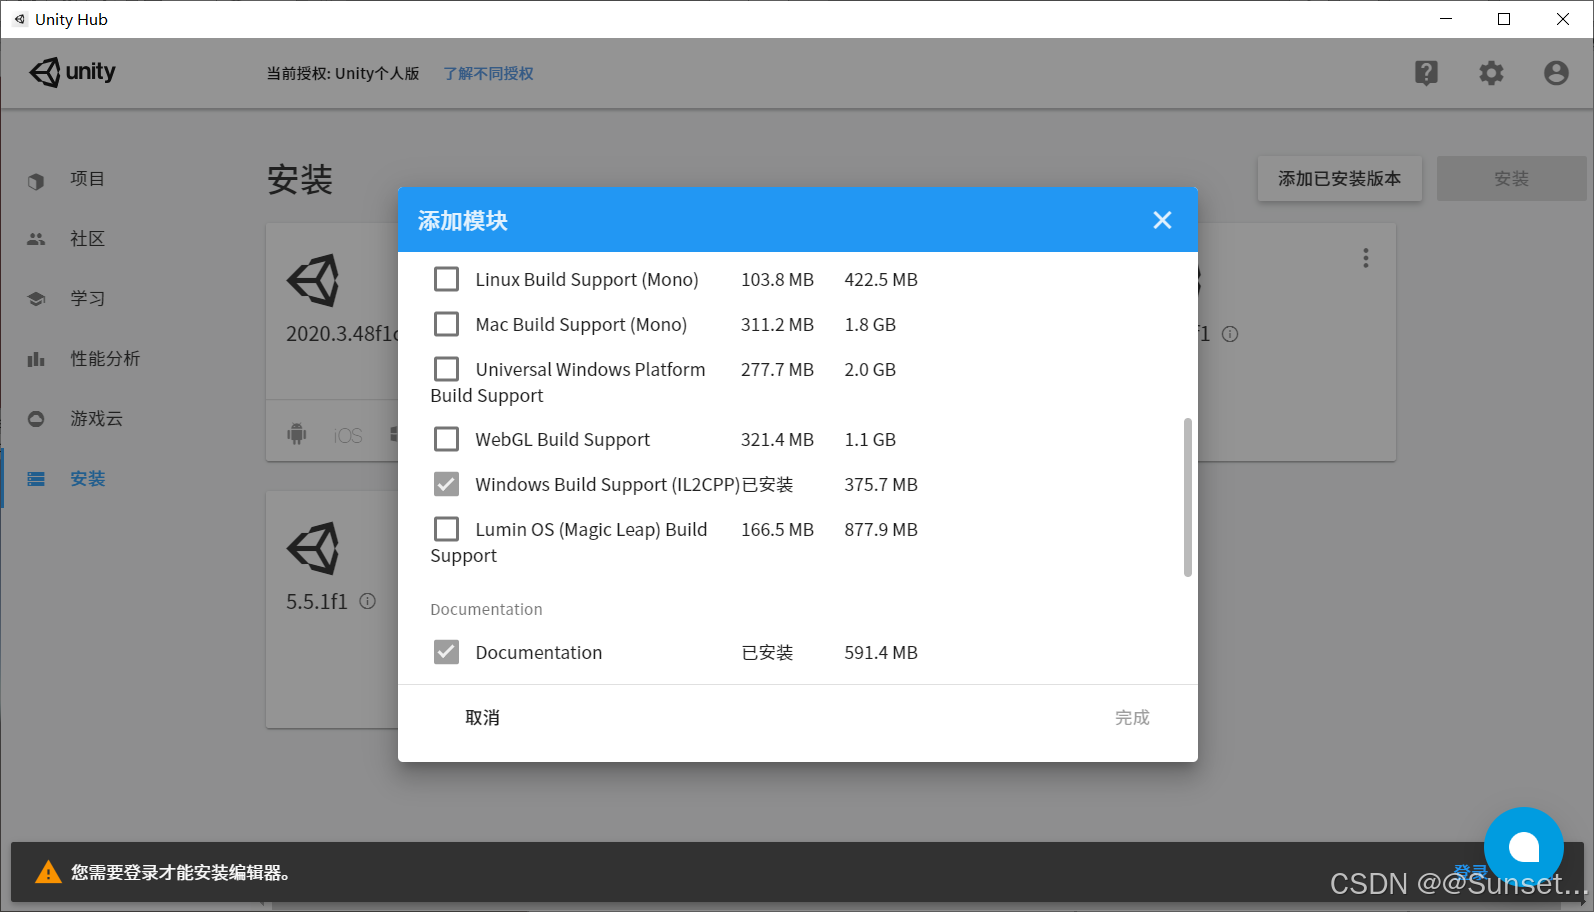
Unity跨平台的基本原理(IL2CPP)


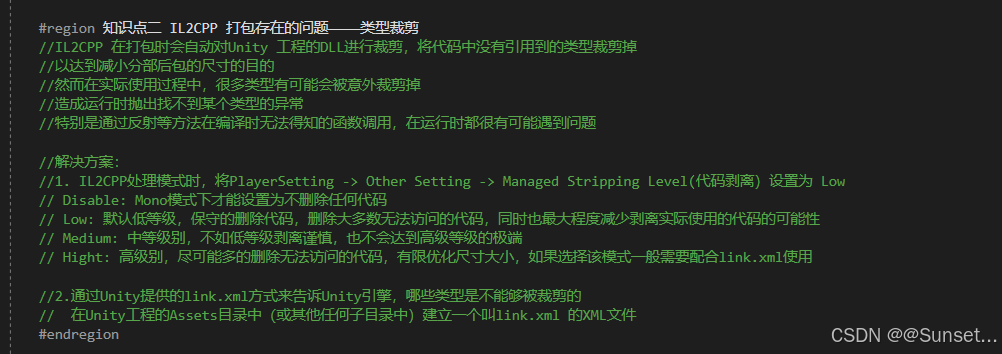
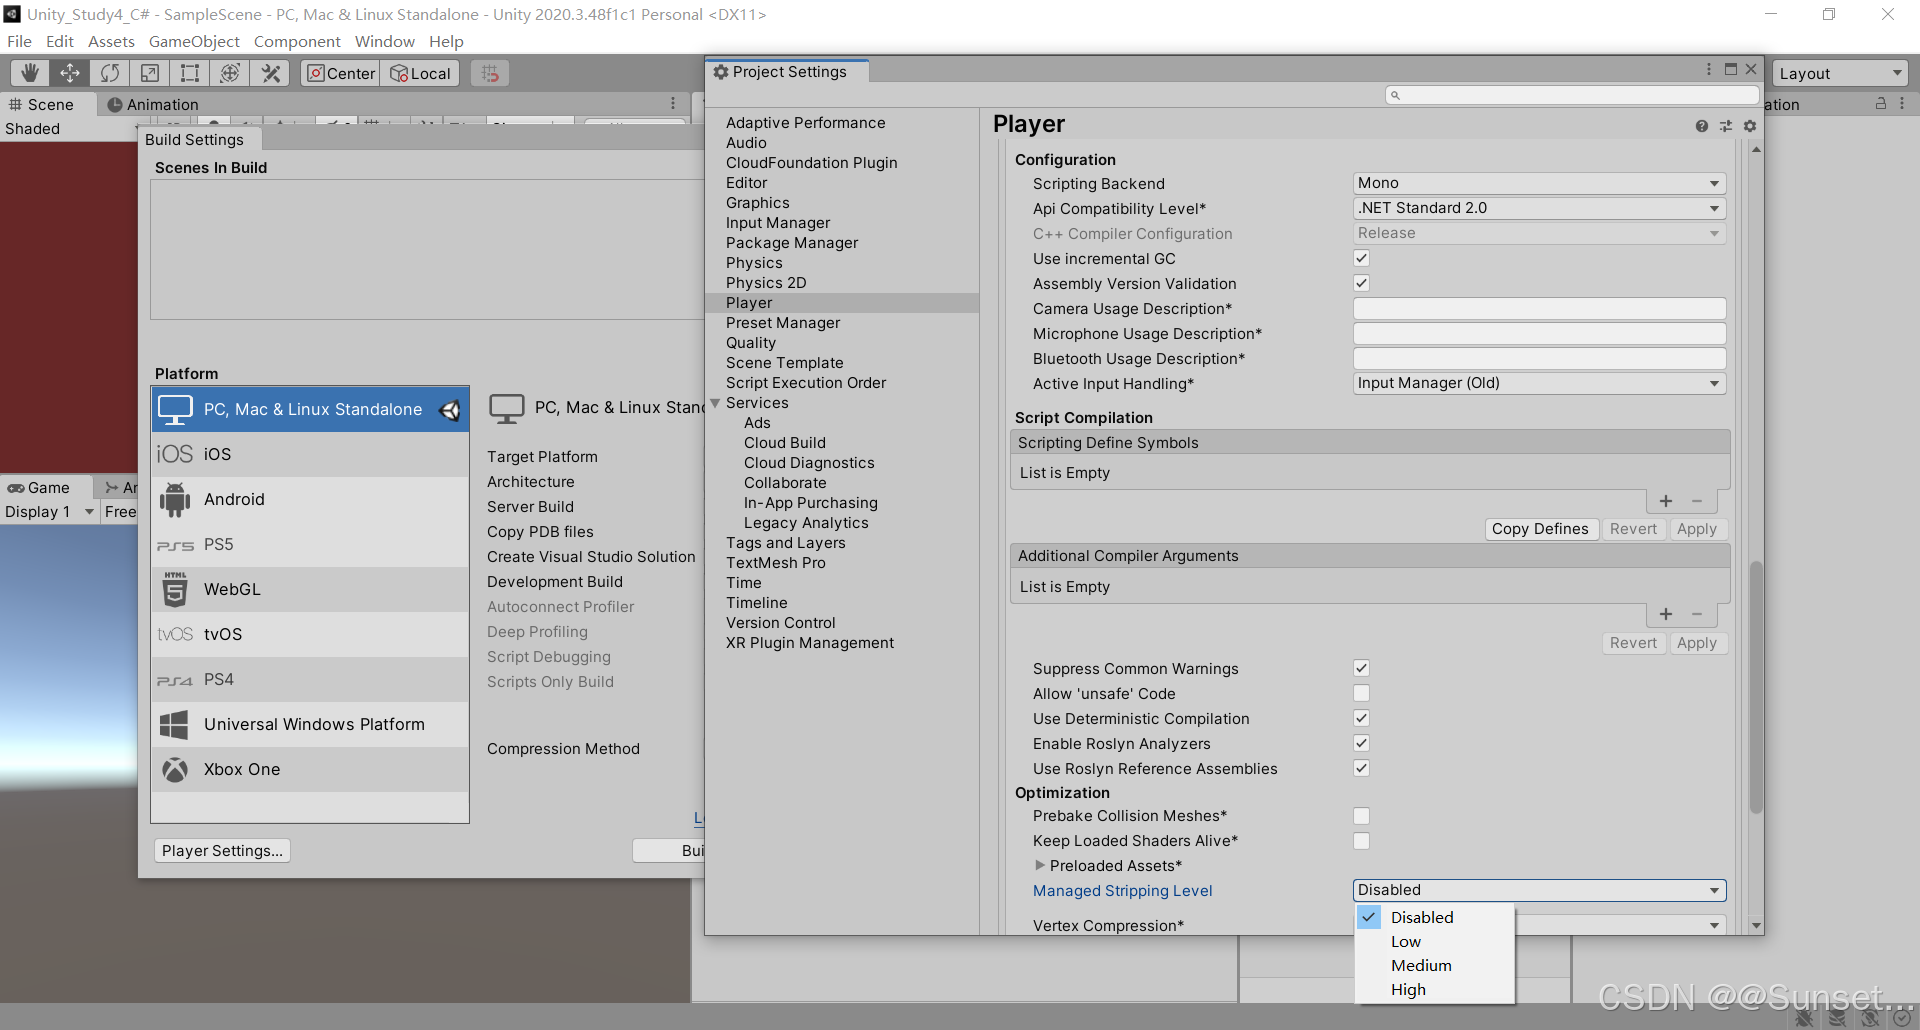
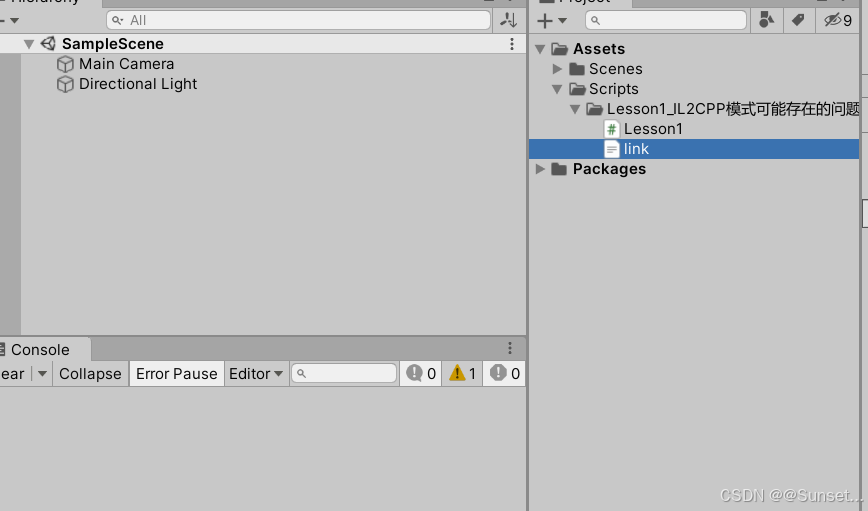
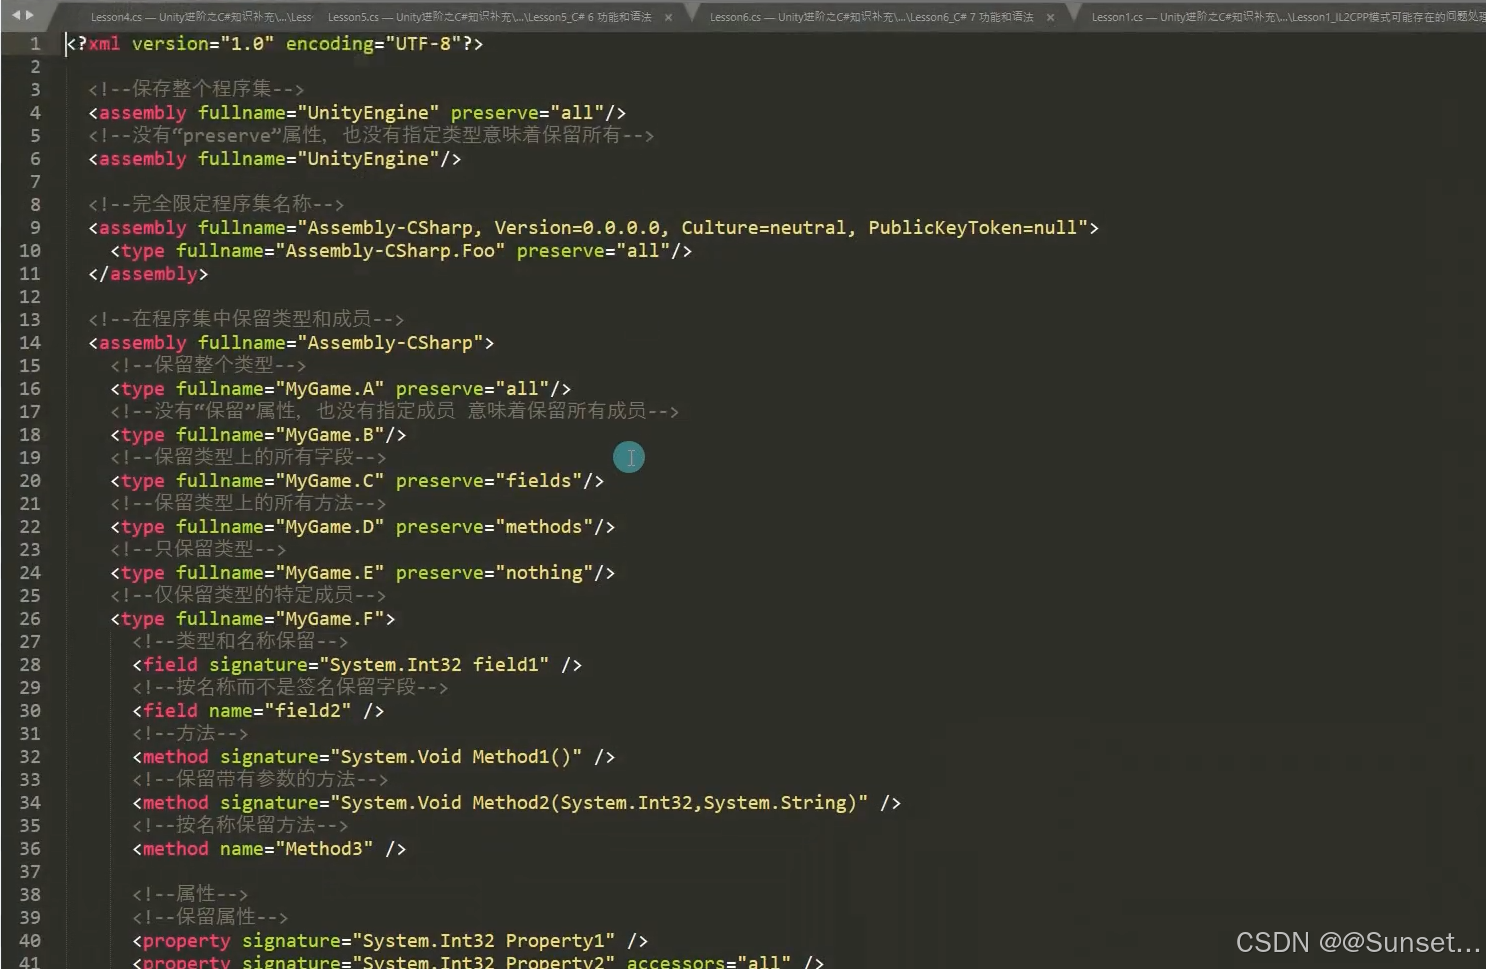
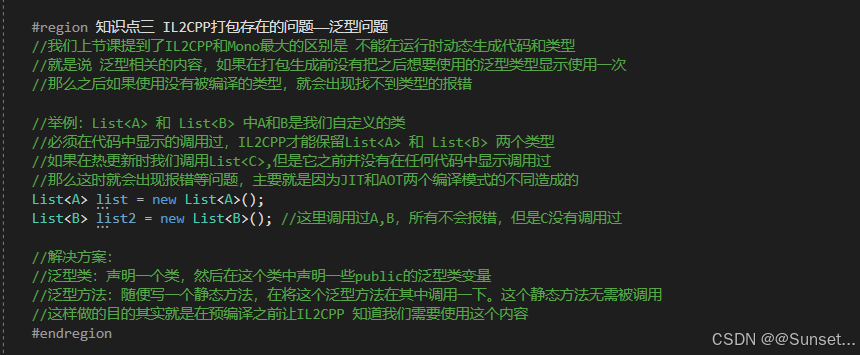
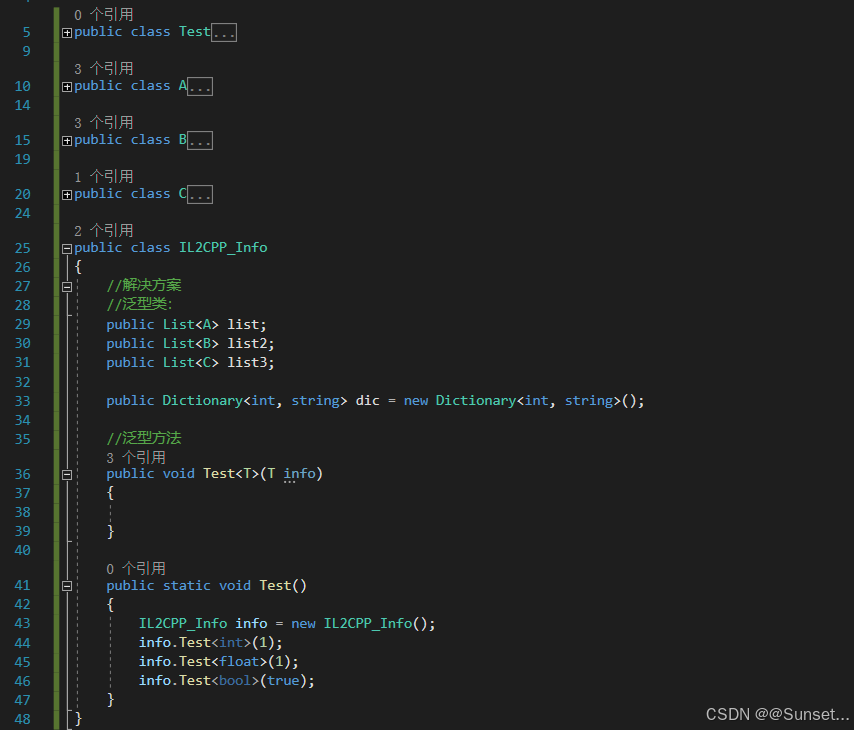
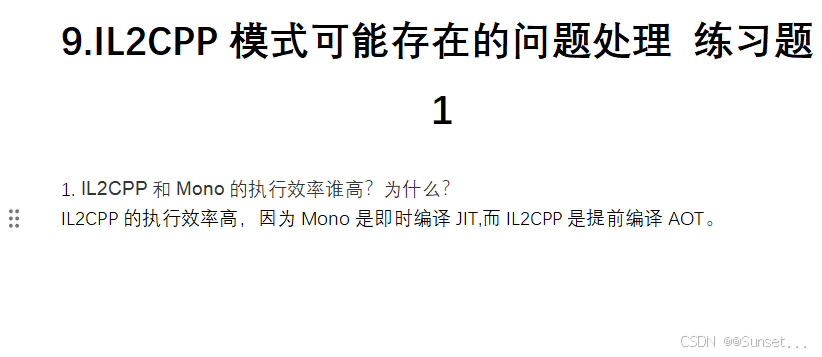
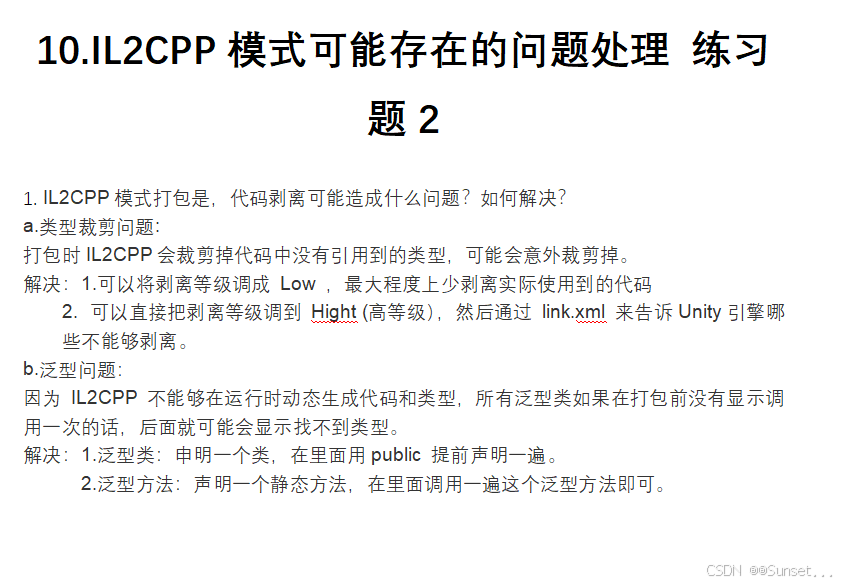
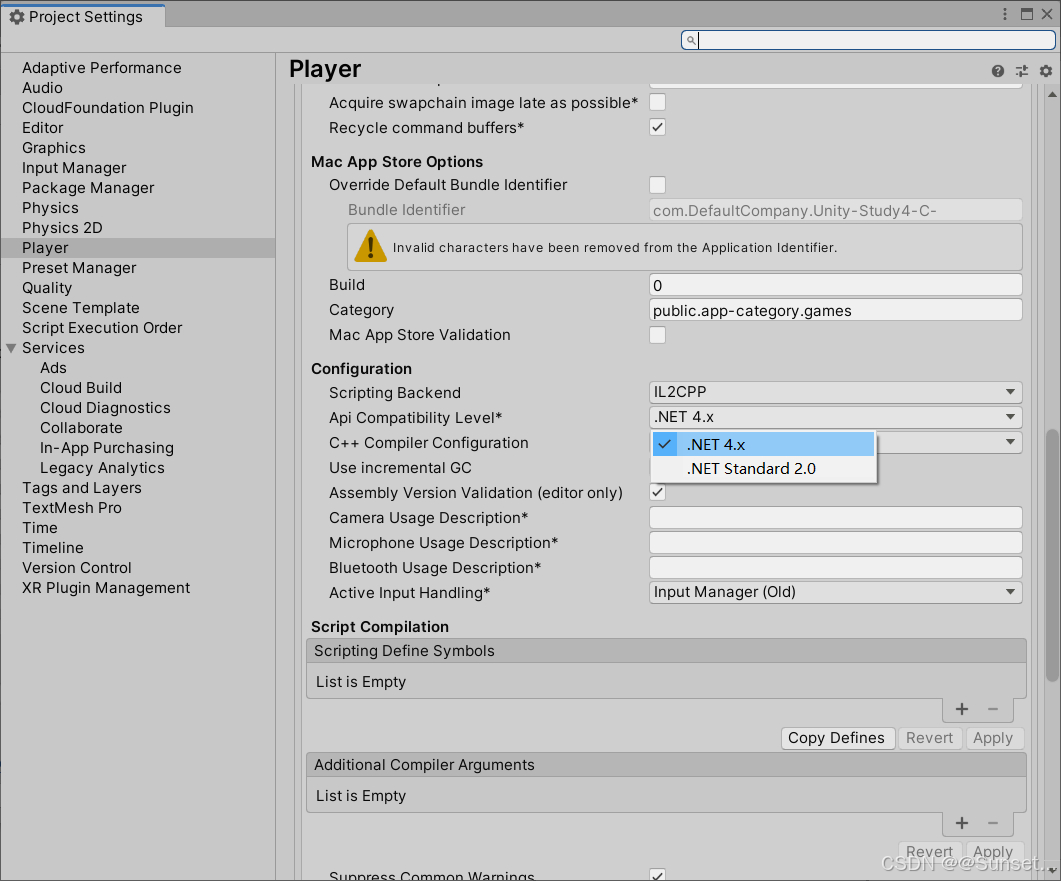
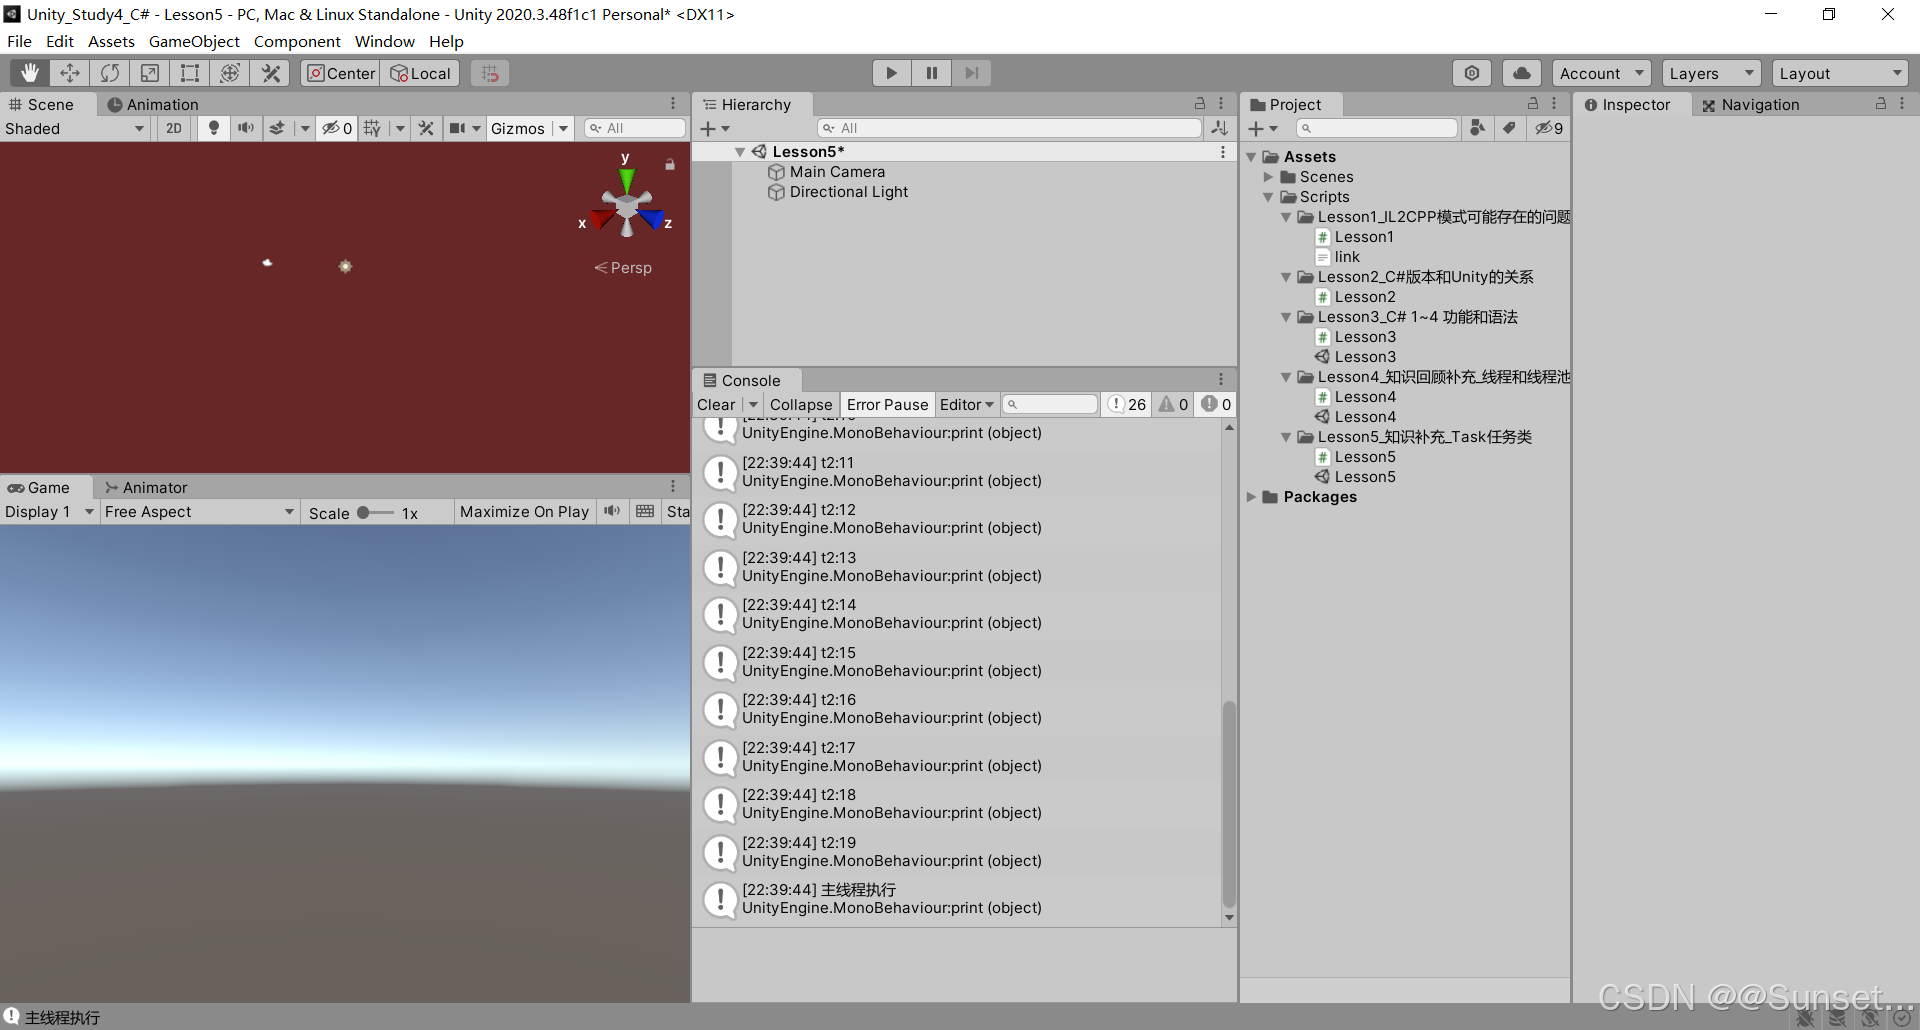
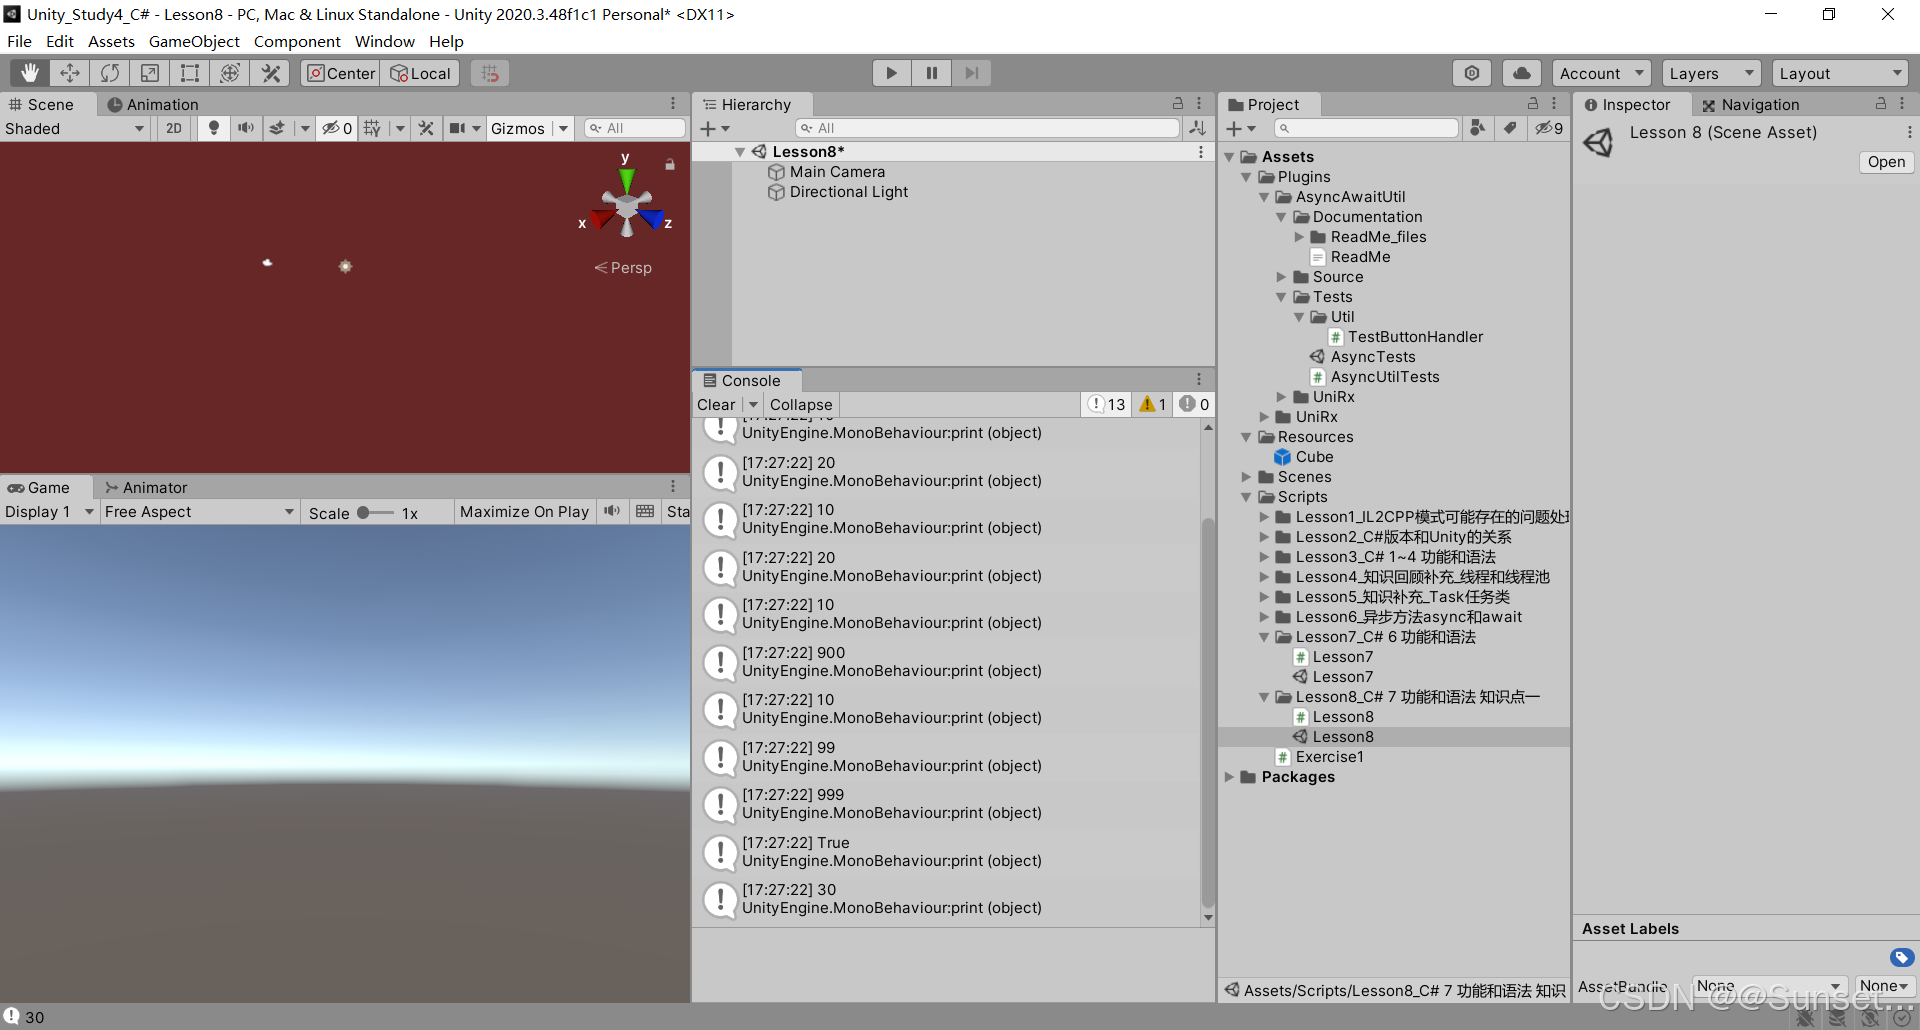
IL2CPP 模式可能存在的问题处理

报错的话就去下载


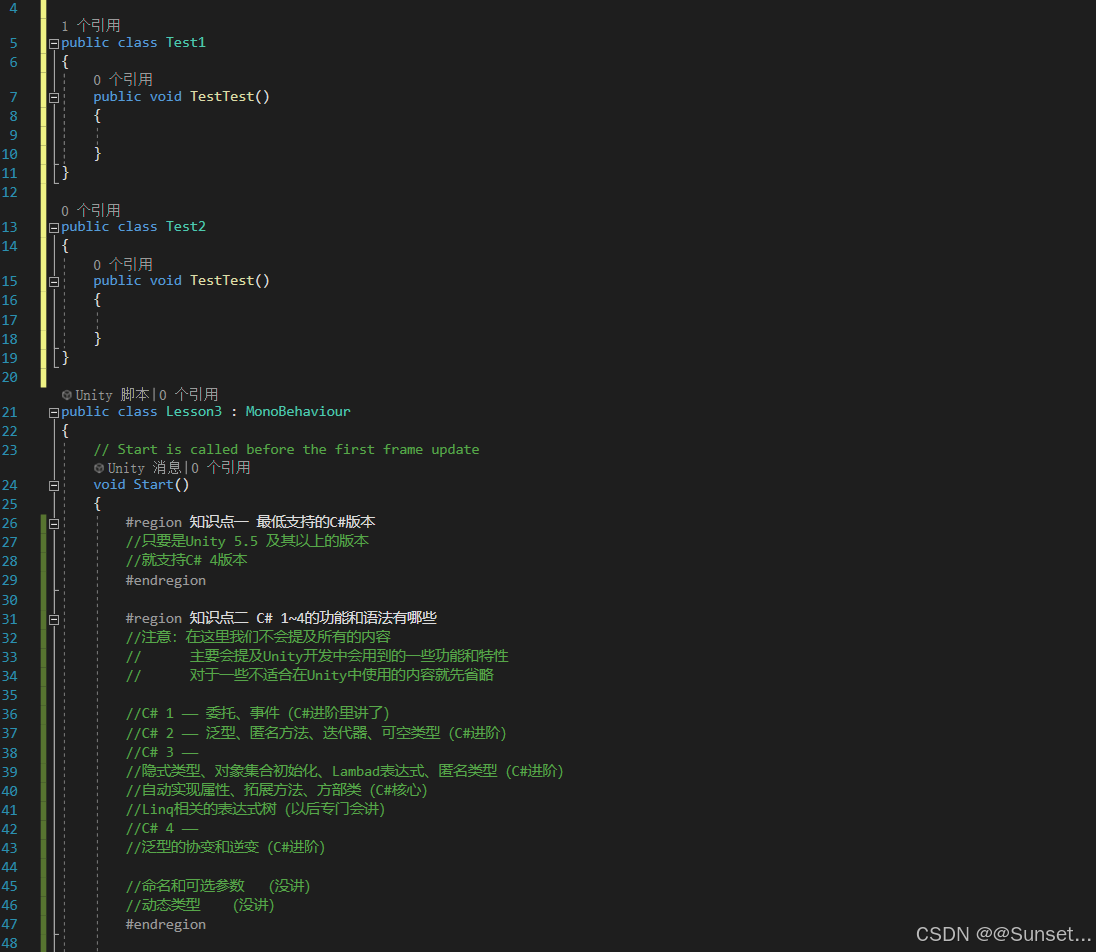
用到的测试类

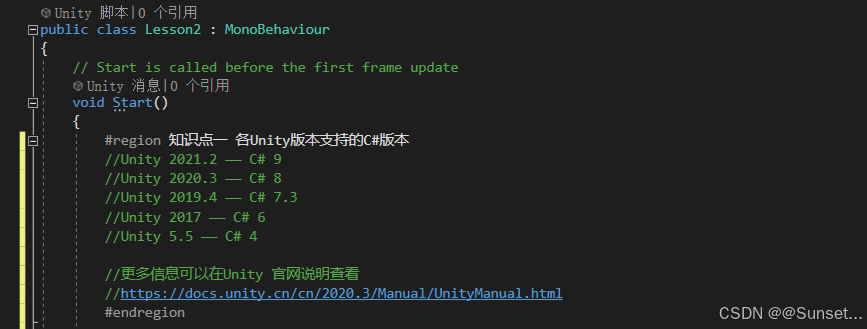
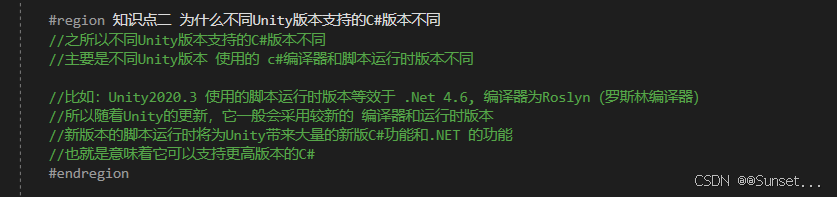
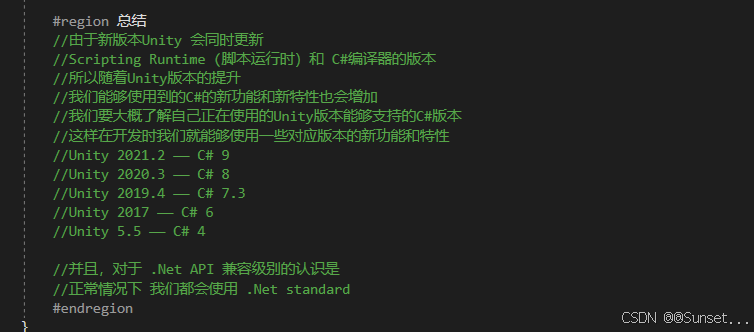
C#版本和Unity的关系
C#各版本新功能和语法
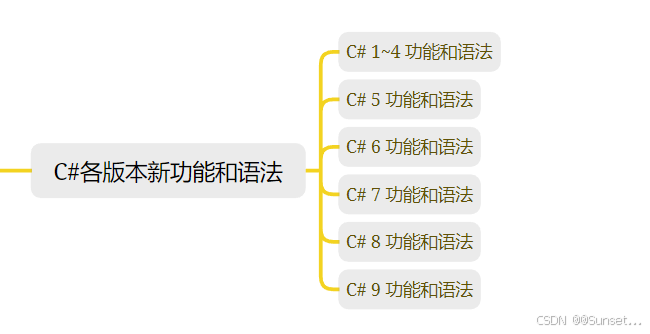
C# 1~4 功能和语法


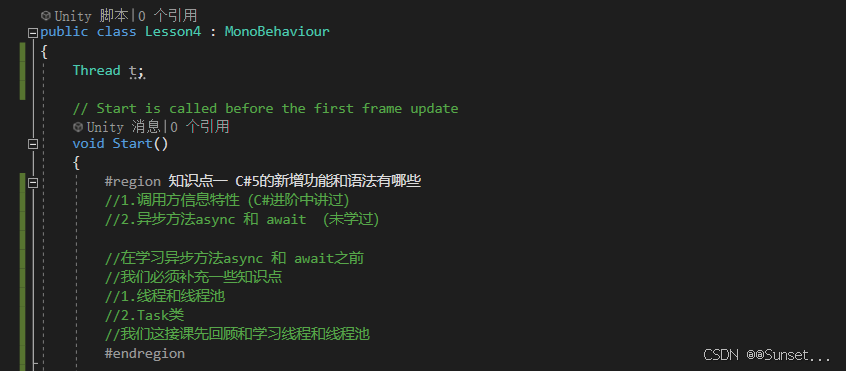
C# 5 功能和语法
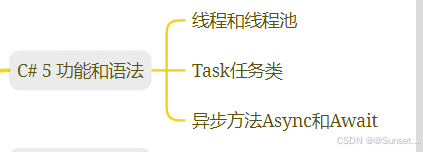
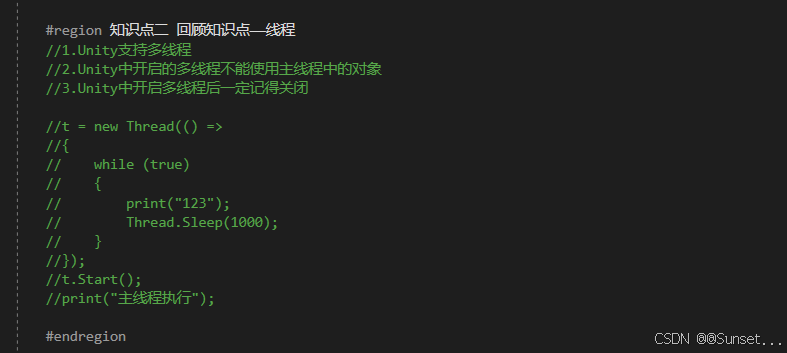
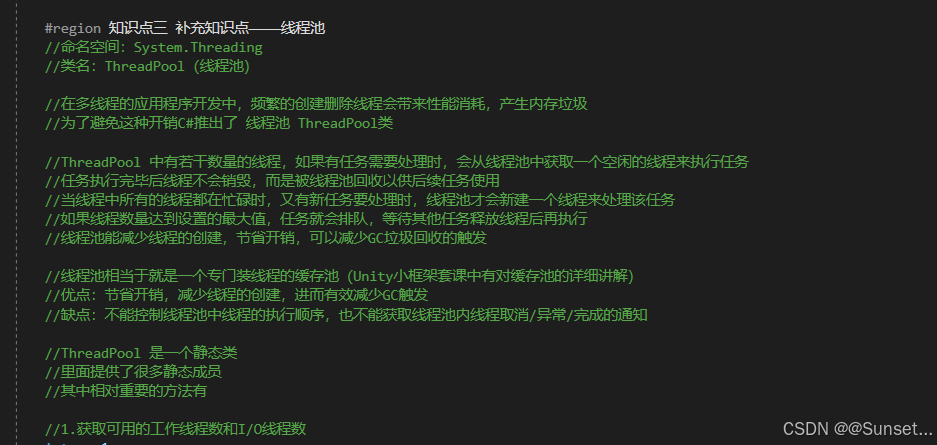
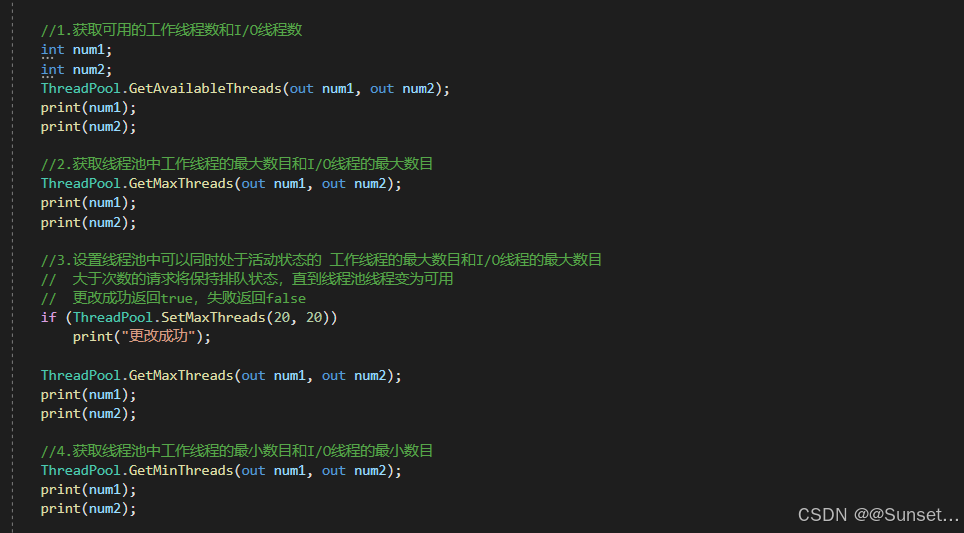
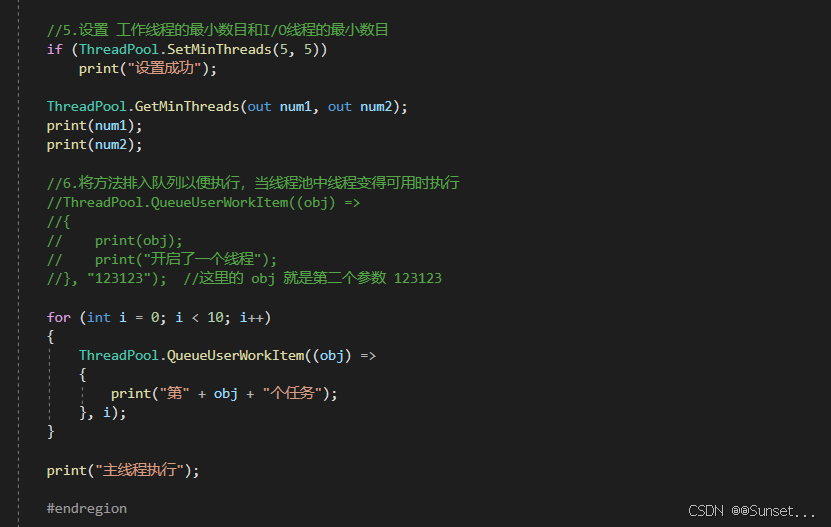
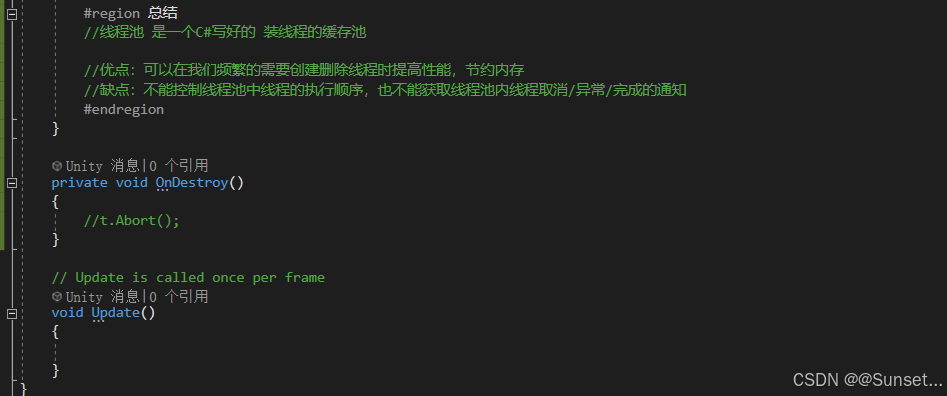
线程和线程池

Task任务类

cs
using System.Collections;
using System.Collections.Generic;
using System.Threading;
using System.Threading.Tasks;
using UnityEngine;
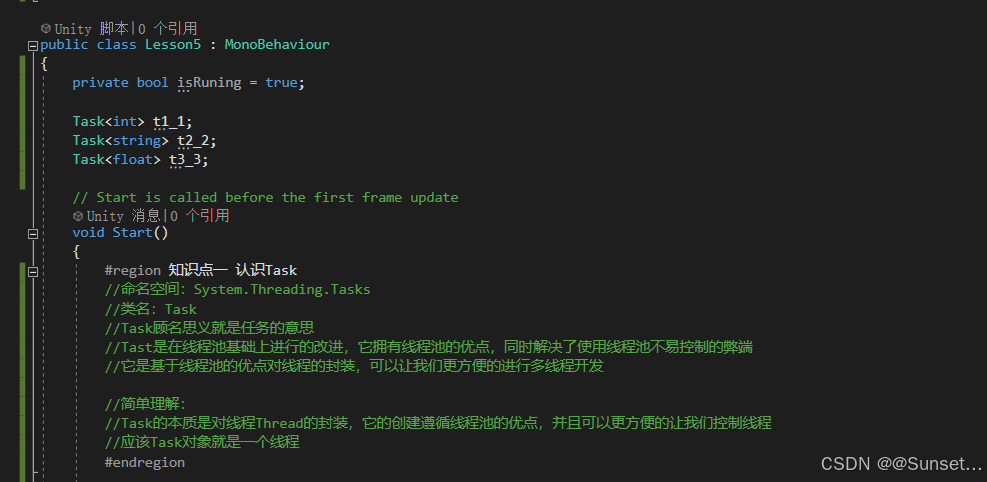
public class Lesson5 : MonoBehaviour
{
private bool isRuning = true;
Task<int> t1_1;
Task<string> t2_2;
Task<float> t3_3;
CancellationTokenSource c;
// Start is called before the first frame update
void Start()
{
#region 知识点一 认识Task
//命名空间:System.Threading.Tasks
//类名:Task
//Task顾名思义就是任务的意思
//Tast是在线程池基础上进行的改进,它拥有线程池的优点,同时解决了使用线程池不易控制的弊端
//它是基于线程池的优点对线程的封装,可以让我们更方便的进行多线程开发
//简单理解:
//Task的本质是对线程Thread的封装,它的创建遵循线程池的优点,并且可以更方便的让我们控制线程
//应该Task对象就是一个线程
#endregion
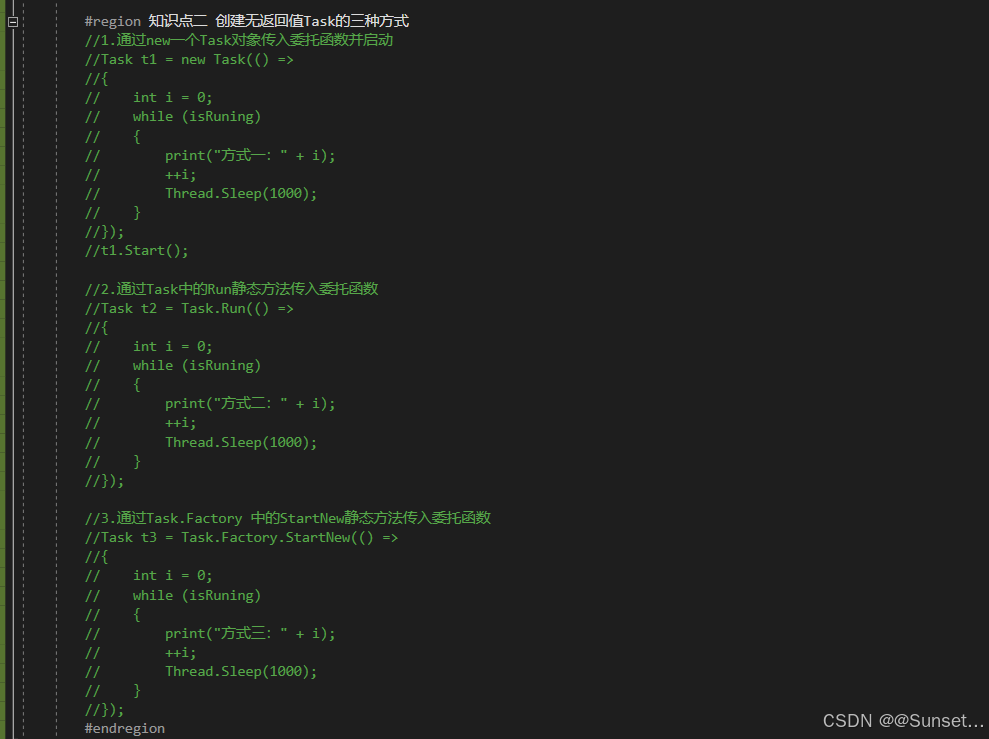
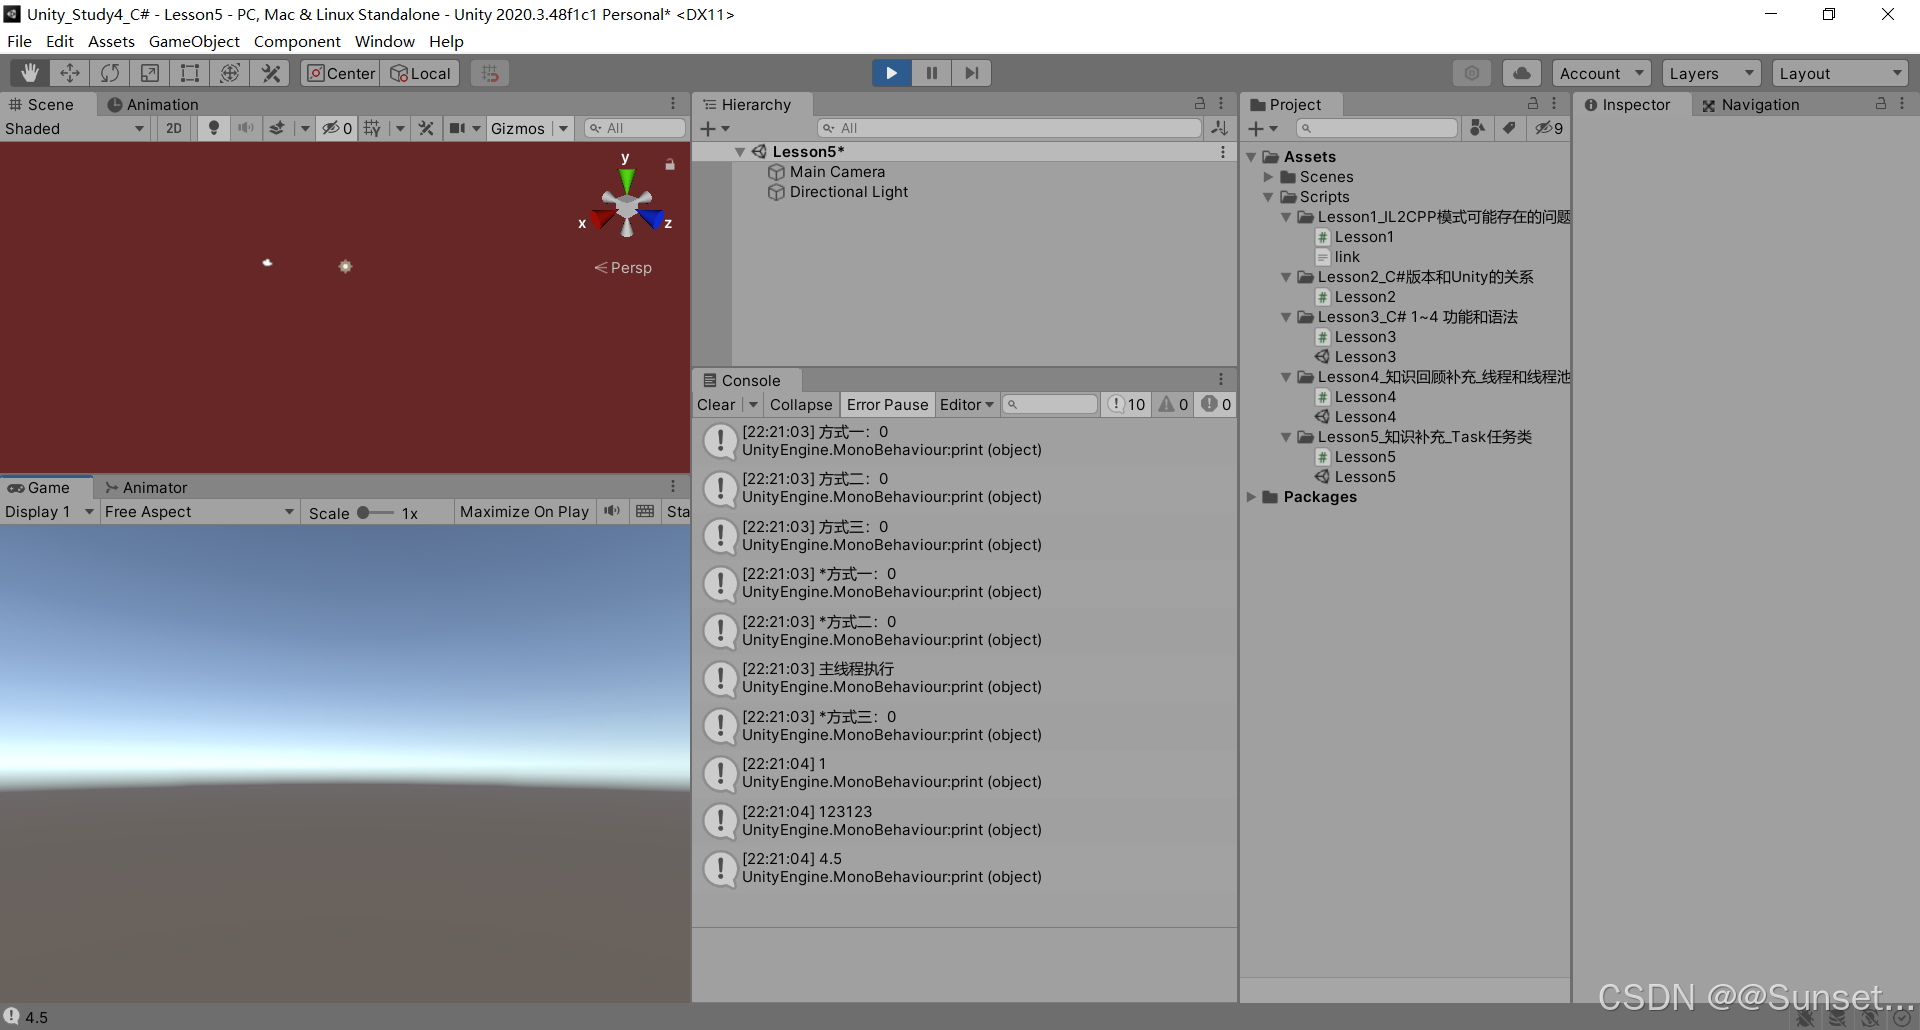
#region 知识点二 创建无返回值Task的三种方式
//1.通过new一个Task对象传入委托函数并启动
//Task t1 = new Task(() =>
//{
// int i = 0;
// while (isRuning)
// {
// print("方式一:" + i);
// ++i;
// Thread.Sleep(1000);
// }
//});
//t1.Start();
//2.通过Task中的Run静态方法传入委托函数
//Task t2 = Task.Run(() =>
//{
// int i = 0;
// while (isRuning)
// {
// print("方式二:" + i);
// ++i;
// Thread.Sleep(1000);
// }
//});
//3.通过Task.Factory 中的StartNew静态方法传入委托函数
//Task t3 = Task.Factory.StartNew(() =>
//{
// int i = 0;
// while (isRuning)
// {
// print("方式三:" + i);
// ++i;
// Thread.Sleep(1000);
// }
//});
#endregion
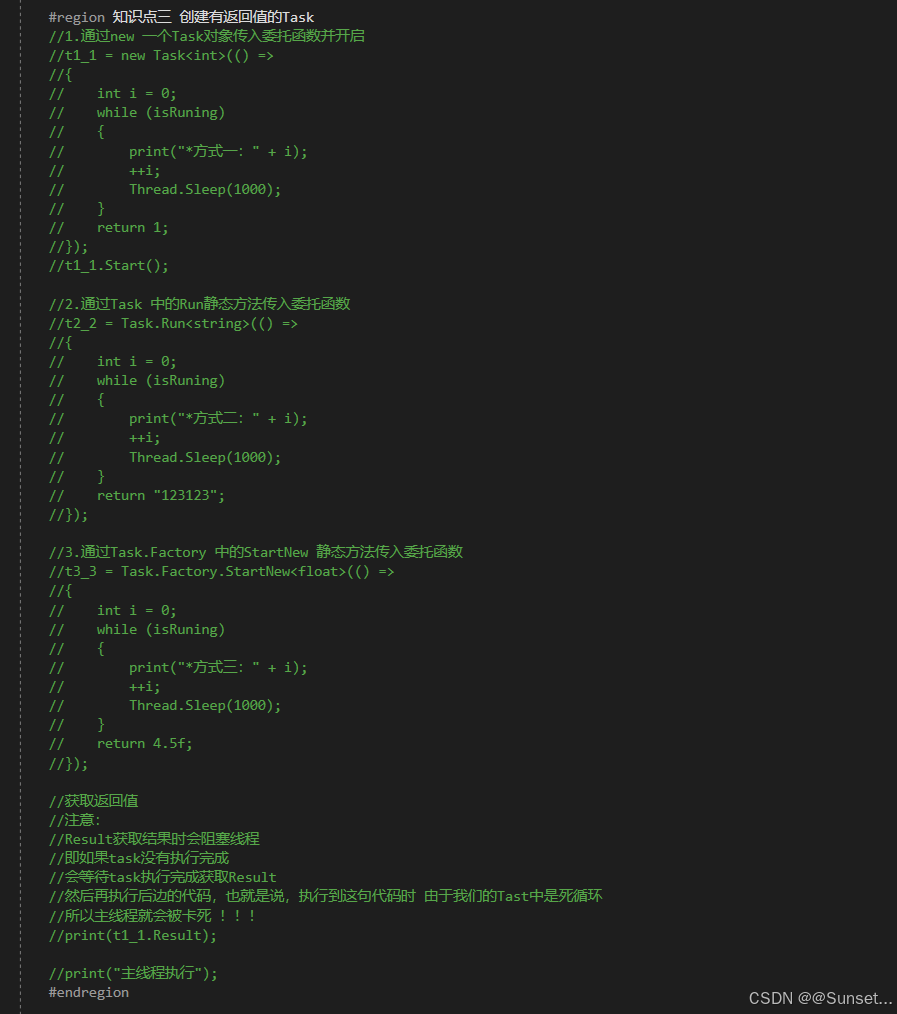
#region 知识点三 创建有返回值的Task
//1.通过new 一个Task对象传入委托函数并开启
//t1_1 = new Task<int>(() =>
//{
// int i = 0;
// while (isRuning)
// {
// print("*方式一:" + i);
// ++i;
// Thread.Sleep(1000);
// }
// return 1;
//});
//t1_1.Start();
//2.通过Task 中的Run静态方法传入委托函数
//t2_2 = Task.Run<string>(() =>
//{
// int i = 0;
// while (isRuning)
// {
// print("*方式二:" + i);
// ++i;
// Thread.Sleep(1000);
// }
// return "123123";
//});
//3.通过Task.Factory 中的StartNew 静态方法传入委托函数
//t3_3 = Task.Factory.StartNew<float>(() =>
//{
// int i = 0;
// while (isRuning)
// {
// print("*方式三:" + i);
// ++i;
// Thread.Sleep(1000);
// }
// return 4.5f;
//});
//获取返回值
//注意:
//Result获取结果时会阻塞线程
//即如果task没有执行完成
//会等待task执行完成获取Result
//然后再执行后边的代码,也就是说,执行到这句代码时 由于我们的Tast中是死循环
//所以主线程就会被卡死 !!!
//print(t1_1.Result);
//print("主线程执行");
#endregion
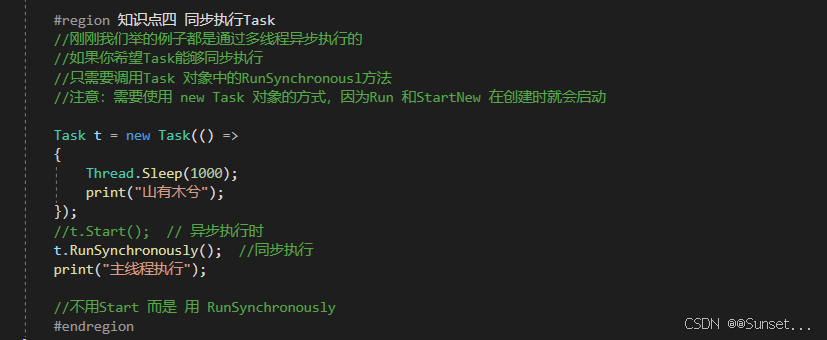
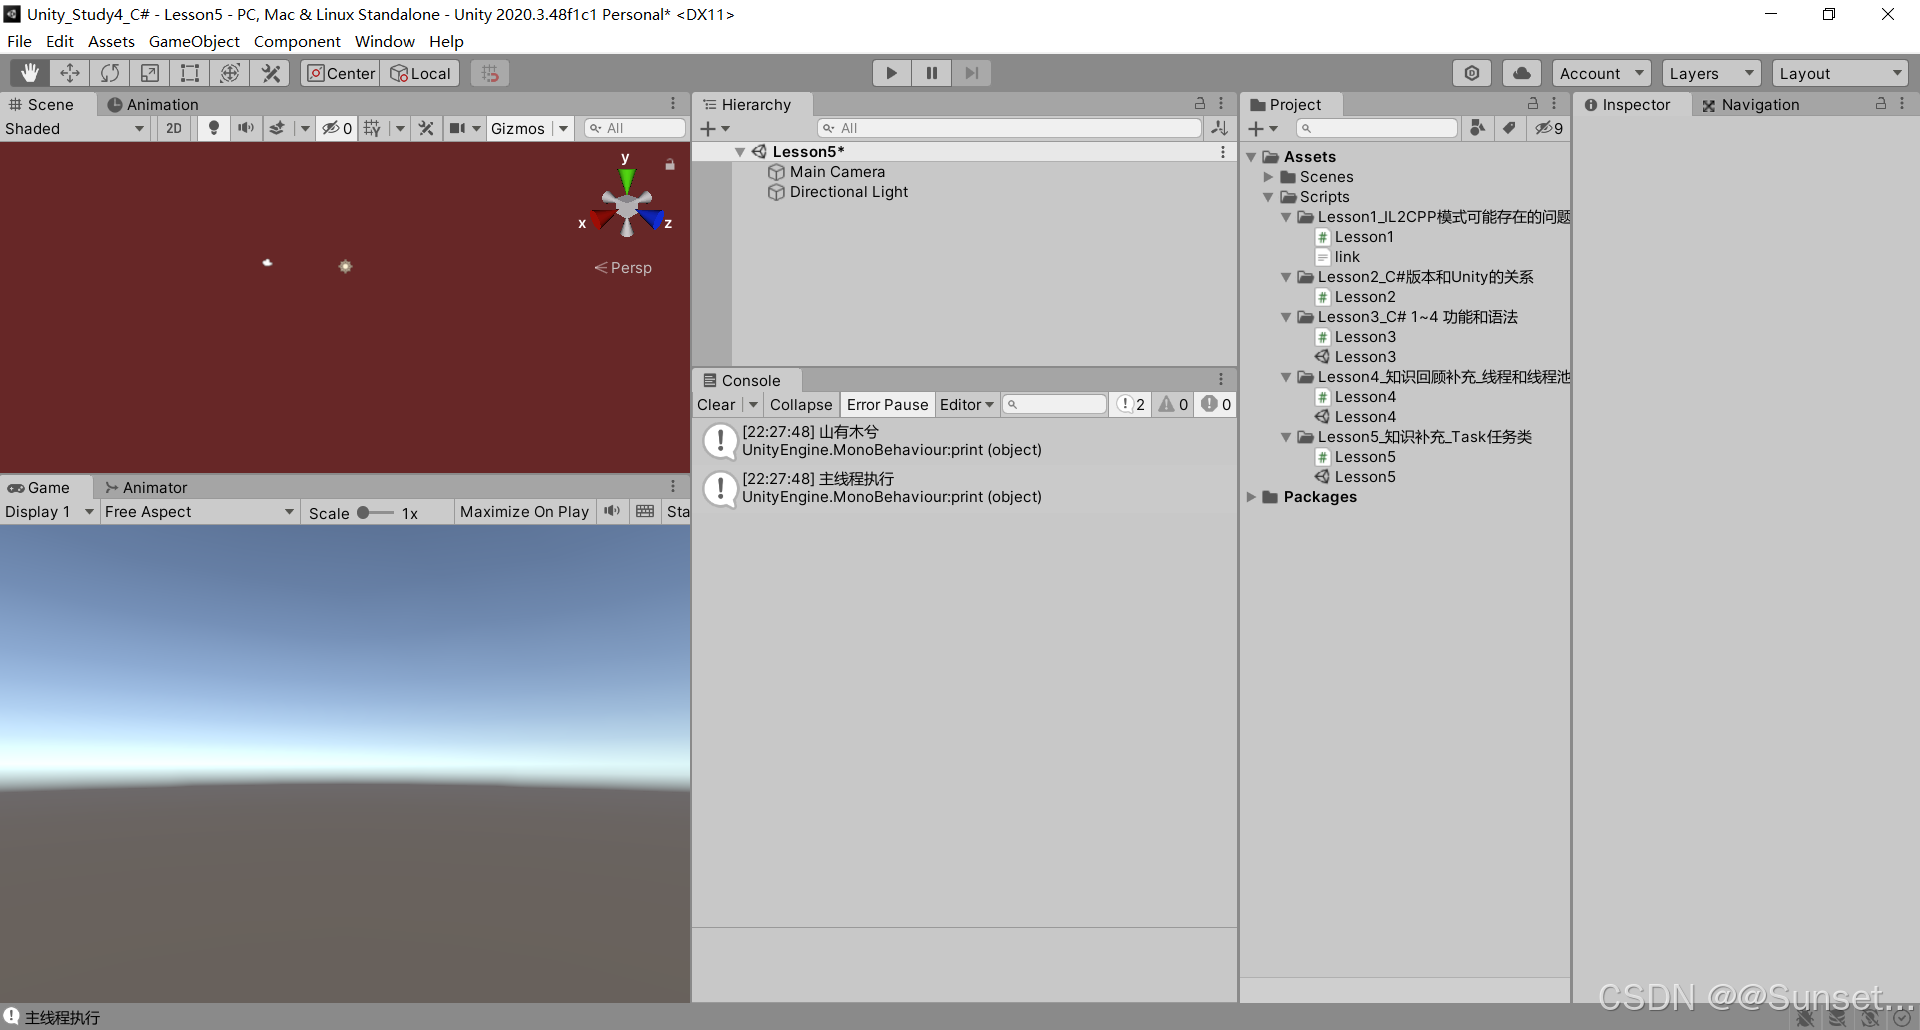
#region 知识点四 同步执行Task
//刚刚我们举的例子都是通过多线程异步执行的
//如果你希望Task能够同步执行
//只需要调用Task 对象中的RunSynchronousl方法
//注意:需要使用 new Task 对象的方式,因为Run 和StartNew 在创建时就会启动
//Task t = new Task(() =>
//{
// Thread.Sleep(1000);
// print("山有木兮");
//});
t.Start(); // 异步执行时
//t.RunSynchronously(); //同步执行
//print("主线程执行");
//不用Start 而是 用 RunSynchronously
#endregion
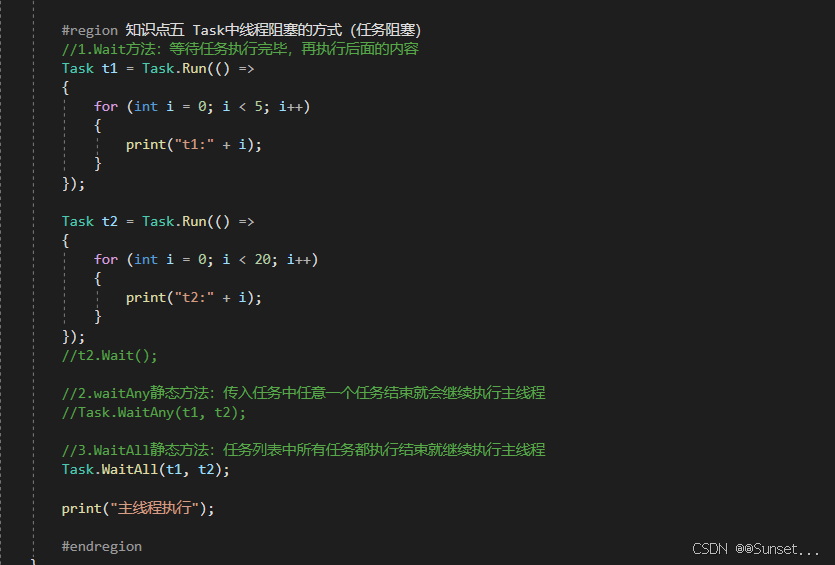
#region 知识点五 Task中线程阻塞的方式(任务阻塞)
//1.Wait方法:等待任务执行完毕,再执行后面的内容
Task t1 = Task.Run(() =>
{
for (int i = 0; i < 5; i++)
{
print("t1:" + i);
}
});
Task t2 = Task.Run(() =>
{
for (int i = 0; i < 20; i++)
{
print("t2:" + i);
}
});
//t2.Wait();
//2.waitAny静态方法:传入任务中任意一个任务结束就会继续执行主线程
//Task.WaitAny(t1, t2);
//3.WaitAll静态方法:任务列表中所有任务都执行结束就继续执行主线程
//Task.WaitAll(t1, t2);
//print("主线程执行");
#endregion
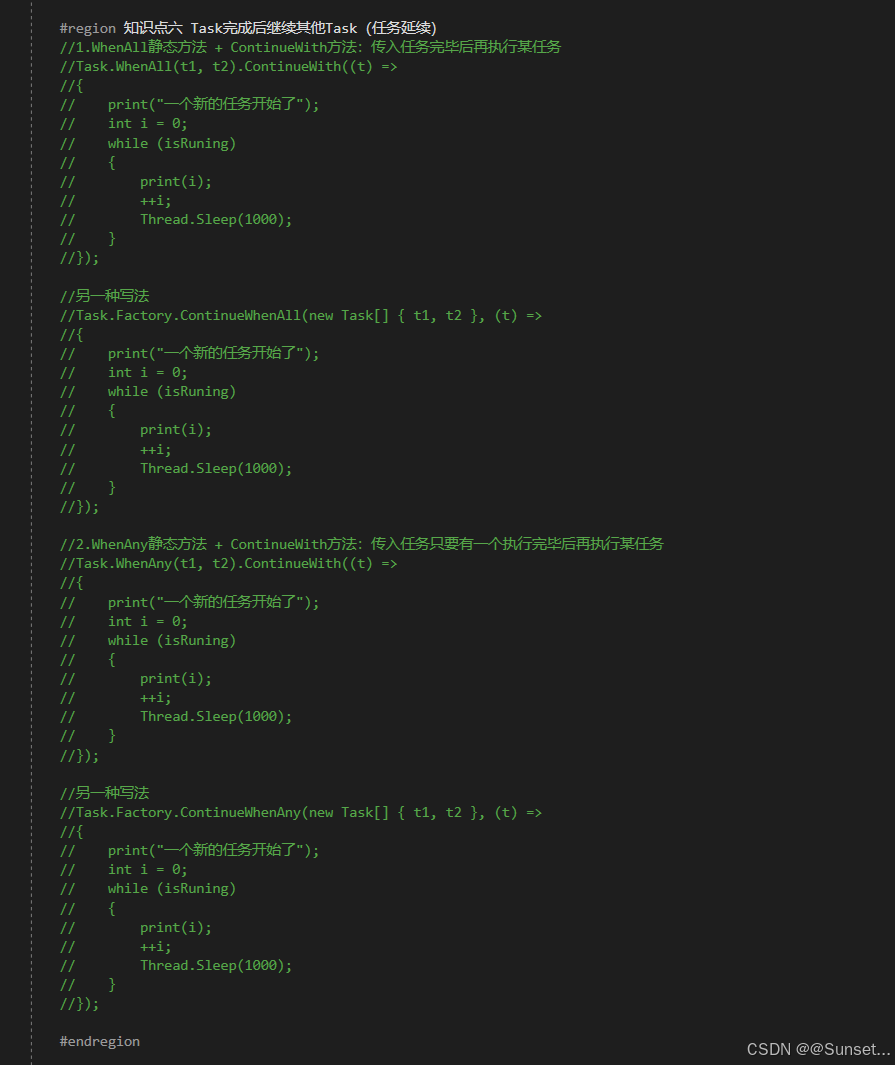
#region 知识点六 Task完成后继续其他Task(任务延续)
//1.WhenAll静态方法 + ContinueWith方法:传入任务完毕后再执行某任务
//Task.WhenAll(t1, t2).ContinueWith((t) =>
//{
// print("一个新的任务开始了");
// int i = 0;
// while (isRuning)
// {
// print(i);
// ++i;
// Thread.Sleep(1000);
// }
//});
//另一种写法
//Task.Factory.ContinueWhenAll(new Task[] { t1, t2 }, (t) =>
//{
// print("一个新的任务开始了");
// int i = 0;
// while (isRuning)
// {
// print(i);
// ++i;
// Thread.Sleep(1000);
// }
//});
//2.WhenAny静态方法 + ContinueWith方法:传入任务只要有一个执行完毕后再执行某任务
//Task.WhenAny(t1, t2).ContinueWith((t) =>
//{
// print("一个新的任务开始了");
// int i = 0;
// while (isRuning)
// {
// print(i);
// ++i;
// Thread.Sleep(1000);
// }
//});
//另一种写法
//Task.Factory.ContinueWhenAny(new Task[] { t1, t2 }, (t) =>
//{
// print("一个新的任务开始了");
// int i = 0;
// while (isRuning)
// {
// print(i);
// ++i;
// Thread.Sleep(1000);
// }
//});
#endregion
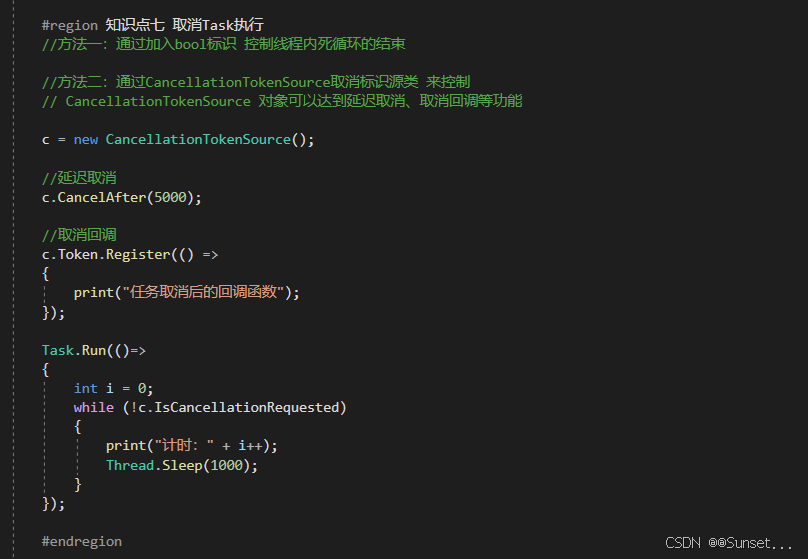
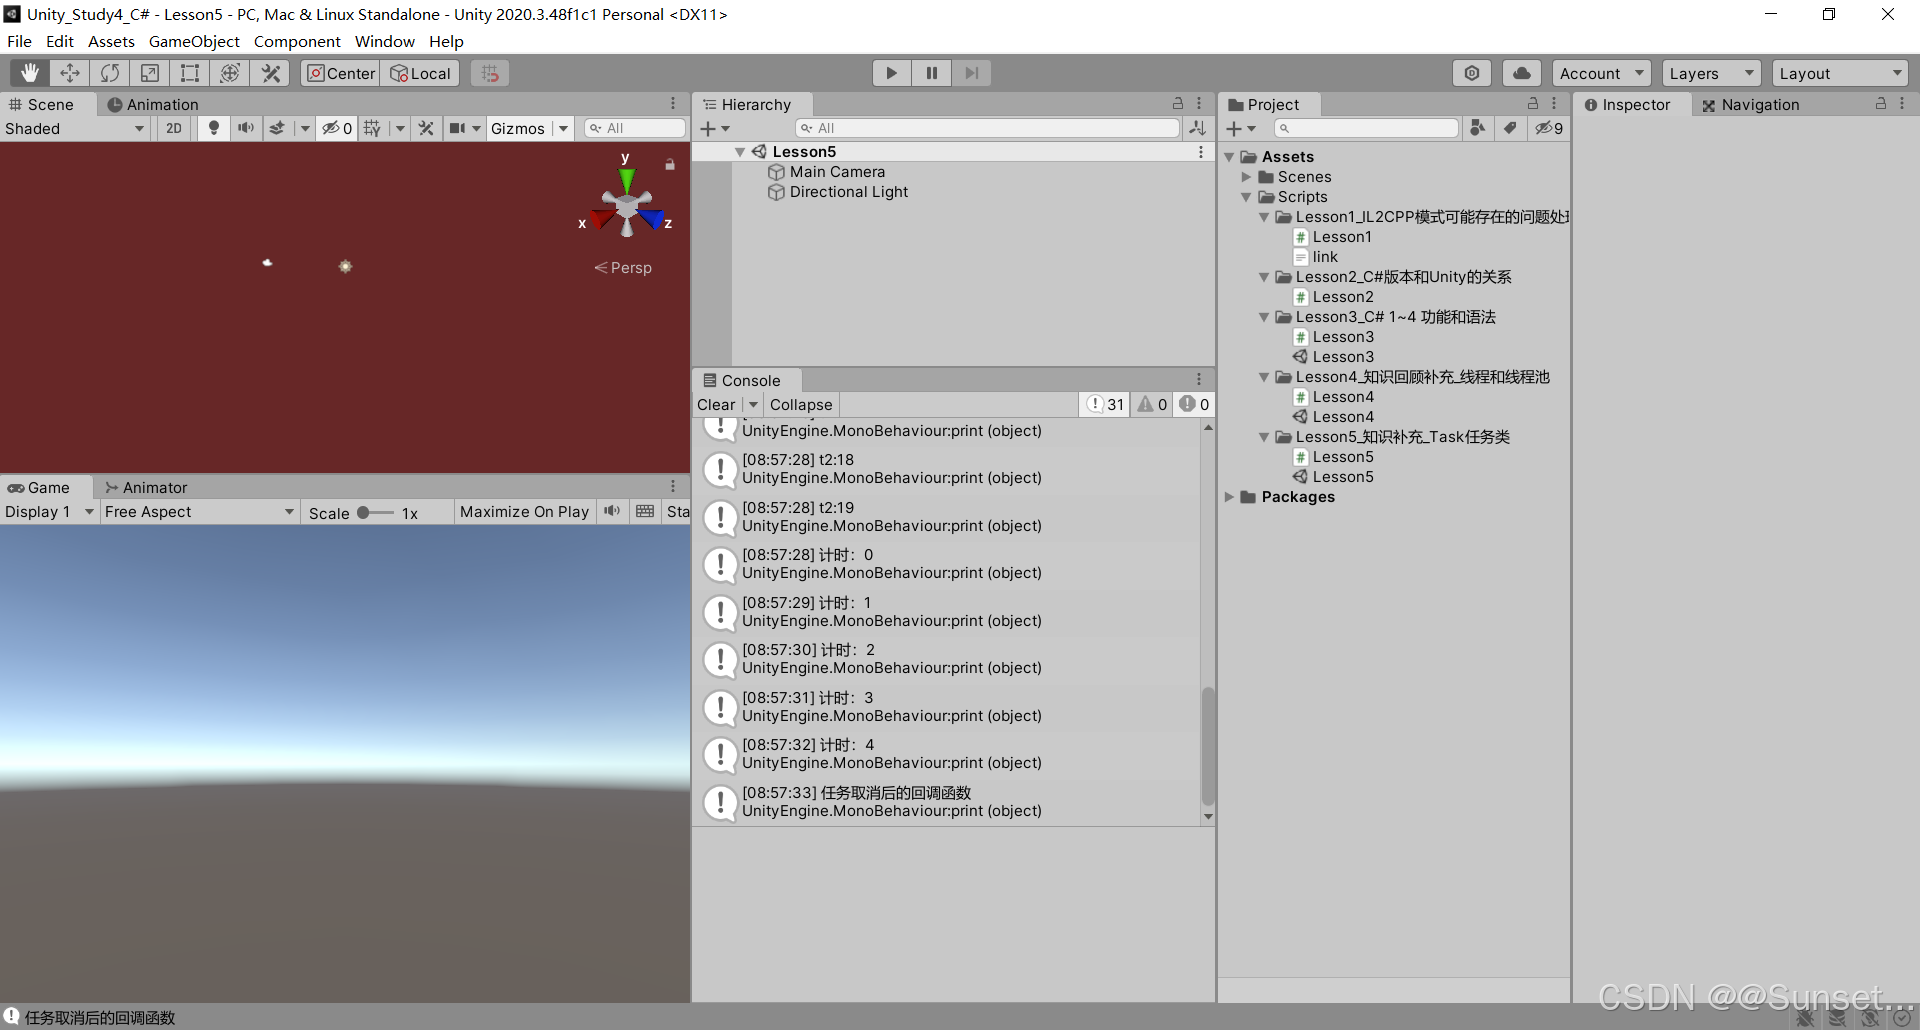
#region 知识点七 取消Task执行
//方法一:通过加入bool标识 控制线程内死循环的结束
//方法二:通过CancellationTokenSource取消标识源类 来控制
// CancellationTokenSource 对象可以达到延迟取消、取消回调等功能
c = new CancellationTokenSource();
//延迟取消
c.CancelAfter(5000);
//取消回调
c.Token.Register(() =>
{
print("任务取消后的回调函数");
});
Task.Run(()=>
{
int i = 0;
while (!c.IsCancellationRequested)
{
print("计时:" + i++);
Thread.Sleep(1000);
}
});
#endregion
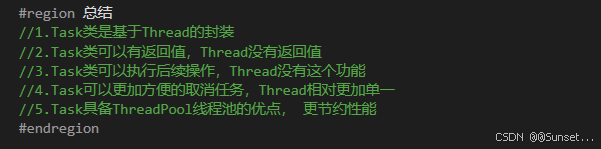
#region 总结
//1.Task类是基于Thread的封装
//2.Task类可以有返回值,Thread没有返回值
//3.Task类可以执行后续操作,Thread没有这个功能
//4.Task可以更加方便的取消任务,Thread相对更加单一
//5.Task具备ThreadPool线程池的优点, 更节约性能
#endregion
}
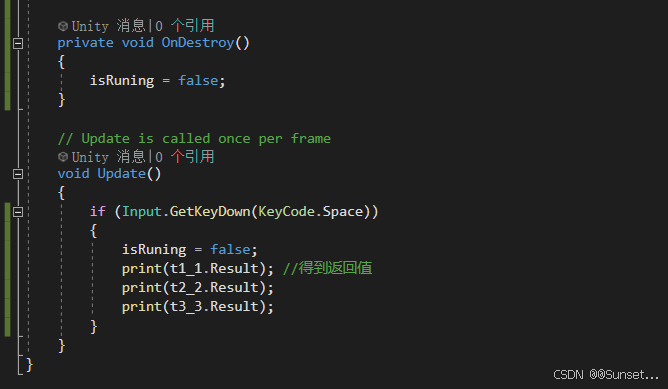
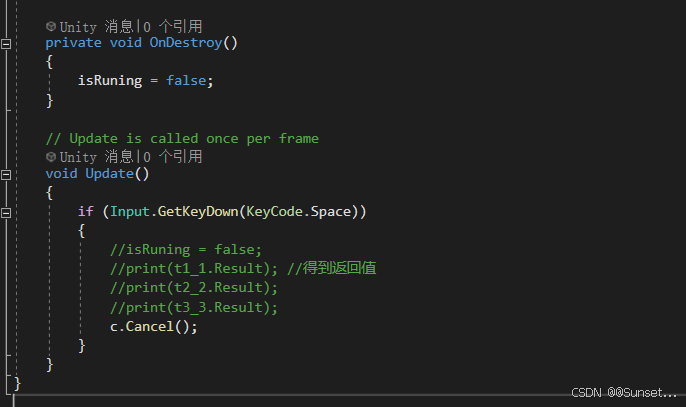
private void OnDestroy()
{
isRuning = false;
}
// Update is called once per frame
void Update()
{
if (Input.GetKeyDown(KeyCode.Space))
{
//isRuning = false;
//print(t1_1.Result); //得到返回值
//print(t2_2.Result);
//print(t3_3.Result);
c.Cancel();
}
}
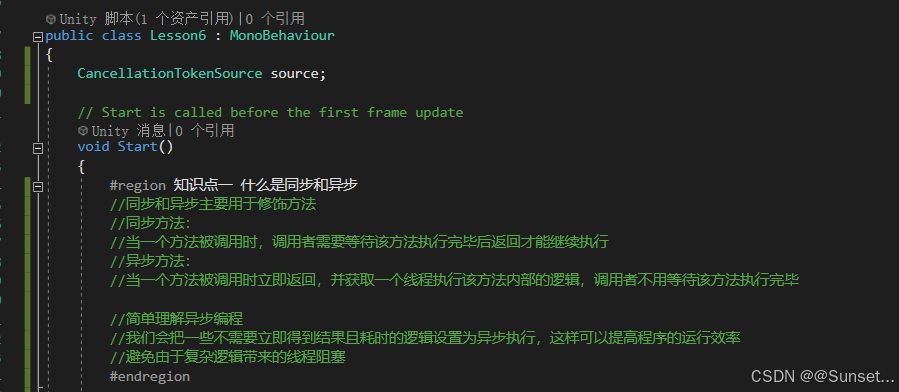
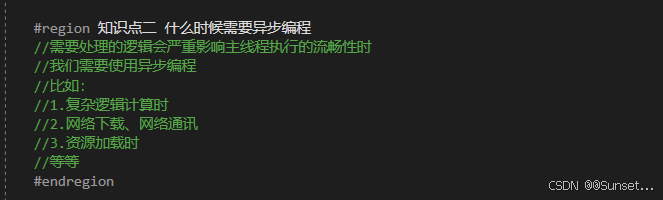
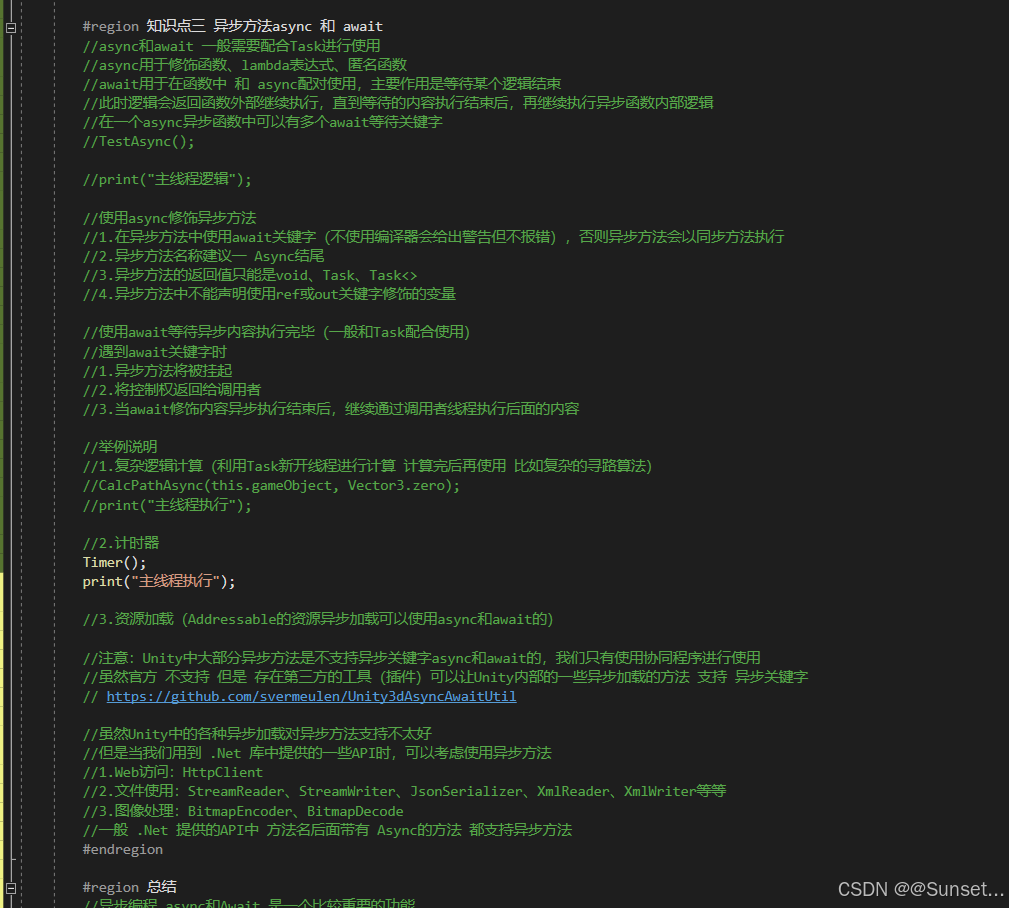
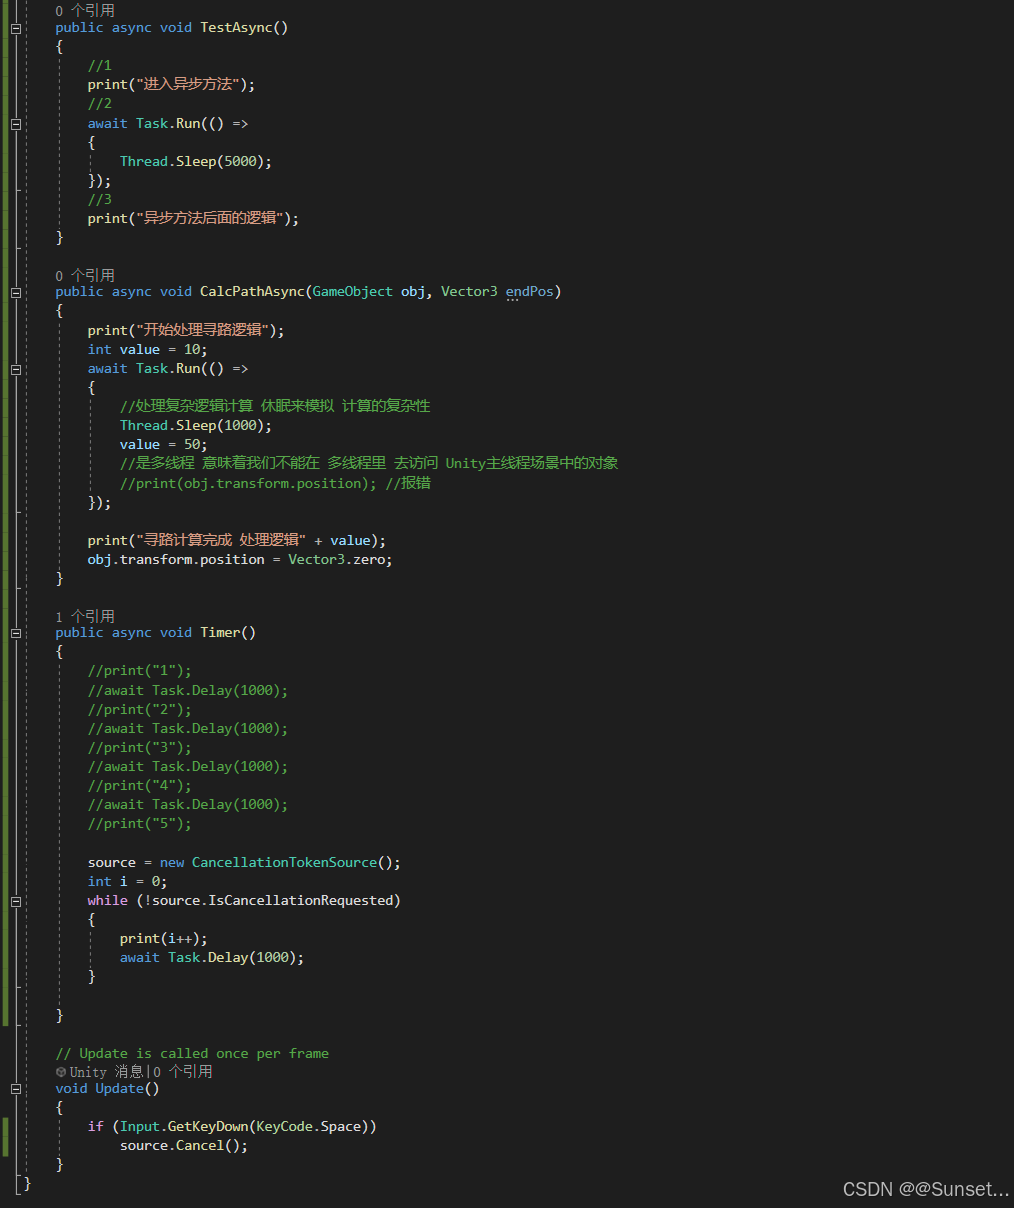
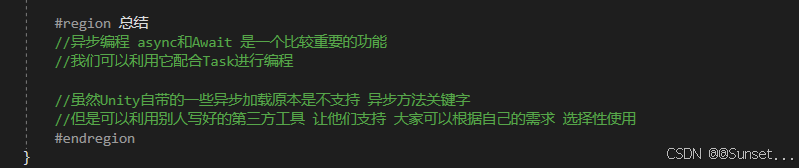
}异步方法Async 和 Await
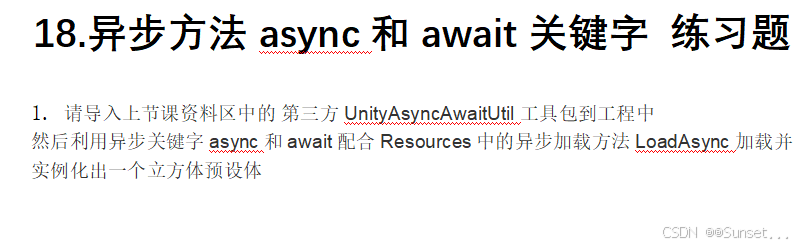
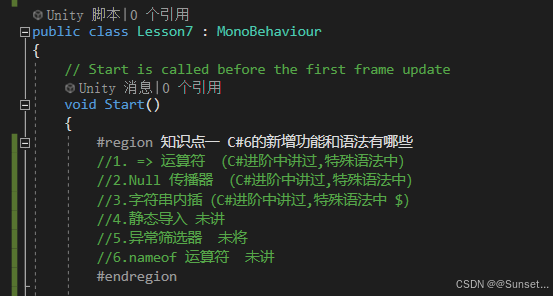
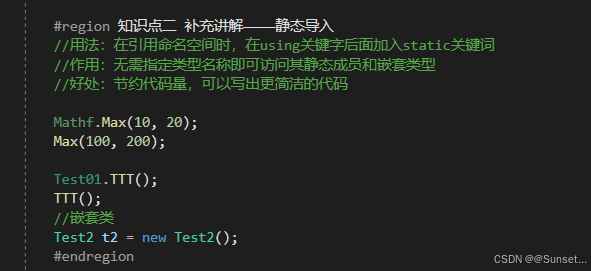
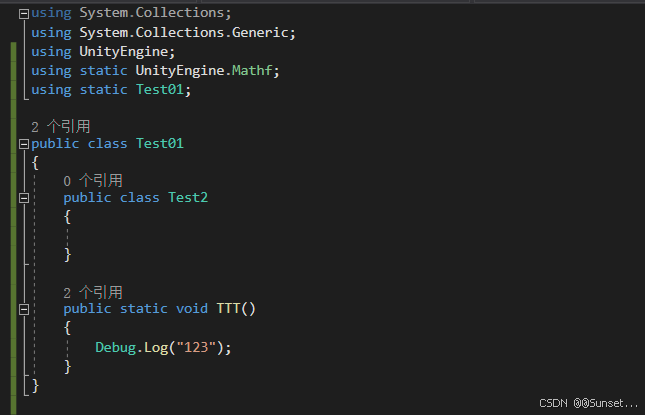
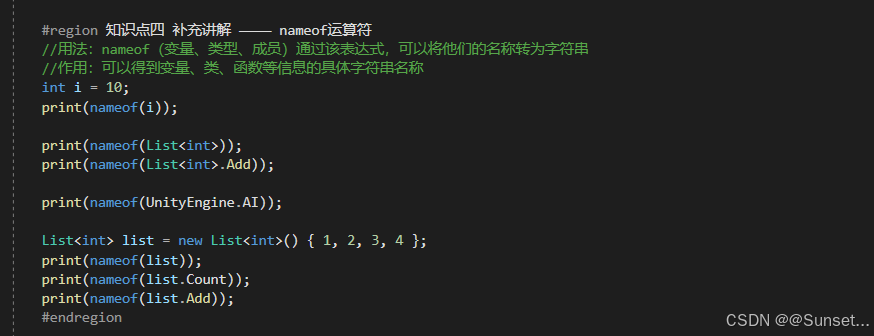
C# 6 功能和语法


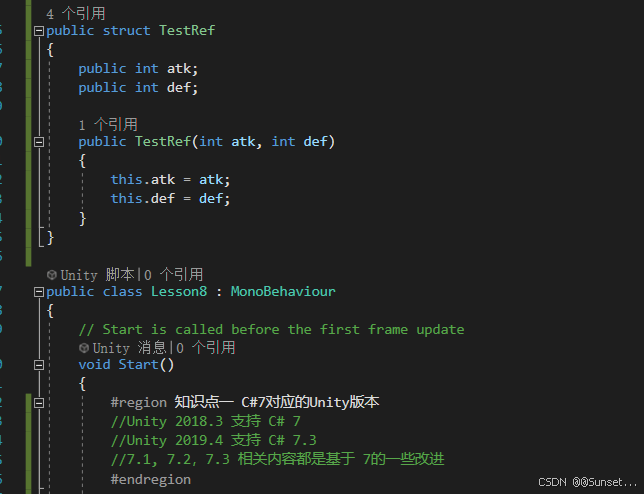
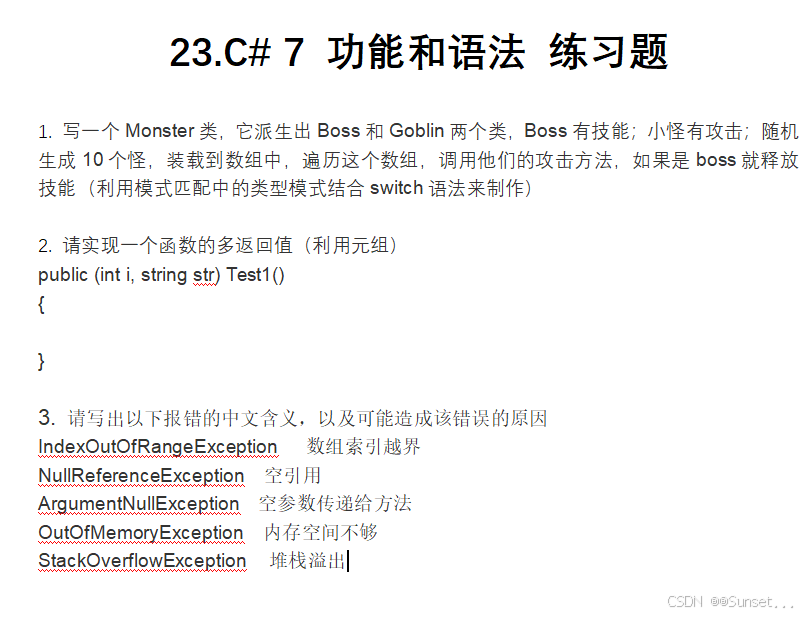
C# 7 功能和语法

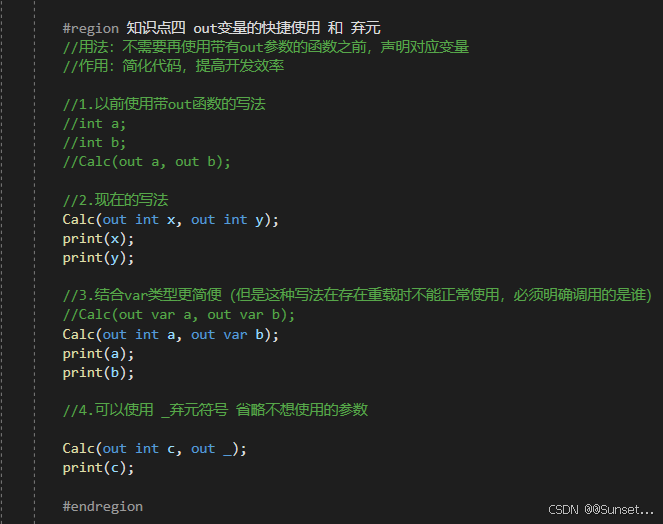
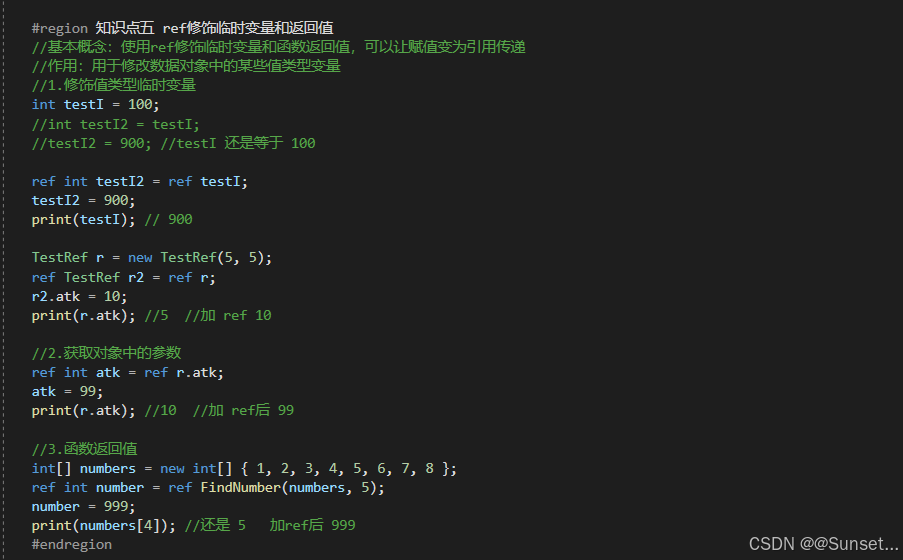
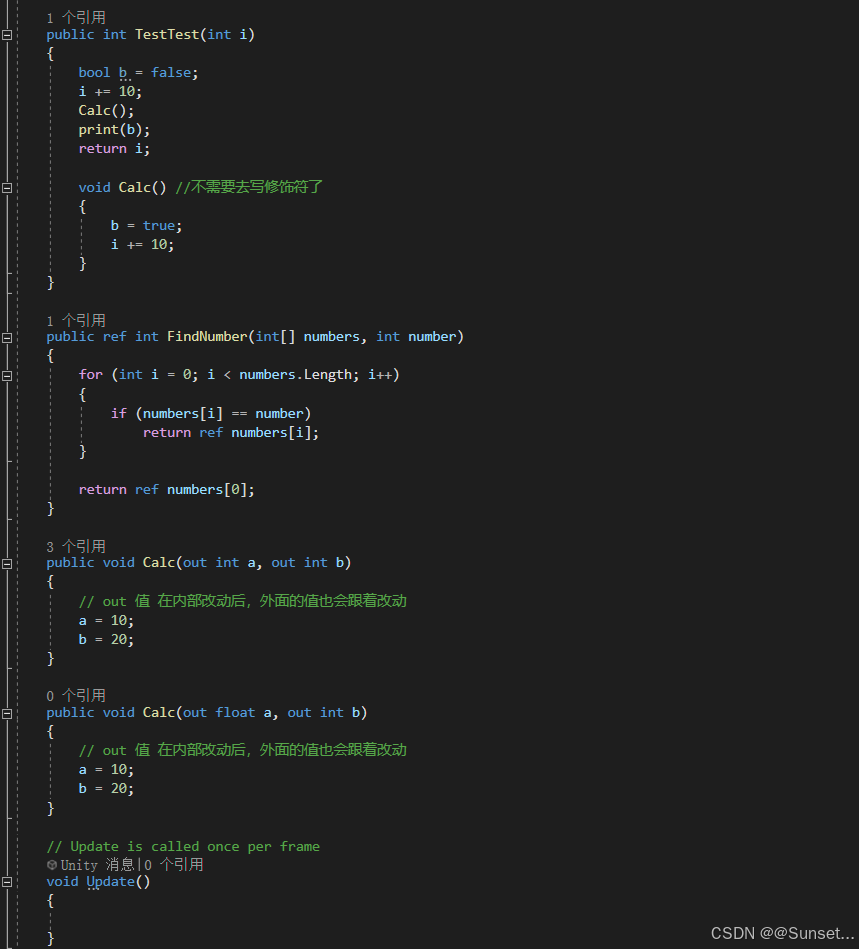
Out和Ref新用法、弃元、本地函数、字面值改进
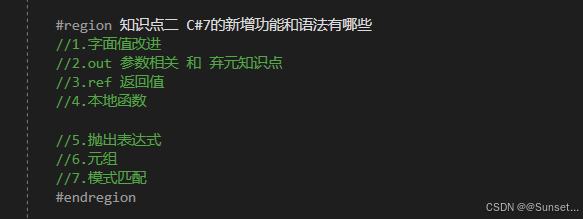


元组、模式匹配、抛出表达式
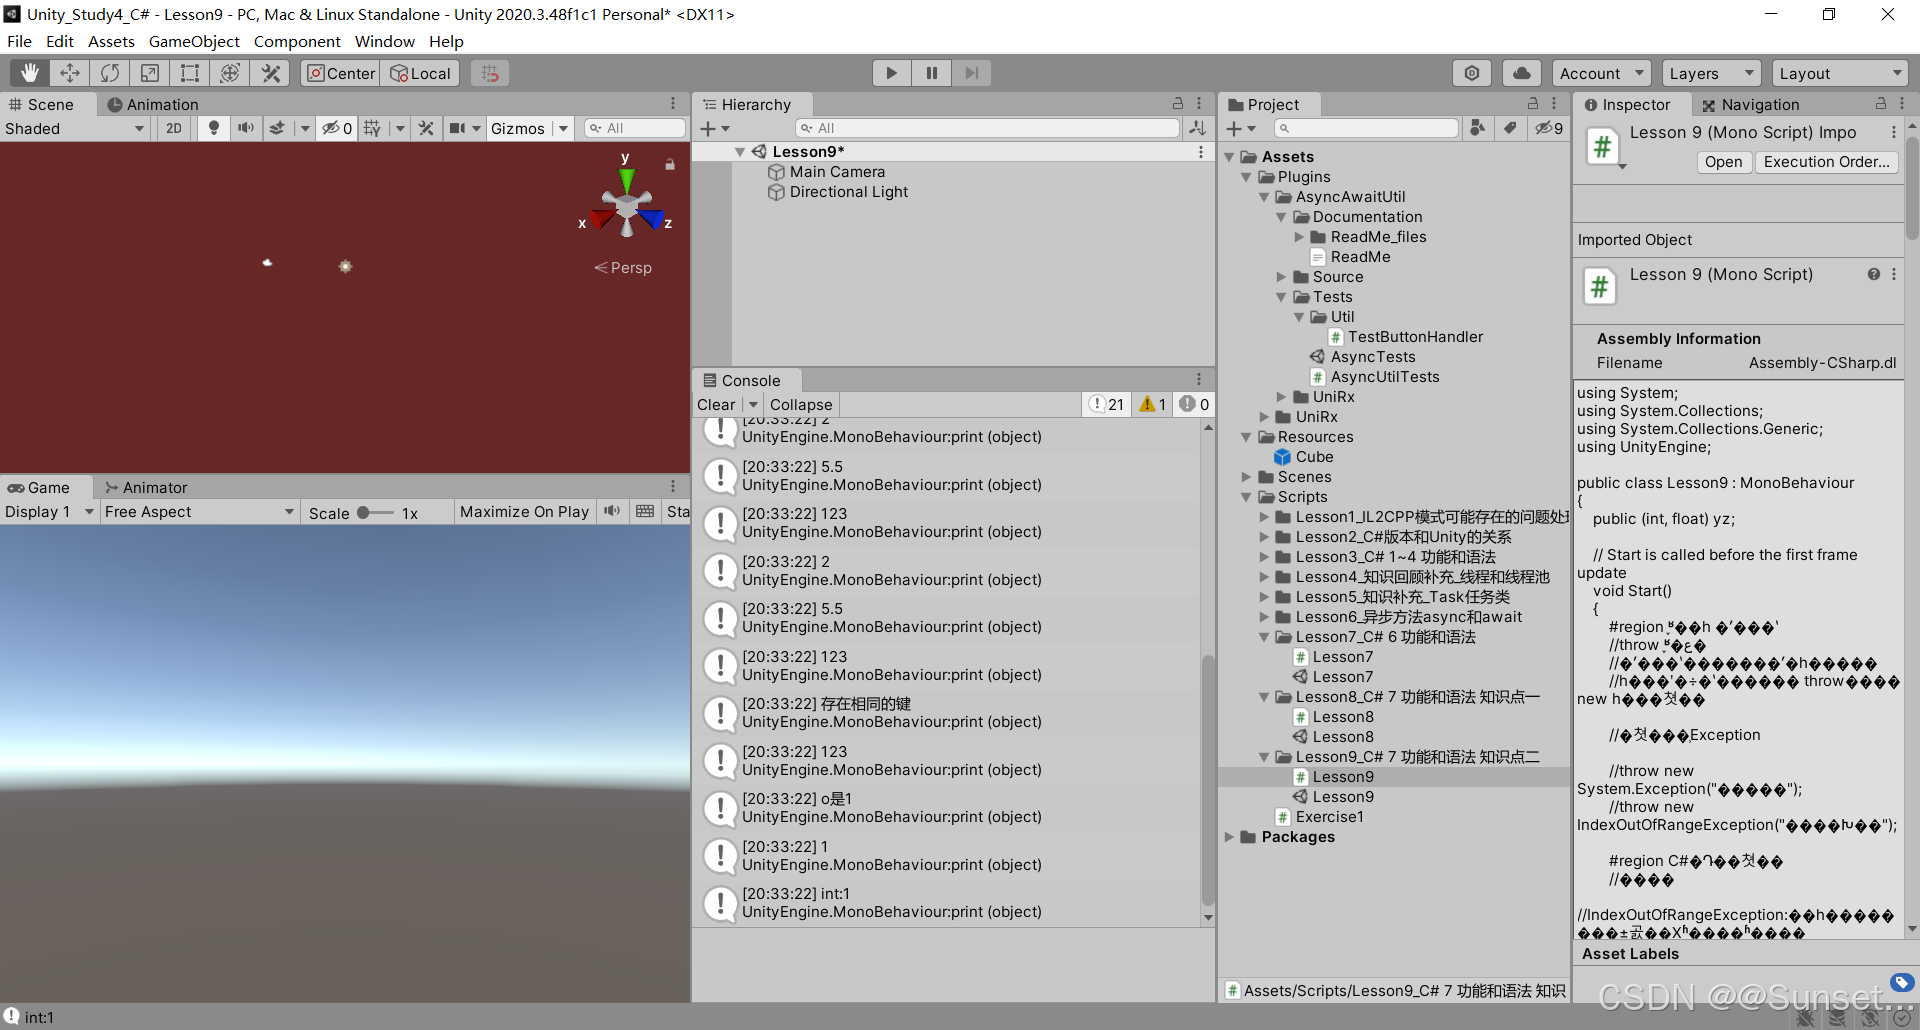
cs
using System;
using System.Collections;
using System.Collections.Generic;
using UnityEngine;
public class Lesson9 : MonoBehaviour
{
public (int, float) yz;
// Start is called before the first frame update
void Start()
{
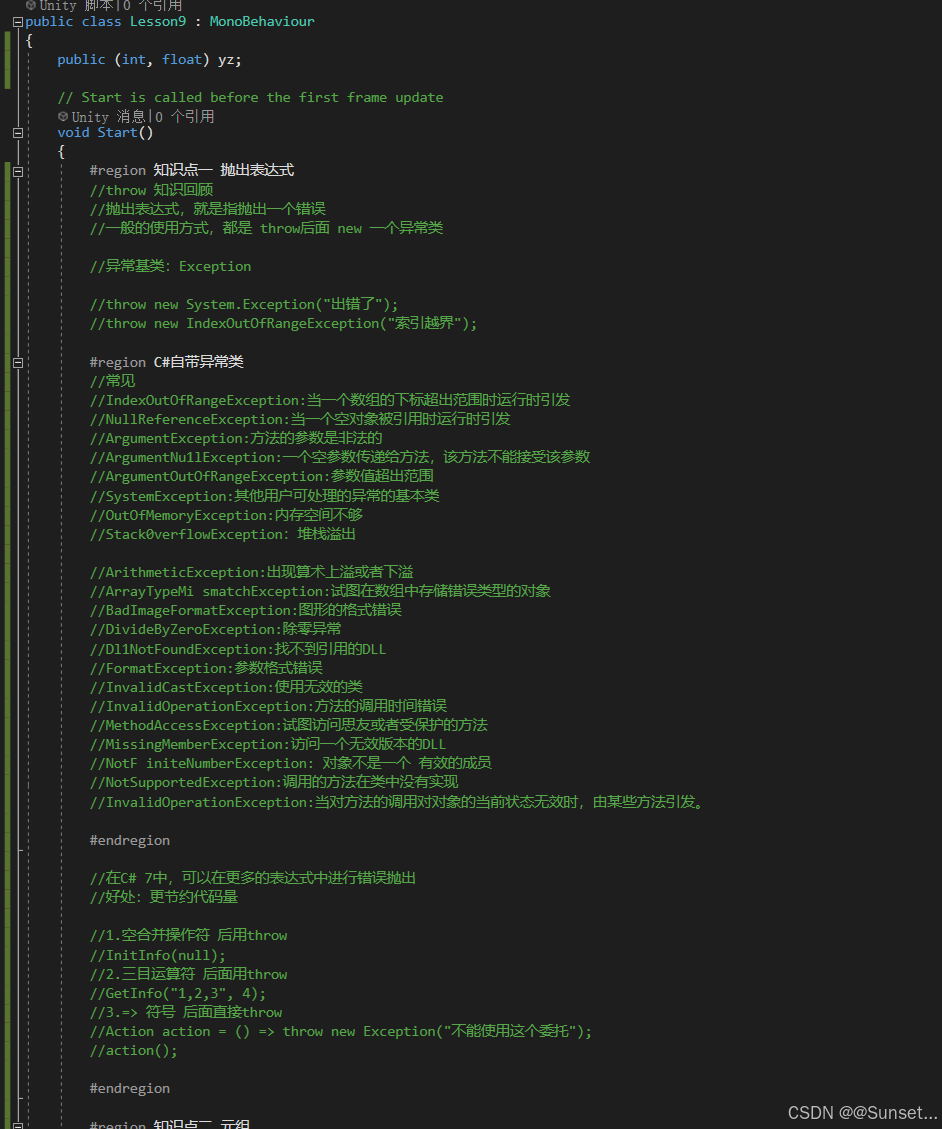
#region 知识点一 抛出表达式
//throw 知识回顾
//抛出表达式,就是指抛出一个错误
//一般的使用方式,都是 throw后面 new 一个异常类
//异常基类:Exception
//throw new System.Exception("出错了");
//throw new IndexOutOfRangeException("索引越界");
#region C#自带异常类
//常见
//IndexOutOfRangeException:当一个数组的下标超出范围时运行时引发
//NullReferenceException:当一个空对象被引用时运行时引发
//ArgumentException:方法的参数是非法的
//ArgumentNu1lException:一个空参数传递给方法,该方法不能接受该参数
//ArgumentOutOfRangeException:参数值超出范围
//SystemException:其他用户可处理的异常的基本类
//OutOfMemoryException:内存空间不够
//Stack0verflowException:堆栈溢出
//ArithmeticException:出现算术上溢或者下溢
//ArrayTypeMi smatchException:试图在数组中存储错误类型的对象
//BadImageFormatException:图形的格式错误
//DivideByZeroException:除零异常
//Dl1NotFoundException:找不到引用的DLL
//FormatException:参数格式错误
//InvalidCastException:使用无效的类
//InvalidOperationException:方法的调用时间错误
//MethodAccessException:试图访问思友或者受保护的方法
//MissingMemberException:访问一个无效版本的DLL
//NotF initeNumberException: 对象不是一个 有效的成员
//NotSupportedException:调用的方法在类中没有实现
//InvalidOperationException:当对方法的调用对对象的当前状态无效时,由某些方法引发。
#endregion
//在C# 7中,可以在更多的表达式中进行错误抛出
//好处:更节约代码量
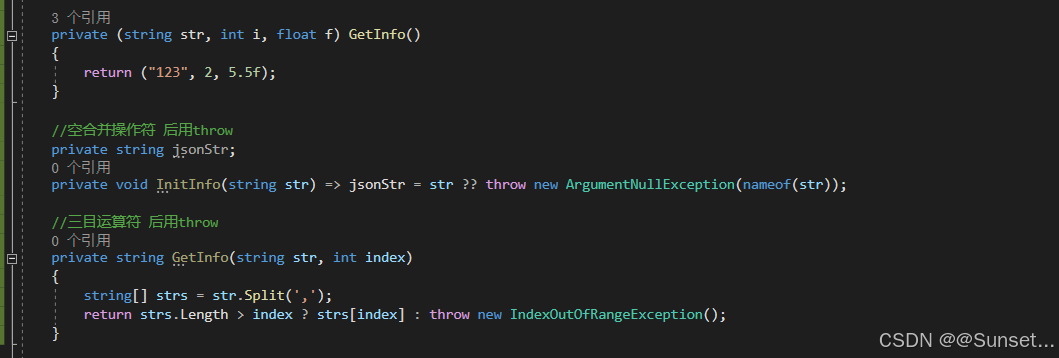
//1.空合并操作符 后用throw
//InitInfo(null);
//2.三目运算符 后面用throw
//GetInfo("1,2,3", 4);
//3.=> 符号 后面直接throw
//Action action = () => throw new Exception("不能使用这个委托");
//action();
#endregion
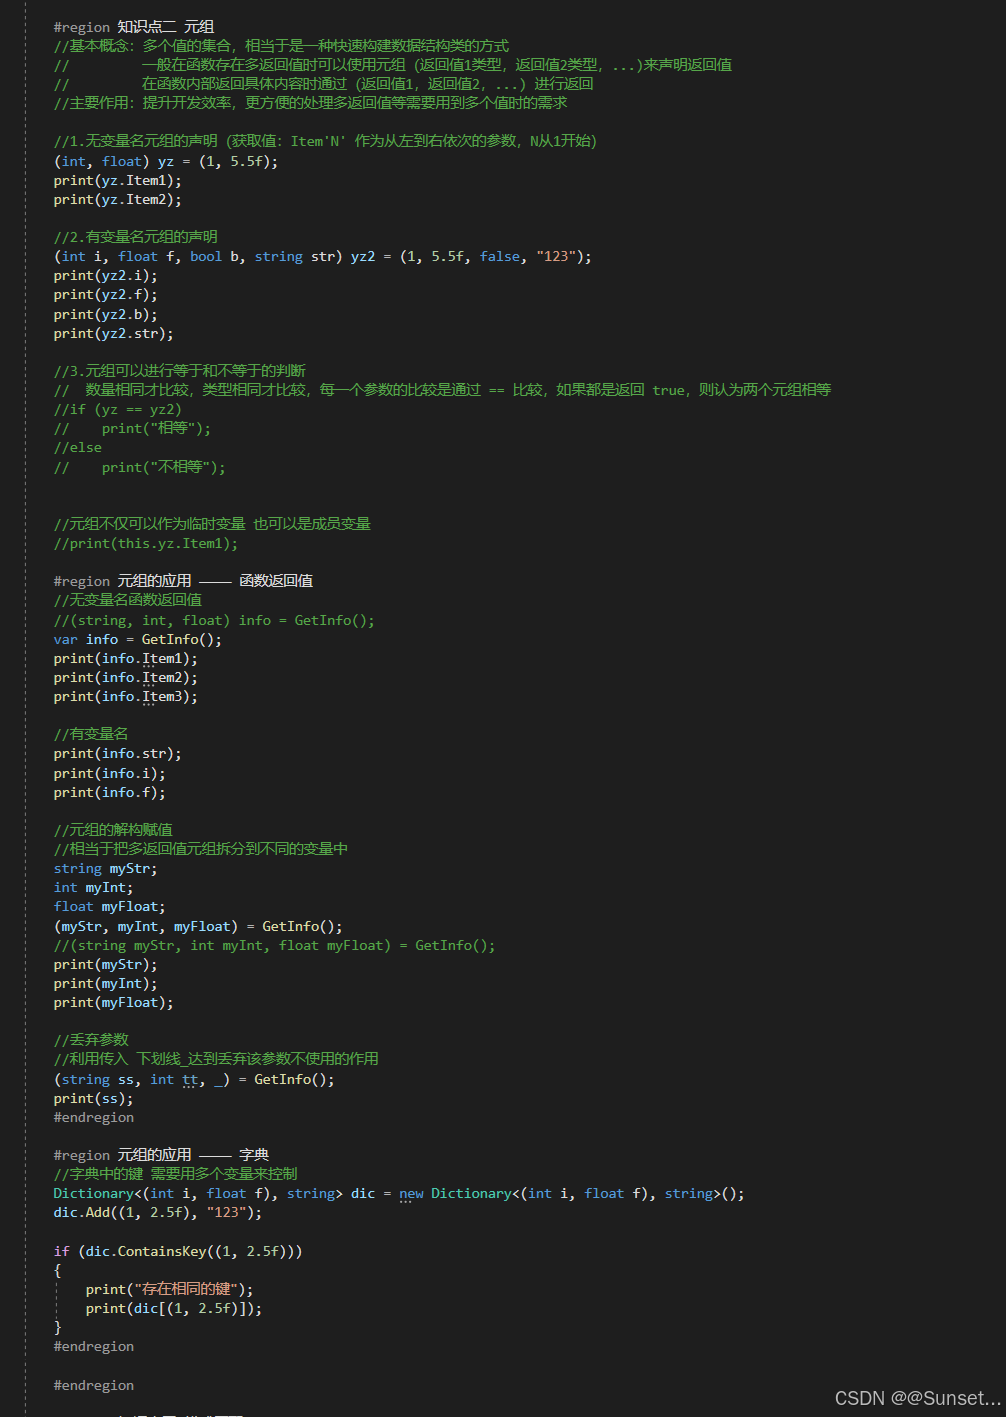
#region 知识点二 元组
//基本概念:多个值的集合,相当于是一种快速构建数据结构类的方式
// 一般在函数存在多返回值时可以使用元组(返回值1类型,返回值2类型,...)来声明返回值
// 在函数内部返回具体内容时通过(返回值1,返回值2,...) 进行返回
//主要作用:提升开发效率,更方便的处理多返回值等需要用到多个值时的需求
//1.无变量名元组的声明(获取值:Item'N' 作为从左到右依次的参数,N从1开始)
(int, float) yz = (1, 5.5f);
print(yz.Item1);
print(yz.Item2);
//2.有变量名元组的声明
(int i, float f, bool b, string str) yz2 = (1, 5.5f, false, "123");
print(yz2.i);
print(yz2.f);
print(yz2.b);
print(yz2.str);
//3.元组可以进行等于和不等于的判断
// 数量相同才比较,类型相同才比较,每一个参数的比较是通过 == 比较,如果都是返回 true,则认为两个元组相等
//if (yz == yz2)
// print("相等");
//else
// print("不相等");
//元组不仅可以作为临时变量 也可以是成员变量
//print(this.yz.Item1);
#region 元组的应用 ------------ 函数返回值
//无变量名函数返回值
//(string, int, float) info = GetInfo();
var info = GetInfo();
print(info.Item1);
print(info.Item2);
print(info.Item3);
//有变量名
print(info.str);
print(info.i);
print(info.f);
//元组的解构赋值
//相当于把多返回值元组拆分到不同的变量中
string myStr;
int myInt;
float myFloat;
(myStr, myInt, myFloat) = GetInfo();
//(string myStr, int myInt, float myFloat) = GetInfo();
print(myStr);
print(myInt);
print(myFloat);
//丢弃参数
//利用传入 下划线_达到丢弃该参数不使用的作用
(string ss, int tt, _) = GetInfo();
print(ss);
#endregion
#region 元组的应用 ------------ 字典
//字典中的键 需要用多个变量来控制
Dictionary<(int i, float f), string> dic = new Dictionary<(int i, float f), string>();
dic.Add((1, 2.5f), "123");
if (dic.ContainsKey((1, 2.5f)))
{
print("存在相同的键");
print(dic[(1, 2.5f)]);
}
#endregion
#endregion
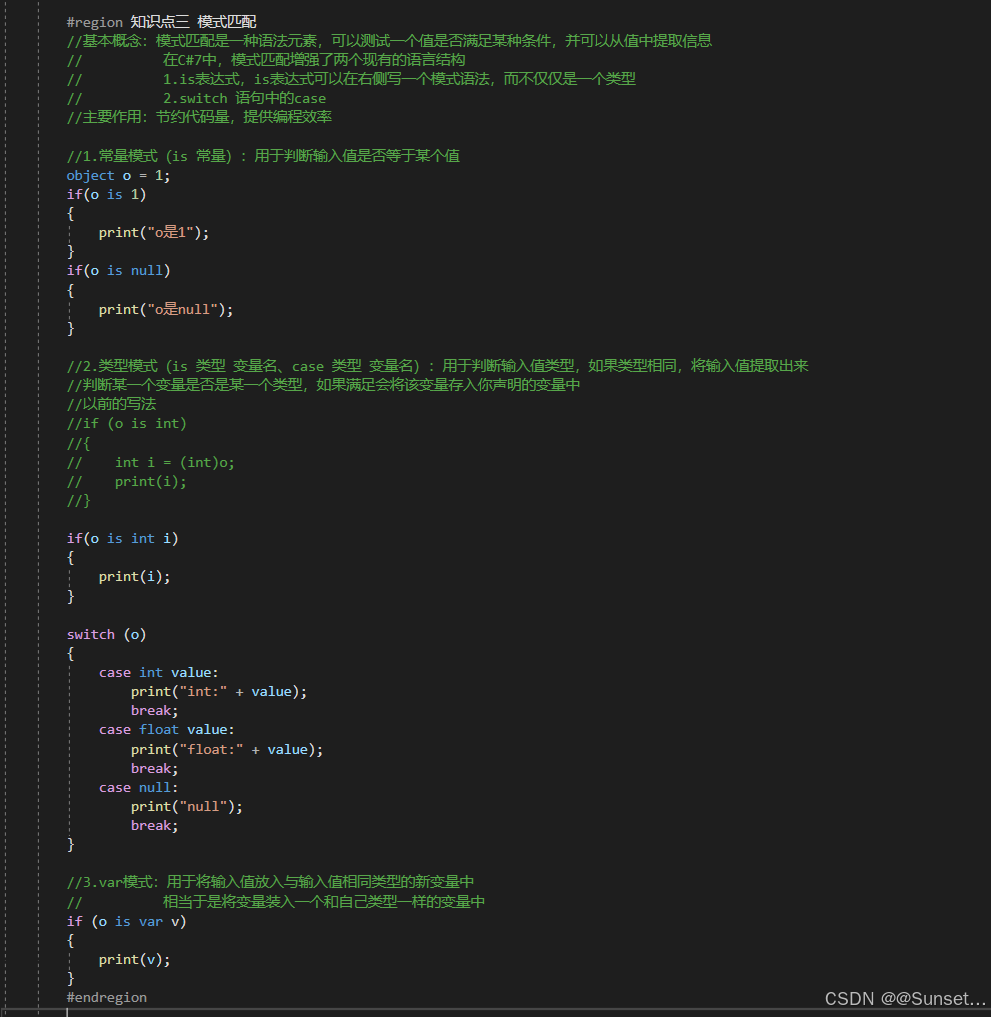
#region 知识点三 模式匹配
//基本概念:模式匹配是一种语法元素,可以测试一个值是否满足某种条件,并可以从值中提取信息
// 在C#7中,模式匹配增强了两个现有的语言结构
// 1.is表达式,is表达式可以在右侧写一个模式语法,而不仅仅是一个类型
// 2.switch 语句中的case
//主要作用:节约代码量,提供编程效率
//1.常量模式(is 常量):用于判断输入值是否等于某个值
object o = 1;
if(o is 1)
{
print("o是1");
}
if(o is null)
{
print("o是null");
}
//2.类型模式(is 类型 变量名、case 类型 变量名):用于判断输入值类型,如果类型相同,将输入值提取出来
//判断某一个变量是否是某一个类型,如果满足会将该变量存入你声明的变量中
//以前的写法
//if (o is int)
//{
// int i = (int)o;
// print(i);
//}
if(o is int i)
{
print(i);
}
switch (o)
{
case int value:
print("int:" + value);
break;
case float value:
print("float:" + value);
break;
case null:
print("null");
break;
}
//3.var模式:用于将输入值放入与输入值相同类型的新变量中
// 相当于是将变量装入一个和自己类型一样的变量中
if (o is var v)
{
print(v);
}
#endregion
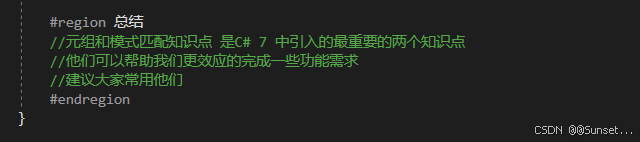
#region 总结
//元组和模式匹配知识点 是C# 7 中引入的最重要的两个知识点
//他们可以帮助我们更效应的完成一些功能需求
//建议大家常用他们
#endregion
}
private (string str, int i, float f) GetInfo()
{
return ("123", 2, 5.5f);
}
//空合并操作符 后用throw
private string jsonStr;
private void InitInfo(string str) => jsonStr = str ?? throw new ArgumentNullException(nameof(str));
//三目运算符 后用throw
private string GetInfo(string str, int index)
{
string[] strs = str.Split(',');
return strs.Length > index ? strs[index] : throw new IndexOutOfRangeException();
}
// Update is called once per frame
void Update()
{
}
}
C# 8 功能和语法
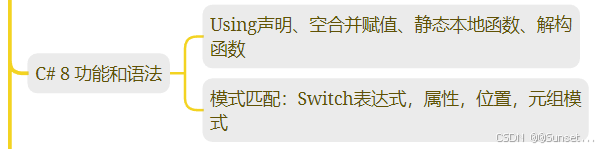
Using声明、空合并赋值、静态本地函数、解构函数
cs
using System;
using System.Collections;
using System.Collections.Generic;
using System.IO;
using UnityEngine;
public class TestUsing : IDisposable
{
public void Dispose()
{
}
}
public class Person
{
public string name;
public bool sex;
public string number;
public string email;
//普通写法
//public void Deconstruct(out string n, out bool sex)
//{
// n = name;
// sex = this.sex;
//}
//元组写法
public void Deconstruct(out string n, out bool sex) => (n, sex) = (name, this.sex);
//public void Deconstruct(out string n, out bool sex, out string number)
//{
// n = name;
// sex = this.sex;
// number = this.number;
//}
//元组写法
public void Deconstruct(out string n, out bool sex, out string number) => (n, sex, number) = (name, this.sex, this.number);
public void Deconstruct(out string n, out bool sex, out string number, out string email)
{
n = name;
sex = this.sex;
number = this.number;
email = this.email;
}
}
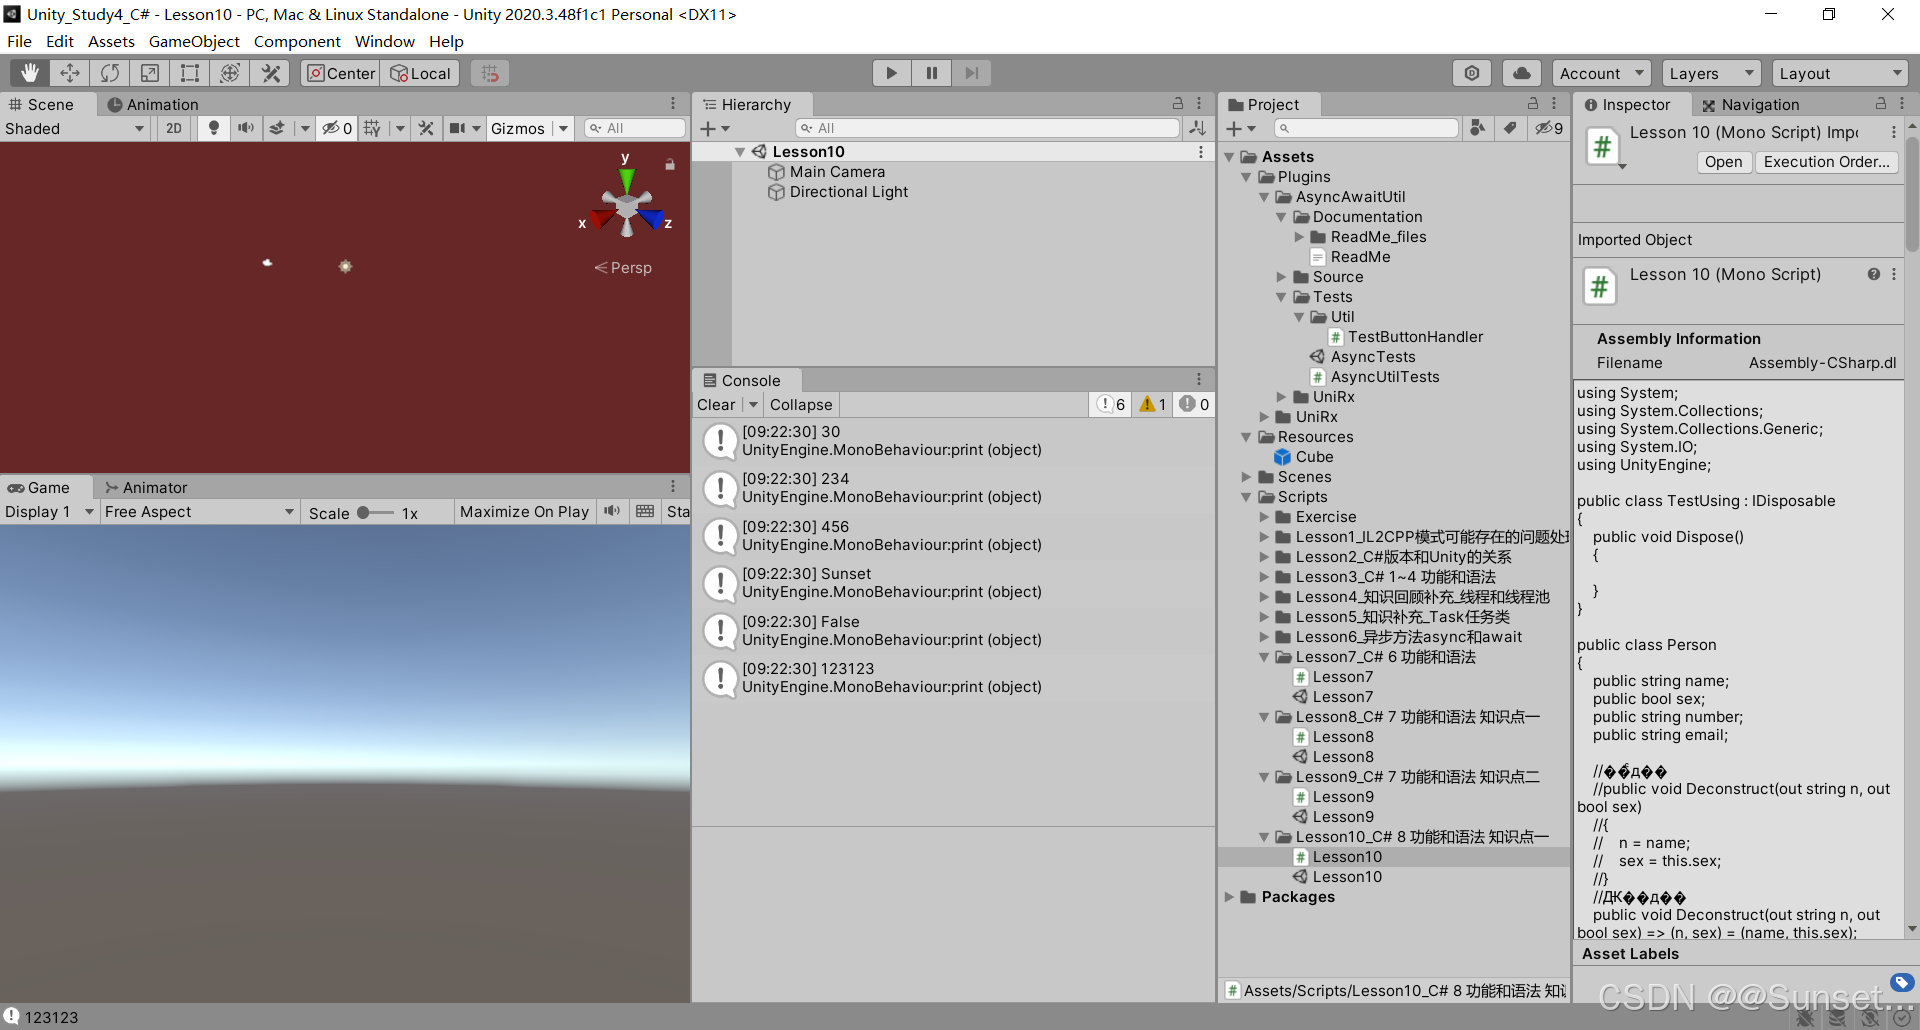
public class Lesson10 : MonoBehaviour
{
// Start is called before the first frame update
void Start()
{
#region 知识点一 C#8 对应的Unity版本
//Unity 2020.3 ------------ C# 8
//但是部分新内容还不在该版本Unity中被支持
//这里只讲解了比较实用的一部分
#endregion
#region 知识点二 C#8 新增功能和语法有哪些
//1.Using 声明
//2.静态本地函数
//3.Null 合并赋值
//4.解构函数 Deconstruct
//5.模式匹配增强功能
#endregion
#region 知识点三 静态本地函数
//知识回顾:
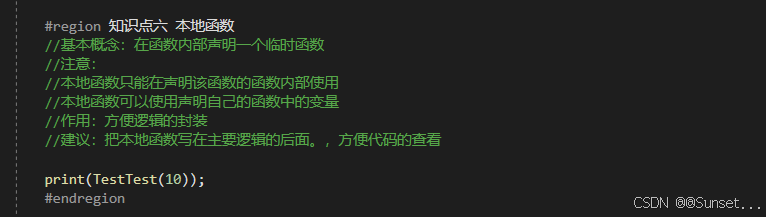
//在C#7的新语法中我们学习了本地函数
//本地函数知识回顾
//基本概念:在函数内部声明一个临时函数
//注意:
//本地函数只能在声明该函数的函数内部使用
//本地函数可以使用声明自己的函数中的变量
//作用:方便逻辑的封装
//建议:把本地函数写在主要逻辑的后面,方便代码的查看
print(CalcInfo(10));
//新知识点:
//静态本地函数就是在本地函数前方加入静态关键字
//它的作用就是让本地函数不能够使用访问封闭范围内(也就是上层方法中)的任何变量
//作用 让本地函数只能处理逻辑,避免让它通过直接改变上层变量来处理逻辑造成逻辑混乱
#endregion
#region 知识点四 using 声明
//知识回顾:
//在数据持久化Xml相关知识中
//我们学习了using相关的知识点
//using(对象声明)
//{
// 使用对象,语句块结束后 对象将被释放掉
// 当语句块结束 会自动帮我们调用 对象的 Dispose这个方法 让其进行销毁
// using一般都会配合 内存占用比较大 或者 有读写操作时 进行使用的
//}
//举例回顾
using(StreamWriter strem = new StreamWriter("文件路径"))
{
//对该变量进行逻辑处理 该变量只能在这个语句块中使用
strem.Write(true);
strem.Write(1.2f);
strem.Flush();
strem.Close();
}//语句块结束执行时 调用 声明对象的 Dispose方法 释放对象
//新知识点:
//using 声明就是对using()语法的简写
//当函数执行完毕时 会调用 对象的 Dispose方法 释放对象
using StreamWriter s2 = new StreamWriter("文件路径");
//对该对象进行逻辑操作
s2.Write(5);
s2.Flush();
s2.Close();
//利用这个写法 就会在上层语句块执行结束时释放该对象(比如在if语句块里时,当if语句执行完就释放)
//注意:在使用using语法时,声明的对象必须继承 System.IDisposable接口
//因为必须具备Dispose方法,所以当申明没有继承该接口的对象时会报错
using TestUsing t = new TestUsing();
#endregion
#region 知识点无 Null 合并赋值
//知识回顾
// 在C#进阶的特殊语法中我们学习了 ?? 空合并操作符
//回顾空合并操作符知识点
//左边值 ?? 右边值
//如果左边值为null 就返回右边值 否则返回左边值
//只要是可以为null的类型都能用
//举例:
string str = null;
string str2 = str ?? "234";
print(str2);
//新知识点:
//空合并赋值时C#8.0 新加的一个运算符 ??=
//类似复合运算符
// 左边值 ??= 右边值
// 当左侧为空时才会把右侧值赋值给变量
// 举例:
str ??= "456";
print(str);
//注意:由于左侧为空才会将右侧赋值给变量,所以不为空的变量不会改变
#endregion
#region 知识点六 解构函数 Deconstruct
//知识回顾:
//我们之前学习过元组的解构,就是可以用单独的变量存储元组的值
//相当于把多返回值元组拆分到不同的变量中
//举例回顾:
int i;
float f;
string s;
(i, f, _, s) = GetInfo();
//新知识点:解构函数Deconstruct (C# 7 就有)
//我们可以在自定义类当中声明解构函数
//这样我们可以将该自定义类对象利用元组的写法对其进行变量的获取
//语法:
//在类的内部声明函数 public void Deconstruct(out 变量类型 变量名,out 变量类型 变量名...)
//特点:
//一个类中可以有多个Deconstruct,但是参数数量不能相同
Person p = new Person();
p.name = "Sunset";
p.sex = false;
p.email = "11111";
p.number = "123123";
//我们可以对该对象利用元组将其具体的变量值 解构出来
//相当于把不同的成员变量拆分到不同的临时变量中
(string name, bool sex) = p;
print(name);
print(sex);
string str3;
(_, _, str3) = p;
print(str3);
#endregion
}
public (int, float, bool, string) GetInfo()
{
return (1, 3.4f, true, "123");
}
//知识点二 静态本地函数
public int CalcInfo(int i)
{
bool b = false;
i += 10;
Calc(ref i, ref b);
return i;
static void Calc( ref int i, ref bool b)
{
//不加 ref 的话 这里变了,外面不会跟着变
b = true;
i += 10;
}
}
// Update is called once per frame
void Update()
{
}
}
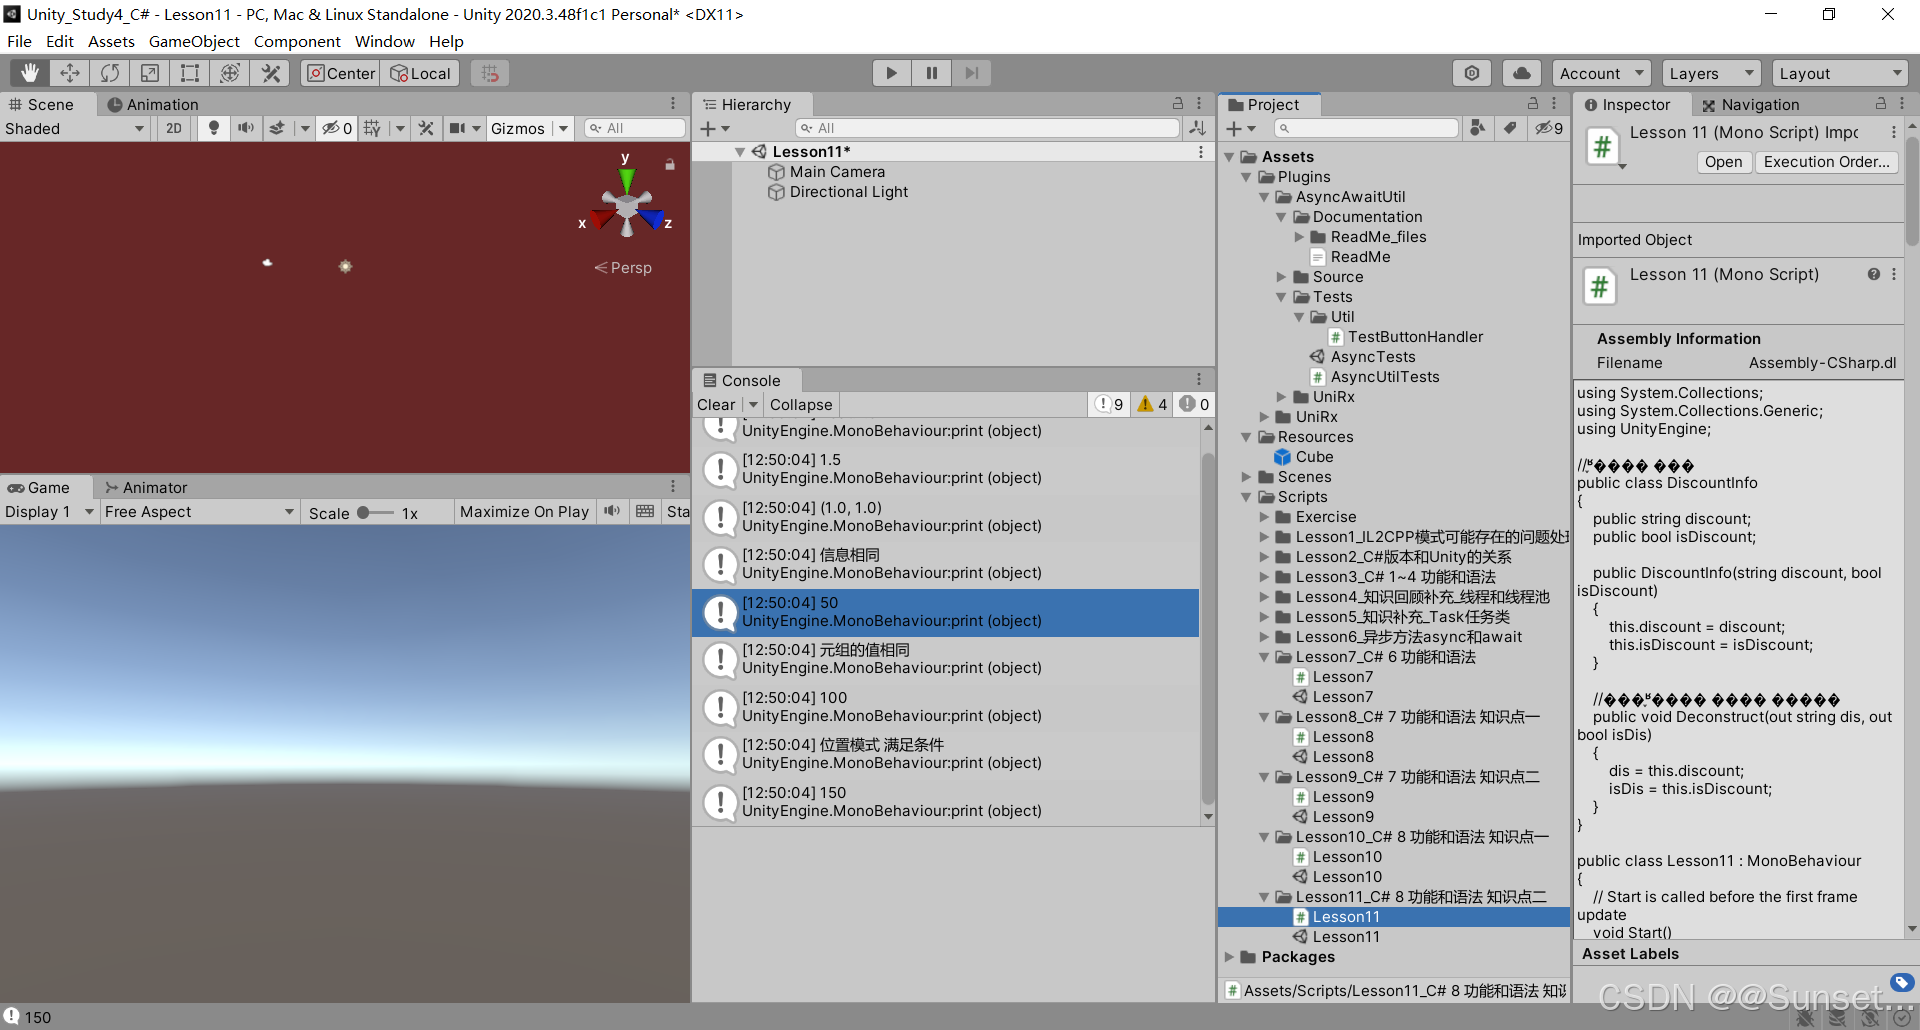
模式匹配:Switch表达式,属性,位置,元组模式
cs
using System.Collections;
using System.Collections.Generic;
using UnityEngine;

//知识点三 相关
public class DiscountInfo
{
    public string discount;
    public bool isDiscount;

    public DiscountInfo(string discount, bool isDiscount)
    {
        this.discount = discount;
        this.isDiscount = isDiscount;
    }

    //配合知识点五 ------ 解构函数
    public void Deconstruct(out string dis, out bool isDis)
    {
        dis = this.discount;
        isDis = this.isDiscount;
    }
}

public class Lesson11 : MonoBehaviour
{
    // Start is called before the first frame update
    void Start()
    {
        #region 知识点一 模式匹配回顾
        //模式匹配 (Pattern Matching)
        //"模式匹配"是一种测试表达式是否具有特定特征的方法
        //在编程里指的是,把一个不知道具体数据信息的内容
        //通过一些固定的语法格式来确定模式数据的具体内容的过程

        //我们目前学习过的模式匹配
        //1.常量模式(is 常量):用于判断输入值是否等于某个值
        object o = 1.5f;
        if (o is 1)
        {
            print("o是1");
        }
        if (o is null)
        {
            print("o是null");
        }

        //2.类型模式(is 类型 变量名、case 类型 变量名):用于判断输入值类型,如果类型相同,将输入值提取出来
        //判断某一个变量是否是某一个类型,如果满足会将该变量存入你声明的变量中
        if (o is int i)
        {
            print(i);
        }

        switch (o)
        {
            case int value:
                print("int:" + value);
                break;
            case float value:
                print("float:" + value);
                break;
            case null:
                print("null");
                break;
        }

        //3.var模式:用于将输入值放入与输入值相同类型的新变量中
        //          相当于是将变量装入一个和自己类型一样的变量中
        if(o is var v)
        {
            print(v);
        }
        int kk = GetInt();
        if (kk >= 0 && kk <= 10)
        {

        }

        if(GetInt() is var k && k >= 0 && k <= 10)
        {

        }

        #endregion

        #region 知识点二 模式匹配增强功能 ------ switch表达式
        //switch表达式是对有返回值的switch语句的缩写
        //用=>表达式符号代替case:组合
        //用_弃元符号代替default
        //它的使用限制,主要是用于switch语句当中只有一句代码用于返回值时使用
        //语法:
        // 函数声明 => 变量 switch
        //{
        //  常量=>返回值表达式,
        //  常量=>返回值表达式,
        //  常量=>返回值表达式,
        //  ...
        //  _ => 返回值表达式
        //}

        print(GetPos(E_PosType.Bottom_Right));
        #endregion

        #region 知识点三 模式匹配增强功能 ------ 属性模式
        //就是在常量模式的基础上判断对象上各属性
        //用法:变量 is {属性:值, 属性:值}
        DiscountInfo info = new DiscountInfo("5折", true);
        //if( info.discount == "5折" && info.isDiscount)
        if (info is { discount: "5折", isDiscount: true })
            print("信息相同");

        print(GetMoney(info, 100));

        //它可以结合switch 表达式使用
        //结合switch 使用可以通过属性模式判断条件的组合
        #endregion

        #region 知识点四 模式匹配增强功能 ------ 元组模式
        //通过刚才学习的 属性模式我们可以在switch表达式中判断多个变量同时满足再返回什么
        //但是它必须是一个数据结构类对象,判断其中的变量
        //而元组模式可以更简单的完成这样的功能,我们不需要声明数据结构类,可以直接利用元组进行判断
        int ii = 10;
        bool bb = true;
        if ((ii, bb) is (10, true))
        {
            print("元组的值相同");
        }

        //举例说明
        print(GetMoney("5折", true, 200));
        #endregion

        #region z知识点五 模式匹配增强功能 ------ 位置模式
        //如果自定义类中实现了解构函数
        //那么我们可以直接用对应类对象与元组进行is判断
        if (info is ("5折", true))
        {
            print("位置模式 满足条件");
        }

        //同样我们也可以配合switch表达式来处理逻辑
        //举例说明
        print(GetMoney2(info, 300));

        //补充:配合when关键字进行逻辑处理
        #endregion
    }

    public int GetInt()
    {
        return 1;
    }

    //知识点三相关
    public float GetMoney(DiscountInfo info, float money) => info switch
    {
        //可以利用属性模式 结合 switch表达式 判断 n个条件是否满足
        { discount: "5折", isDiscount: true } => money * .5f,
        { discount: "6折", isDiscount: true } => money * .6f,
        { discount: "7折", isDiscount: true } => money * .7f,
        _ => money
    };

    //知识点五 相关
    public float GetMoney2(DiscountInfo info, float money) => info switch
    {
        ("5折", true) => money * .5f,
        ("6折", true) => money * .6f,
        ("7折", true) => money * .7f,
        _ => money
    };

    //知识点五 when
    public float GetMoney3(DiscountInfo info, float money) => info switch
    {
        (string dis, bool isDis) when dis == "5折" && isDis => money * .5f,
        _ => money,
    };

    //知识点四相关
    public float GetMoney(string discount, bool isDiscount, float money) => (discount, isDiscount) switch
    {
        ("5折", true) => money * .5f,
        ("6折", true) => money * .6f,
        ("7折", true) => money * .7f,
        _ => money
    };

    //知识点二 原写法
    //public Vector2 GetPos(E_PosType type)
    //{
    //    switch (type)
    //    {
    //        case E_PosType.Top_Left:
    //            return new Vector2(0, 0);
    //        case E_PosType.Top_Right:
    //            return new Vector2(1, 0);
    //        case E_PosType.Bottom_Left:
    //            return new Vector2(0, 1);
    //        case E_PosType.Bottom_Right:
    //            return new Vector2(1, 1);
    //        default:
    //            return new Vector2(0, 0);
    //    }
    //}
    //新写法
    public Vector2 GetPos(E_PosType type) => type switch
    {
        E_PosType.Top_Left => new Vector2(0, 0),
        E_PosType.Top_Right => new Vector2(1, 0),
        E_PosType.Bottom_Left => new Vector2(0, 1),
        E_PosType.Bottom_Right => new Vector2(1, 1),
        _ => new Vector2(0,0)
    };

    // Update is called once per frame
    void Update()
    {

    }
}

public enum E_PosType
{
    Top_Left,
    Top_Right,
    Bottom_Left,
    Bottom_Right,
}
C# 9 功能和语法
待更新!!!
C#其它知识补充
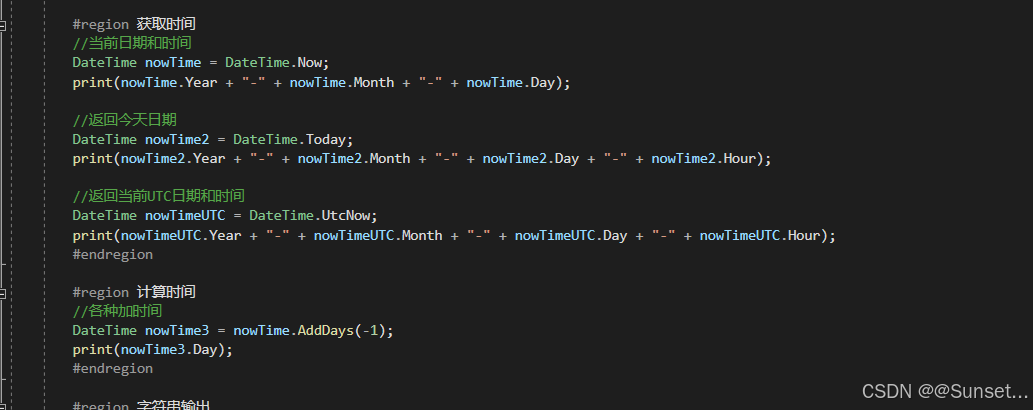
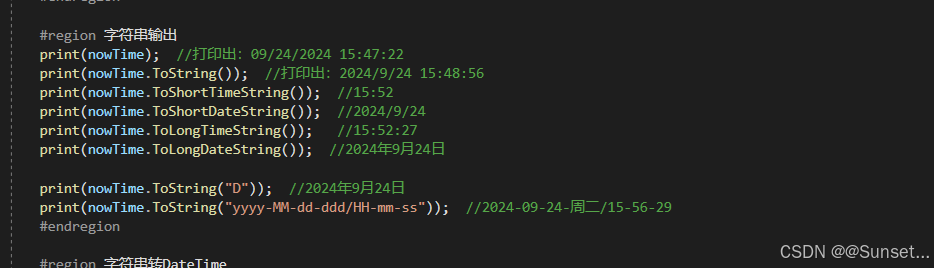
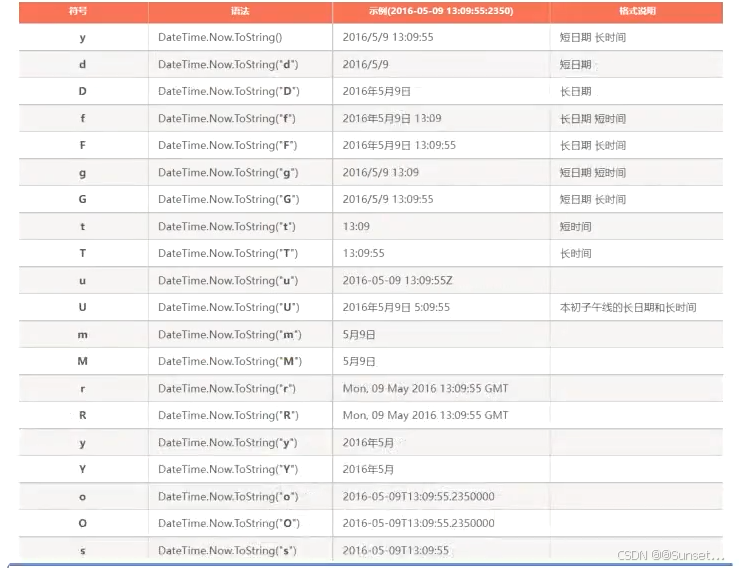
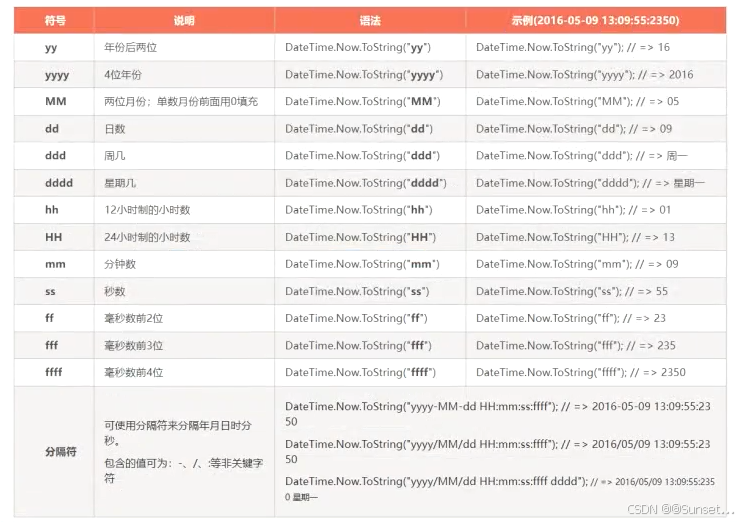
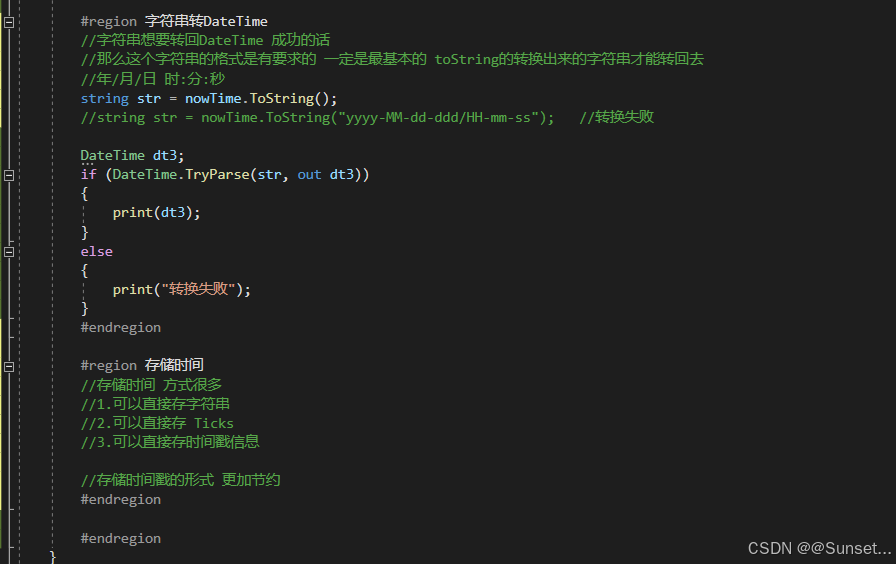
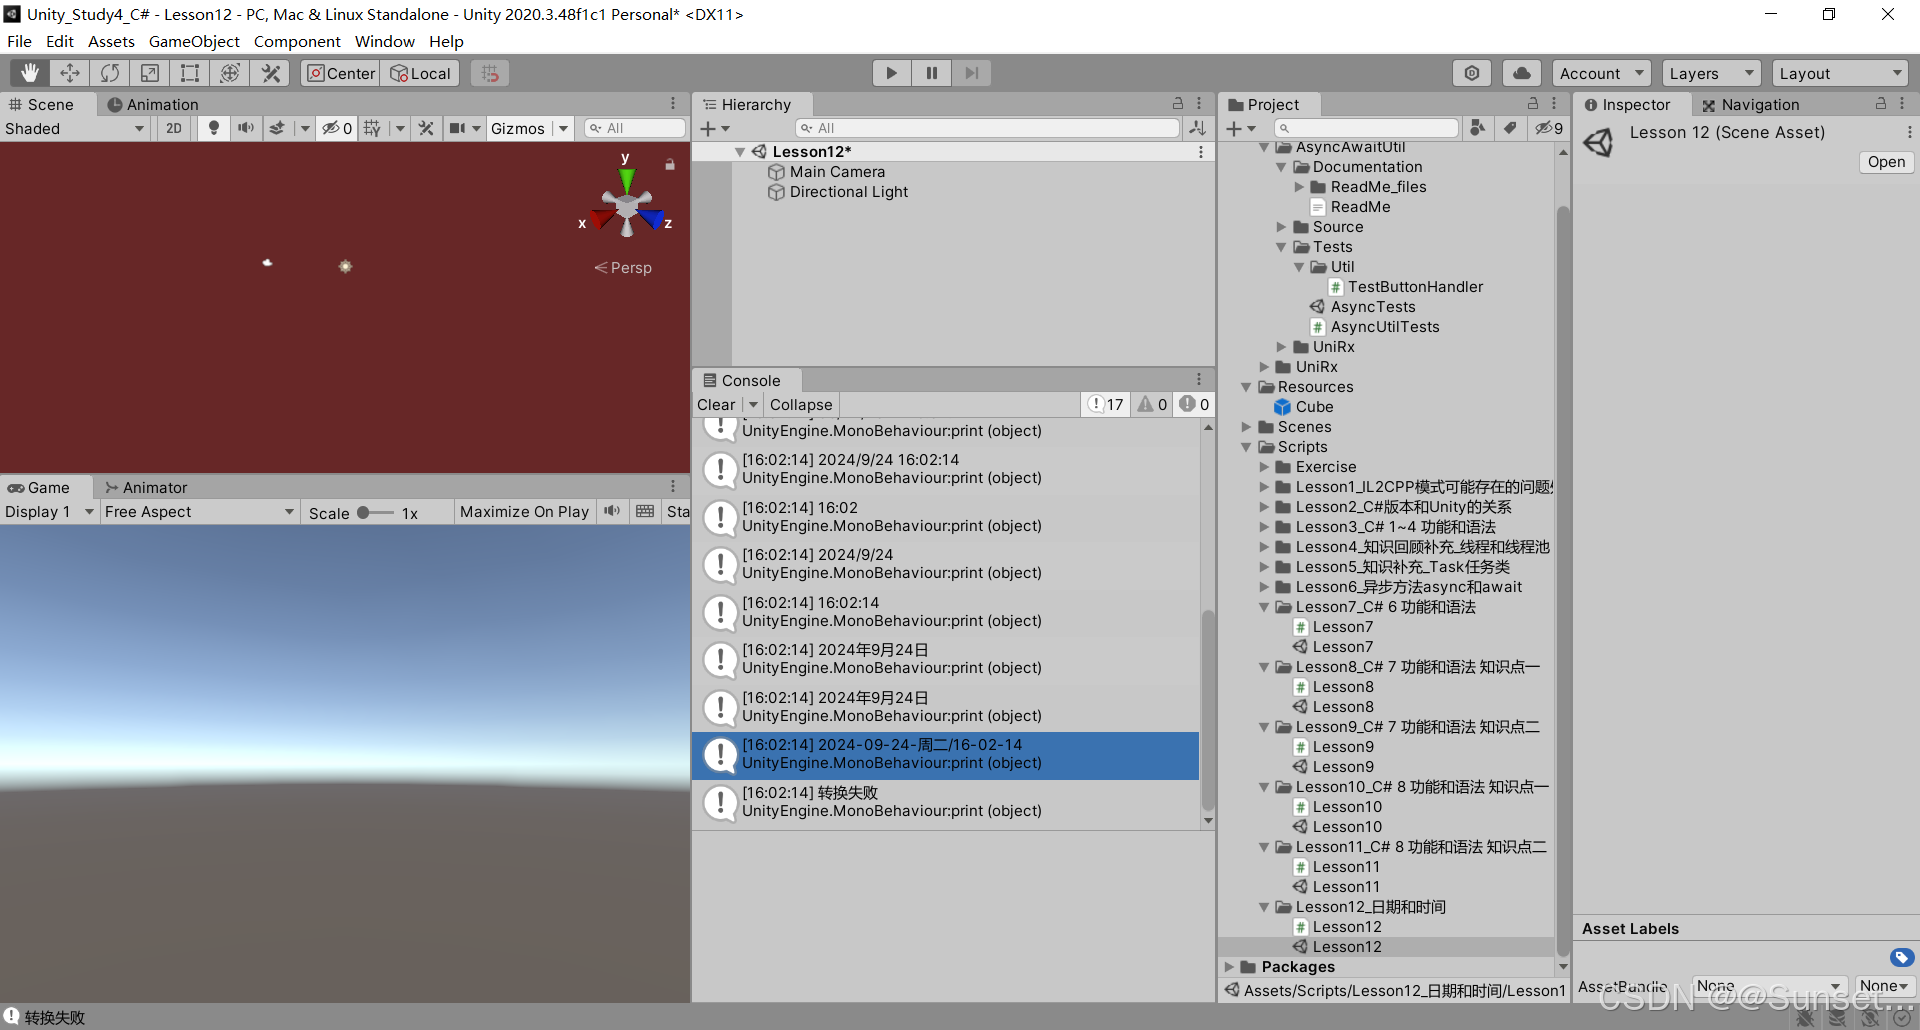
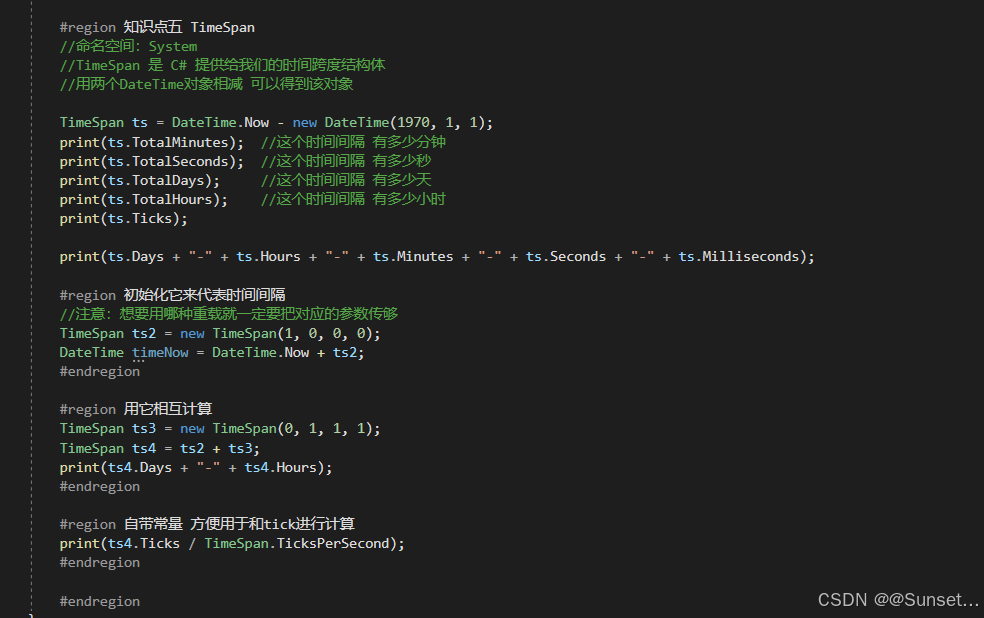
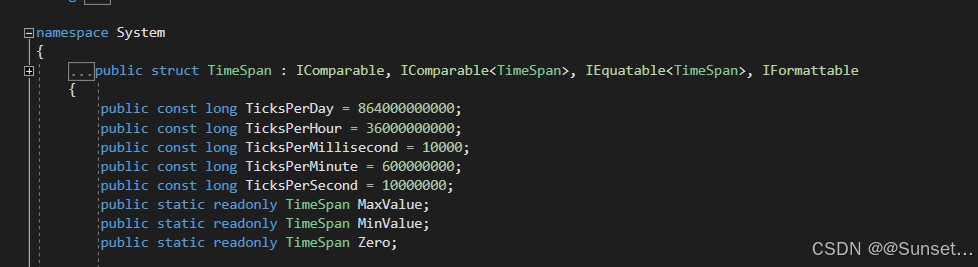
日期和时间


总结