https://www.youtube.com/watch?v=ViRfnLAR_Uc&list=PLQkwcJG4YTCRJxkPPDBcKqDWrfF5qanQs&index=3学习视频
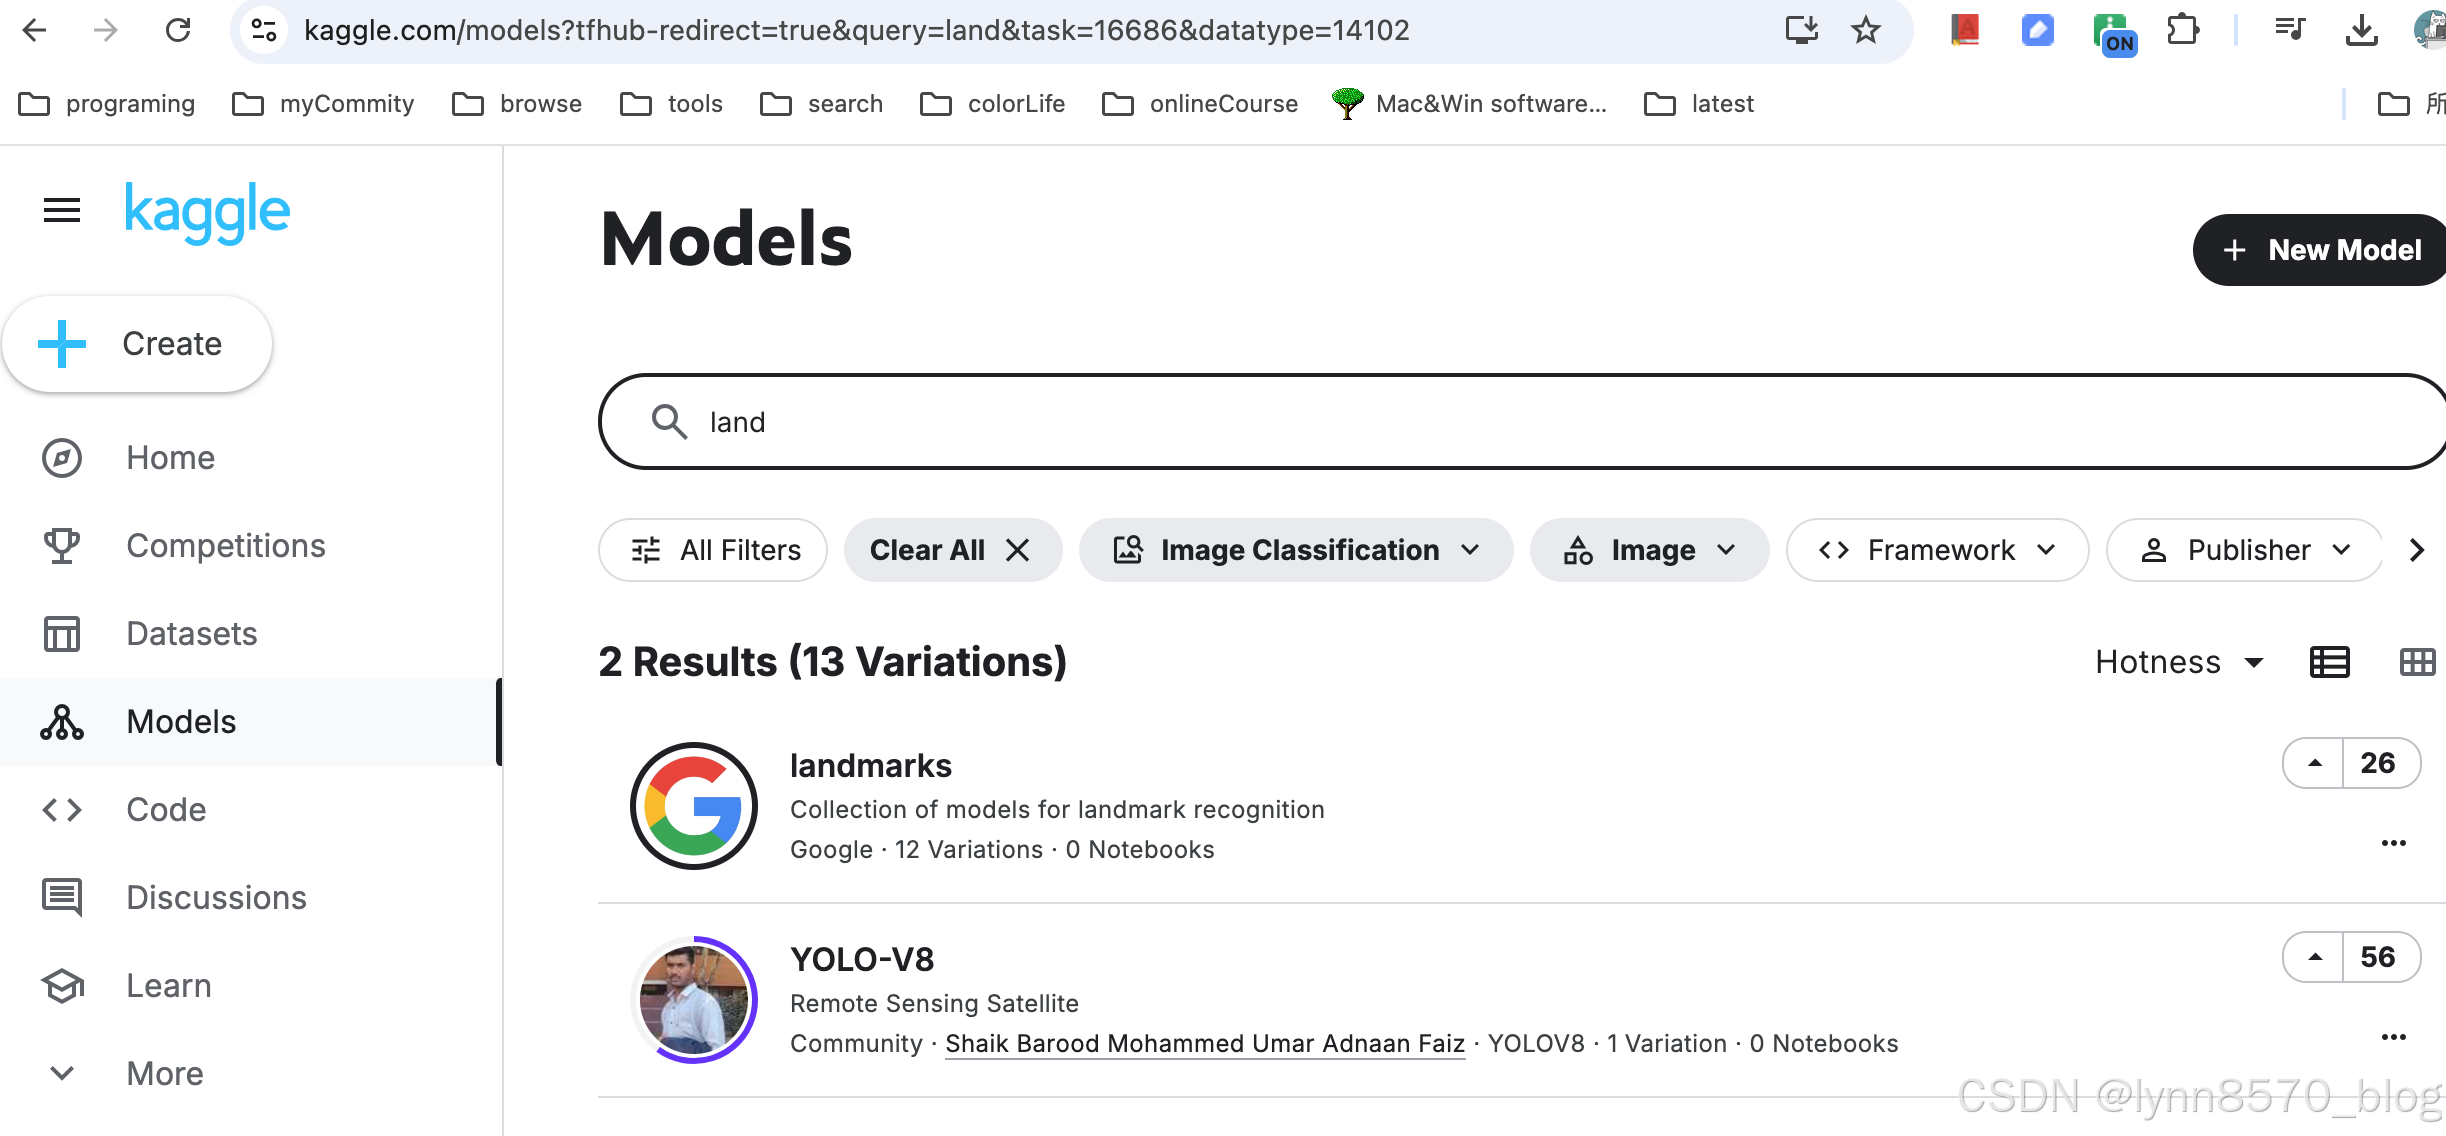
找到地标模型
如何在Android上使用ts模型
https://blog.tensorflow.org/2018/03/using-tensorflow-lite-on-android.html
1.下载模型后放在 asset 下
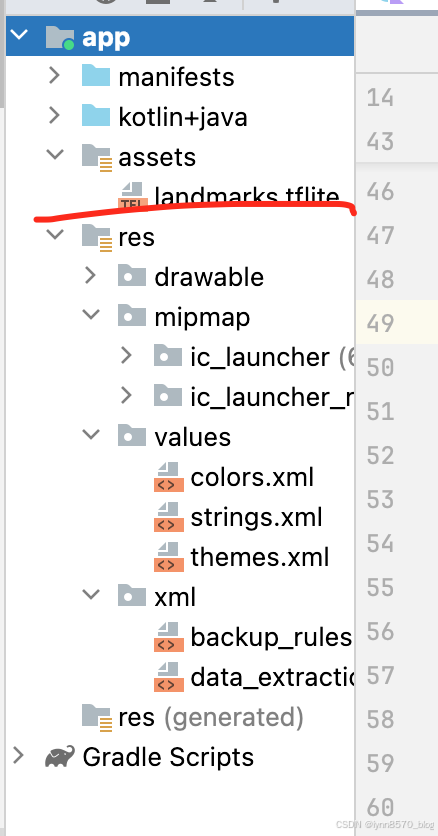
这个模型大概就有50M了
添加依赖
 val cameraxVersion = "1.3.0-rc01"

    implementation("androidx.camera:camera-core:$cameraxVersion")
    implementation("androidx.camera:camera-camera2:$cameraxVersion")
    implementation("androidx.camera:camera-lifecycle:$cameraxVersion")
    implementation("androidx.camera:camera-video:$cameraxVersion")

    implementation("androidx.camera:camera-view:$cameraxVersion")
    implementation("androidx.camera:camera-extensions:$cameraxVersion")

    implementation("org.tensorflow:tensorflow-lite-task-vision:0.4.0")
    implementation("org.tensorflow:tensorflow-lite-gpu-delegate-plugin:0.4.0")
    implementation("org.tensorflow:tensorflow-lite-gpu:2.9.0")
我们希望可以通过ts模型识别图片,这个结果我们放在 Classification 中,自己定义
Kotlin
data class Classification(
    val name: String,
    val score: Float
)
定义一个识别接口,然后我们可以有TS模型识别,以后有其他的模型,也可以实现其他的模型进行切换
Kotlin
interface LandmarkClassifier {
    fun classify(bitmap: Bitmap, rotation: Int): List<Classification>
}
实现通过ts的API处理bitmap,识别,读取结果
Kotlin
class TfLiteLandmarkClassifier(
    private val context: Context,
    private val threshold: Float = 0.5f,
    private val maxResults: Int = 3
): LandmarkClassifier {

    private var classifier: ImageClassifier? = null

    //创建图片识别 classifier
    private fun setupClassifier() {
        val baseOptions = BaseOptions.builder()
            .setNumThreads(2)
            .build()
        //基础参数
        val options = ImageClassifier.ImageClassifierOptions.builder()
            .setBaseOptions(baseOptions)
            .setMaxResults(maxResults)
            .setScoreThreshold(threshold)
            .build()

        //从asset创建
        try {
            classifier = ImageClassifier.createFromFileAndOptions(
                context,
                "landmarks.tflite",
                options
            )
        } catch (e: IllegalStateException) {
            e.printStackTrace()
        }
    }

    override fun classify(bitmap: Bitmap, rotation: Int): List<Classification> {
        if(classifier == null) {
            setupClassifier()
        }

        //处理bitmap
        val imageProcessor = ImageProcessor.Builder().build()
        val tensorImage = imageProcessor.process(TensorImage.fromBitmap(bitmap))

        val imageProcessingOptions = ImageProcessingOptions.builder()
            .setOrientation(getOrientationFromRotation(rotation))
            .build()

        //ts 的 api
        val results = classifier?.classify(tensorImage, imageProcessingOptions)


        //把结果flapmap,
        //合并,然后根据名字 distinct
        return results?.flatMap { classications ->
            classications.categories.map { category ->
                Classification(
                    name = category.displayName,
                    score = category.score
                )
            }
        }?.distinctBy { it.name } ?: emptyList()
    }

    private fun getOrientationFromRotation(rotation: Int): ImageProcessingOptions.Orientation {
        return when(rotation) {
            Surface.ROTATION_270 -> ImageProcessingOptions.Orientation.BOTTOM_RIGHT
            Surface.ROTATION_90 -> ImageProcessingOptions.Orientation.TOP_LEFT
            Surface.ROTATION_180 -> ImageProcessingOptions.Orientation.RIGHT_BOTTOM
            else -> ImageProcessingOptions.Orientation.RIGHT_TOP
        }
    }
}
我们在相机的Analyzer中使用分析器
Kotlin
LandmarkRecognitionTensorflowTheme {
                //分析器
                val analyzer = remember {
                    LandmarkImageAnalyzer(
                        classifier = TfLiteLandmarkClassifier(
                            context = applicationContext
                        ),
                        onResults = {
                            classifications = it
                        }
                    )
                }
                val controller = remember {
                    LifecycleCameraController(applicationContext).apply {
                        setEnabledUseCases(CameraController.IMAGE_ANALYSIS)
                        setImageAnalysisAnalyzer(
                            ContextCompat.getMainExecutor(applicationContext),
                            analyzer
                        )
                    }
                }
                Box(
                    modifier = Modifier
                        .fillMaxSize()
                ) {
                    CameraPreview(controller, Modifier.fillMaxSize())

                }
            }
        }
处理图片,根据ts 的文档,把图片裁剪处理成321*321
而且为了性能问题
并不是每一帧都是分析,所以加了 frameSkipCounter'
每60帧才分析,提高性能体验,
最后别忘了关掉imageproxy
Kotlin
class LandmarkImageAnalyzer(
    private val classifier: LandmarkClassifier,
    private val onResults: (List<Classification>) -> Unit
): ImageAnalysis.Analyzer {

    private var frameSkipCounter = 0

    override fun analyze(image: ImageProxy) {
        if(frameSkipCounter % 60 == 0) {
            val rotationDegrees = image.imageInfo.rotationDegrees
            val bitmap = image
                .toBitmap()
                .centerCrop(321, 321)

            val results = classifier.classify(bitmap, rotationDegrees)
            onResults(results)
        }
        frameSkipCounter++

        image.close()
    }
}
最后我们把结果显示出来
在result中
Kotlin
  var classifications by remember {
                    mutableStateOf(emptyList<Classification>())
                }
Kotlin
 Column(
                        modifier = Modifier
                            .fillMaxWidth()
                            .align(Alignment.TopCenter)
                    ) {
                        classifications.forEach {
                            Text(
                                text = it.name,
                                modifier = Modifier
                                    .fillMaxWidth()
                                    .background(MaterialTheme.colorScheme.primaryContainer)
                                    .padding(8.dp),
                                textAlign = TextAlign.Center,
                                fontSize = 20.sp,
                                color = MaterialTheme.colorScheme.primary
                            )
                        }
                    }
效果
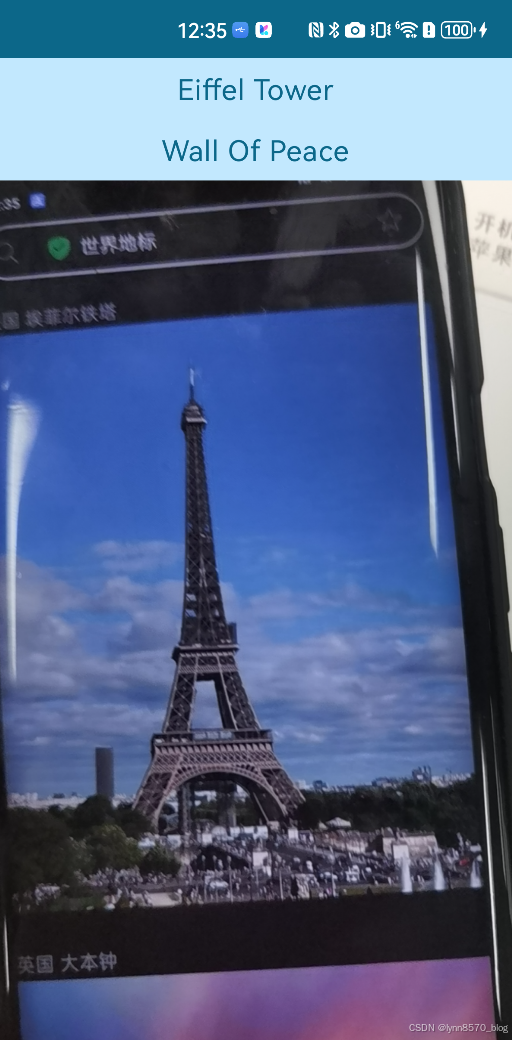
图片识别,显示