Android 实现悬浮球的功能
在 Android 中,实现悬浮球可以通过以下方式实现,常见的方法是使用 WindowManager 创建一个悬浮窗口。以下是具体的实现步骤:
1. 配置权限
在 AndroidManifest.xml 中添加悬浮窗权限:
XML
<uses-permission android:name="android.permission.SYSTEM_ALERT_WINDOW" />对于 Android 6.0 及以上版本,还需要动态申请悬浮窗权限。
AndroidManifest.xml 文件如下
XML
<?xml version="1.0" encoding="utf-8"?>
<manifest xmlns:android="http://schemas.android.com/apk/res/android"
xmlns:tools="http://schemas.android.com/tools"
package="com.check.floatingball">
<uses-permission android:name="android.permission.SYSTEM_ALERT_WINDOW" />
<application
android:allowBackup="true"
android:dataExtractionRules="@xml/data_extraction_rules"
android:fullBackupContent="@xml/backup_rules"
android:icon="@mipmap/ic_launcher"
android:label="@string/app_name"
android:roundIcon="@mipmap/ic_launcher_round"
android:supportsRtl="true"
android:theme="@style/Theme.FloatingBall"
tools:targetApi="31">
<activity
android:name=".MainActivity"
android:exported="true">
<intent-filter>
<action android:name="android.intent.action.MAIN" />
<category android:name="android.intent.category.LAUNCHER" />
</intent-filter>
</activity>
<service
android:name=".FloatingBallService"
android:exported="false"
android:permission="com.example.permission.ACCESS_FLOATING_BALL" />
</application>
</manifest>2. 创建悬浮球服务
悬浮球通常在一个 Service 中实现,以便在后台运行。
创建一个 Service 类
Kotlin
import android.app.Service
import android.content.Intent
import android.os.IBinder
import android.graphics.PixelFormat
import android.os.Build
import android.util.Log
import android.view.*
import android.widget.ImageView
import android.widget.Toast
class FloatingBallService : Service() {
private lateinit var windowManager: WindowManager
private lateinit var floatingView: ViewGroup
private lateinit var layoutParams: WindowManager.LayoutParams
override fun onCreate() {
super.onCreate()
// 初始化 WindowManager
windowManager = getSystemService(WINDOW_SERVICE) as WindowManager
// 加载悬浮球布局
floatingView = LayoutInflater.from(this).inflate(R.layout.floating_ball, null) as ViewGroup
// 悬浮窗参数配置
layoutParams = WindowManager.LayoutParams(
WindowManager.LayoutParams.WRAP_CONTENT,
WindowManager.LayoutParams.WRAP_CONTENT,
if (Build.VERSION.SDK_INT >= Build.VERSION_CODES.O)
WindowManager.LayoutParams.TYPE_APPLICATION_OVERLAY
else
WindowManager.LayoutParams.TYPE_PHONE,
WindowManager.LayoutParams.FLAG_NOT_FOCUSABLE,
PixelFormat.TRANSLUCENT
)
layoutParams.gravity = Gravity.TOP or Gravity.START
// 第一次显示的坐标位置
layoutParams.x = 0
layoutParams.y = 100
// 添加悬浮窗
windowManager.addView(floatingView, layoutParams)
// 添加触摸和点击事件
val floatingIcon = floatingView.findViewById<ImageView>(R.id.floating_icon)
// 添加onTouchListener
floatingIcon.setOnTouchListener(FloatingBallTouchListener())
// 添加onClickListener
floatingIcon.setOnClickListener {
Log.d("FloatingBall", "点击事件触发")
Toast.makeText(this, "点击悬浮球", Toast.LENGTH_SHORT).show()
}
}
override fun onDestroy() {
super.onDestroy()
// 移除悬浮球
windowManager.removeView(floatingView)
}
override fun onBind(intent: Intent?): IBinder? {
return null
}
/*
**自定义触摸事件监听器
*/
private inner class FloatingBallTouchListener : View.OnTouchListener {
private var initialX = 0
private var initialY = 0
private var initialTouchX = 0f
private var initialTouchY = 0f
override fun onTouch(view: View, event: MotionEvent): Boolean {
when (event.action) {
MotionEvent.ACTION_DOWN -> {
initialX = layoutParams.x
initialY = layoutParams.y
initialTouchX = event.rawX
initialTouchY = event.rawY
return false
}
MotionEvent.ACTION_MOVE -> {
layoutParams.x = initialX + (event.rawX - initialTouchX).toInt()
layoutParams.y = initialY + (event.rawY - initialTouchY).toInt()
windowManager.updateViewLayout(floatingView, layoutParams)
return false
}
}
return false
}
}
}3. 悬浮球布局
在 res/layout/floating_ball.xml 中创建悬浮球的布局文件:
<?xml version="1.0" encoding="utf-8"?>
<LinearLayout xmlns:android="http://schemas.android.com/apk/res/android"
android:id="@+id/icon_root_view_group"
android:layout_width="50dp"
android:layout_height="50dp"
android:background="@color/white">
<ImageView
android:id="@+id/floating_icon"
android:layout_width="50dp"
android:layout_height="50dp"
android:src="@drawable/float_circle_transparent"
android:contentDescription="图片" />
</LinearLayout>4. 添加动态权限申请
在MainActivity 中申请悬浮窗权限:
Kotlin
import androidx.appcompat.app.AppCompatActivity
import android.os.Bundle
import android.content.Intent
import android.net.Uri
import android.os.Build
import android.provider.Settings
import android.widget.Button
import android.widget.Toast
class MainActivity : AppCompatActivity() {
override fun onCreate(savedInstanceState: Bundle?) {
super.onCreate(savedInstanceState)
setContentView(R.layout.activity_main)
val startButton = findViewById<Button>(R.id.start_floating_ball)
startButton.setOnClickListener {
if (checkOverlayPermission()) {
startFloatingBallService()
} else {
requestOverlayPermission()
}
}
}
private fun checkOverlayPermission(): Boolean {
return if (Build.VERSION.SDK_INT >= Build.VERSION_CODES.M) {
Settings.canDrawOverlays(this)
} else {
true
}
}
private fun requestOverlayPermission() {
if (Build.VERSION.SDK_INT >= Build.VERSION_CODES.M) {
val intent = Intent(
Settings.ACTION_MANAGE_OVERLAY_PERMISSION,
Uri.parse("package:$packageName")
)
startActivityForResult(intent, 100)
}
}
private fun startFloatingBallService() {
val intent = Intent(this, FloatingBallService::class.java)
startService(intent)
}
override fun onActivityResult(requestCode: Int, resultCode: Int, data: Intent?) {
super.onActivityResult(requestCode, resultCode, data)
if (requestCode == 100) {
if (checkOverlayPermission()) {
startFloatingBallService()
} else {
Toast.makeText(this, "悬浮窗权限未授予", Toast.LENGTH_SHORT).show()
}
}
}
}5. activity_main.xml布局
XML
<?xml version="1.0" encoding="utf-8"?>
<LinearLayout xmlns:android="http://schemas.android.com/apk/res/android"
android:layout_width="match_parent"
android:layout_height="match_parent"
android:gravity="center"
android:orientation="vertical">
<Button
android:id="@+id/start_floating_ball"
android:layout_width="wrap_content"
android:layout_height="wrap_content"
android:text="启动悬浮球" />
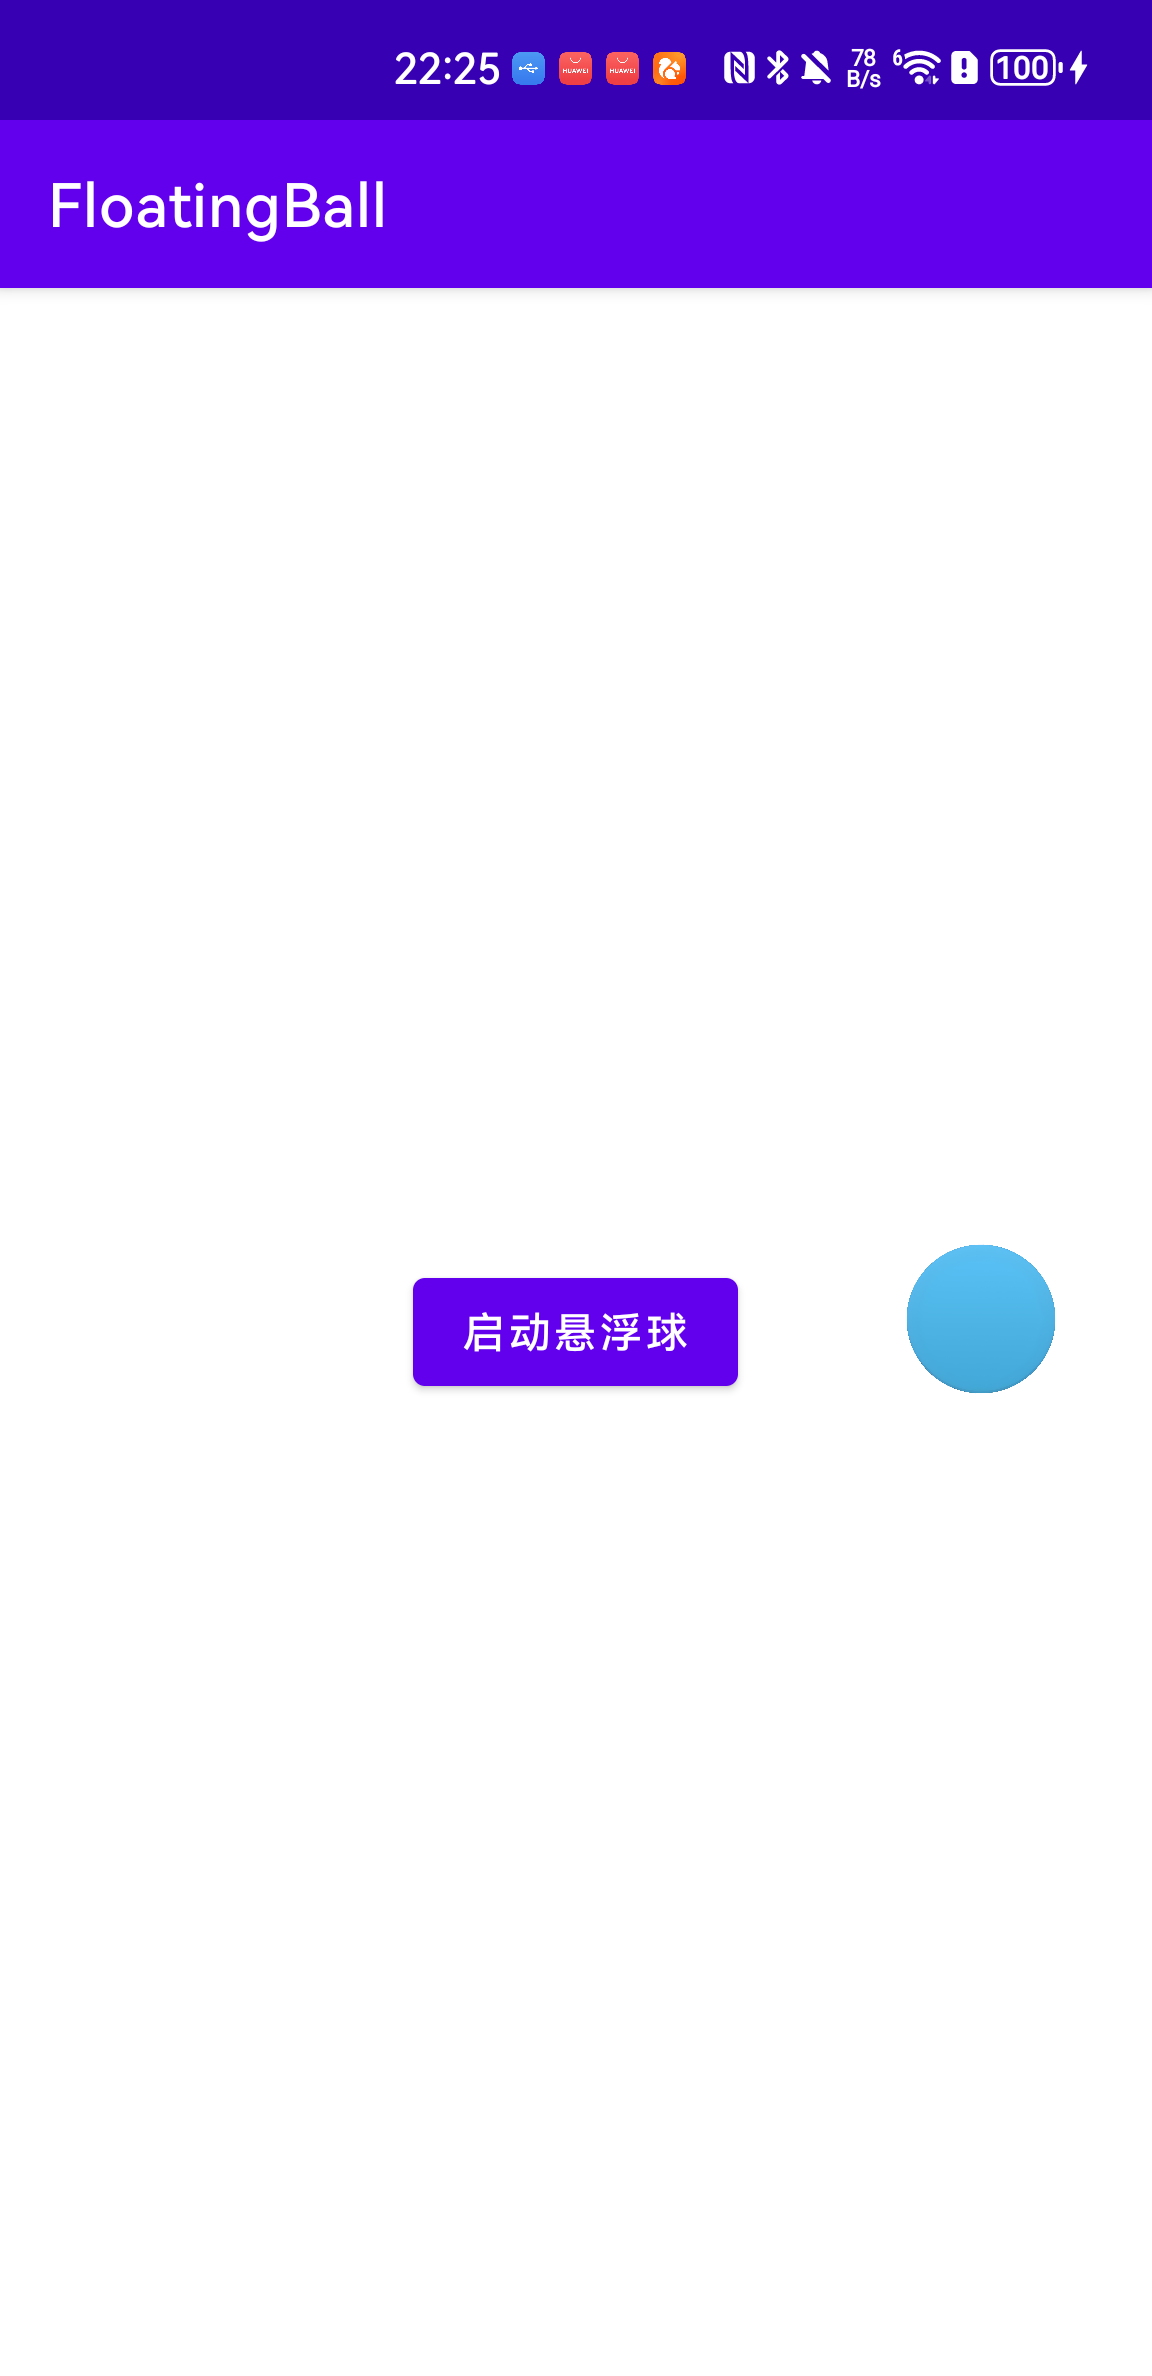
</LinearLayout>6. 测试运行
-
启动应用,点击 "启动悬浮球" 按钮。
-
如果未授予权限,应用会跳转到悬浮窗权限设置页面。
-
授予权限后,悬浮球会显示在屏幕上,可以拖动和点击。
通过以上步骤,你已经从零实现了一个基本的 Android 悬浮球功能!
点击按钮能出现下面