目录
大家不要被这个"管道漫游"这几个字所蒙骗了,学完后大家就知道这个知识点有多脏了。我也是误入歧途,好奇了一下"管道漫游"。好了,现在就给大家展示一下为啥这个只是点脏了。
我也废话少说了,带大家实现这个轨道漫游。
创建样条曲线
javascript
    // 3d样条曲线
    const path = new THREE.CatmullRomCurve3([
        new THREE.Vector3(-50, 20, 90),
        new THREE.Vector3(-10, 40, 40),
        new THREE.Vector3(0, 0, 0),
        new THREE.Vector3(60, -60, 0),
        new THREE.Vector3(90, -40, 60),
        new THREE.Vector3(120, 30, 30),
    ]);
穿件完样条曲线后,然后需要 TubeGeometry 来创建管道。
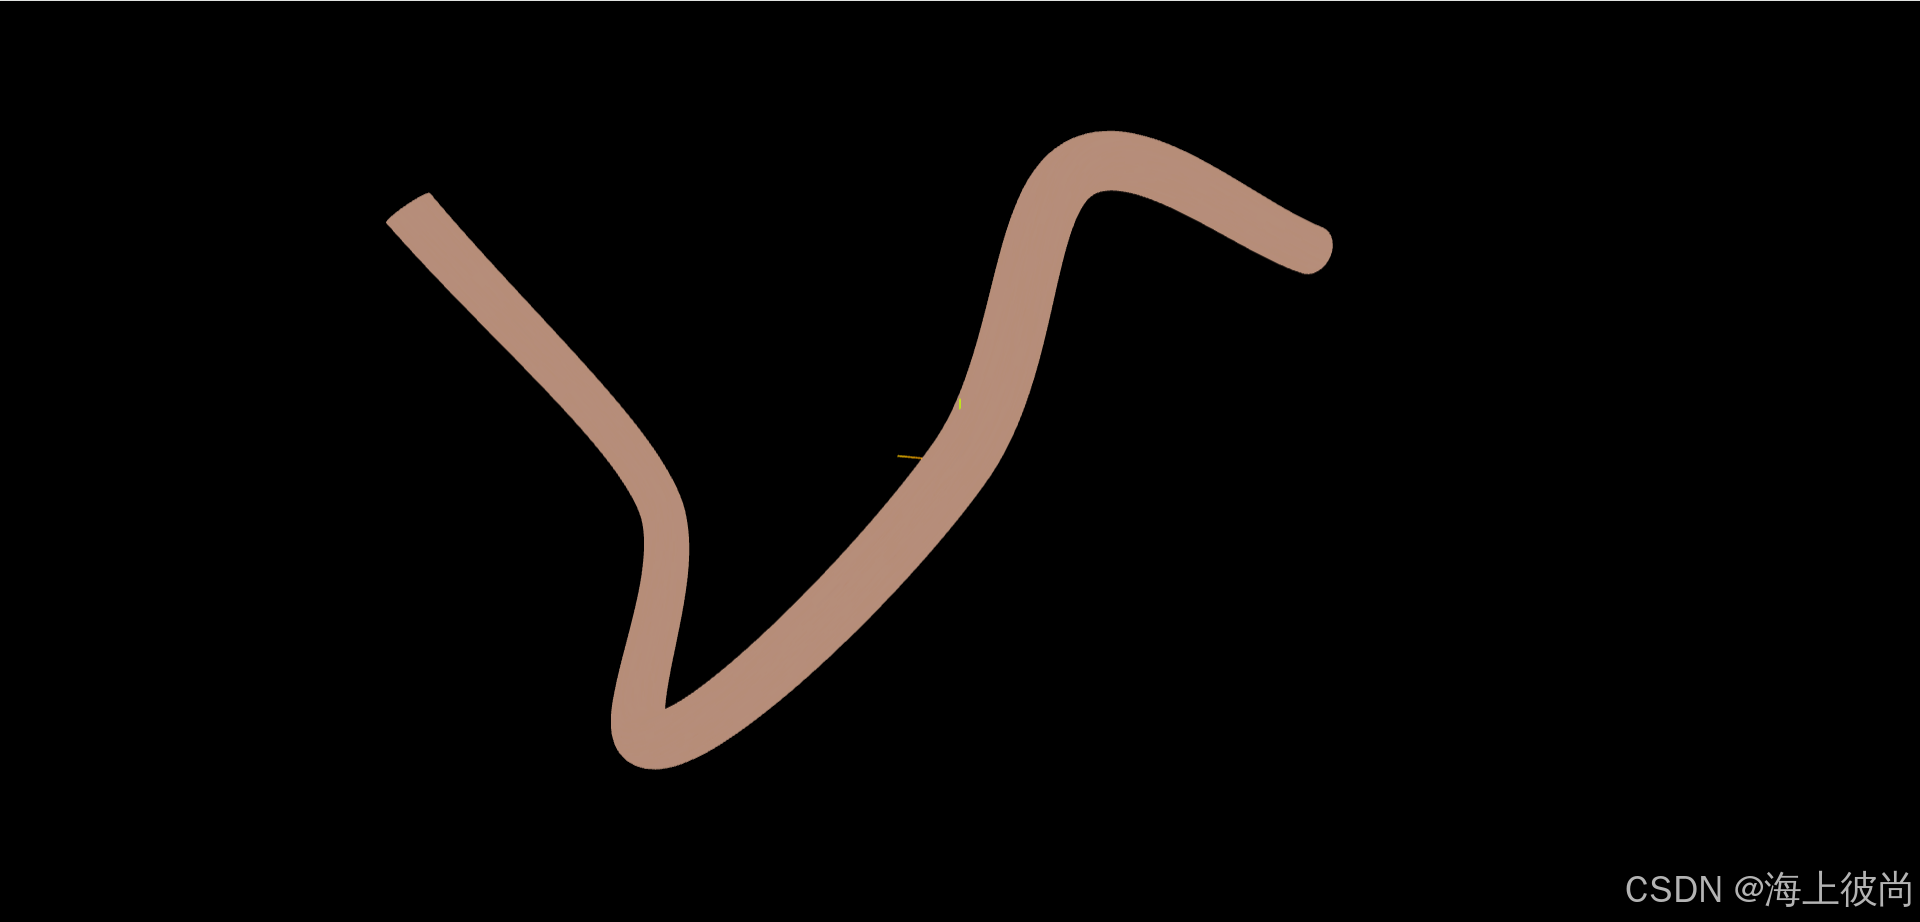
创建管道
javascript
    // 创建管道
    const geometry = new THREE.TubeGeometry(path, 200, 5, 30);
    const texLoader = new THREE.TextureLoader();
    const url = new URL('../../assets/images/gd.png', import.meta.url).href;
    const texture = texLoader.load(url);
    texture.wrapS = THREE.RepeatWrapping;
    texture.wrapT = THREE.RepeatWrapping;
    const material = new THREE.MeshBasicMaterial({ map: texture, side: THREE.DoubleSide });
    const mesh = new THREE.Mesh(geometry, material);
    scene.add(mesh);
透视相机漫游
透视相机漫游,其实就是按照按照样条曲线的轨迹来设置,通过 样条曲线上的一个方法 getSpacedPoints 可以获取样条曲线上一定的点位数量,然后使用循环来设置相机的位置。
javascript
    // 从曲线上等间距获取一定数量点坐标
    const pointsArr = path.getSpacedPoints(500);
    let i = 0;

    /* ------------------------------动画函数--------------------------------- */
    const animation = () => {
        if (i < pointsArr.length - 1) {
            // 相机位置设置在当前点位置
            camera.position.copy(pointsArr[i]);
            // 曲线上当前点pointsArr[i]和下一个点pointsArr[i+1]近似模拟当前点曲线切线
            // 设置相机观察点为当前点的下一个点,相机视线和当前点曲线切线重合
            camera.lookAt(pointsArr[i + 1]);
            camera.updateProjectionMatrix();
            controls.target.copy(pointsArr[i + 1]);
            i += 1; //调节速度
        } else {
            i = 0
        }
        controls.update();// 如果不调用,就会很卡
        renderer.render(scene, camera);
        requestAnimationFrame(animation);
    }
    animation();
这里给大家带来的知识点就是利用线条来实现相机漫游的效果。
完整代码
javascript
import * as THREE from 'three';
import { OrbitControls } from 'three/addons/controls/OrbitControls.js'


export default (domId) => {
    /* ------------------------------初始化三件套--------------------------------- */
    const dom = document.getElementById(domId);
    const { innerHeight, innerWidth } = window

    const scene = new THREE.Scene();

    const camera = new THREE.PerspectiveCamera(45, innerWidth / innerHeight, 1, 2000);
    camera.position.set(50, 50, 50);
    camera.lookAt(scene.position);

    const renderer = new THREE.WebGLRenderer({
        antialias: true,// 抗锯齿
        alpha: false,// 透明度
        powerPreference: 'high-performance',// 性能
        // logarithmicDepthBuffer: true,// 深度缓冲
    })
    renderer.shadowMap.enabled = true;// 开启阴影
    renderer.shadowMap.type = THREE.PCFSoftShadowMap;// 阴影类型
    renderer.outputEncoding = THREE.sRGBEncoding;// 输出编码
    renderer.toneMapping = THREE.ACESFilmicToneMapping;// 色调映射
    renderer.toneMappingExposure = 1;// 色调映射曝光
    renderer.physicallyCorrectLights = true;// 物理正确灯光
    renderer.setPixelRatio(window.devicePixelRatio);// 设置像素比
    renderer.setSize(innerWidth, innerHeight);// 设置渲染器大小
    dom.appendChild(renderer.domElement);

    // 重置大小
    window.addEventListener('resize', () => {
        const { innerHeight, innerWidth } = window
        camera.aspect = innerWidth / innerHeight;
        camera.updateProjectionMatrix();
        renderer.setSize(innerWidth, innerHeight);
    })

    /* ------------------------------初始化工具--------------------------------- */
    const controls = new OrbitControls(camera, renderer.domElement) // 相机轨道控制器
    controls.enableDamping = true // 是否开启阻尼
    controls.dampingFactor = 0.05// 阻尼系数
    controls.panSpeed = -1// 平移速度

    const axesHelper = new THREE.AxesHelper(10);
    scene.add(axesHelper);

    /* ------------------------------正题--------------------------------- */

    // 3d样条曲线
    const path = new THREE.CatmullRomCurve3([
        new THREE.Vector3(-50, 20, 90),
        new THREE.Vector3(-10, 40, 40),
        new THREE.Vector3(0, 0, 0),
        new THREE.Vector3(60, -60, 0),
        new THREE.Vector3(90, -40, 60),
        new THREE.Vector3(120, 30, 30),
    ]);
    // 创建管道
    const geometry = new THREE.TubeGeometry(path, 200, 5, 30);
    const texLoader = new THREE.TextureLoader();
    const url = new URL('../../assets/images/gd.png', import.meta.url).href;
    const texture = texLoader.load(url);
    texture.wrapS = THREE.RepeatWrapping;
    texture.wrapT = THREE.RepeatWrapping;
    const material = new THREE.MeshBasicMaterial({ map: texture, side: THREE.DoubleSide });
    const mesh = new THREE.Mesh(geometry, material);
    scene.add(mesh);

    // 从曲线上等间距获取一定数量点坐标
    const pointsArr = path.getSpacedPoints(500);
    let i = 0;

    /* ------------------------------动画函数--------------------------------- */
    const animation = () => {
        if (i < pointsArr.length - 1) {
            // 相机位置设置在当前点位置
            camera.position.copy(pointsArr[i]);
            // 曲线上当前点pointsArr[i]和下一个点pointsArr[i+1]近似模拟当前点曲线切线
            // 设置相机观察点为当前点的下一个点,相机视线和当前点曲线切线重合
            camera.lookAt(pointsArr[i + 1]);
            camera.updateProjectionMatrix();
            controls.target.copy(pointsArr[i + 1]);
            i += 1; //调节速度
        } else {
            i = 0
        }
        controls.update();// 如果不调用,就会很卡
        renderer.render(scene, camera);
        requestAnimationFrame(animation);
    }
    animation();
}
最后,透露一下为啥脏。
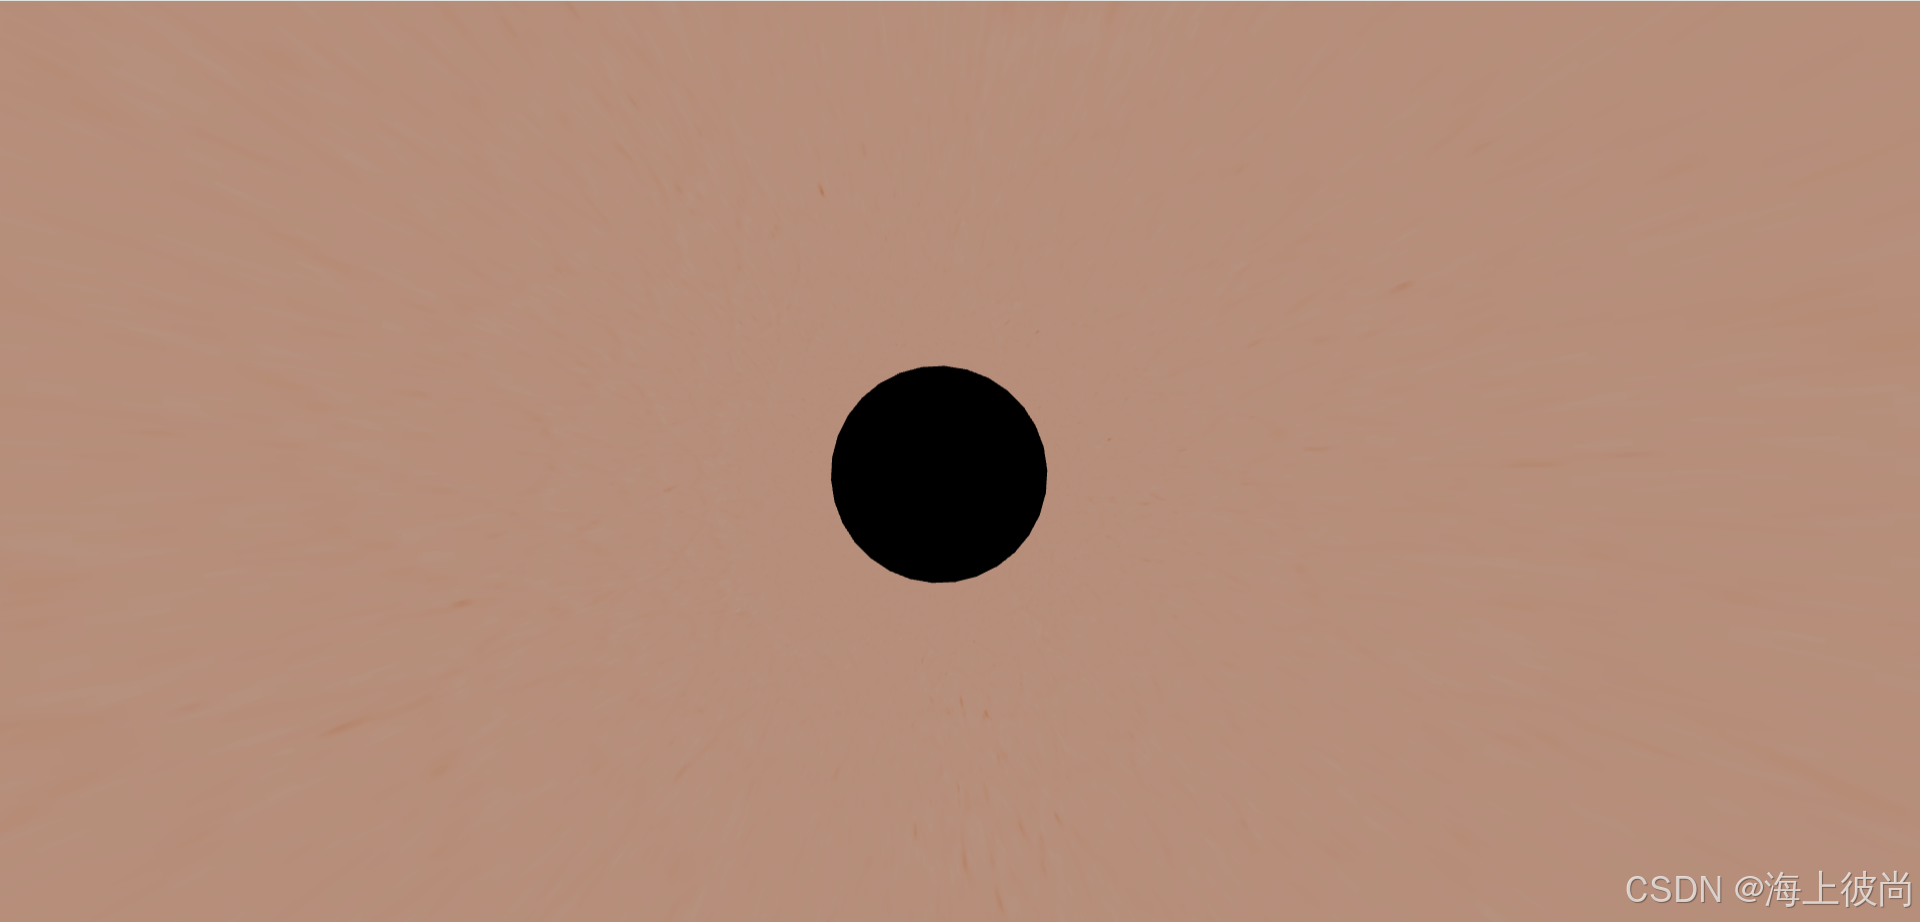
这颜色,这个洞,这个词,总觉得怪怪的。