1、概 述
ArkUI为组件提供了裁剪和遮罩功能,我们可以实现更多样话的UI效果。下面针对裁剪和遮罩功能做介绍。
2、裁 剪
裁剪分为两种:1、父容器对子组件进行裁剪;2、直接对组件进行裁剪。
2.1、 父容器对子容器进行裁剪
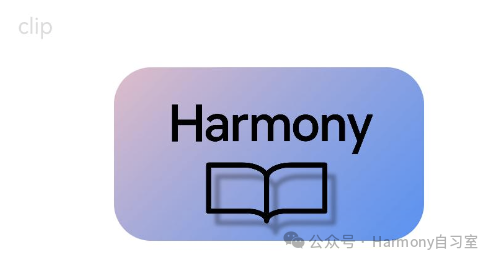
如果我们希望子组件不超出父容器,超出部分做裁剪处理,可以使用此能力,接口定义如下:
// 是否对当前组件的子组件进行裁剪。默认值falseclip(value: boolean)一个裁剪效果如下:

代码如下(11 ~ 12行):
// xxx.ets@Entry@Componentstruct Index { build() { Column({ space: 15 }) { Text('clip').fontSize(12).width('75%').fontColor('#DCDCDC') Row() { Image($r('app.media.harmony_class_room')).width('500px').height('280px') } .clip(true) // 如这里不设置clip为true,则Row组件的圆角不会限制其中的Image组件,Image组件的四个角会超出Row .borderRadius(20) } .width('100%') .margin({ top: 15 }) }}2.2、 直接对组件进行裁剪
如果我们有组件想直接对其进行裁剪效果处理,可以考虑使用此能力,接口定义如下:
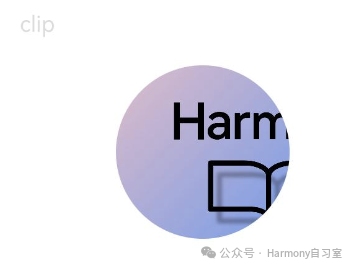
// 按指定的形状对当前组件进行裁剪。clipShape(value: CircleShape | EllipseShape | PathShape | RectShape)当前形状支持四种,分别定义如下:
struct ShapeSize { width: number | string, // 形状的宽度。 height: number | string, // 形状的高度。}struct CircleShape { options: ShapeSize;}struct EllipseShape { options: ShapeSize;}struct PathShape { options: PathShapeOptions; // 结构定义如下}struct PathShapeOptions { commands: string // 绘制路径的指令。}struct RectShape { // 矩形形状参数。 options: RectShapeOptions | RoundRectShapeOptions}struct RectShapeOptions extends ShapeSize { // 矩形形状的圆角半径。 radius: number | string | Array<number | string>}struct RoundRectShapeOptions extends ShapeSize { radiusWidth: number | string, // 矩形形状圆角半径的宽度。 radiusHeight: number | string, // 矩形形状圆角半径的高度。}一个裁剪效果如下:

代码如下(10行):
// xxx.ets@Entry@Componentstruct Index { build() { Column({ space: 15 }) { Text('clip').fontSize(12).width('75%').fontColor('#DCDCDC') // 用一个280px直径的圆对图片进行裁剪 Image($r('app.media.harmony_class_room')) .clipShape(new Circle({ width: '280px', height: '280px' })) .width('500px').height('280px') } .width('100%') .margin({ top: 15 }) }}3、遮罩
遮罩主要涉及以下几个API:
3.1、 为组件添加可调节进度的遮罩
接口定义如下:
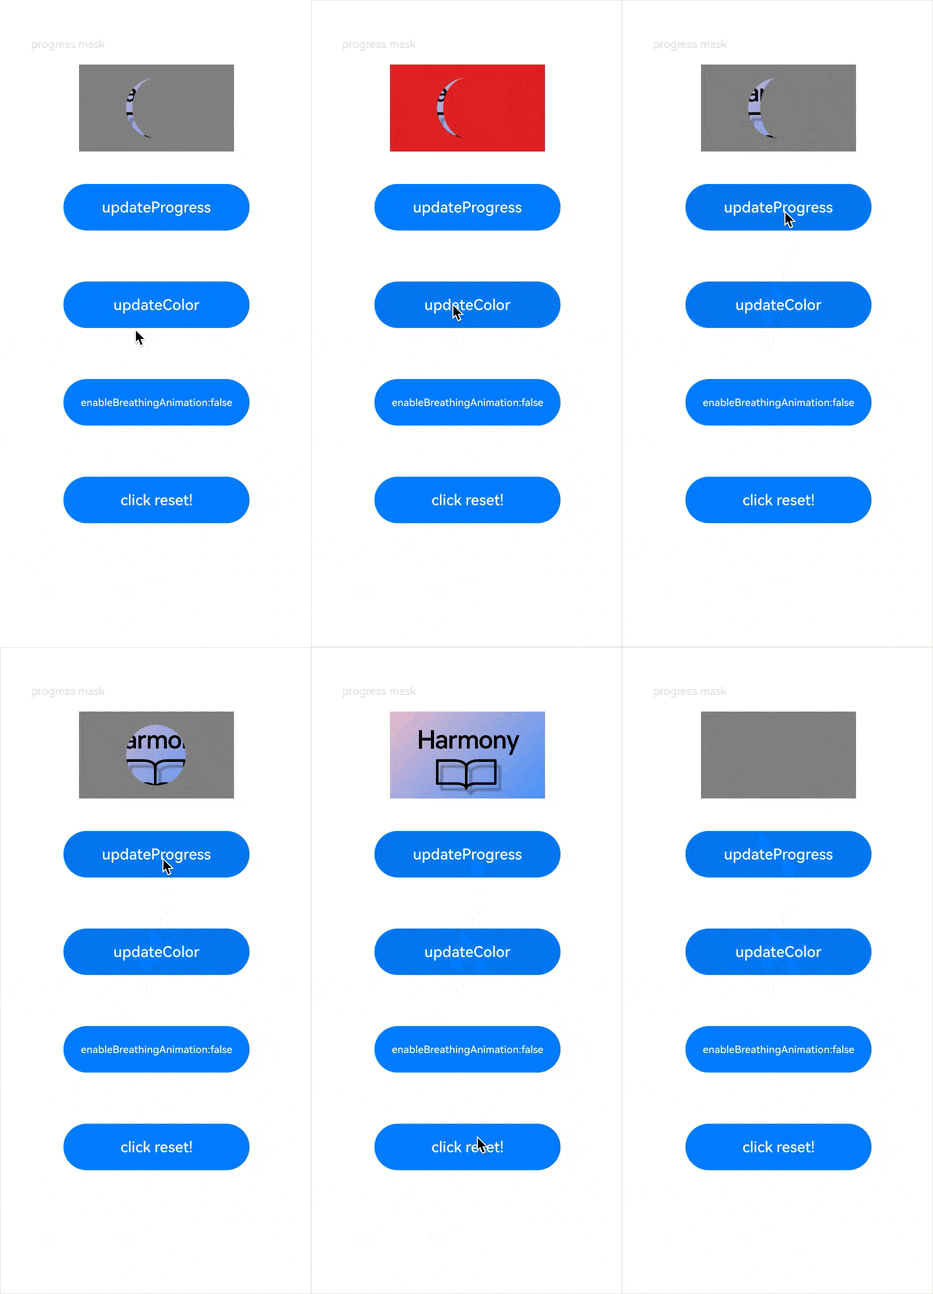
// 为组件上添加可调节进度的遮罩。ProgressMask用于设置遮罩的进度、最大值和遮罩颜色。mask(value: ProgressMask)// ProgressMask定义如下:class ProgressMask { value: number, // 进度遮罩的当前值。 total: number, // 进度遮罩的最大值。 color: ResourceColor, // 进度遮罩的颜色。 constructor(value: number, total: number, color: ResourceColor); // 一些更新方法 updateProgress(value: number): void; updateColor(value: ResourceColor): void; // 进度满时的呼吸光晕动画开关。默认关闭呼吸光晕动画。 enableBreathingAnimation(value: boolean): void;}一个示例效果如下(请注意达到100%时的展开动画,以及重置回去时的效果):

代码如下:
import { RectShape } from '@kit.ArkUI';@Entry@Componentstruct ProgressMaskExample { @State progressflag1: boolean = true; @State color: Color = 0x01006CDE; @State value: number = 10.0; @State enableBreathingAnimation: boolean = false; @State progress: ProgressMask = new ProgressMask(10.0, 100.0, Color.Gray); build() { Column({ space: 15 }) { Text('progress mask').fontSize(12).width('75%').fontColor('#DCDCDC') // 给图片添加了一个280px*280px的进度遮罩 Image($r('app.media.harmony_class_room')) .width('500px') .height('280px') .mask(this.progress) .animation({ duration: 1000, // 动画时长 curve: Curve.Linear, // 动画曲线 delay: 0, // 动画延迟 iterations: 1, // 播放次数 playMode: PlayMode.Normal // 动画模式 }) // 对Button组件的宽高属性进行动画配置 // 更新进度遮罩的进度值 Button('updateProgress') .onClick(() => { this.value += 10; this.progress.updateProgress(this.value); }).width(200).height(50).margin(20) // 更新进度遮罩的颜色 Button('updateColor') .onClick(() => { if (this.progressflag1) { this.progress.updateColor(Color.Red); } else { this.progress.updateColor(Color.Gray); } this.progressflag1 = !this.progressflag1 }).width(200).height(50).margin(20) // 开关呼吸光晕动画 Button('enableBreathingAnimation:' + this.enableBreathingAnimation) .onClick(() => { this.enableBreathingAnimation = !this.enableBreathingAnimation this.progress.enableBreathingAnimation(this.enableBreathingAnimation); }).width(200).height(50).margin(20) // 恢复进度遮罩 Button('click reset!') .onClick((event?: ClickEvent) => { this.value = 0; this.progress.updateProgress(this.value); }).width(200).height(50).margin(20) } .width('100%') .margin({ top: 15 }) }}3.2、 为组件添加指定形状的遮罩
接口定义如下:
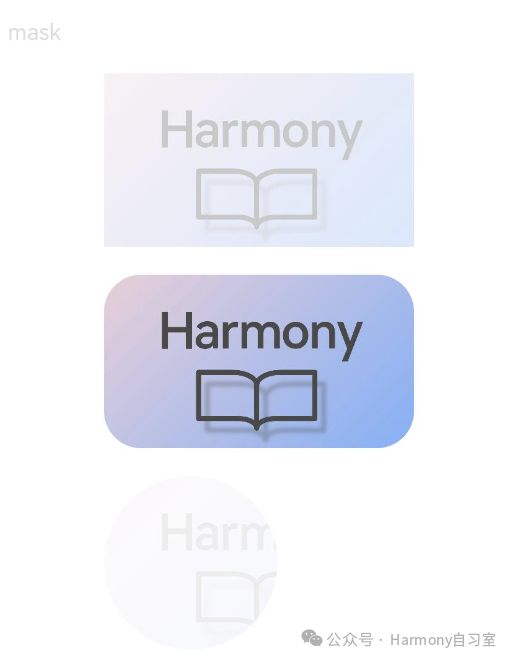
// 为组件上添加指定形状的遮罩。// 其中CircleShape | EllipseShape | PathShape | RectShape在前文中有介绍maskShape(value: CircleShape | EllipseShape | PathShape | RectShape)一个示例效果如下:

代码如下:
@Entry@Componentstruct ClipAndMaskExample { build() { Column({ space: 15 }) { Text('mask').fontSize(12).width('75%').fontColor('#DCDCDC') // 给图片添加了一个500px*280px的方形遮罩 Image($r('app.media.harmony_class_room')) .maskShape(new Rect({ width: '500px', height: '280px' }).fill('#ff0000')) .width('500px').height('280px') // 给图片添加了一个500px*280px的方形遮罩 Image($r('app.media.harmony_class_room')) .maskShape(new Rect({ width: '500px', height: '280px', radius: '60px' }).fill('#00ff00')) .width('500px').height('280px') // 给图片添加了一个280px*280px的圆形遮罩 Image($r('app.media.harmony_class_room')) .maskShape(new Circle({ width: '280px', height: '280px' }).fill('#0000ff')) .width('500px').height('280px') } .width('100%') .margin({ top: 15 }) }}