一、处理弹窗
在处理网页中的弹出窗口时,Selenium 提供了便捷的方法来管理这些对话框。通常情况下,你可能会遇到警告或提示窗口,这时需要将焦点切换到弹出的对话框上并进行操作。
处理弹出窗口
切换焦点到弹出窗口 :
使用
switch_to.alert可以将焦点切换到页面上的警告(提示)窗口。确认弹出窗 :
使用
accept()方法来点击弹出窗口上的"确定"按钮。取消弹出窗 :
使用
dismiss()方法来点击弹出窗口上的"取消"按钮。


1.html界面
2.运行结果完成
3.html代码
html<!DOCTYPE html> <html lang="en"> <head> <meta charset="UTF-8"> <title>This is a page</title> </head> <body> <div id = "container"> <div style="font: size 30px;">Hello,Python Spider</div> </div> </body> <script> alert('这个是测试弹窗') </script> </html>4.程序设计
pythonfrom selenium.webdriver.common.by import By from selenium.webdriver import Edge import time # 创建一个浏览器 edge=Edge() # 发送请求 edge.get(r'test03.html') # 设置等待时间 time.sleep(3) # 接受弹窗 edge.switch_to.alert.accept() # 设置等待时间 time.sleep(3) # 关闭浏览器 edge.quit()

二、拖拽元素
webdriver.ActionChains(edge): 创建一个ActionChains对象,这里edge是指使用 Microsoft Edge 驱动的 WebDriver 实例。drag_and_drop(div1, div2): 指定拖动操作,div1是待拖动的元素,div2是放置目标元素。perform(): 执行上面定义的动作。


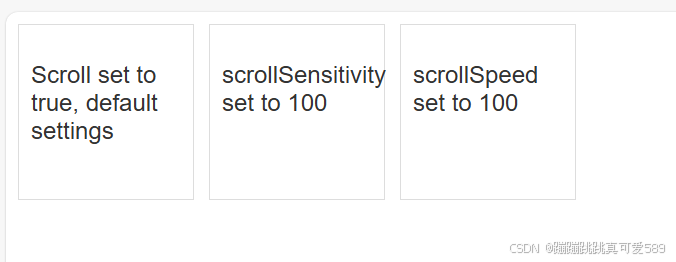
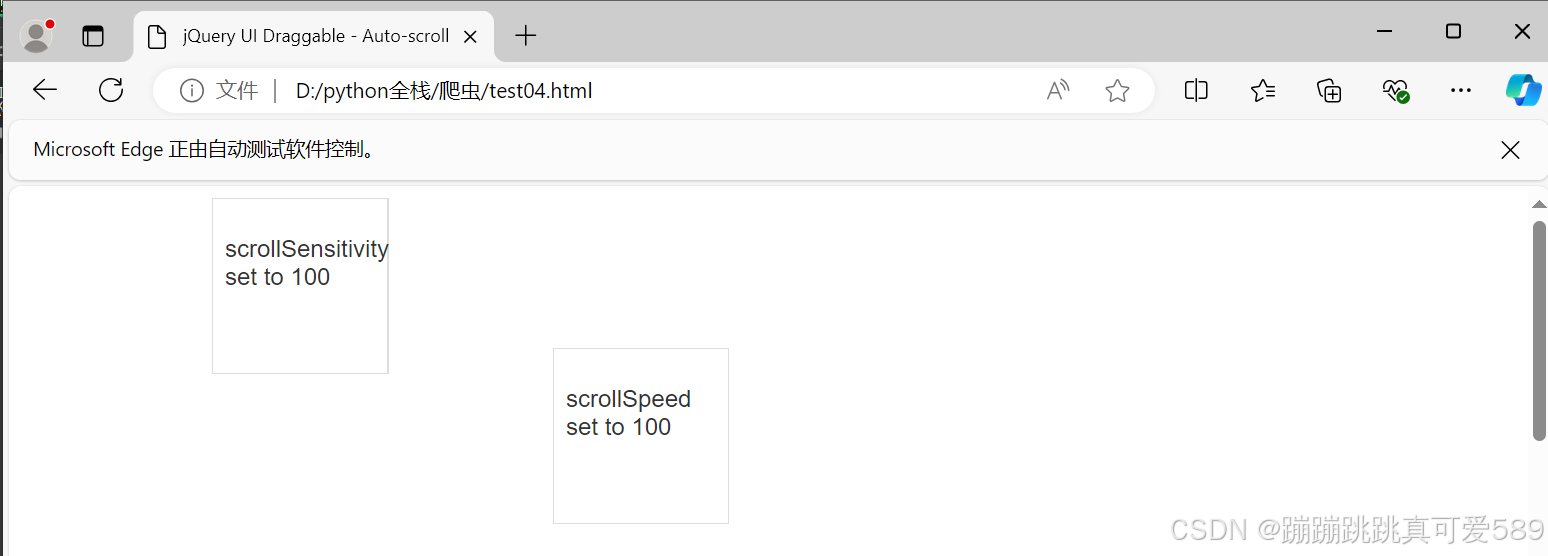
1.html文件
html<!doctype html> <html lang="en"> <head> <meta charset="utf-8"> <meta name="viewport" content="width=device-width, initial-scale=1"> <title>jQuery UI Draggable - Auto-scroll</title> <link rel="stylesheet" href="http://code.jquery.com/ui/1.12.1/themes/base/jquery-ui.css"> <style> #draggable, #draggable2, #draggable3 { width: 100px; height: 100px; padding: 0.5em; float: left; margin: 0 10px 10px 0; } body {font-family: Arial, Helvetica, sans-serif;} table {font-size: 1em;} .ui-draggable, .ui-droppable {background-position: top;} </style> <script src="https://code.jquery.com/jquery-1.12.4.js"></script> <script src="https://code.jquery.com/ui/1.12.1/jquery-ui.js"></script> <script> $( function() { $( "#draggable" ).draggable({ scroll: true }); $( "#draggable2" ).draggable({ scroll: true, scrollSensitivity: 100 }); $( "#draggable3" ).draggable({ scroll: true, scrollSpeed: 100 }); } ); </script> </head> <body> <div id="draggable" class="ui-widget-content"> <p>Scroll set to true, default settings</p> </div> <div id="draggable2" class="ui-widget-content"> <p>scrollSensitivity set to 100</p> </div> <div id="draggable3" class="ui-widget-content"> <p>scrollSpeed set to 100</p> </div> <div style="height: 5000px; width: 1px;"></div> </body> </html>2.程序设计
pythonfrom selenium.webdriver.common.by import By from selenium.webdriver import Edge from selenium import webdriver import time # 创建一个浏览器 edge=Edge() # 发送请求 edge.get(r'test04.html') # 设置等待时间 time.sleep(3) # 获取div元素 div1=edge.find_element(By.ID,'draggable') div2=edge.find_element(By.ID,'draggable2') div3=edge.find_element(By.ID,'draggable3') time.sleep(3) # 把div1移动到div2上面 webdriver.ActionChains(edge).drag_and_drop(div1,div2).perform() time.sleep(3) # 将div3每0.5秒移动10,10 for i in range(10): webdriver.ActionChains(edge).drag_and_drop_by_offset(div3,10,10).perform() time.sleep(0.5) # 设置等待时间 time.sleep(3) # 关闭浏览器 edge.quit()
三、调用js方法
在 Selenium 中,有时候需要控制网页的滚动条,而滚动条通常不是普通的元素。这时候,我们可以用 JavaScript 来操作滚动条。
execute_script ()是 Selenium WebDriver 中的一个非常强大的方法,允许你在浏览器的当前上下文中执行 JavaScript 代码。这个方法可以用于操作 DOM、获取元素属性、控制页面滚动等多种场景
pythondriver.execute_script(script, *args)参数说明
script: 这是要执行的 JavaScript 代码,作为字符串传递。你可以编写任意有效的 JavaScript 代码。
*args: 可选参数,可以传递一个或多个参数到脚本中。这些参数将被转换为 JavaScript 的对象,并可直接在脚本中使用(比如,你可以传递 WebElement 对象的引用)。返回值
execute_script()方法将返回 JavaScript 代码的执行结果。如果没有返回值,返回None。
js= 'document.documentElement.scrollTop=100000'
document.documentElement: 代表文档的根元素,通常是<html>标签。在这里,我们可以通过它来访问整个页面的属性和方法。
scrollTop: 是一个属性,用于获取或设置元素的垂直滚动位置。对于document.documentElement,它表示页面的滚动高度。
100000: 将页面的垂直滚动位置设置为 100,000 像素。这样做的效果是将页面滚动到底部(或者尽可能接近底部,具体取决于页面的实际高度)。
python
from selenium.webdriver.common.by import By
from selenium.webdriver import  Edge
from selenium import webdriver
import time
# 创建一个浏览器
edge=Edge()
# 访问页面
edge.get("https://search.jd.com/Search?keyword=%E6%89%8B%E6%9C%BA&enc=utf-8&suggest=1.def.0.SAK7|MIXTAG_SAK7R,SAK7_M_AM_L5385,SAK7_M_COL_R,SAK7_S_AM_R,SAK7_SC_PD_R,SAK7_SM_PB_R,SAK7_SS_PM_R,tsabtest_base64_U2VhcmNobGlzdF80MzkyfGJhc2U_tsabtest|&wq=shouji&pvid=24340a2def0e4e0cb510af07aa32c89d")
# 设置等待时间
time.sleep(3)
# 拉动滚动条到底部
js = 'document.documentElement.scrollTop=100000'
edge.execute_script(js)
# 设置等待时间
time.sleep(3)
# 关闭浏览器
edge.quit()
四、等待元素
4.1、强制等待
使用 time.sleep
作用:当代码运行到强制等待这一行的时候,无论出于什么原因,都强制等待指定的时间,需要通过time模块实现
优点:简单
缺点:无法做有效的判断,会浪费时间
4.2、隐式等待
chrome.implicitly_wait(time_num)
到了一定的时间发现元素还没有加载,则继续等待我们指定的时间,如果超过了我们指定的时间还没有加载就会抛出异常,如果没有需要等待的时候就已经加载完毕就会立即执行
优点: 设置一次即可
缺点:必须等待加载完成才能到后续的操作,或者等待超时才能进入后续的操作
注意:只能等待元素出现在 DOM 中
4.3、显示等待
from selenium.webdriver.support.wait import WebDriverWait
指定一个等待条件,并且指定一个最长等待时间,会在这个时间内进行判断是否满足等待条件,如果成立就会立即返回,如果不成立,就会一直等待,直到等待你指定的最长等待时间,如果还是不满足,就会抛出异常,如果满足了就会正常返回
优点:专门用于对指定一个元素等待,加载完即可运行后续代码
缺点:多个元素都需要要单独设置等待
常见的等待条件
EC.presence_of_element_located() 元素存在
EC.visibility_of_element_located() 元素可见
EC.element_to_be_clickable() 元素可点击
EC.presence_of_all_elements_located() 所有元素存在
五、参数使用
5.1、无头浏览器
无头浏览器运行时不显示用户界面,适用于需要在服务器或自动化环境中运行测试而不需要可视化反馈的场景。
options = Options()options.add_argument('--headless')
python
from selenium.webdriver import  Edge
from selenium.webdriver.chrome.options import Options
print("=== 使用无头模式测试 ===")
# 创建参数对象
options = Options()
options.add_argument('--headless')
# 创建一个浏览器
edge=Edge(options=options)
# 发送请求
edge.get('https://www.baidu.com/')
# 获取HTML
page = edge.page_source
# 打印
print(page)
# 关闭浏览器
edge.quit()
5.2、代理模式
使用代理可以帮助隐藏真实 IP 地址或用于绕过地区限制。你可以设置代理服务器以便 Selenium 通过代理访问网页。
options = Options()options.add_argument('--proxy-server=http://127.0.0.1:7890')
python
from selenium.webdriver import  Edge
from selenium.webdriver.chrome.options import Options
# 设置代理
options = Options()
options.add_argument('--proxy-server=http://127.0.0.1:7890')  # 设置代理地址和端口
# 创建一个浏览器
edge=Edge(options=options)
# 发送请求
edge.get('https://www.baidu.com/')
# 获取HTML
page = edge.page_source
# 打印
print(page)
# 关闭浏览器
edge.quit()
5.3、防检测设置
有些网站使用技术手段来检测是否是自动化工具(如 Selenium)在操作。通过添加一些参数,可以减少被检测的可能性。
options = Options()options.add_argument('--disable-blink-features=AutomationControlled')
python
from selenium.webdriver import  Edge
from selenium.webdriver.chrome.options import Options
# 防检测设置
options = Options()
options.add_argument('--disable-blink-features=AutomationControlled')  # 禁用自动化检测特征
# 创建一个浏览器
edge=Edge(options=options)
# 发送请求
edge.get('https://www.baidu.com/')
# 获取HTML
page = edge.page_source
# 打印
print(page)
# 关闭浏览器
edge.quit()