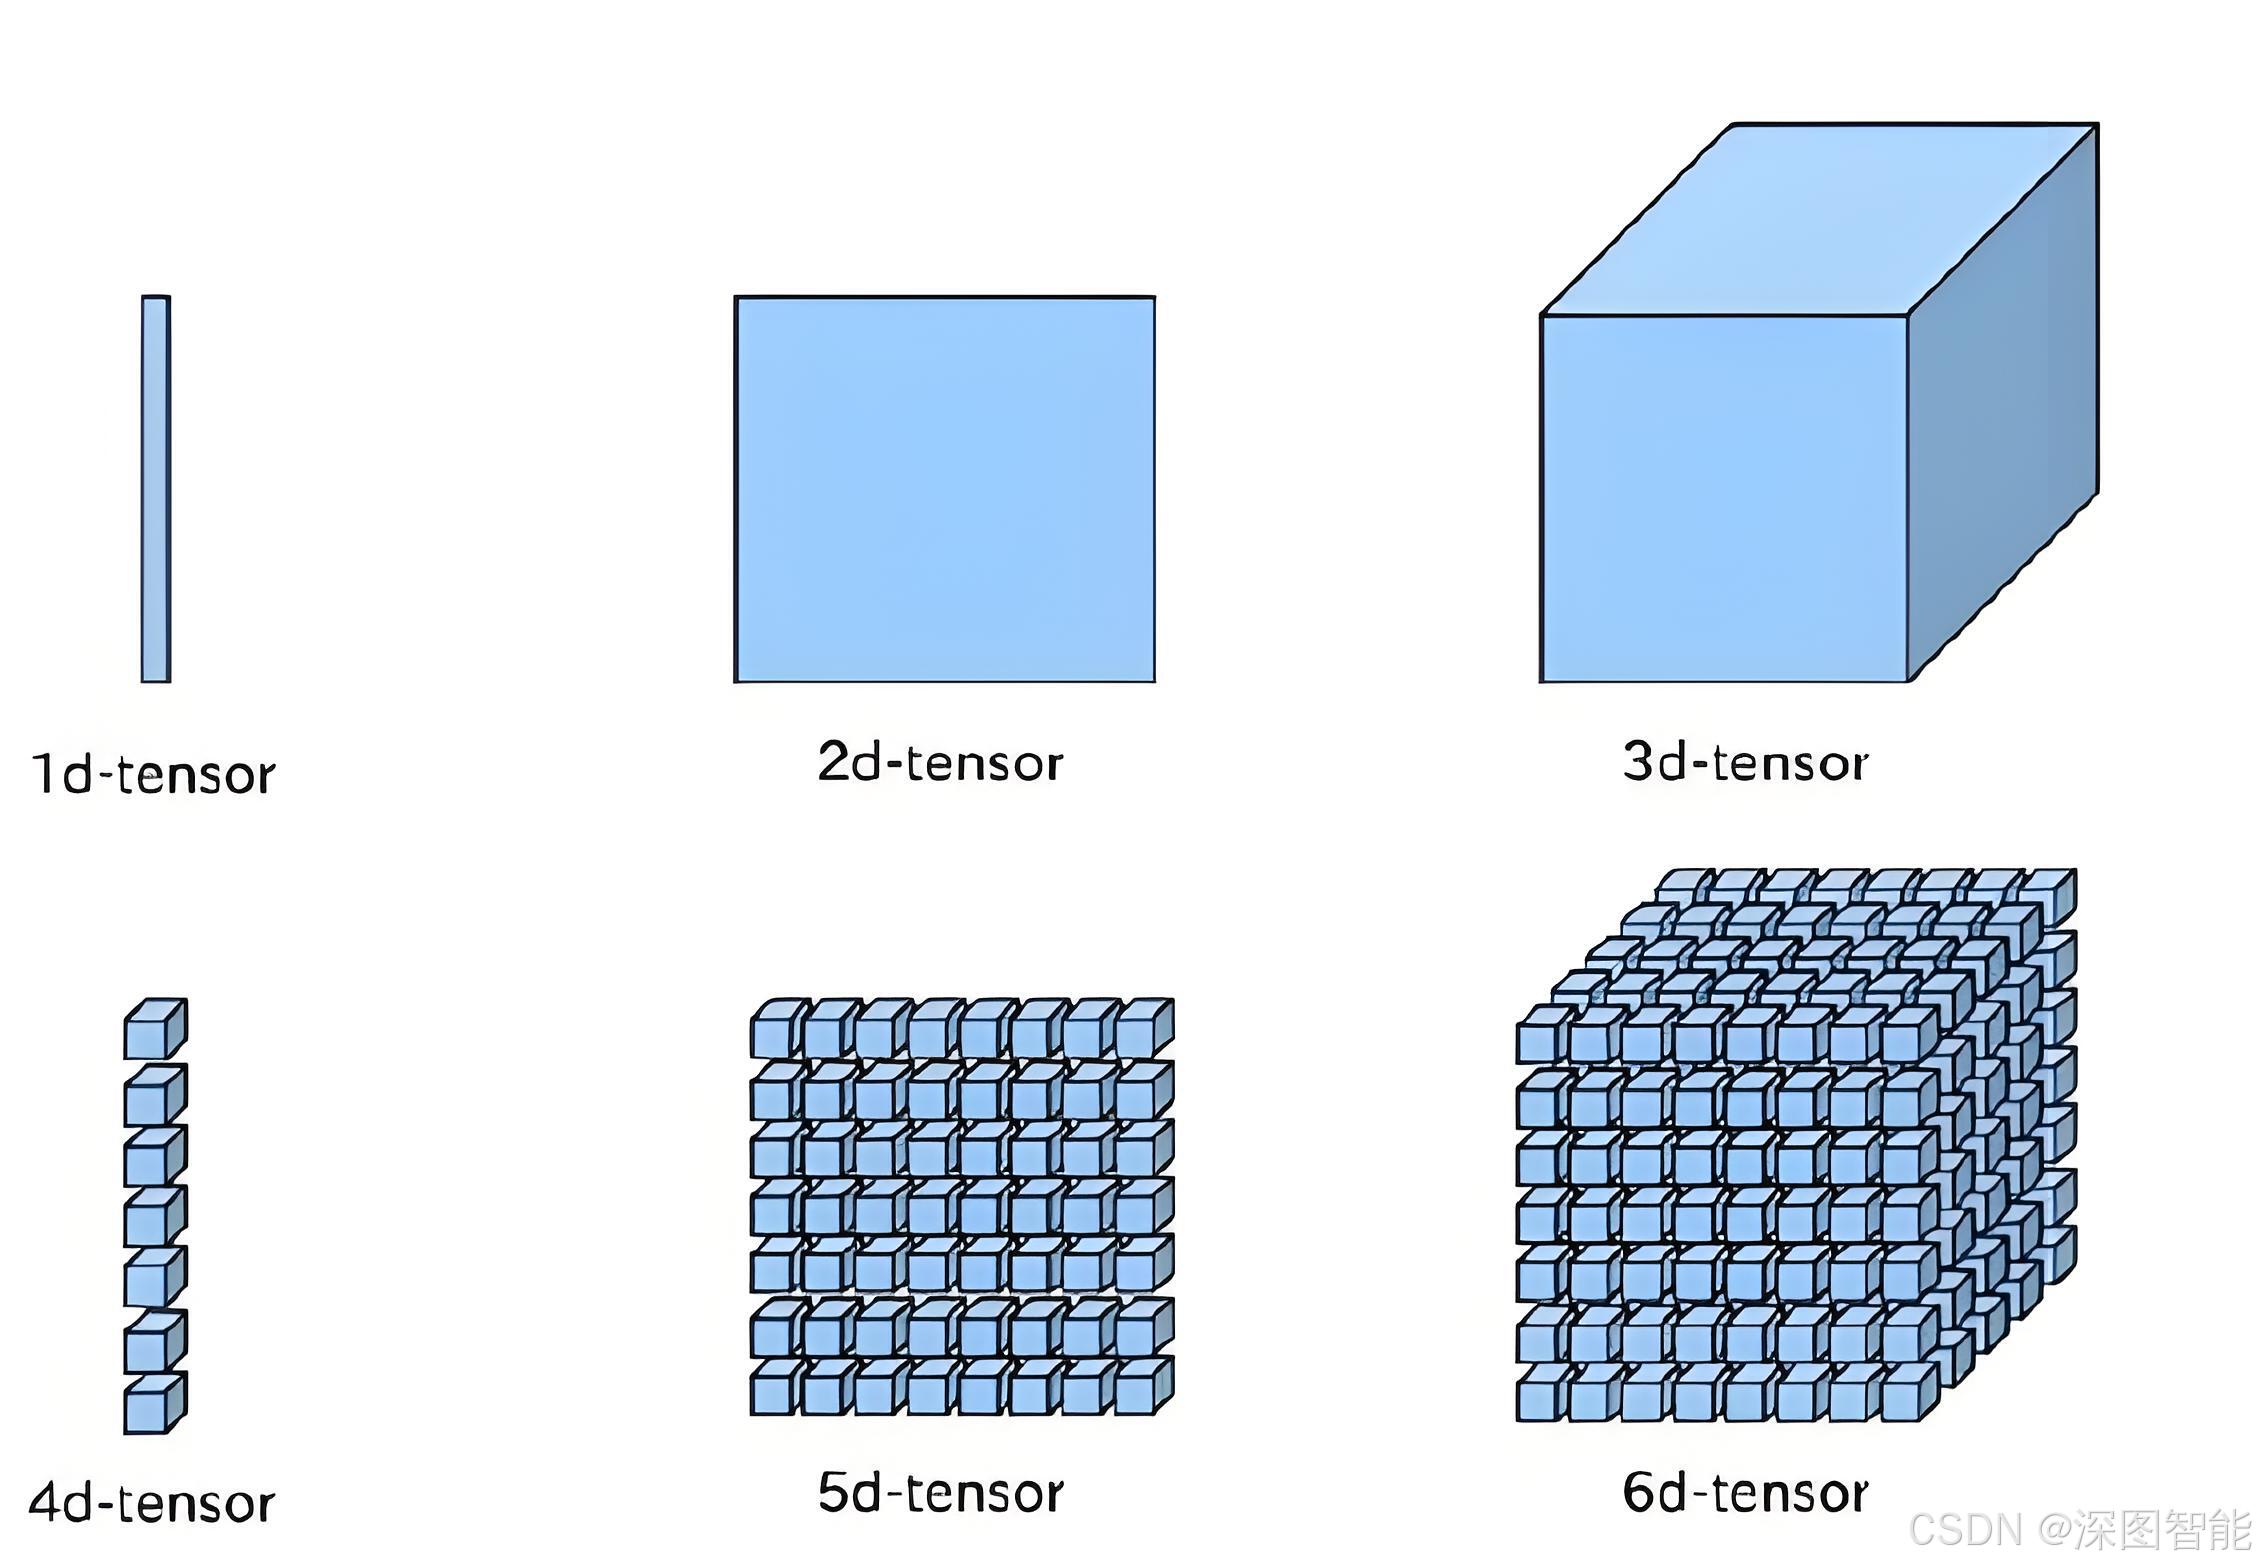
1、张量Tensor
张量(Tensor)是PyTorch深度学习框架中的核心数据结构,在PyTorch软件框架中,几乎所有的数据计算和信息流都是以Tensor的形式在表达。官方给出的定义是:
一个 torch.Tensor是一个包含单个数据类型元素的多维矩阵
关键词
- 单个数据类型:在一个张量数据结构内,只会包含一种数据类型。
- 多维矩阵:简单来说张量就是为了高维矩阵而创建的,常用的NCHW格式矩阵,就是4维矩阵。
学习Tensor这个包的时候,主要是关注张量的数据类型、张量的一些基本操作。
2、数据类型
为了支持各种精度的训练、推理,Tensor支持的数据类型繁多。这里,仅列出在做计算机视觉相关的常用数据类型。
| 数据类型 | dtype |
|---|---|
| 32 位浮点数 | torch.float32 或 torch.float |
| 64 位浮点数 | torch.float64 或 torch.double |
| 16 位浮点数1 | torch.float16 或 torch.half |
| 16 位浮点数 2 | torch.bfloat16 |
| 8 位整数(无符号) | torch.uint8 |
| 32 位整数(无符号) | torch.uint32 |
| 8 位整数(带符号) | torch.int8 |
| 32 位整数(带符号) | torch.int32 或 torch.int |
| 布尔值 | torch.bool |
| 量化 8 位整数(无符号) | torch.quint8 |
| 量化 8 位整数(带符号) | ttorch.qint8 |
| 量化 32 位整数(带符号) | torch.qint32 |
| 量化 4 位整数(无符号) | torch.quint4x2 |
要构造张量,建议使用工厂函数,例如 torch.empty(),其中使用 dtype 参数。 torch.Tensor 构造函数是默认张量类型 (torch.FloatTensor) 的别名。也就是说,在构造张量时,不传入数据类型参数,默认就是32位浮点数。
3、初始化(构造张量)
可以使用 torch.tensor() 构造函数从 Python list 或序列构造张量。
python
>>> torch.tensor([[1., -1.], [1., -1.]])
tensor([[ 1.0000, -1.0000],
        [ 1.0000, -1.0000]])
>>> torch.tensor(np.array([[1, 2, 3], [4, 5, 6]]))
tensor([[ 1,  2,  3],
        [ 4,  5,  6]])
有几个注意点:
- torch.tensor() 始终复制 data。也就是说使用list或者序列构造张量时,均为以深拷贝的方式创建。
- 可以通过将 torch.dtype 和/或 torch.device 传递给构造函数或张量创建操作来构造特定数据类型的张量。例如:
python
>>> torch.zeros([2, 4], dtype=torch.int32)
tensor([[ 0,  0,  0,  0],
        [ 0,  0,  0,  0]], dtype=torch.int32)
>>> cuda0 = torch.device('cuda:0')
>>> torch.ones([2, 4], dtype=torch.float64, device=cuda0)
tensor([[ 1.0000,  1.0000,  1.0000,  1.0000],
[ 1.0000, 1.0000, 1.0000, 1.0000]], dtype=torch.float64, device='cuda:0')更多的张量构造方式可以参考我的上一篇博文《PyTorch使用教程(2)-torch包》。
4、常用操作
张量支持索引、切片、连接、修改等操作,也支持大量的数学计算操作。常见的操作可以参考我的上一篇博文《PyTorch使用教程(2)-torch包》。这里,仅讲述张量操作需注意的几个点。
- 仅对一个单个值的张量的使用进行说明:
使用 torch.Tensor.item() 从包含单个值的张量中获取 Python 数字。
python
>>> x = torch.tensor([[1]])
>>> x
tensor([[ 1]])
>>> x.item()
1
>>> x = torch.tensor(2.5)
>>> x
tensor(2.5000)
>>> x.item()
2.5- 操作张量的方法如果用下划线后缀标记,则表示该操作时inplace操作:操作后的张量和输入张量共享一个Storage。使用inplace操作,可以减小GPU缓存的使用。如torch.FloatTensor.abs_() 在原地计算绝对值并返回修改后的张量,而 torch.FloatTensor.abs() 在新张量中计算结果。
python
>>> x = torch.tensor([[1., -1.], [1., -1.]])
>>> x2=x.abs_()
>>> x.storage
<bound method Tensor.storage of tensor([[1., 1.],
        [1., 1.]])>
>>> x2.storage
<bound method Tensor.storage of tensor([[1., 1.],
        [1., 1.]])>
5、常用属性
5.1 存储(storage)
每个张量都与一个关联的 torch.Storage,它保存其数据,可以理解为数据缓地址。
python
>>> t = torch.rand((2,2))
>>> t.storage
<bound method Tensor.storage of tensor([[0.3267, 0.8759],
        [0.9612, 0.1931]])>
5.2 形状(shape)
可以使用shape属性或者size()方法查看张量在每一维的长度。
python
>>> x = torch.randn((3,3))
>>> x.shape
torch.Size([3, 3])
>>> x.size()
torch.Size([3, 3])
可以通过torch的reshape方法或者张量本身的View()方法进行形状的改变。
python
>>> t = torch.rand((3, 3))
>>> t
tensor([[0.8397, 0.6708, 0.8727],
        [0.8286, 0.3910, 0.9540],
        [0.8672, 0.4297, 0.1825]])
>>> m=t.view(1,9)
>>> m
tensor([[0.8397, 0.6708, 0.8727, 0.8286, 0.3910, 0.9540, 0.8672, 0.4297, 0.1825]])
5.3 数据类型(dtype)
张量的数据类型(如torch.float32, torch.int64等)。
python
>>> t = torch.rand((3, 3))
>>> t.dtype
torch.float32
5.4 设备(device)
张量所在的设备(如CPU或GPU)。
python
>>> m = torch.rand((3, 3))
>>> m.device
device(type='cpu')
如需要在CPU和GPU之间进行张量的移动,可以使用张量的to()方法。
- 将张量移动到GPU(如果可用)。
python
>>> m=torch.rand((2,2))
>>> m.device
device(type='cpu')
>>> m.to('cuda')
tensor([[0.5340, 0.0079],
[0.2983, 0.5315]], device='cuda:0')- 将张量移动至CPU
python
>>> m.to('cpu')
tensor([[0.5340, 0.0079],
        [0.2983, 0.5315]])
6、小结下
用一个表格,汇总下PyTorch中tensor(张量)的常用数据结构及其相关属性:
| 属性/方法 | 描述 | 示例代码 |
|---|---|---|
| 维度(Dimension) | 张量的维度,标量为0维,向量为1维,矩阵为2维,以此类推 | x = torch.tensor([[1, 2], [3, 4]]) (2维张量) |
| 形状(Shape) | 张量在各维度上的大小,返回一个元组 | print(x.shape) 输出: torch.Size([2, 2]) |
| 大小(Size) | 张量中元素的总数,或各维度大小的元组(通过size()方法) |
print(x.size()) 输出: torch.Size([2, 2]);print(x.numel()) 输出: 4 |
| 数据类型(Dtype) | 张量中元素的数据类型 | x = torch.tensor([[1, 2], [3, 4]], dtype=torch.float32);print(x.dtype) 输出: torch.float32 |
| 设备(Device) | 张量所在的设备(CPU或GPU) | x = x.to('cuda')(如果GPU可用);print(x.device) 输出: cuda:0(或类似的) |
| 是否要求梯度(Requires Grad) | 一个布尔值,指示是否需要对该张量进行梯度计算 | x.requires_grad_(True);print(x.requires_grad) 输出: True |
| 梯度(Grad) | 如果requires_grad=True,则存储该张量的梯度 |
y = x.sum();y.backward();print(x.grad) 输出张量的梯度 |
| 数据(Data) | 张量中存储的实际数据 | x = torch.tensor([[1, 2], [3, 4]]);print(x) 输出张量的数据 |
| 索引与切片 | 使用整数、切片或布尔索引来访问或修改张量的元素 | x[0, 1] 访问第1行第2列的元素;x[:, 0] 访问第1列的所有元素 |
| 视图操作 | .view()或.reshape()改变张量的形状,但不改变其数据 |
x_reshaped = x.view(4) 或 x_reshaped = x.reshape(4) 将2x2张量变为1x4张量 |
| 数学运算 | 支持加法、减法、乘法、除法、幂运算等 | y = x + 2;z = x.pow(2) |
| 统计函数 | 如求和(.sum())、均值(.mean())、最大值(.max())等 |
sum_val = x.sum();mean_val = x.mean() |
| 类型转换 | 转换为其他数据类型或设备上的张量 | x_float64 = x.to(dtype=torch.float64);x_cpu = x.to('cpu') |