学习目标:
学习一些OpenCV中对于图像的基本操作
学习内容:
第一步导入库和所需的图像。
python
import cv2
import numpy as np
img=cv2.imread("lena.png")
# cv2.imshow("img",img)
# cv2.waitKey(0)
访问和修改图片像素
访问图片像素(100,100) 处的值。
python
px=img[100,100]
print(px)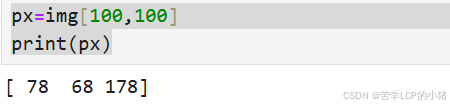
访问图片像素(100,100)处的蓝色通道值。
python
blue=img[100,100,0]
print(blue)
修改图片像素(100,100)处的值。
python
img[100,100]=[255,255,255]
print(img[100,100])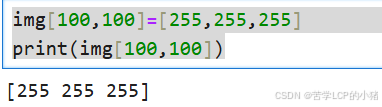
访问图像属性
访问图像形状。
python
print(img.shape)打印像素总数。
python
print(img.size)查看图像数据类型。
python
print(img.dtype)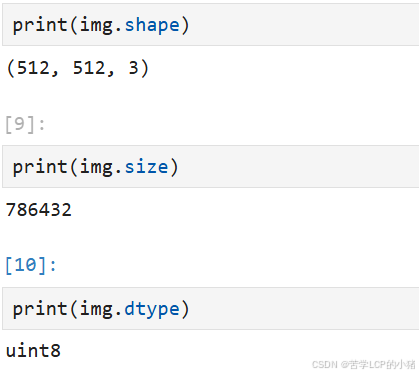
图像ROI
图像ROI即对于图像中感兴趣的区域。
python
roi=img[100:250,100:250]
cv2.imshow("roi",roi)
cv2.waitKey(0)
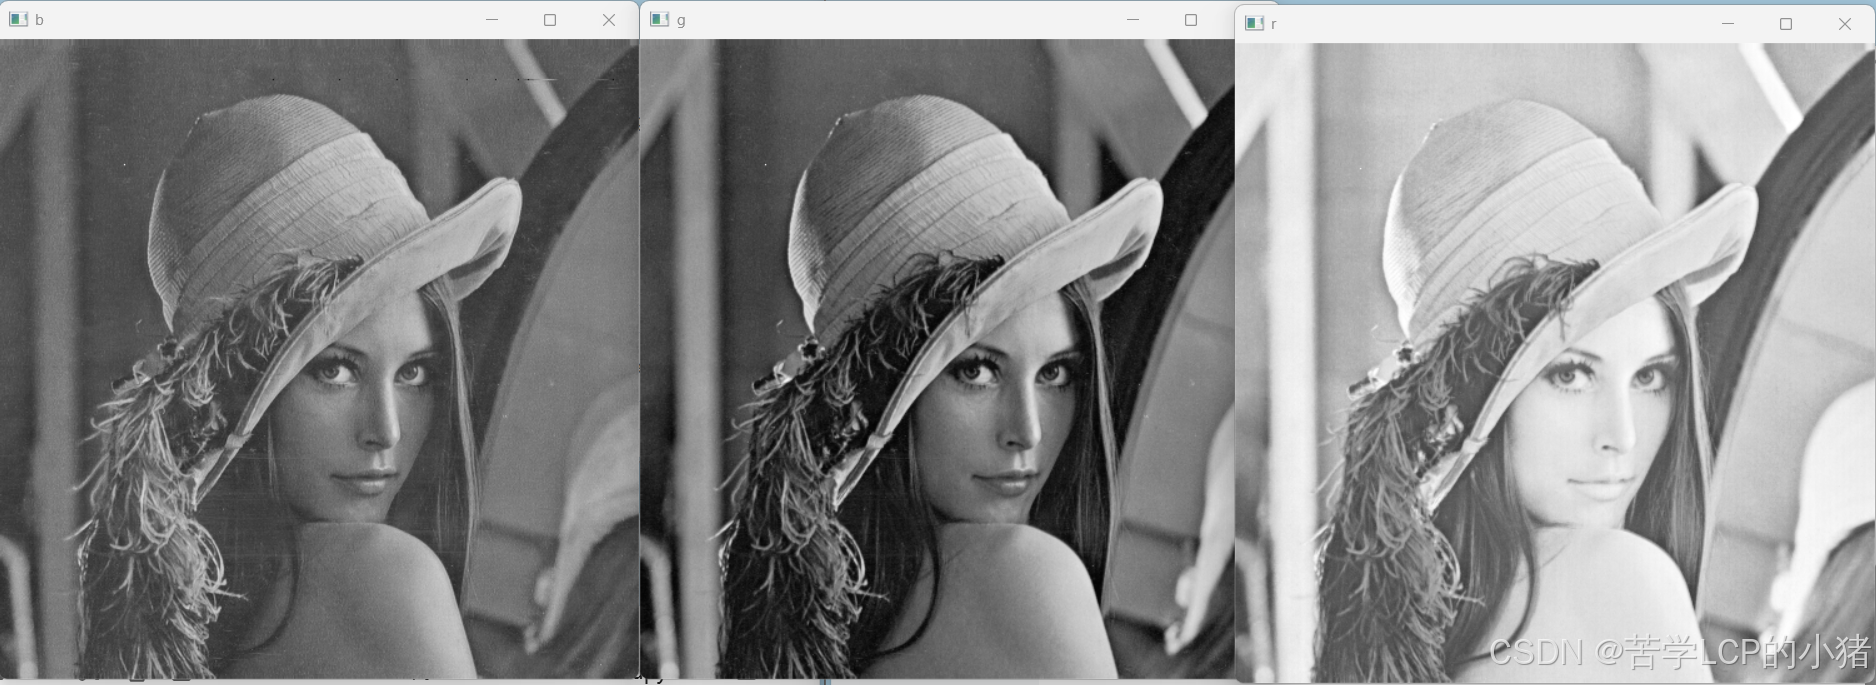
分割和合并图像通道
这里提供两种分割图像通道的方法。
python
b,g,r=cv2.split(img)
# b=img[:,:,0]
# g=img[:,:,1]
# r=img[:,:,2]

cv2.imshow("b",b)
cv2.imshow("g",g)
cv2.imshow("r",r)
cv2.waitKey(0)
代码执行情况。
合并三个通道。
python
img=cv2.merge((b,g,r))
cv2.imshow("img",img)
cv2.waitKey(0)
修改整个通道值。
python
img[:,:,2]=0
cv2.imshow("img",img)
cv2.waitKey(0)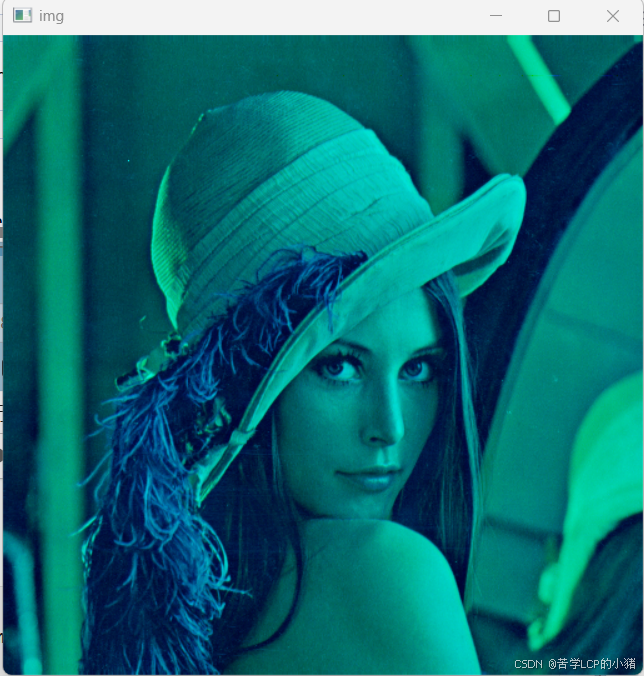
以上为本篇文章的全部内容,感谢你抽出宝贵的时间阅读这篇文章。如果你有任何疑问或建议,欢迎在评论区留言,我们一起交流进步。愿你的代码之路越走越顺,生活充满阳光!