源码编译安装httpd 2.4,提供系统服务管理脚本并测试(建议两种方法实现)
一、第一种方法
1、把 httpd-2.4.63.tar.gz 这个安装包上传到你的试验机上

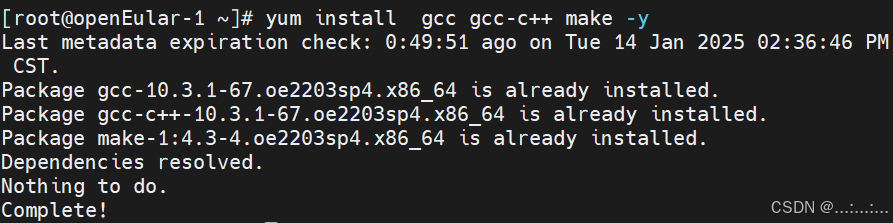
2、 安装编译工具
(俺之前已经装好了)
3、解压httpd包

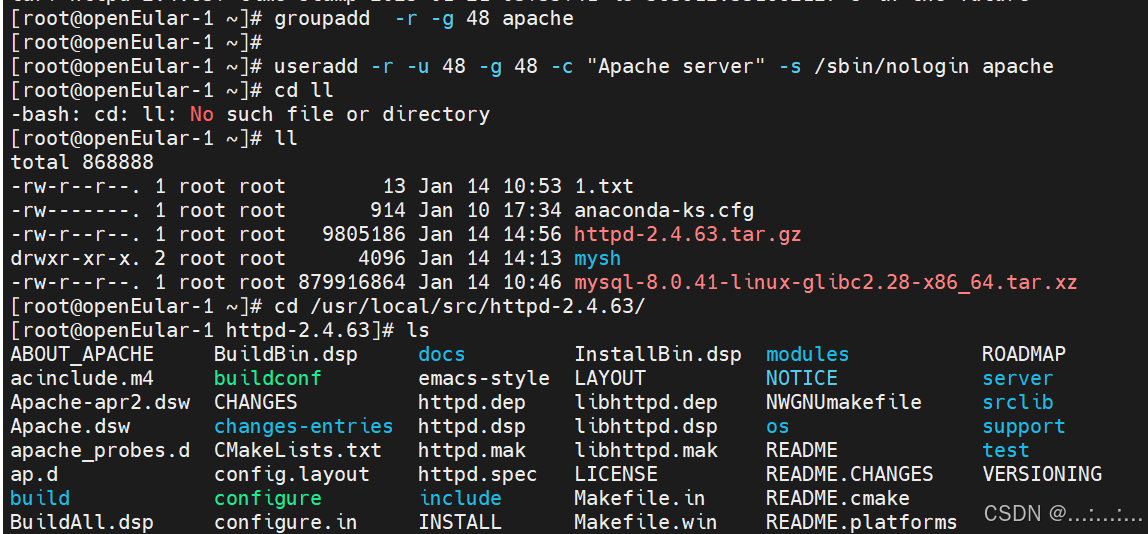
4、解压后的httpd包的文件夹,创建用户和用户组
可以参考下图已下载httpd的apache用户,设置相关参数

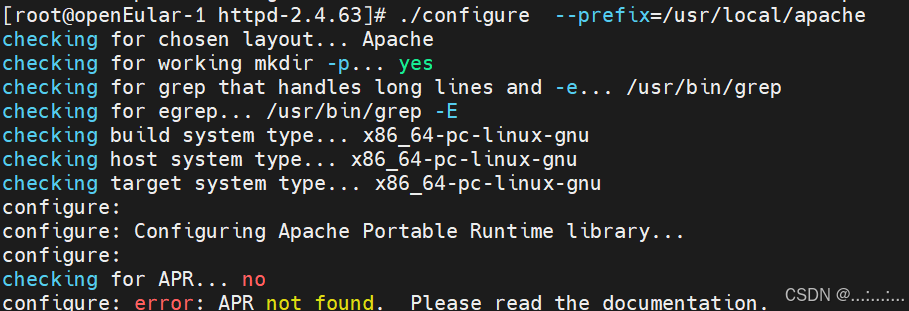
5、 设置"支持安装的路径"
发现报错----缺少依赖"APR"
6、查看apr可安装的软件包
一般缺少头文件与库文件,安装它的开发包,apr的开发包是 apr-devel.x86_64

7、安装apr依赖

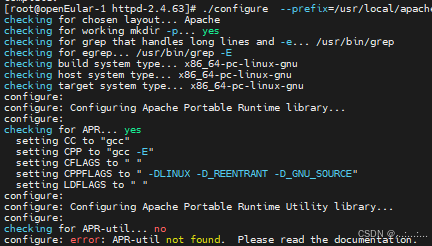
8、重新设置"支持安装的路径"
结果又报错,缺少apr-util依赖包
查一下相关软件包

下载
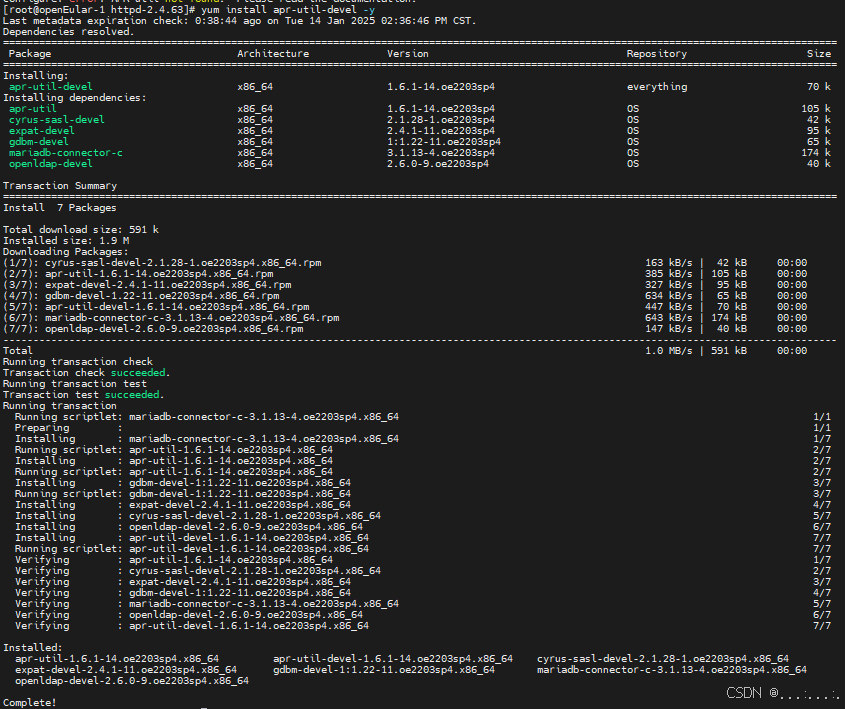
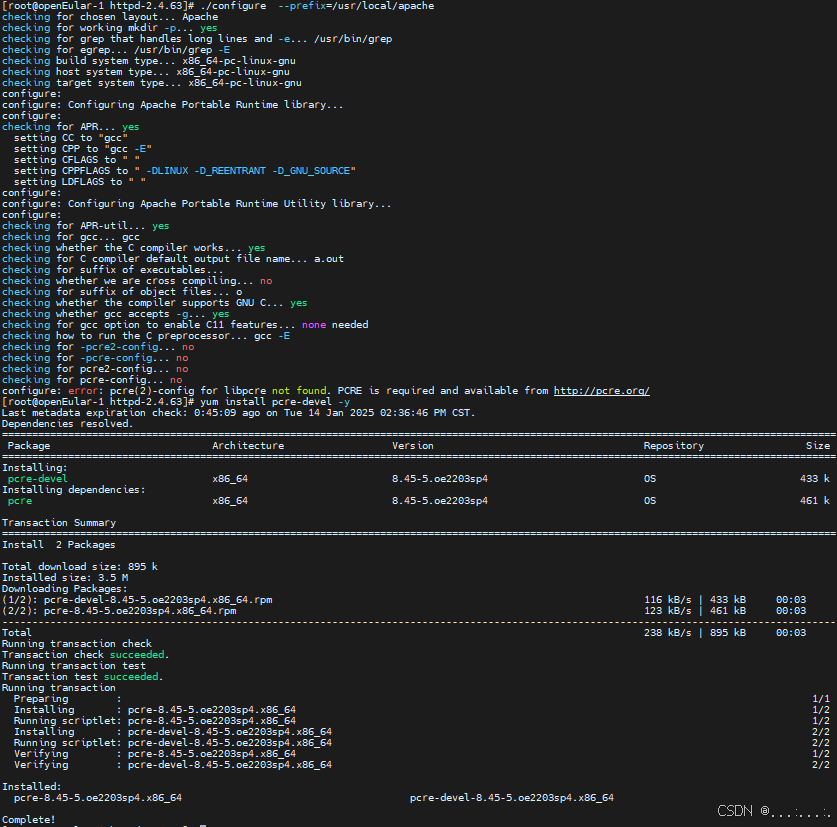
9、再次 设置"支持安装的路径"
发现没有pcre的包,下载他的开发包
10、再次设置"支持安装的路径"
回车后出现长串过程,没有报错
最后出现如下图,安装成功!
cpp
[root@openEular-1 httpd-2.4.63]# ./configure --prefix=/usr/local/apache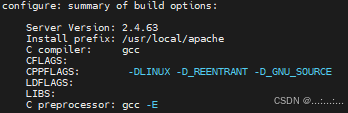
11、'make'与'make install'
输入'make'进行编译。
cpp
[root@openEular-1 httpd-2.4.63]# make查看是否有报错 ,然后编译安装
cpp
[root@openEular-1 httpd-2.4.63]# make install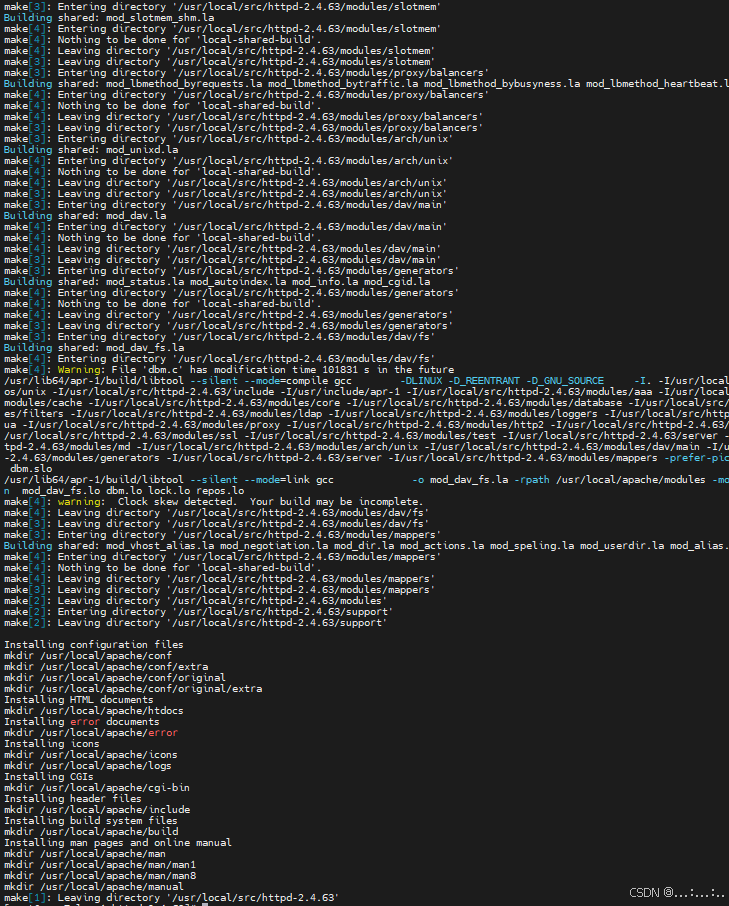
12、备份并且编辑脚本文件 apachectl
进入到 /usr/local/apache/bin目录下
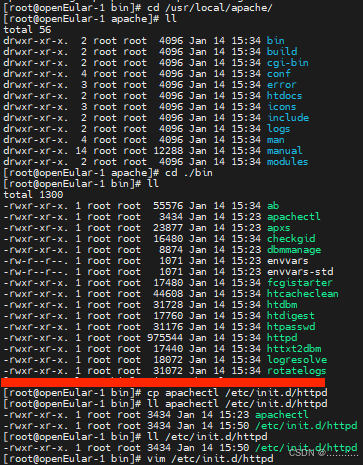
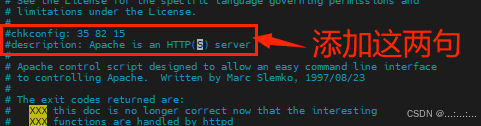
13、将其添加为系统服务,开启服务
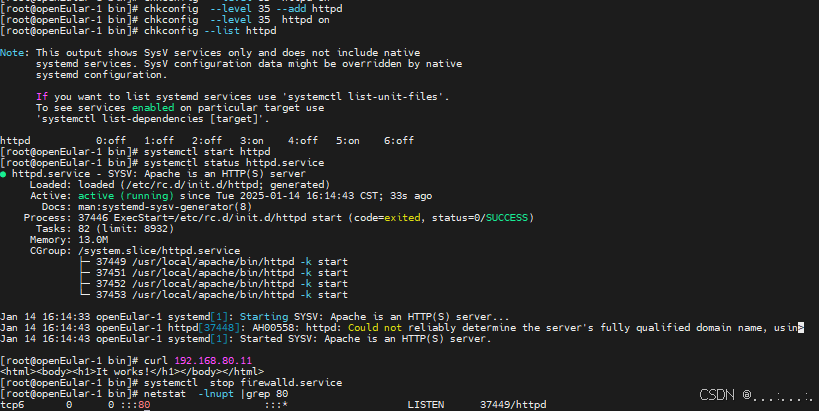
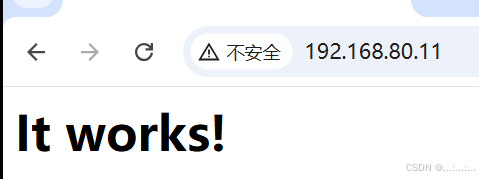
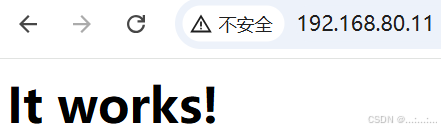
httpd服务已经开启,关闭试验机的防火墙,可以输入试验机的IP地址
二、 方法二(基于方法一)
1、反向取消前面添加系统服务的操作

2、 编辑脚本文件,启动服务,浏览器尝试
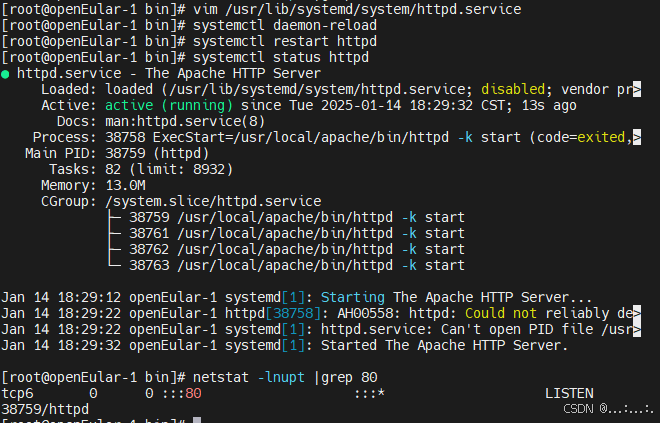
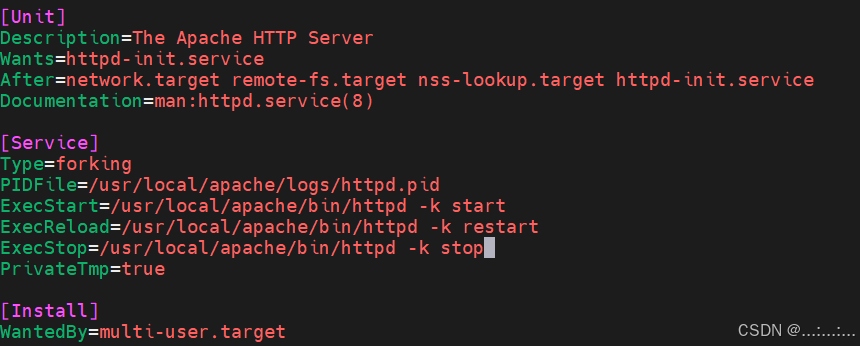
编辑 /usr/lib/systemd/system/httpd.service