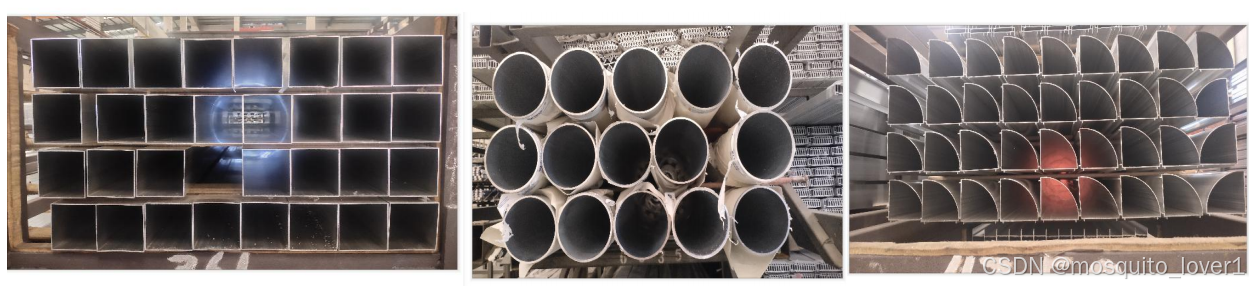
以下三种类型工业零件为例,使用卷积神经网络(CNN)来识别和计数不同类型的工业零件。以下是Python实现步骤:
-
数据准备:收集并标注包含不同形状(如方形、圆形、扇形)的工业零件图像数据集。
-
模型选择:选择一个预训练的深度学习模型(如ResNet、VGG或MobileNet)作为基础模型,并进行微调。
-
模型训练:使用标注好的数据集训练模型,使其能够识别不同形状的零件。
-
零件计数:在测试图像上应用训练好的模型,识别并计数不同类型的零件。
代码示例如下,使用Keras和TensorFlow来实现这个系统:
python
import tensorflow as tf
from tensorflow.keras import layers, models
from tensorflow.keras.preprocessing.image import ImageDataGenerator
import numpy as np

# 1. 数据准备
train_datagen = ImageDataGenerator(rescale=1./255, validation_split=0.2)

train_generator = train_datagen.flow_from_directory(
    'path_to_dataset',
    target_size=(150, 150),
    batch_size=32,
    class_mode='categorical',
    subset='training'
)

validation_generator = train_datagen.flow_from_directory(
    'path_to_dataset',
    target_size=(150, 150),
    batch_size=32,
    class_mode='categorical',
    subset='validation'
)

# 2. 模型选择
model = models.Sequential([
    layers.Conv2D(32, (3, 3), activation='relu', input_shape=(150, 150, 3)),
    layers.MaxPooling2D((2, 2)),
    layers.Conv2D(64, (3, 3), activation='relu'),
    layers.MaxPooling2D((2, 2)),
    layers.Conv2D(128, (3, 3), activation='relu'),
    layers.MaxPooling2D((2, 2)),
    layers.Conv2D(128, (3, 3), activation='relu'),
    layers.MaxPooling2D((2, 2)),
    layers.Flatten(),
    layers.Dense(512, activation='relu'),
    layers.Dense(3, activation='softmax')  # 3 classes: square, circle, sector
])

# 3. 模型训练
model.compile(optimizer='adam',
              loss='categorical_crossentropy',
              metrics=['accuracy'])

history = model.fit(
    train_generator,
    steps_per_epoch=train_generator.samples // train_generator.batch_size,
    validation_data=validation_generator,
    validation_steps=validation_generator.samples // validation_generator.batch_size,
    epochs=10
)

# 4. 零件计数
from tensorflow.keras.preprocessing import image

def count_parts(image_path):
    img = image.load_img(image_path, target_size=(150, 150))
    img_array = image.img_to_array(img)
    img_array = np.expand_dims(img_array, axis=0)
    img_array /= 255.0

    predictions = model.predict(img_array)
    predicted_class = np.argmax(predictions, axis=1)
    class_labels = {0: 'square', 1: 'circle', 2: 'sector'}
    return class_labels[predicted_class[0]]

# 示例:计数图像中的零件
image_path = 'path_to_test_image'
print(f"The part in the image is a: {count_parts(image_path)}")